[54] - Light Manip
Requested by Xx_AtengKupido_xX
App(s) used : Pinterest and ibisPaint X
Material(s) :

Tutorial :
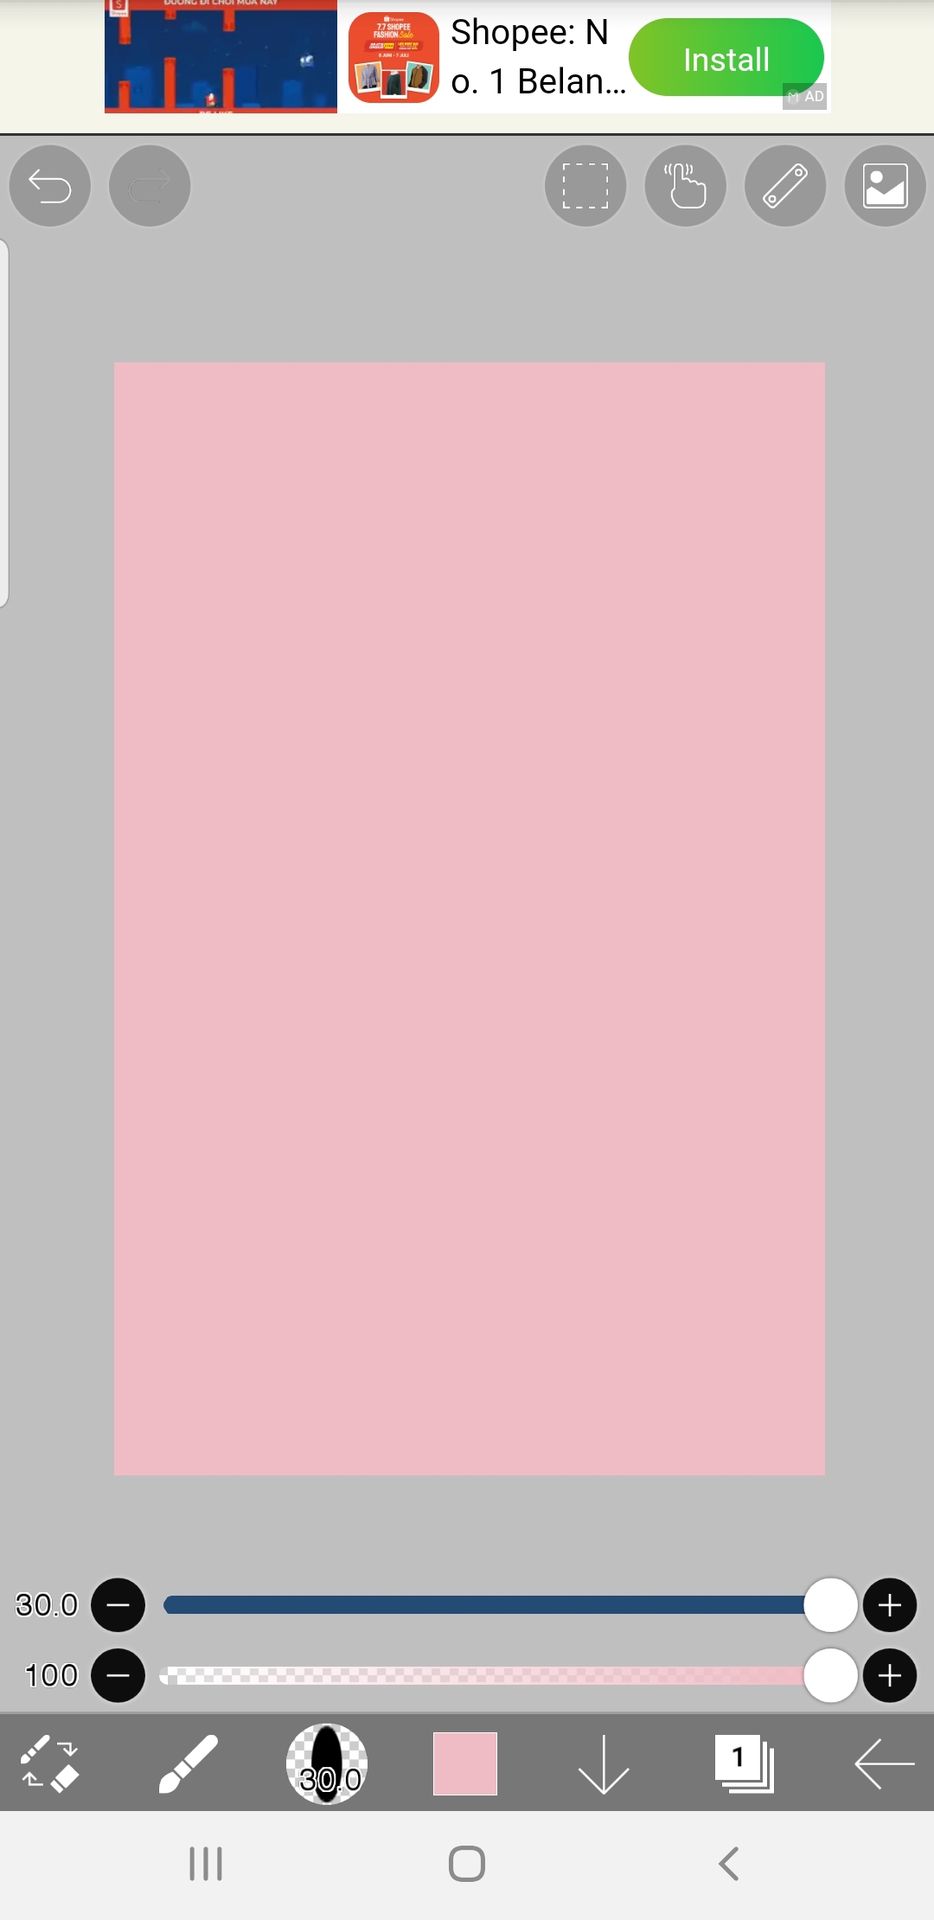
1. Make a new canvas and color the background with your color scheme.
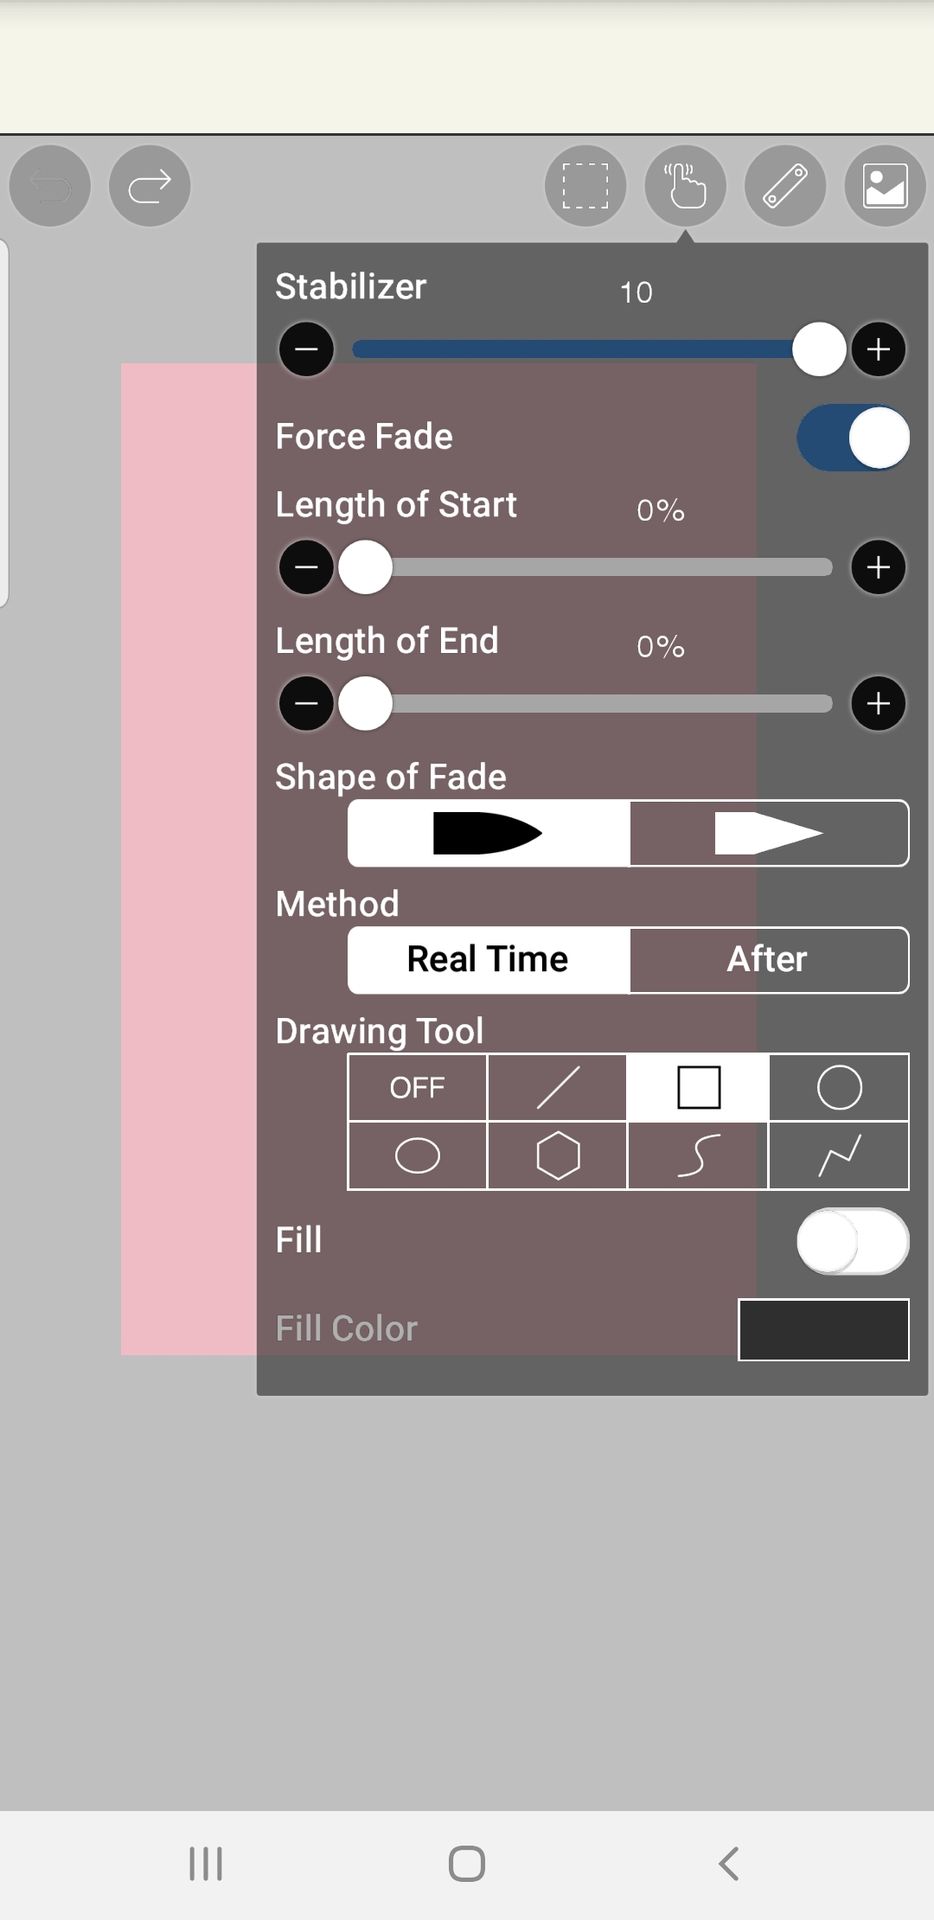
2. Turn on force fade and set everything to zero and pick the rectangle drawing tool.
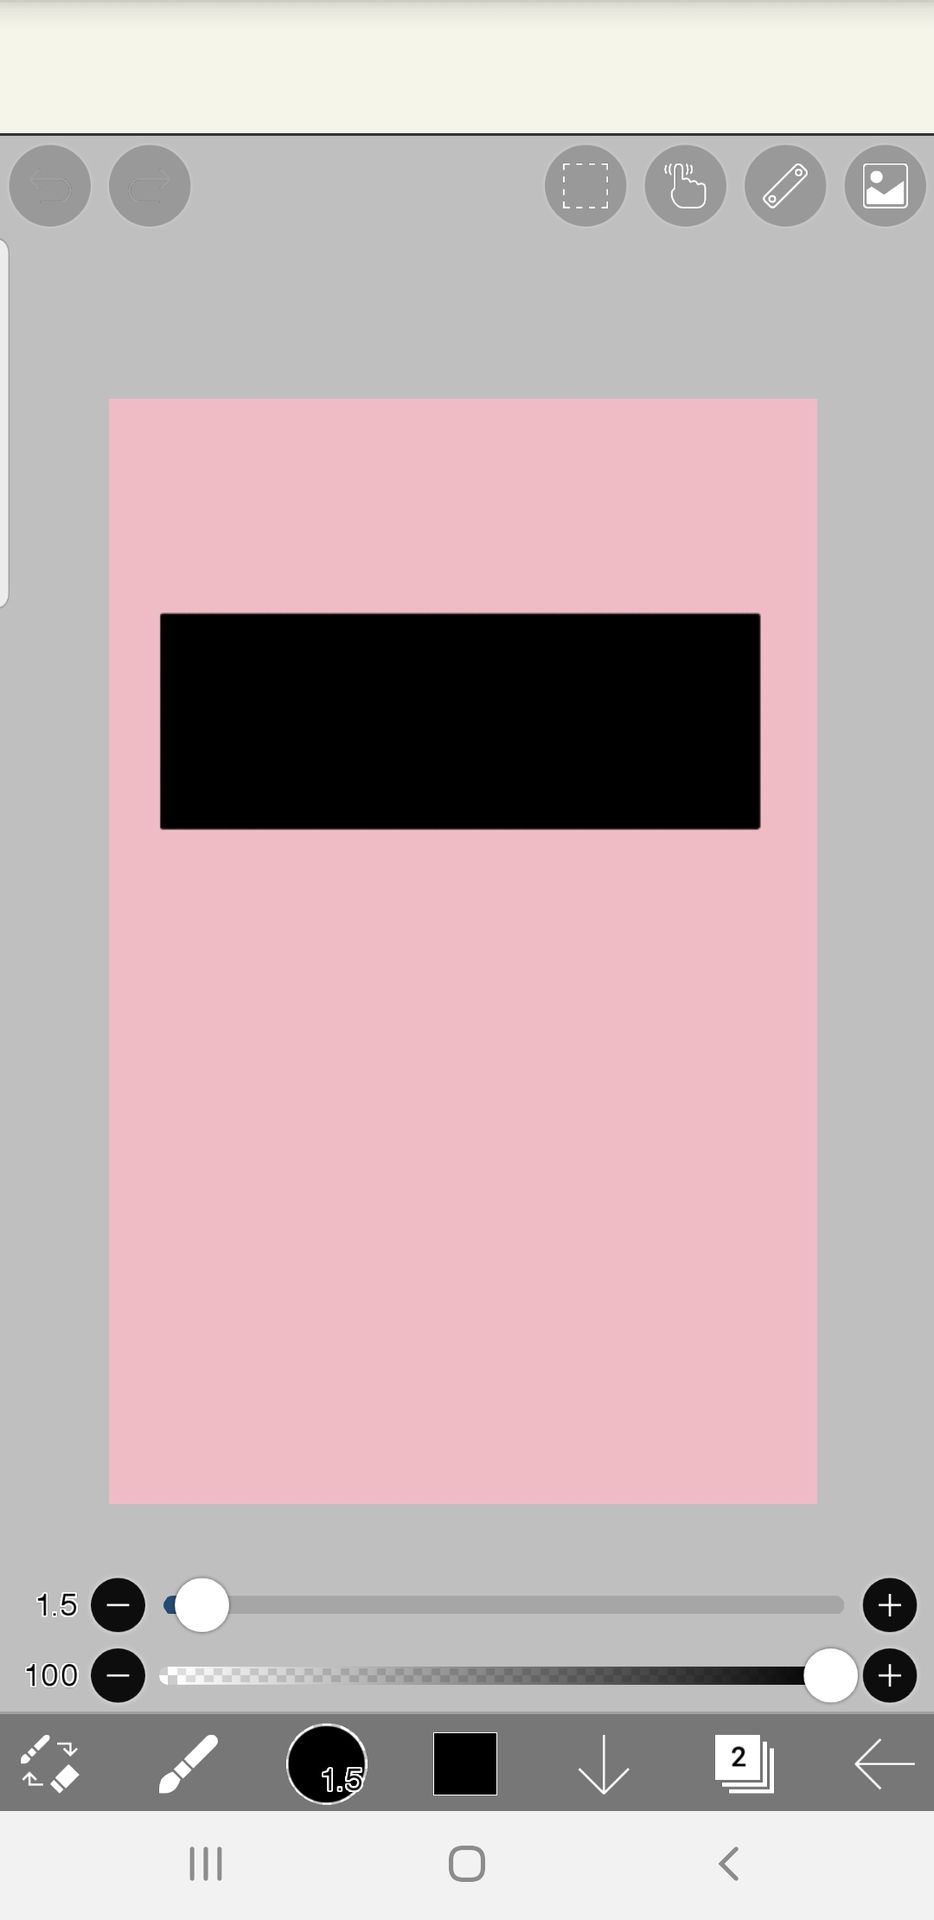
3. On a new layer, draw a black rectangle then stretch it with transform > perspective form
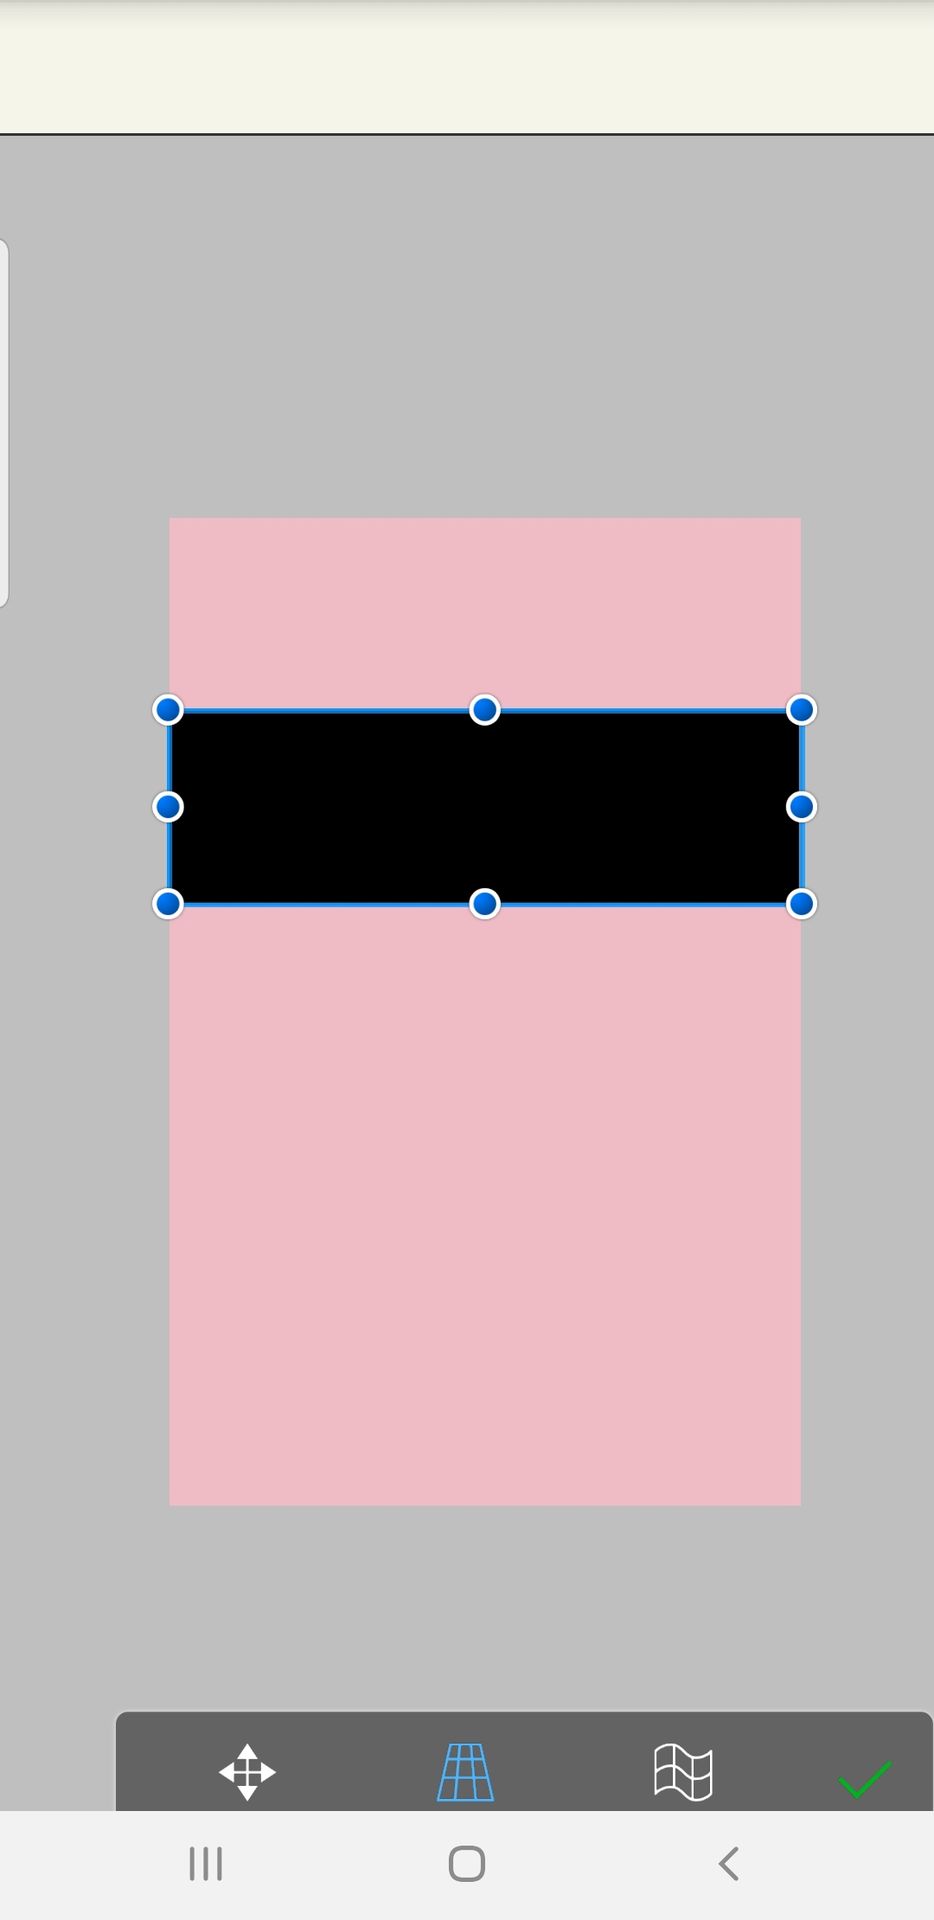
4. Duplicate the layer twice (square with the plus size)
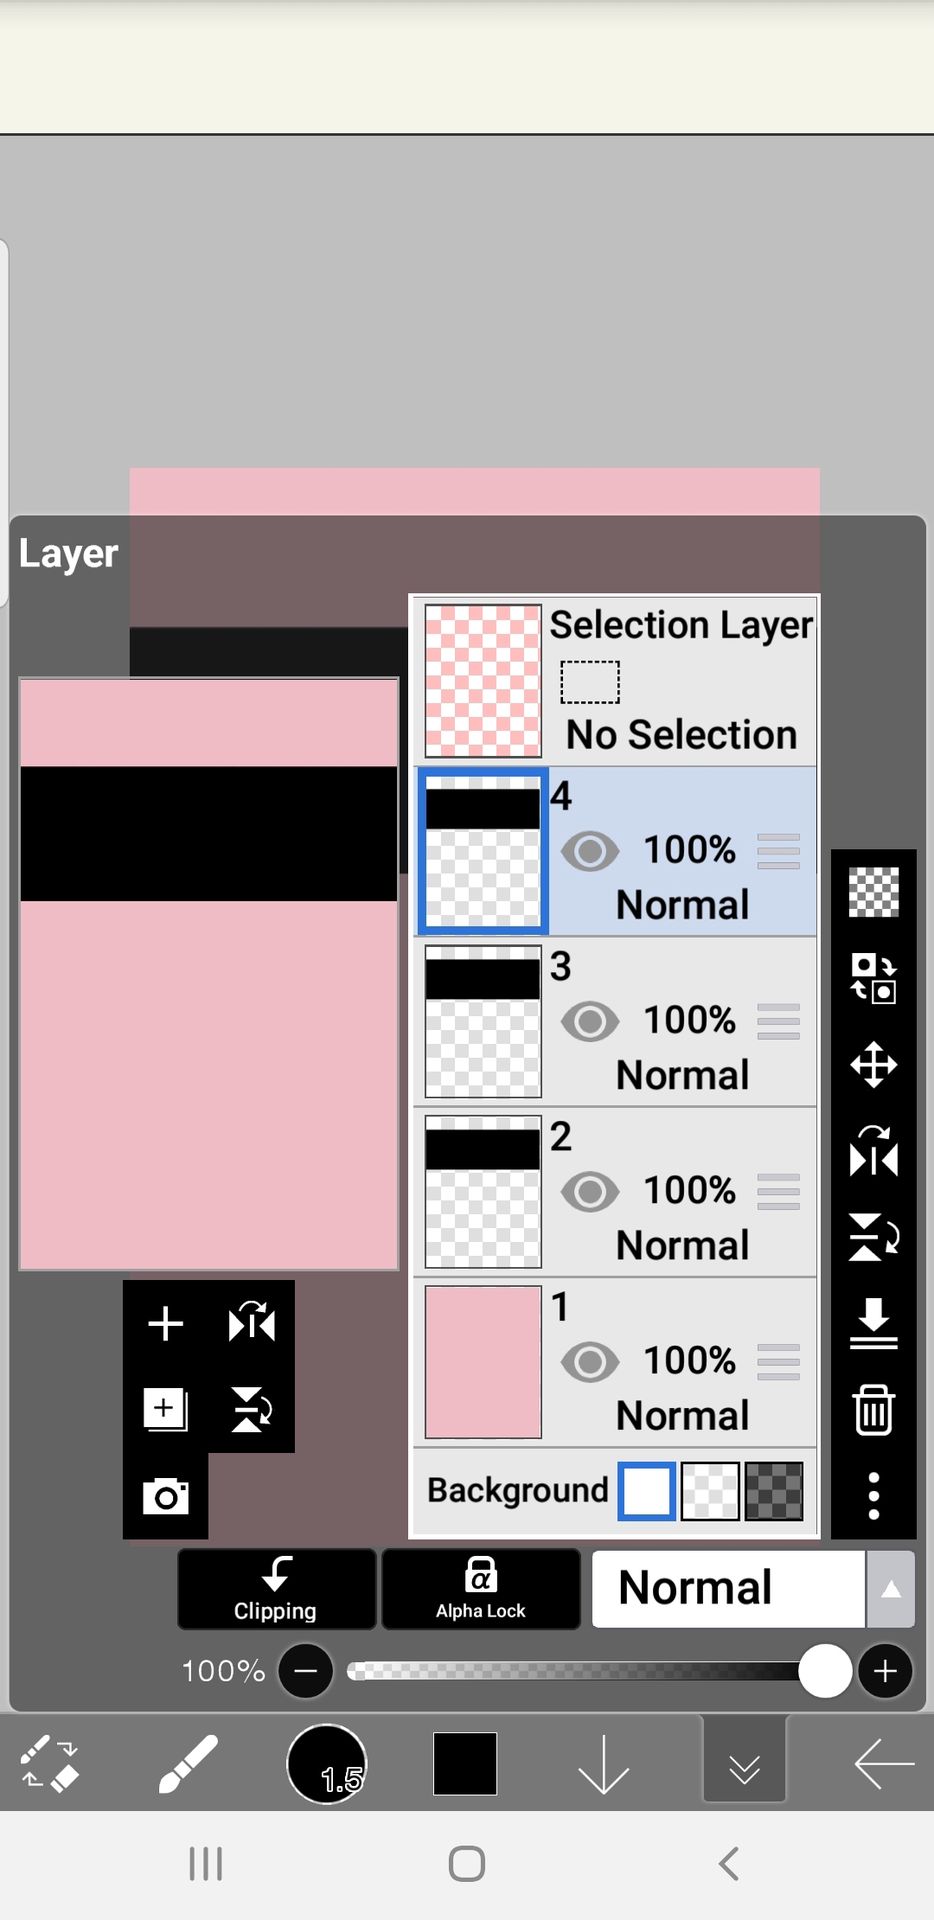
5. With transform, drag the rectangles down one by one so it looks like this :
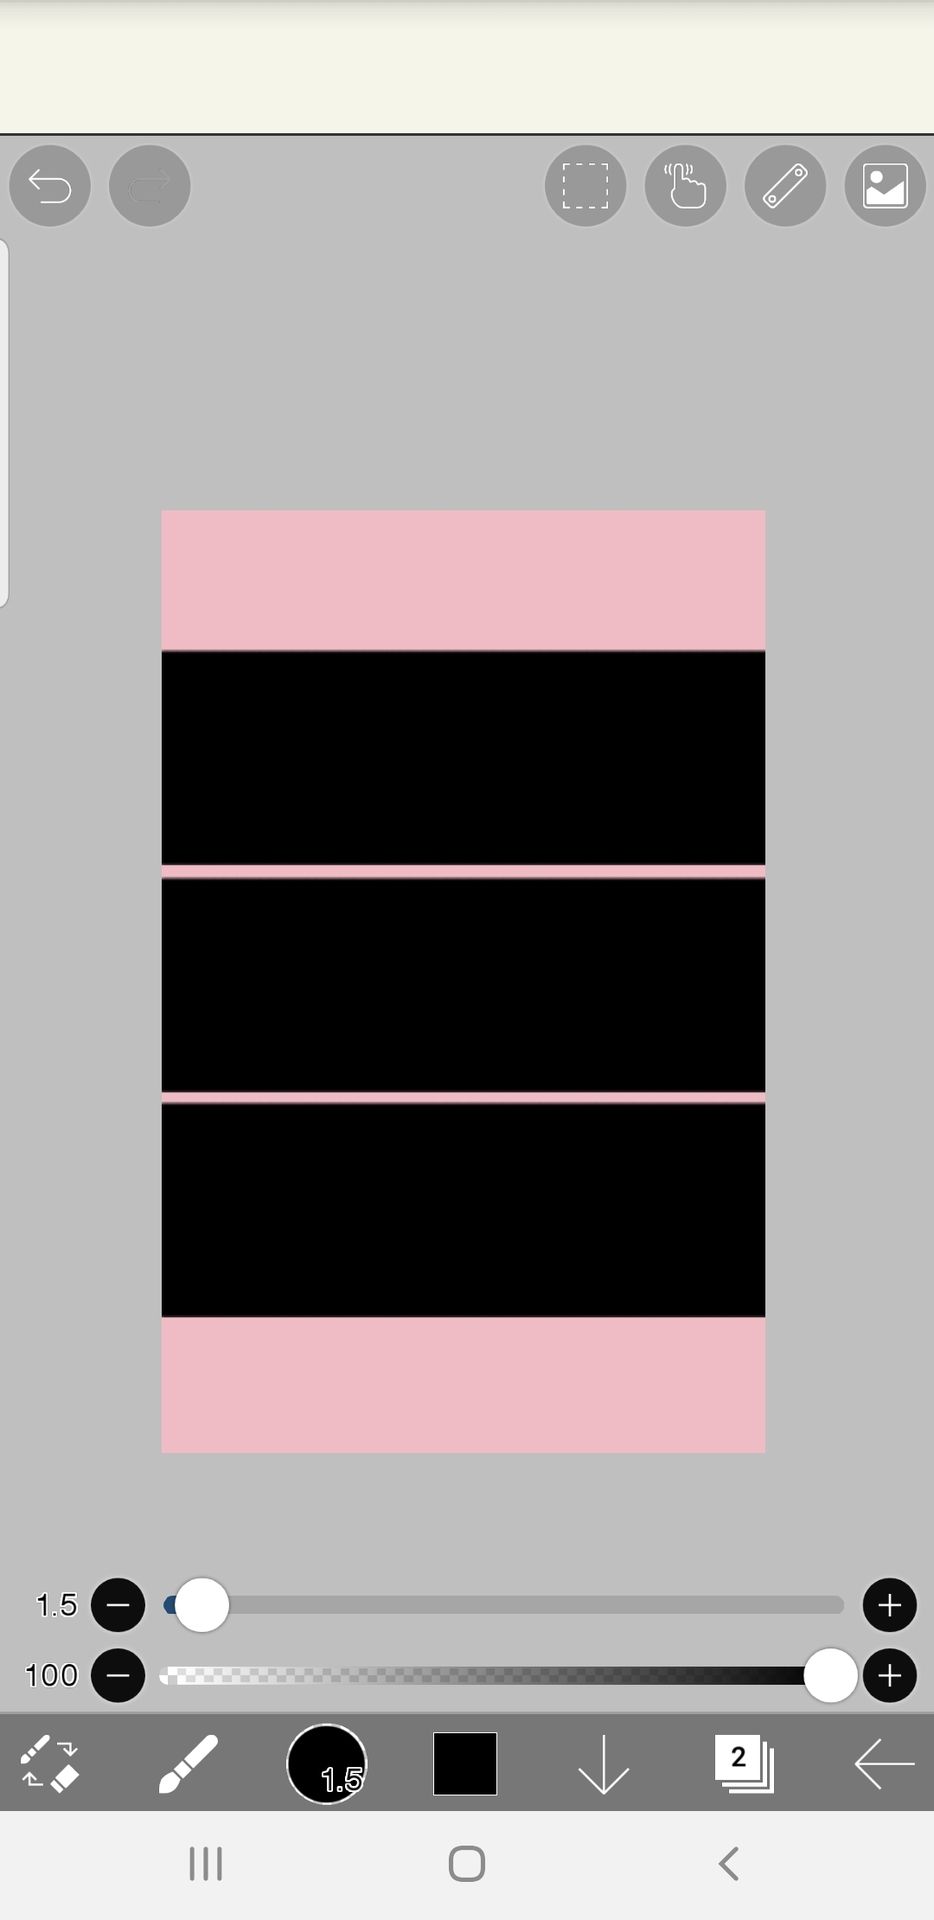
6. Select one of the rectangles (explained clearly in part 7 <moodboard>)

7. Add your pic of your choice
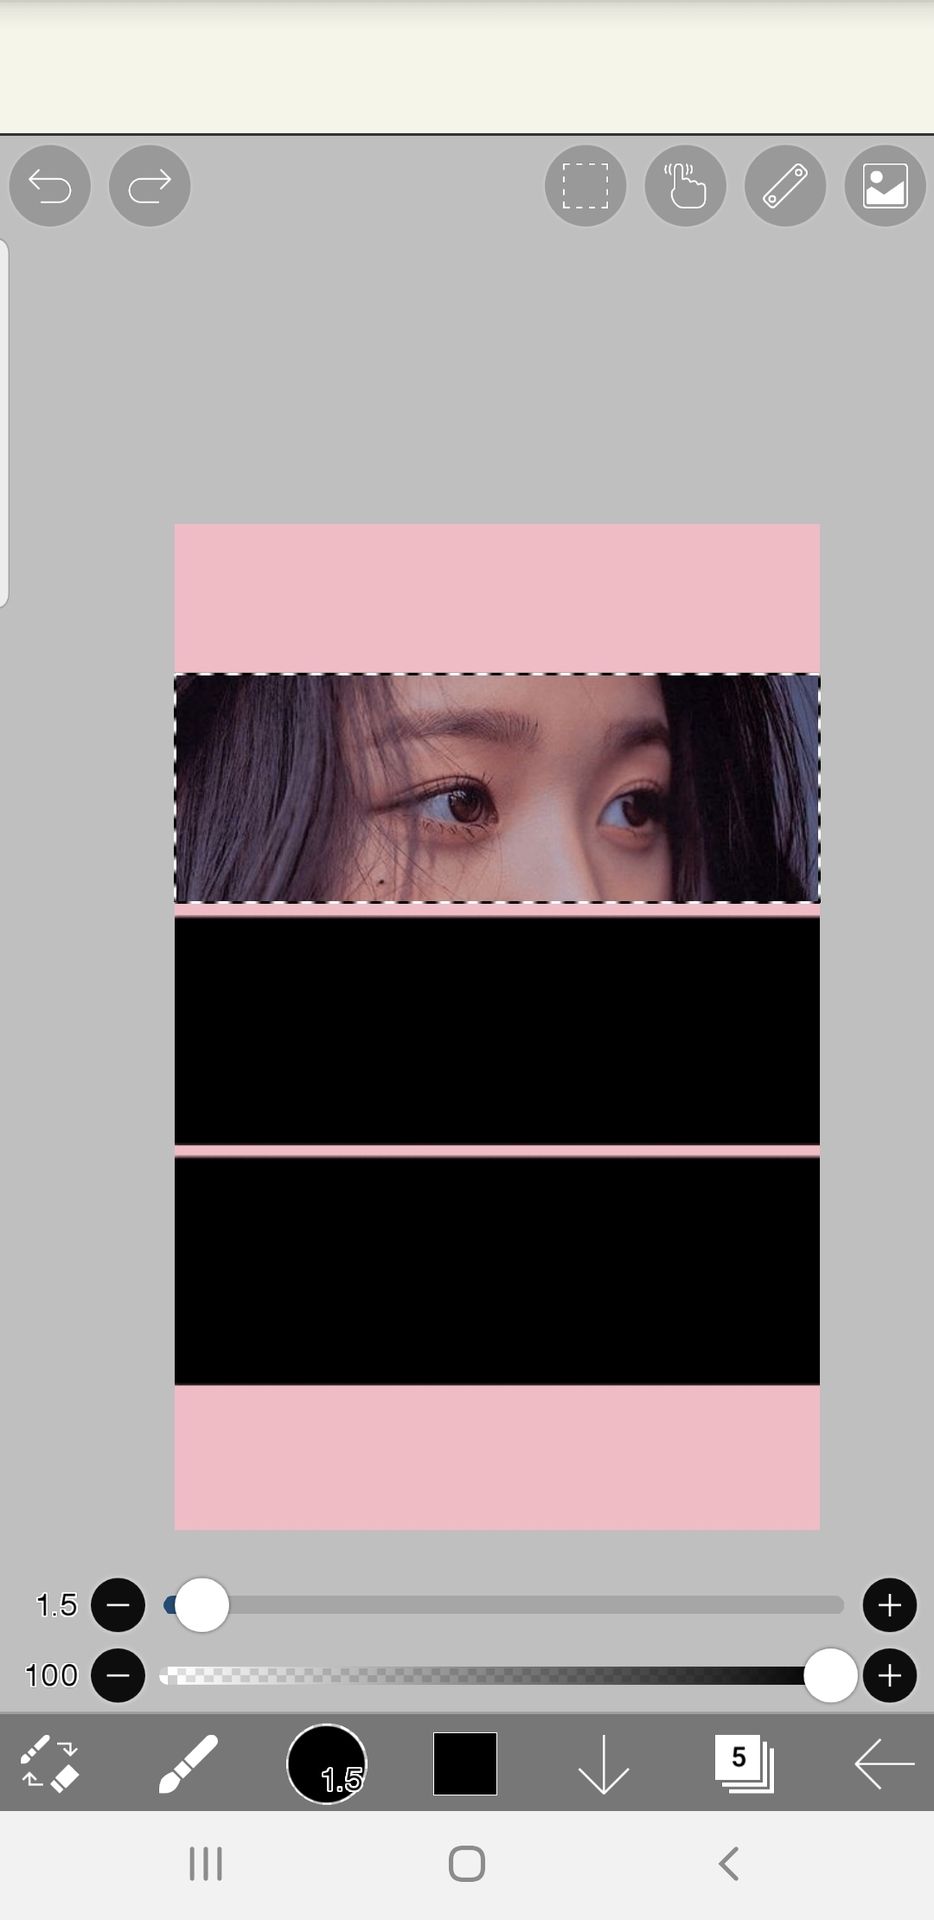
8. Don't forget to remove selection to prevent other pictures overlapping on the other rectangles.
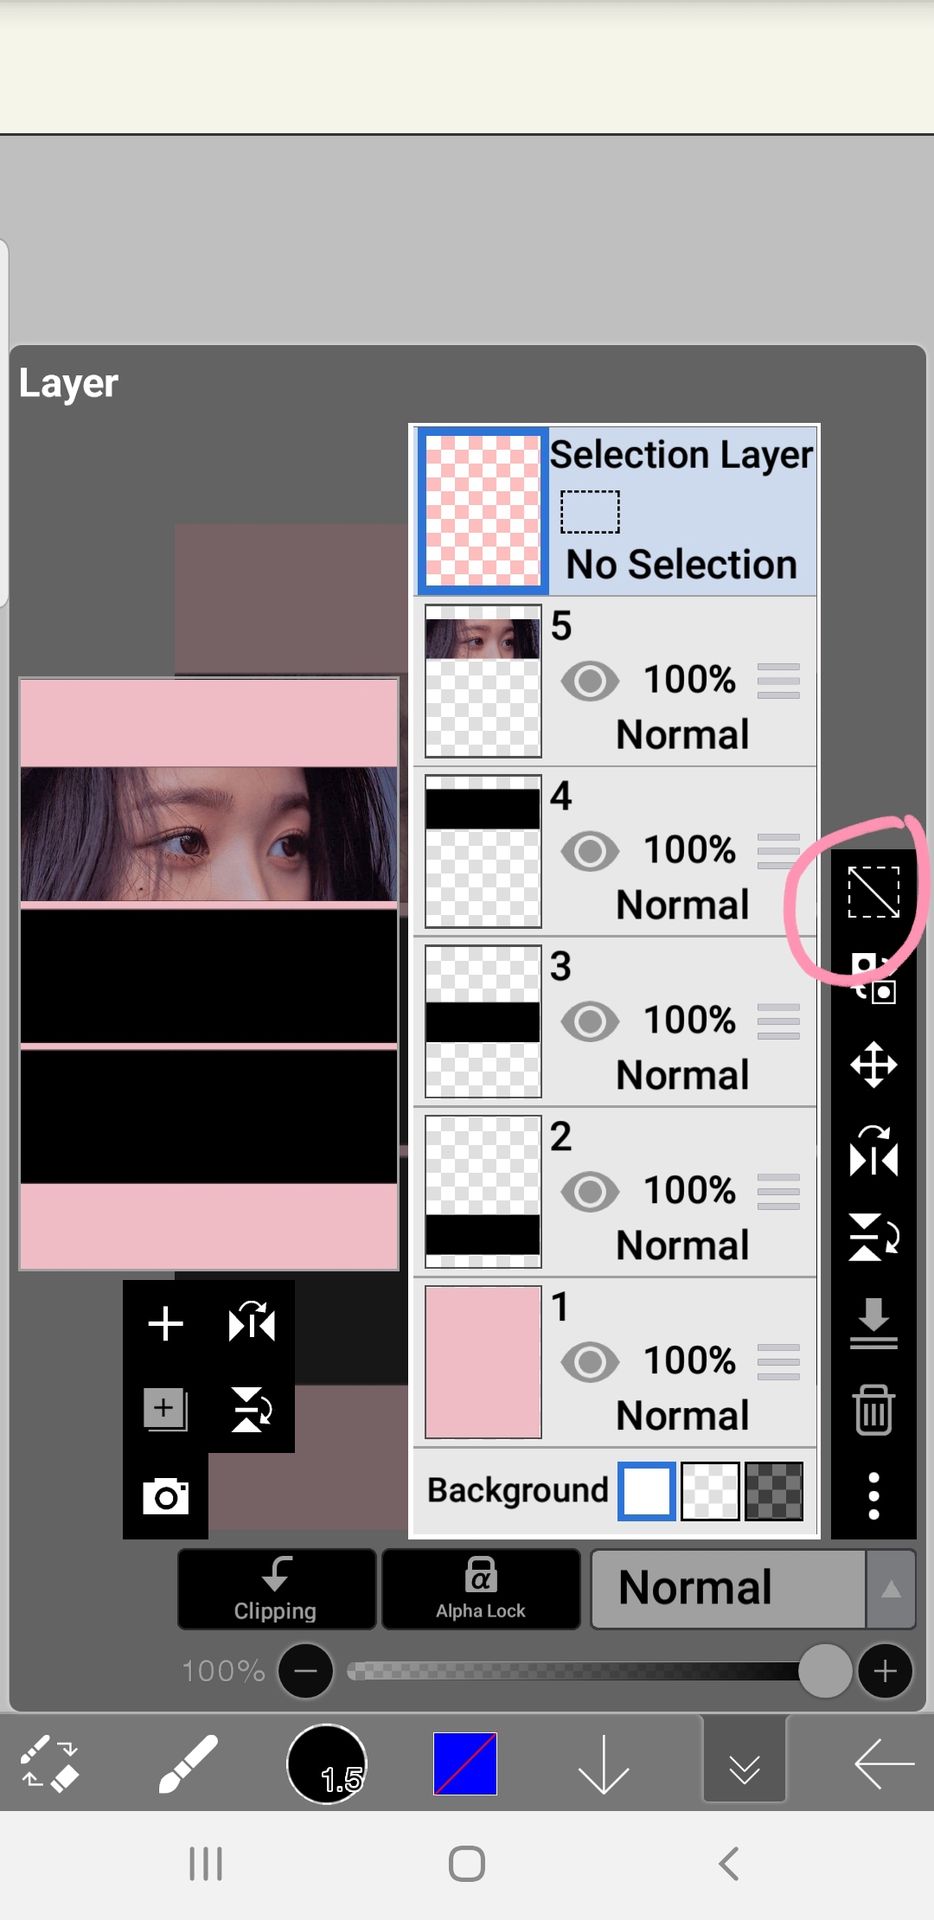
9. Repeat step 6 - 9 on the other rectangles
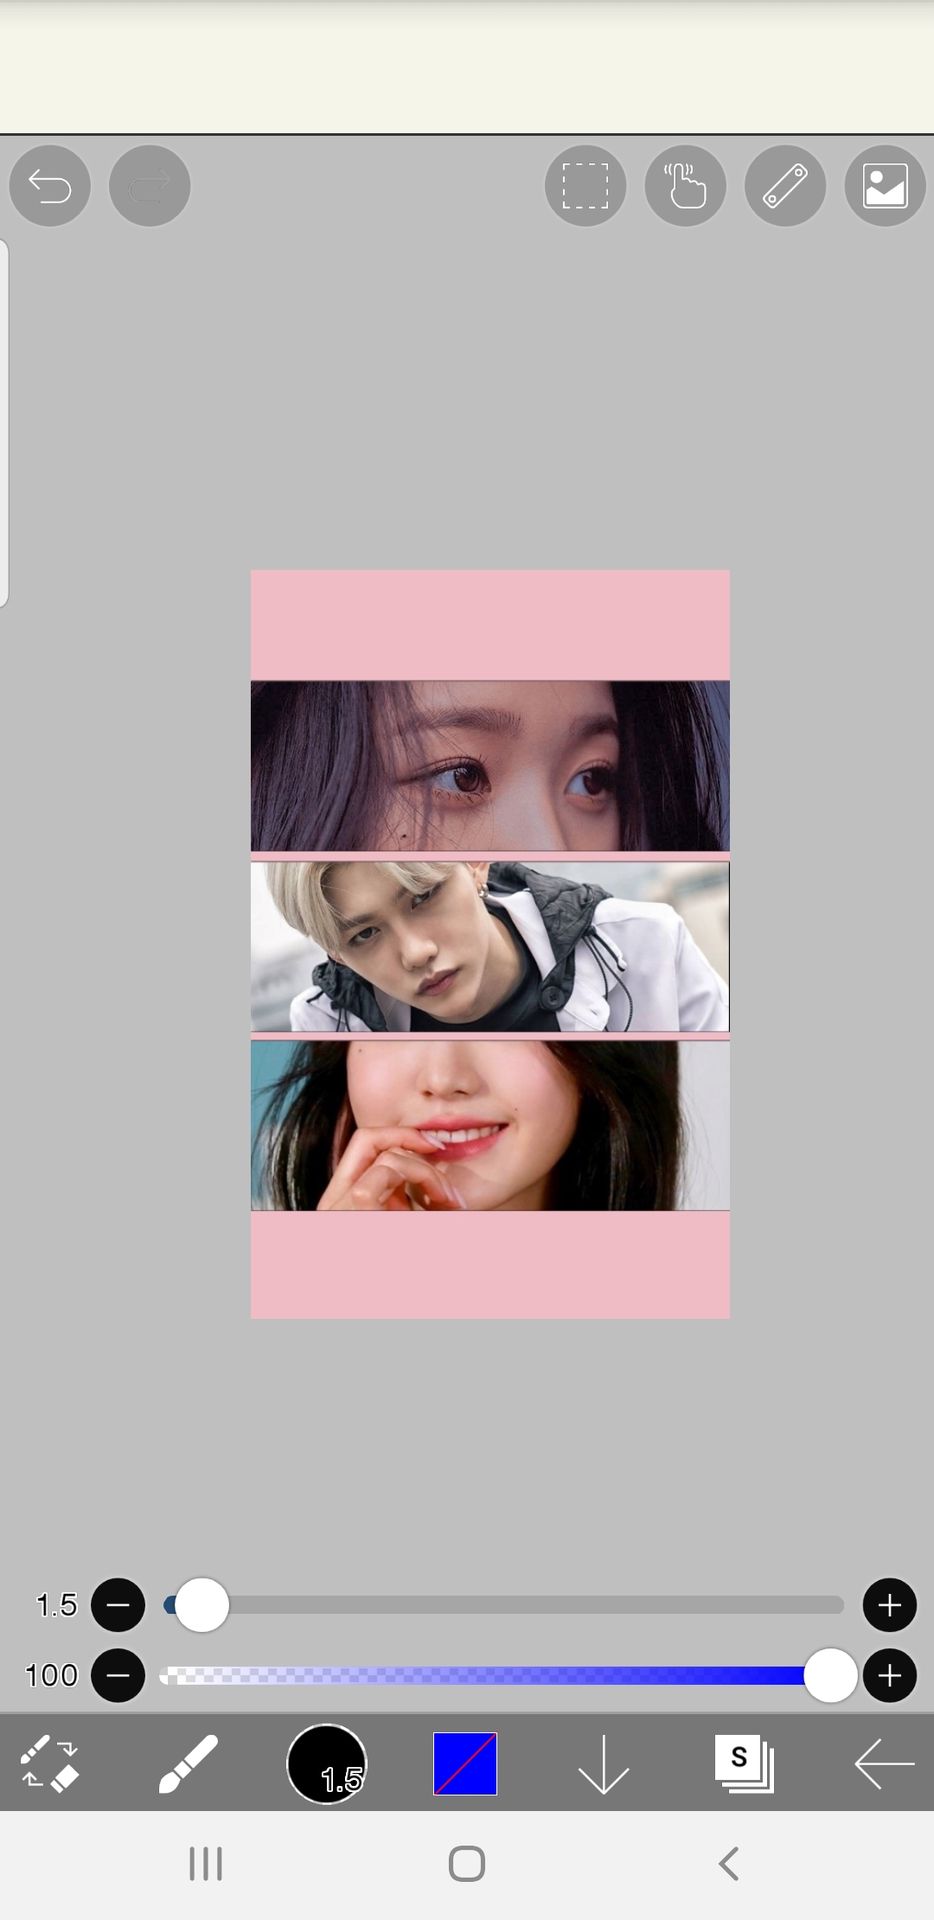
Optional, you can edit the colors of the pictures through filter > adjust color. I only made the picture darker with Brightness/Contrast so it looks more coordinated.
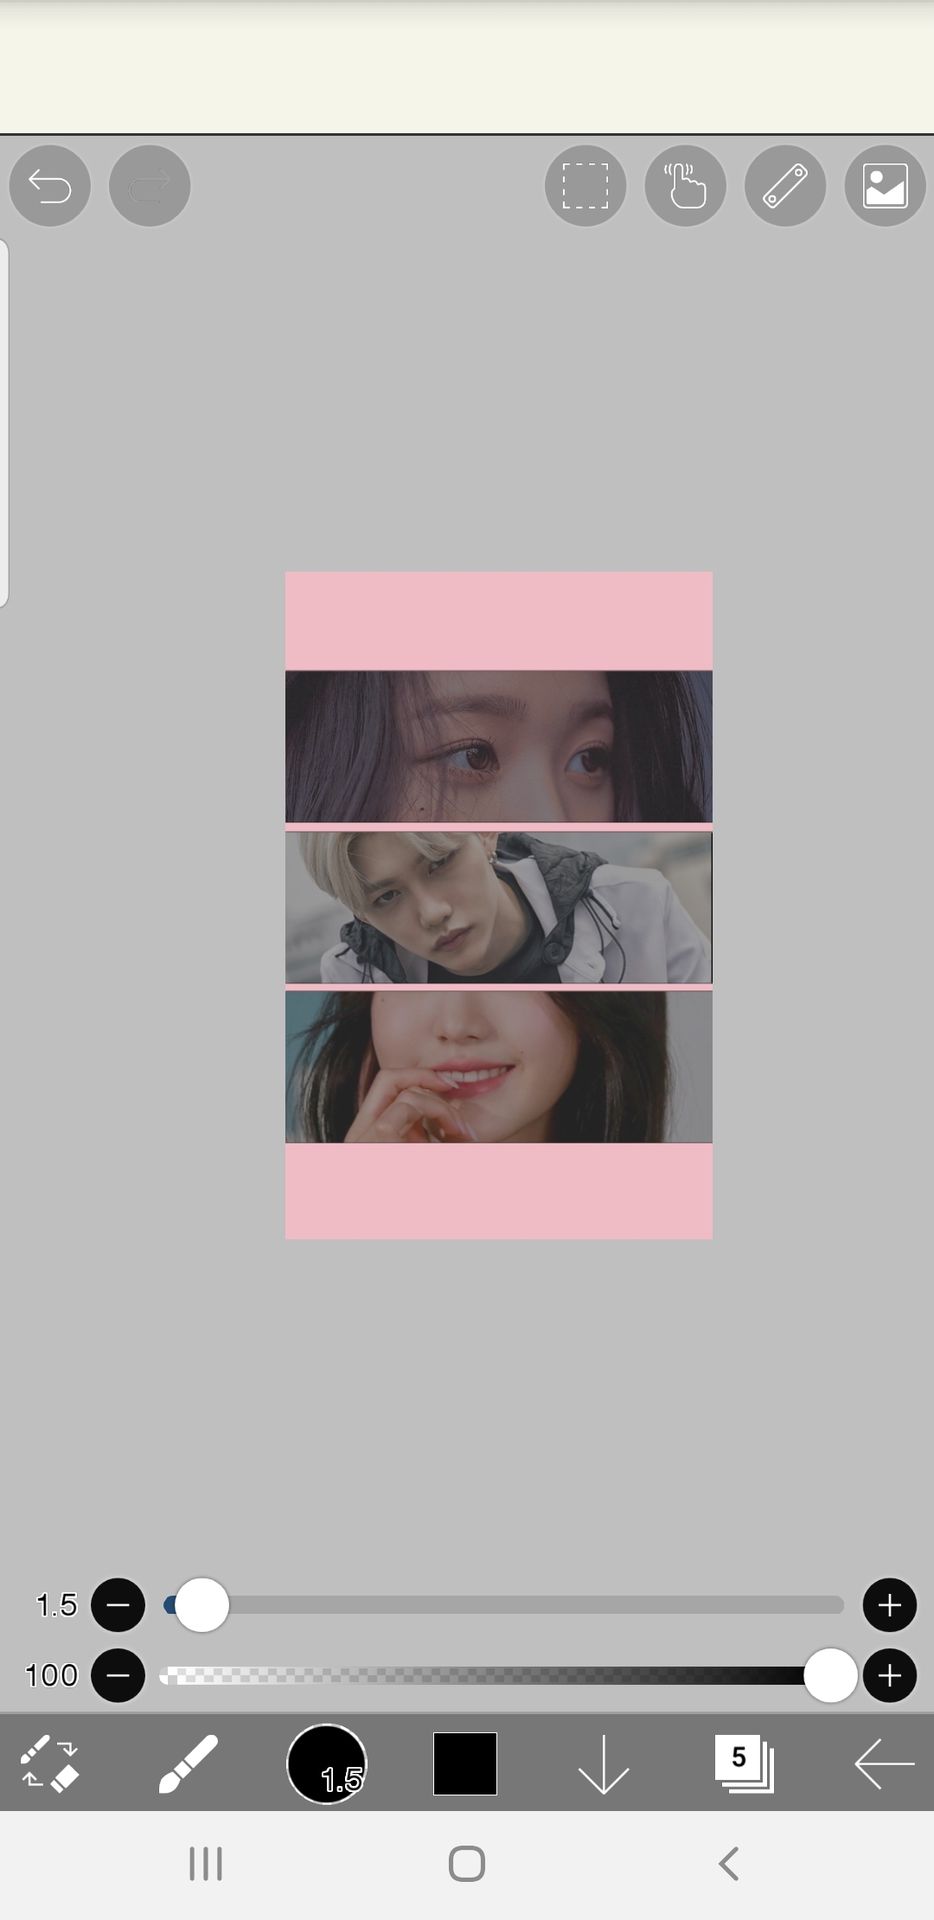
10. Delete the three black rectangles we made earlier
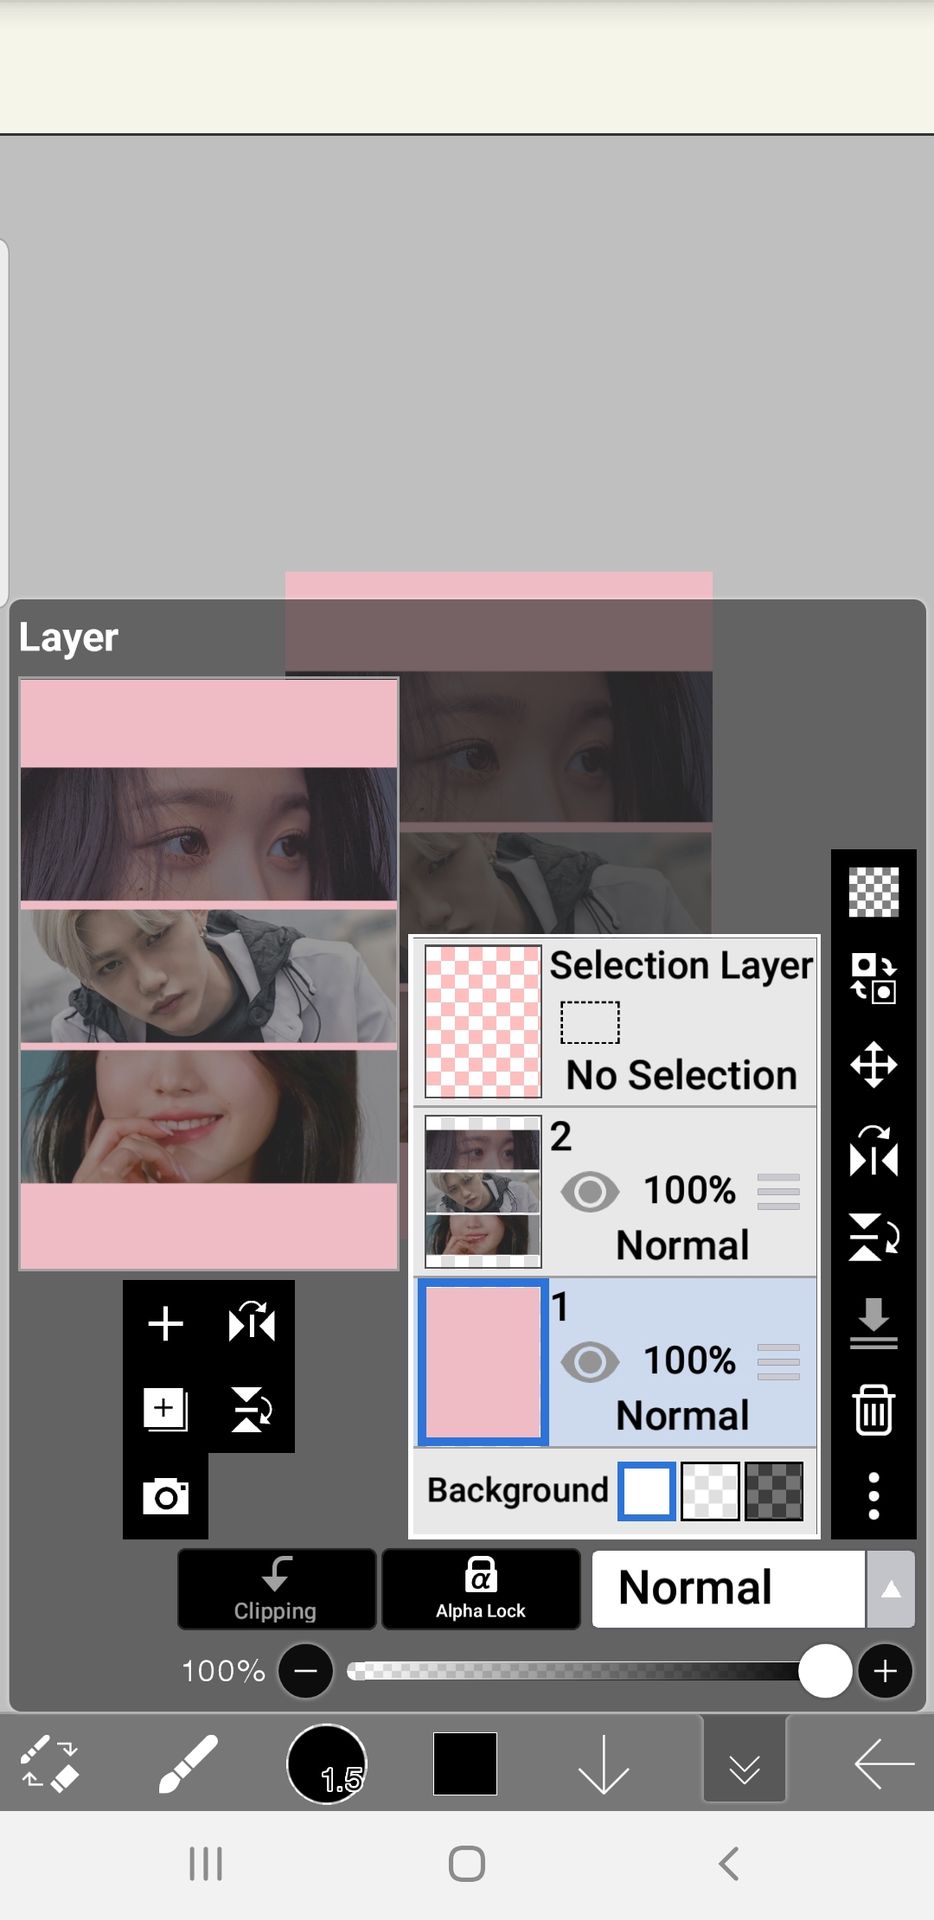
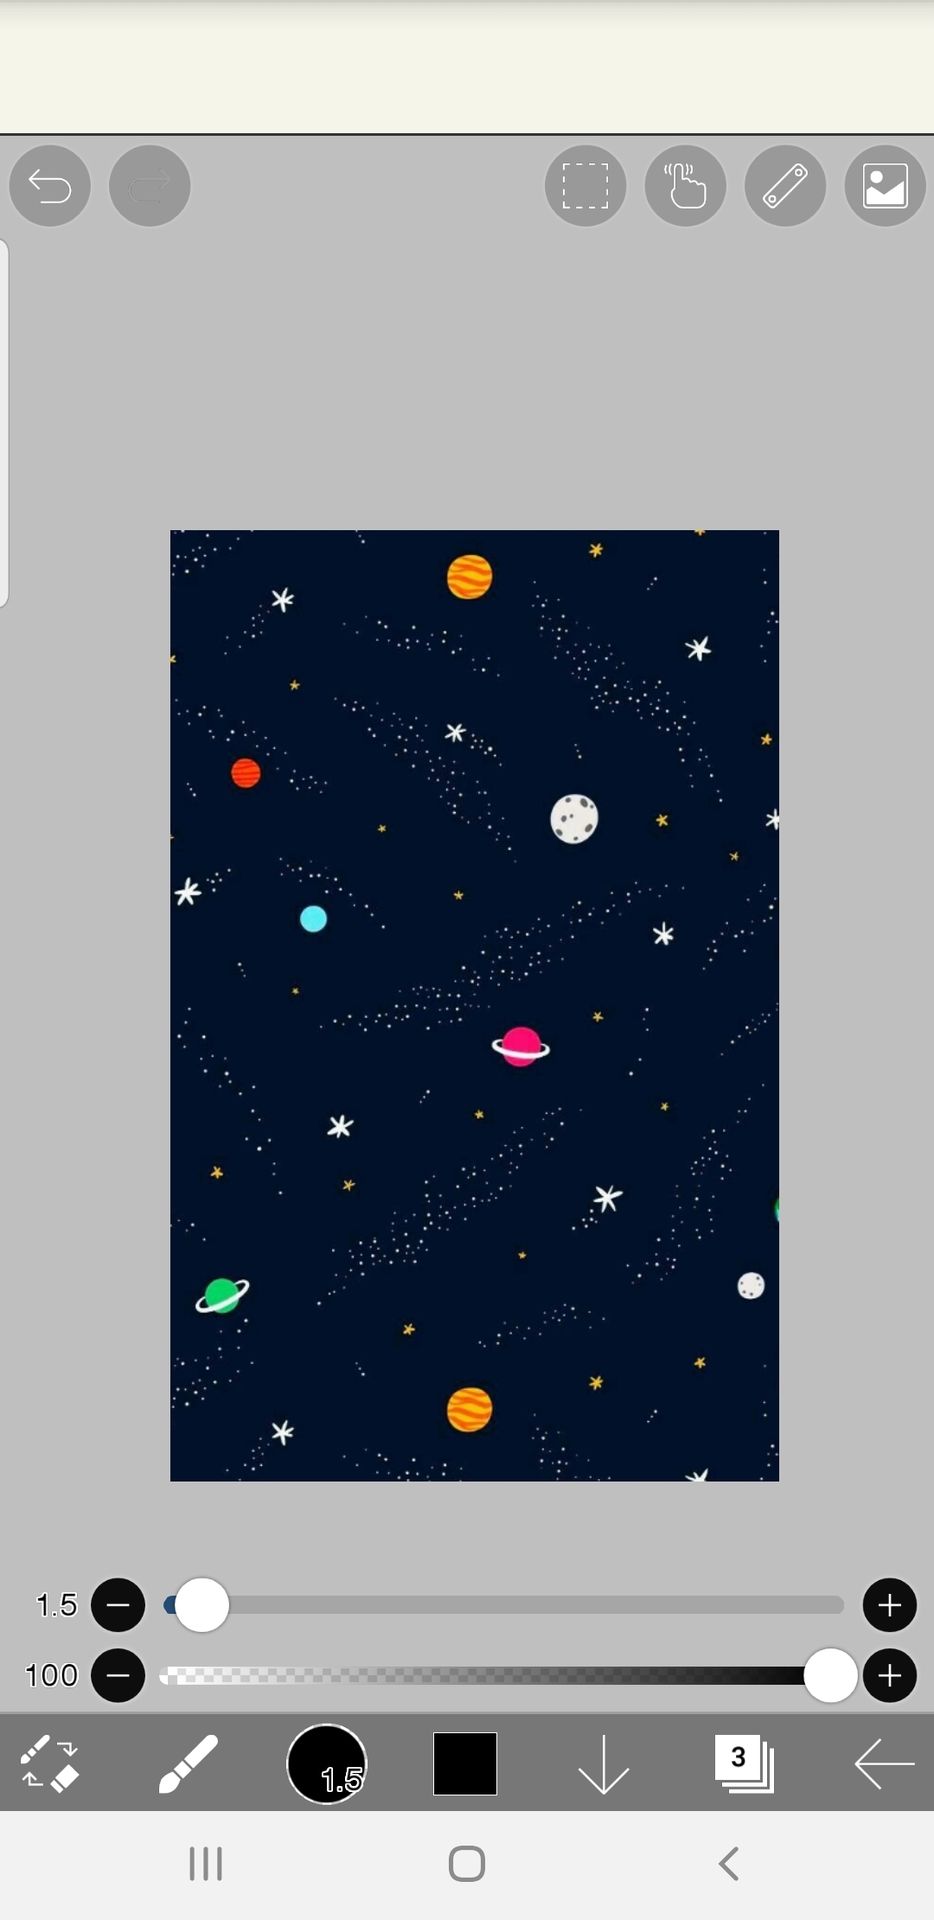
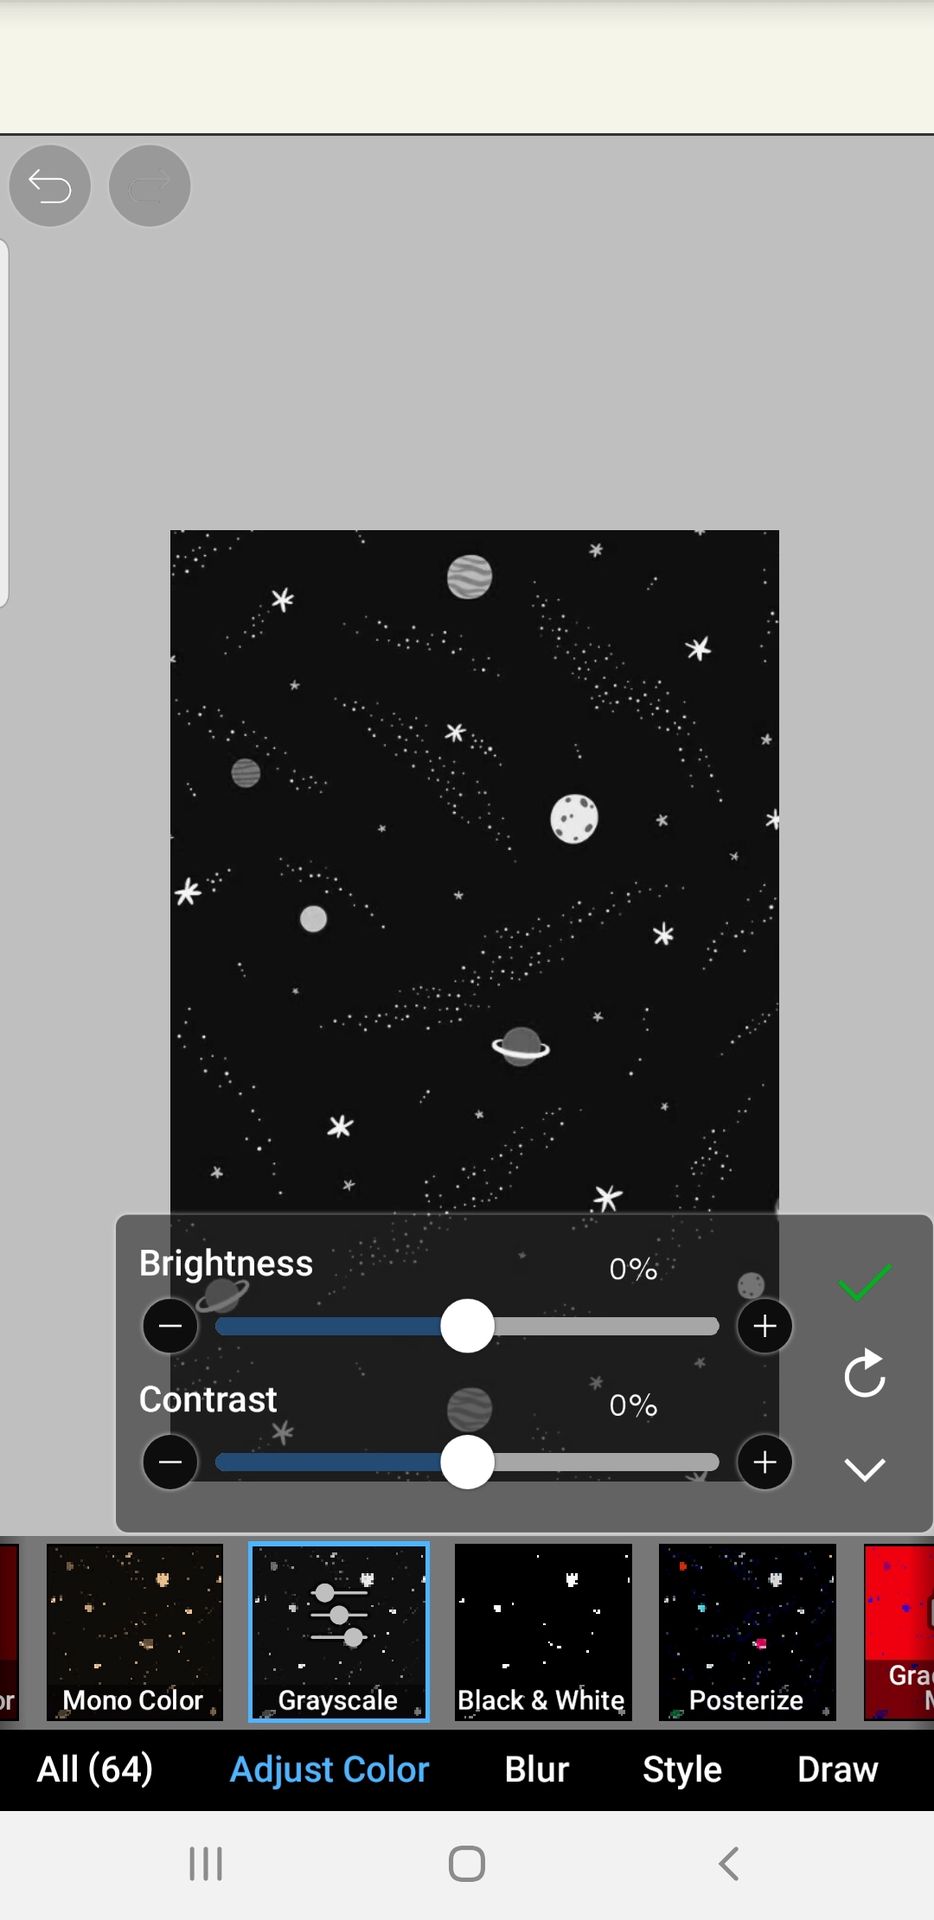
11. Add your overlay/texture. Always grayscale your overlays if there are any colors so it matches your color scheme.

12. Add your PNG
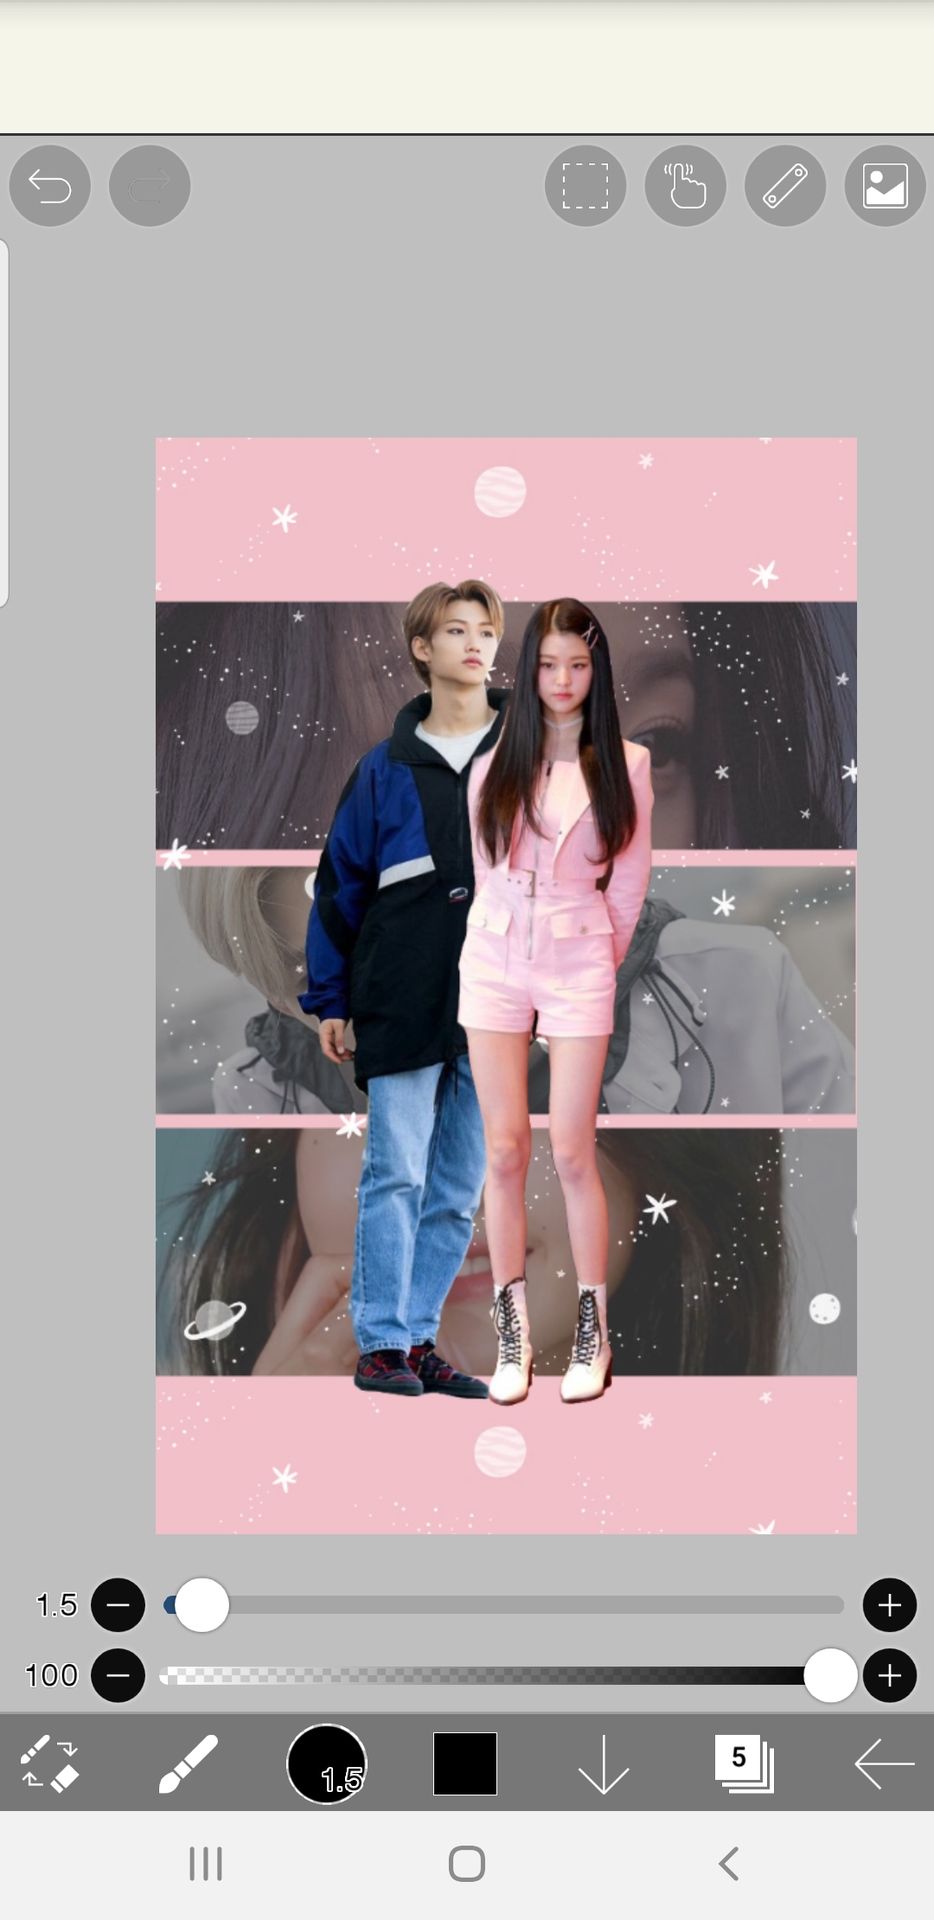
13. Add other details and you're done!

*I used soft mapping brush (bleed) for the swatch under the title.
○ n o t e s ●
- fonts : trashhand, blindsay, century gothic, and century gothic bold
- I feel this tutorial is really short so please ask me anything you don't understand!
Bạn đang đọc truyện trên: AzTruyen.Top