5 || General Tips for Shading
Question: How do you shade accurately?
Asked by: j3llytoast
Ok so this is less of a tutorial, and just a list of tips I use when I'm shading! Since shading is such a broad topic, I am mostly gonna be talking about cel/hard shading here, since it is less complicated. I might do an in-depth/texture tutorial in the future.
So to start off, I want to describe this little chart I made. While there is no wrong way to do art, in my opinion, the circles on the left look better than the circles on the right. I will go through each one and explain a bit about it. If you already know this stuff, feel free to skip ahead.

Top left: Shaded with a pen, on normal mode. While this method of shading looks ok on some styles, generally, using multiply is better. Base shading colour on side.
Top right: The same as top left, but this time with a multiply layer with opacity at 70%. What multiply does is that when there is colour on an above layer, the colours on the lower layer will be multiplied, making them darker and more appealing. Base shading colour on side.
Bottom left: Never use pure black to shade or pure white to shade! Pure black and white are very harsh colours, so unless that's what you're going for, don't use them. In my opinion, pure black and white make objects look dirty and bland, especially when it's used with an airbrush. The shading and lighting are both on normal mode, and the lighting isn't blended enough
Bottom right: Shading is on multiply and lighting is on add. I used a light pink for the lighting, and I blended it more.
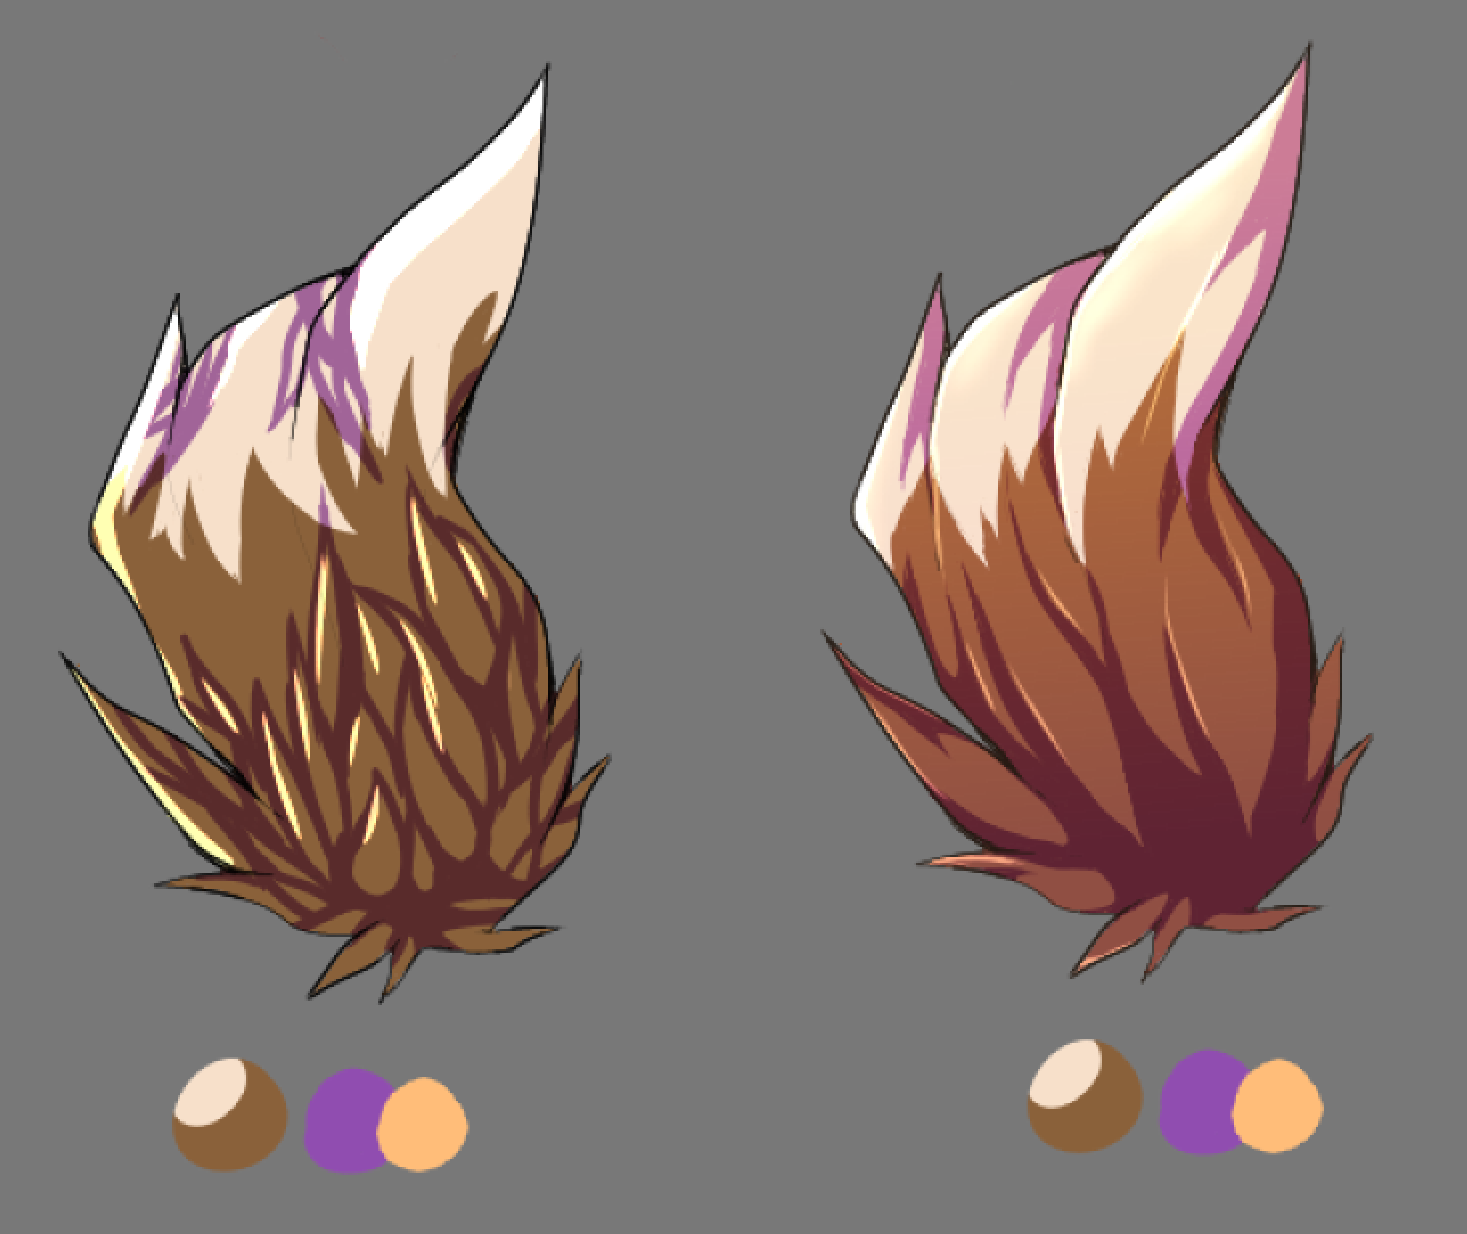
Ok! Now that that's over with, lets apply these concepts to a more complex object! Here I will use a fur-like object to demonstrate. I will nitpick piece by piece the differences between them below.

Note: Light source is coming from the top right of each object.
Colouring: When applying base colours, you want to make sure the colours line up with the line art. In this case, fur flows, and the colour is supposed to flow with it. The first one looks messy where the 2 colours meet, while the second one follows the line art.
Shading: Same thing! You want to make sure your shading follows both the colour, and the line art. You also don't want your shading to be too complex. The complexity of shading should be based on the complexity of the line art. That's why in the first one, the shading looks messy, overly detailed, and doesn't follow the flow of the line art. While in the second one, shading is blockier and supplies the viewer all the information they need to perceive the object. In other words, there's no shading overkill here.
Lighting: Same rules apply about following the flow. I put the layer on add. In the first one, the lighting follows the badly drawn shadows, and there is too much of it. There is no need to apply light to every single clump of fur, and it is also very harsh. In the second one, lighting is still there but is less in-your-face because I lowered the opacity and brush size. Lighting is applied to select parts of the object, keeping in mind the light source. This next part isn't necessary, but on whichever part of the object is in direct light, I like to slightly airbrush it so that it is less harsh.
Gradient: Gradients on overlay layers are great ways to unite your piece and create atmosphere. Even simple doodles can look better with the slightest gradient. Gradient overlays enhance colours as well. I find that to find a good gradient, select the base colour of your lighting and the base colour of your shading and using the gradient tool on the object.
Line art: This one is less noticeable, but the first one has black line art and the second one has dark brown line art. This goes back to my point about the harshness of black, so I find that off-black colours look best for art unless you are trying to go for a specific style.
Note: Even though I used cel shading as an example, a lot of this advice applies to other types of shading as well
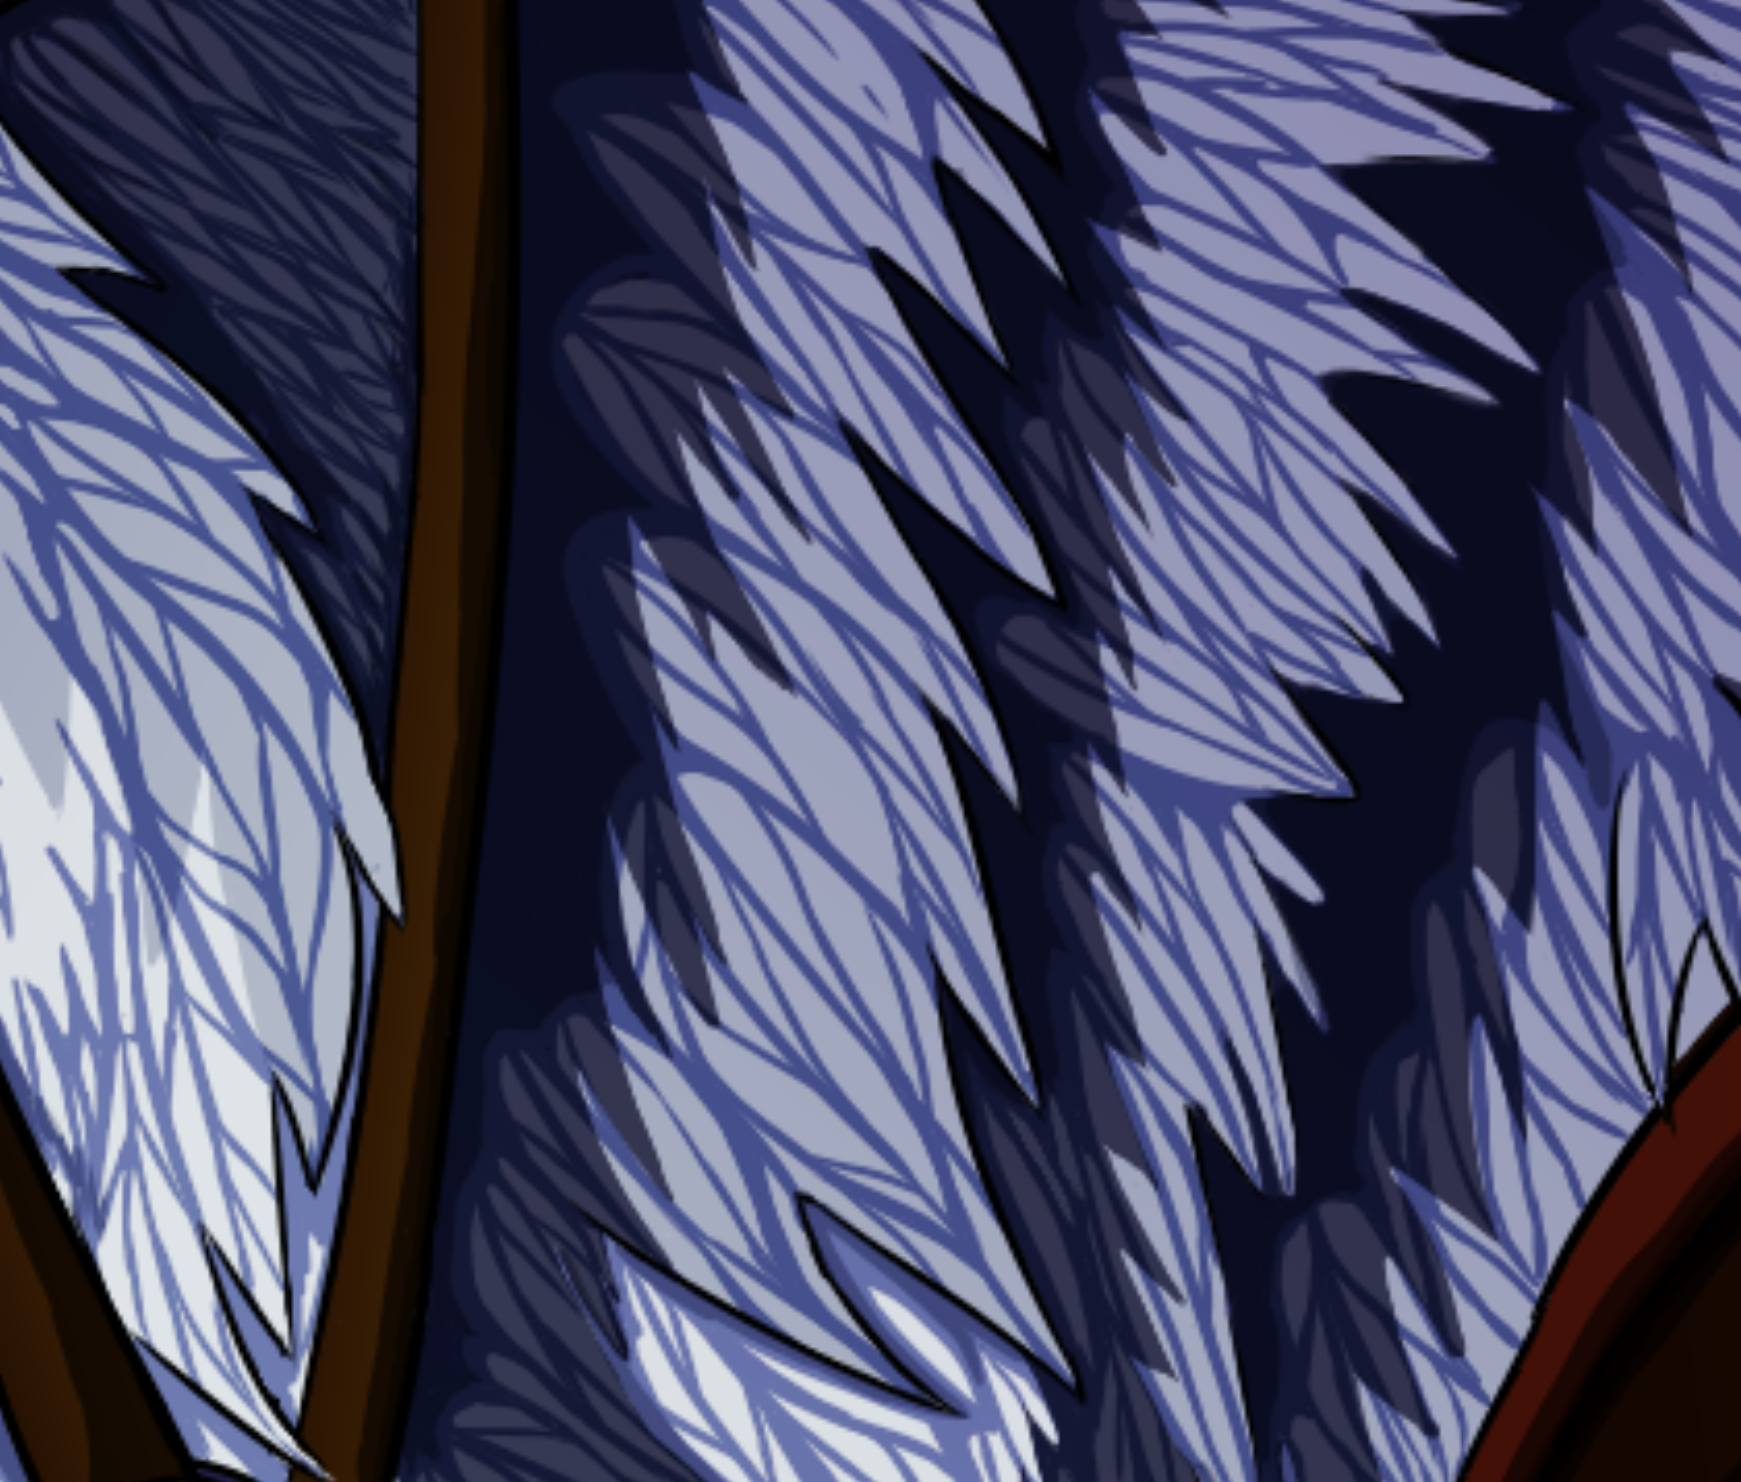
Anyways, I hoped that helped for anyone struggling with shading! Those were some tips that personally helped me get from this: (December 2018)

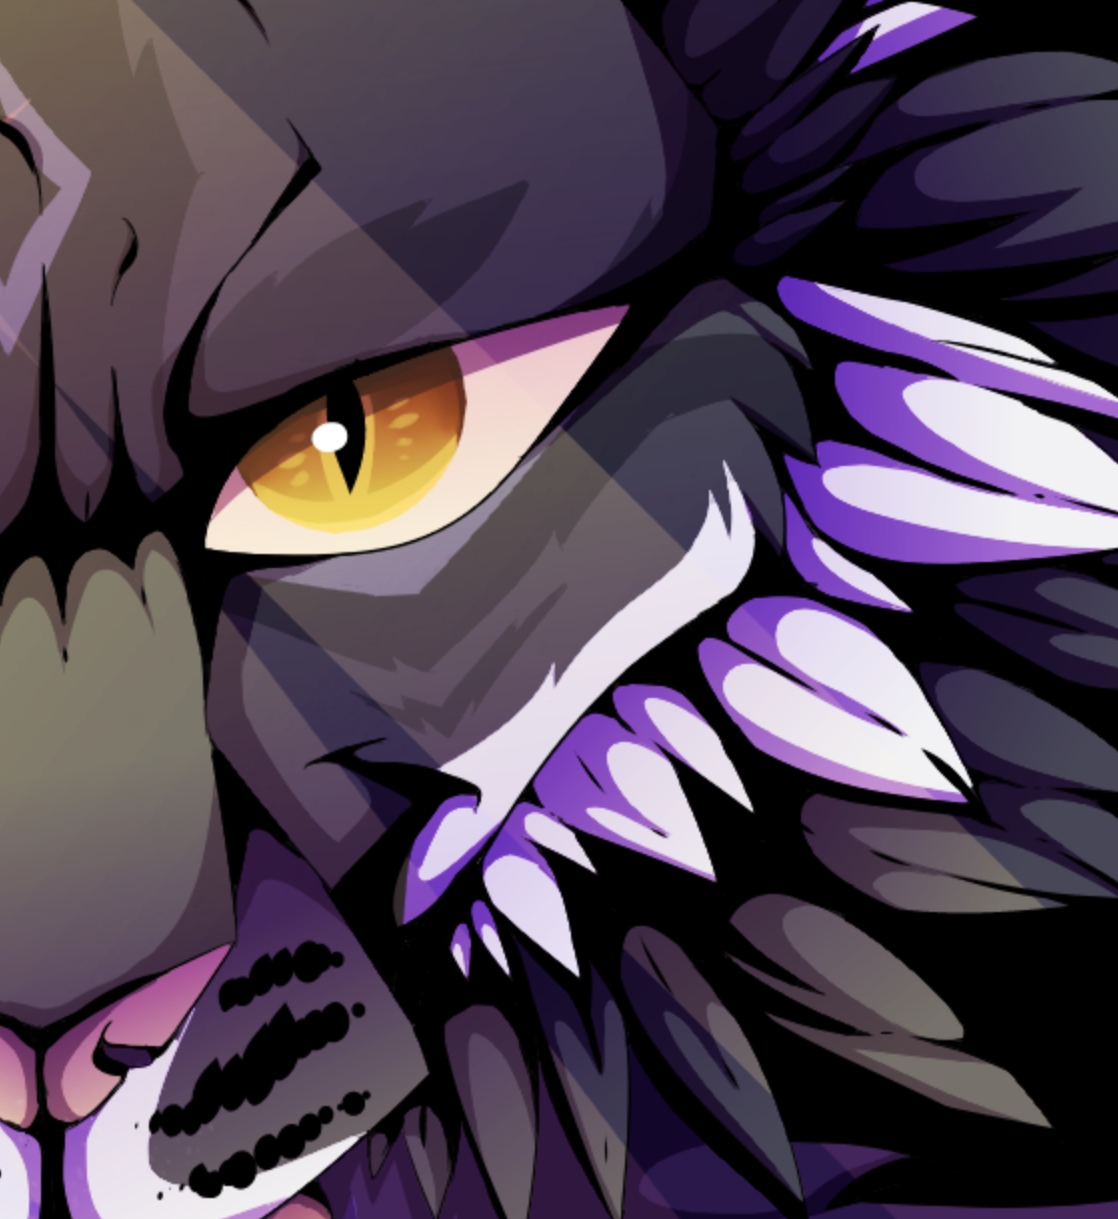
To this! (July 2020)

More tutorials coming soon! (Hopefully...) These are really fun to make lol
-Atlantiik
Bạn đang đọc truyện trên: AzTruyen.Top