ఌ hair.

Hello, welcome to my
first tutorial!
I am a bit shit at explaining things so if I go too fast or even give
too many details then feel free to ask and I will try my best to
answer them as well as I can.
I'll try to give the best step by step tutorial I can muster.
First of all:

I use different brushes all the time because if I find one then I start using
that and so on, but currently for the past few months the first two are the
ones I use specifically for hair.
They are free brushes for ibispaint x, you just have to import them
and its done. However you don't need to use these specific brushes since
there are probably thousands floating around on pinterest or google. It might
end up looking a bit different than mine but that is never a bad thing! Keep
that in mind.
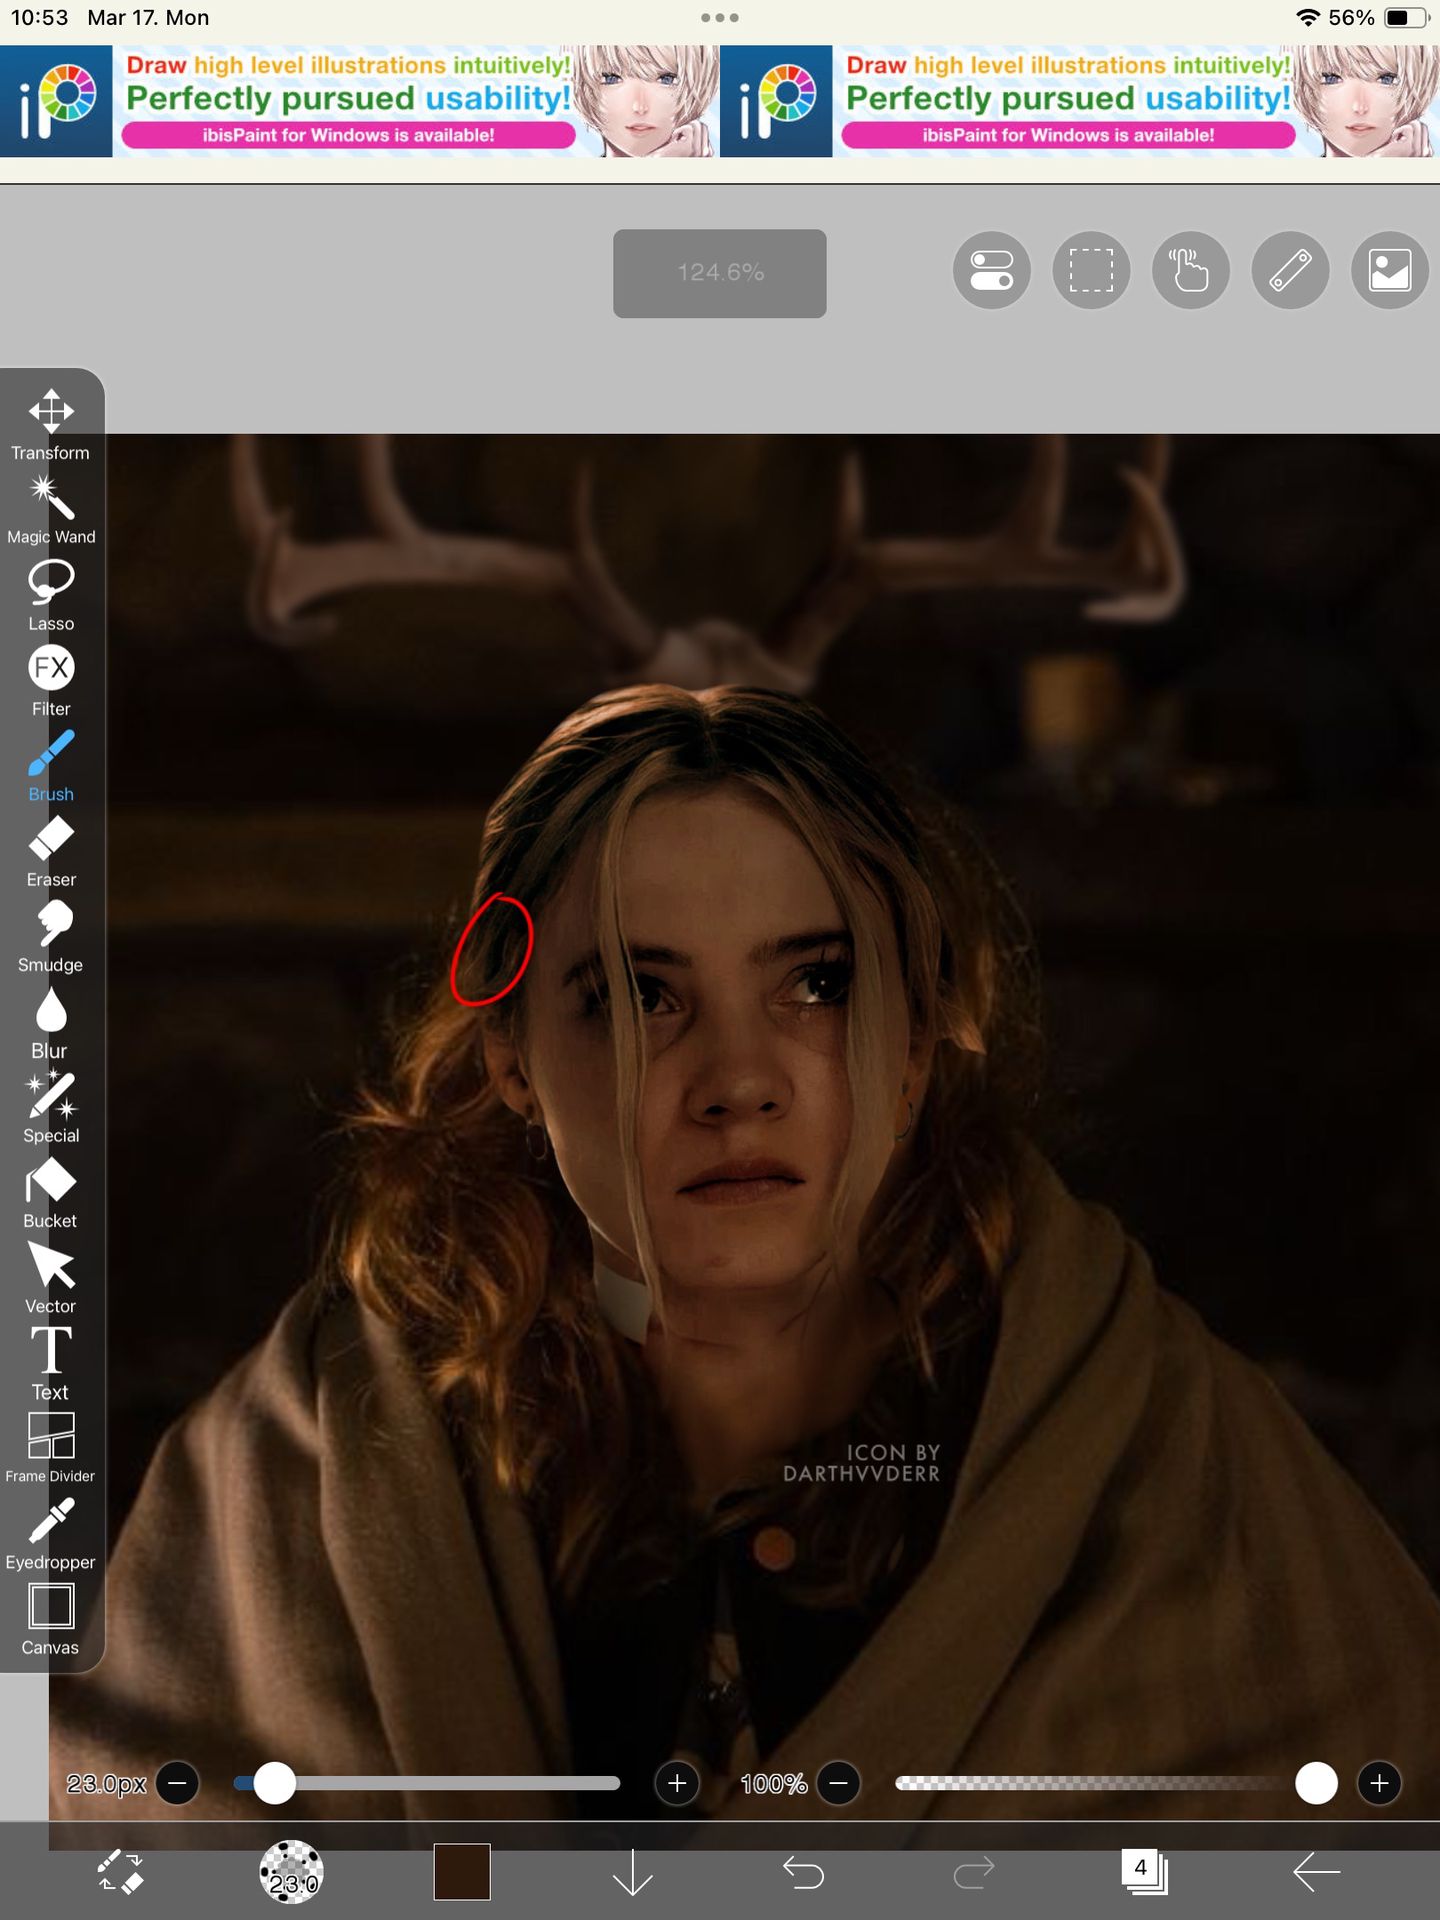
💿 step one::
So for the first step I select a medium or dark shade from the hair from
the model I use, for example I circled a part on the hair where I
would usually choose from.
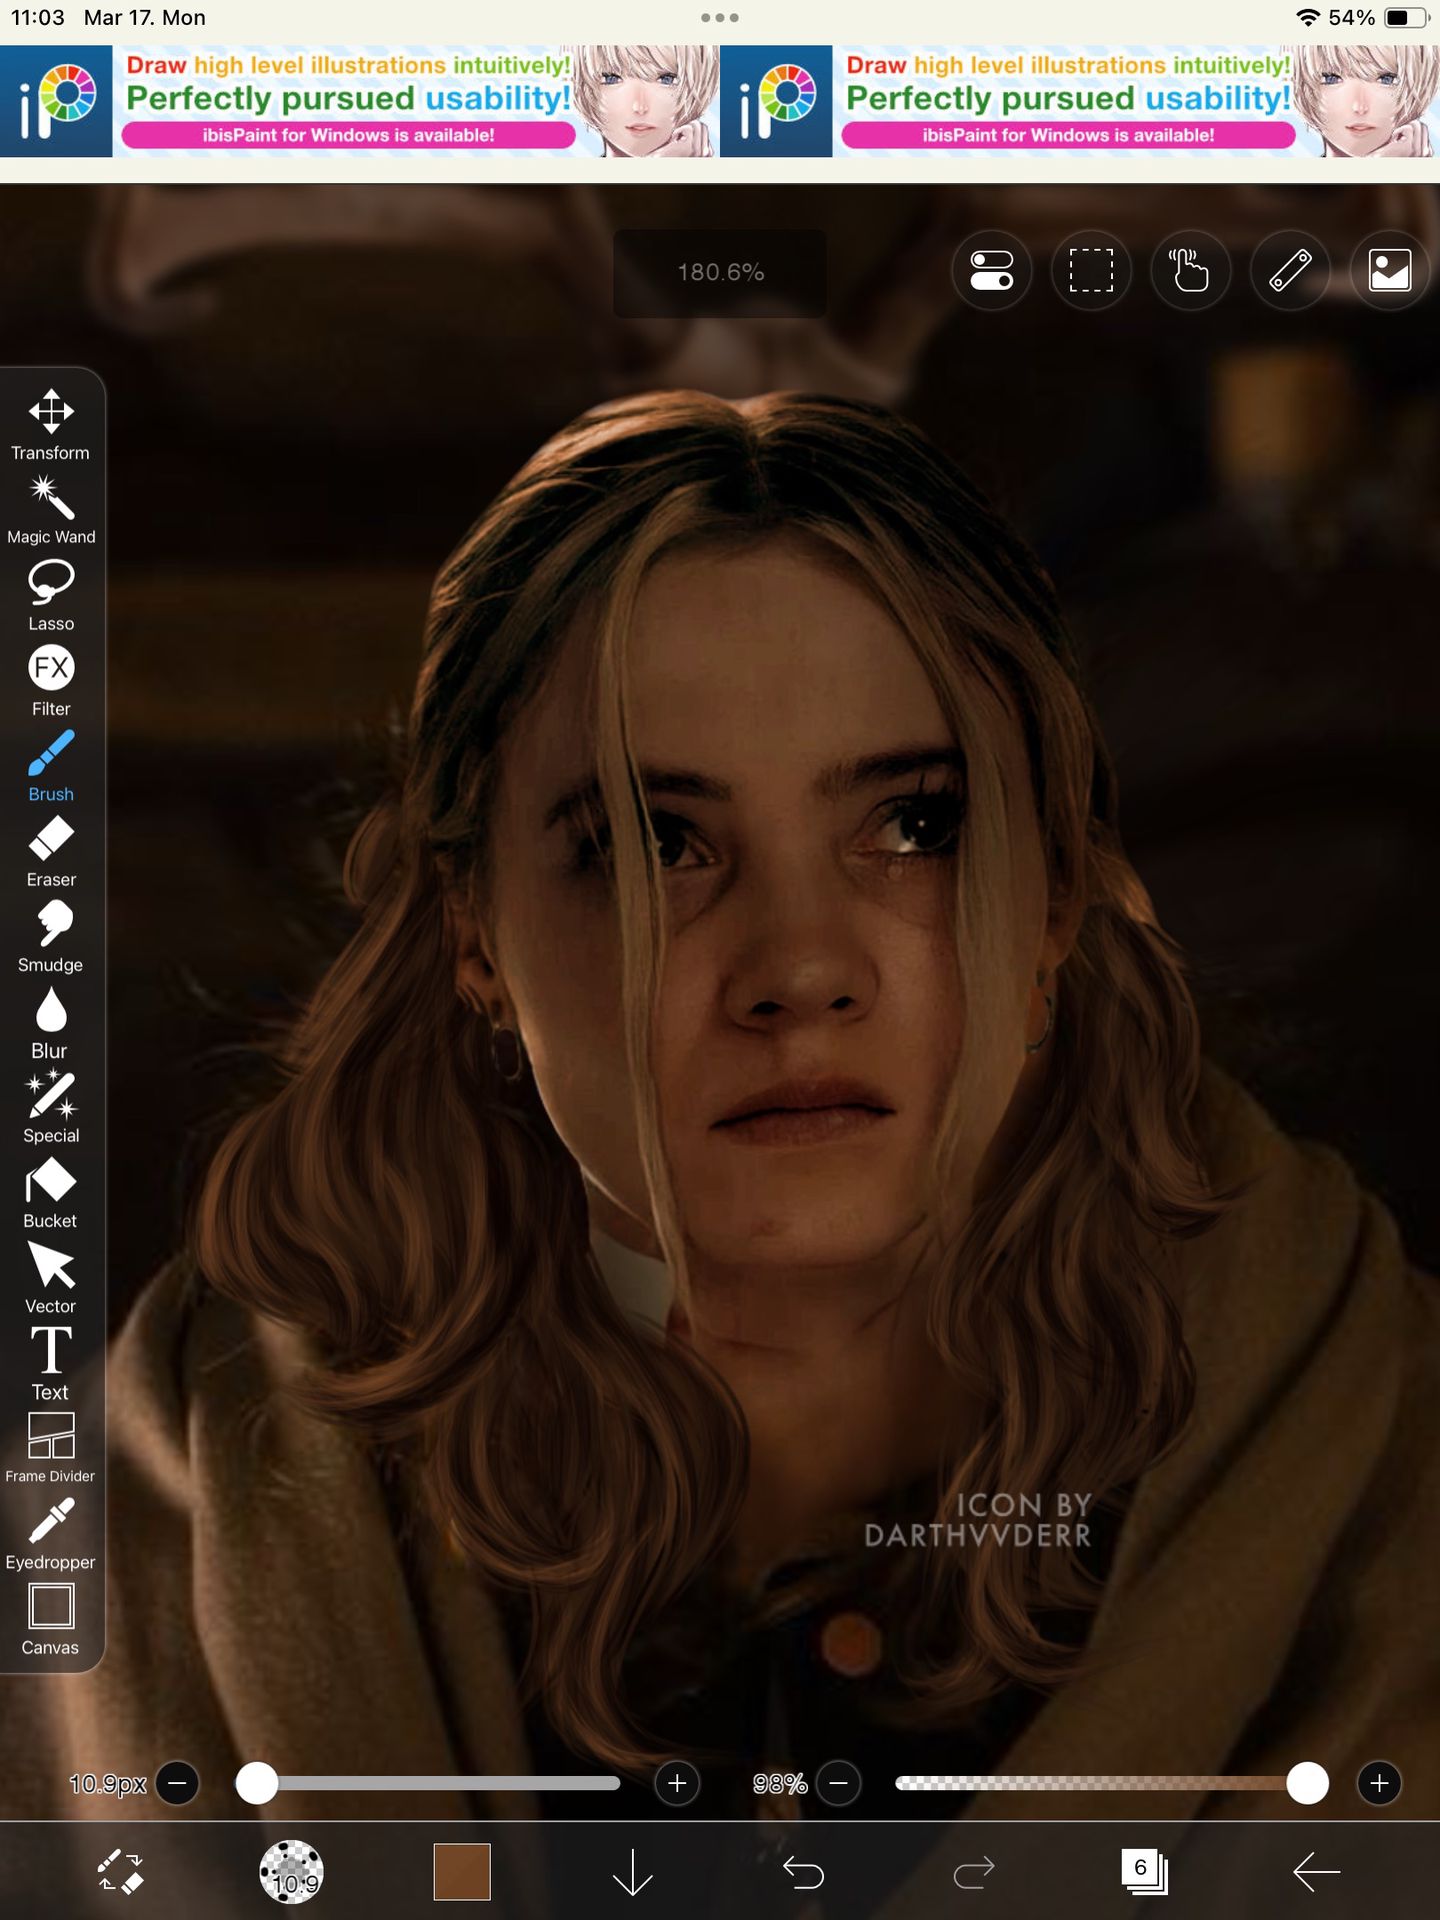
On a new layer I then begin to draw in the ends of the hair (using
the first/main brush that I listed, I use it for the first few steps I will state
otherwise when I don't), but it depends on the texture that
you want to go for. I drew some lines in to help you see in what
direction and how I draw them, for this icon I went for more of a
wavy style.
But, again, how you draw it depends on the texture you are going for.

📸 step two::
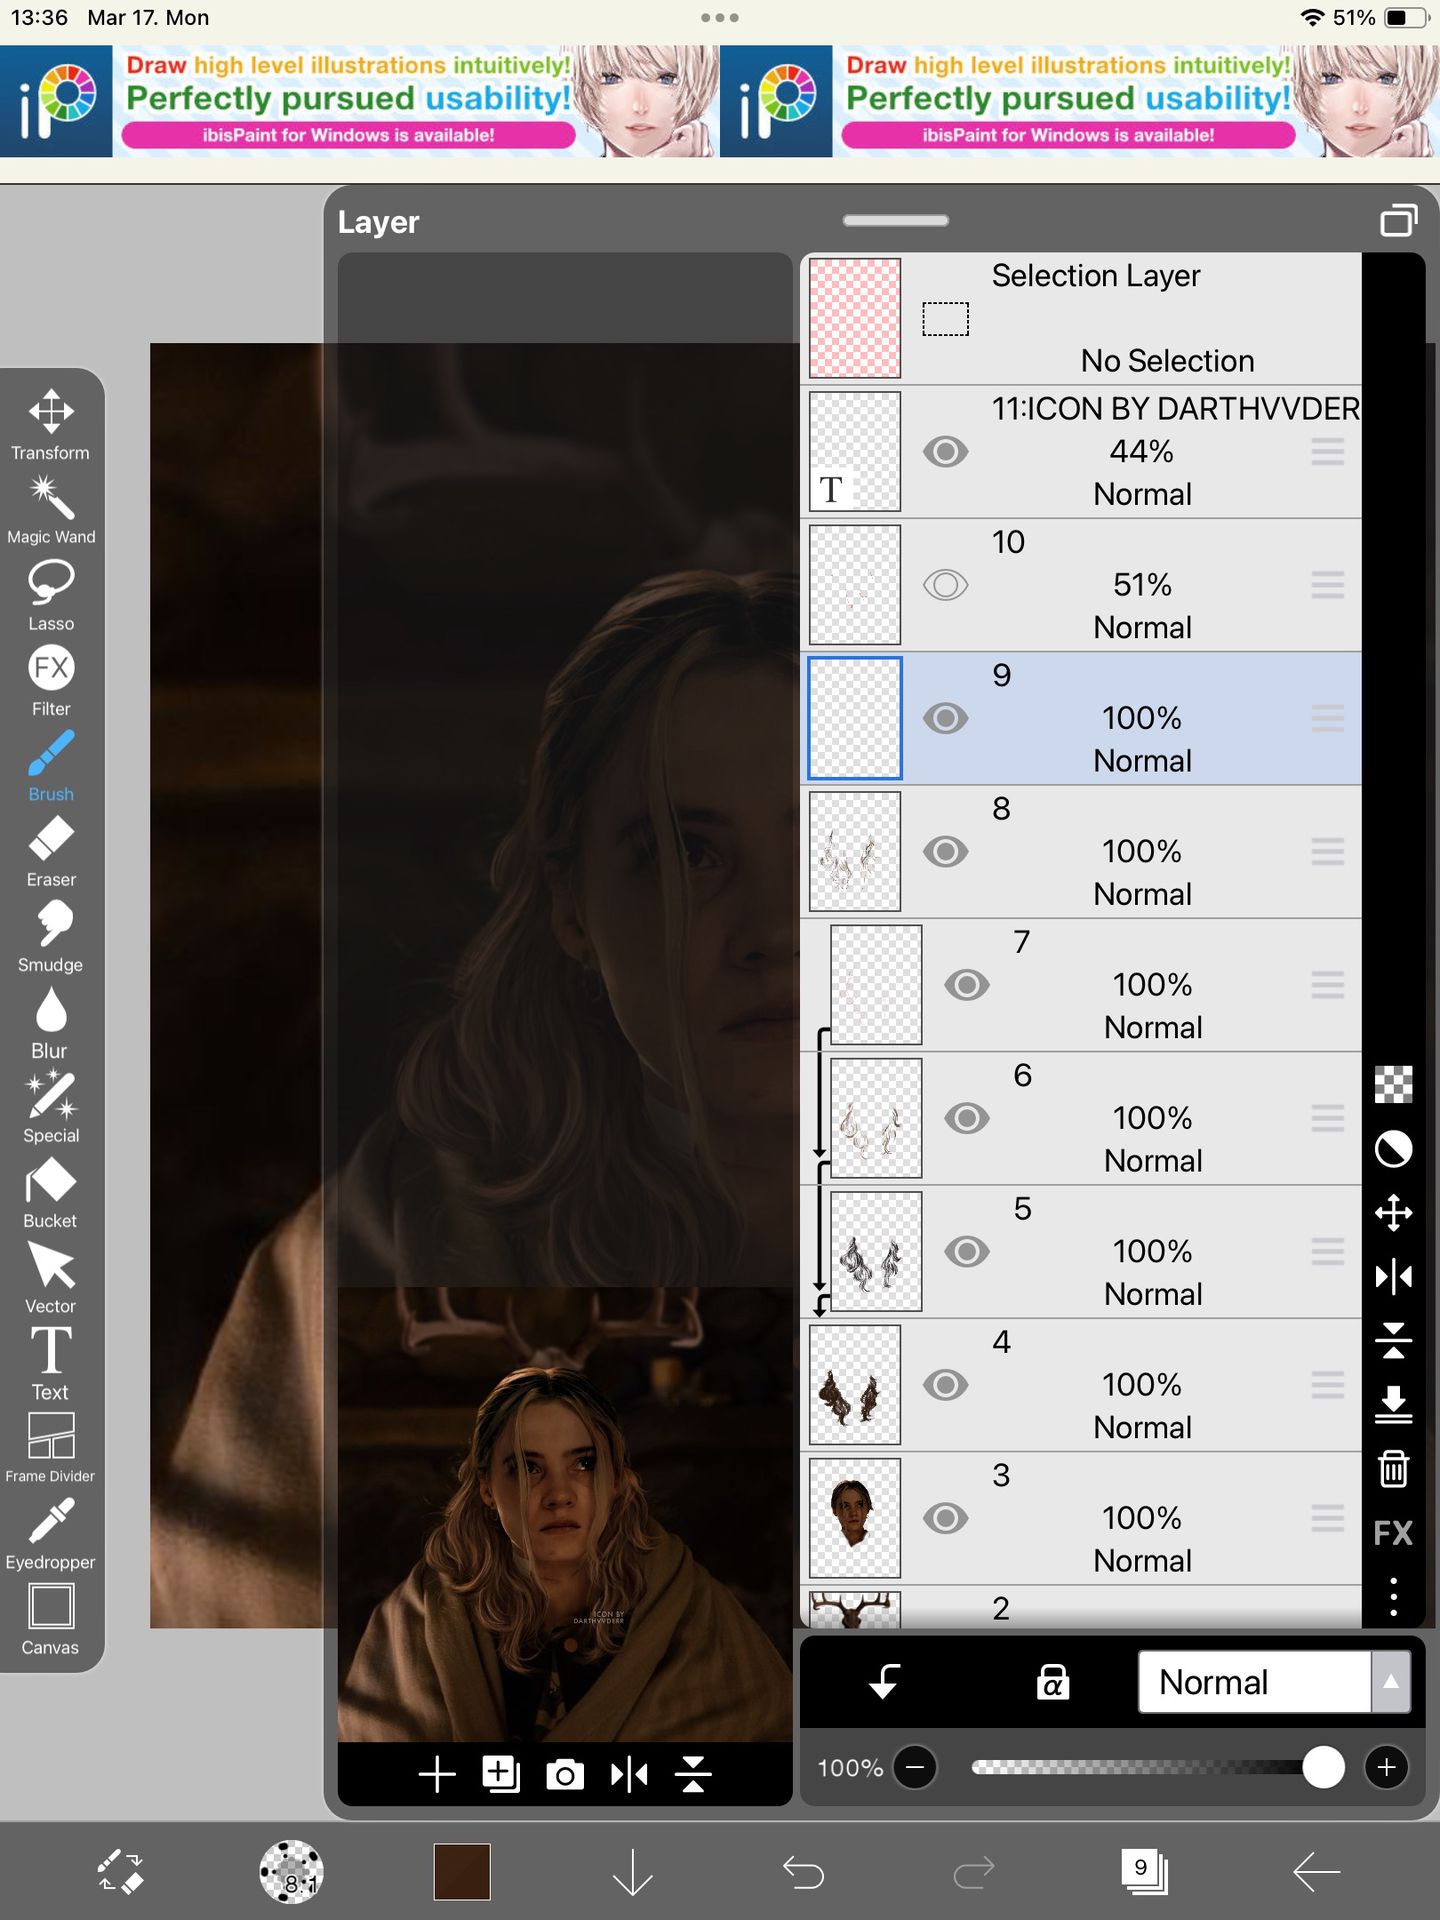
I then make a new layer,but make sure to make it a "clip"
layer (idk what it's called) so it keeps everthing within the layer
under, aka the hair that you drew.
Then using the darkest shade on the model I begin to draw in the
shadows and random strands of hair. It doesn't need to be neat as it
will be covered a bit after the next layers.


📎 step three::
I then make another layer on top of that the same exact way
as the previous one.
I select a light shade from the model, not the lightest one but the one like between a highlight and a midtone. Then following the way I want the hair to flow I begin to draw in strands of hair. Again, it doesn't need to be too neat.

💿 step four::
Once again I make a new layer the same exact way as before.
This time I select the lightest shade from the model and begin to draw
a few highlights into the hair. I drew in some red lines to show you
how exactly I placed them. Make sure to not draw in too many
highlights because then it will look a bit too crazy. Just keep it
muted, a few strands is more than enough.
AND it depends on from where the light is coming from, so for example
on this icon its coming more from the left side so I put more highlights
there than on the opposite side.

📸 step five::
Now I make a new layer, but this one is just a normal one,
nothing special. It should sit above anything else that I did before.
Here I then just draw in a few strands to blend the models hair and
the hair that I drew together, and if there were pieces of hair that
were awkwardly cut off then I draw those in aswell.


📎 step six::
So then I make a new layer, HERE I AM USING THE OTHER BRUSH,
make sure to adjust the settings aswell that I listed at the start.
I then constantly colour pick shades from the hair to fit the light and
randomly draw in some strands, you might need to adjust the size
of the brush depending on how small or big you want them to be.
I draw them around the sides of the hair and randomly across the main
body of hair aswell to give it a slightly messier look. You can keep it
minimal or you can go crazy with it, again it all depends on the
look you are going for.

💿 step seven::
The last step, it is optional, I make a new layer under the hair/model, and
I set the blending mode to multiply.
Using the AIRBRUSH I draw in two blobs of shadows underneaty the
hair with a dark shade that I colour picked from the clothes. Then I
lower the opacity of that layer to match my preference.


💿 And you are done!

I hope it was helpful and that my explanation
wasn't that horrible lmfao, but yeah feel free to ask any questions if I
wasn't clear or was confusing! I'll answer asap.

Bạn đang đọc truyện trên: AzTruyen.Top