Design Tips | Segment One
Welcome to DESIGN TIPS | SEGMENT ONE!
It's Duskie here, and we'll be starting out by learning about Sketchbook, a program I use for drawing, for the first few segments.
-
Alright, so today we'll be creating a base.
My definition of a base in graphic designing is the background image that you use. This image was drawn digitally using the app AUTODESK SKETCHBOOK. I use the free version of this because I'm broke, but there's a premium version available for subscription too. Now I personally don't draw my bases very often because I use a laptop and it's hard to be artistic using a trackpad.
Okay, so first let's go over the panels of Sketchbook.
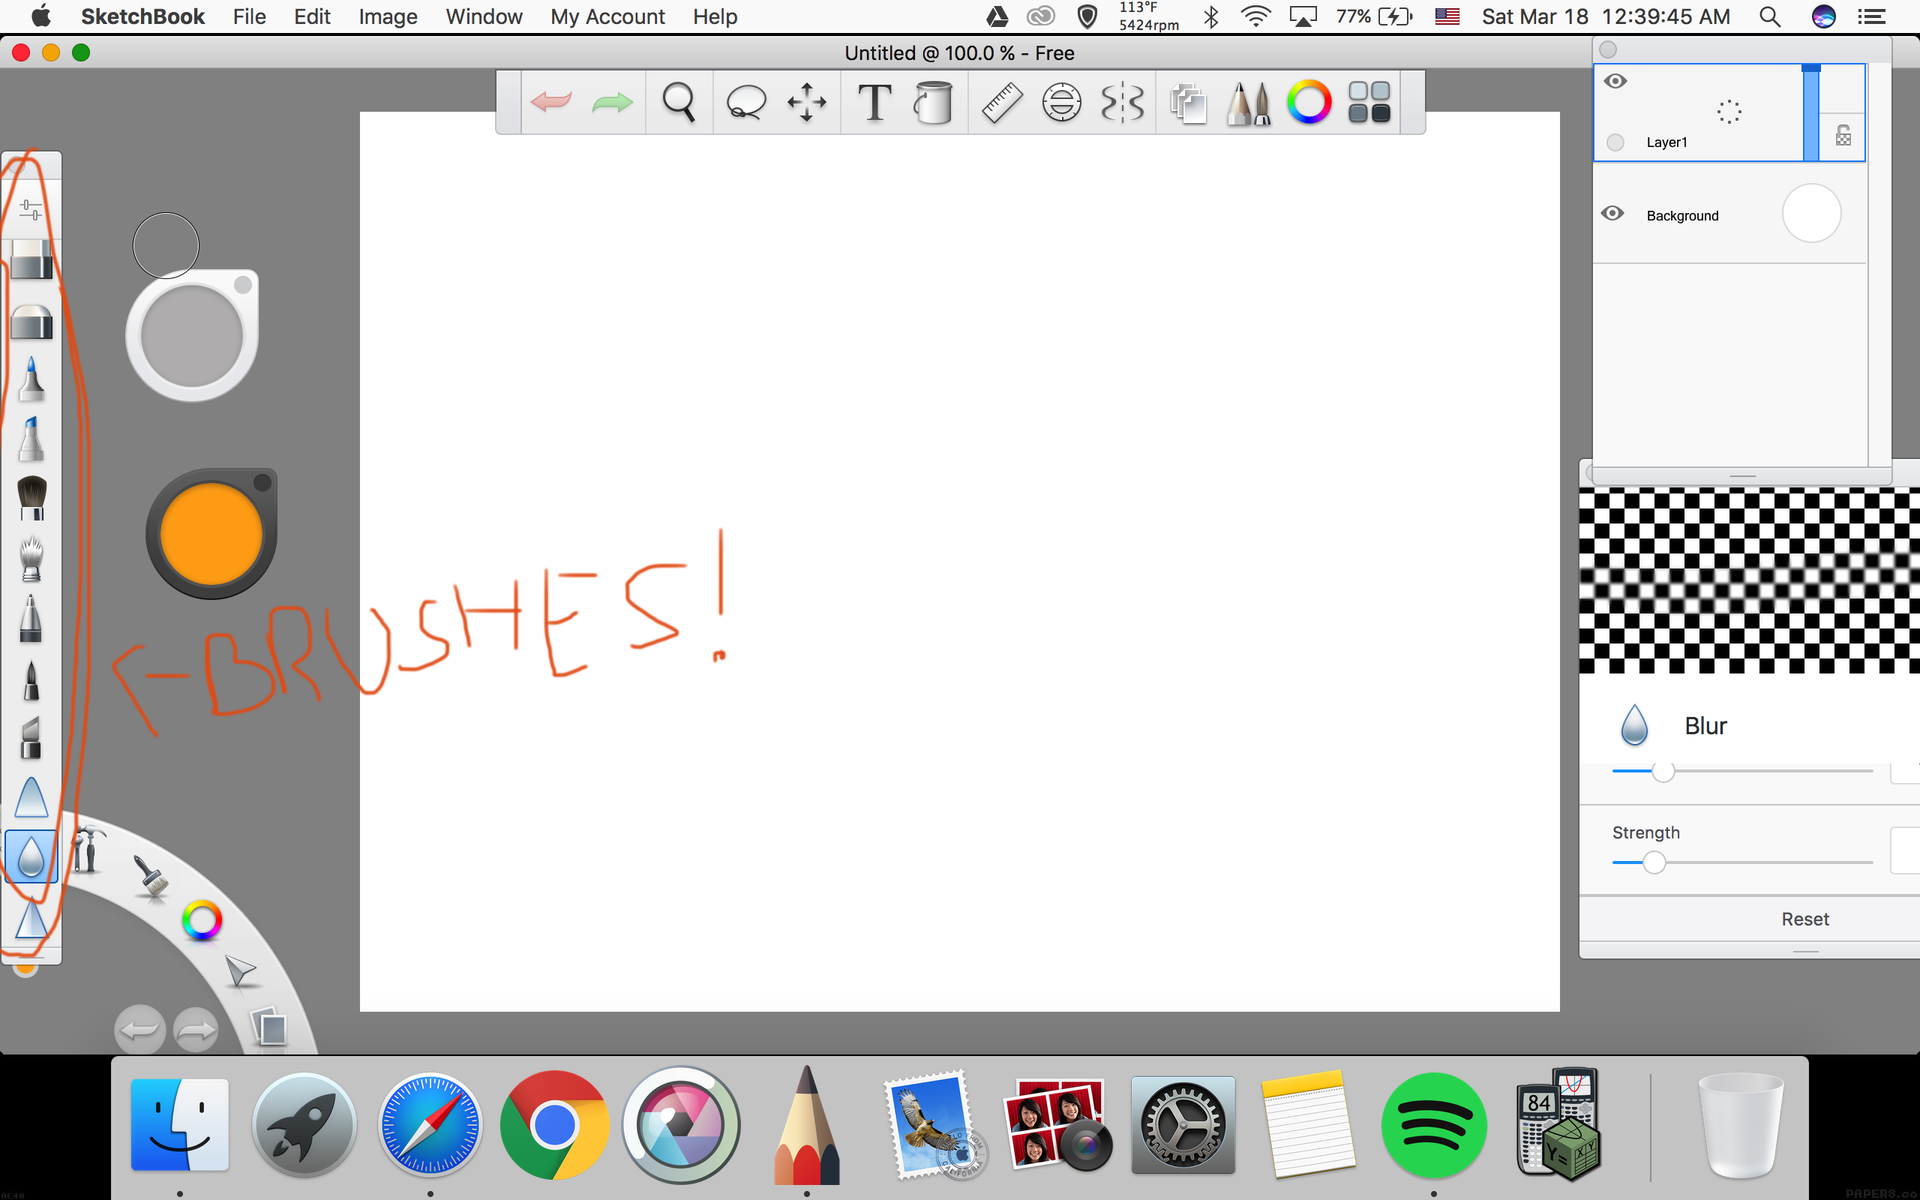
Here, I've circled the Brush Selection panel. Apologies about the terrible handwriting - yet again, I'm using a trackpad here. There aren't too many great options available to you as a free user - they won't let you download the cool new ones or anything like that - but there's a few that aren't bad. The ones I tend to use the most are the Synthetic Round Bristle Brush and the Smudge Web Brush. The bristle brush looks like this when used:

The smudge brush is used for, well, smudging. It looks really cool when used after the bristle brush:
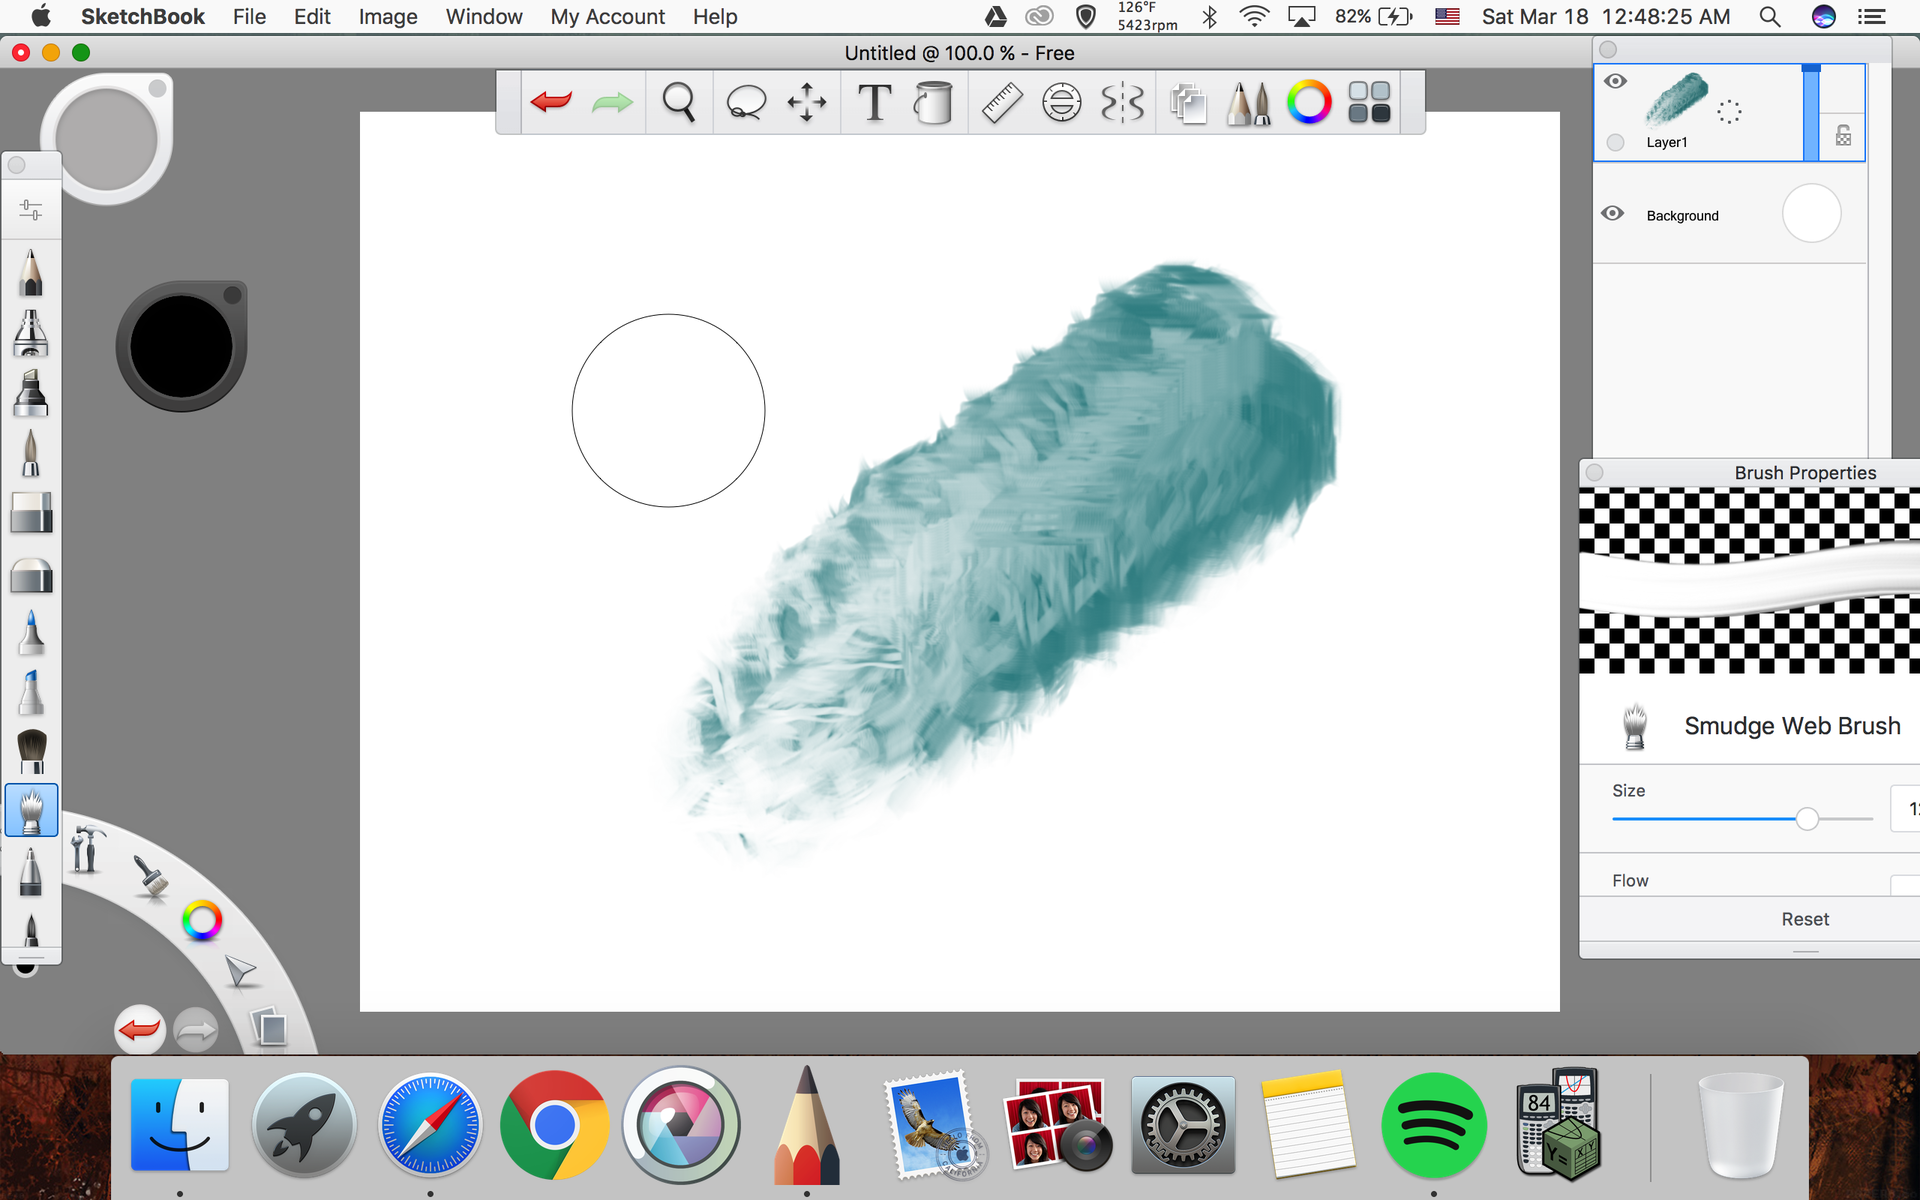
With some work, it'll get cooler and cooler.
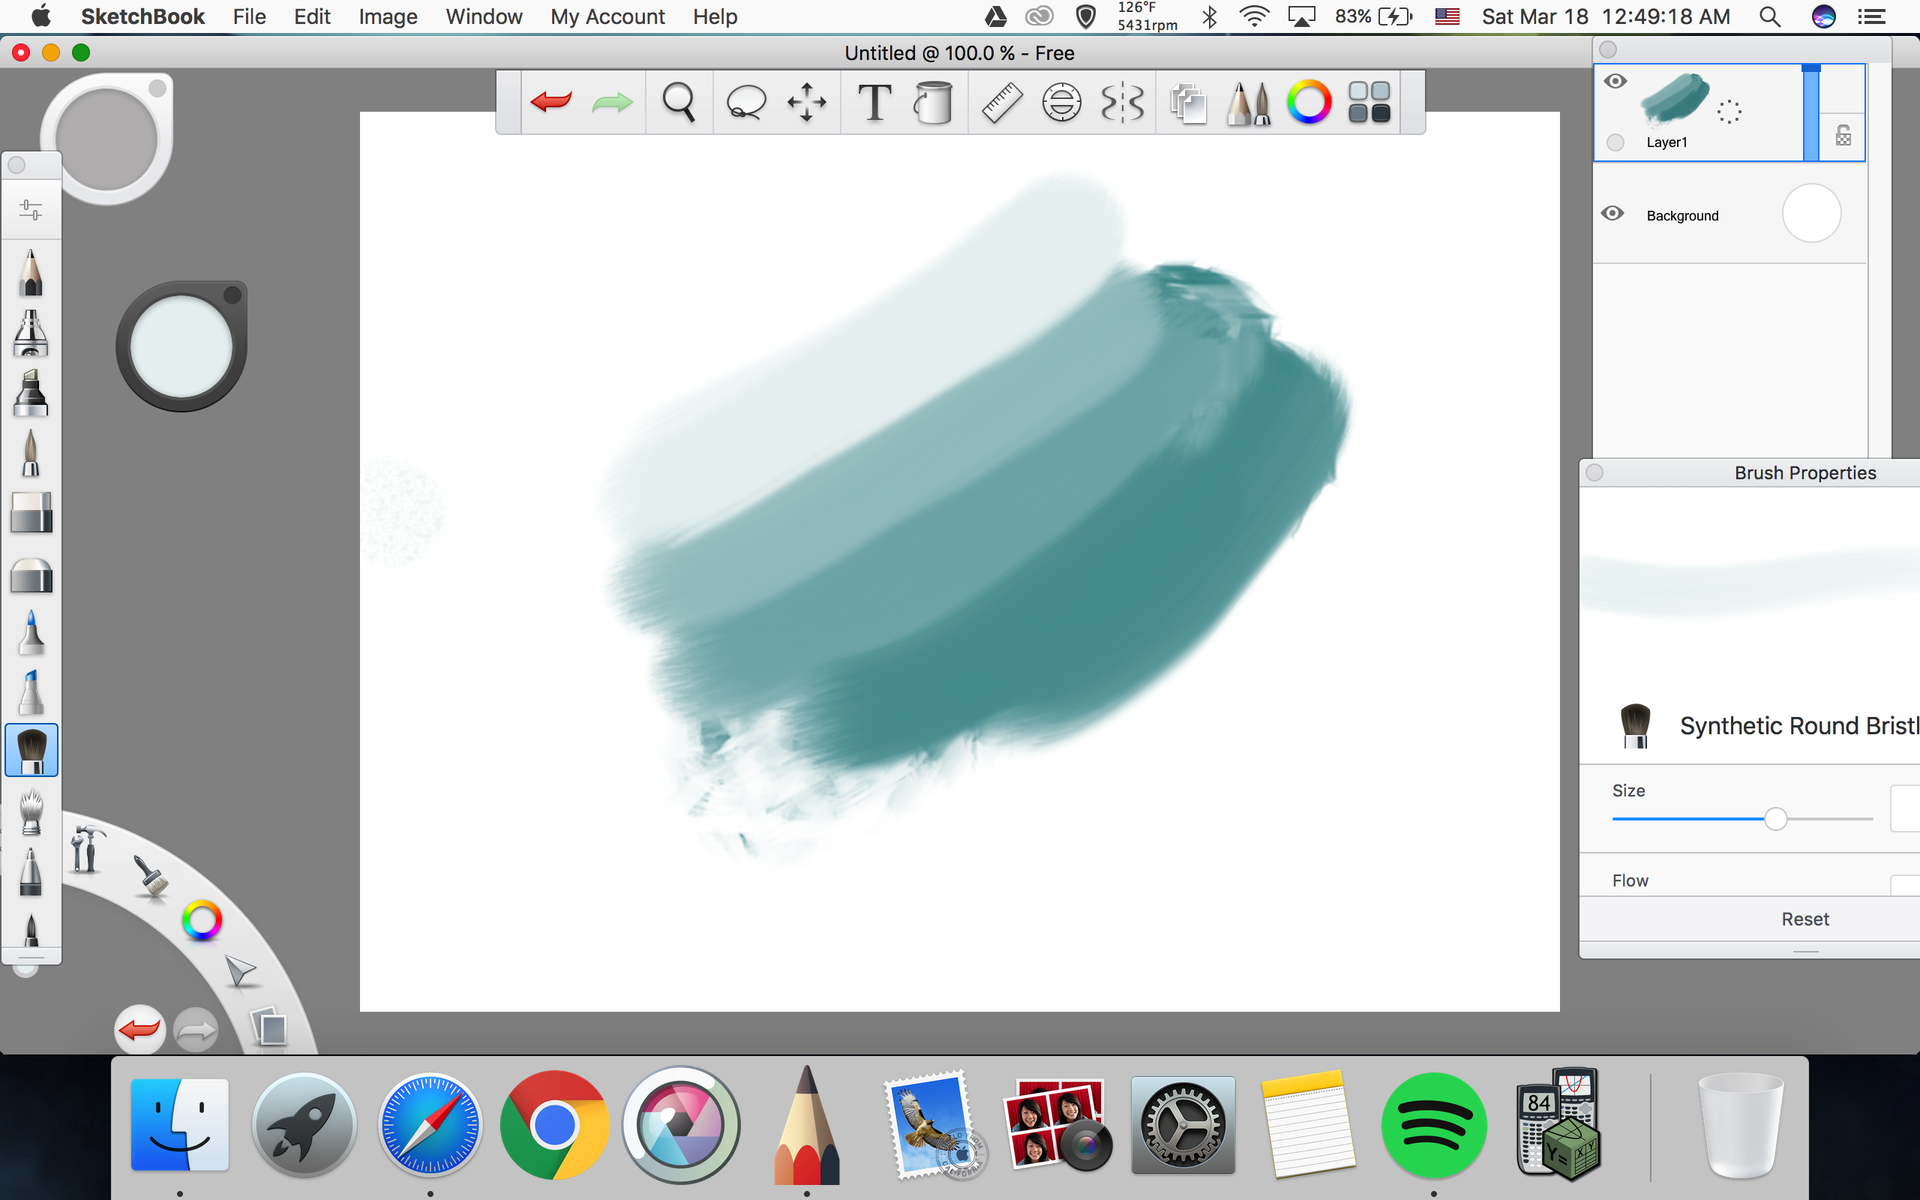
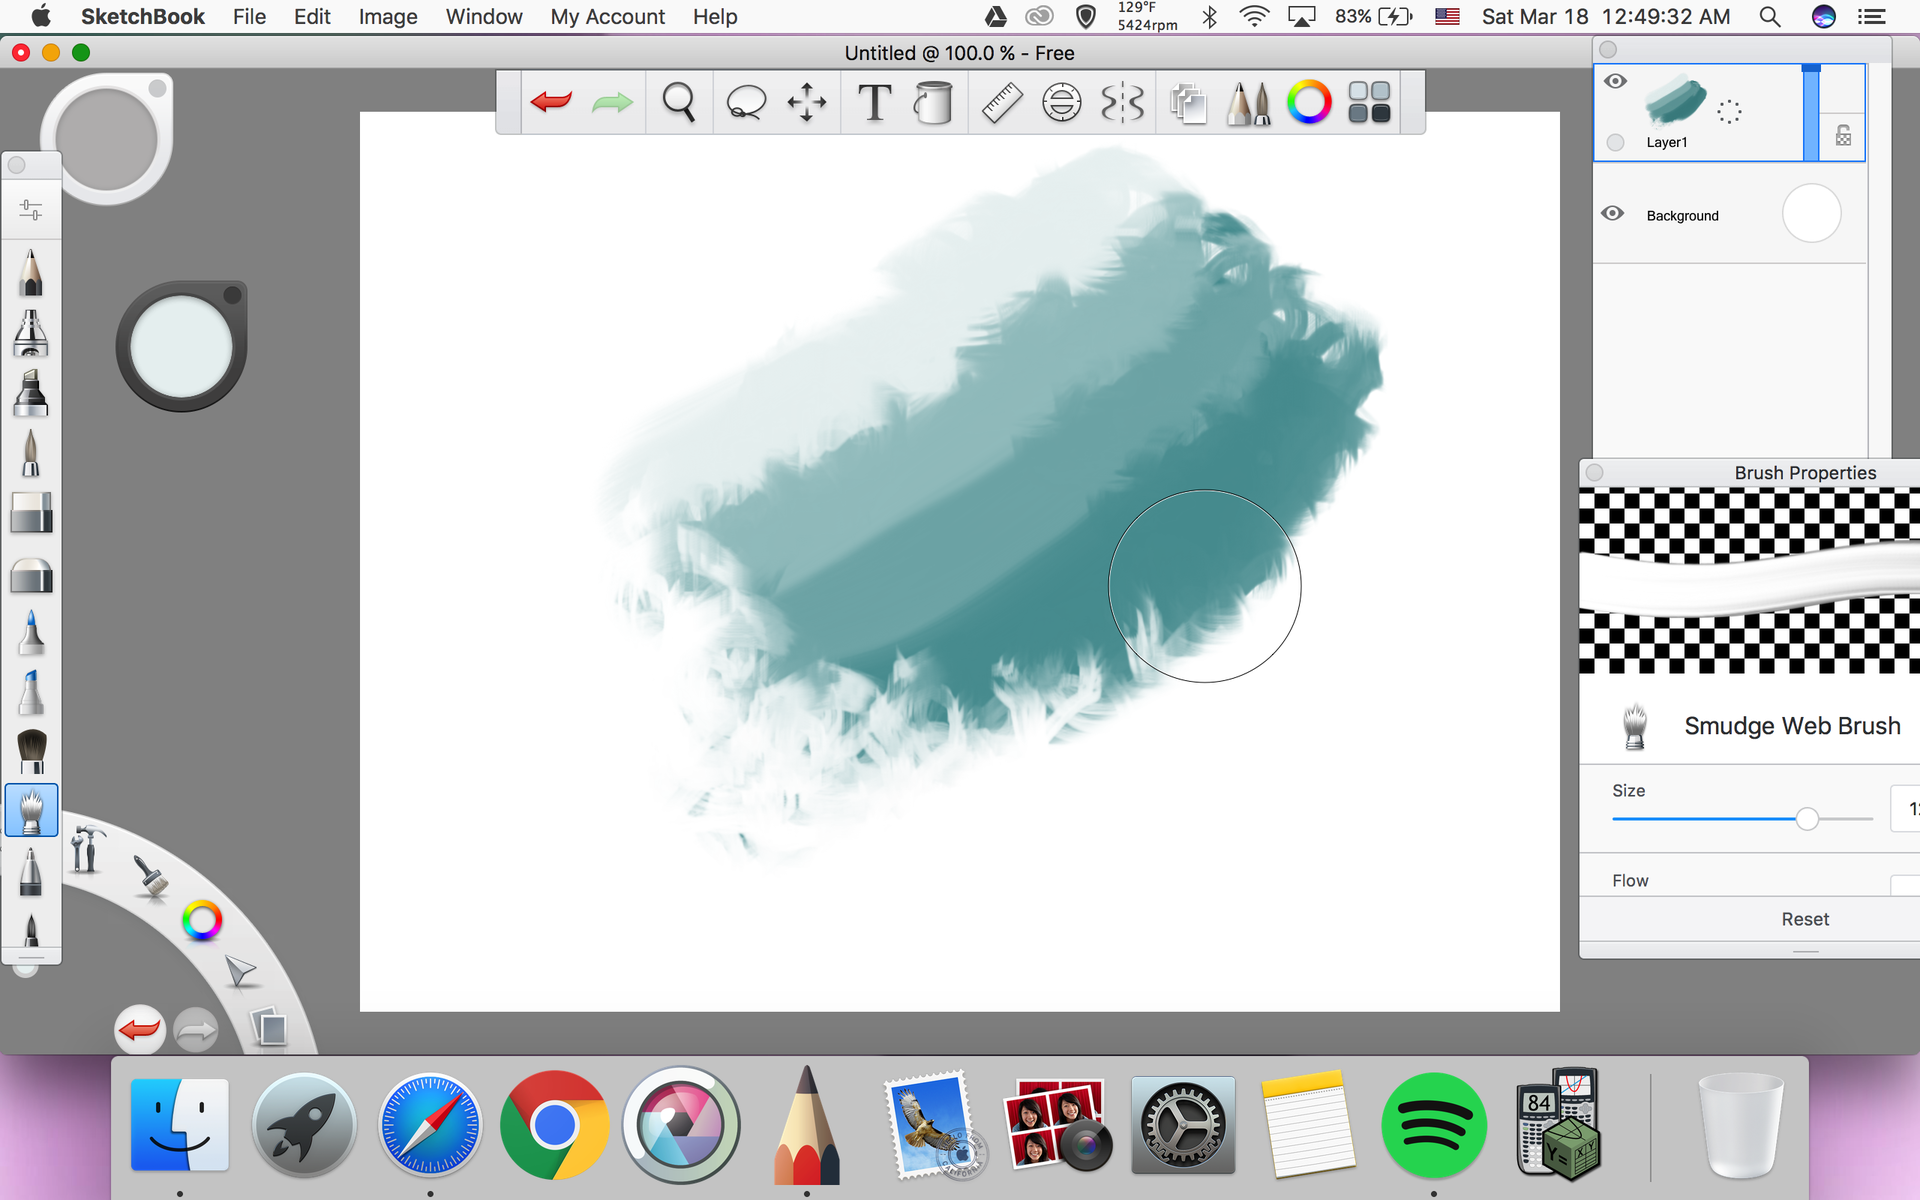
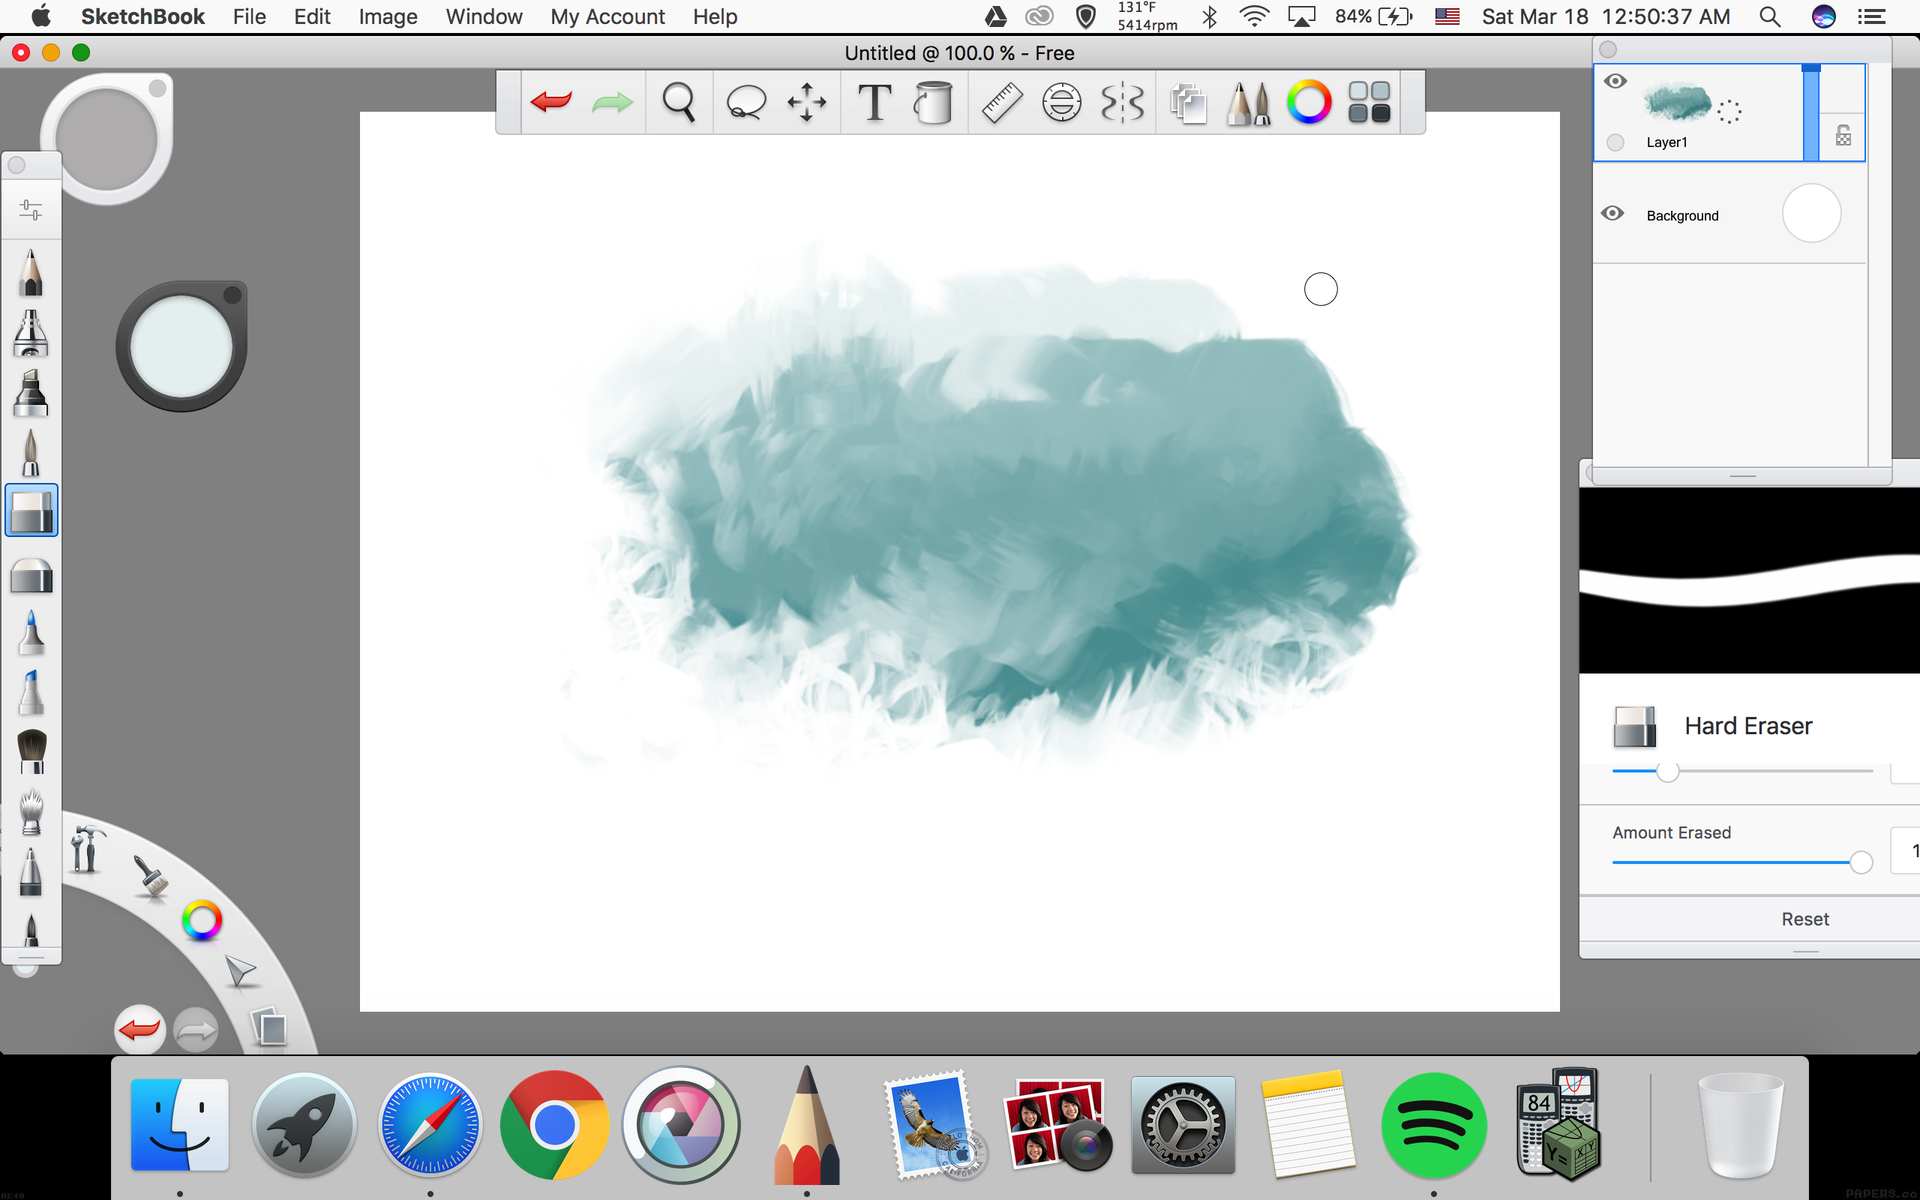
Tada! A cloud is created. There's more brushes we can explore, and more detailed instructions about them, but let's move on for now and leave those to other segments. This is the layers component.
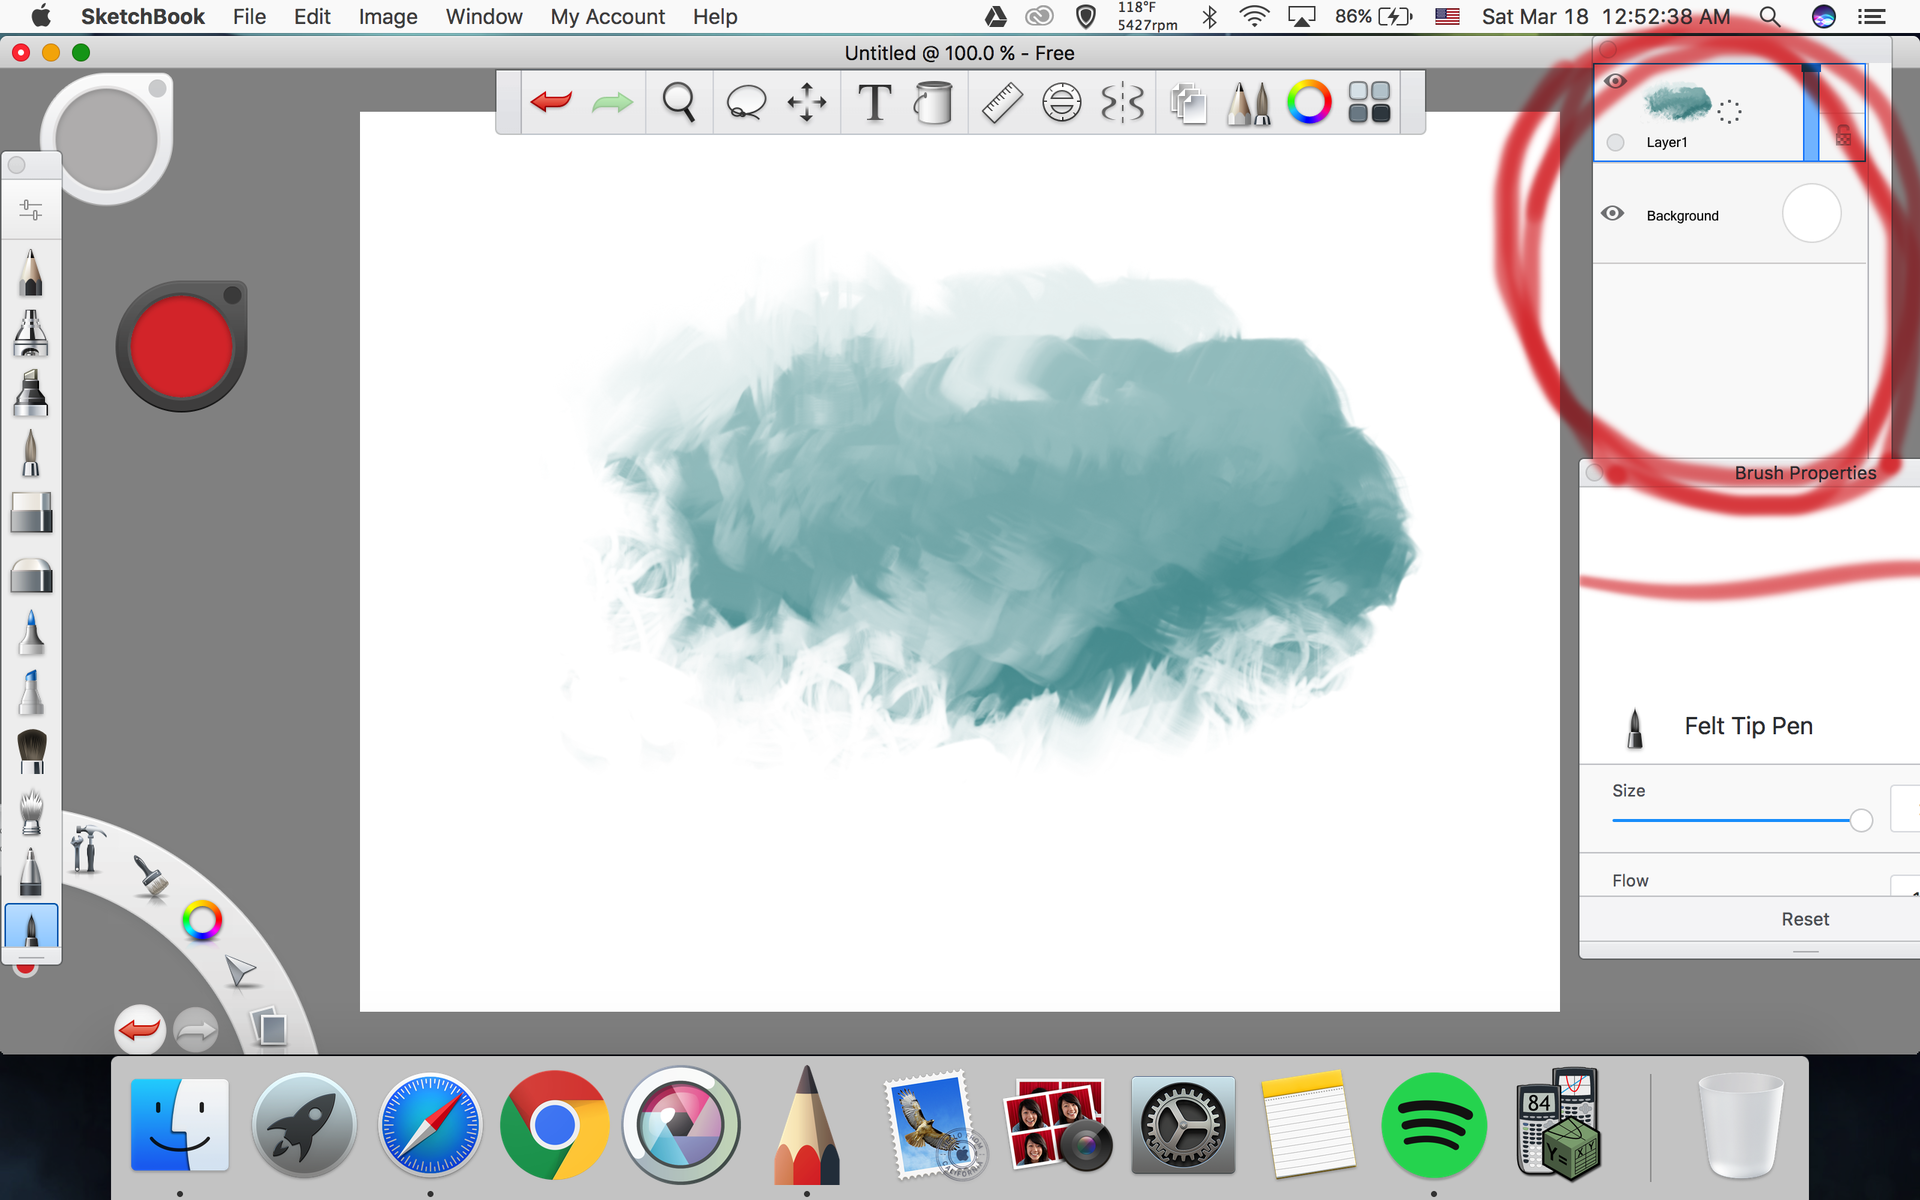
Layers allow you to draw backdrops and duplicate drawings. Let's say I wanted a backdrop for this drawing.
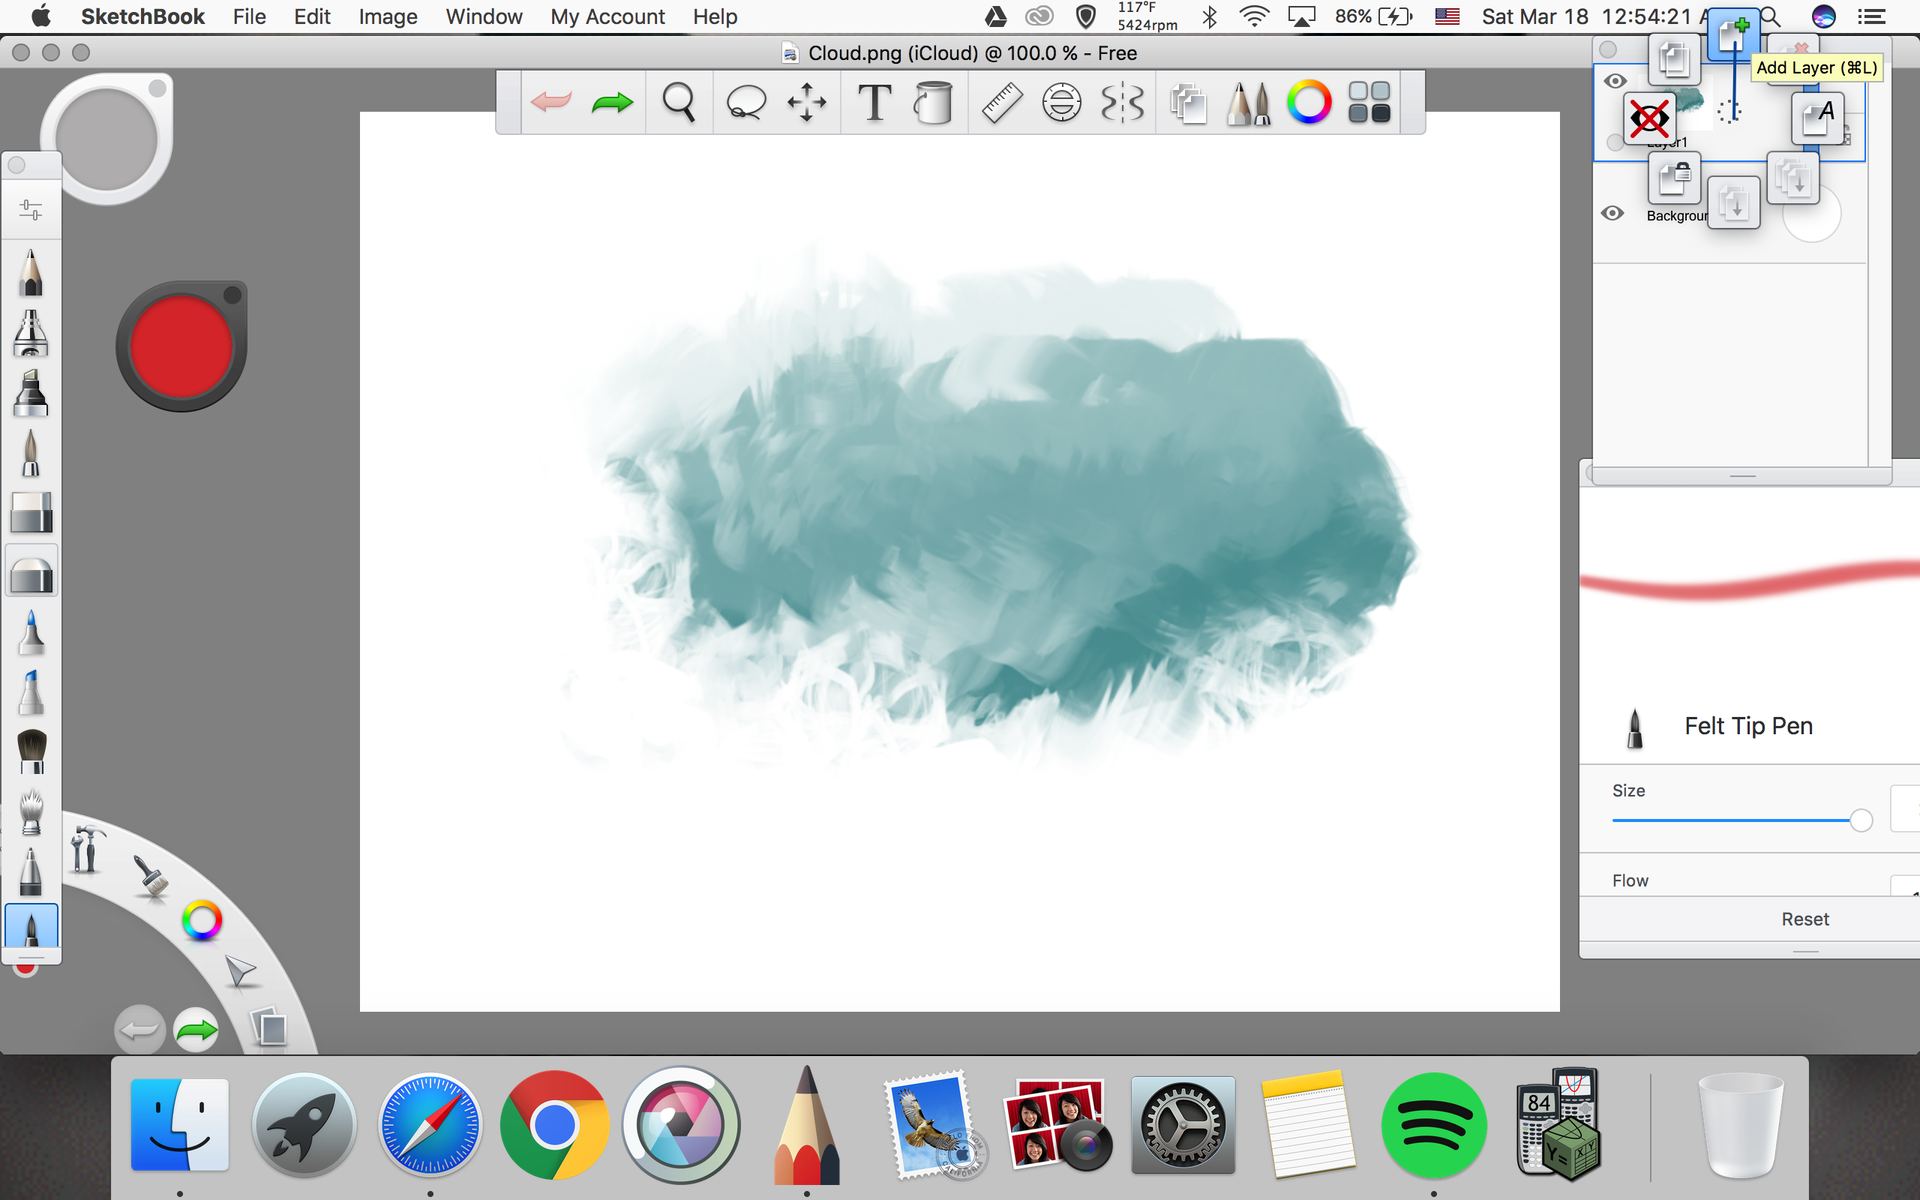
First, I'm going to select "Add Layer". Note that as a free user, you can only use up to three layers at a time. Another layer has been added:
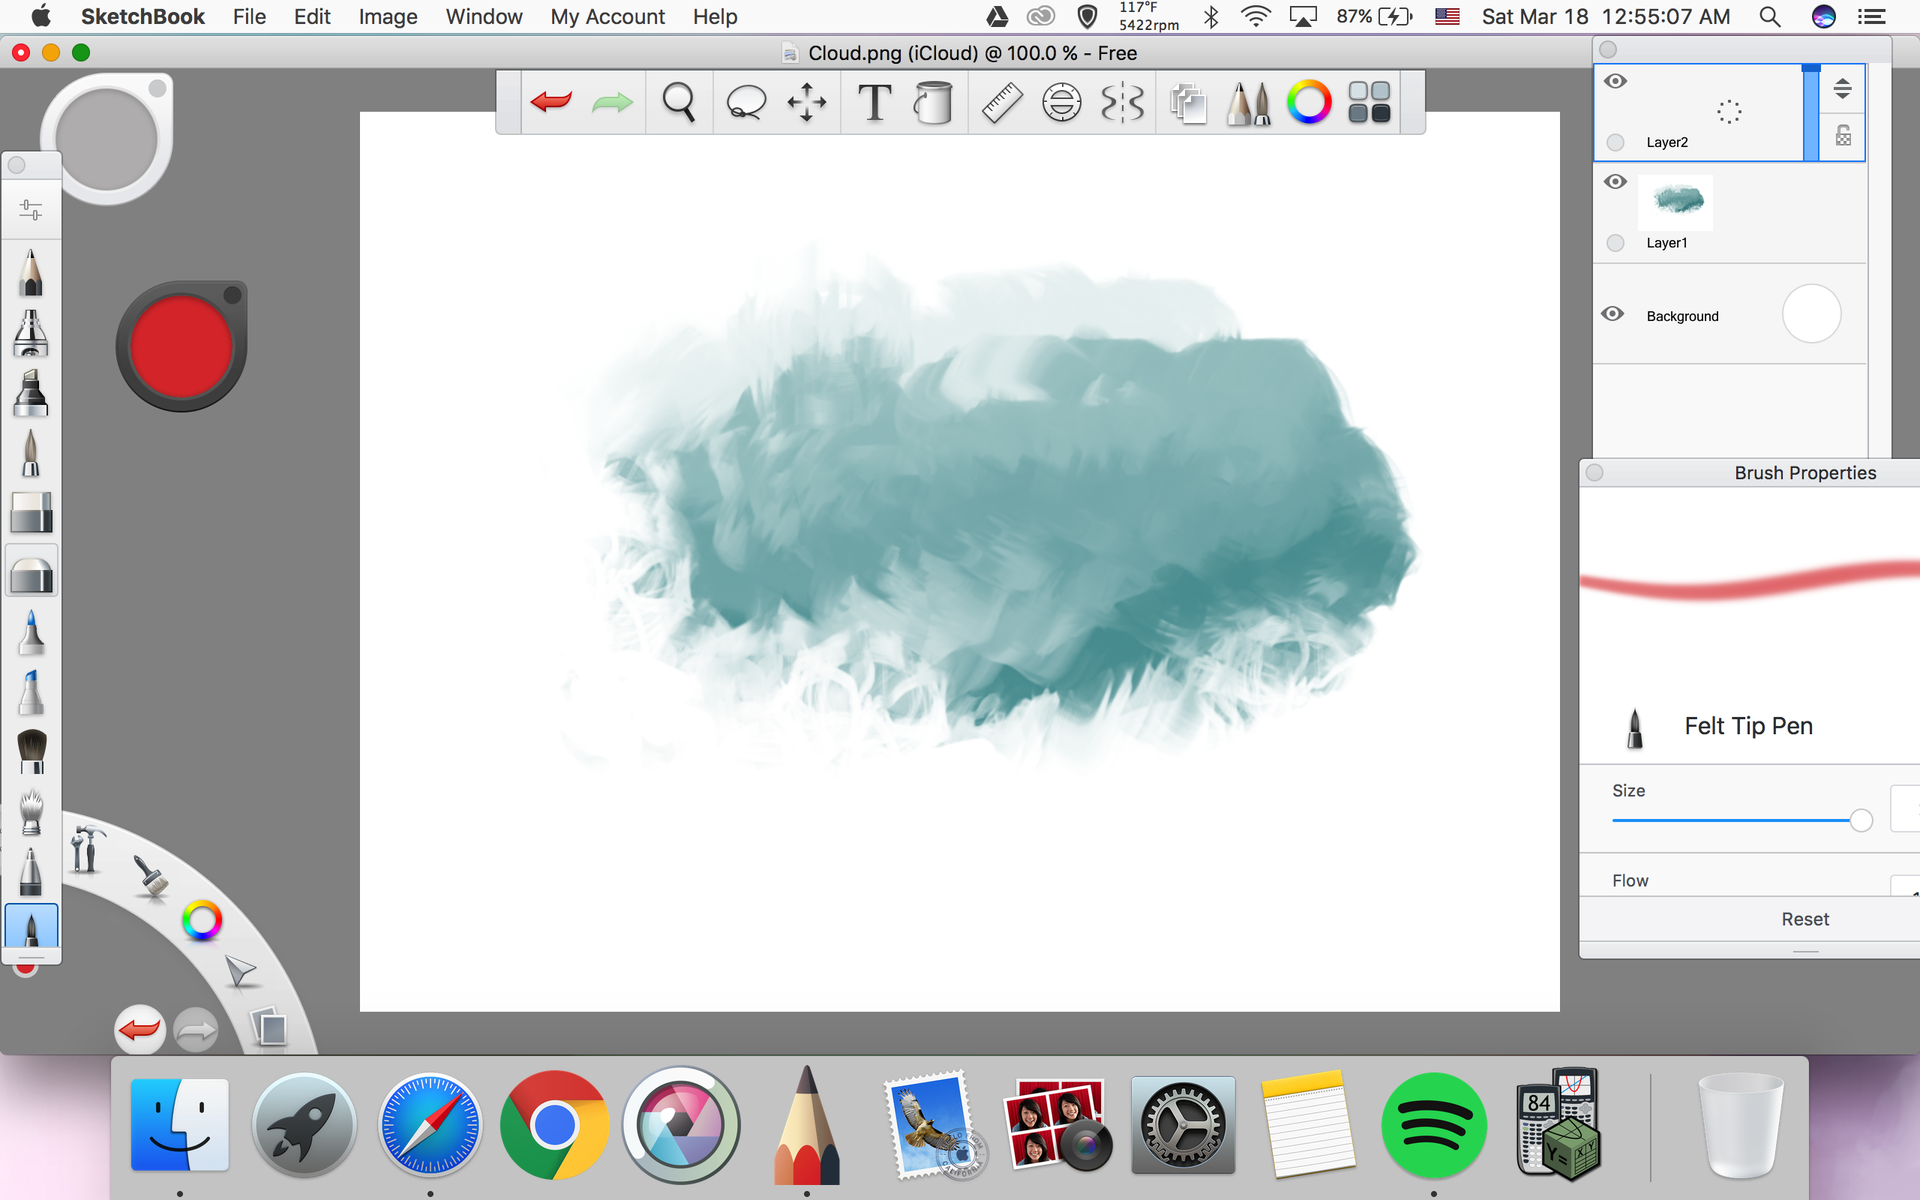
If I'd like, I can click on the eye button on Layer 1(with the cloud) to hide it.
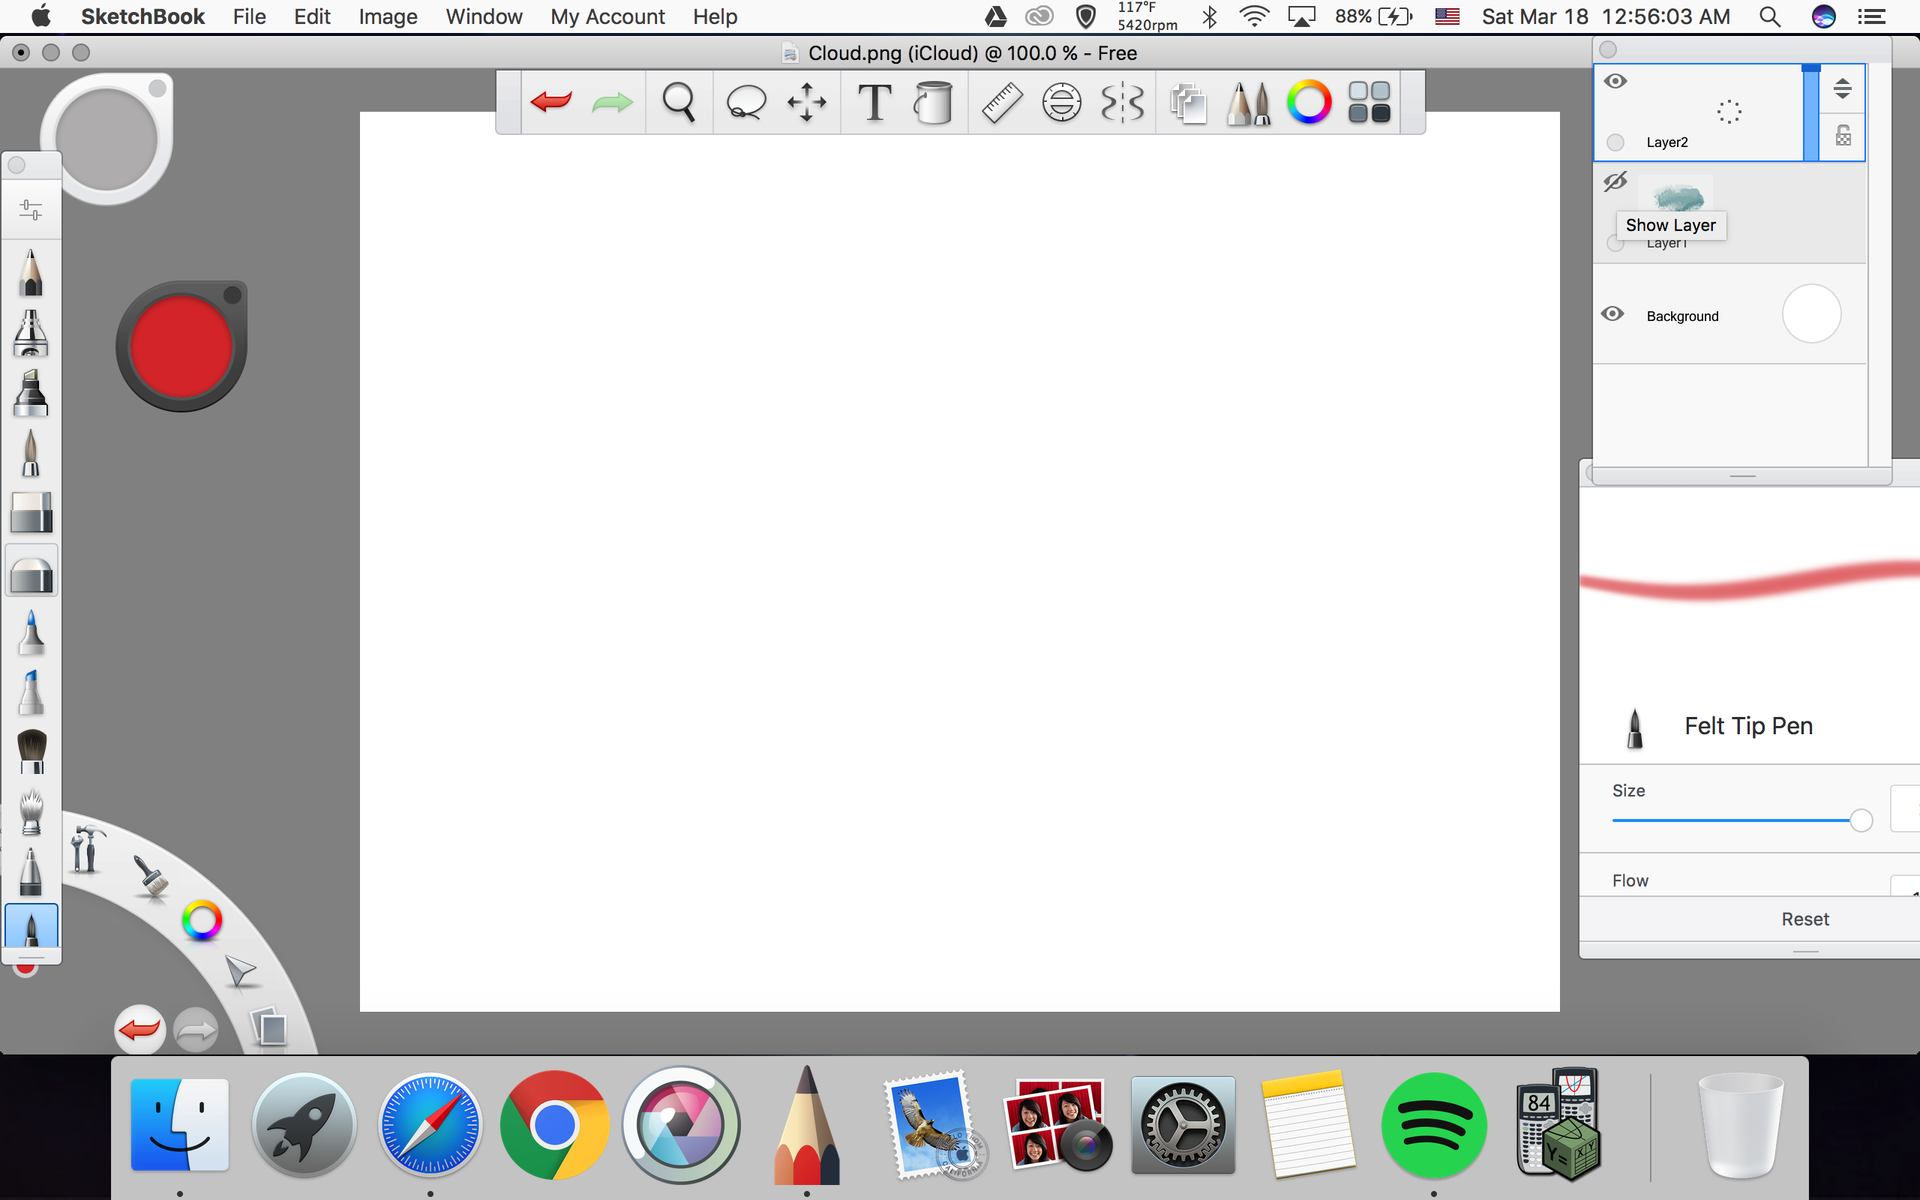
I've drawn a basic backdrop:
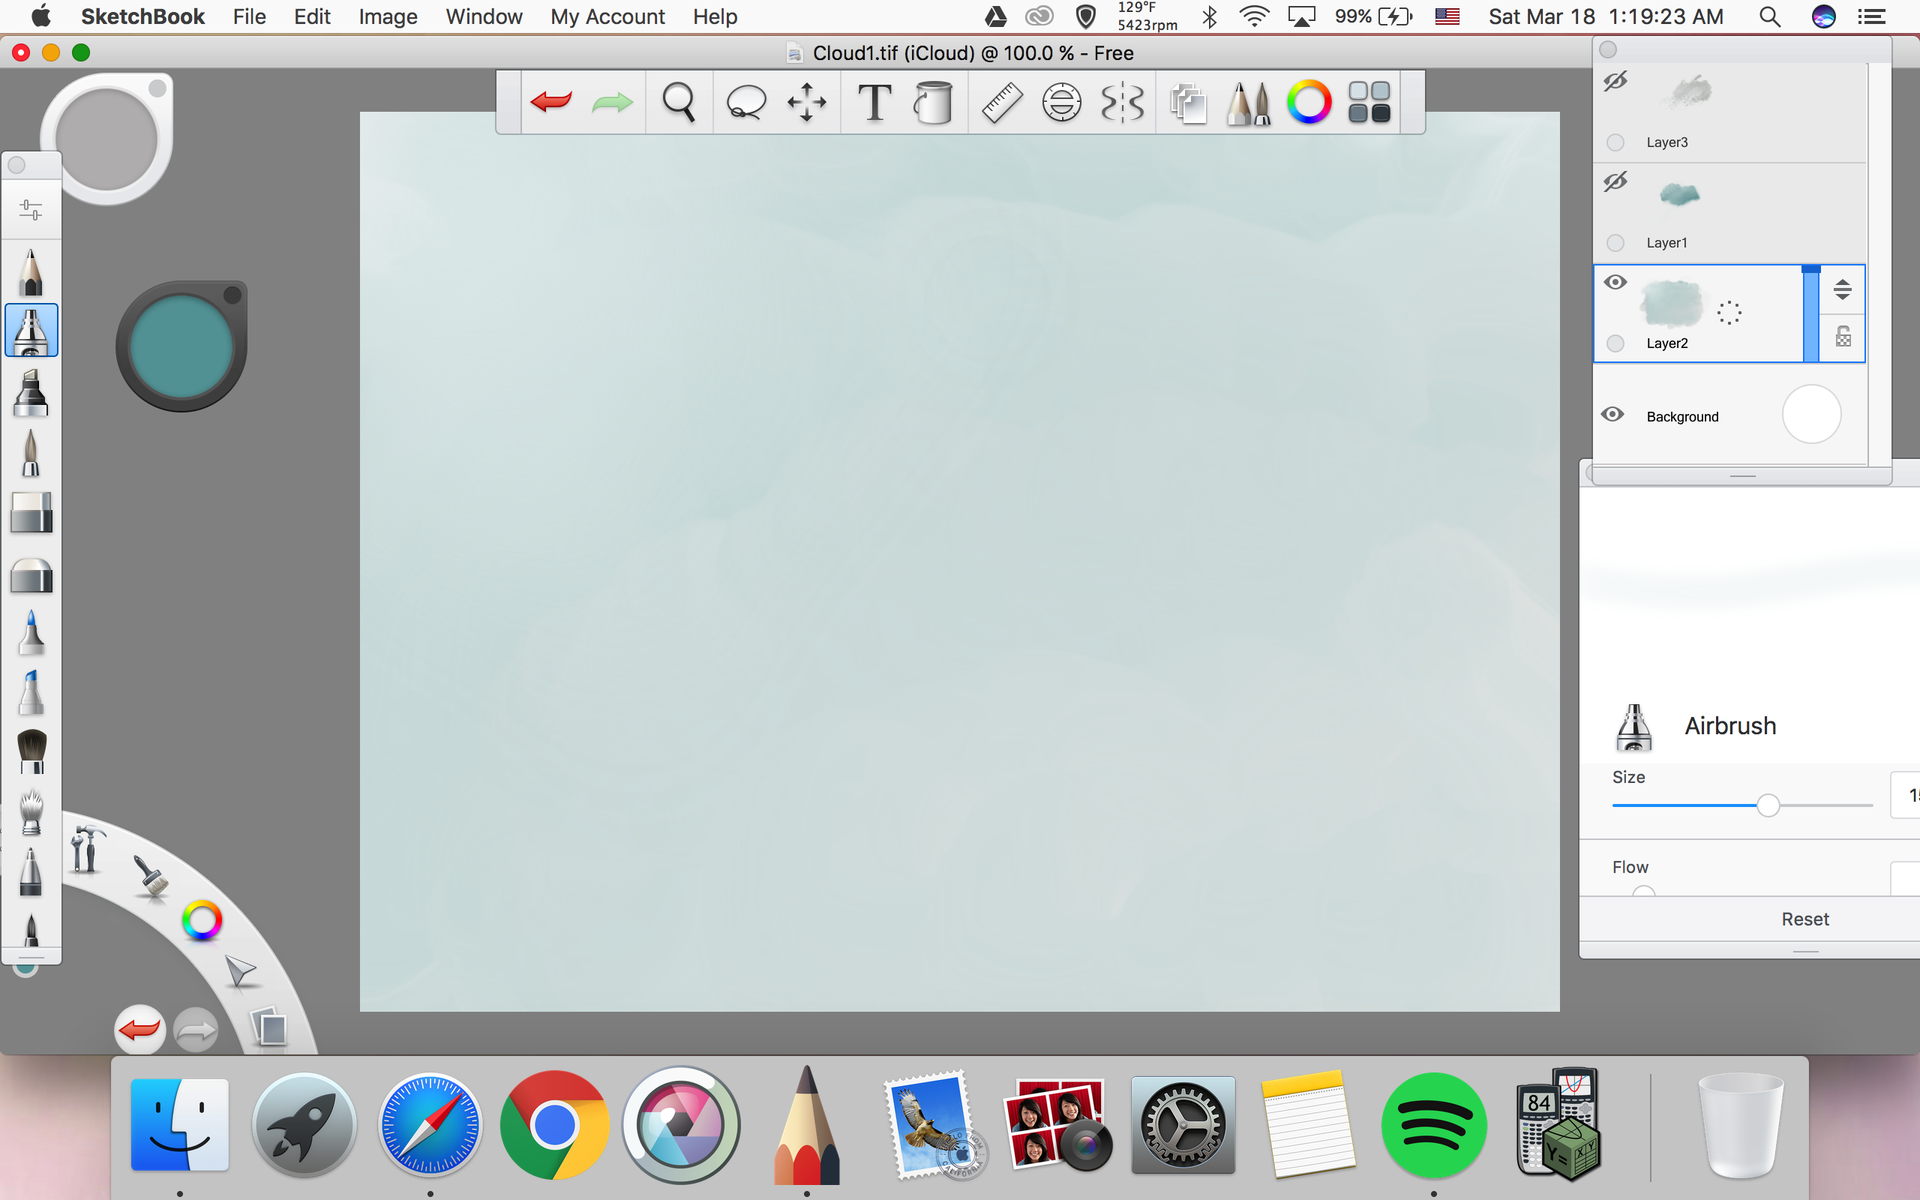
If you notice, there's light coming in from the top left corner - this is supposed to be the sun. It's a good idea to have a light source in your art because it adds a touch of reality. Now let's click the eye button again to show the cloud.
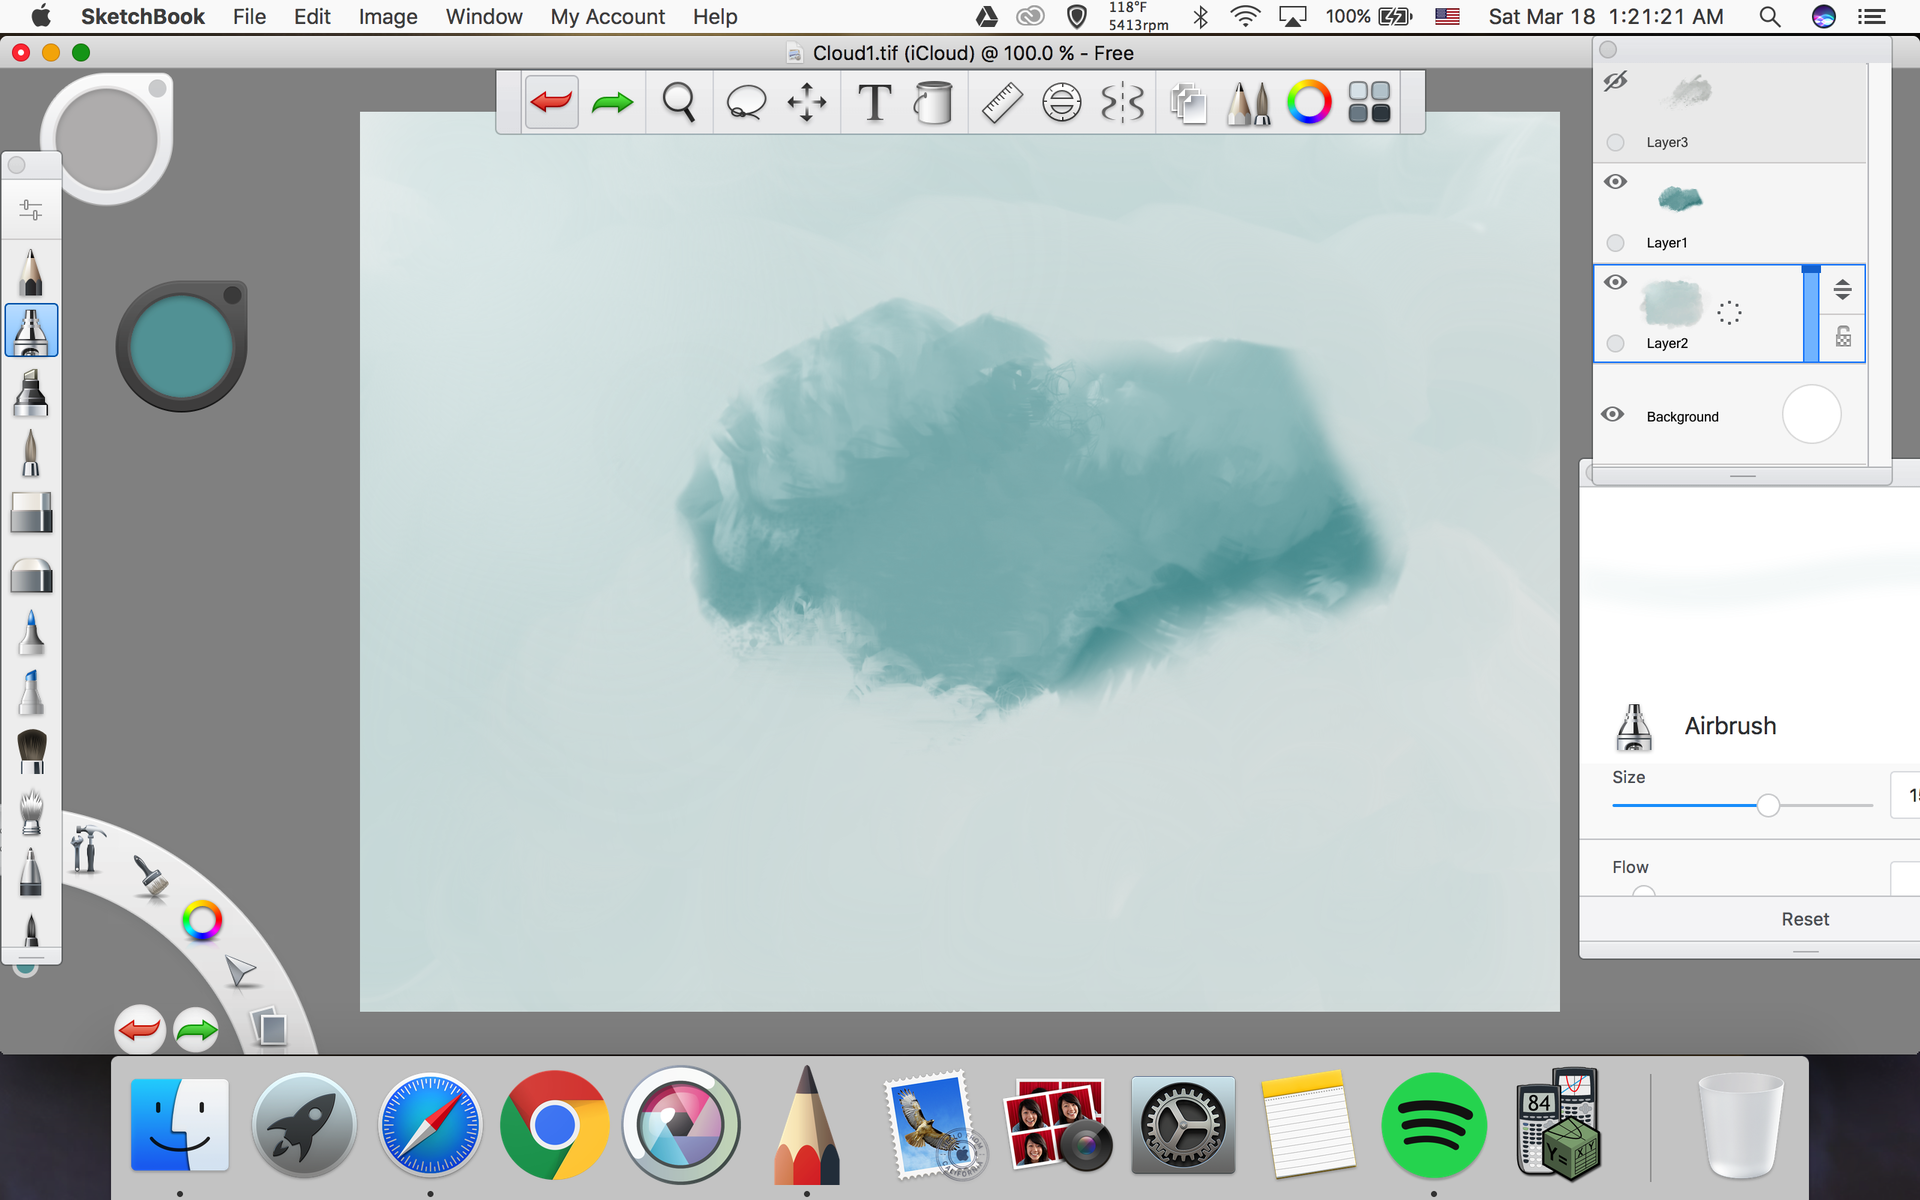
There it is. The colors don't clash or anything, so we're good with that. Here, we've got to remember the light source. The light falls on the cloud, which means there's a bright side and a dark side. I'm going to use the Airbrush for this. First I'll select a light shade, and color in the left top side:
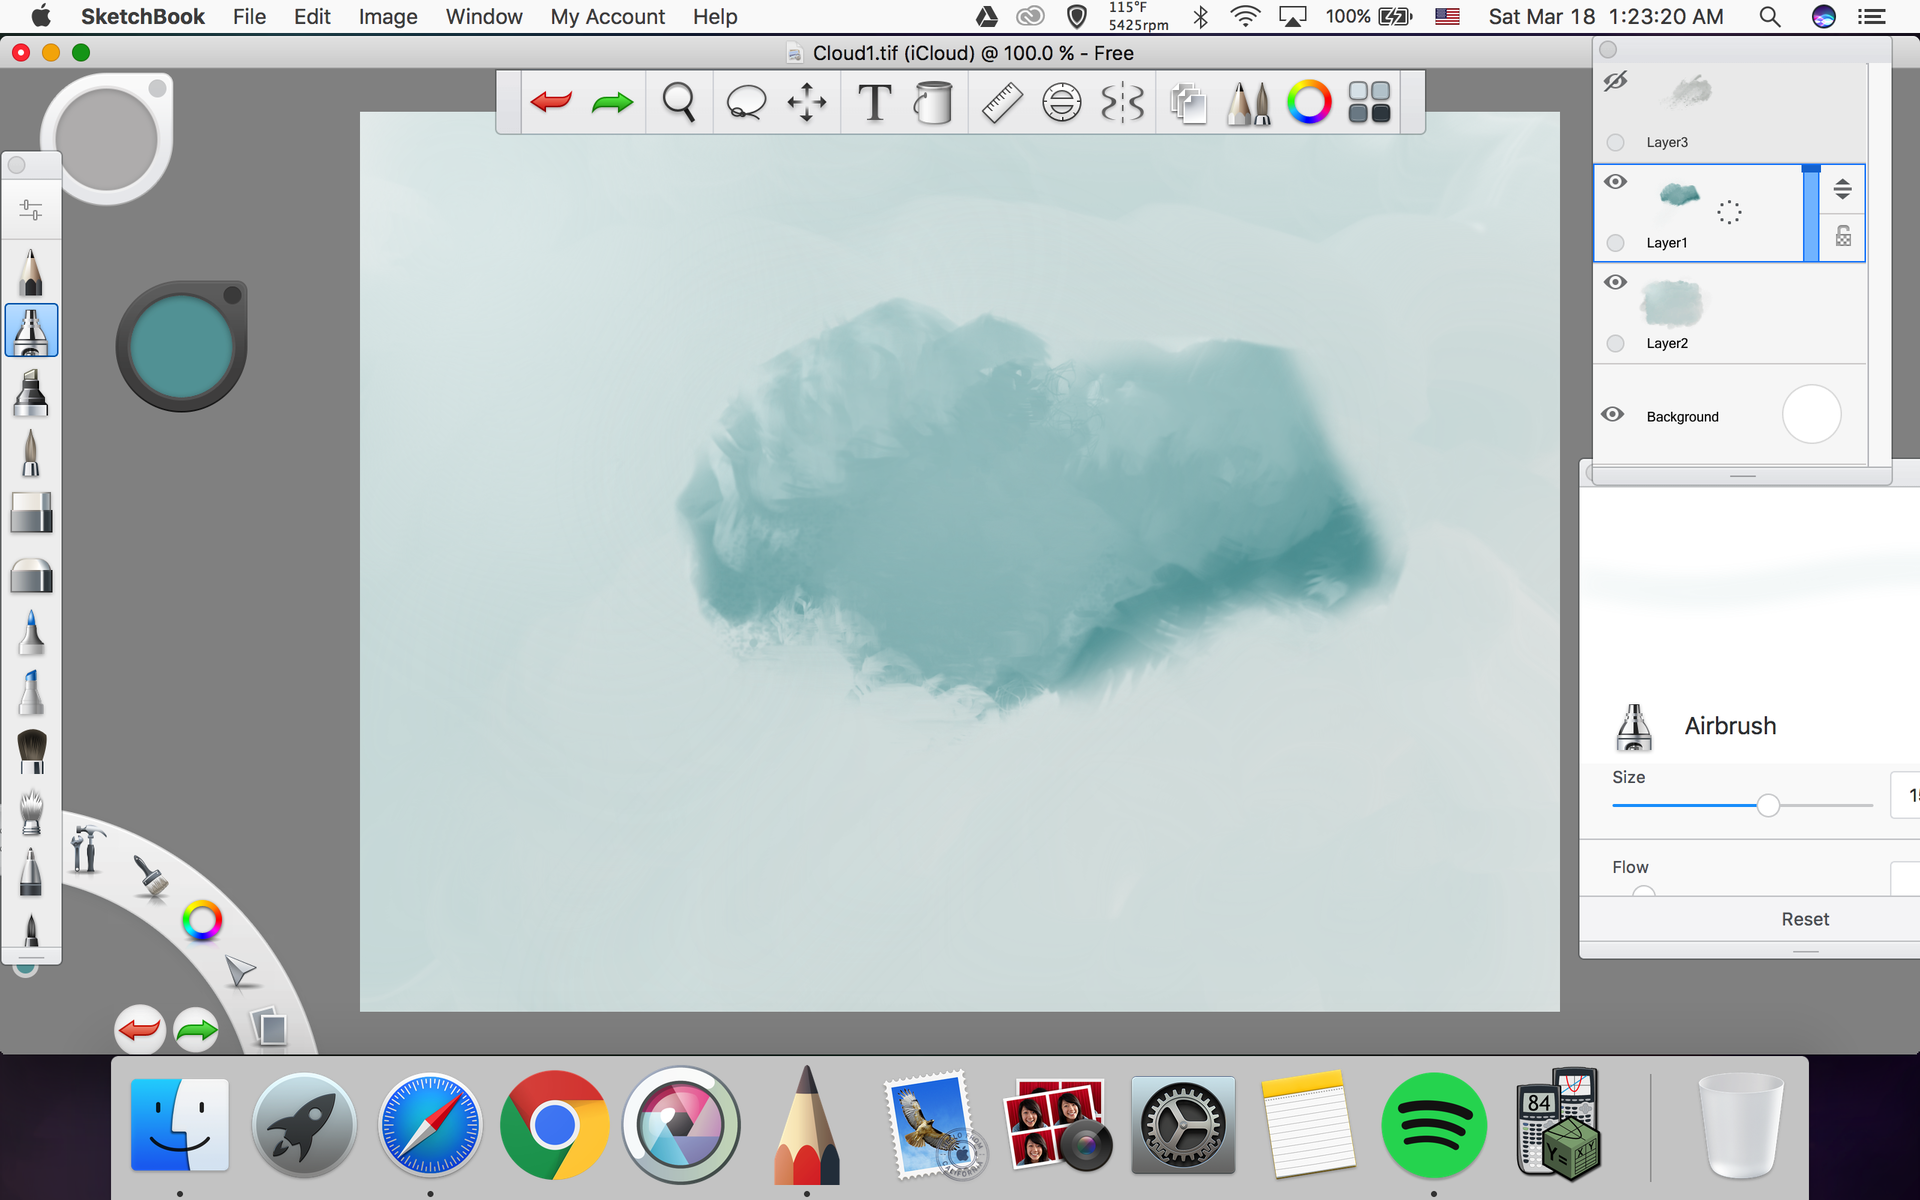
And then I'll select a dark shade and color in the bottom right side:
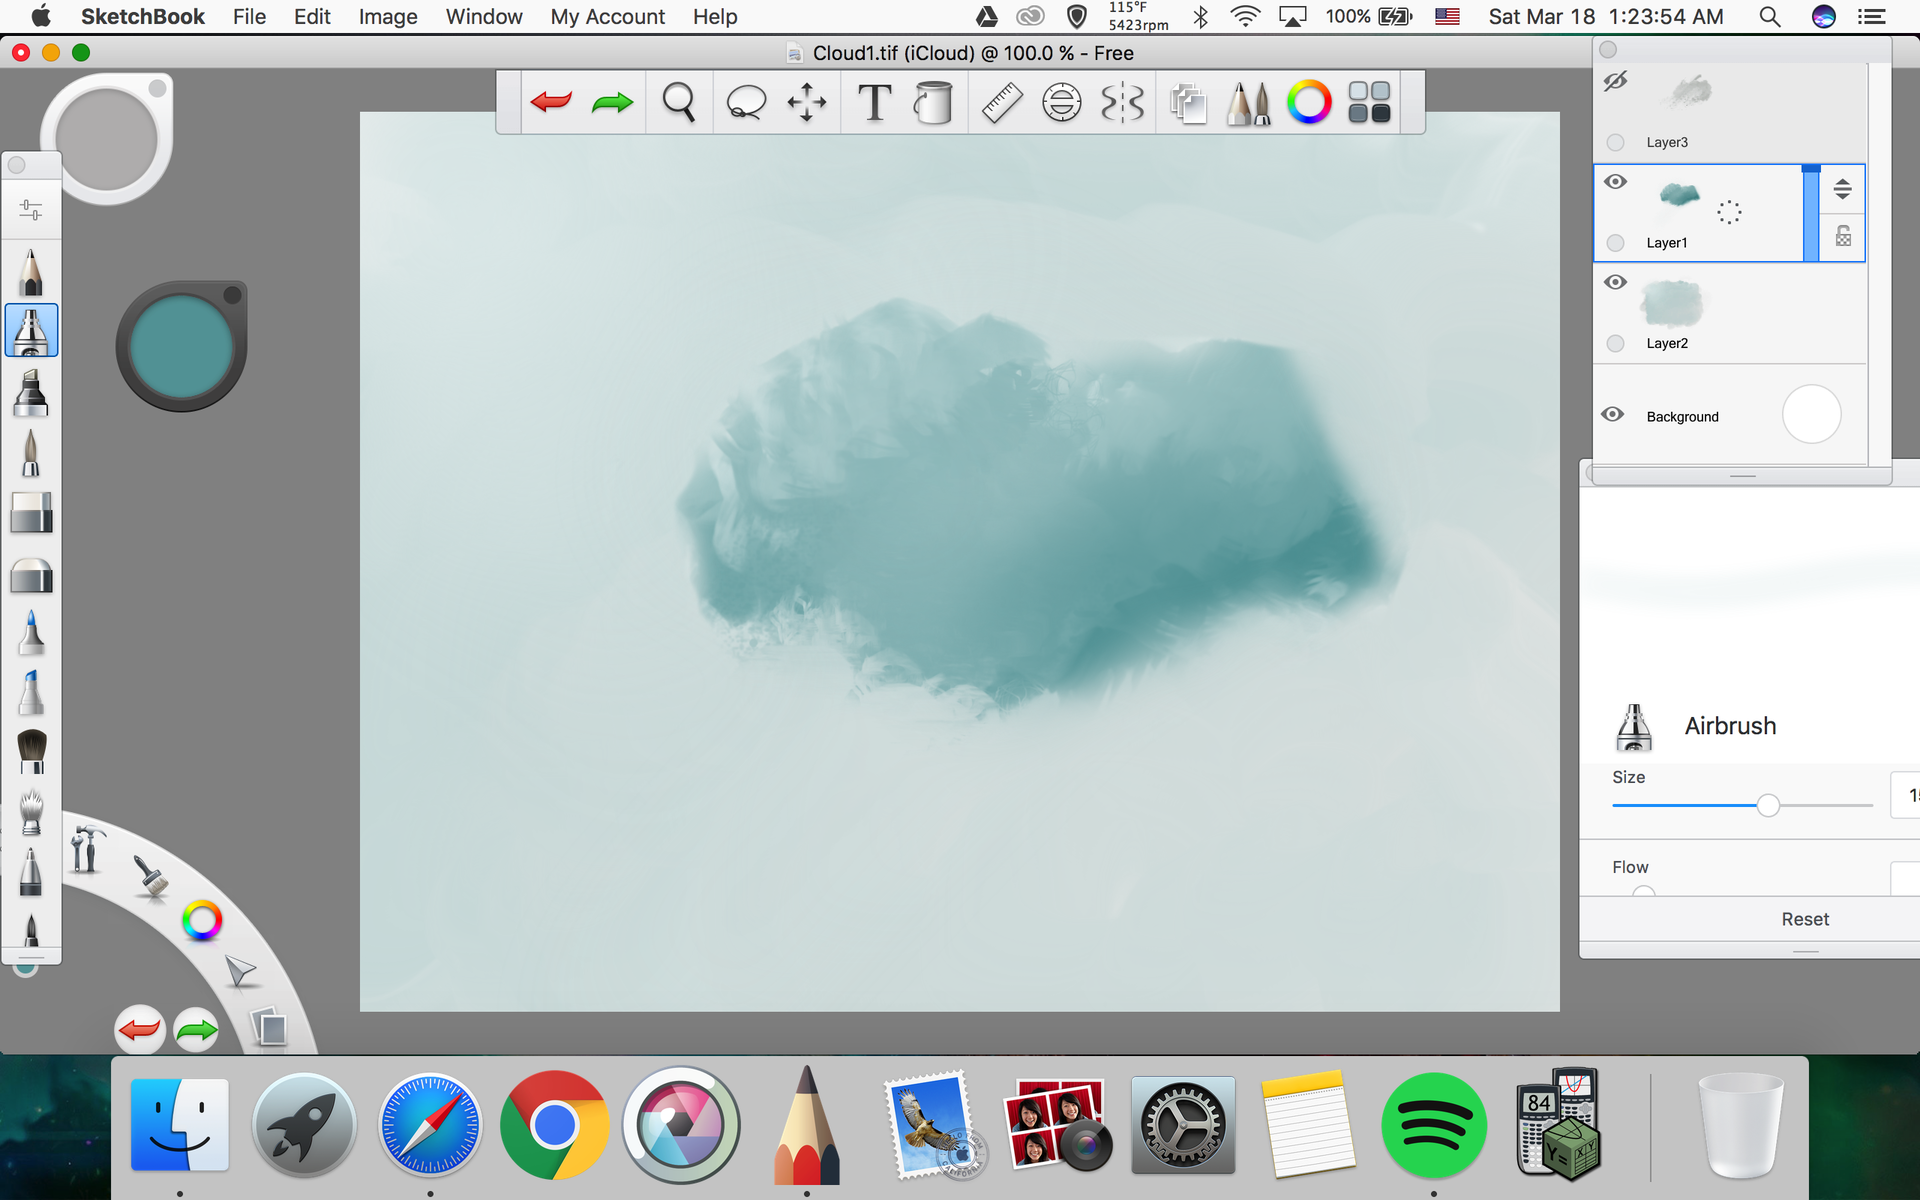
Great. Now I'm going to move the cloud to the side a bit to make the position more natural.
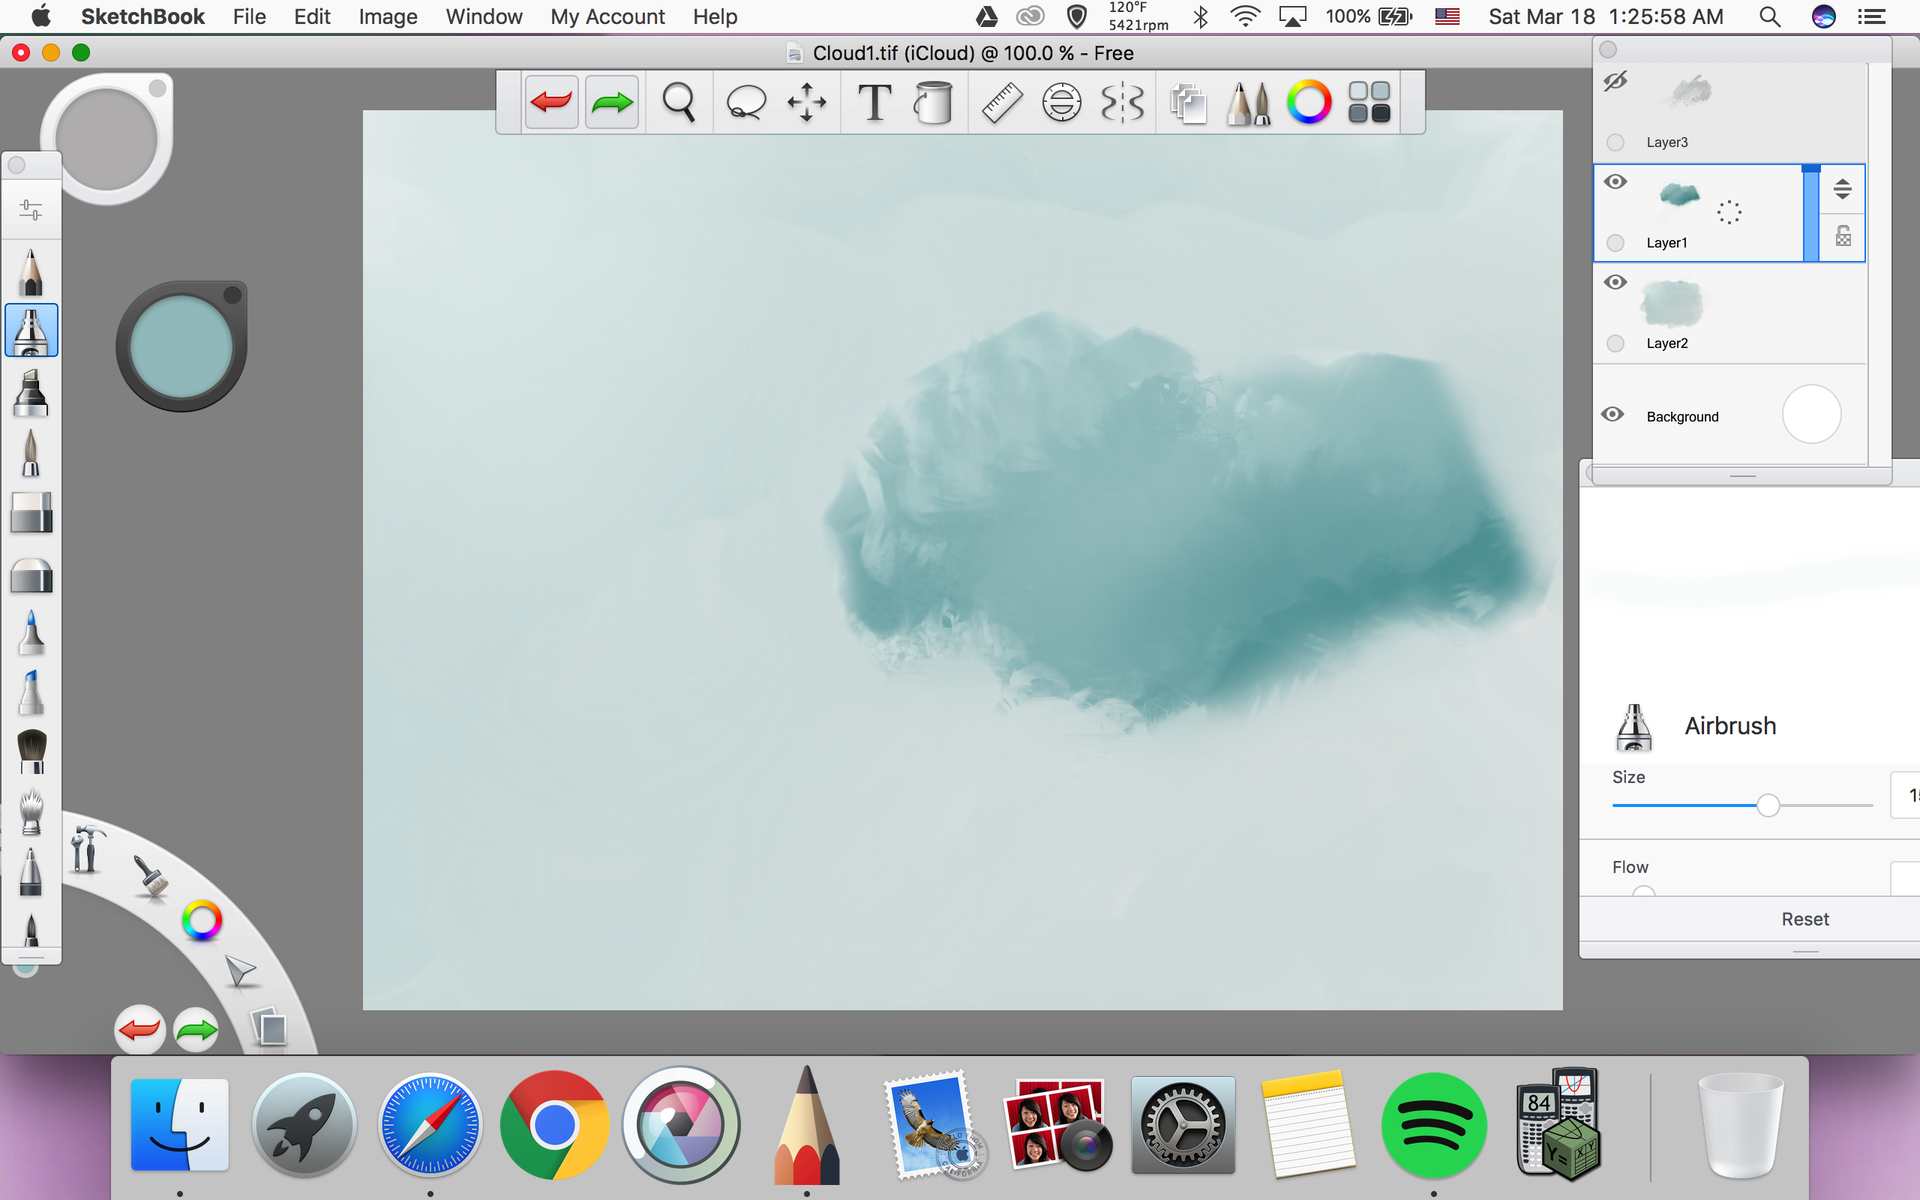
Alright, so now I'm going to add in some more clouds. Normally, I'd draw some more, but because I'm lazy, I'm just going to duplicate the layer by using the layers menu button.

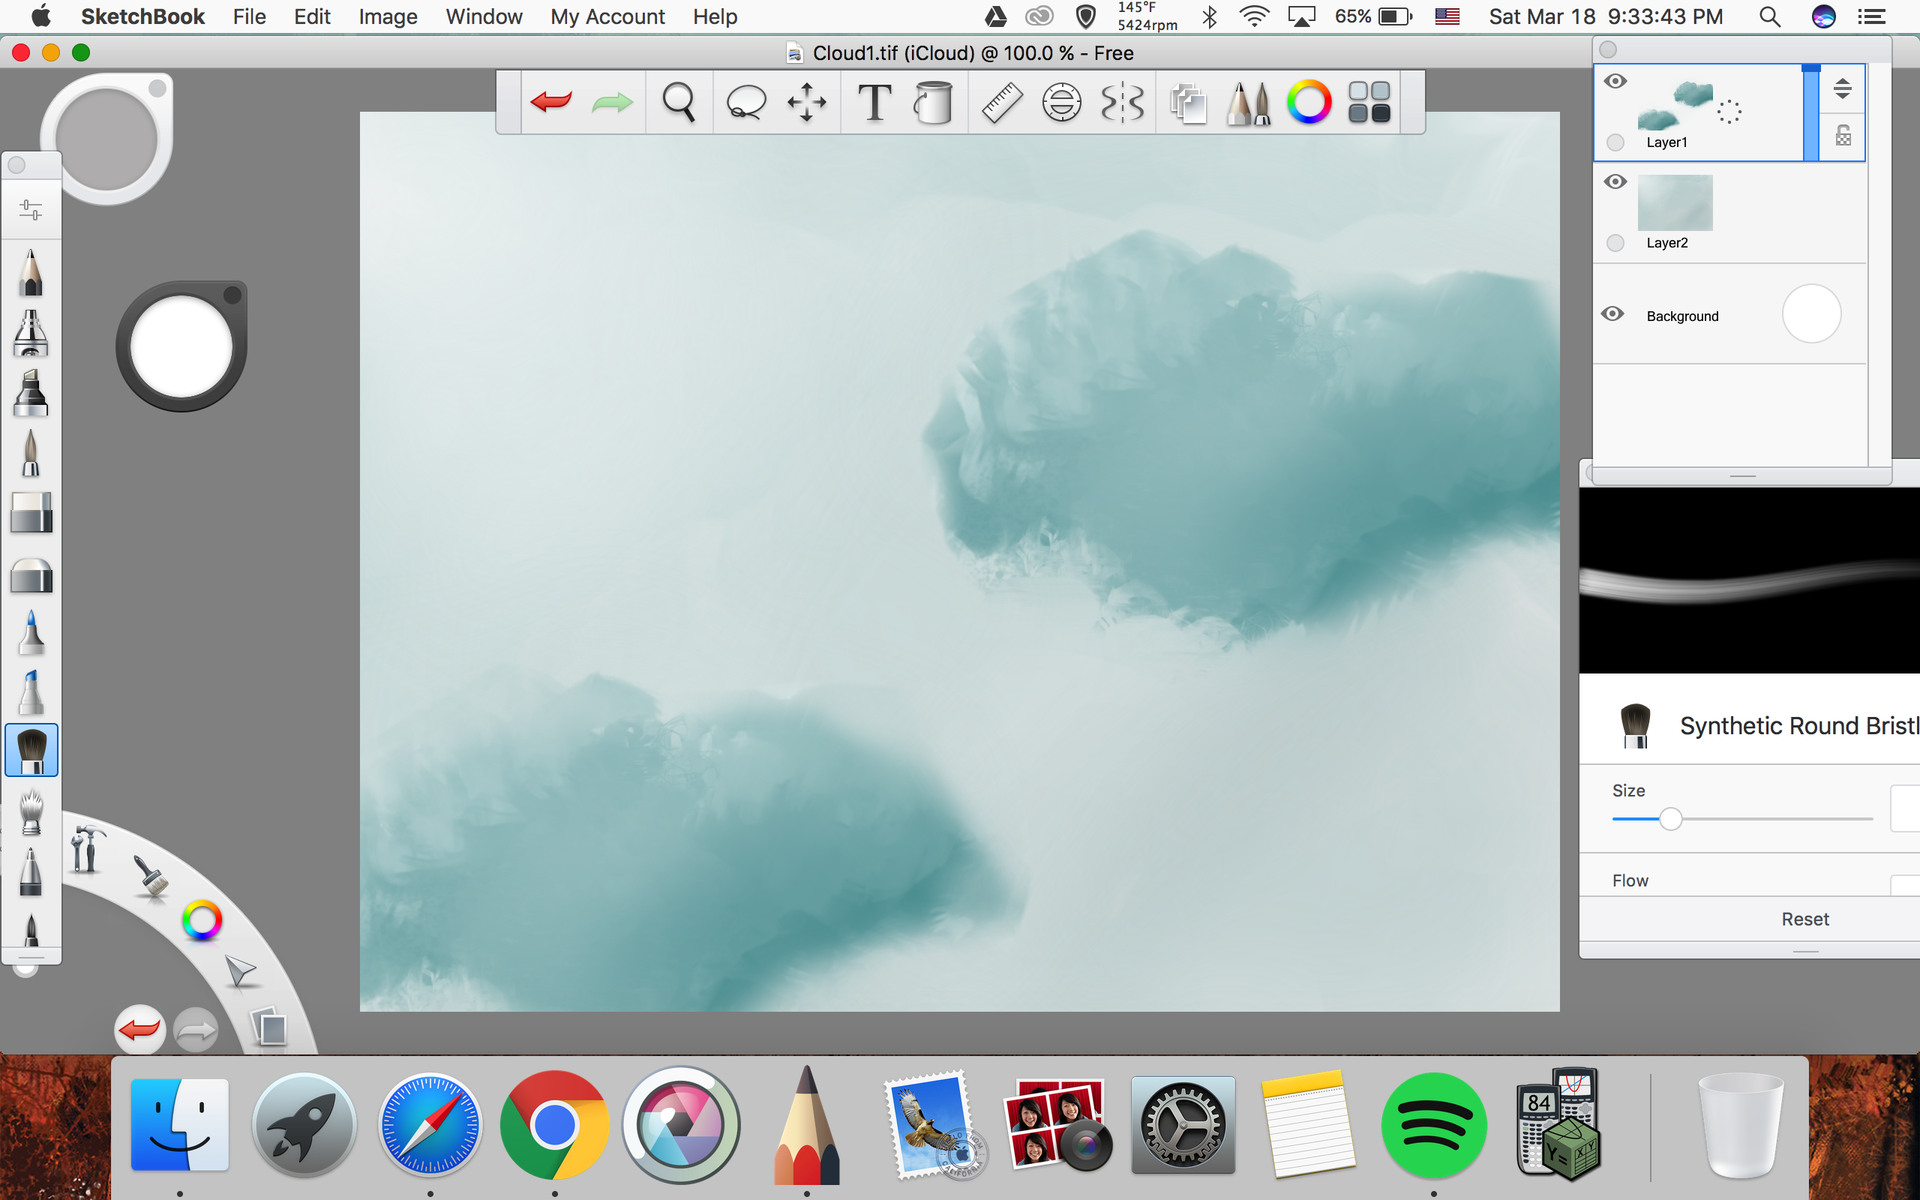
Okay, so I'm going to mess around with the lighting a tiny bit more.

I'll adjust the second cloud to look a bit more natural.
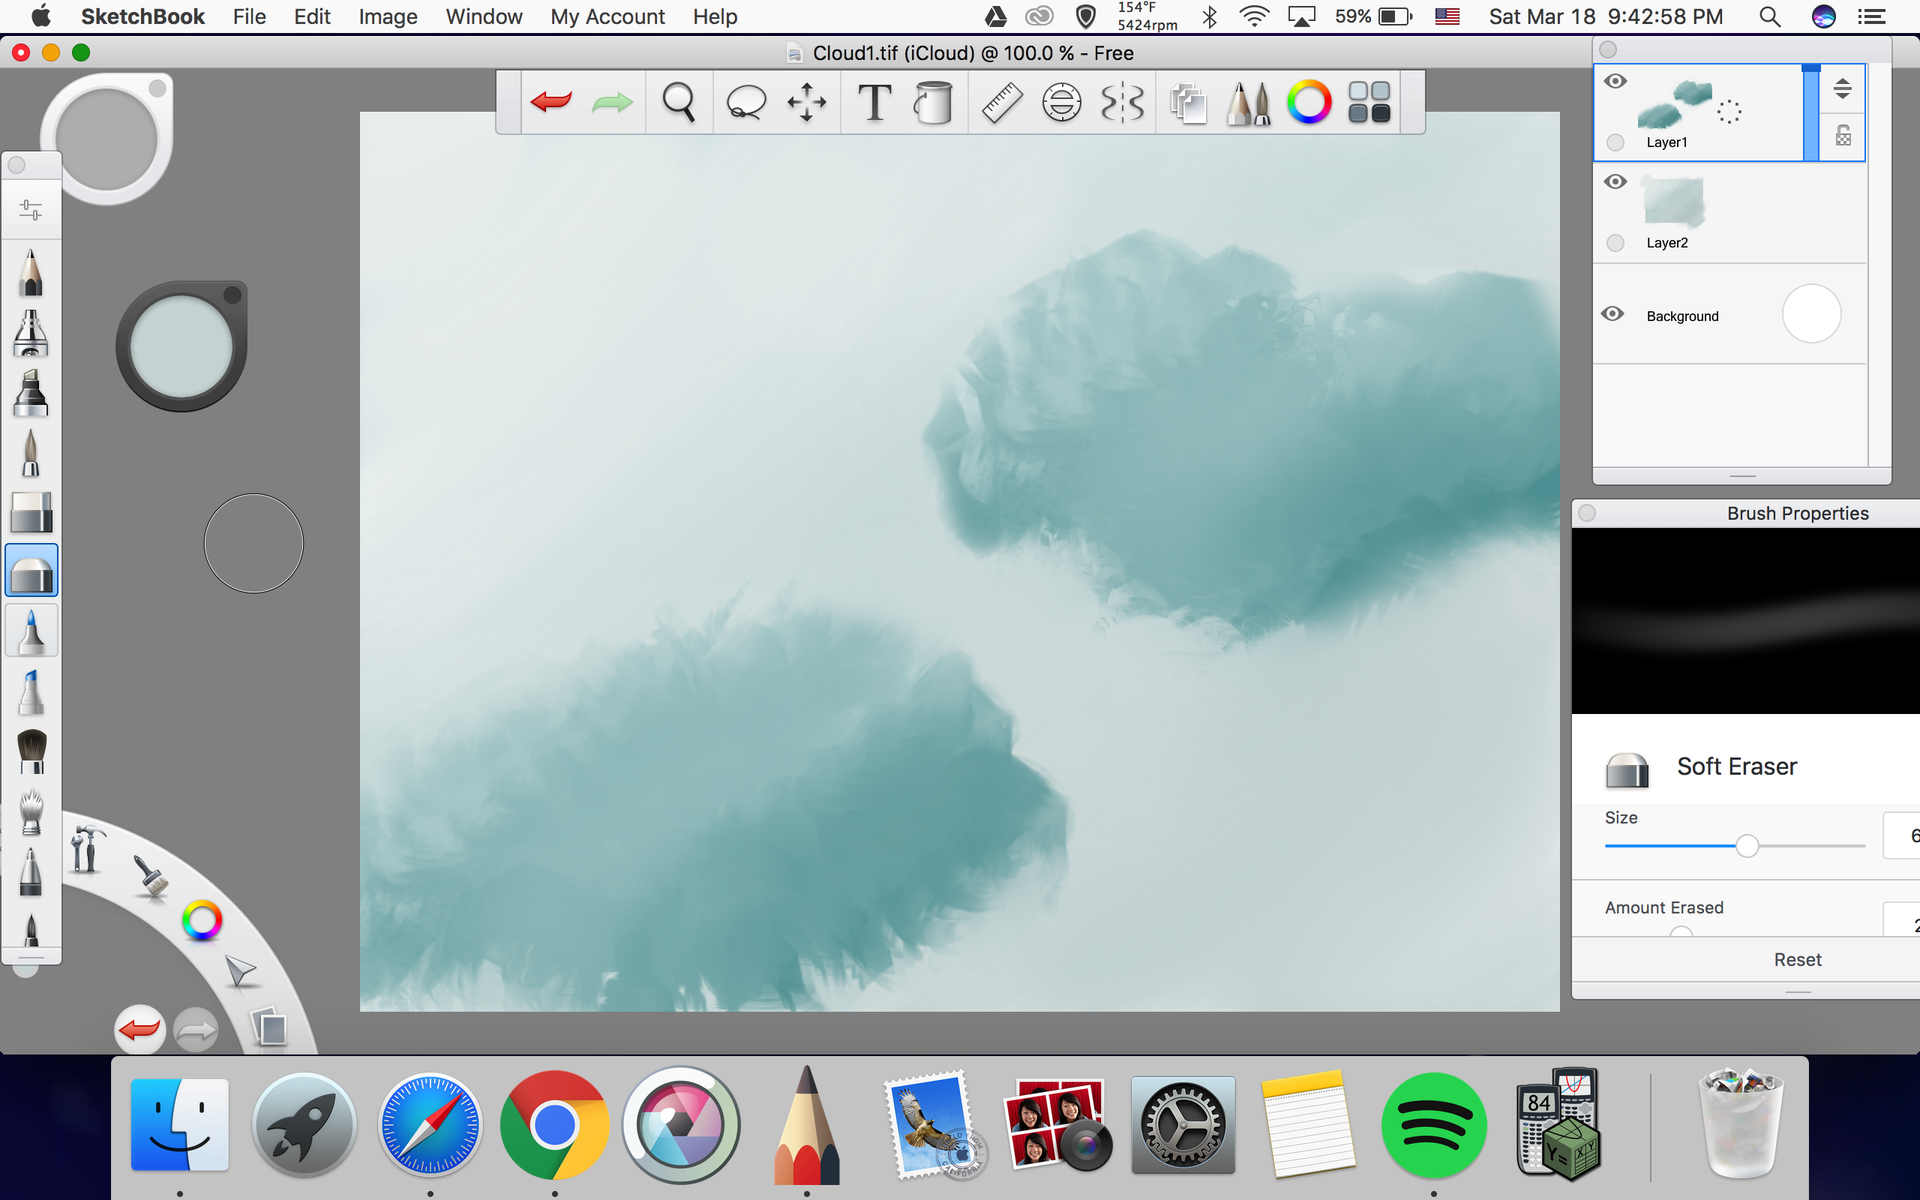
And there we go! We're done with our base.
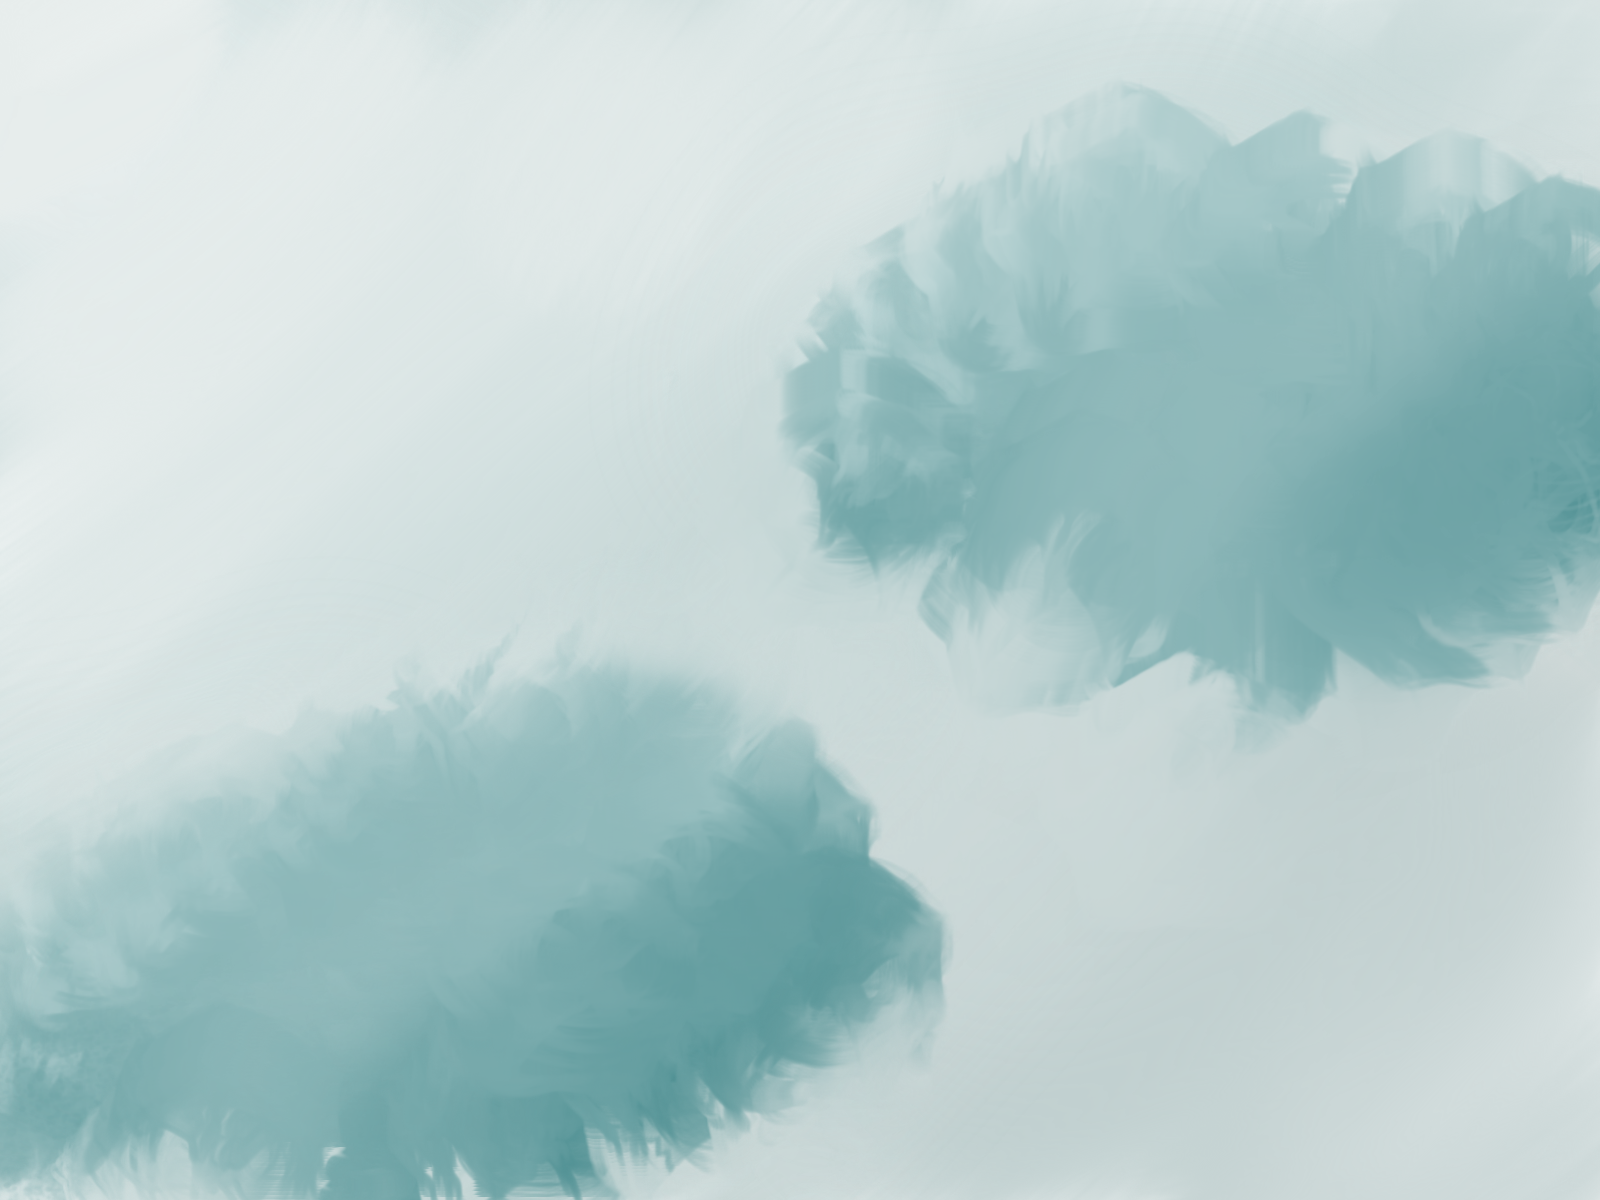
I don't actually make bases all that often, because as you can clearly see, I suck at art. But some people like bases and they do look nice when you get them right and I figured you'd need an intro to Sketchbook anyways, so I decided to create for you guys.
Hope you enjoyed this tutorial! Comment below if there's anything in particular you'd like me to go over.
Bạn đang đọc truyện trên: AzTruyen.Top