Glossy, Animated Look (Part 2).
Hey ya'll! Sorry to keep everyone waiting. I was busy with a bunch of stuff and completely forgot about this. But Chelsea603 reminded me and here we are :)
We stopped after doing the eyes and smudging part. In this one, I completed the lips and the highlights.
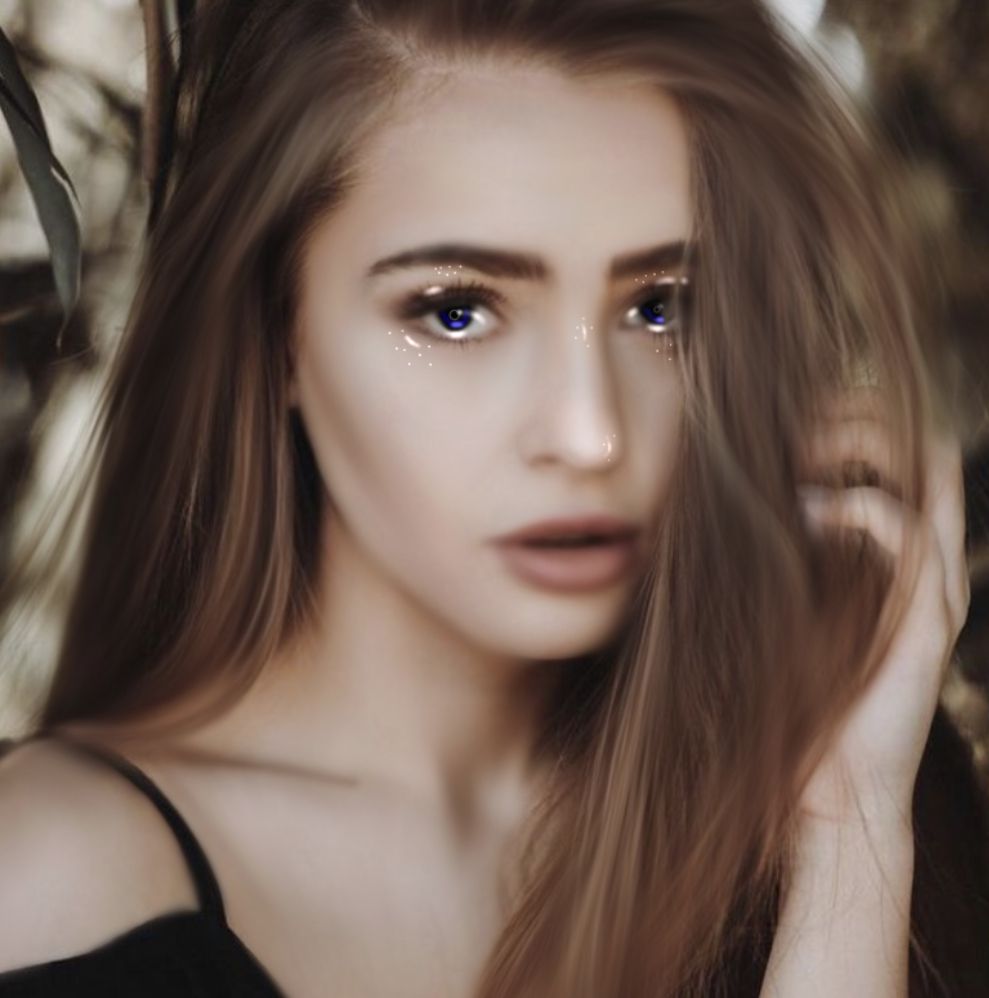
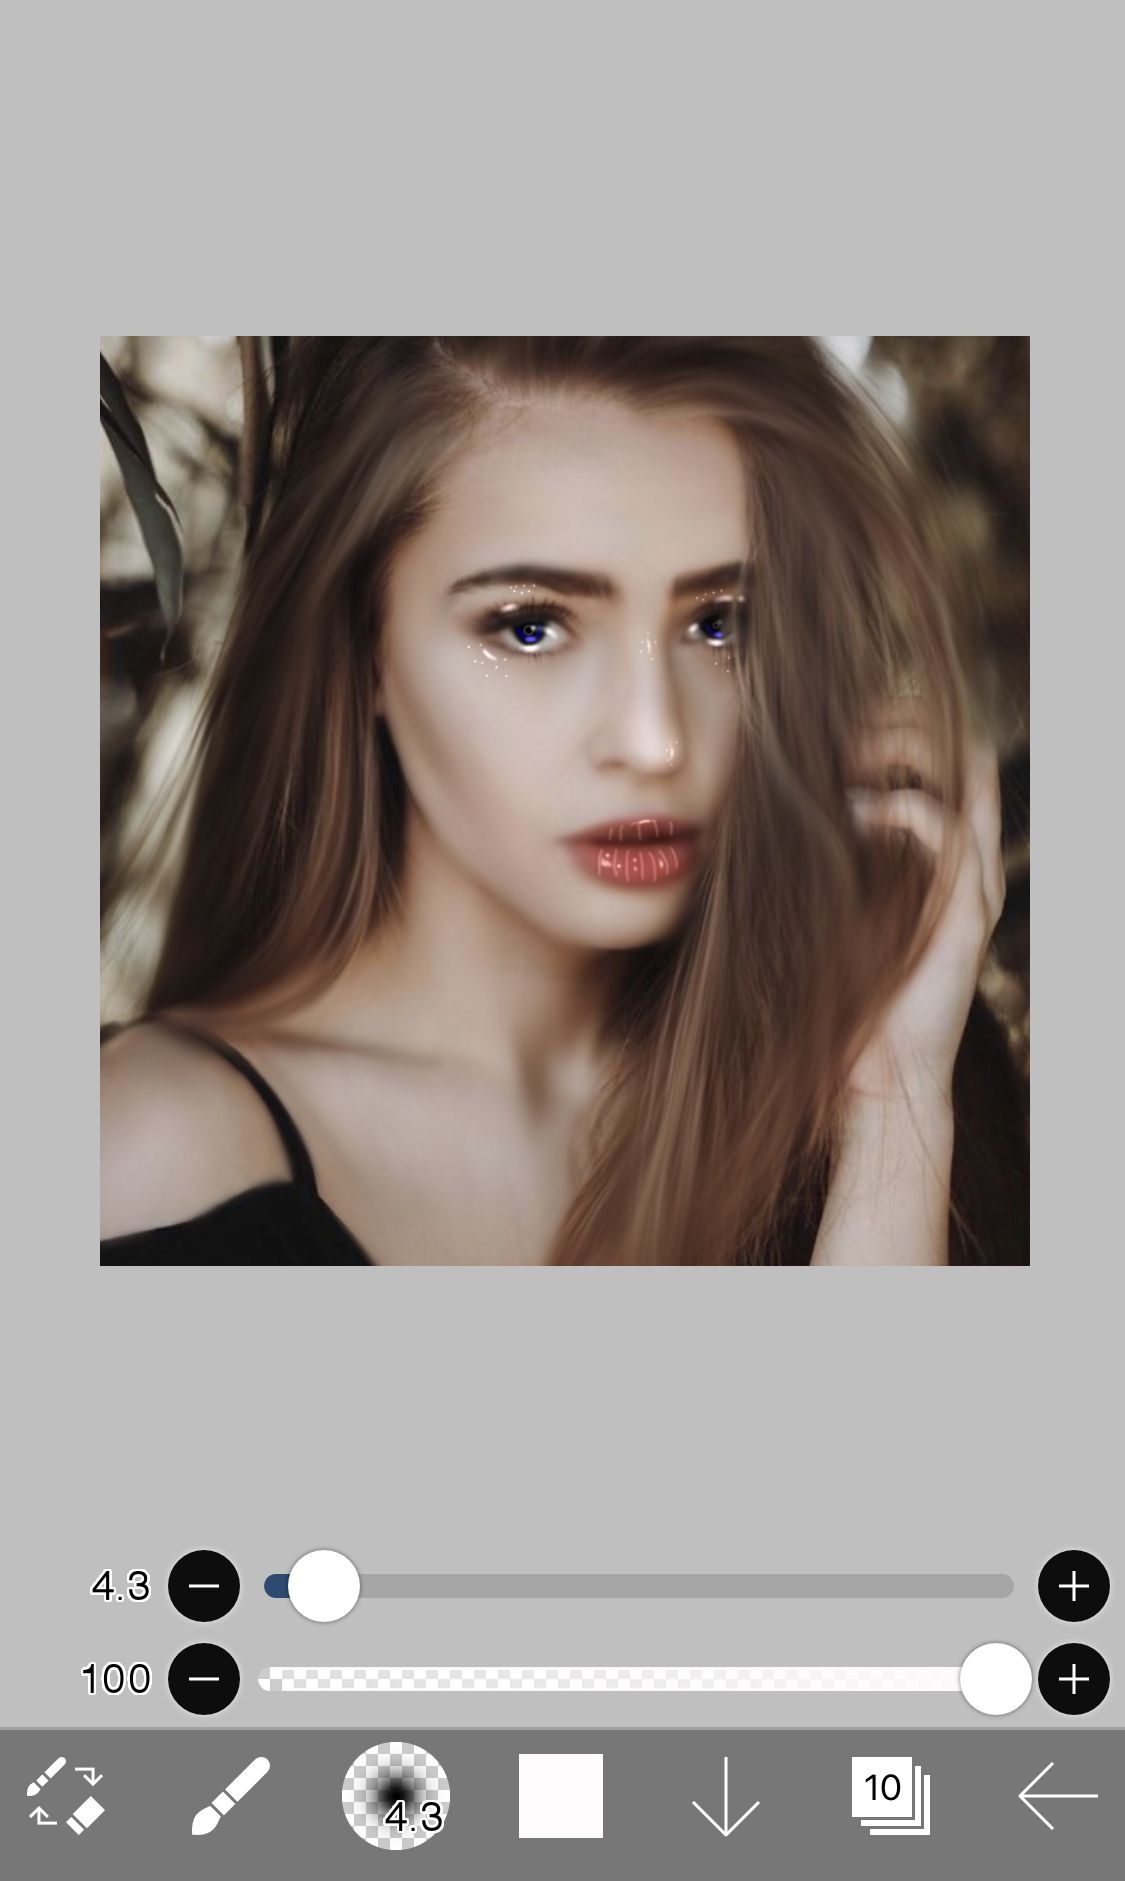
➳ This is where we stopped last time.
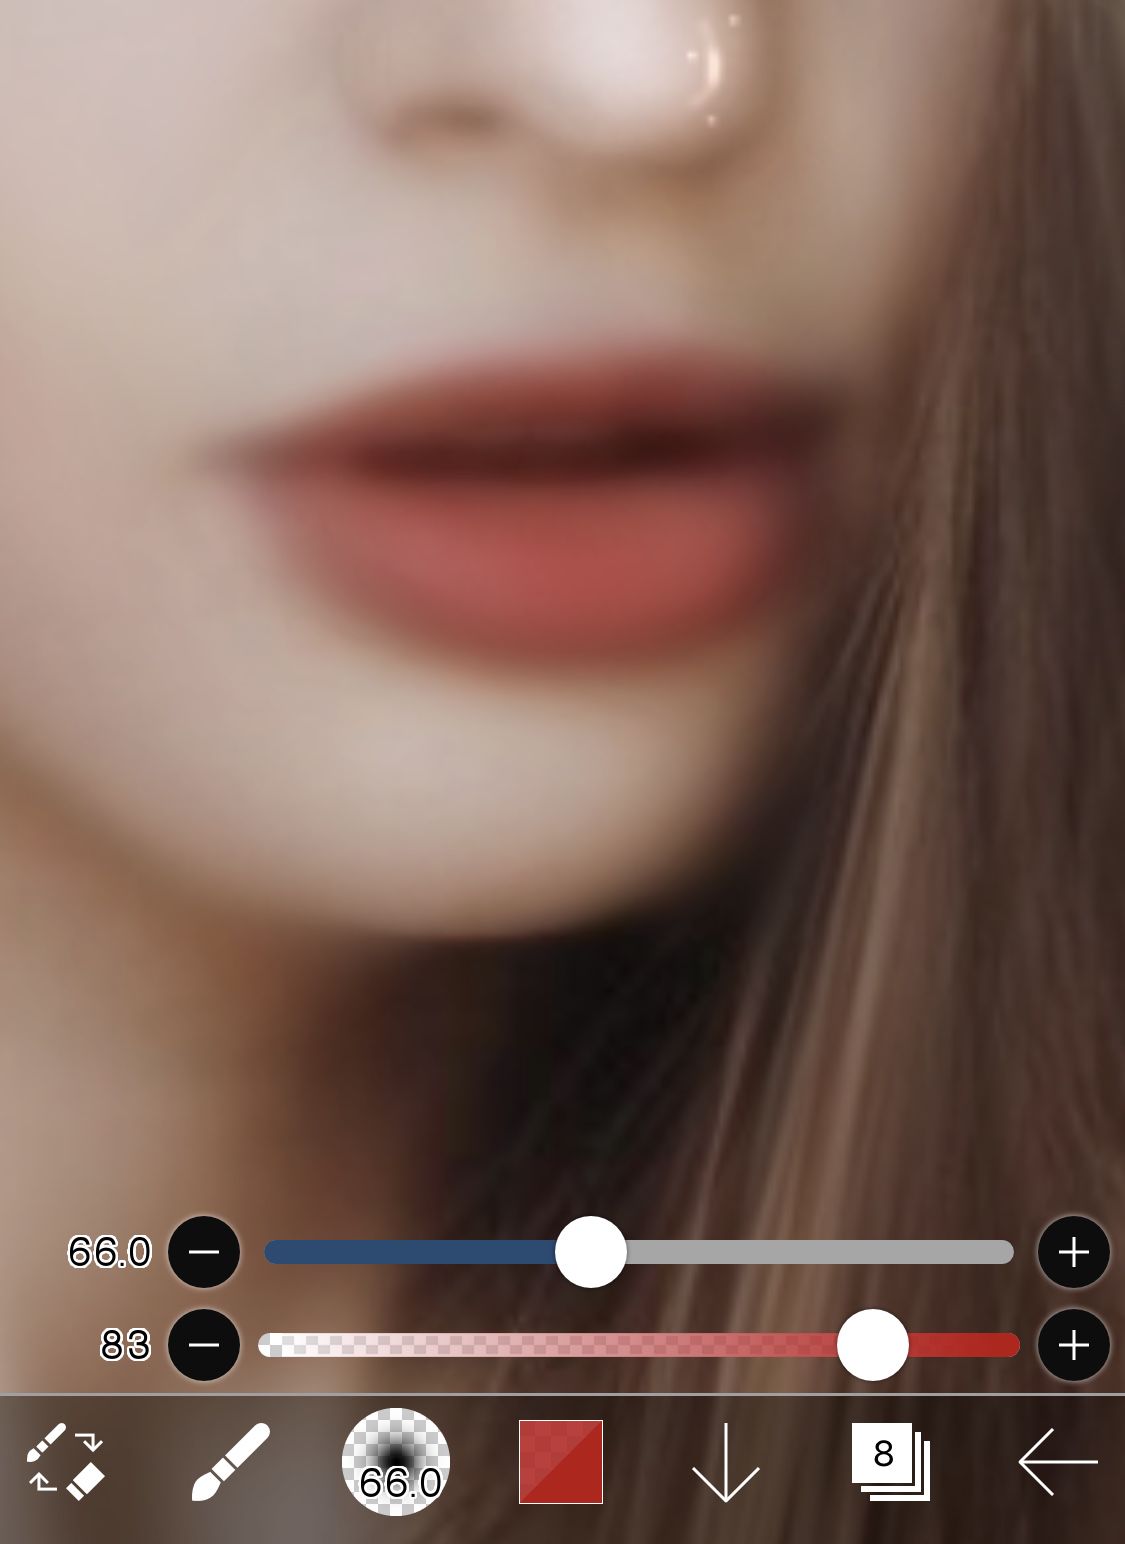
➳ Select a new layer, use an airbrush, decrease the opacity a little bit and brush it over the lips. I chose the red colour but you can go with any colour you desire.
➳ Once you're done, select another layer, change it's blending mode to Linear Burn and with the same colour you previously chose for the lips, draw curve lines one after the other. Make sure to turn the Force Fade on and on 100.
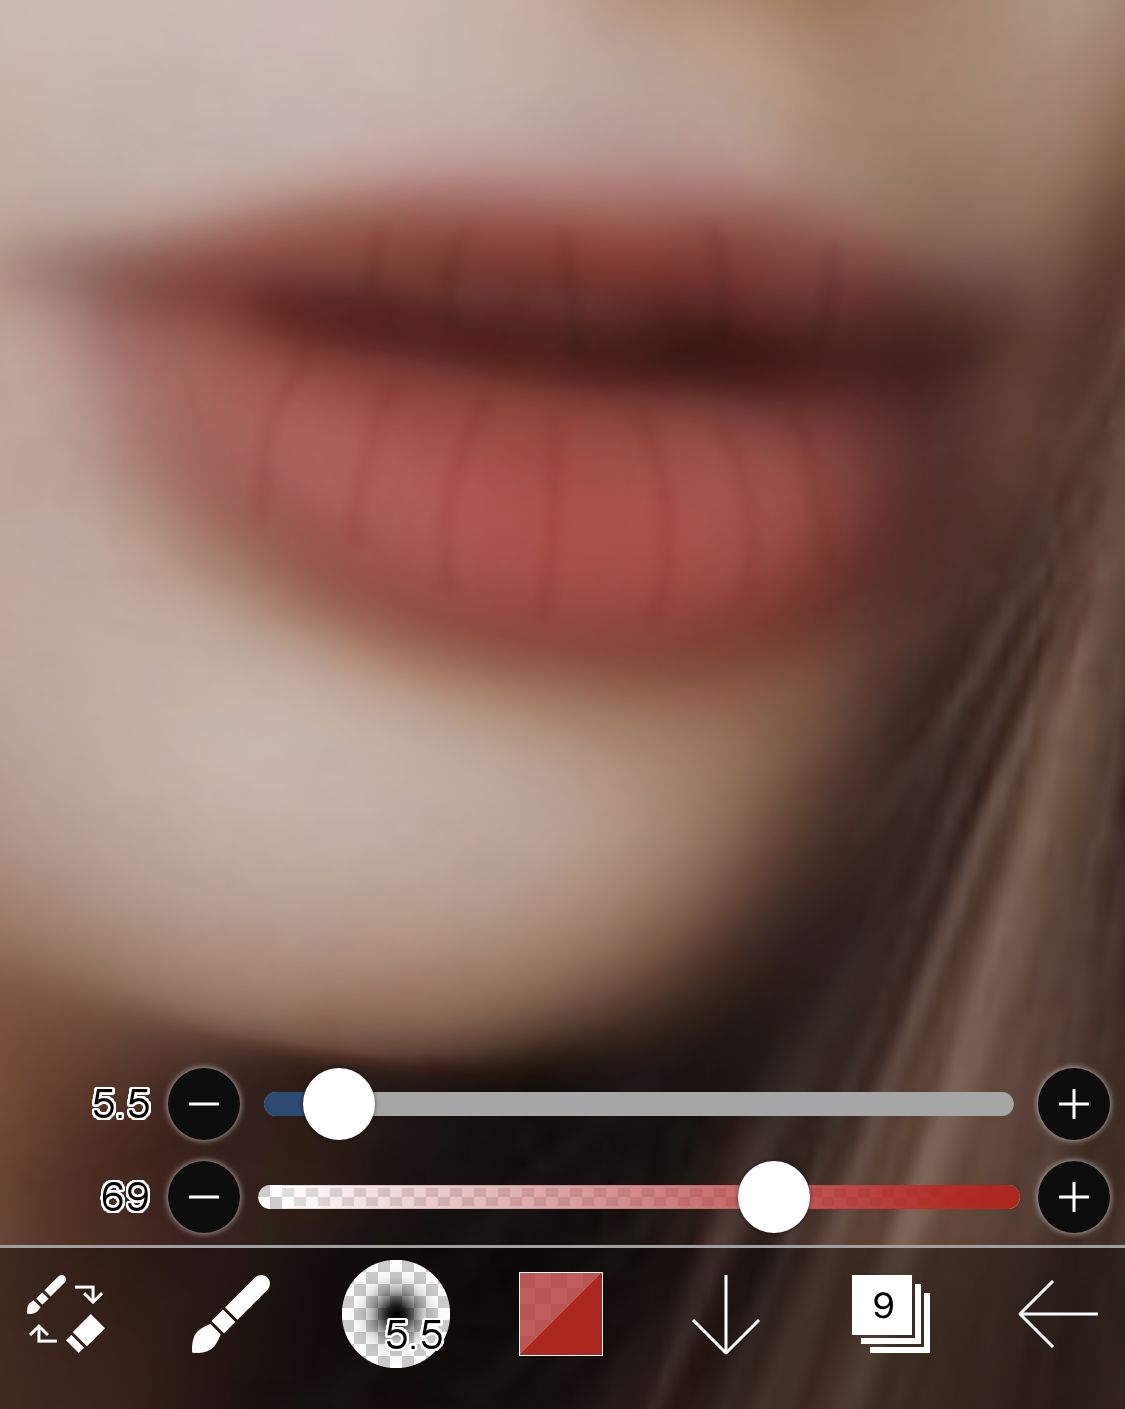
➳ Repeat the same on a different layer and with the blending mode set to Add. Change the colour to white.
➳ In the same layer, once you're done drawing the lines, draw a small dash and and a few lines. You can also add dots if you want.
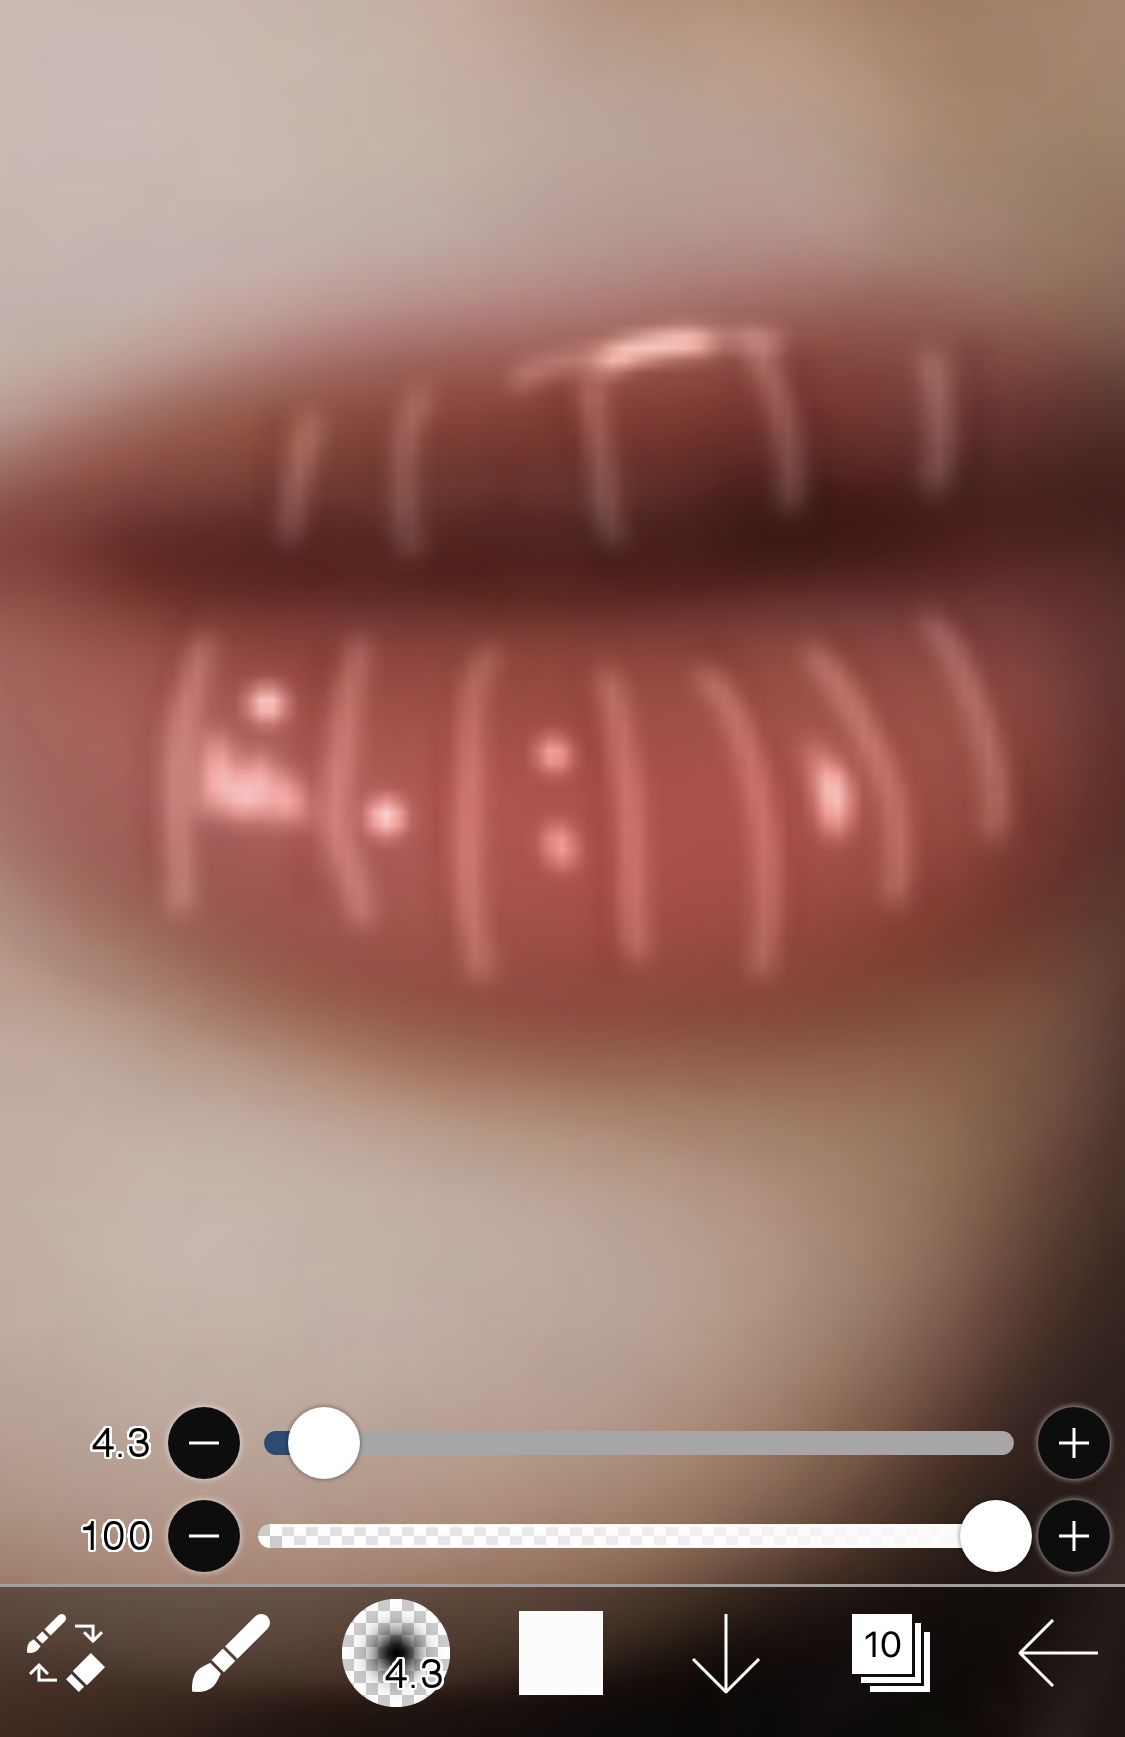
➳ This is how the picture will now look.
➳ Now for the highlights. Select a new layer, change the BM to Add and pick a colour. Change the brush to Pencil #2.
➳ Zoom the picture and draw multiple lines together. They can be short or long. Make sure to draw those lines in the direction of the strand of the hair.
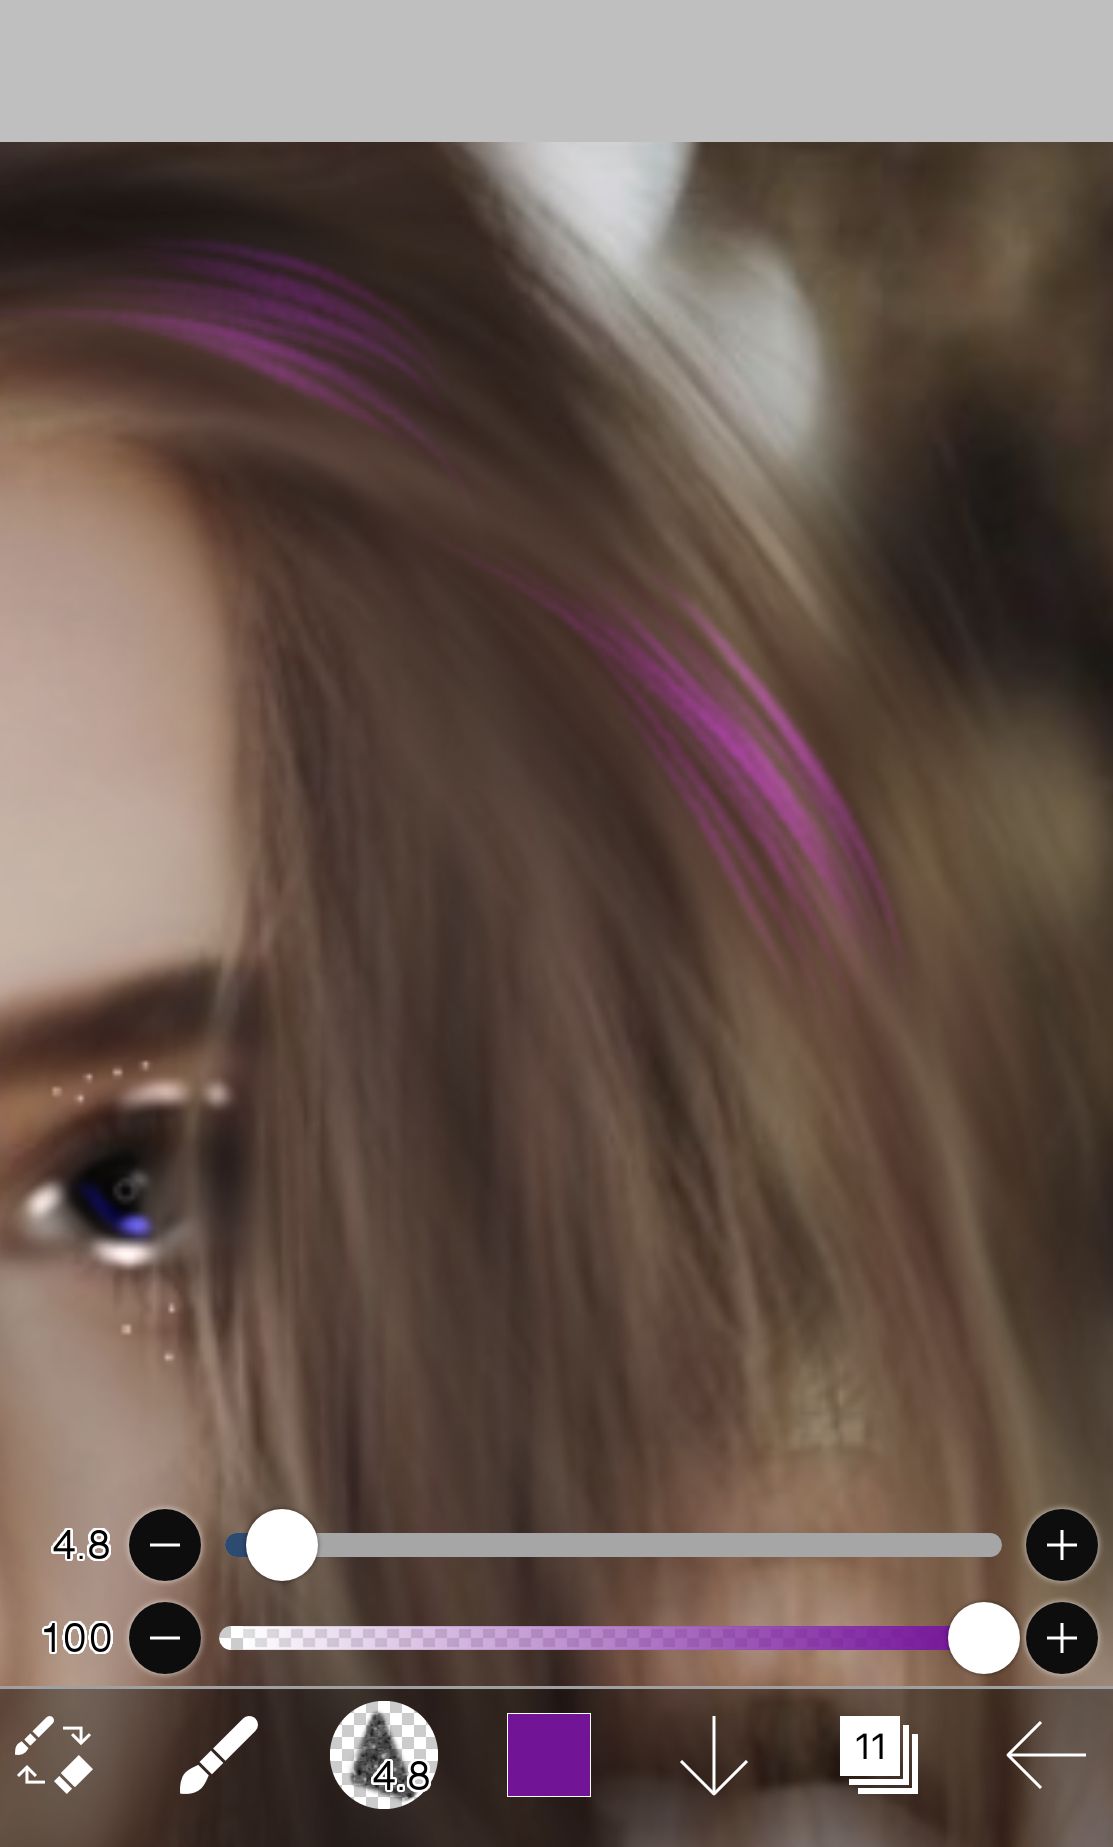
➳ Repeat this in all the places you want the highlights to be present.
➳ Once you're done, your end look will look something like this.
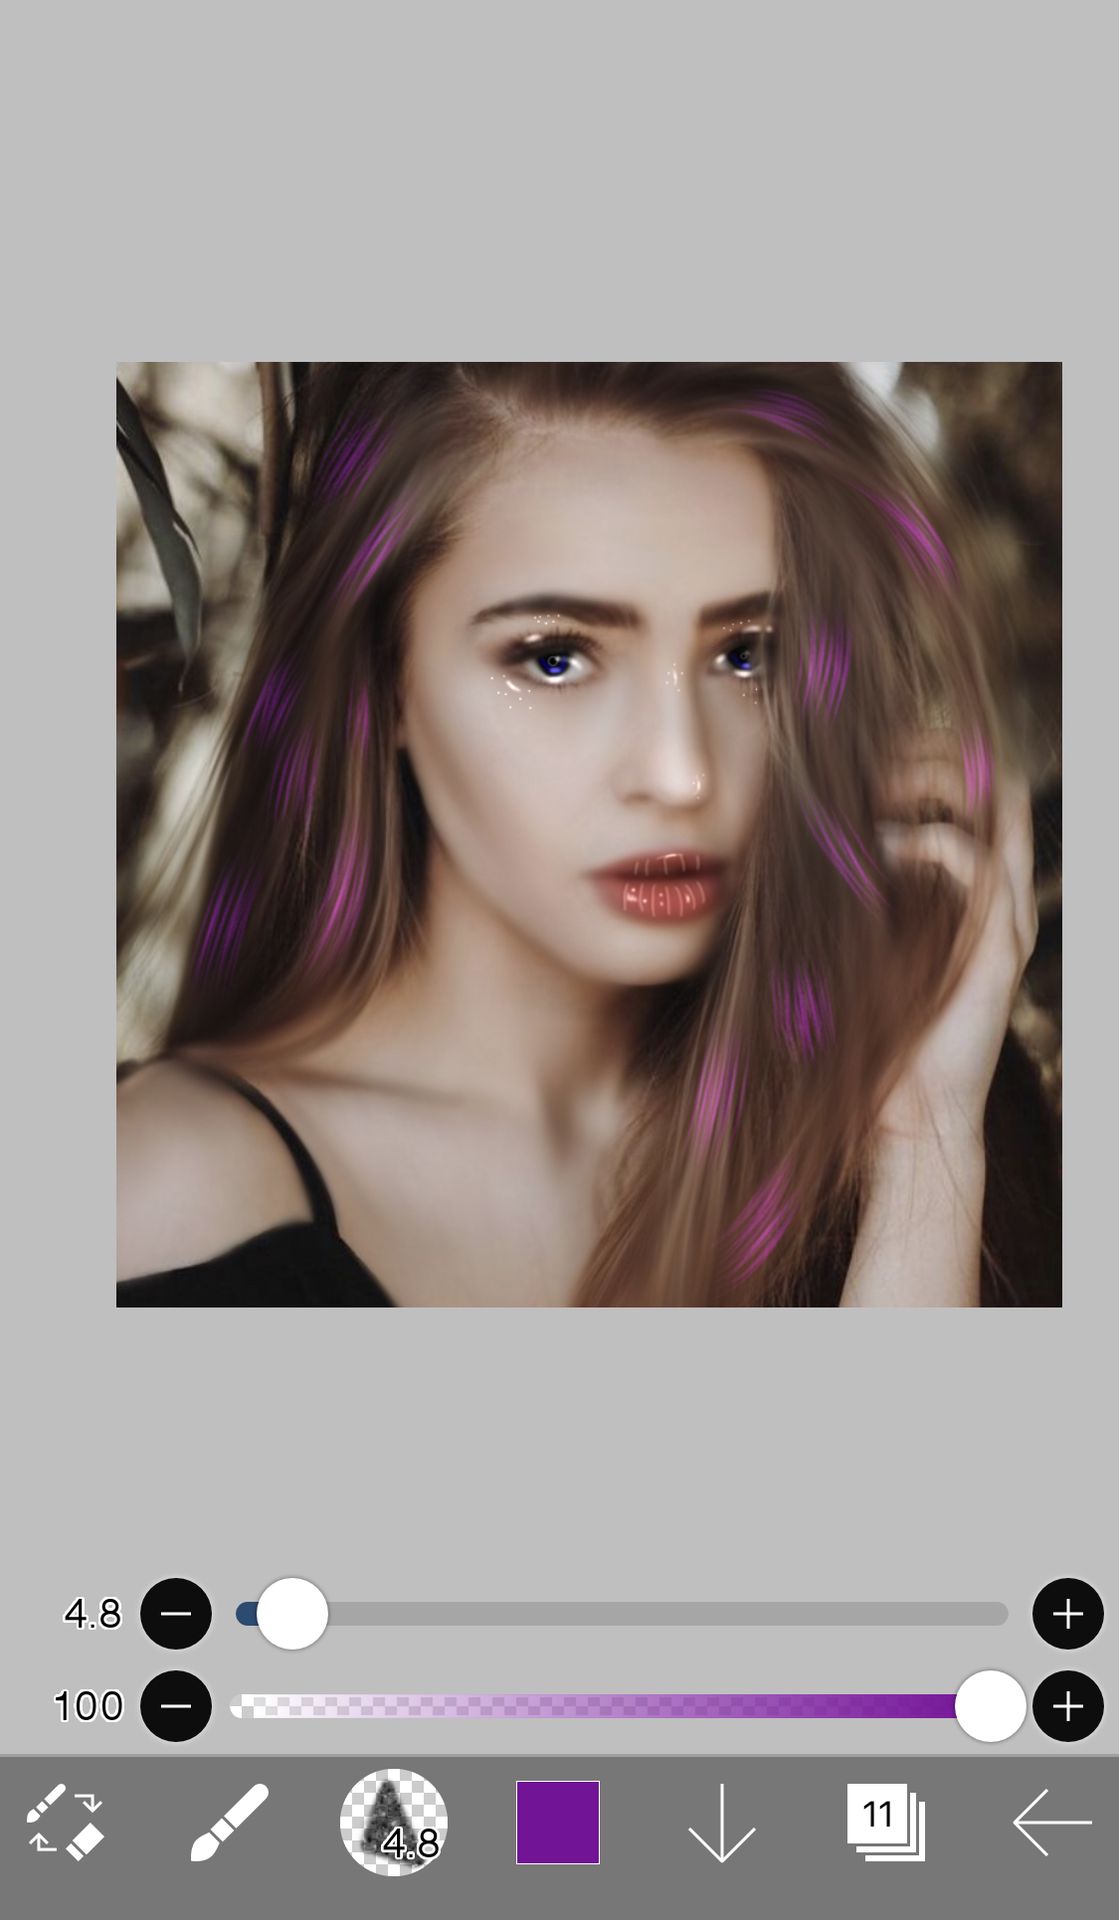
YAY! We are done with this tutorial and now you know how to give your pictures an animated look.

If you want videos for all of these tutorials and many more, head on to my Instagram @violette02020 and give me a follow. I just posted my first tutorial on a Wattpad cover.
I'll be posting different tutorials on how to make icons, covers and vectors.
Give me a follow to see all of them.
Hope this one was helpful.
Bạn đang đọc truyện trên: AzTruyen.Top