Glossy, Animated look. (Part 1)
So, I stumbled upon an edit which made a normal picture look like it was animated and glossy. At first, I sucked at it, but today, I think I made progress and hence the tutorial.

This can be used in covers as well as in profile pictures. It's super easy once you get the hang of it.
✩ App used: IbisPaint X.
✩ Duration: 20 minutes.
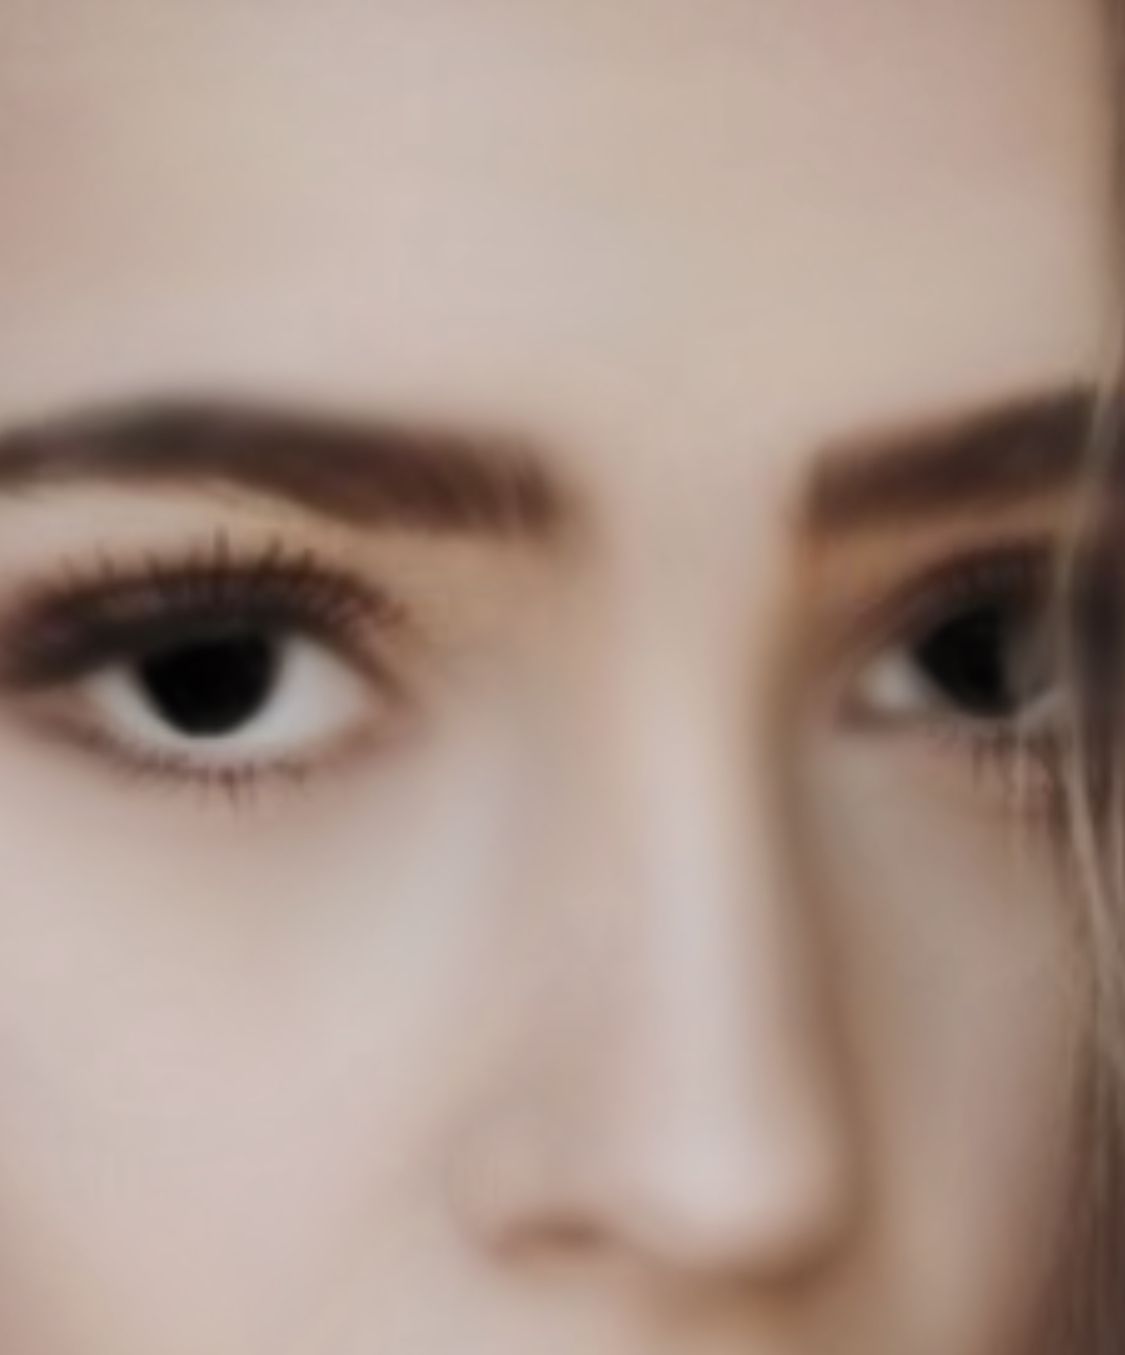
➳ Make sure that the picture you use is a close up and is not too blur. It should be clear.
➳ If you're using this as an icon set the canvas size to 780x780. If you'll be using it as a cover, the size should be 500x800.
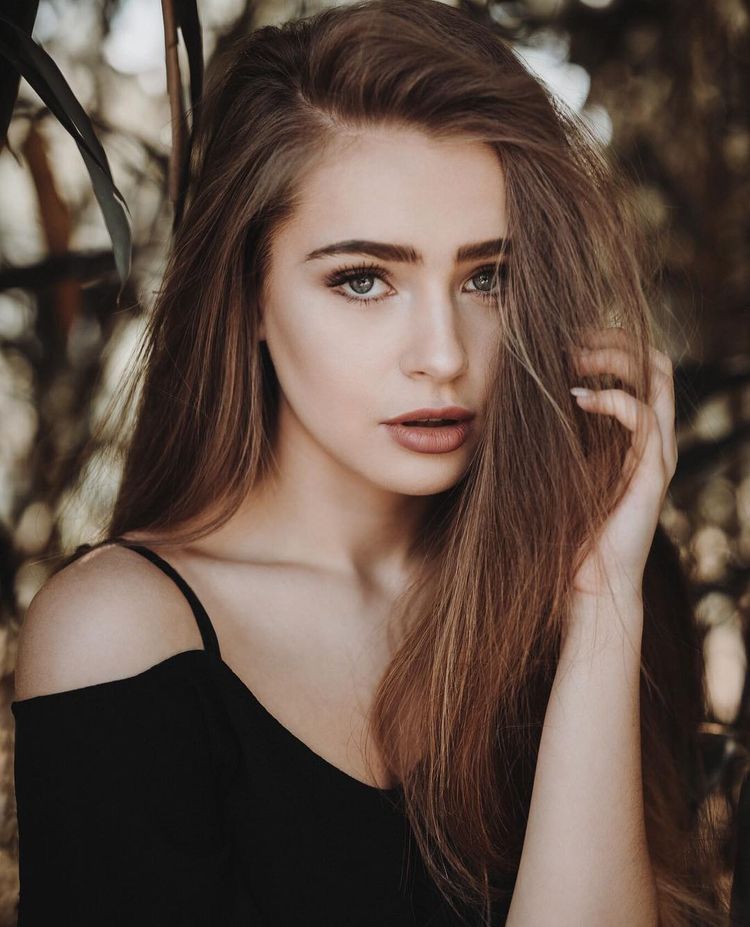
I'm using this picture and I'm using it as an icon.
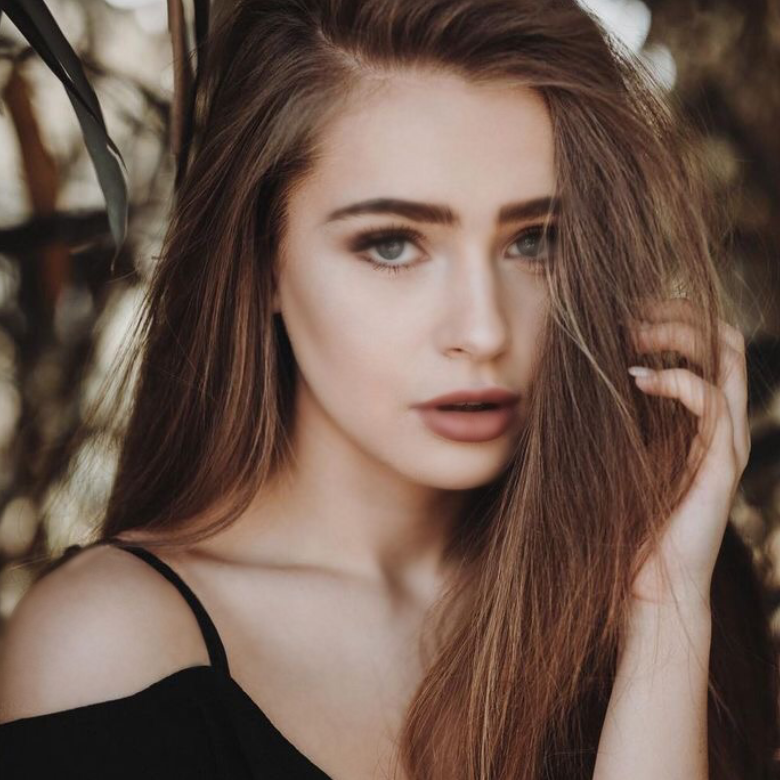
➳ Once you have adjusted the picture as per your convenience, duplicate the layer and turn off the visibility of the first layer.

➳ Once that is done, click on the visible layer and select the blur tool. You'll find that with all the brushes and erasers.

➳ The opacity it the took should be on the light grey side and the size could be anything that is preferable for you. Blue everything except for the hair.
➳Blurring is supposed to help reduce the noise of the picture. After blurring, it will look something like this.
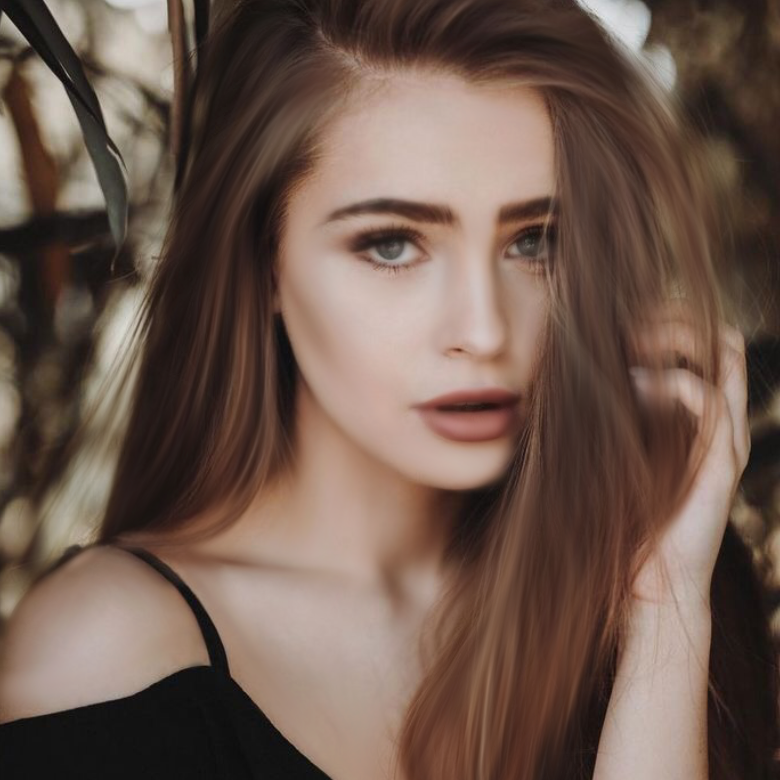
➳ After blurring, we will smudge the same picture and this time smudge the hair too. Smudge tool is right next to the blur tool.
➳ While smudging the hair, make sure to smudge it in the direction of the strand. Once you're done, the picture will start looking somewhat like this.
➳ Select another layer and set it's blending mode to Multiply. Choose an Airbrush and a darker shade of brown.

➳ Brush over on the edges of the face and all the necessary parts that you want to be highlighted. This is like contouring in make up.
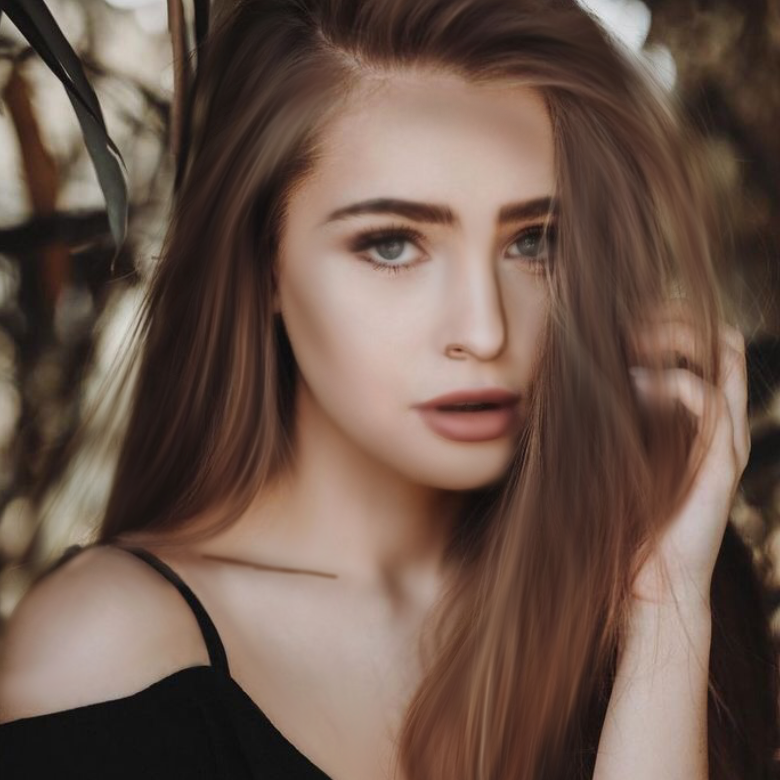
➳ Once you're done with that, blur all the parts you contoured.

➳ Select a new layer and an Airbrush. Choose the black colour and brush it over the irises. Then, long press the white area of the eye and brush the colour you get over it.
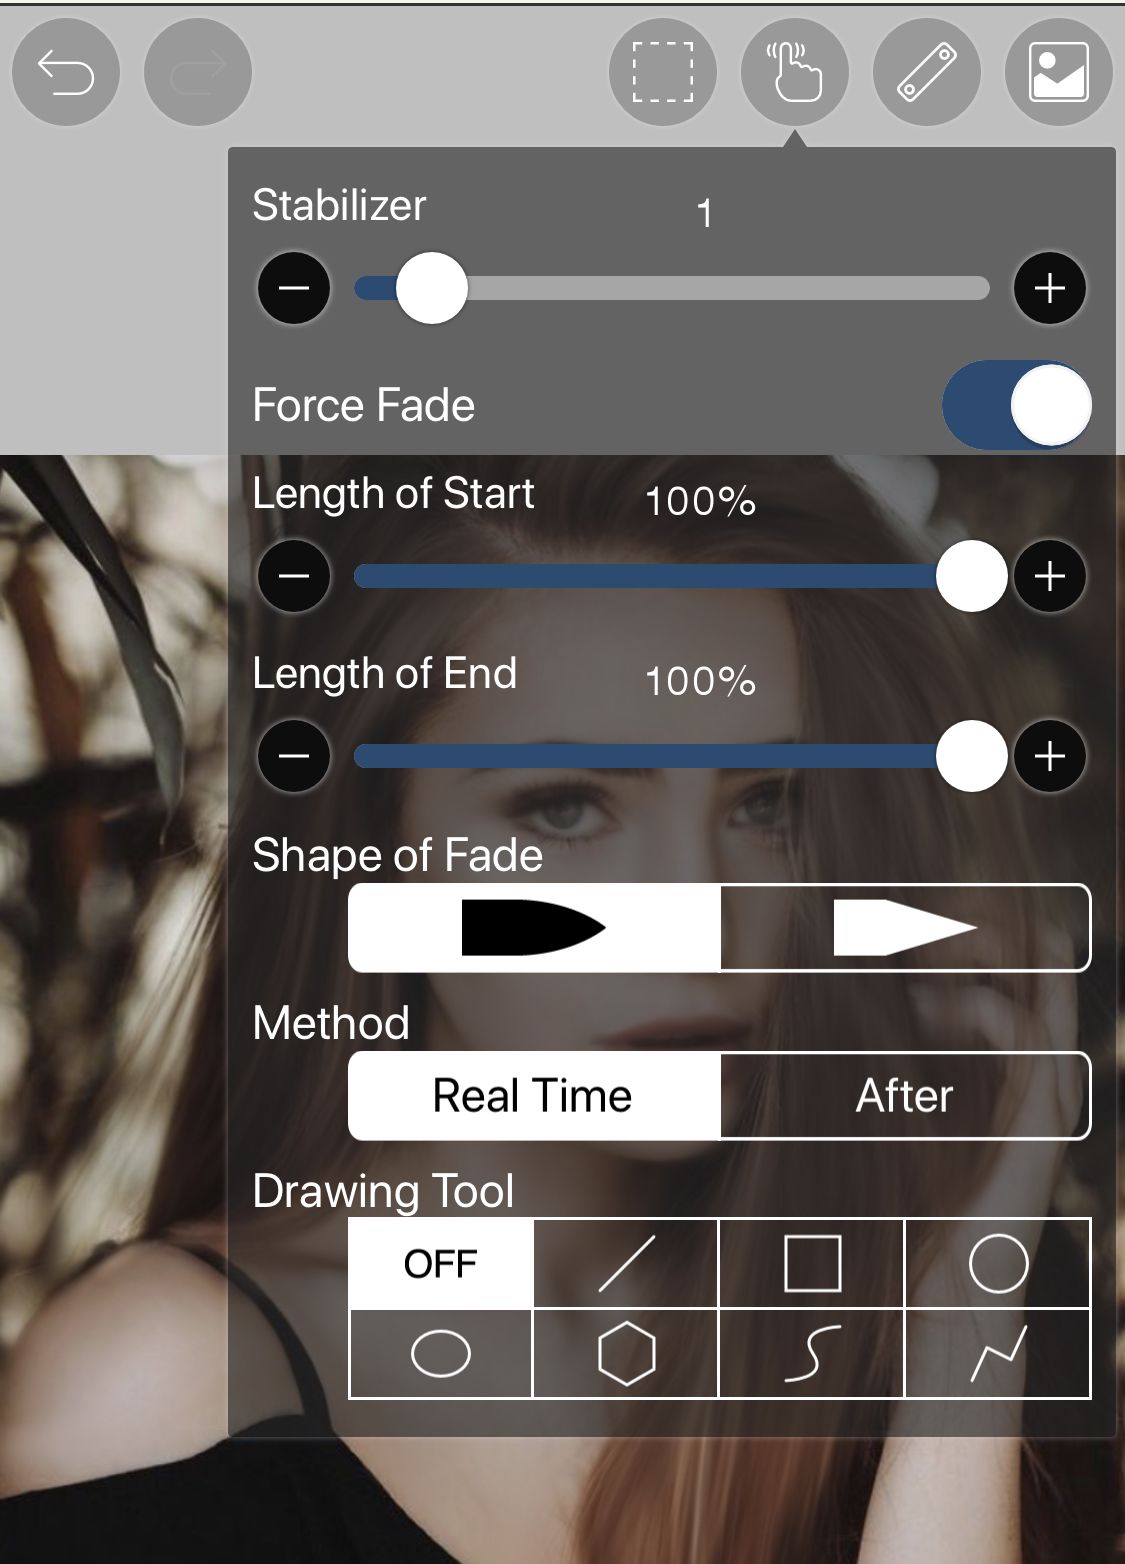
➳ Select a new layer and set it's blending more to Add. Turn on the stabiliser and the force fade to 100%
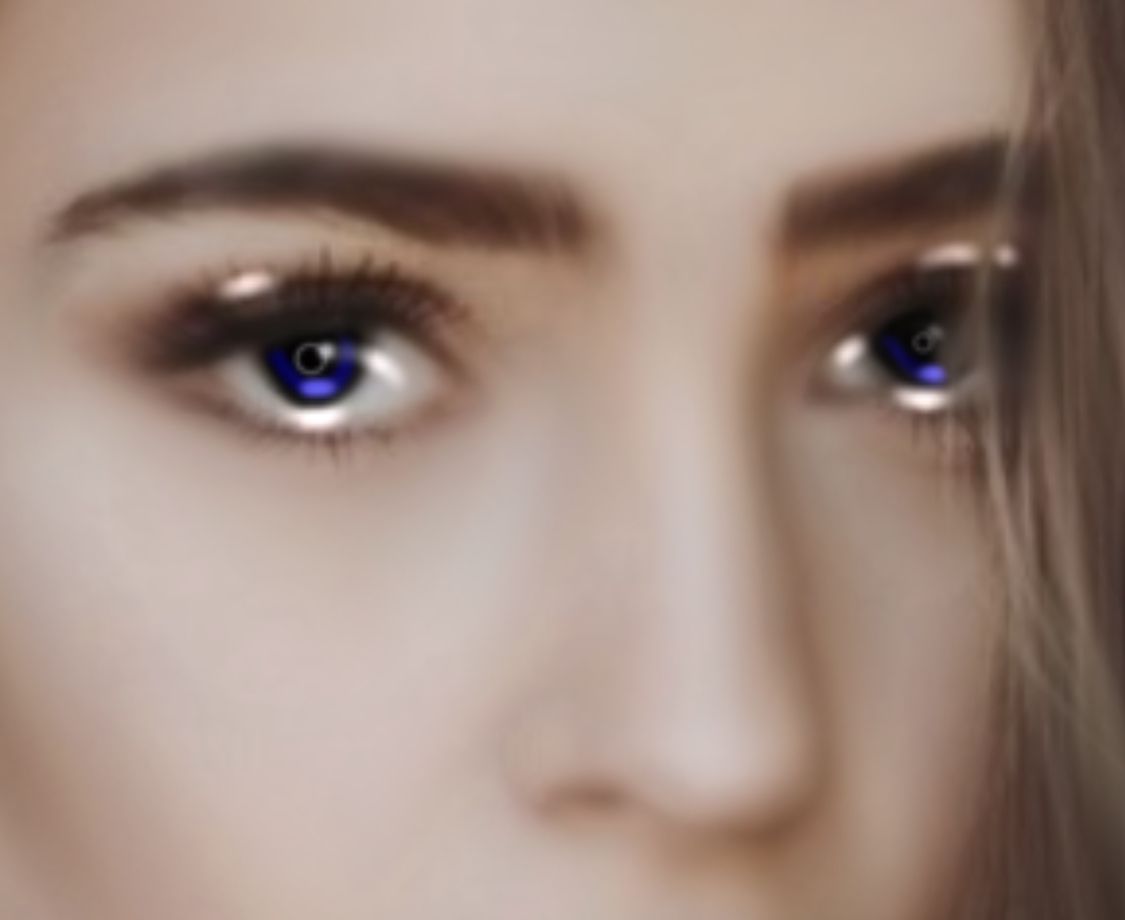
➳ Once you're done with that, choose a darker colour of your desire and draw a curve around the irises. Trace on it twice to make it visible. After that, choose the lighter shade of the same colour and draw a small curve and repeat till it is brighter.
➳ Change the colour to white and draw a small dot near the end of the curve. Change the brush to Circle Fade Out and touch the screen once.
➳ Change back to an airbrush and highlight area near the eyes to make it look glossy. The end product should look something like this.
➳ Select a new layer and set it's blending more to Add. Keep the white colour and with an airbrush, draw a small dash beneath the edge of the eye. Change the brush to Dip Pen (Soft) and lower the opacity of the brush and place small dots around the dash.

➳ You can add the dots wherever you desire. Repeat the same on the other eye.
➳ Get another layer, change it's blending mode to Add, choose the Airbrush, increase its size, decrease the opacity and move it on the top of the nose once. After that, repeat the same thing you did with the eyes on the nose.
The end result will be something like this.


Bạn đang đọc truyện trên: AzTruyen.Top