25 || Stickers
Stickers are a big part of design here on Wattpad because people use them as awards for contests. If you do a Google search for 'book award stickers' you'll notice they are, for the most part, round. There are a few that are oval and a square one here or there but the vast majority are round. It's easier to fit a round sticker on a book cover and not cover up any of your text than it is with a square one.
I've noticed a lot of people doing square stickers, which basically ends up looking like an icon. I've also seen people make a square image and slap a circle outline on it. If the contest is a graphic contest you have a decent possibility of the designers being able to cut out the circle image, if it's a book contest you're less likely to find that since not all authors also make graphics. The best thing is to make it a circle to begin with and have it with a transparent background so it's much easier for contestants to use them right when they get them. People are less likely to use the sticker if they have to do extra work to make it look good on their cover.
You want this ...
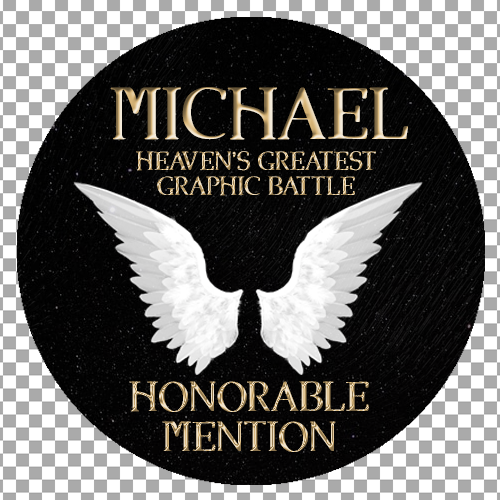
Not this ...
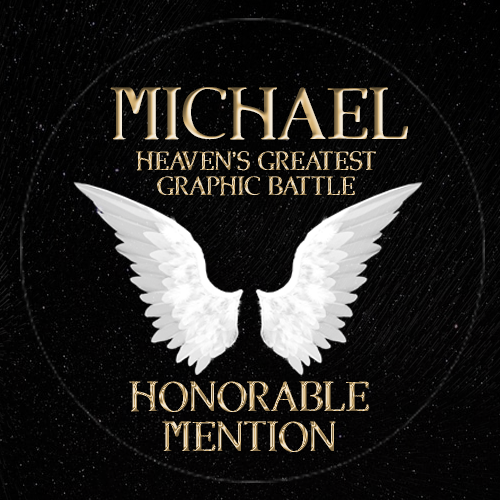
I have also seem people place the circle line on the sticker and not center everything in the circle so if you did cut it out things would either be cut off or very close to one edge.
If your design program offers the option to use a clipping mask (I use Photoshop CS6 to design) it makes it much easier to place backgrounds and create a circle image. All you need to do is find a base circle image.
Like this
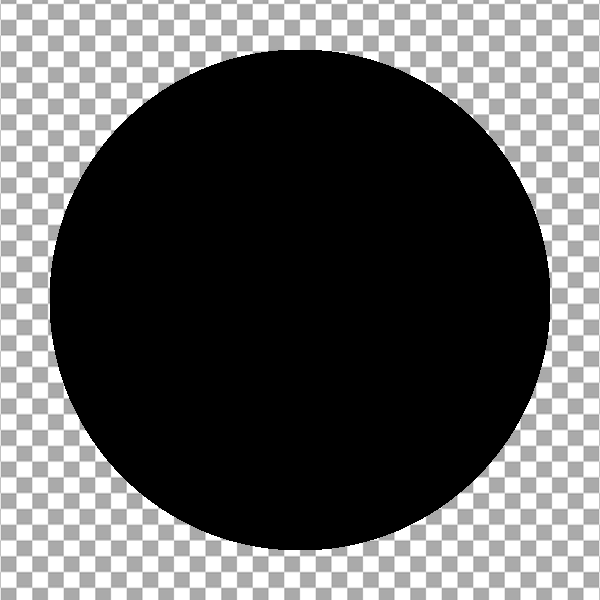
This is the circle I use as the base for all my sticker designs.
All you do is drag your layers onto the circle then 'clip' them to the circle. Let me show you an example with a sticker that doesn't have black layers so it's easier to see.
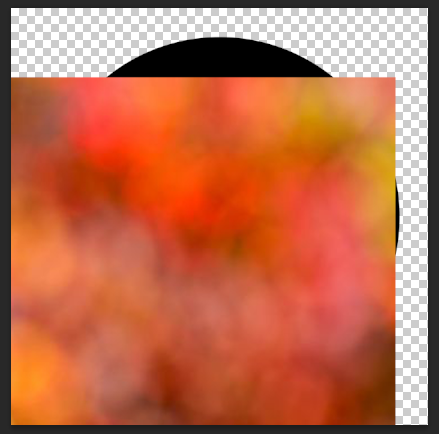
I've added the first layer to the image, but as you can see it's certainly not a circle.
We must use the clipping mask to make it a part of the circle. The clipping mask allows you to force a layer to conform to another layer.
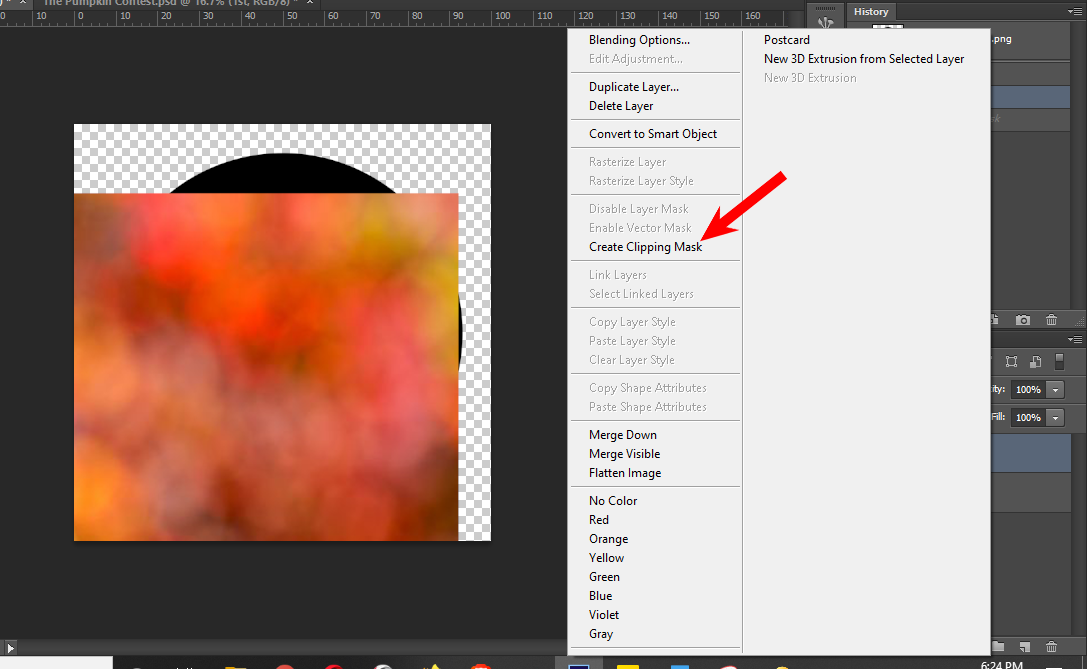
If you right click on your layer a dialogue box will pop up, click on clipping mask (indicated by the red arrow)
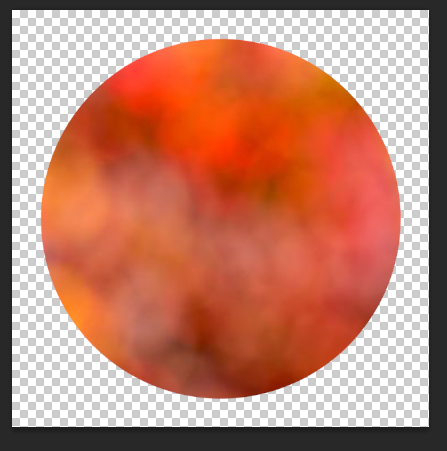
You can see the square layer is now part of the circle and conforms to its edges.
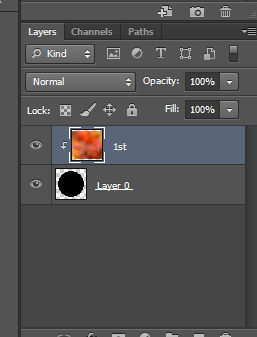
This is what the layers look like when they're clipped. The one issue you may face when clipping layers is anything you add will automatically be clipped. You can avoid this issue by placing the clipped layers into their own folder to keep them separate from the res of the layers.
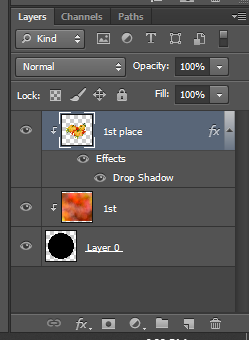
You can see the pumpkins automatically clipped to the layers. While in this case it doesn't make a big difference since they have to go on the circle anyway, there are times when you want only a certain image clipped and you'll need to separate the layers.
Once you have your layers in place all you need to do is add your text then save the entire image as a PNG. A PNG file is the only file capable of having a transparent background. While a PNG file can have a background, it can also be saved without one.
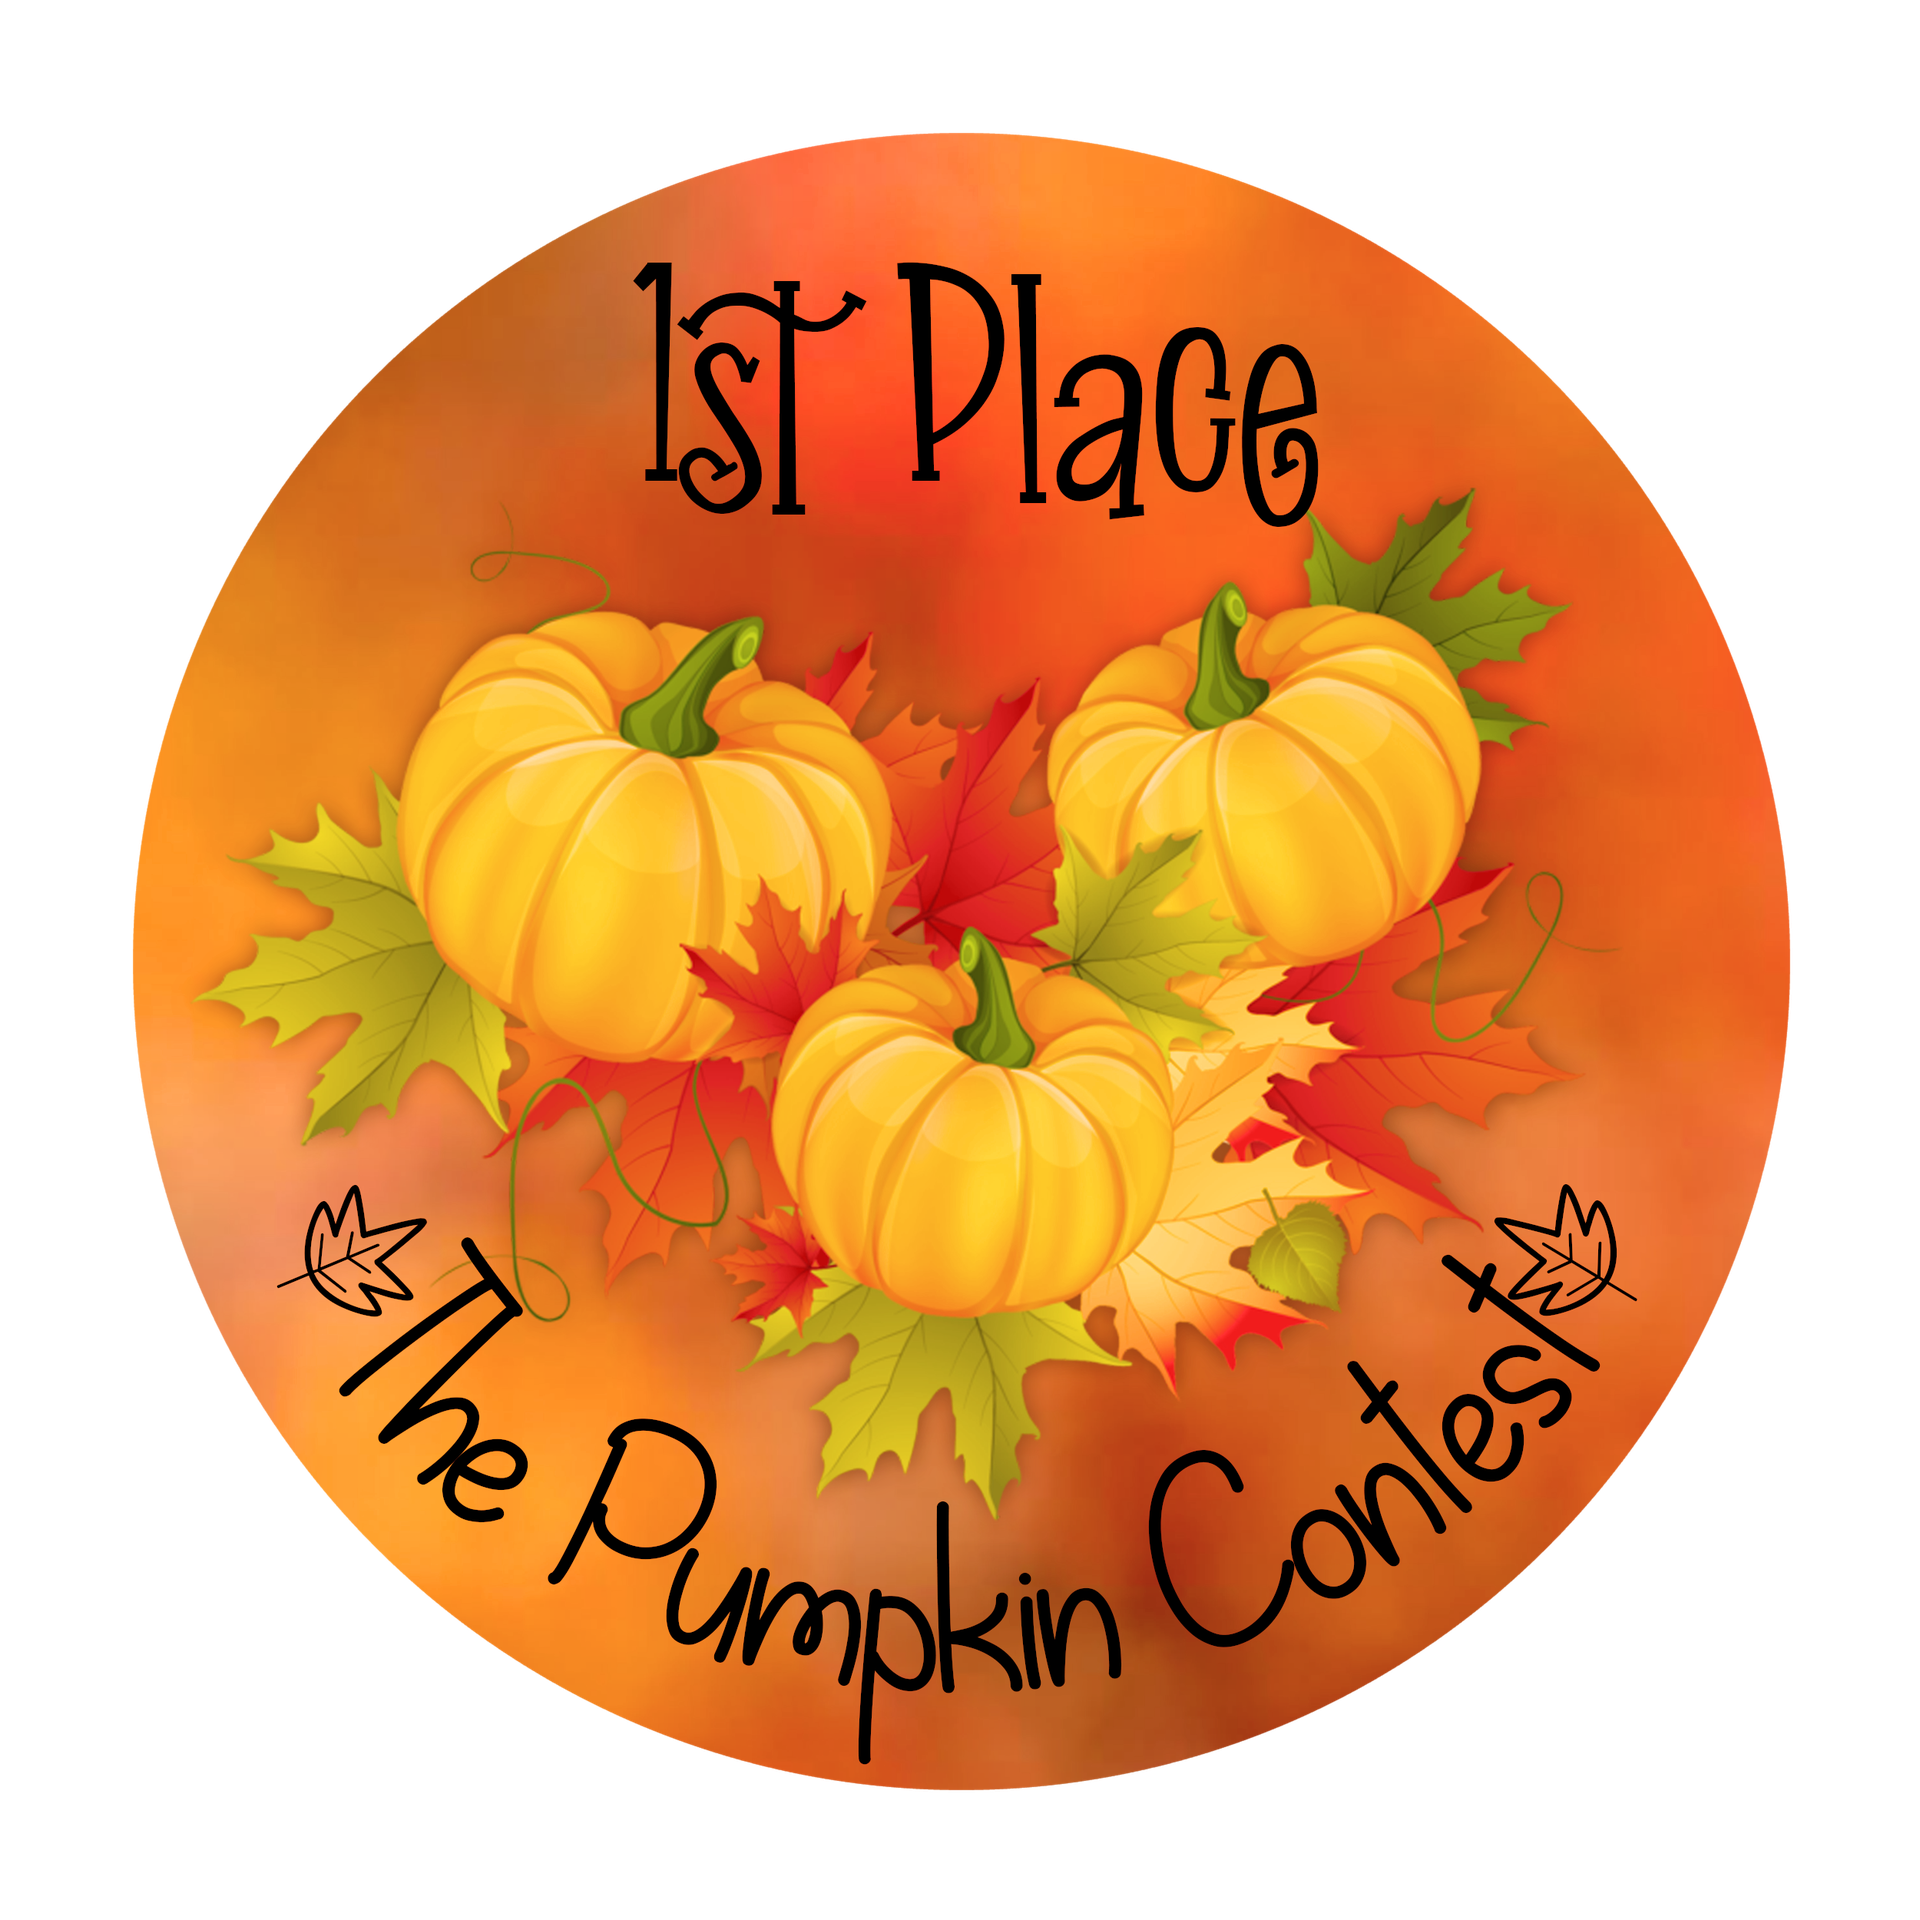
This is what the completed sticker looks like.
Tutorial by DarkAngelGraphics
Bạn đang đọc truyện trên: AzTruyen.Top