Coloring, Blends, and Fake Topaz in Pixlr || @mulanjiang
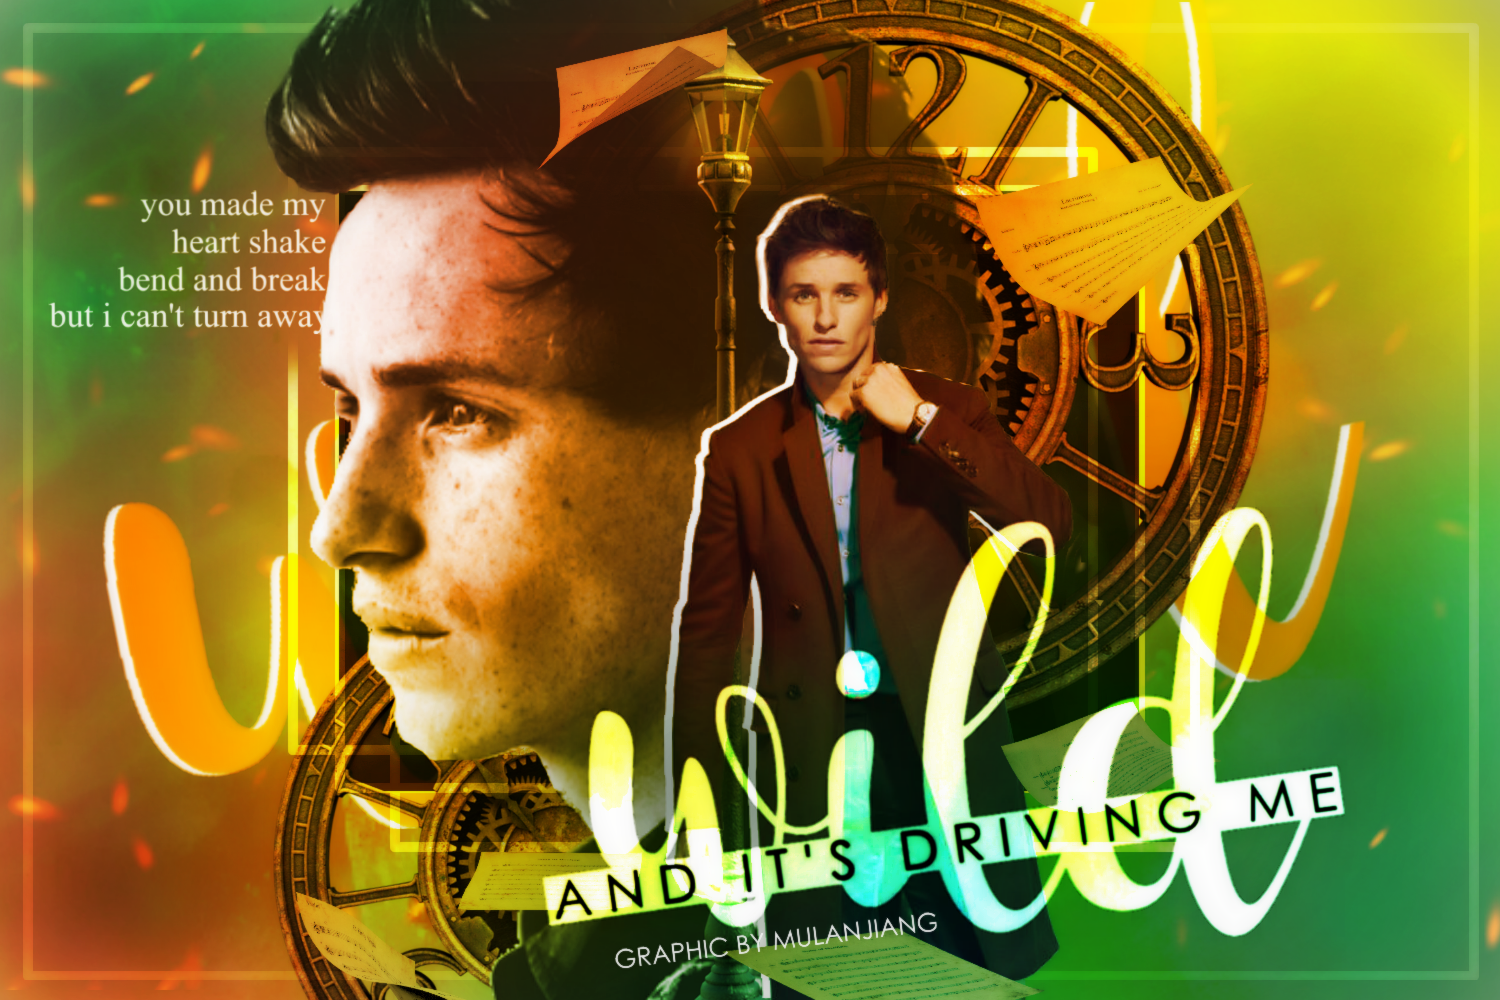
Finished products:


COLORING/BLENDS:
I will be showing you how I did the coloring for the second blend, but the process is the same for the first!
1) I like to start with a 1500x1000 canvas, but any size is fine.
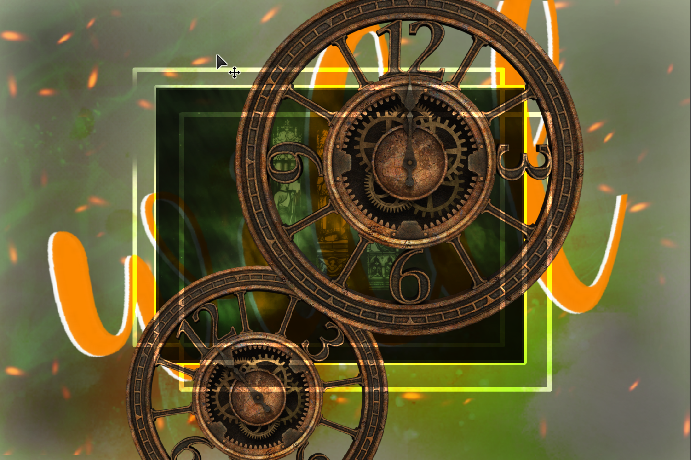
2) I then mixed several textures from deviantart together (by evey-v and fantasy-resources) and also added some overlay rectangles and clocks (frozenstocks on DA). I also adjusted hue/saturation on each layer to make it all blend (though we will add a color overlay/fake PSD later, it is still important for it to blend well without it!). This step is really up to you and will vary with each blend

3) Then came the models/text/other details

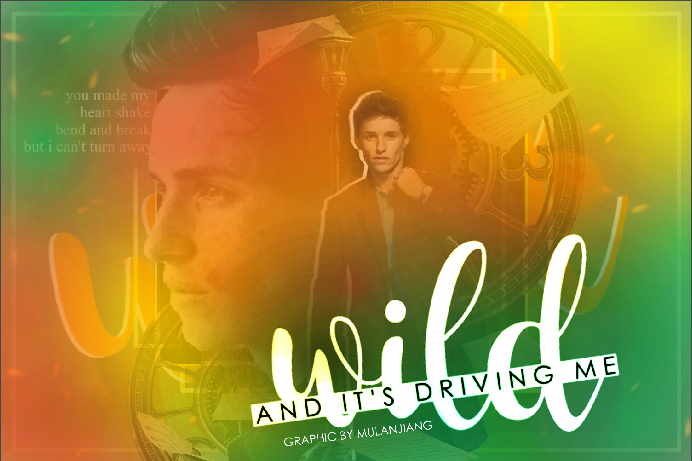
4) To really make it blend, you now have to add coloring. Create a new layer and brush over it with various colors to cover the entire canvas (I placed this layer beneath the text)

5) Then, turn the layer to overlay, and you're done!

FAKE TOPAZ:
It's not really topaz, but it makes the graphic softer and smoother.
1) save the image but don't close out of pixlr
2) add it as a new layer on top of all the others
3) go to filter -- sharpen
4) go to filter -- gaussian blur -- set it to 11
5) adjust opacity to around 30-50% and you're done!
I hope this helps, and as always, feel free to ask questions (be sure to tag me)!
(and yes, I know I messed up on the lyrics to Wild XD)
.
Bạn đang đọc truyện trên: AzTruyen.Top