⭐DIY DIGITAL FORGIVENESS BOOKMARK BY @RachelS8766⭐

⭐⭐⭐⭐
To celebrate the theme of forgiveness, I've put together an easy tutorial which everyone can follow regardless of what program you use. This does focus on the very basics of graphic design so it should hopefully be simple enough to replicate. For mobile users, this will work best on PicsArt.
Starting with a 300x800 canvas, I created the base for my bookmark.
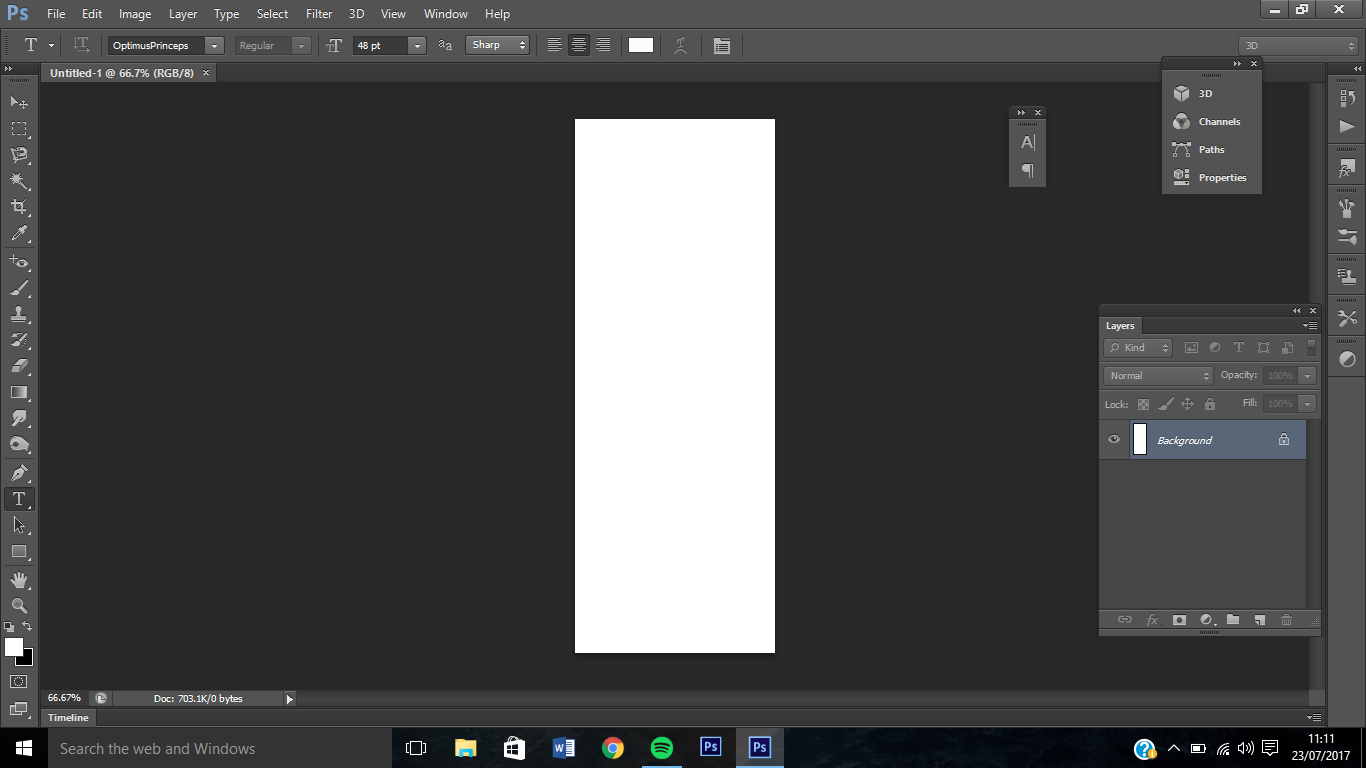
Taking a nebula stock from pexels (I will link the resources in an imgur album, which can access from the comments section). Using the free transform tool (or whatever the equivalent is on the program you use), I positioned the stock central on the canvas.
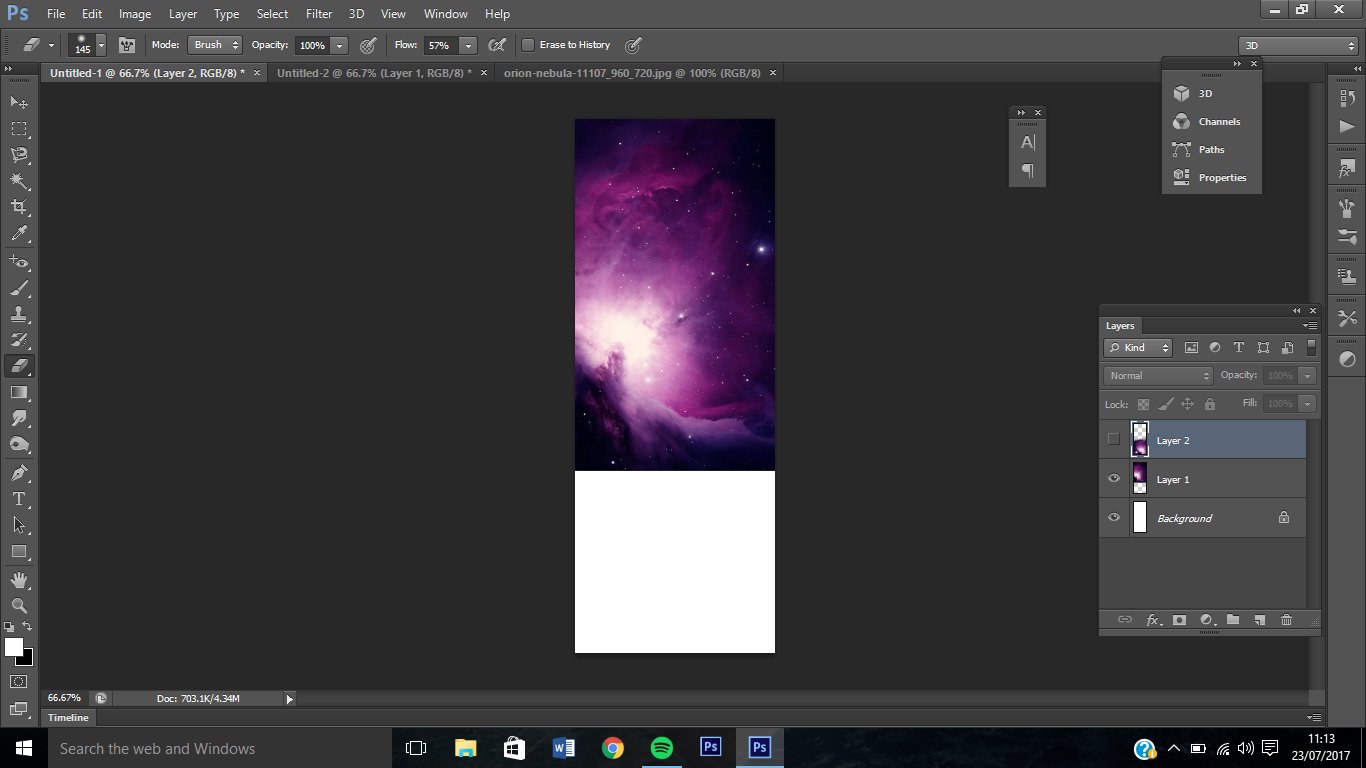
I then duplicated the layer, and flipped horizontal to fill the bottom half of the bookmark. If you have the option to name your layers, it helps to do so. I used a soft eraser at around 30% opacity to get rid of the hard edge on the duplicate layer. I was left with this:
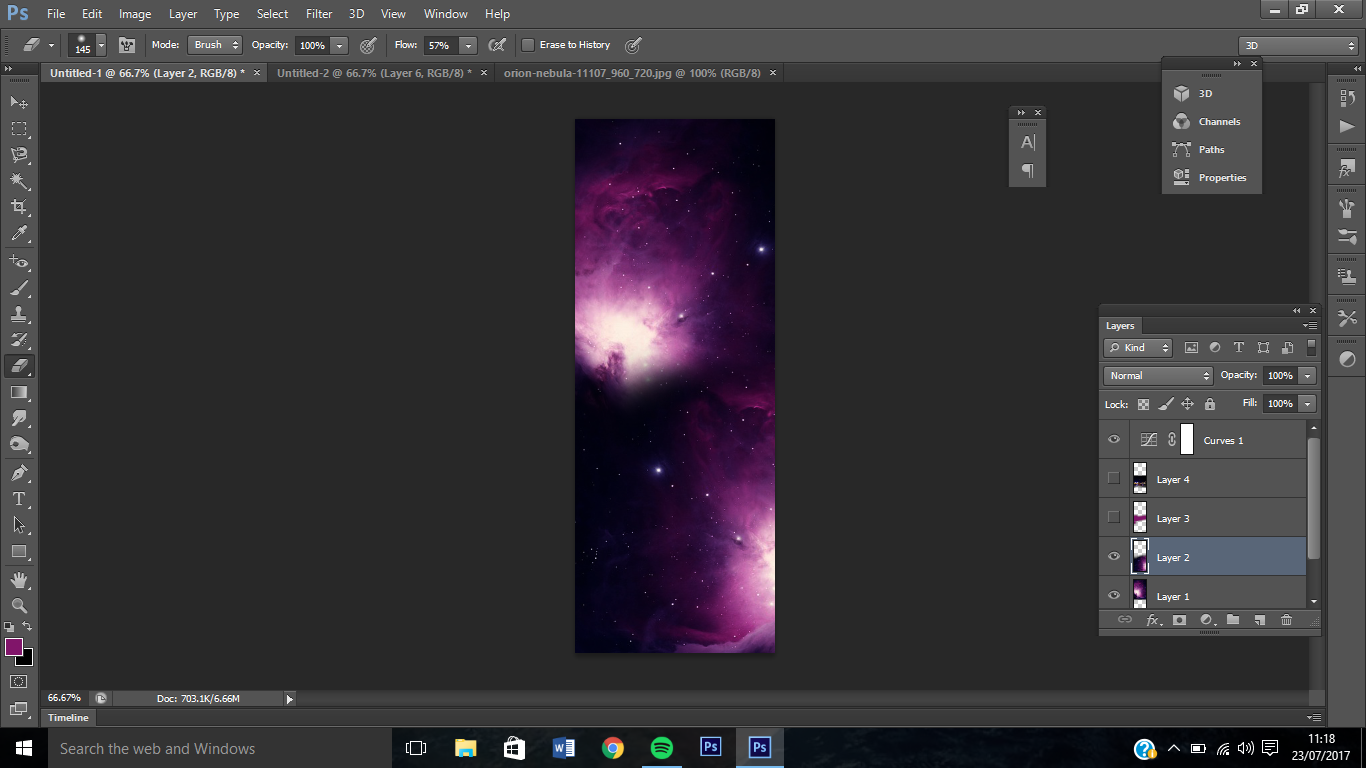
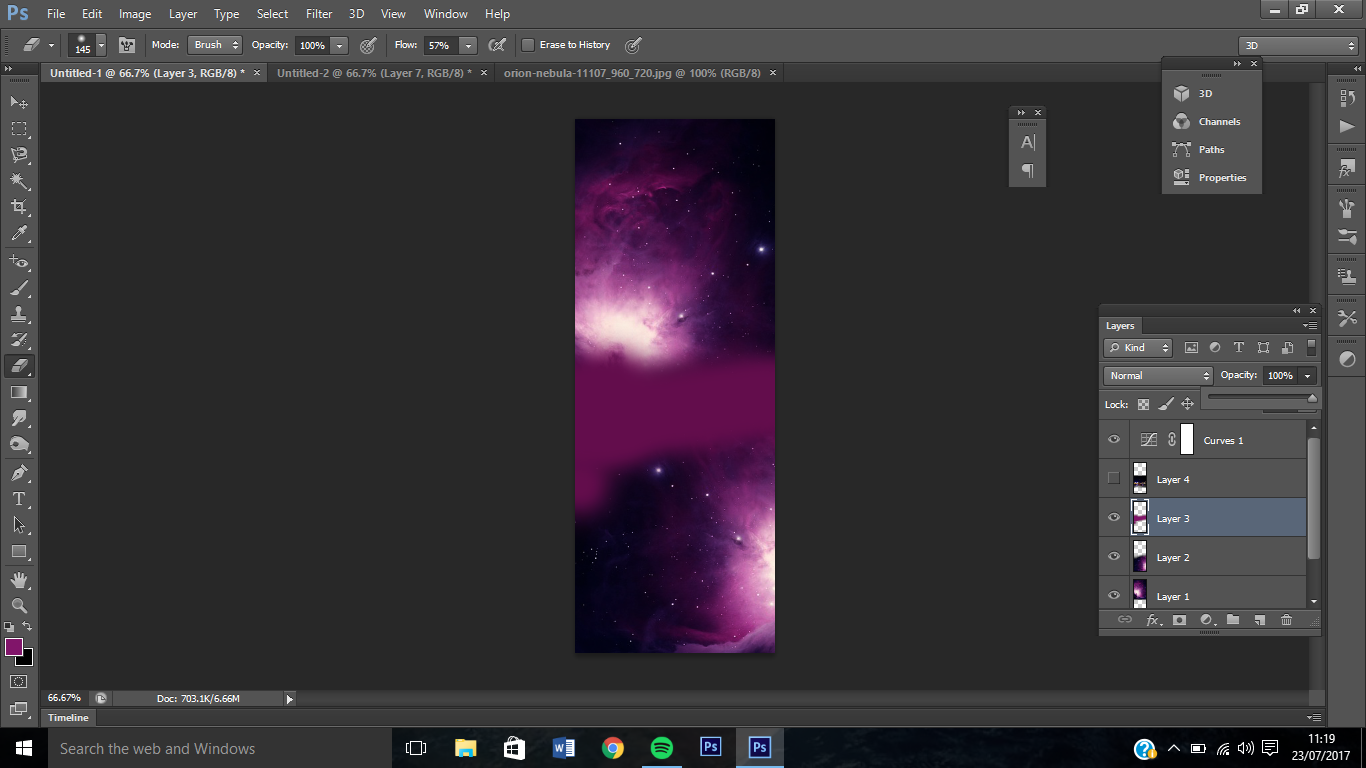
I wanted to fix how dark it looked in the center so using a paintbrush, I selected a dark pinkish colour and painted. I reduced this layer to 39% opacity.
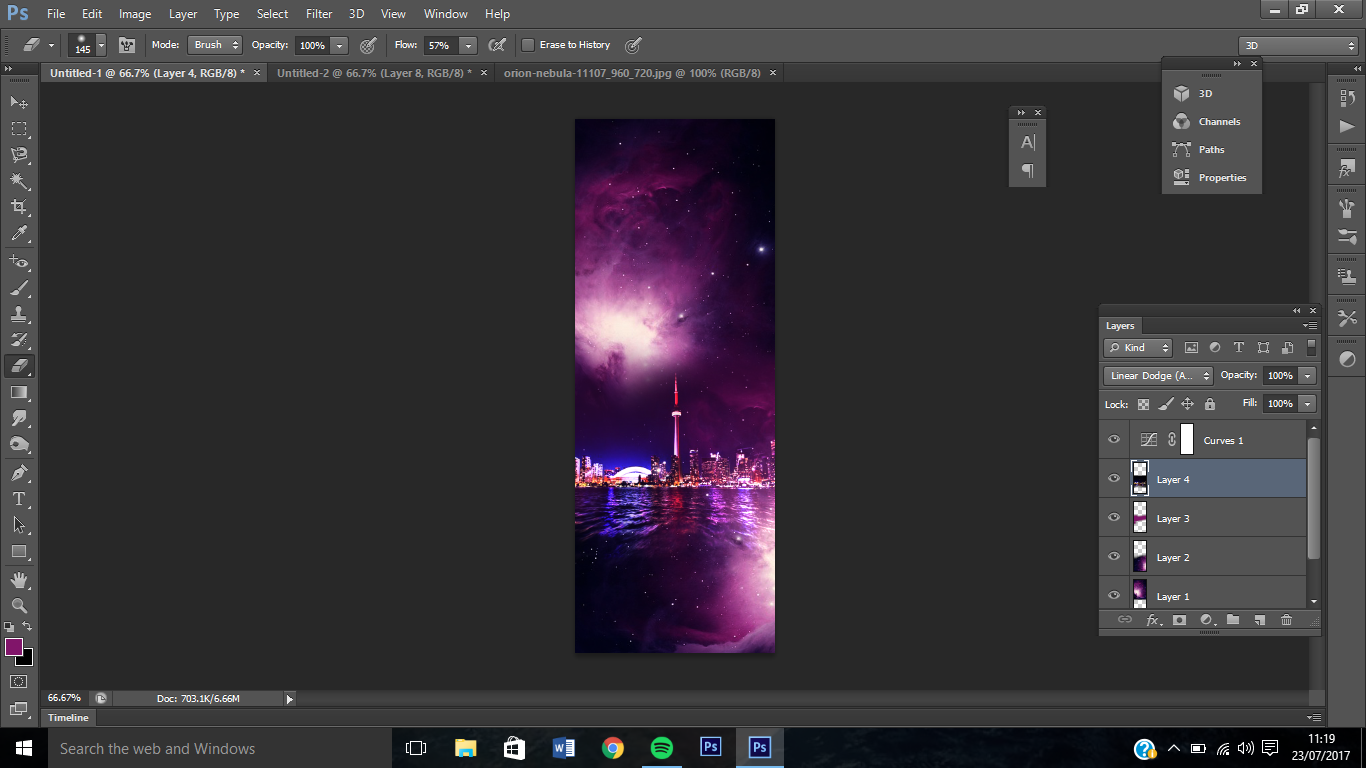
Taking the city stock, I set the layer style to linear dodge. Depending on what program you use, you can use an alternative such as screen. If you don't have any of these options, use a soft eraser to get rid of the hard edges and blend as best you can into the bookmark. I also used a curves layer here, but you can try using various filters available or play around with the brightness or shadows and highlights to achieve an effect you desire.
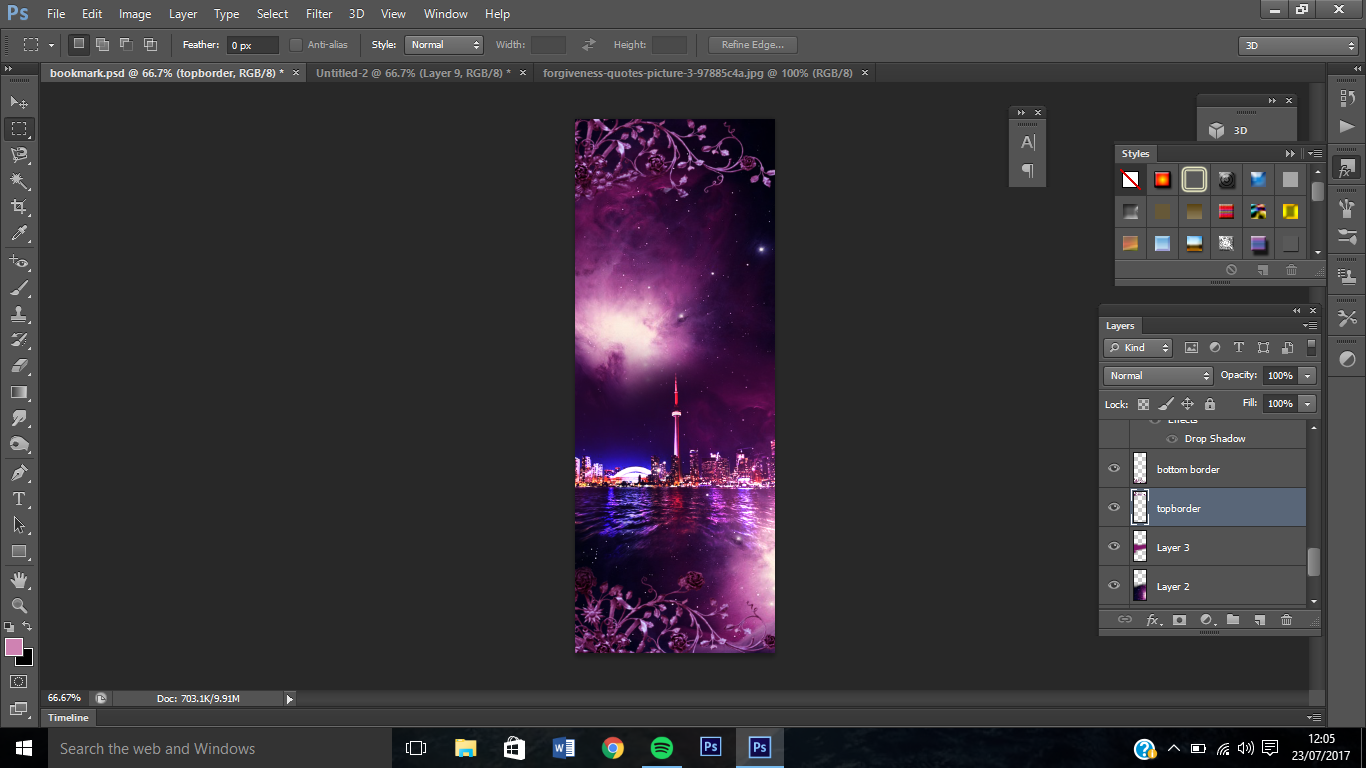
Using a border from Deviantart, I duplicated and flipped one vertically and changed the hue and saturation to suit the colour scheme of the bookmark.
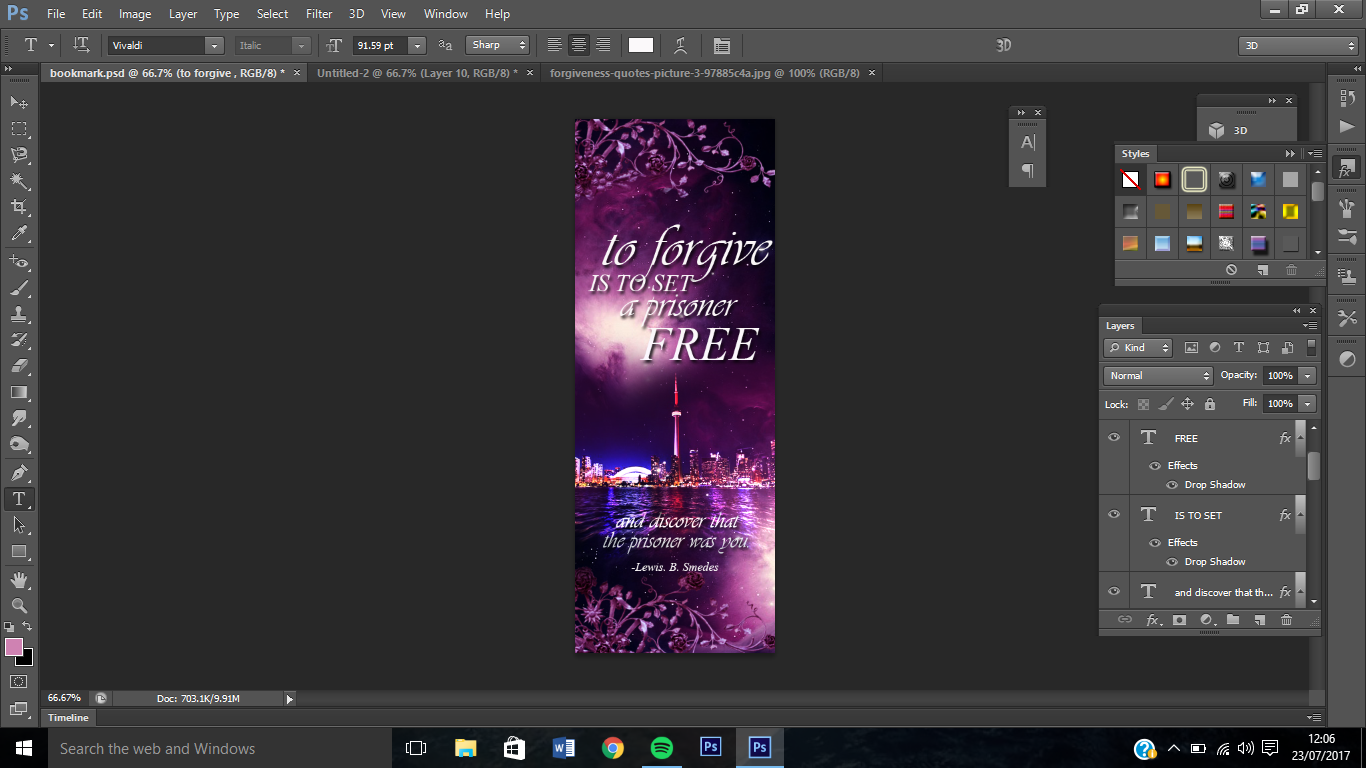
For the cursive font, I used "vivaldi" and for the serif I used "TimesNewRoman" however, you can choose what fonts suit your preference and position it on the bookmark how you like.
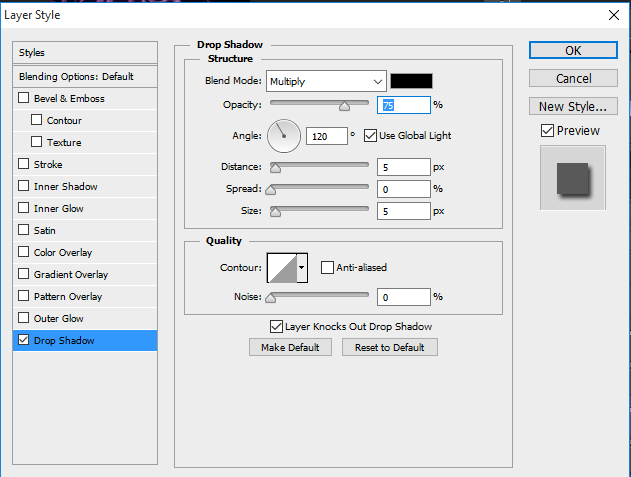
I added the following drop shadow to the font:
I then took a PNG of birds and used hue/saturation, through IMAGE >> ADJUSTMENTS>> HUE/SATURATION and increased the lightness so the birds changed to white.
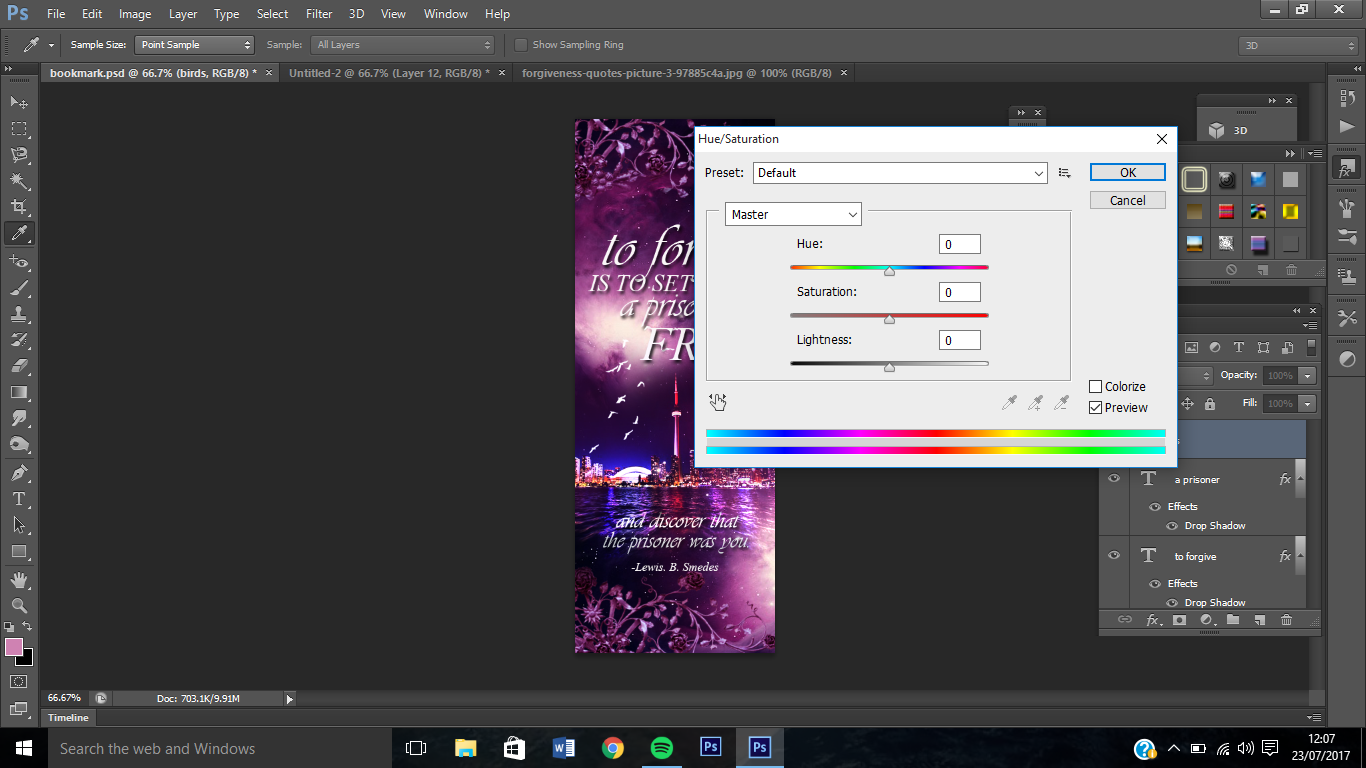
To achieve the final result! This is an extremely basic tutorial so I hope it's fairly easy to replicate in the colours/layout of your preference.
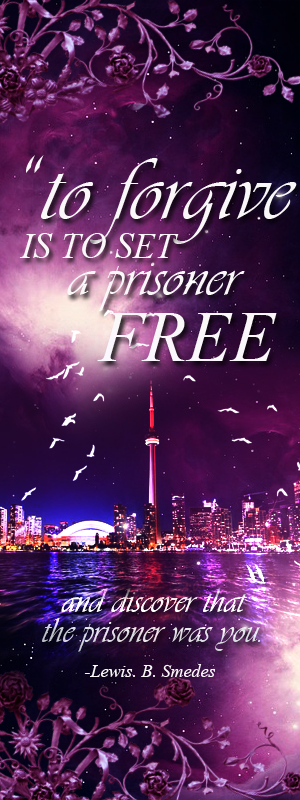
Thank you for reading. I'd love to see your results if you try this so feel free to leave a link to your try in the comments!
Bạn đang đọc truyện trên: AzTruyen.Top