Ibis Paint x tutorial
Haaaah, karena ada yang berhasil membujuk Tendo untuk update, okelah, akhirnya Tendo up lagi.
Tapi ini yang terakhir ya, dan tutorialnya adalah pembuatan gambaran Tendo yang telah lampau, not new request.
Jadi bagi yang request harus tetap sabar menanti till i finished my national exam.
Hookeh, kali ini Tendo berbagi cara menggambar OC milik Tendo, his name Agni.
FYI, I used Ibis Paint x ver 4.3.2, mungkin kalau kalian pakai versi yang beda, toolnya juga akan berbeda letaknya, dan di versi yang lebih rendah dari ini, proses menggambar tidak bisa dijadikan video.
Ah daripada Basa basi, langsung saja.
Let's go to first step.
1) Draw on the paper first, it's help you to make the better Line art. (Gambar di kertas dulu, biar gampang buat garisnya, biar lebih rapi dan terkonsep.)
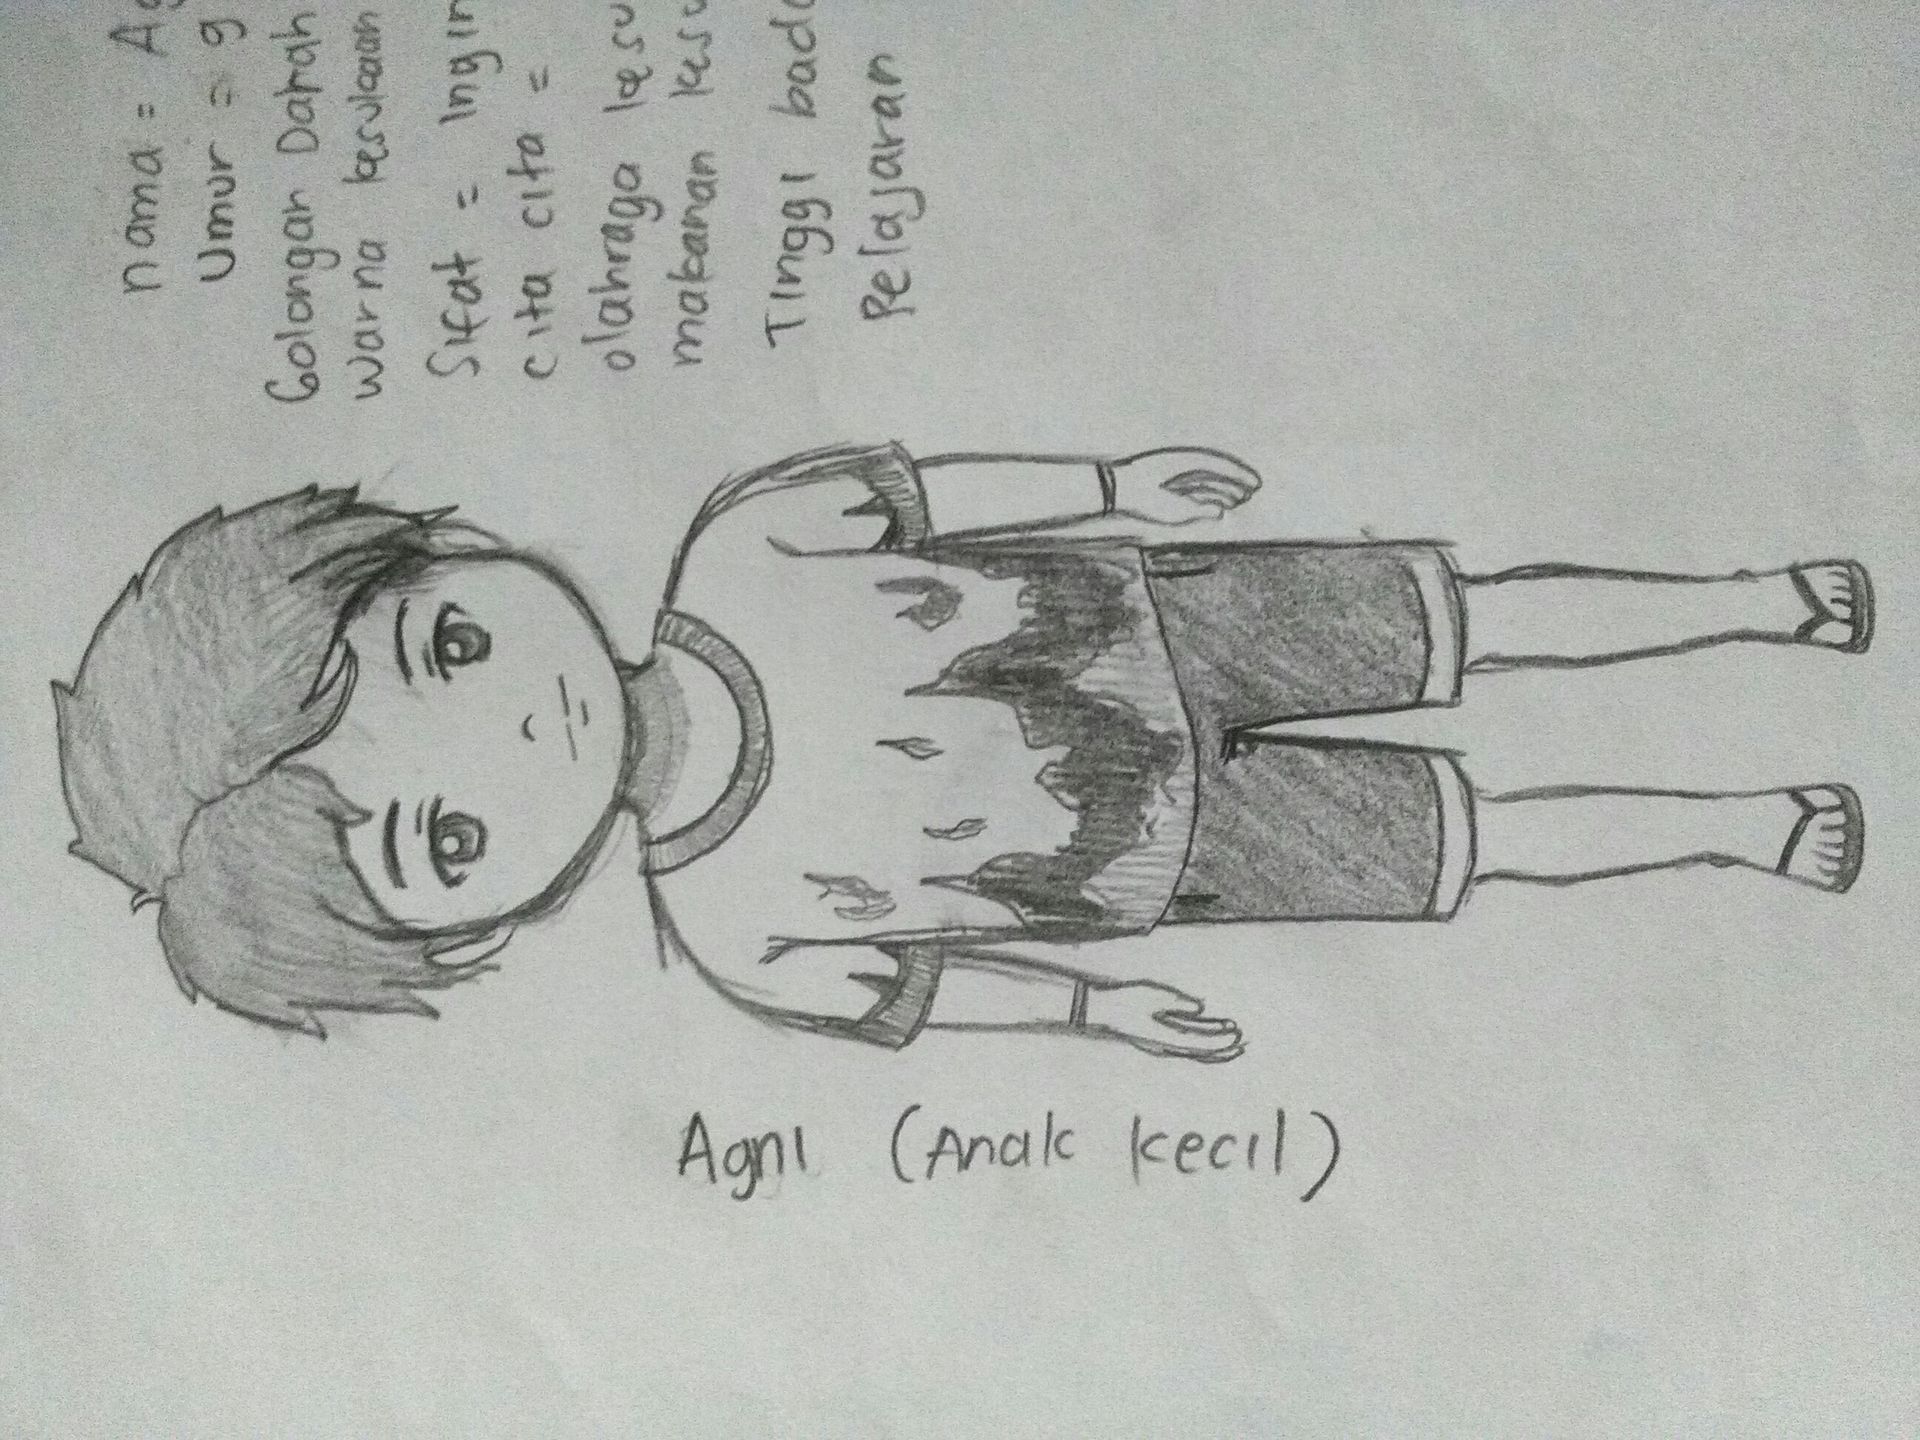
2) Second, take picture. And than go to Ibis Paint x application. (Kedua, silakan difoto lalu masuk ke aplikasi Ibis Paint x)
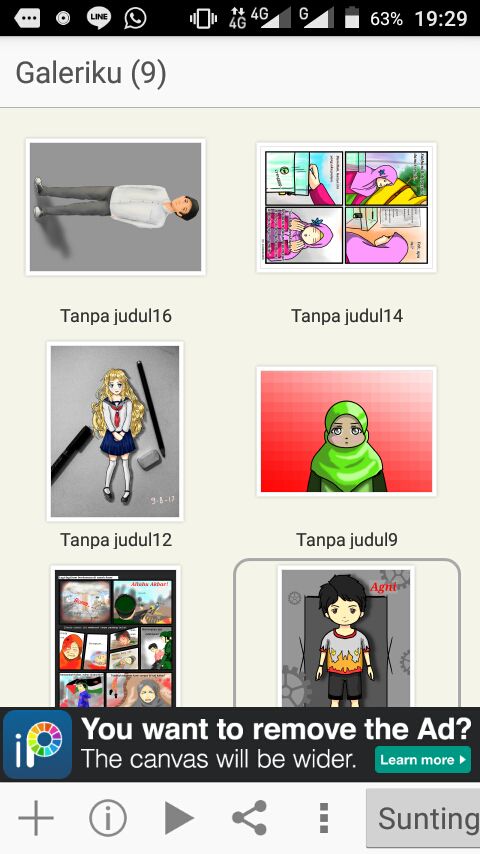
3) Press the plus (+) button at the bottom corner to make new canvas. (Pencet tombol plus di pojok bawah untuk membuat kanvas baru)
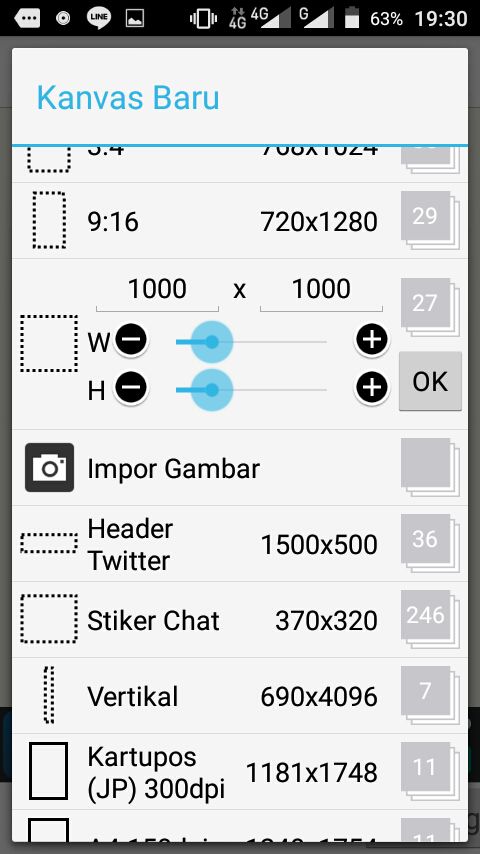
4) Because we want to make the Line art first, choose the Import picture, or the option which have camera symbol. (Karena kita mau buat line artnya dulu, pilih Impor Gambar atau pilihan yang ada gambar kameranya)
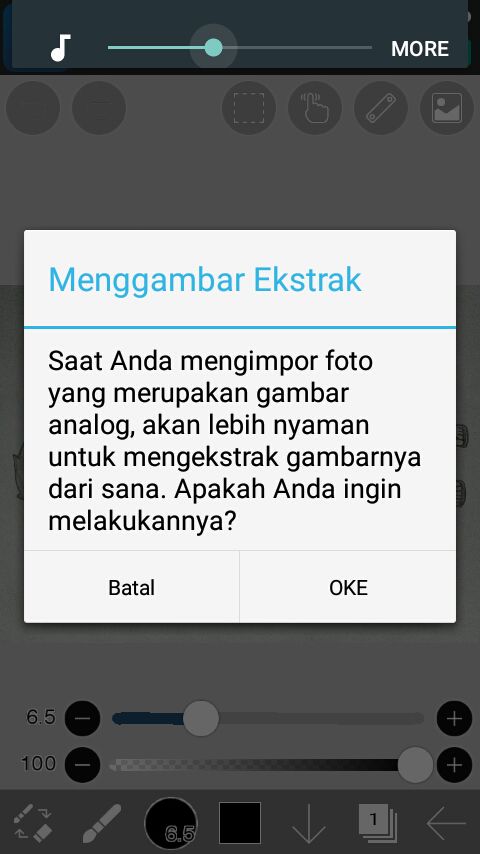
5) Next, choose your picture, after that extract confirmation will appear. For me, i choose Ok.
(Lalu, pilih foto tadi, setelah itu jendela konfirmasi ekstrak akan muncul. Kalau aku pilih Oke)
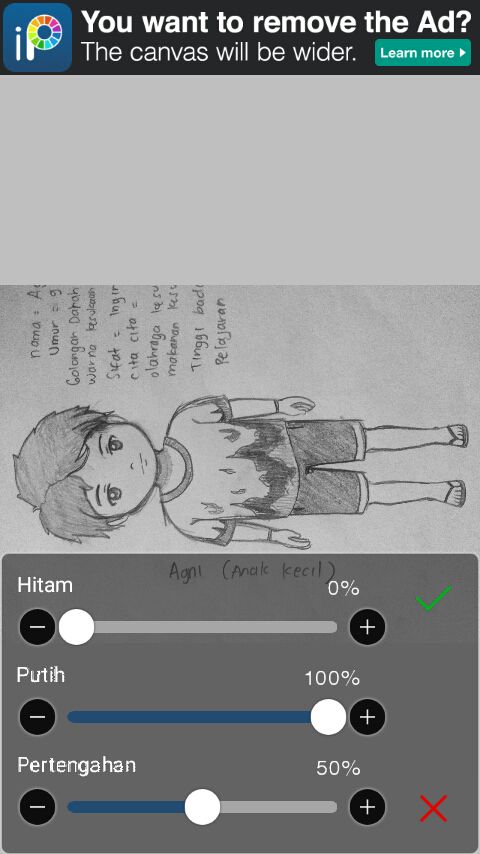
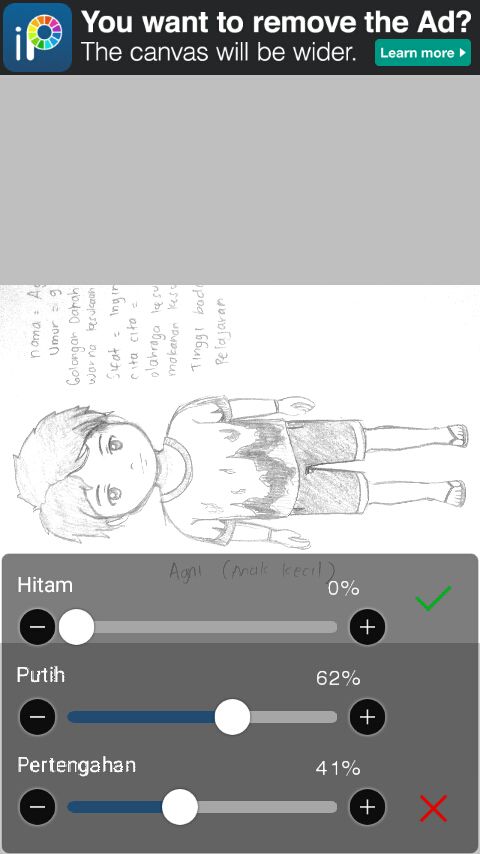
6) Set the brightness ( atur kecerahannya)
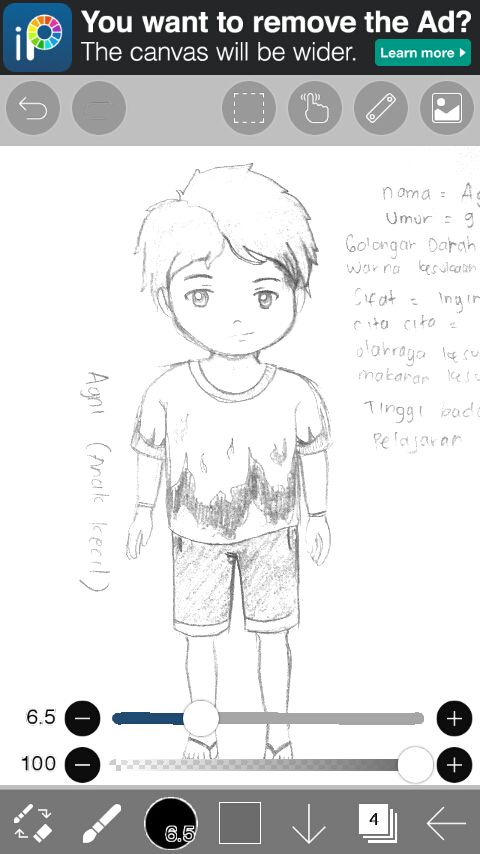
7) Let's drawing......
8) Press the layer symbol, it placed at the bottom right, number two after back button.
(Tekan simbol layer di pojok kanan bawah, letaknya kedua setelah tombol kembali)
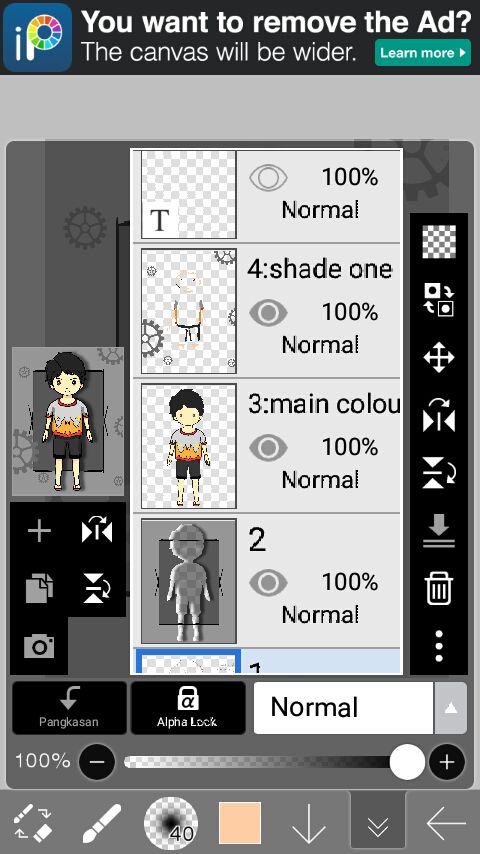
9) Add new layers, separate outline, light, shade, main colour, background, and main pict in different layer. Place outline layer at the top and the another follow that order ( Tambahkan layer layer baru dengan urutan outline, cahaya, bayangan, warna dasar, background, lalu gambar asli)
10) Tap the outline layer, than Tap the brush type button, it placed between colour button and brush button. ( Pencet tombol tipe kuas yang terletak di antara tombol warna dan tombol kuas)
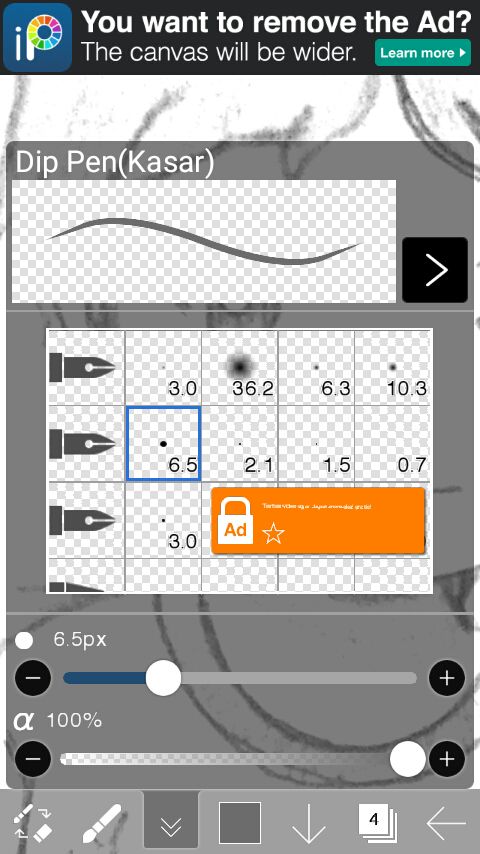
For me, i choose hard dip pen to draw the outline. (Kalau Tendo, pilih dip pen kasar untuk gambar outlinenya)
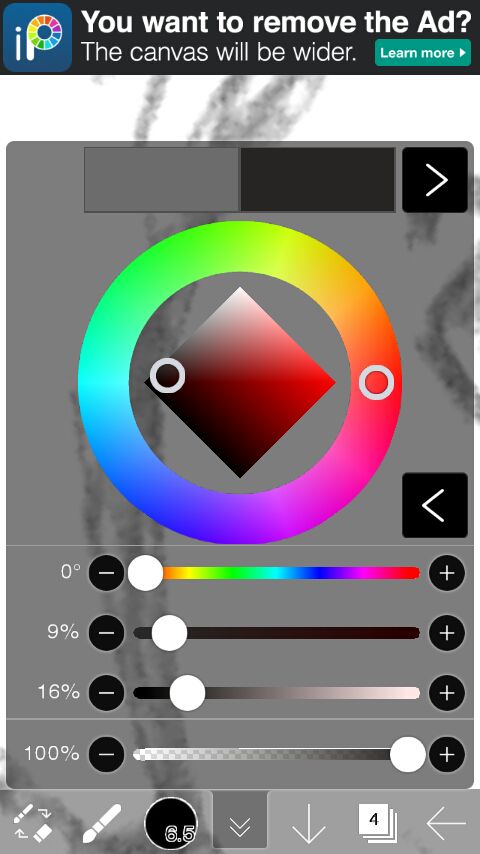
Than choose the colour for the outline [colour button]. (Kemudian pilih warna untuk outlinenya)
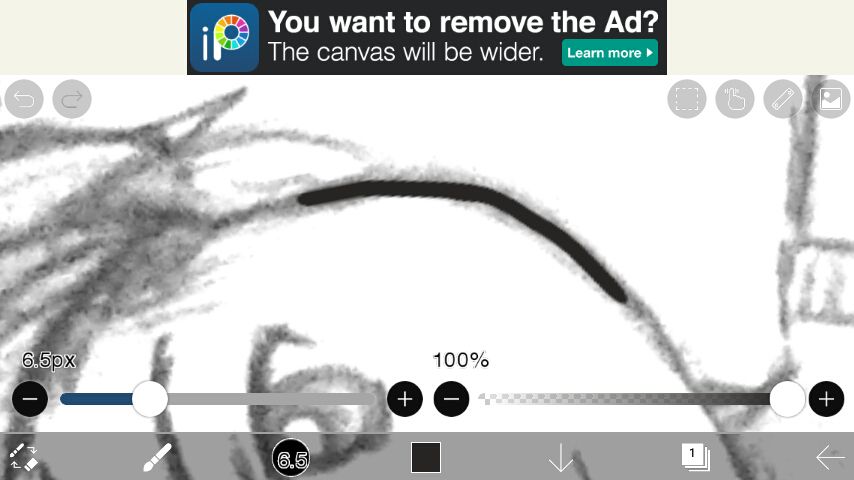
11) Ready to make Line art, make Line following your main picture untill all Line done. But if you want to make it symetry drawing, select ruler button at the top right of the screen. (Siap membuat Line art, buatlah garis mengikuti gambar aslimu sampai semua gambar kegaris. Tapi kalau kalian mau buat gambaran kalian simetris, pencet tombol penggaris di pojok kanan atas.)
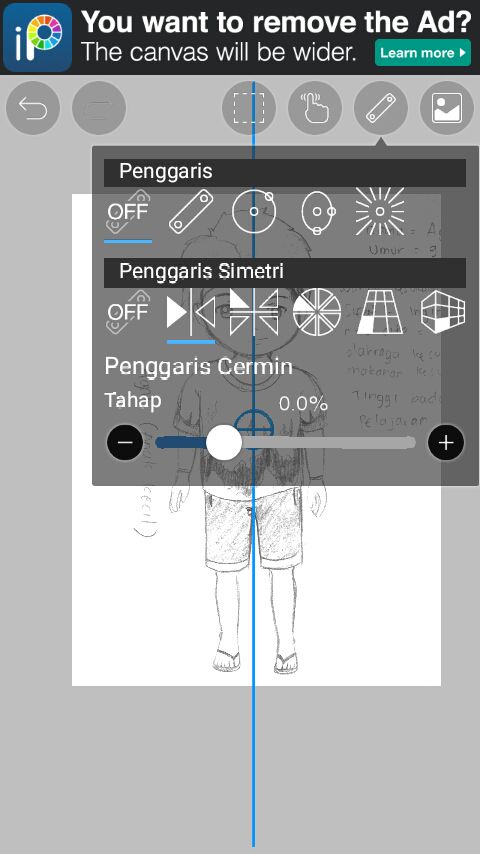
Choose symetry ruler, miror ruler. Place it at the center of your drawing.
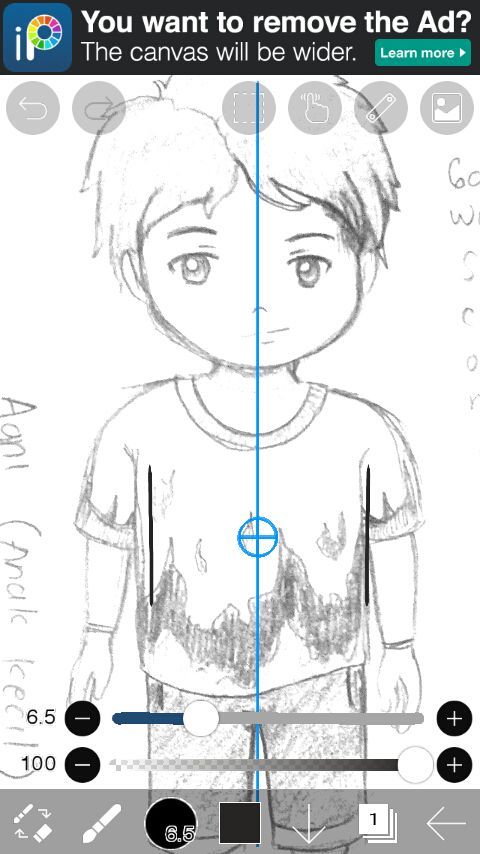
When you draw A Line in one side, the another side will follow.
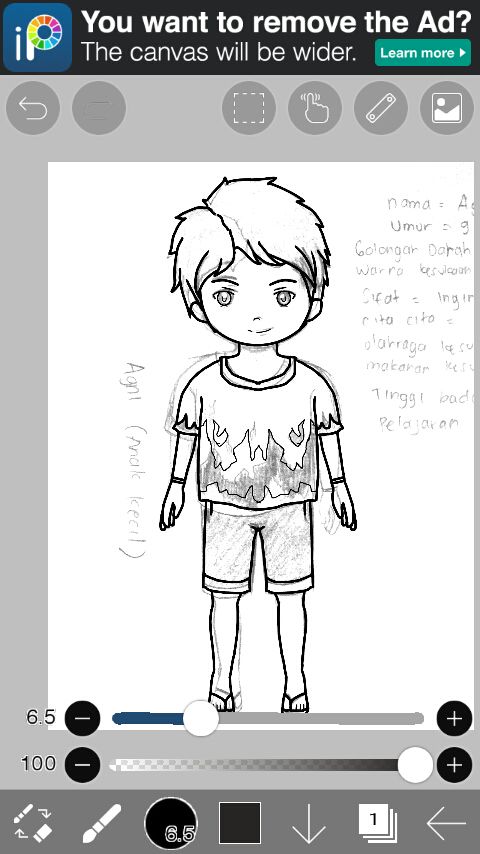
Finish your Line art and than turn off the miror ruler.
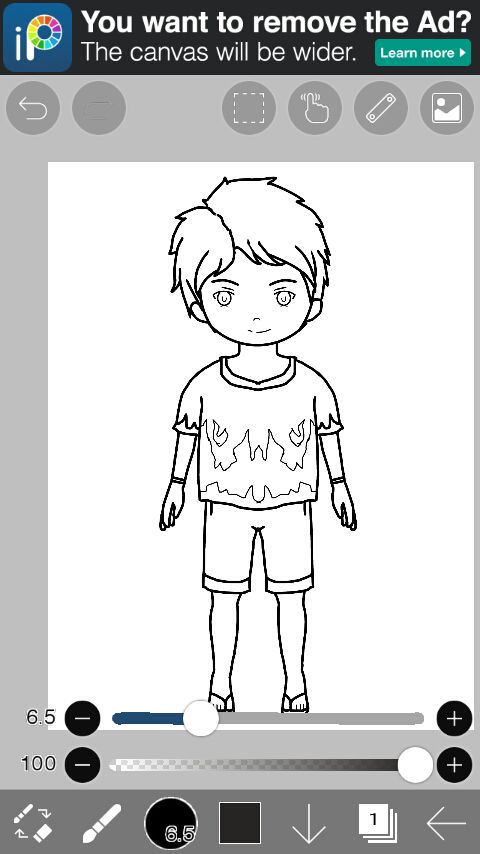
Turn off (invisible) the main picture layer at layers selection.
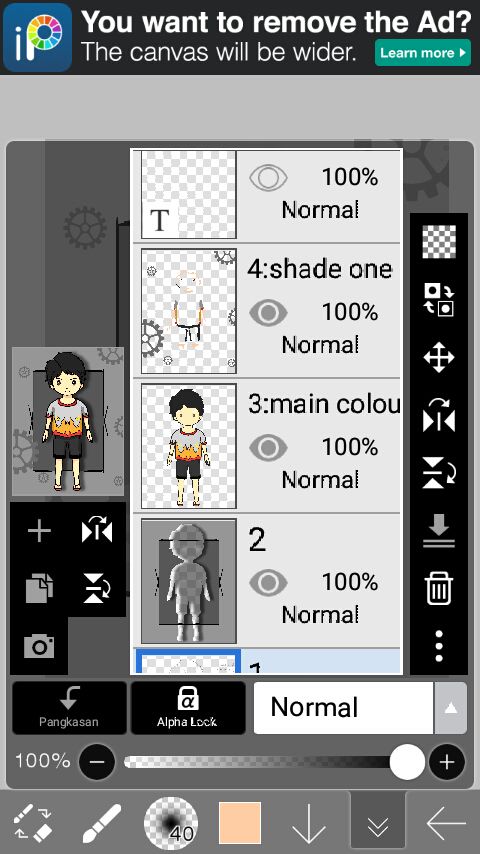
Tap the main colour layer. (Tekan layer yang dipergunakan untuk warna dasar)
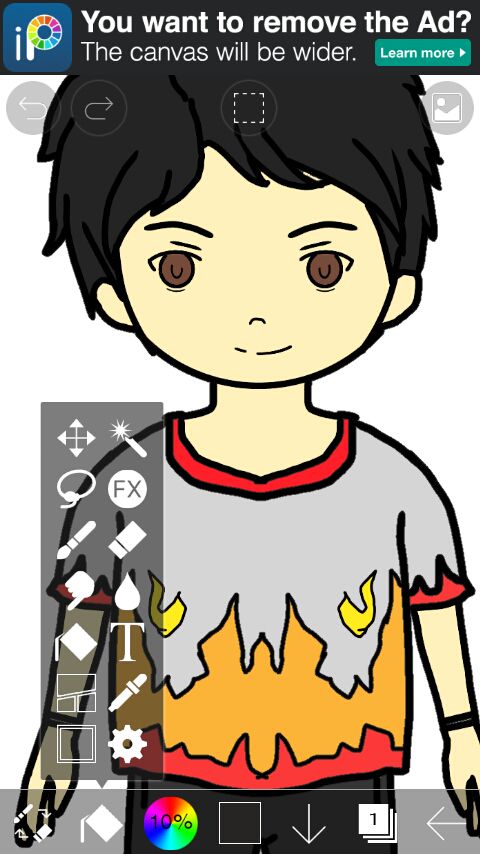
12) Colour it with colour bucket tool [replace the pencil tool button]. (Warnai menggunakan colour bucket tool, gantikan posisi tombol pensil)
Bạn đang đọc truyện trên: AzTruyen.Top