xi. highlighting and contouring
tutorial : how to highlight and contour
face claim : jennie kim & zendaya
apps : ibispaint x
requested by : babiegyyu
contouring from : aestaetic
CONTOURING
before : always add a new layer so it's not permanent to the original photo. i forgot in the photo so please add new layers and if you don't like them, you can erase or delete them.
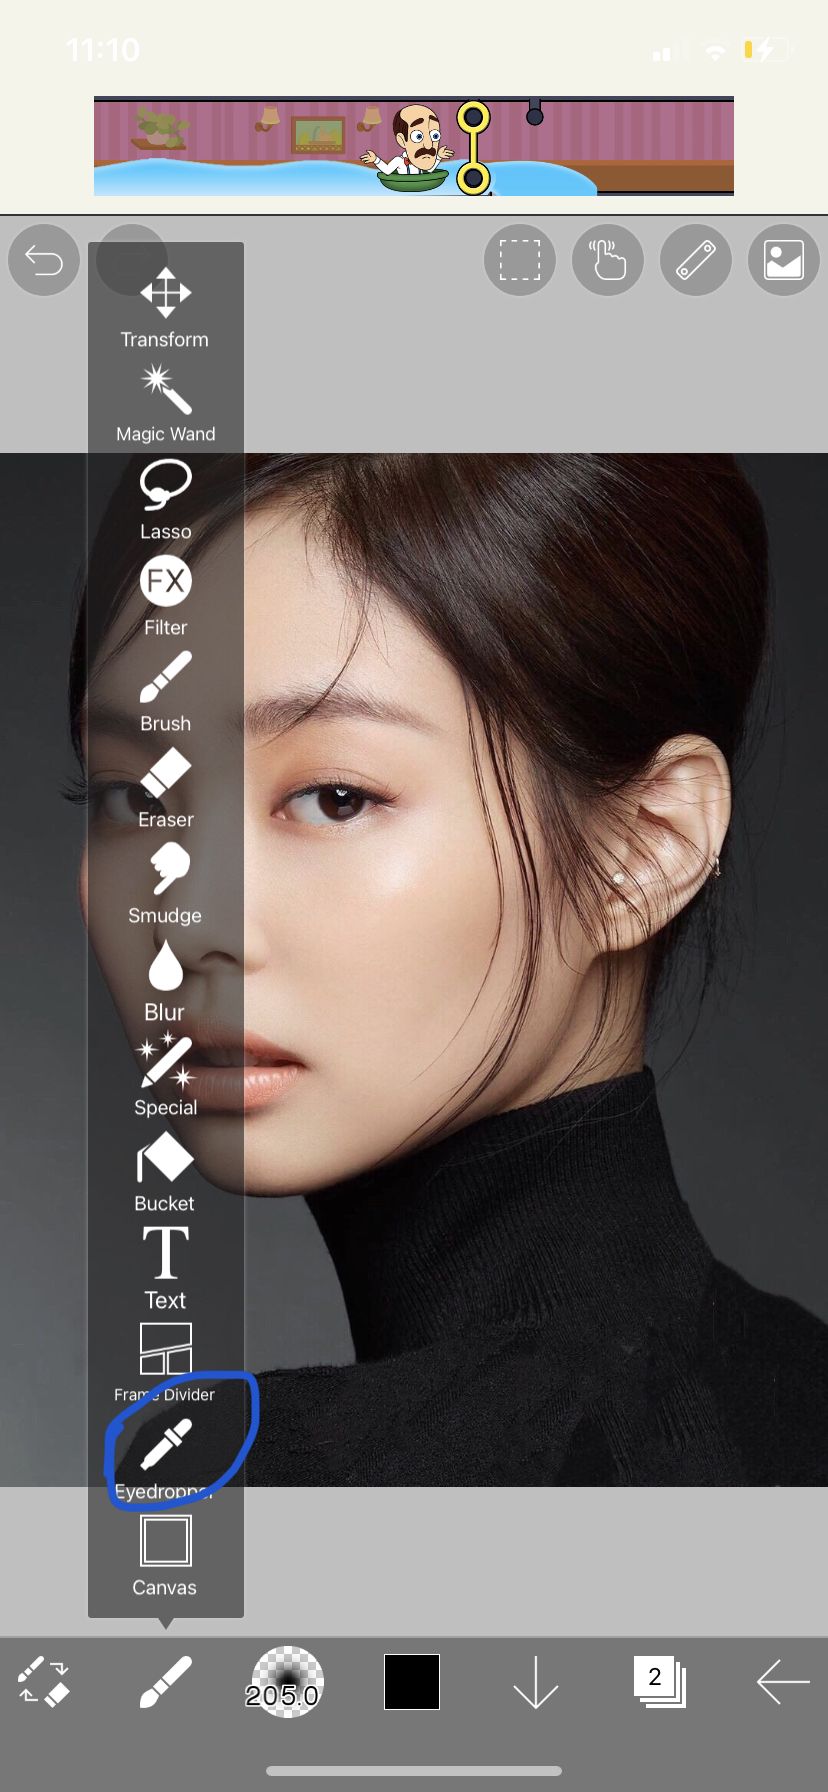
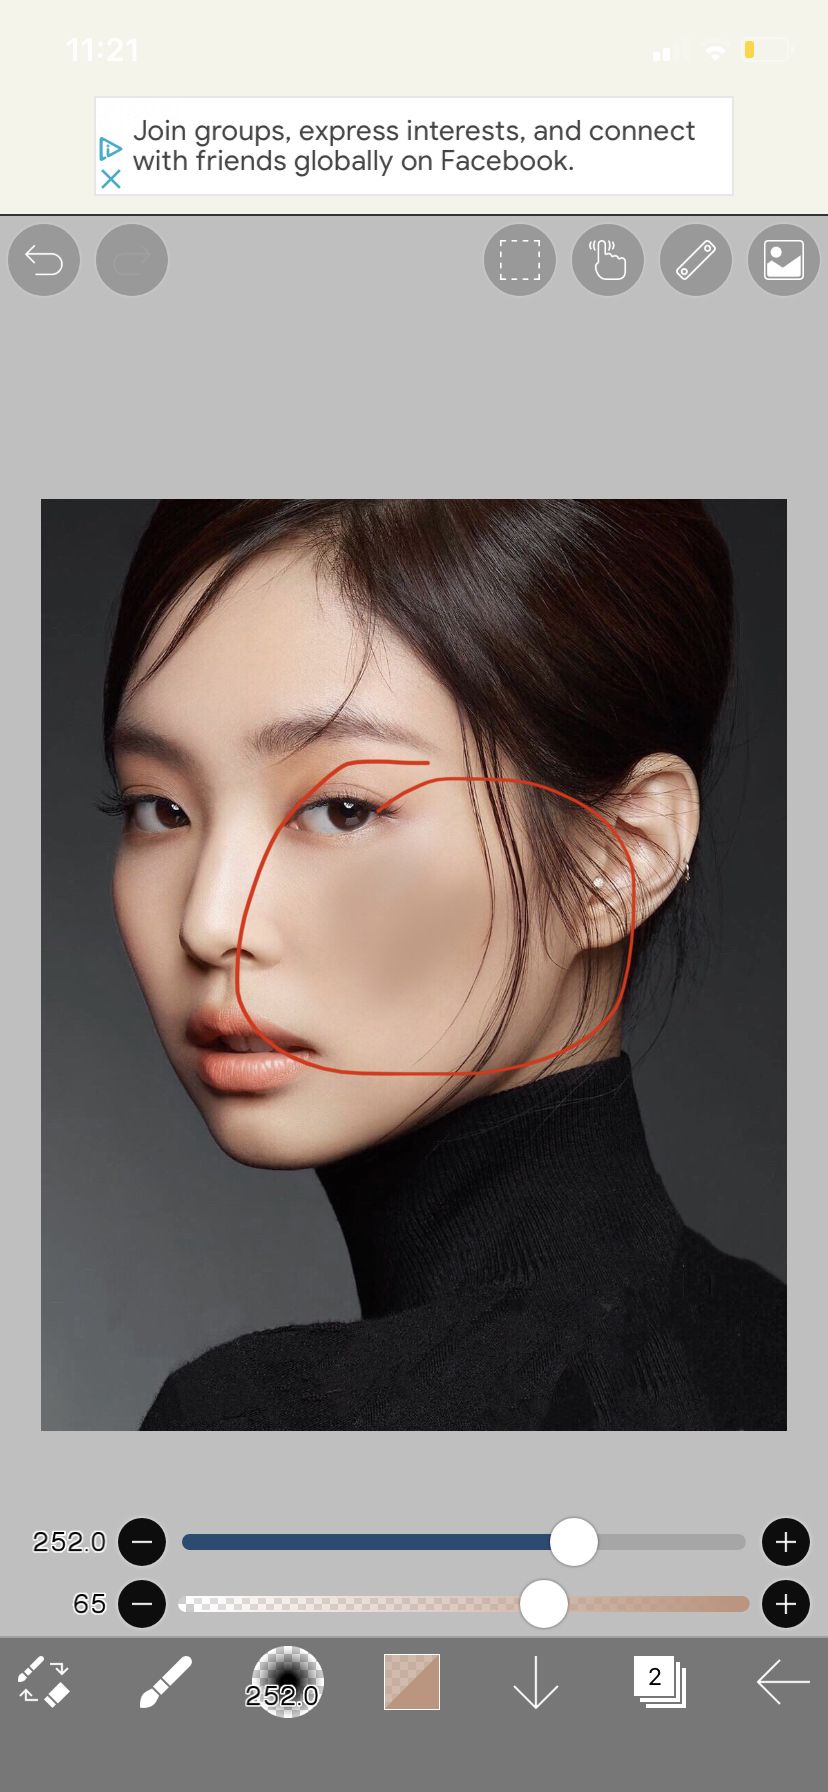
one. import your photo into ibispaint x, add a new layer and select the darkest shade on the face claims face.
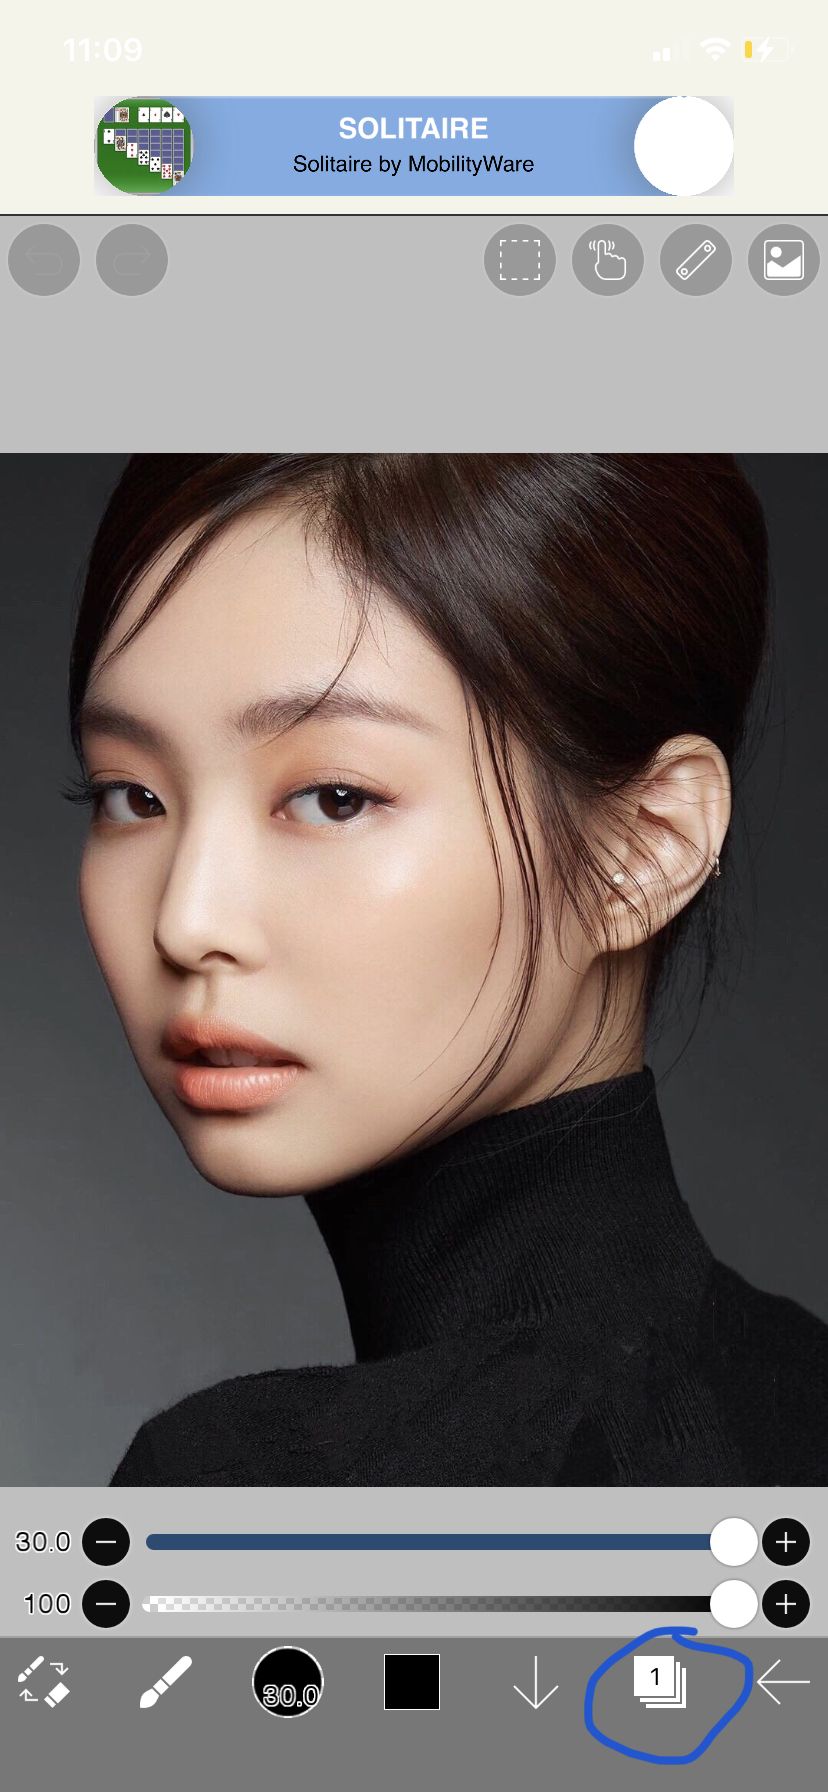


pick the trapezoid 20% not the airbrush normal
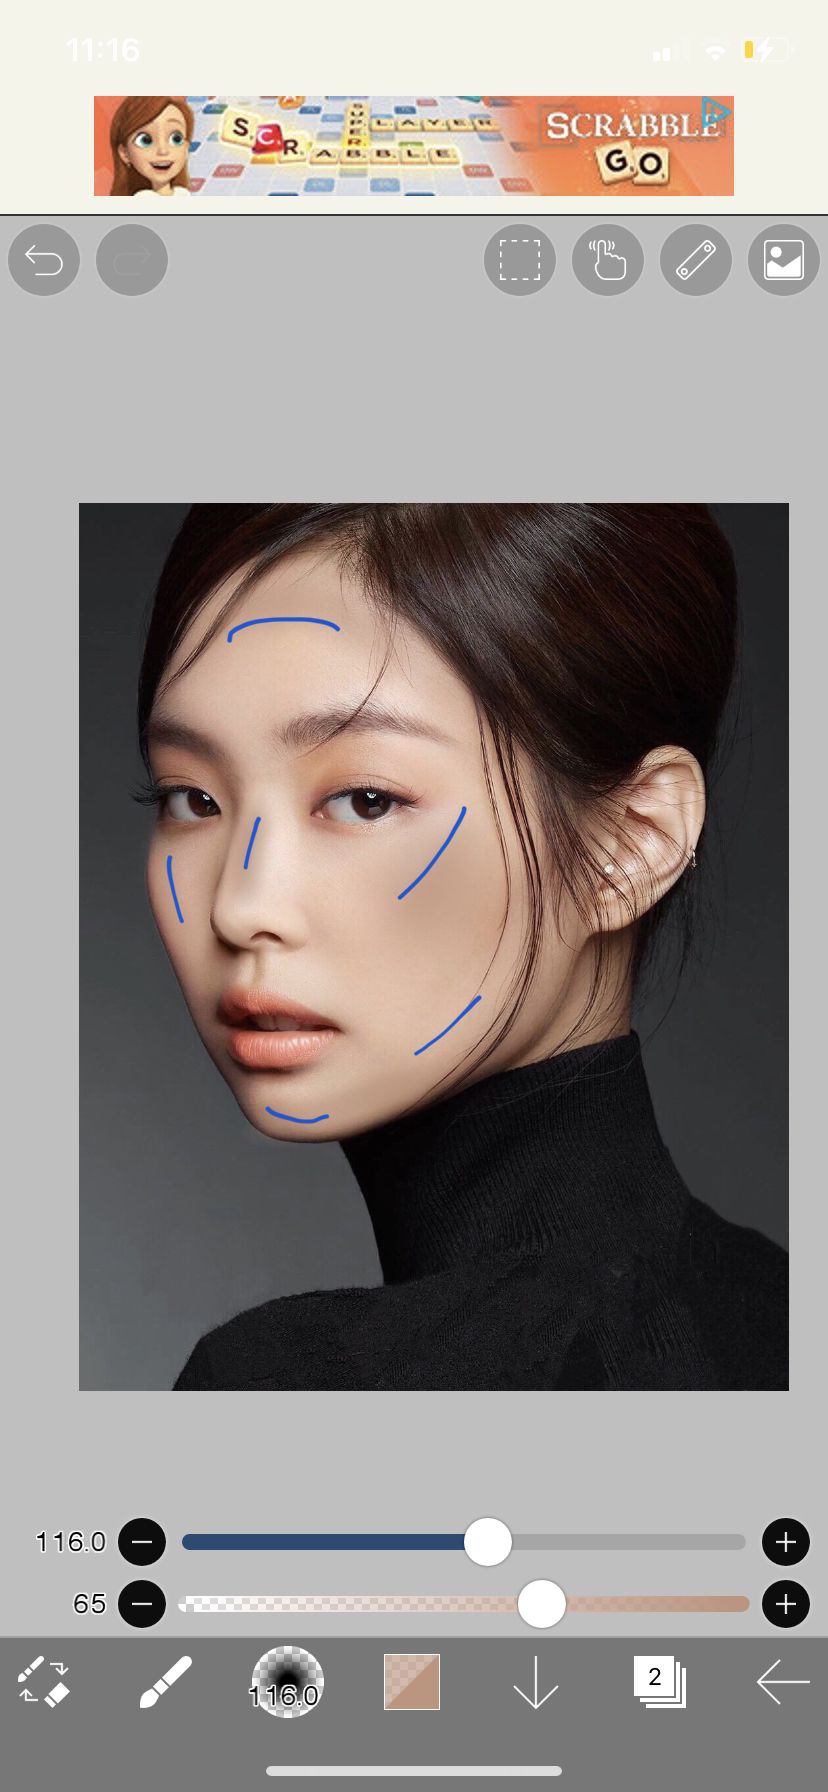
two. highlight on the nose face, cheekbones, etc.
tip: change the opacity so it's not so heavy.
follow the blue lines on the guide. make sure the blending layer(s) is on multiply
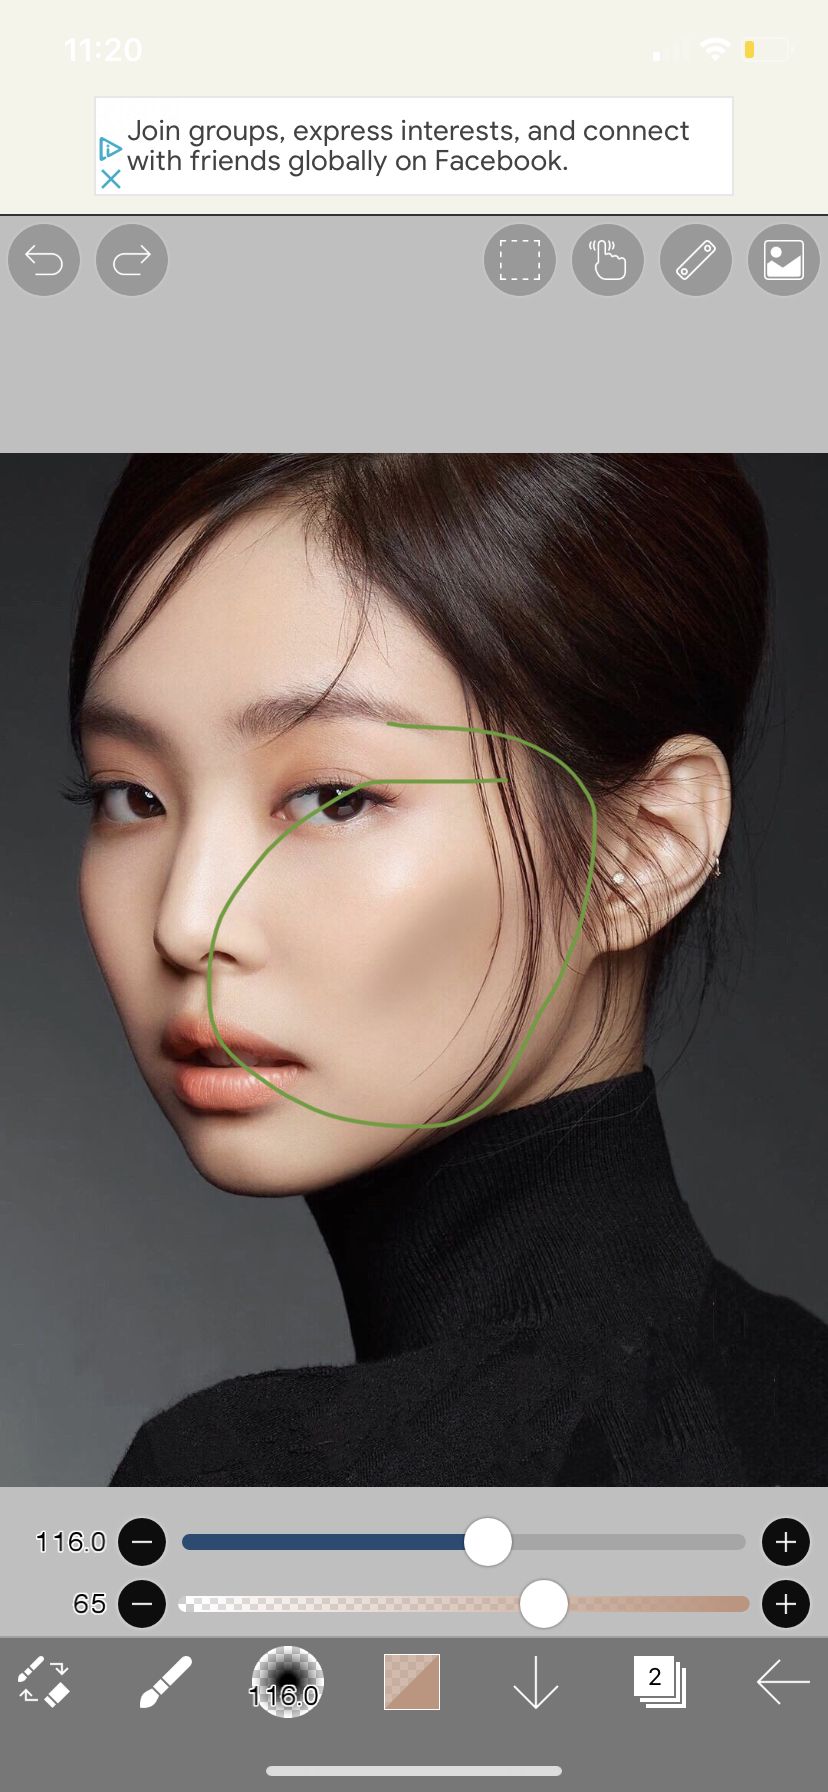
TIP : i recommend not going directly on the cheek but on the cheek bone. it's more of a contour than a blush. image circled red is wrong and green is correct.
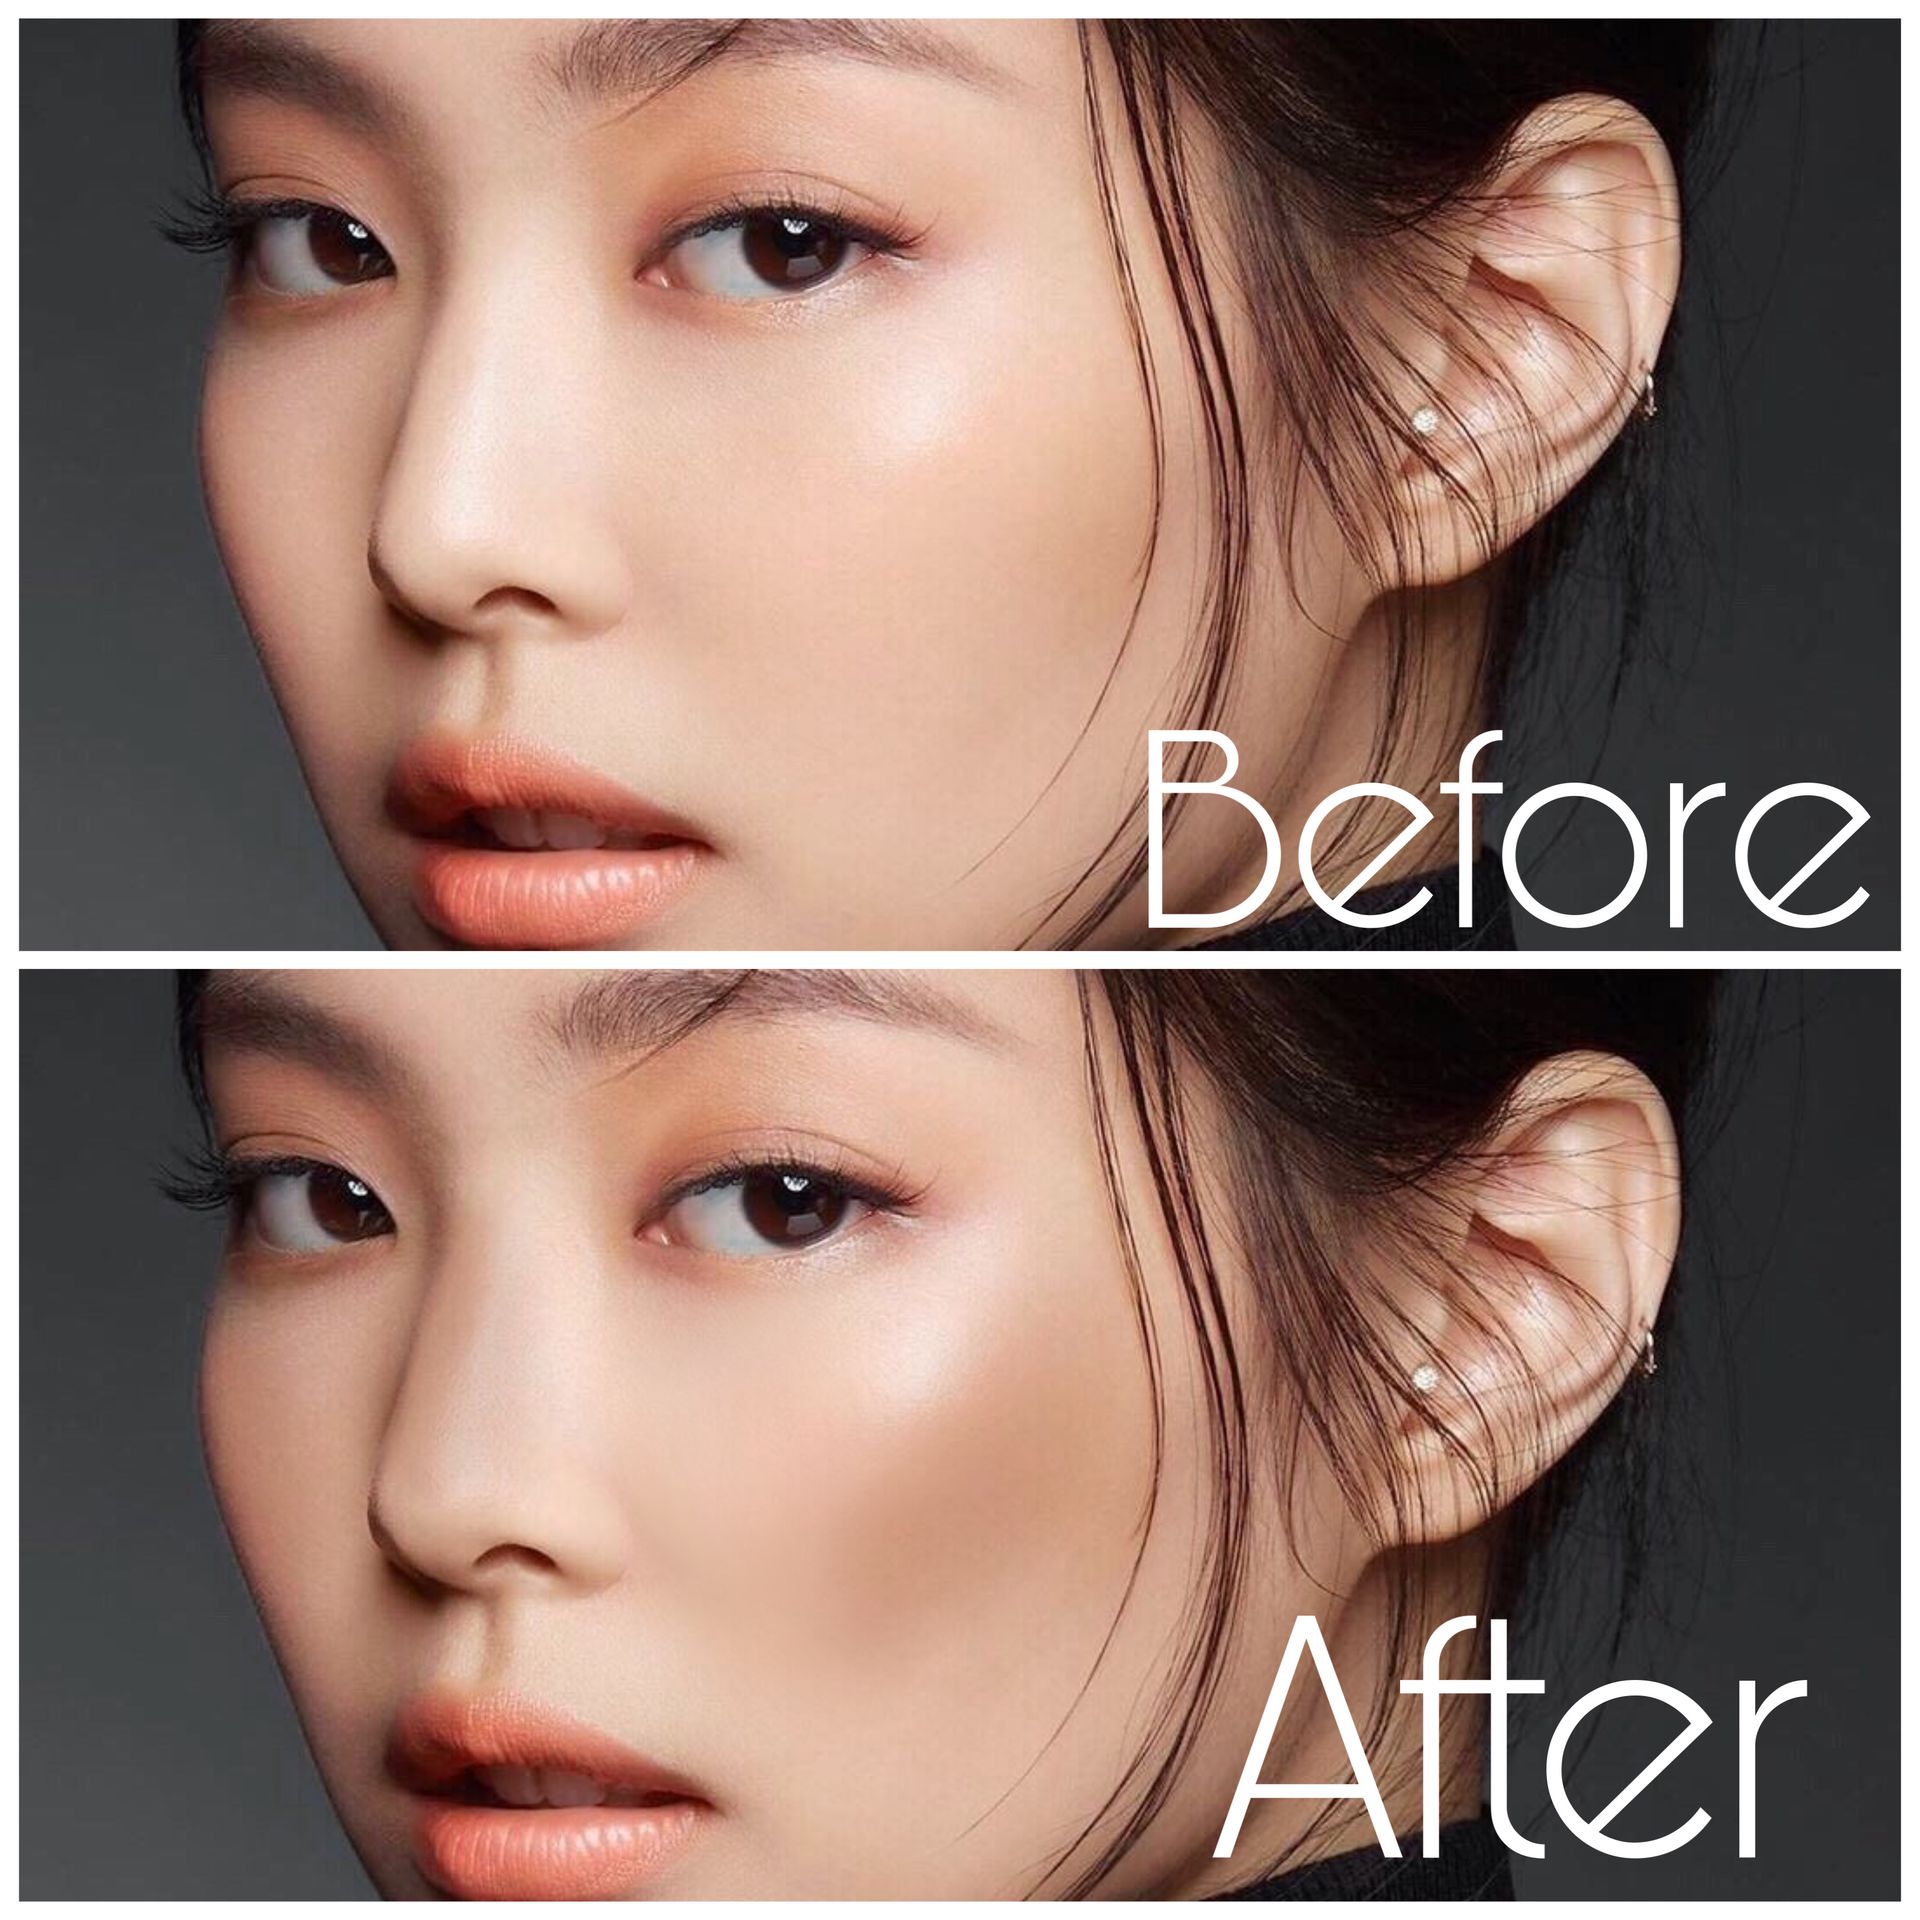
three. now go to the brush and smooth out the skin and contouring. make sure the opacity is low. use the smudge brush. i added another layer of contour for more depth.
please turn the layers down. i did around 50 so just play with it

tip : don't do long heavy stokes. make your strokes short and play around with different tools and settings.
the nose is trash so, try blending it out with the skin or work on a separate layer for the nose and change the opacity, etc.
HIGHLIGHTING
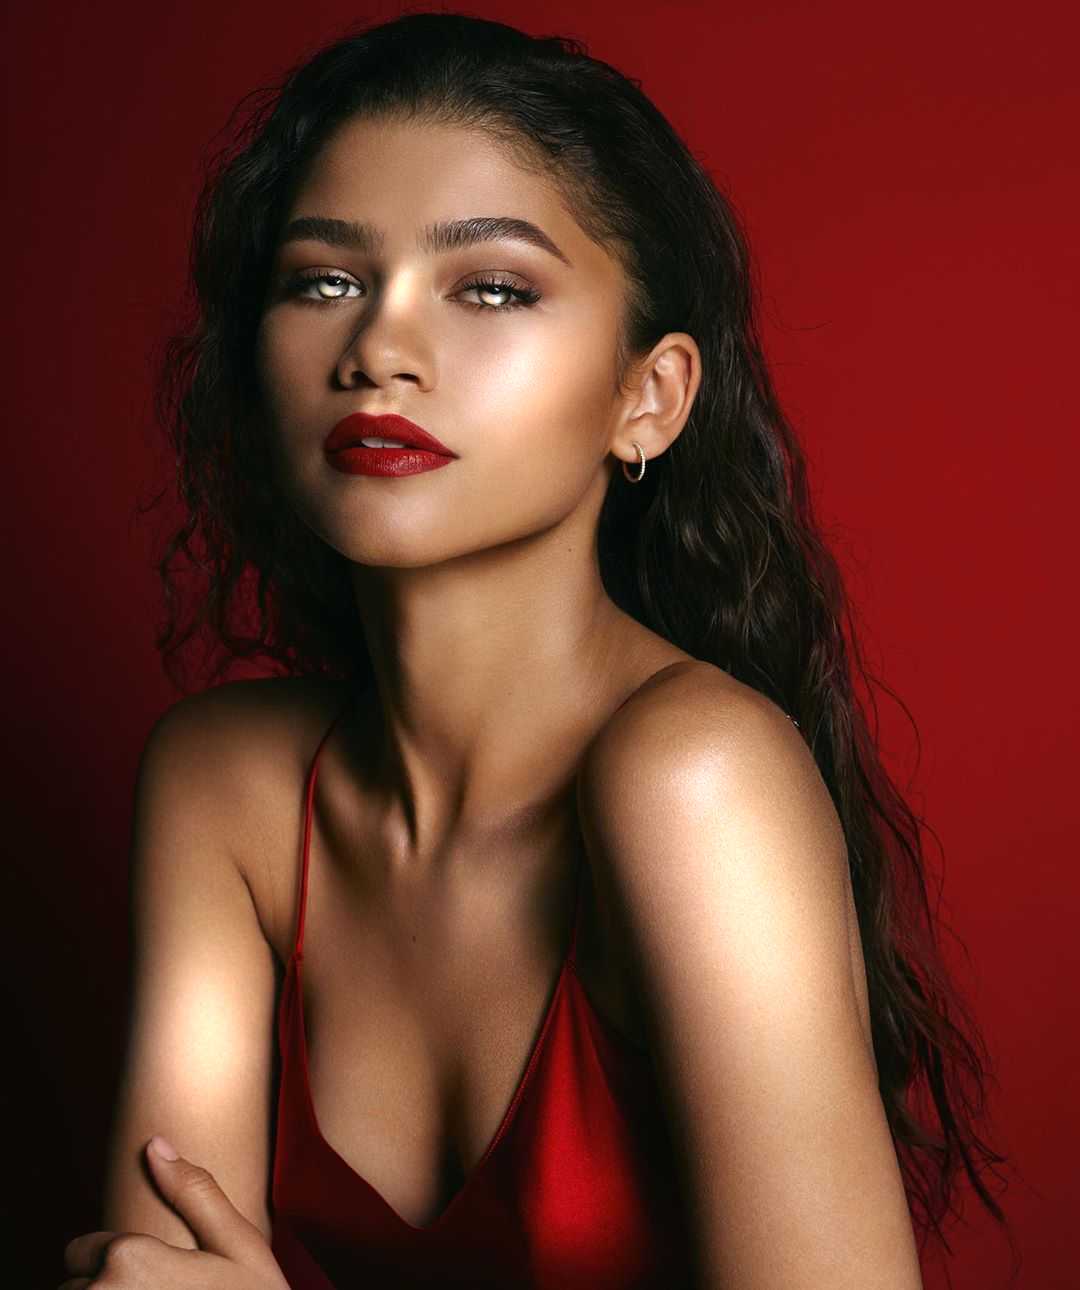
one. add a new layer and change the color to white and to airbrush trapezoid 20%. go over the cheek bones, nose, etc. follow the guide from earlier.
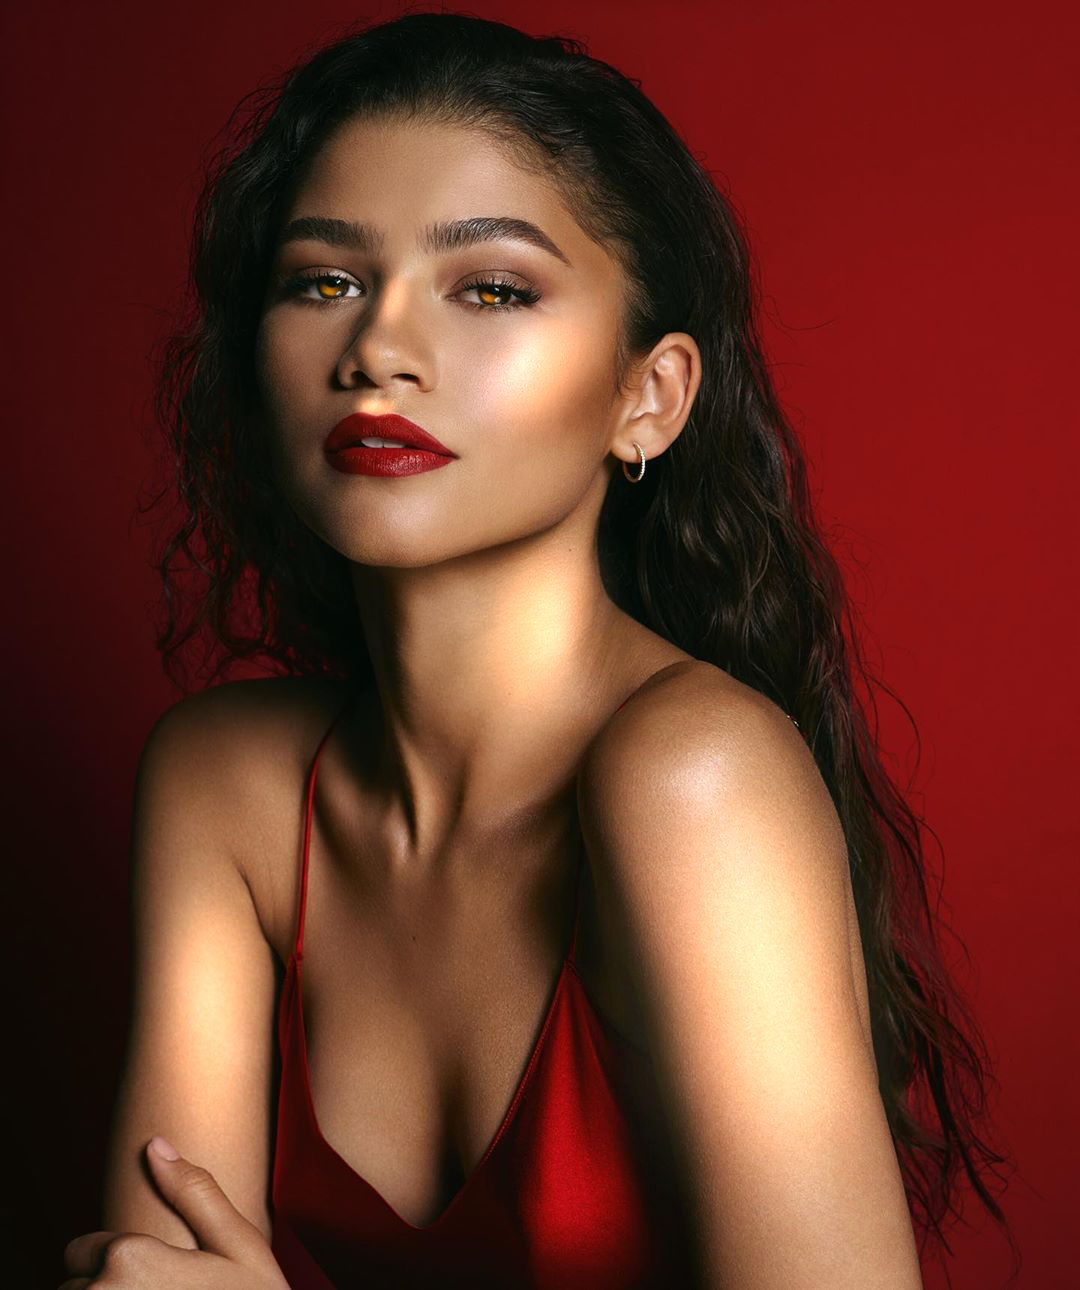
two. make sure the layer is on add. turn down the opacity as well.
this is how it turns out. the second one i used the color of her face.
hopefully this helped !
Bạn đang đọc truyện trên: AzTruyen.Top