★ | How to render images easily
[ tutorial ] rendering images
082020

[ didn't edit the steps for this cuz I need to finish
up some covers ksksk ]
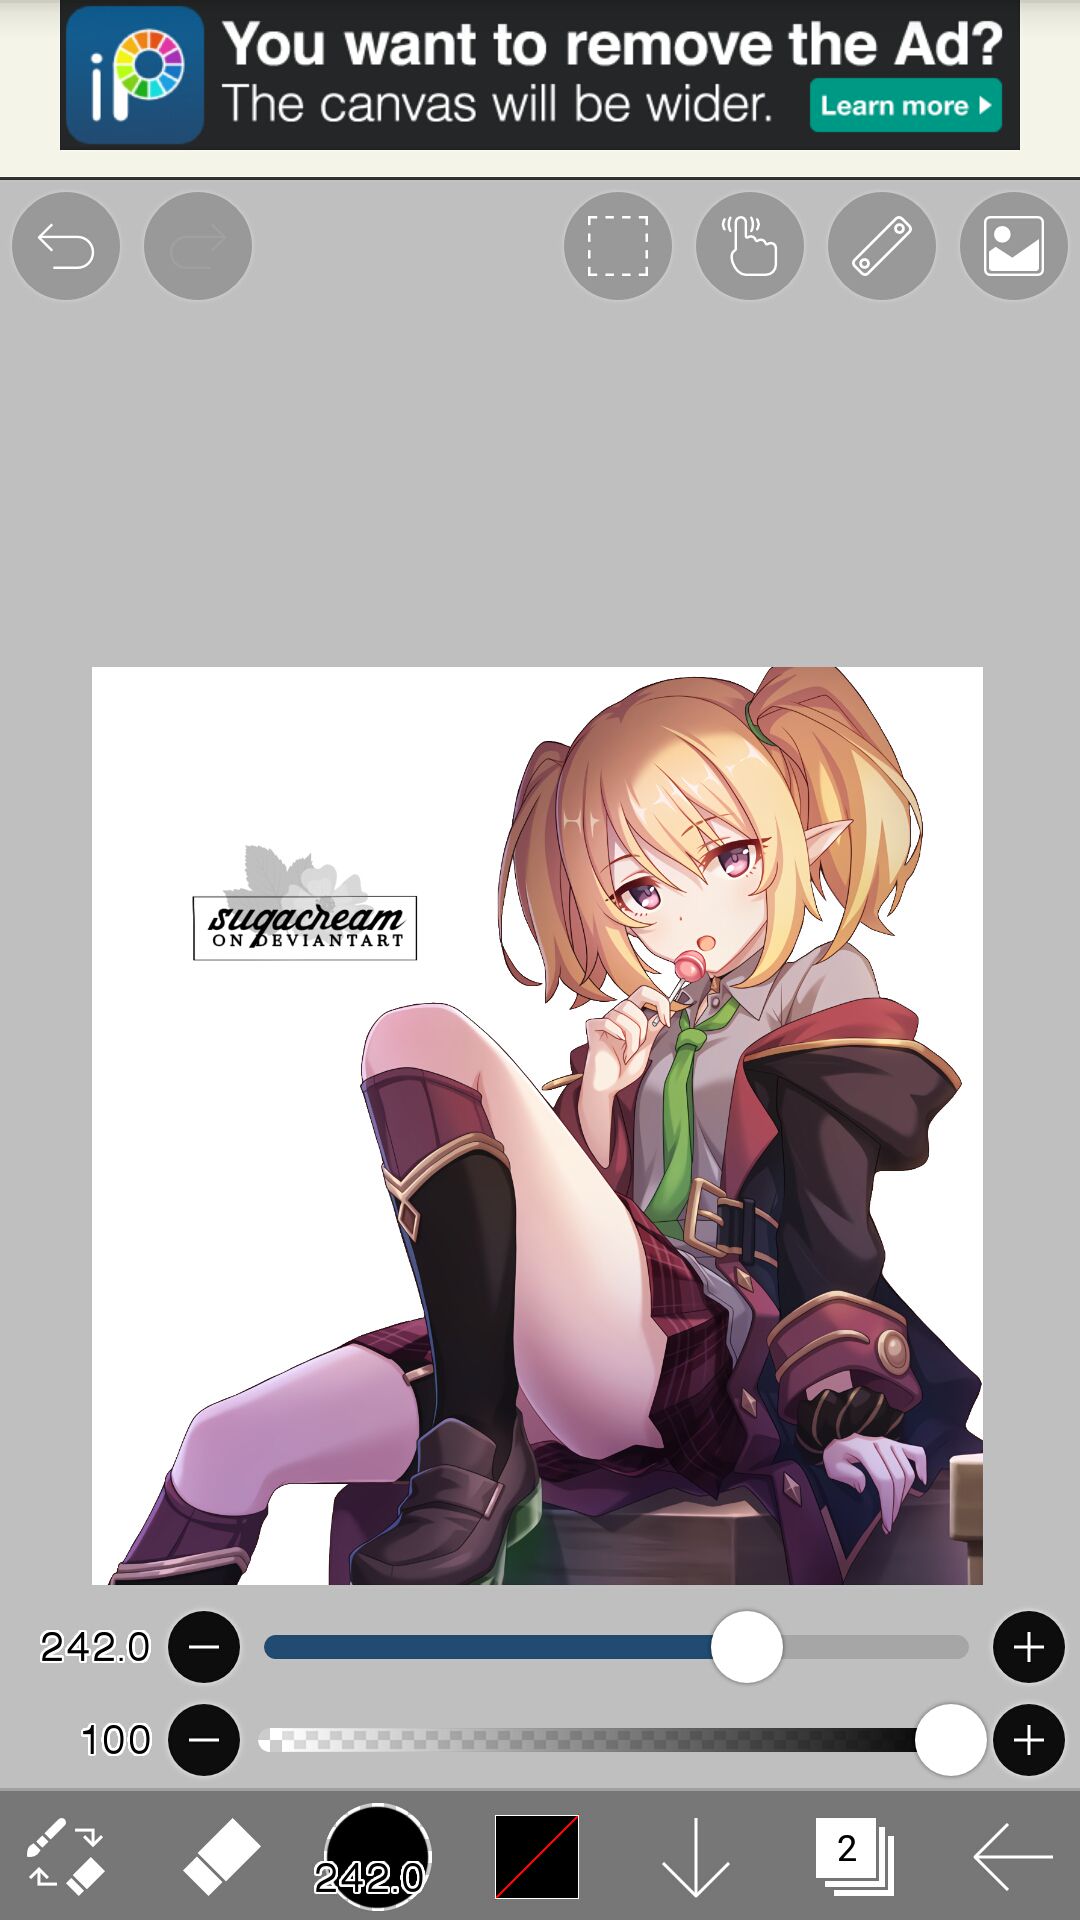
• open the image you want to render on a new canvas. for this one, I will be using an image from the Princess Connect wiki (just in case any of you are curious)

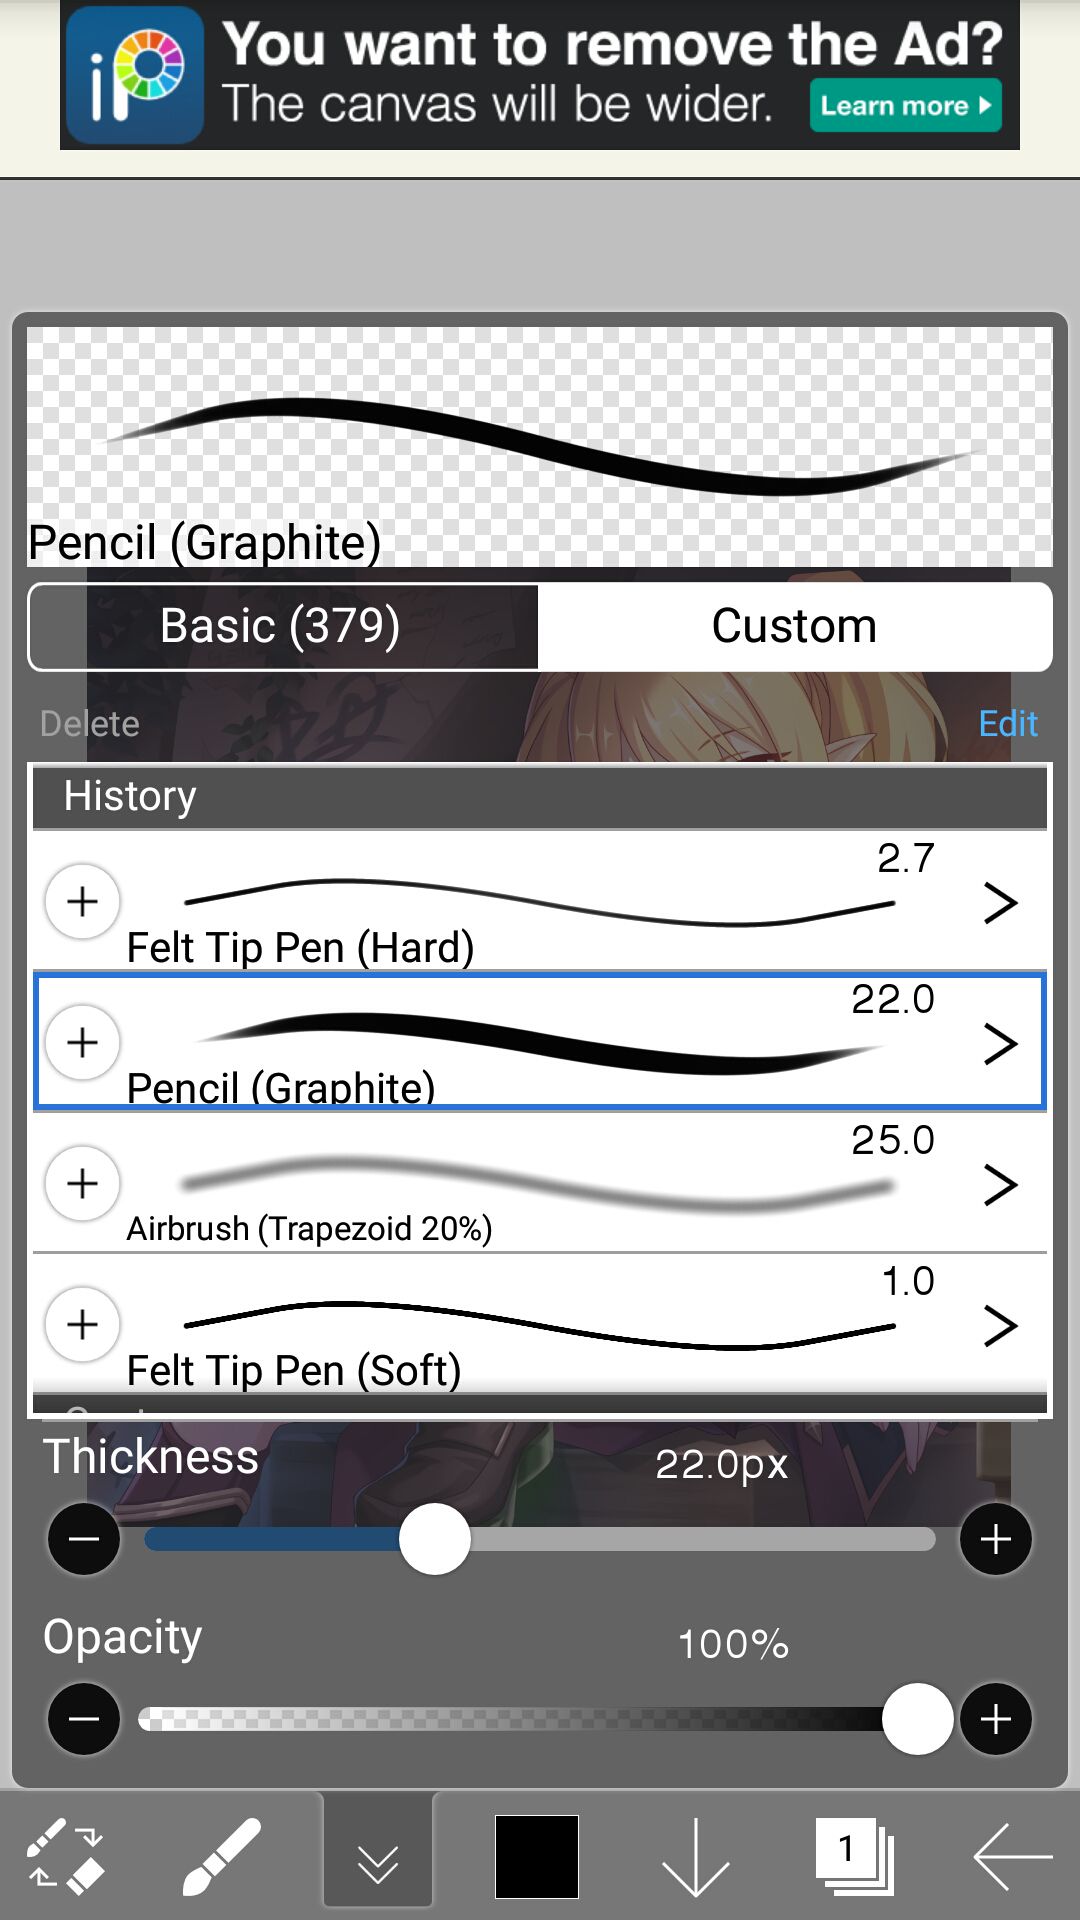
• toggle the tool to switch from pen to eraser, then pick Pencil (Graphite). btw, quick note that you can still unlock that brush with or without watching an ad.
When you try to use it for free by watching ads, It sometimes shows something along the lines of "no available ads at the moment" but it will still allow you to use this brush (and other brushes) for free.
^ if that happens though, you might want to refrain yourself from closing the app completely (switching between other apps is fine, as long as you don't close Ibispaint) because doing so will result to your free use of brush disappearing.
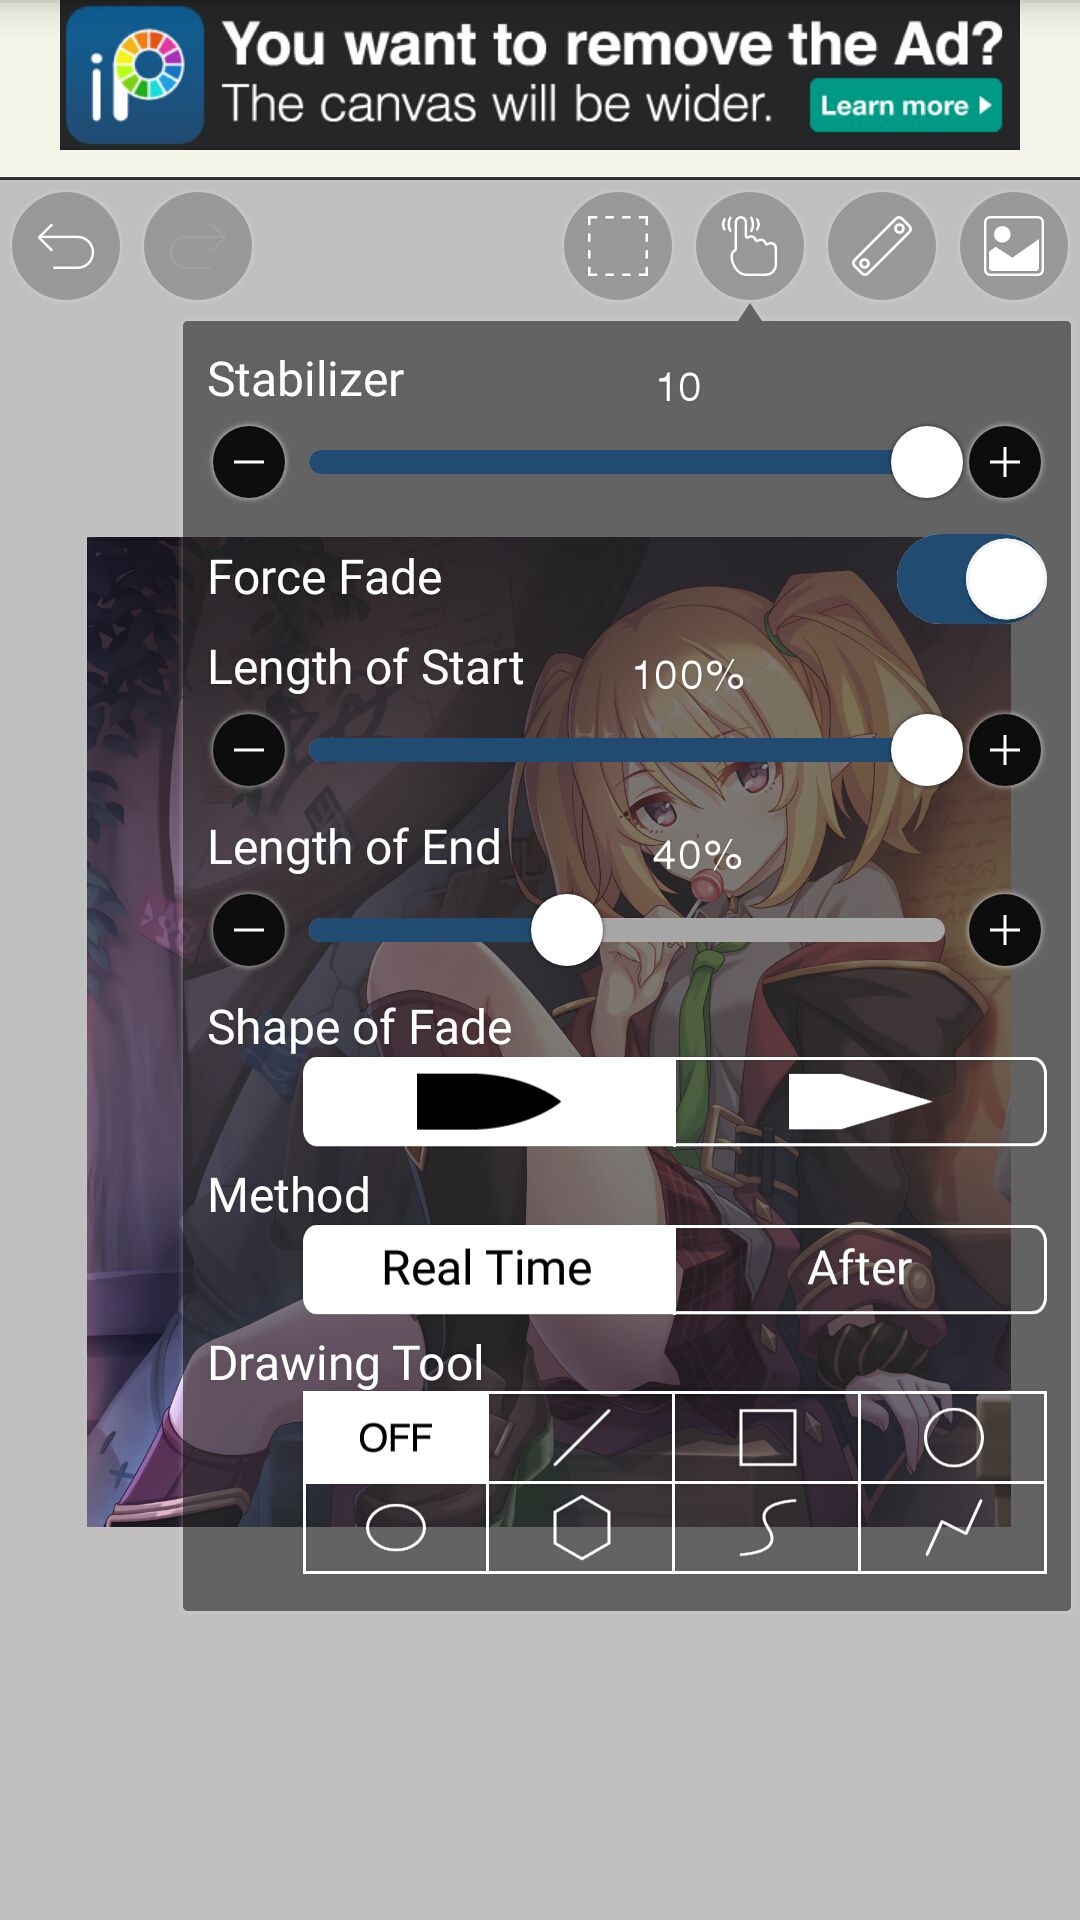
• now, the next thing you'll want to do is click on the second icon from the top right, the one that looks like a hand pointing up. Set the stabilizer to 10, toggle force fade to on, and set the length of start to 100.
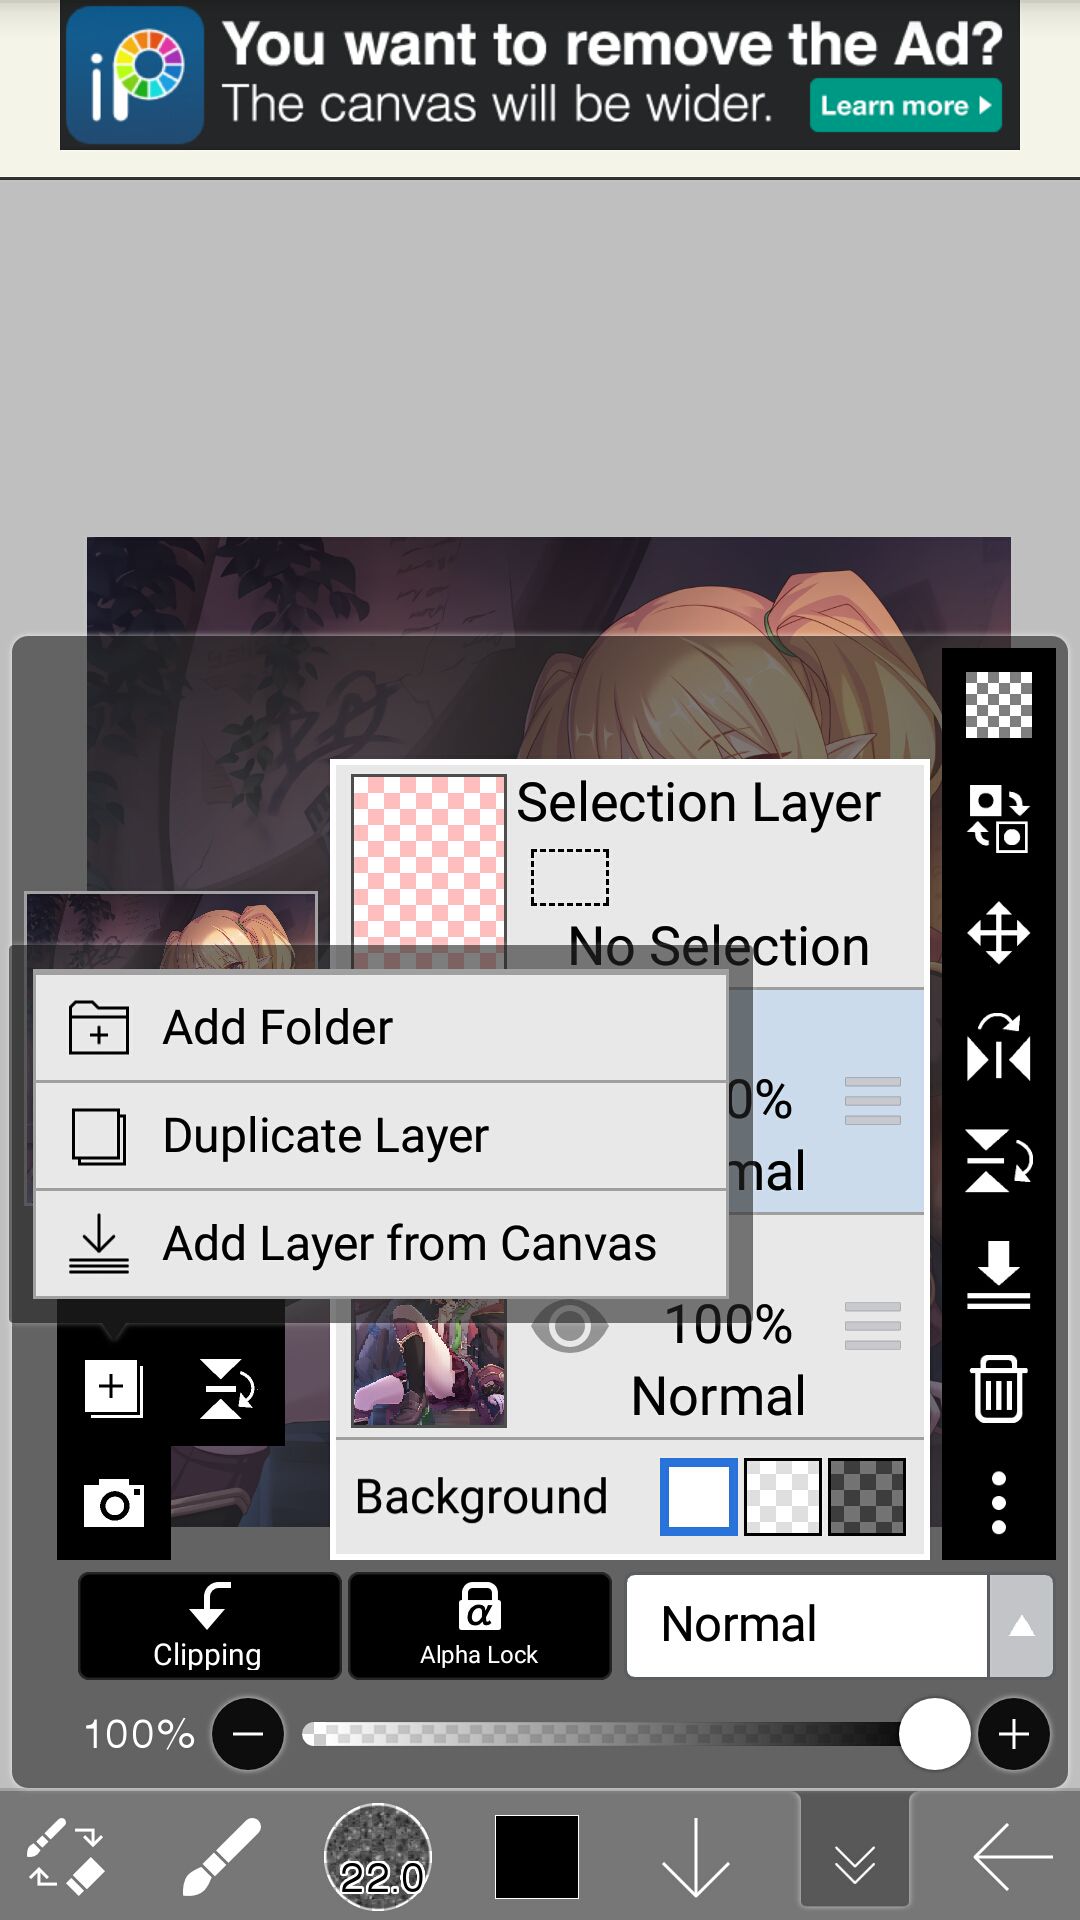
• what you need to do next is to duplicate your layer, then you'll have 2 layers in total.
Toggle the eye on the layer labeled (1) off
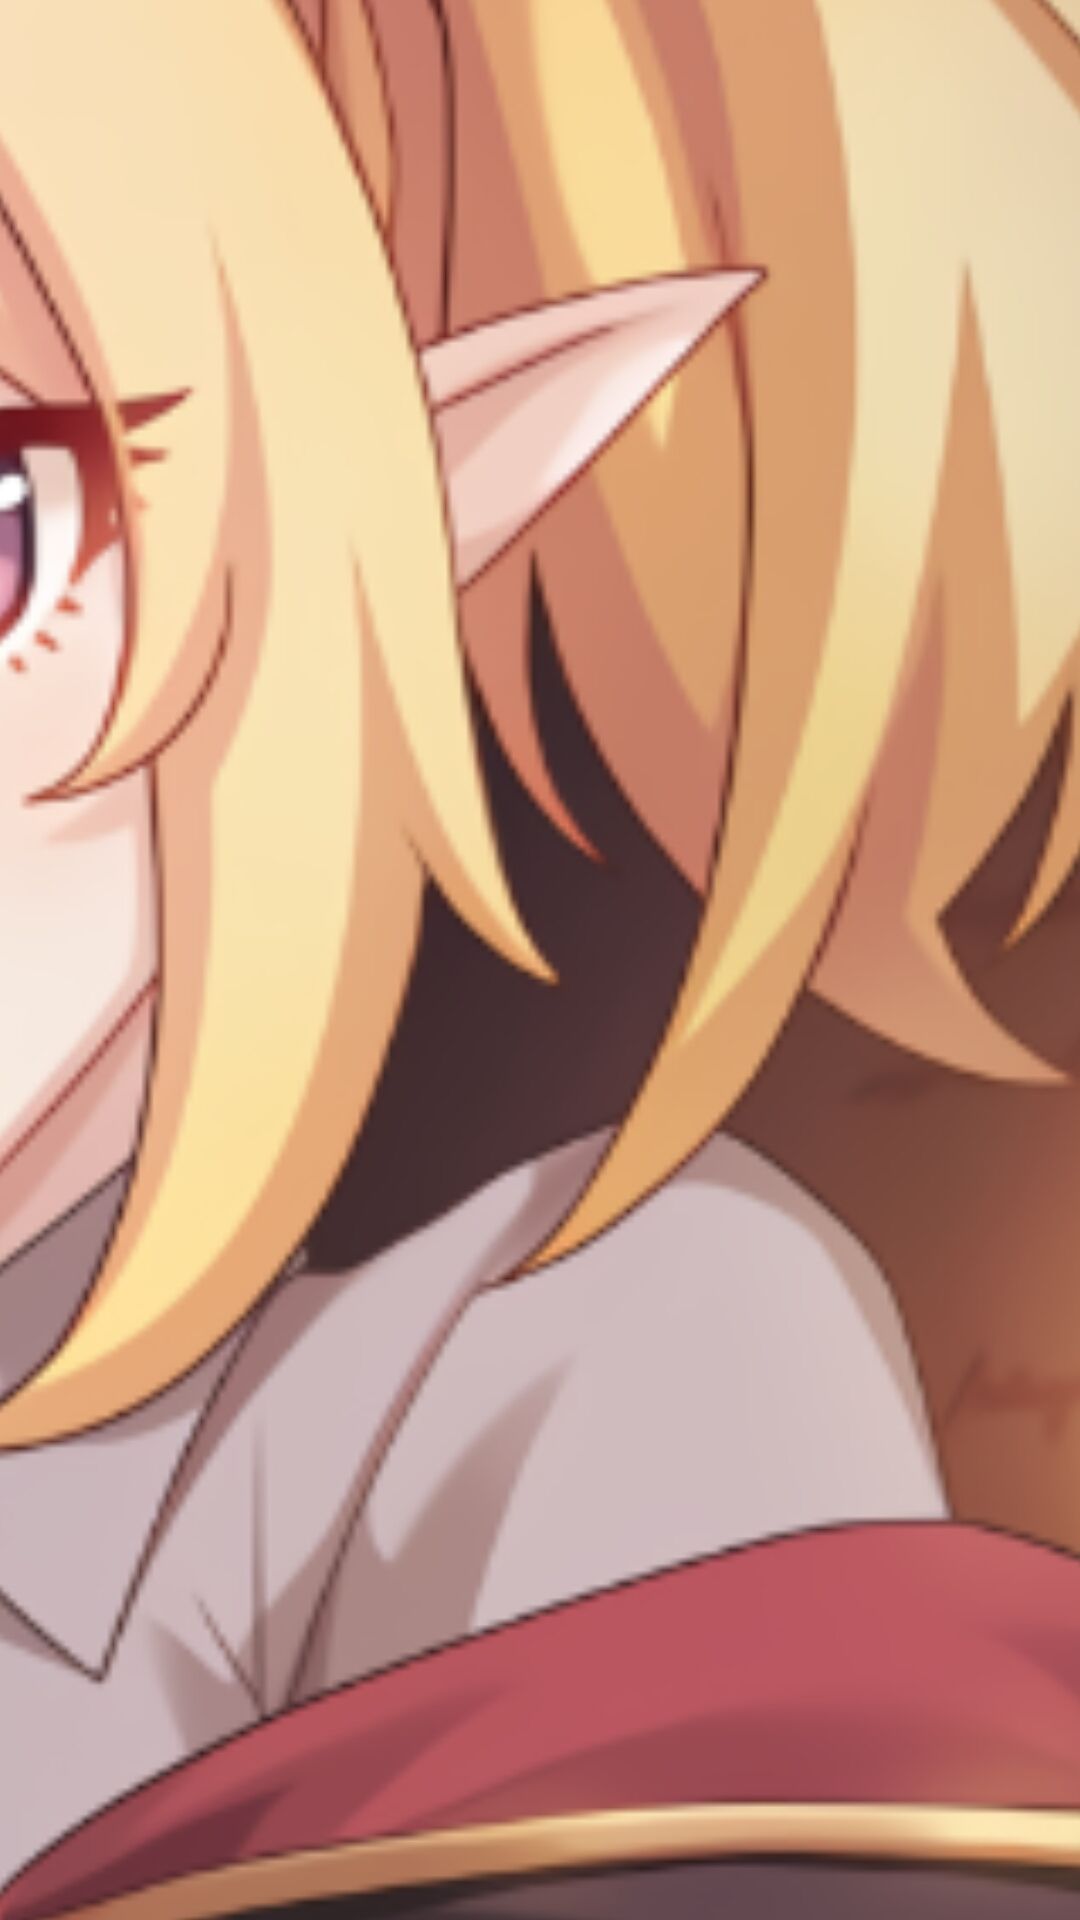
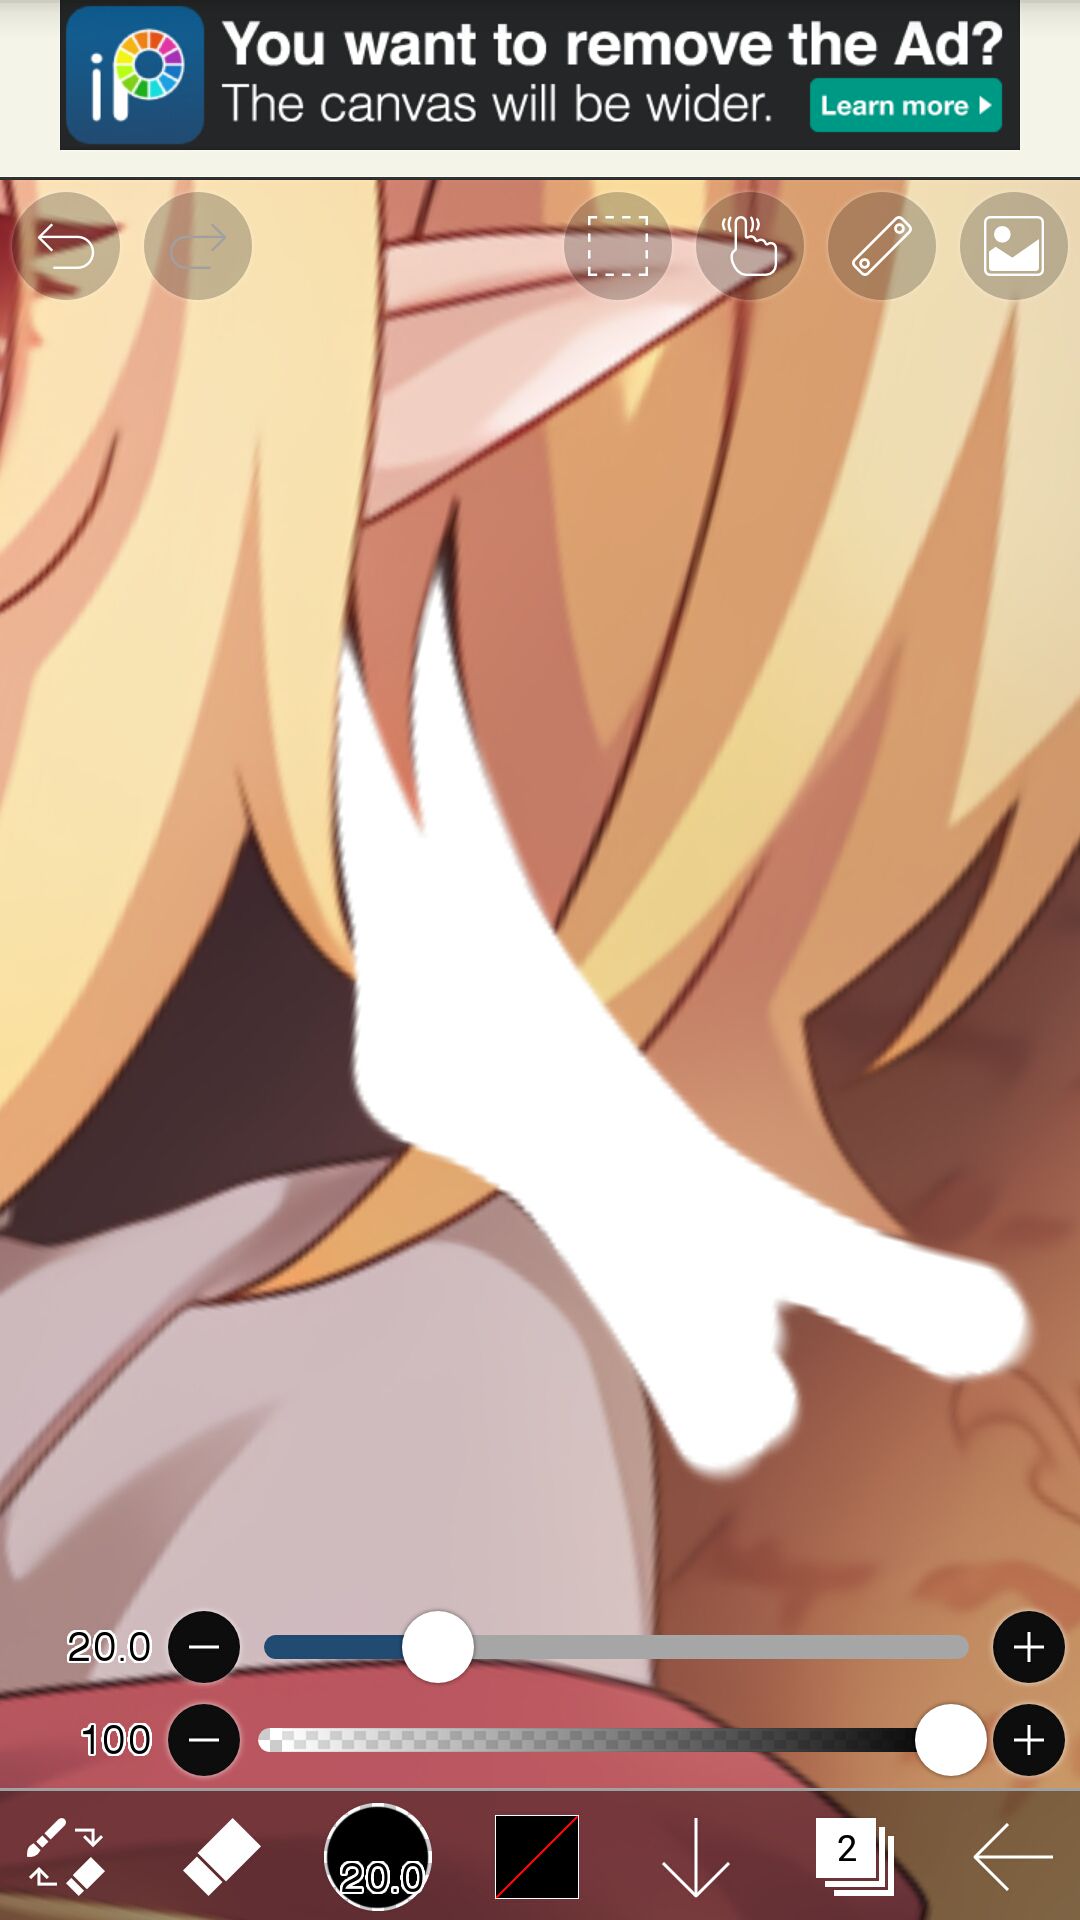
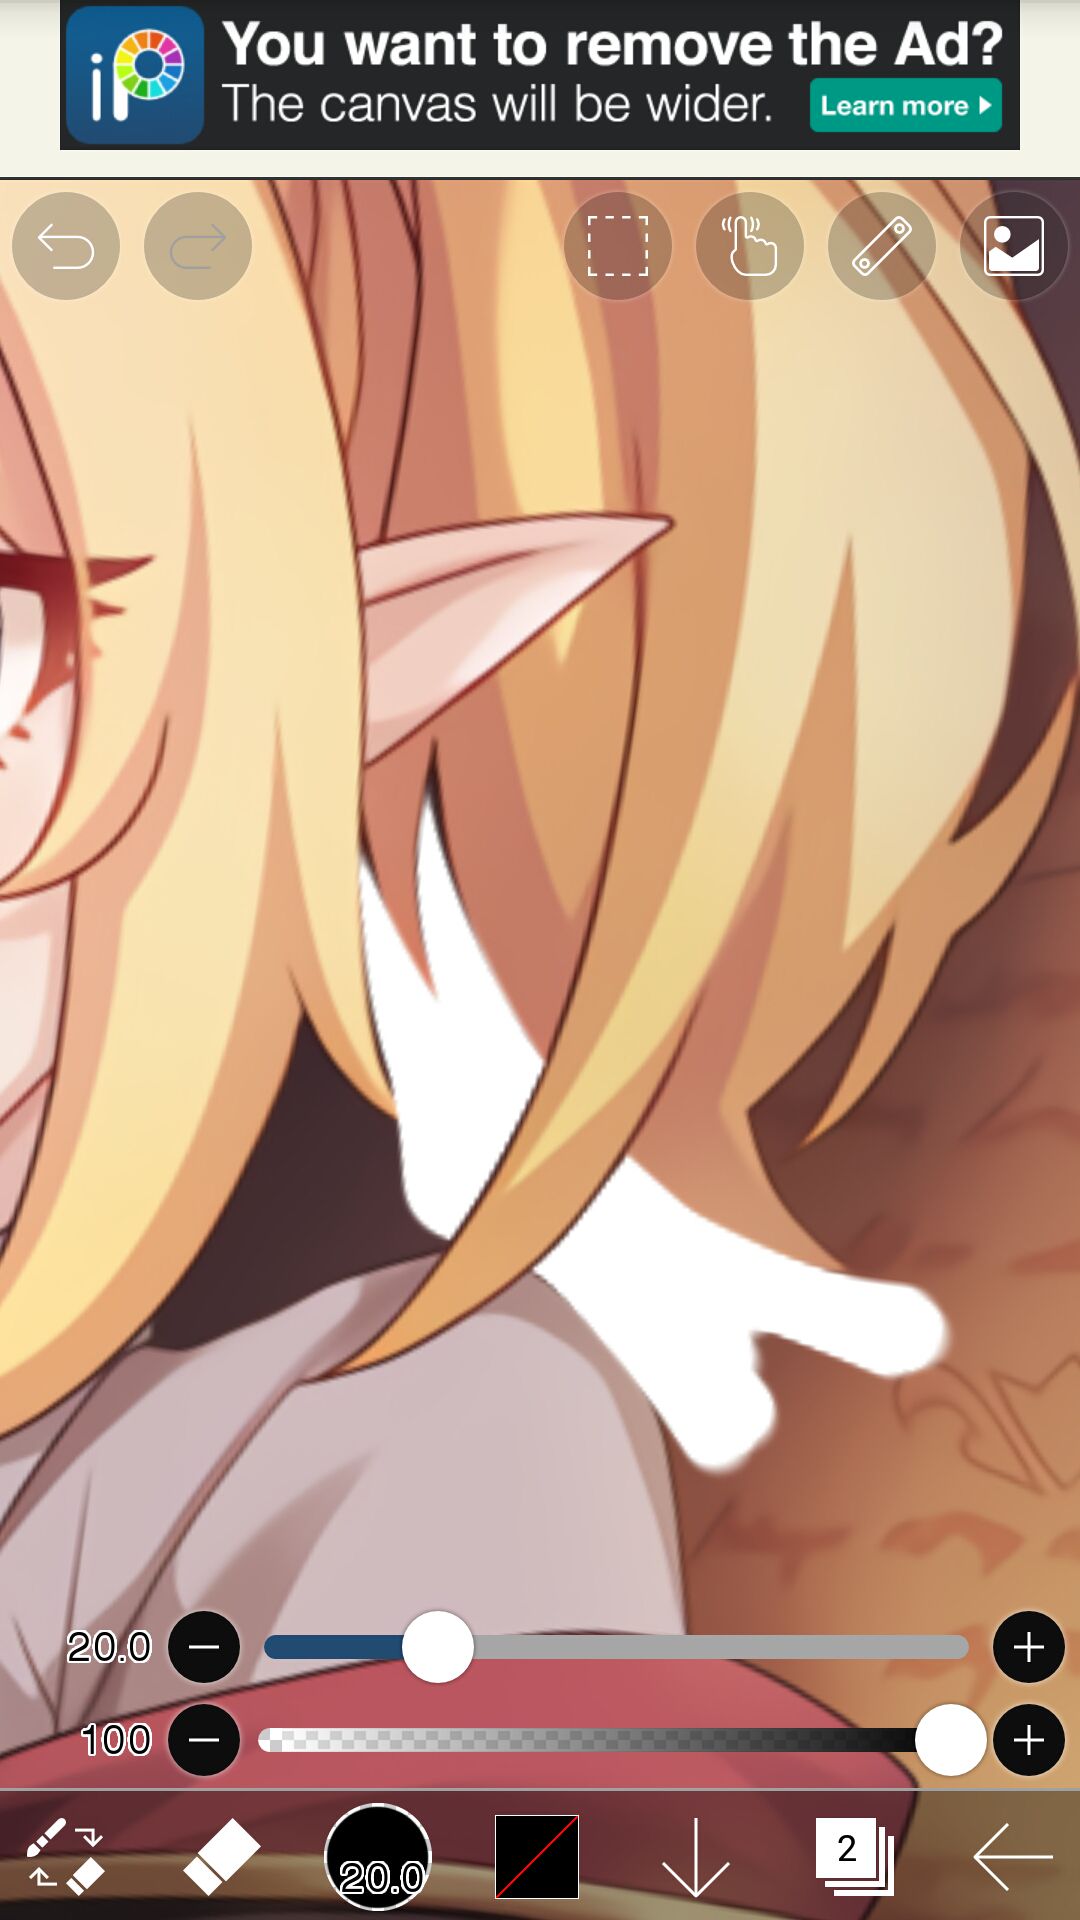
• next, pick the part of the hair you'd like to render first. for this one, I chose a part that's kinda "enclosed" if that makes sense.
• what i did here is I used the graphite pencil (with settings I showed earlier) and erased from within the parting section outwards. See how I also erased a section of the hair on the right side? We'll do something to fix that in the next steps.
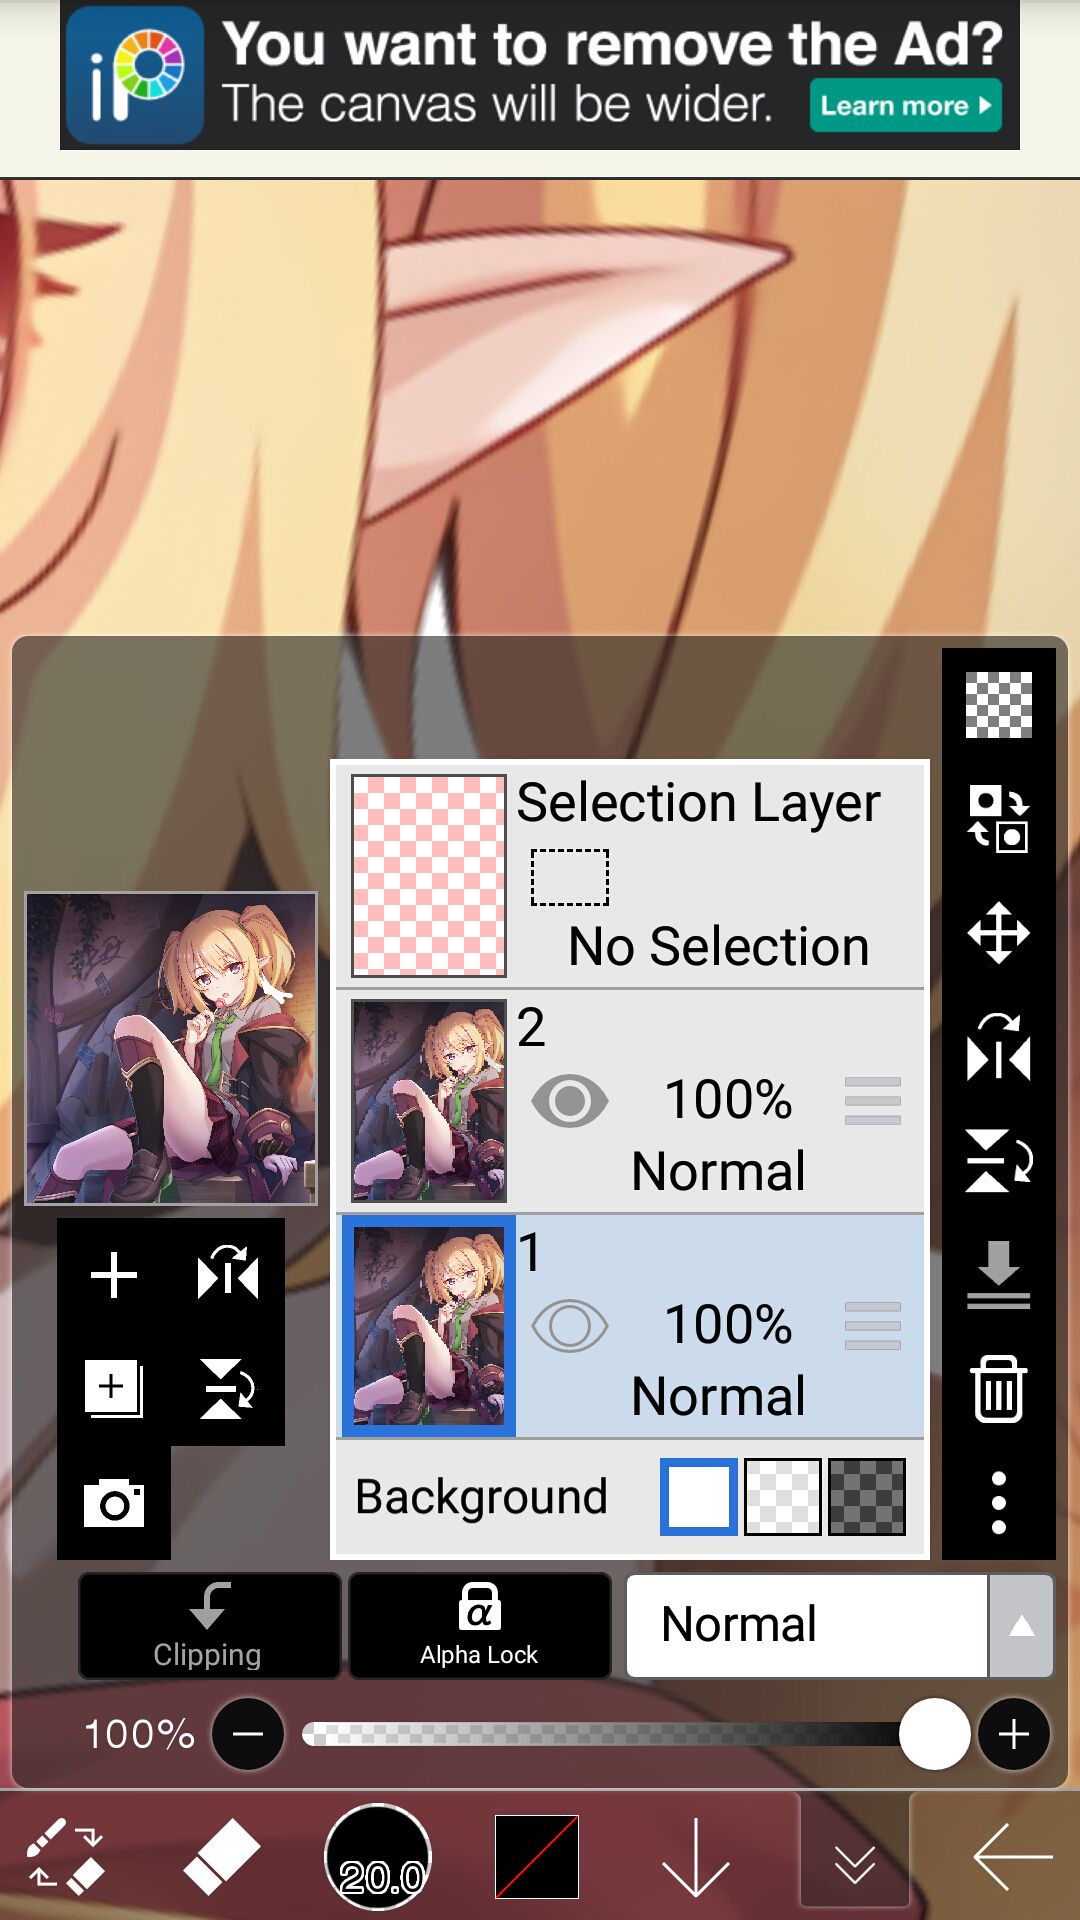
• now, go to your layer (1)
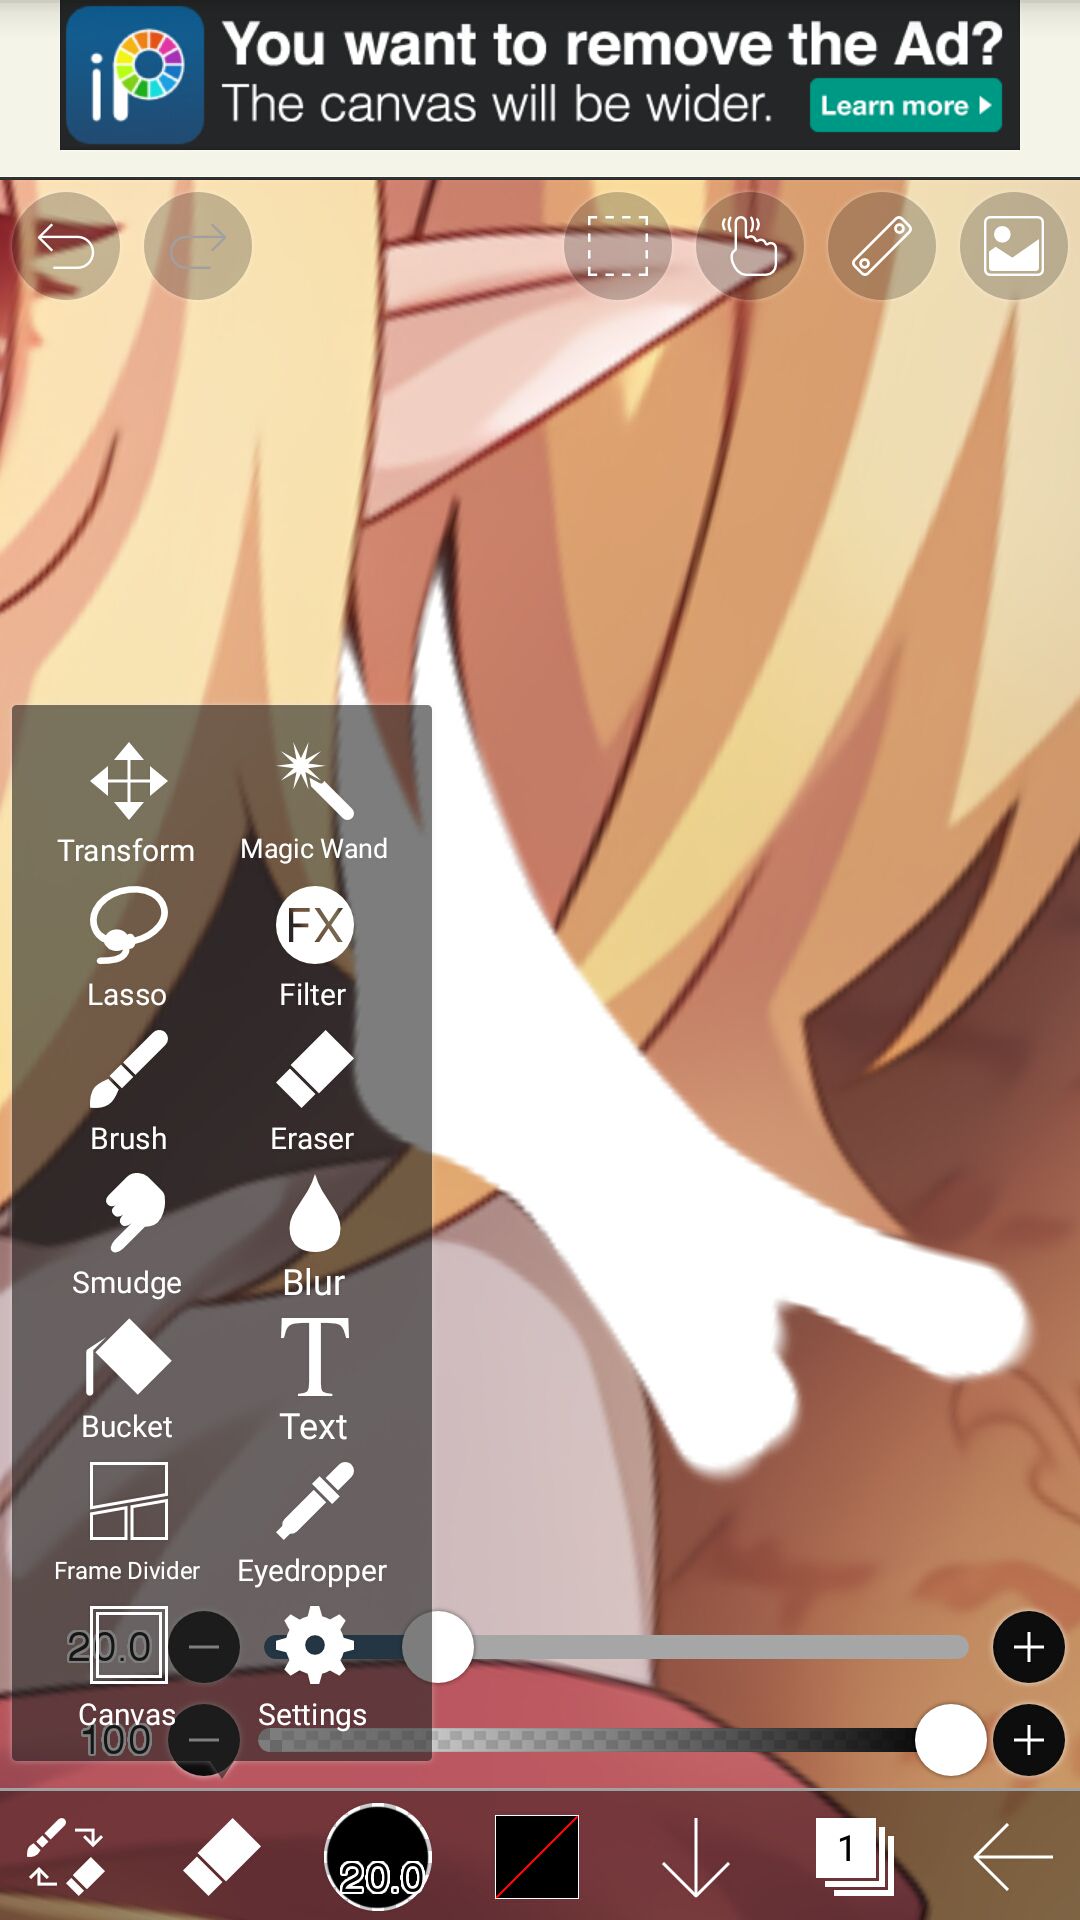
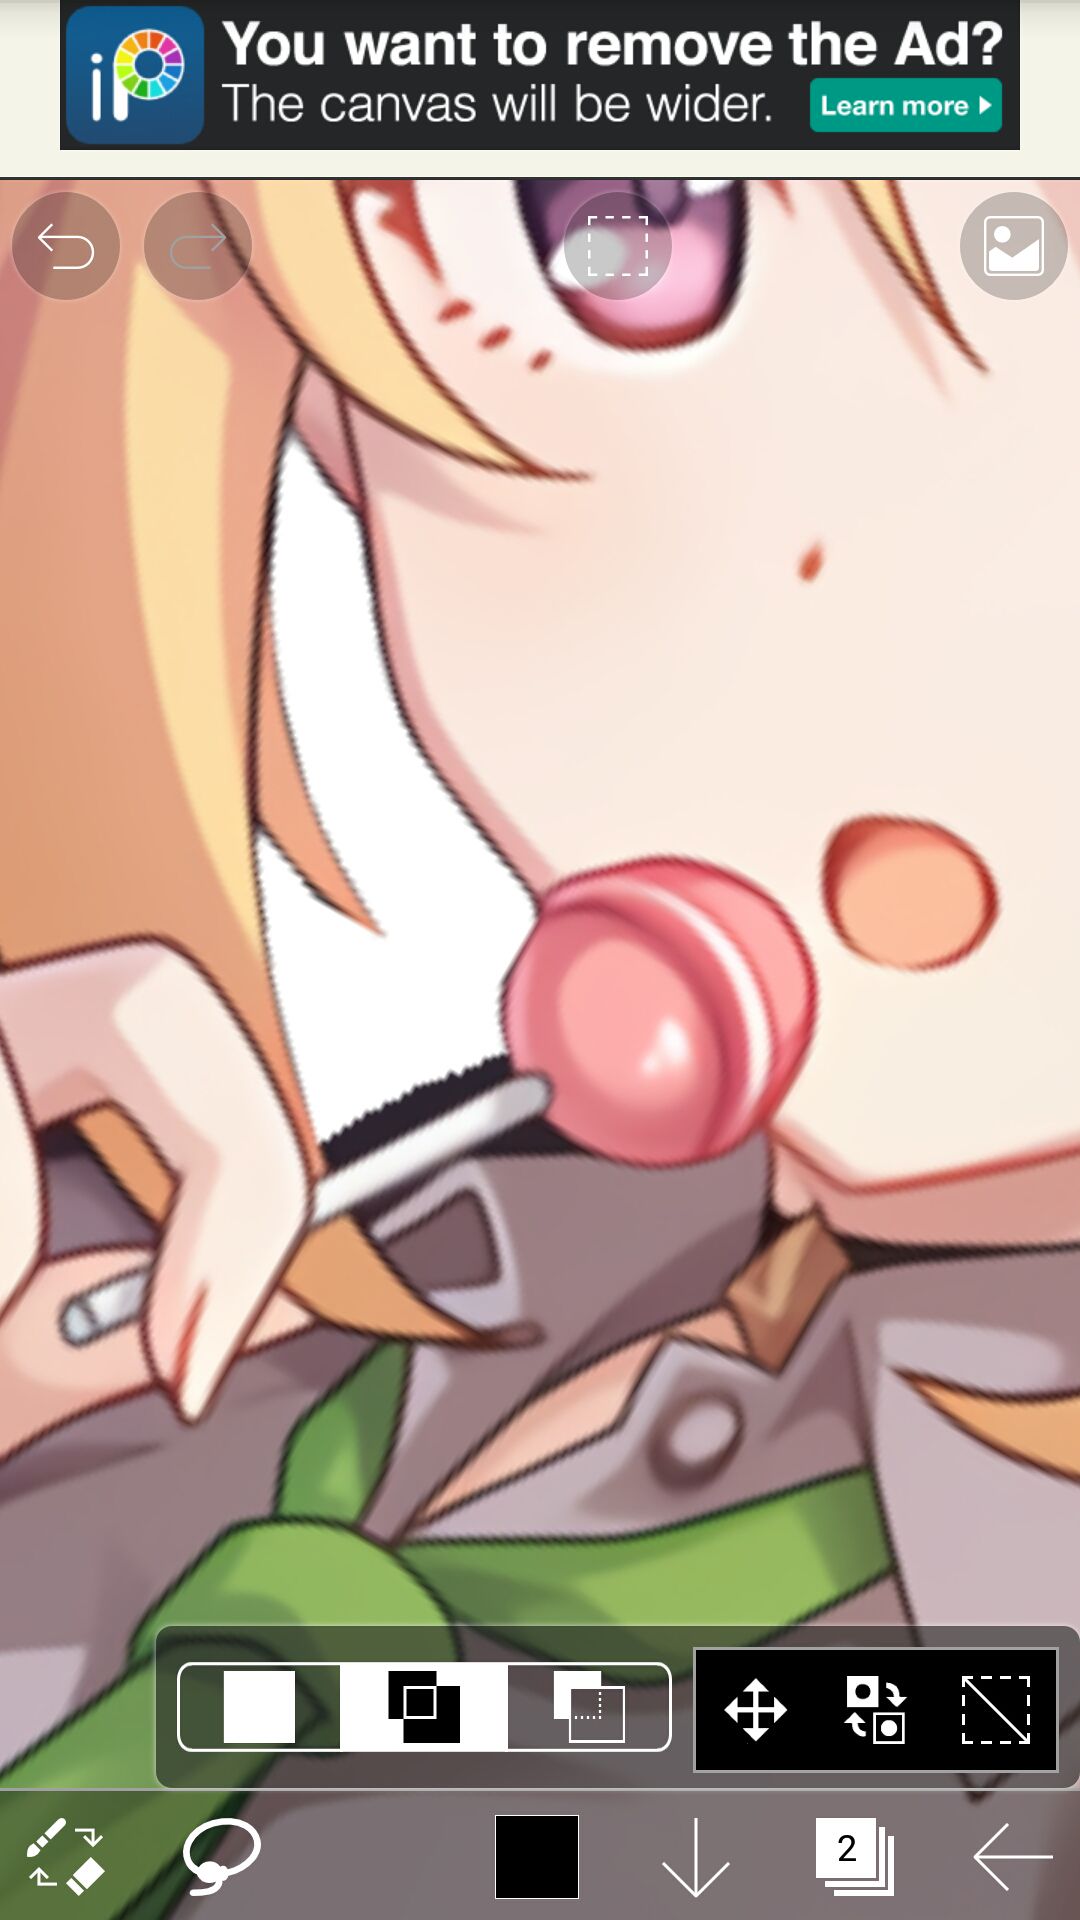
• switch your tool to lasso then like in the second picture below, lasso the part where the hair you erased from earlier should be.
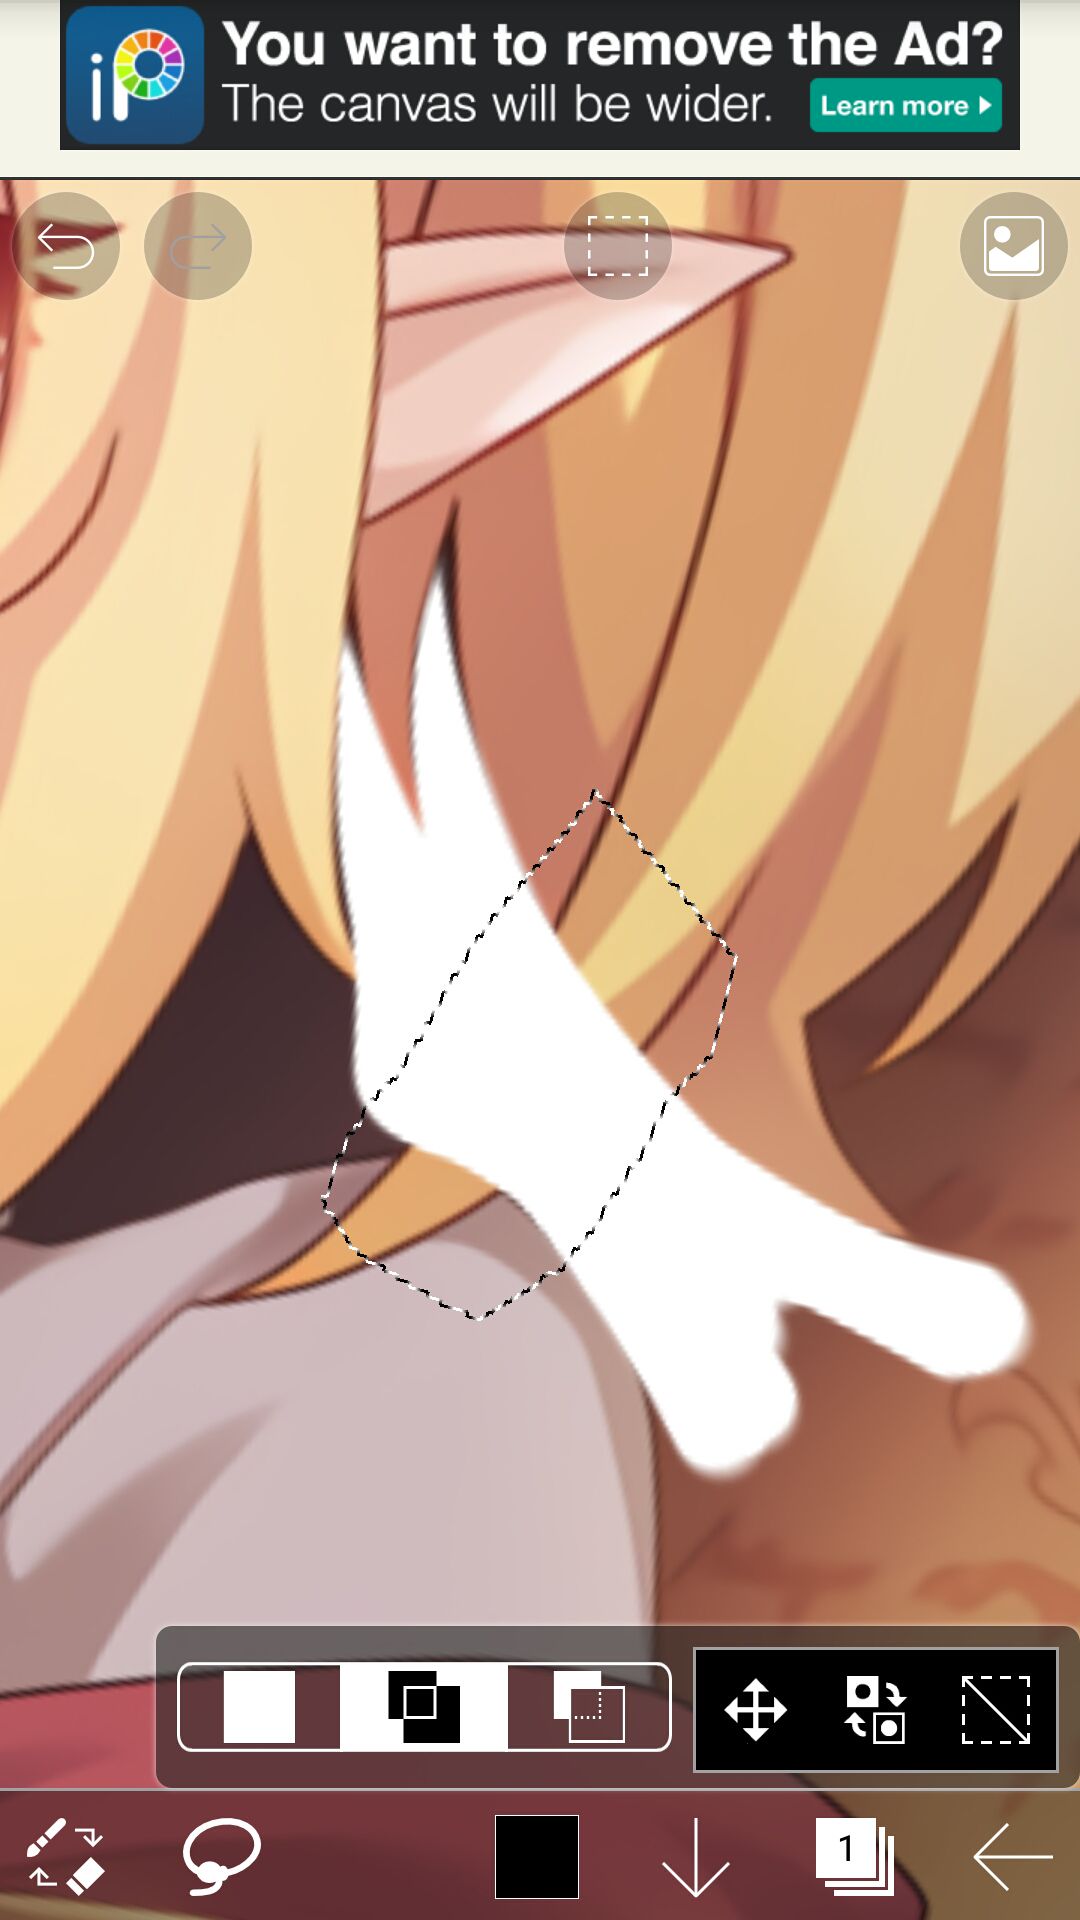
• duplicate that lasso-ed part, then toggle the eye of that layer to make it visible. It should look like this by then :

• now, all you need to do, is to carefully erase over the spots that aren't part of the hair. It should look somewhat like this :
Merge the lasso-ed layer with the main render.
• you can use this trick however and whichever part you want to use it for. Example :
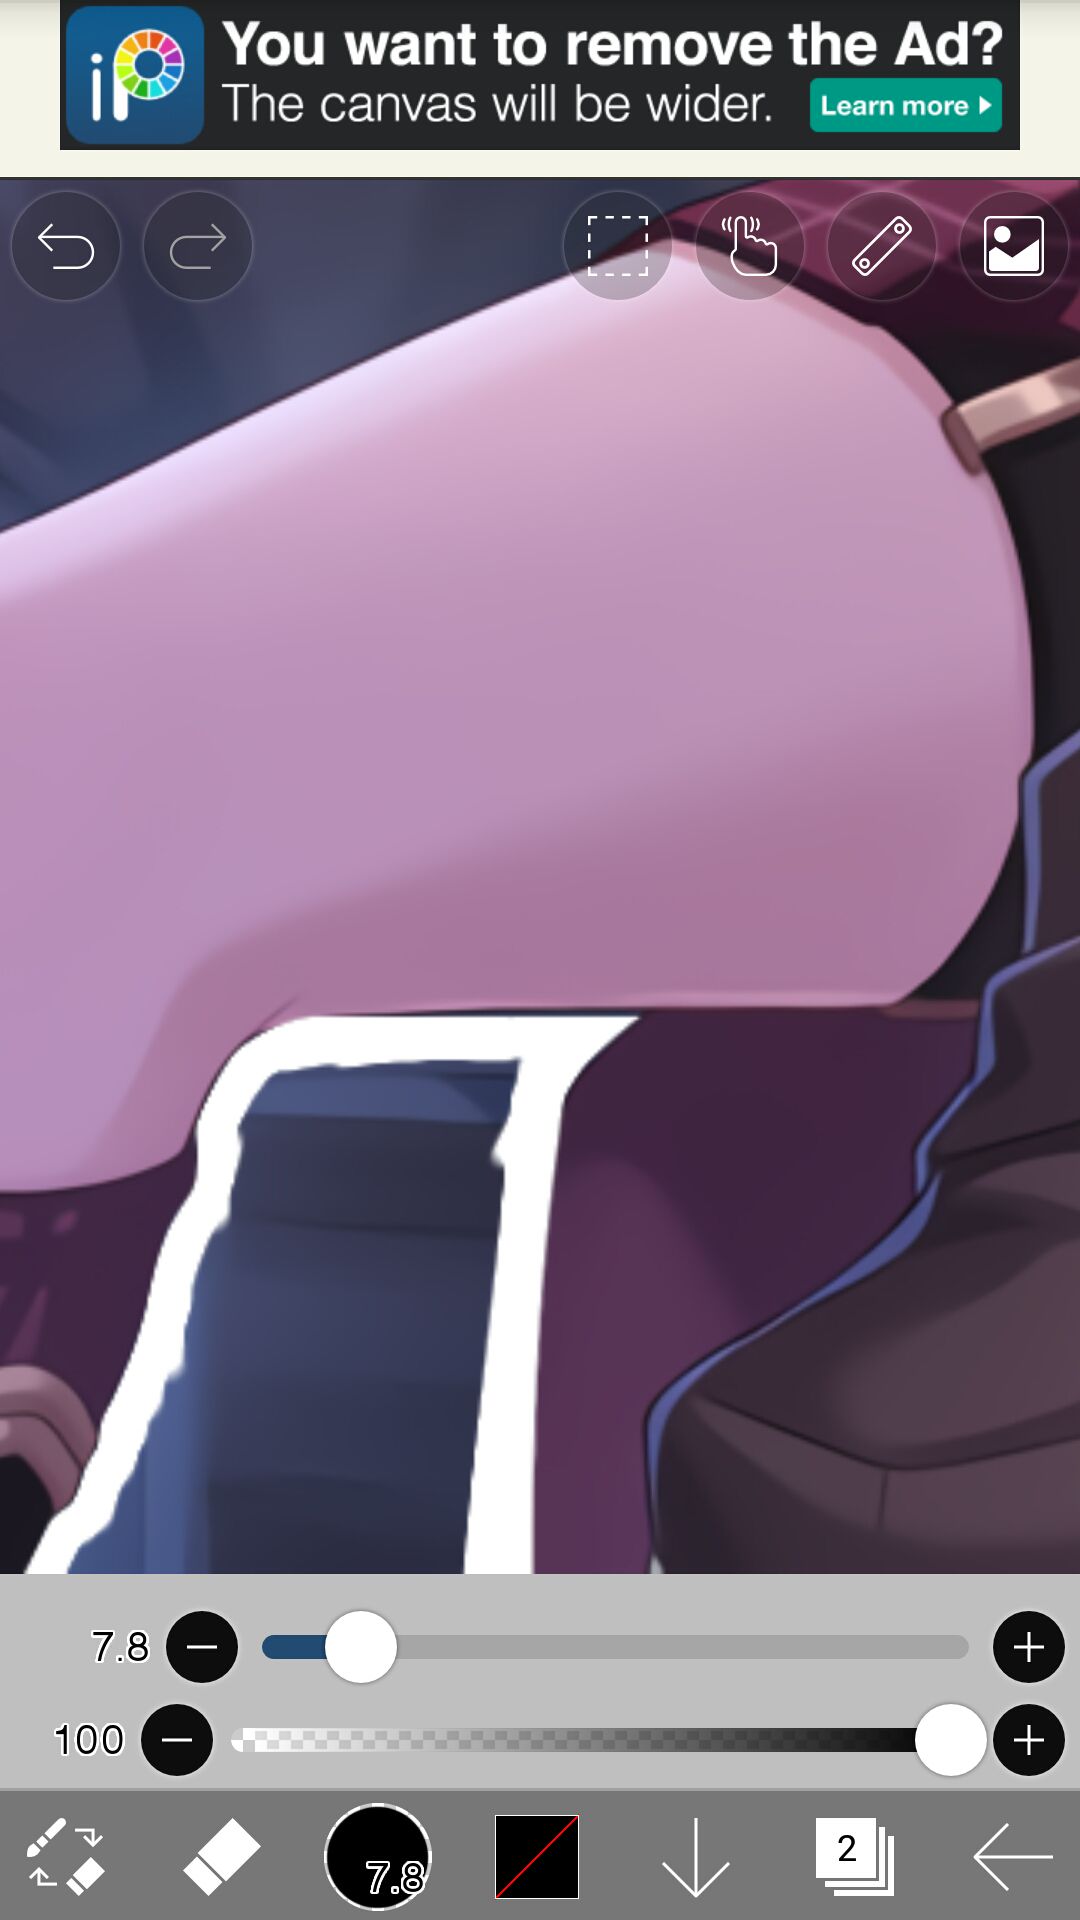
• it's a great trick to use for small spaces that you want to render like in this one, the space between the clothing and the lollipop.
• you can also use this just to make sure your lines look good.

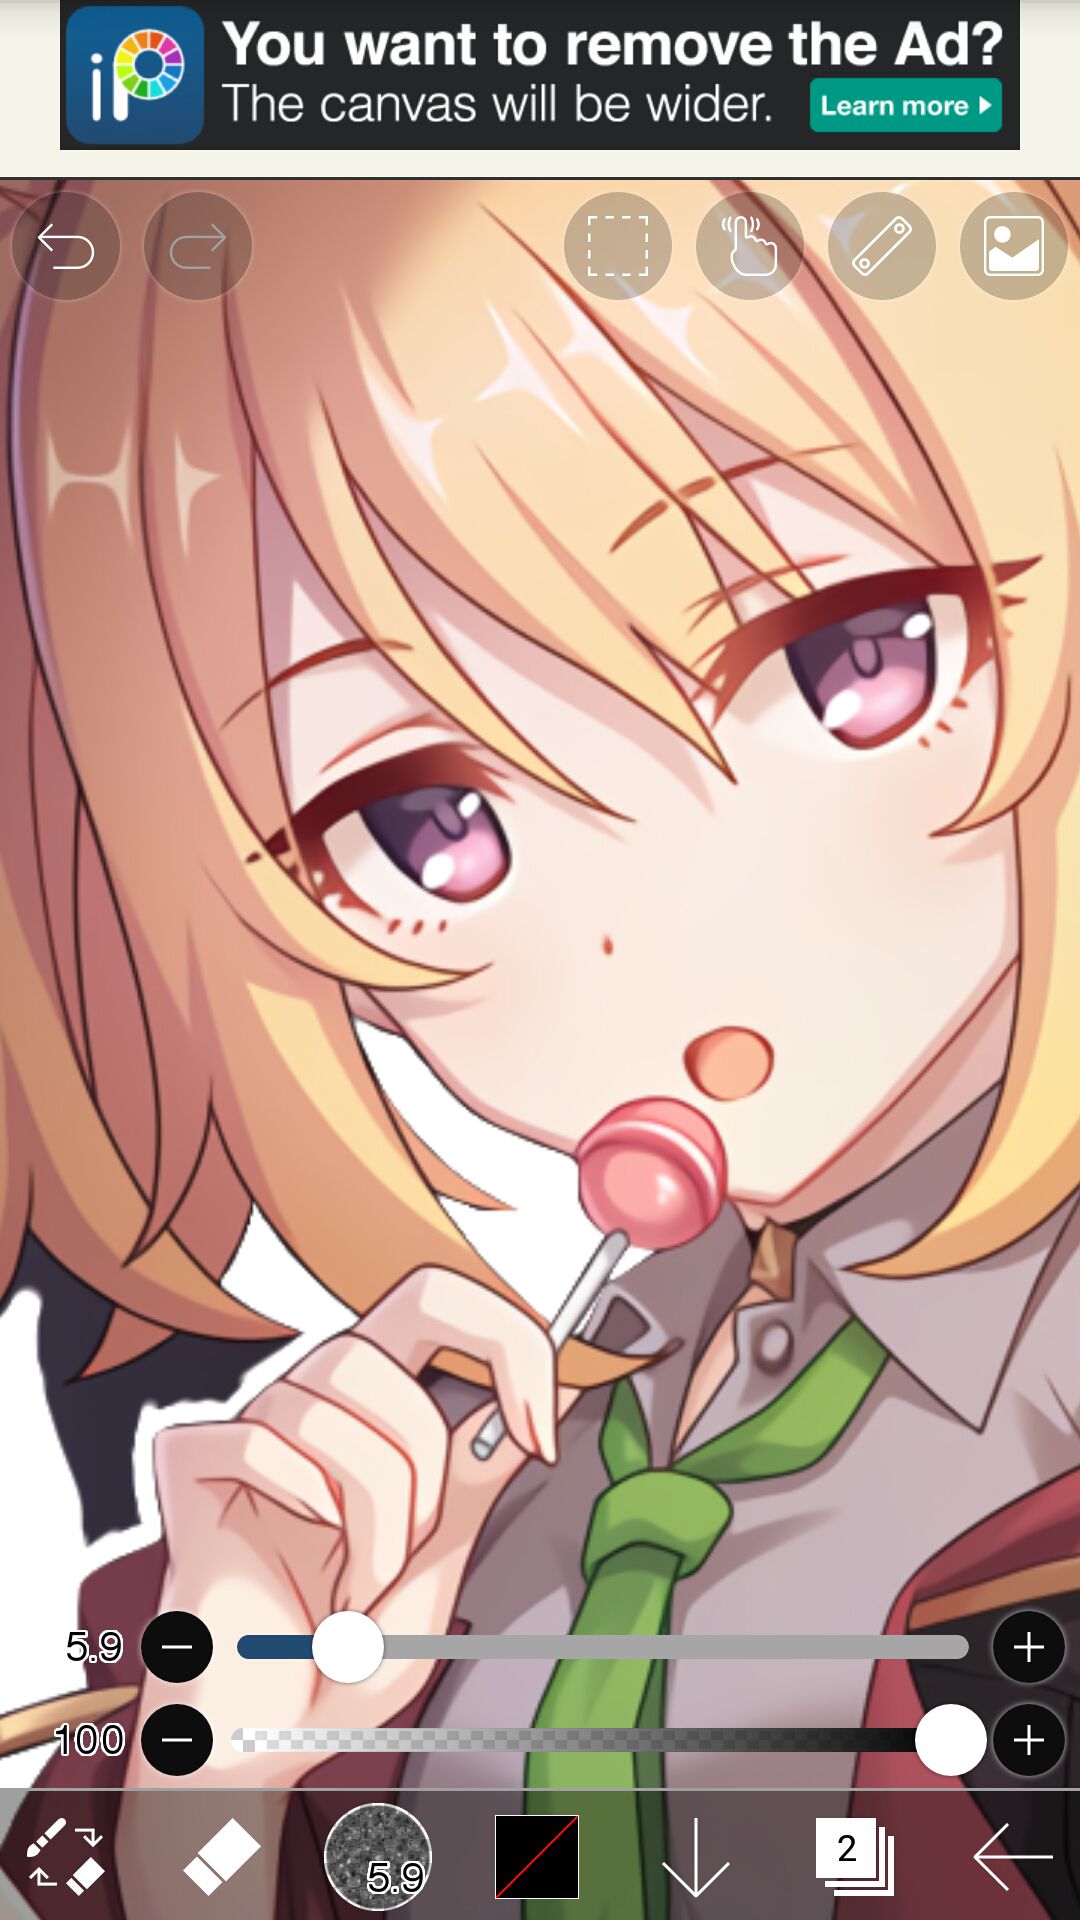
• just continue using this for the parts you deem hard to render properly and... ta-da! You have your own render!
quick note ; before you save it as transparent png, use outer glow/stroke on your render first and check to make sure there aren't any specks left. If you don't find any then you're good to go!
Take my word for it guys, this trick is very helpful. It has helped me with countless renders now and has never failed me. It's funny how I accidentally just found about that trick while rendering a picture for my friend skksksjs
[ ! ] one of the few things that you have to watch out for while doing this is where you plan to erase. recklessly erasing will just end up badly, trust me, I've been there😔
another is don't play around with the settings for the brush too much, stick with the Graphite settings that I recommended and Felt Tip (Hard)
aaand that's all for today!
I really hope this would help those who
need to render something for their edits.
Until then, bye~!

Bạn đang đọc truyện trên: AzTruyen.Top