How I do my art... pt. 2
Hey everyone!! SK here.
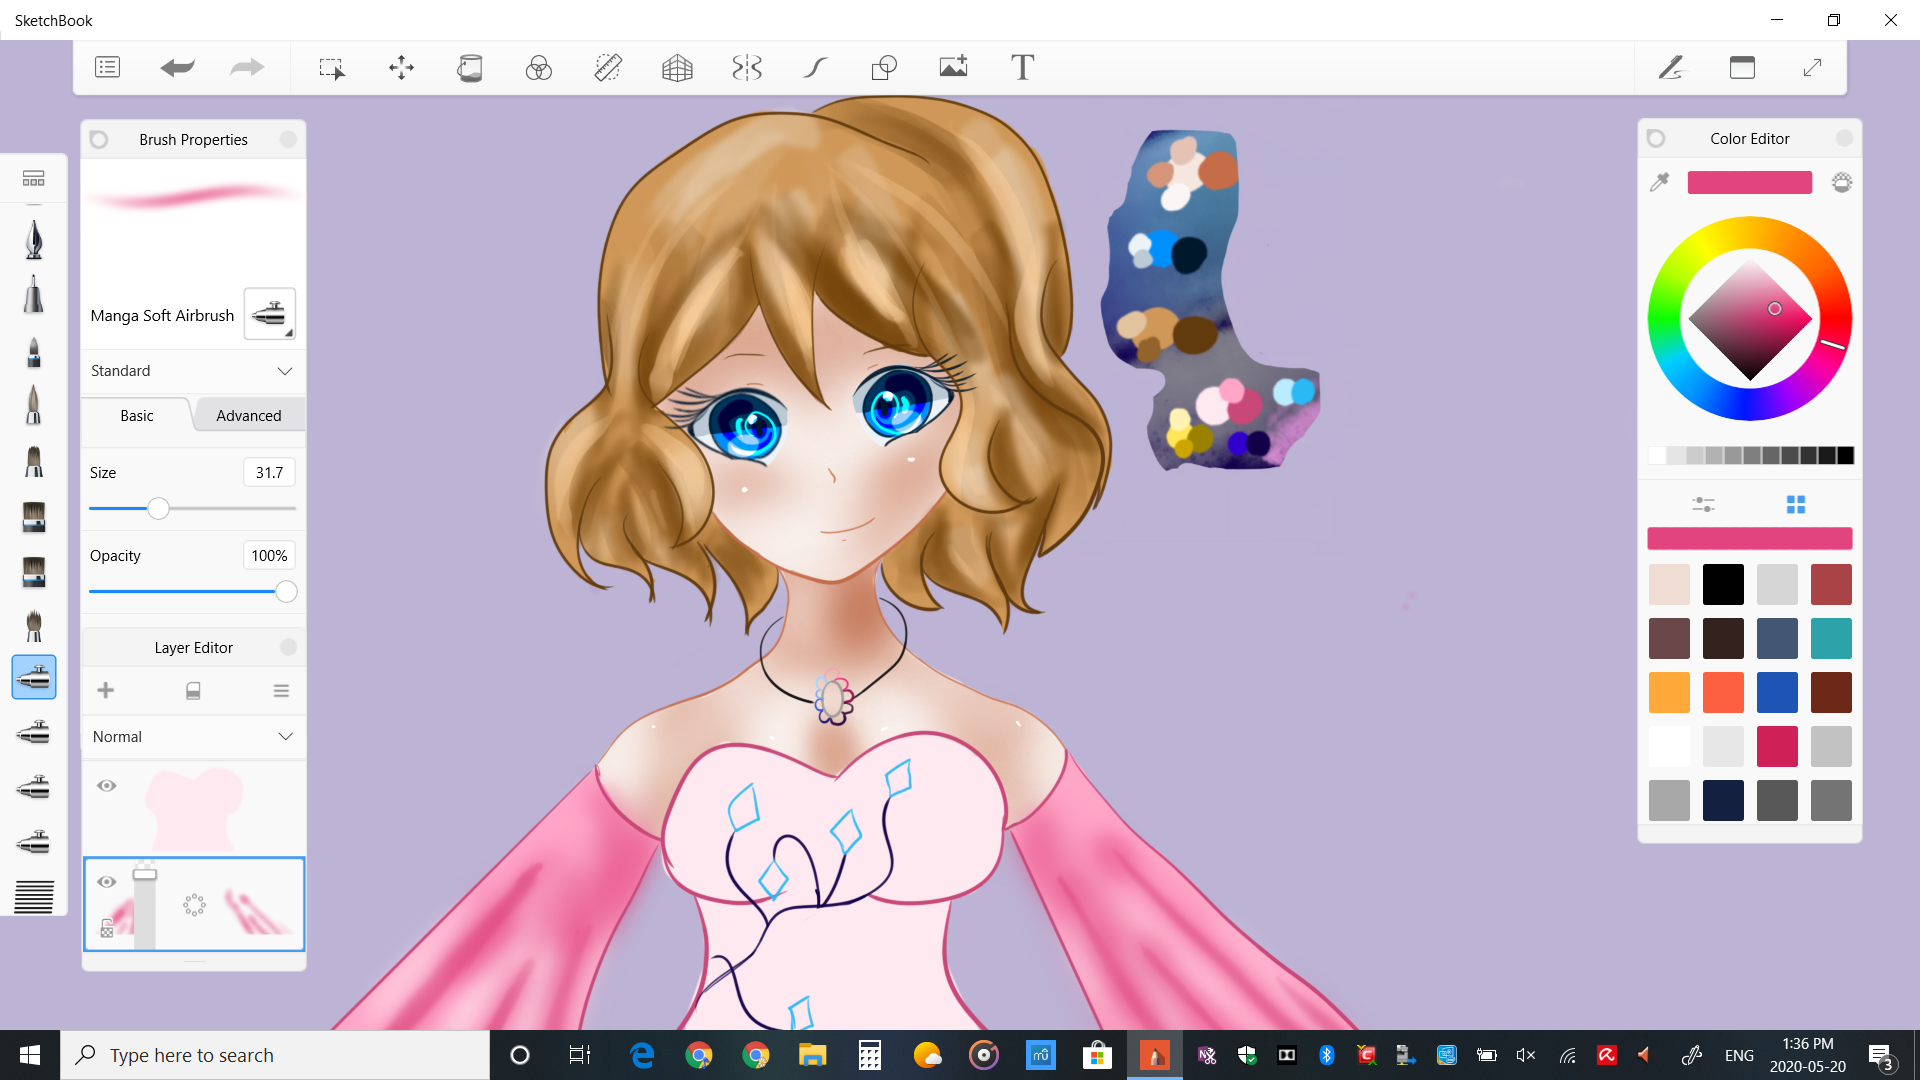
So, last time we left off with her skin, eyes, and hair being complete. Now we just need to finish her clothes, necklace, and wings, as well as any finishing touches.
Let's get going!
Okay first just like everything else, I just fill in the base colour.


Also, forgot that I didn't address this in the last part, but the reason that I changed the background colour is just because it makes the lighter colours easier to see.
The next step is to do her sleeves, i.e. to make them wrinkly. Fabric isn't just straight.. and it took me a while to learn that when it comes to drawings XD. To do the wrinkles, I use a combo of the soft airbrush and the hard airbrush, to get something that turns out like this...


Of course it has to be erased, but that's how I make it look wavy. Of course I also shade the underside too. Some tips for doing wrinkles is just to make the dark areas dark, and have a bit of the darkness encroach on the fold, and really highlight the top to emphasize it. The next step is to do something similar with her dress.
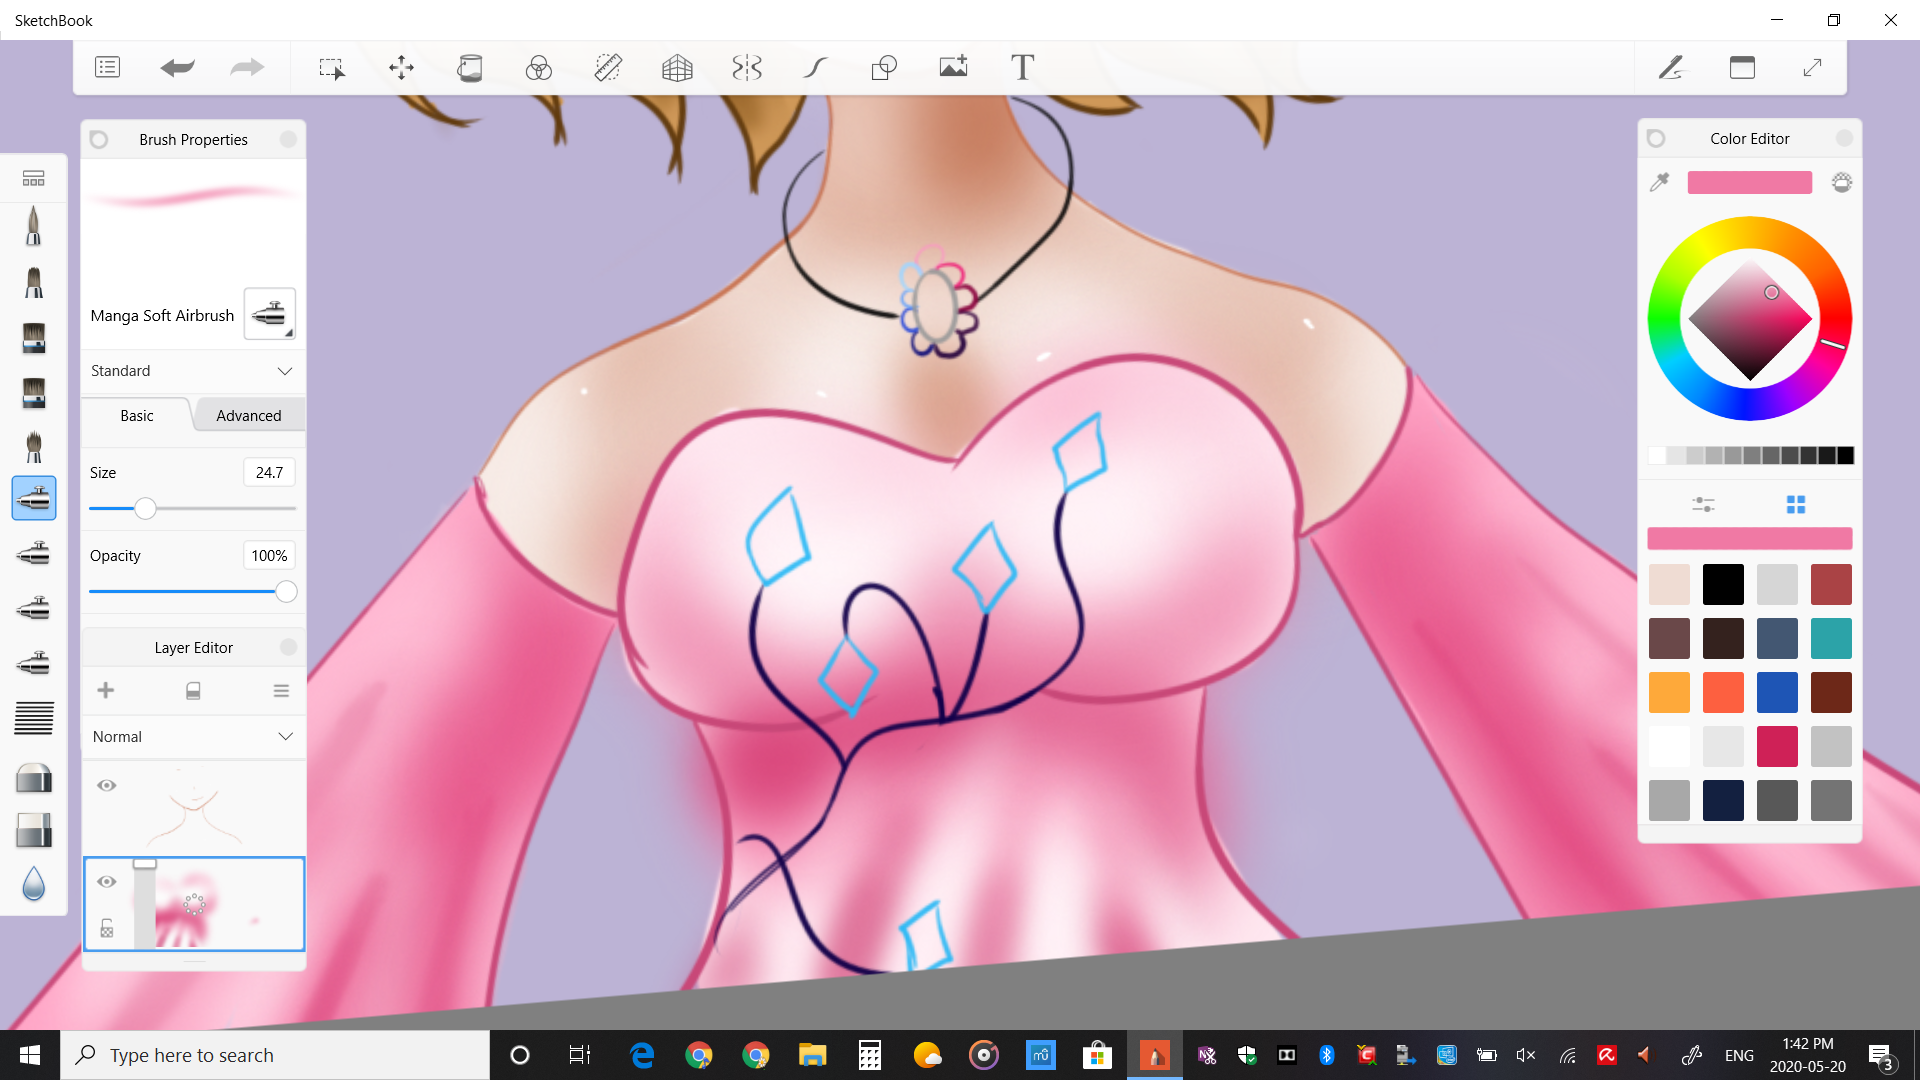
Just to shade under her breasts to make it look more 3D, and to do similar waves of fabric on her dress as well. It makes more sense on her full-body drawing.. but I'm not revealing that yet ;3


Completing the shading, in addition to the diamond pattern on the dress.

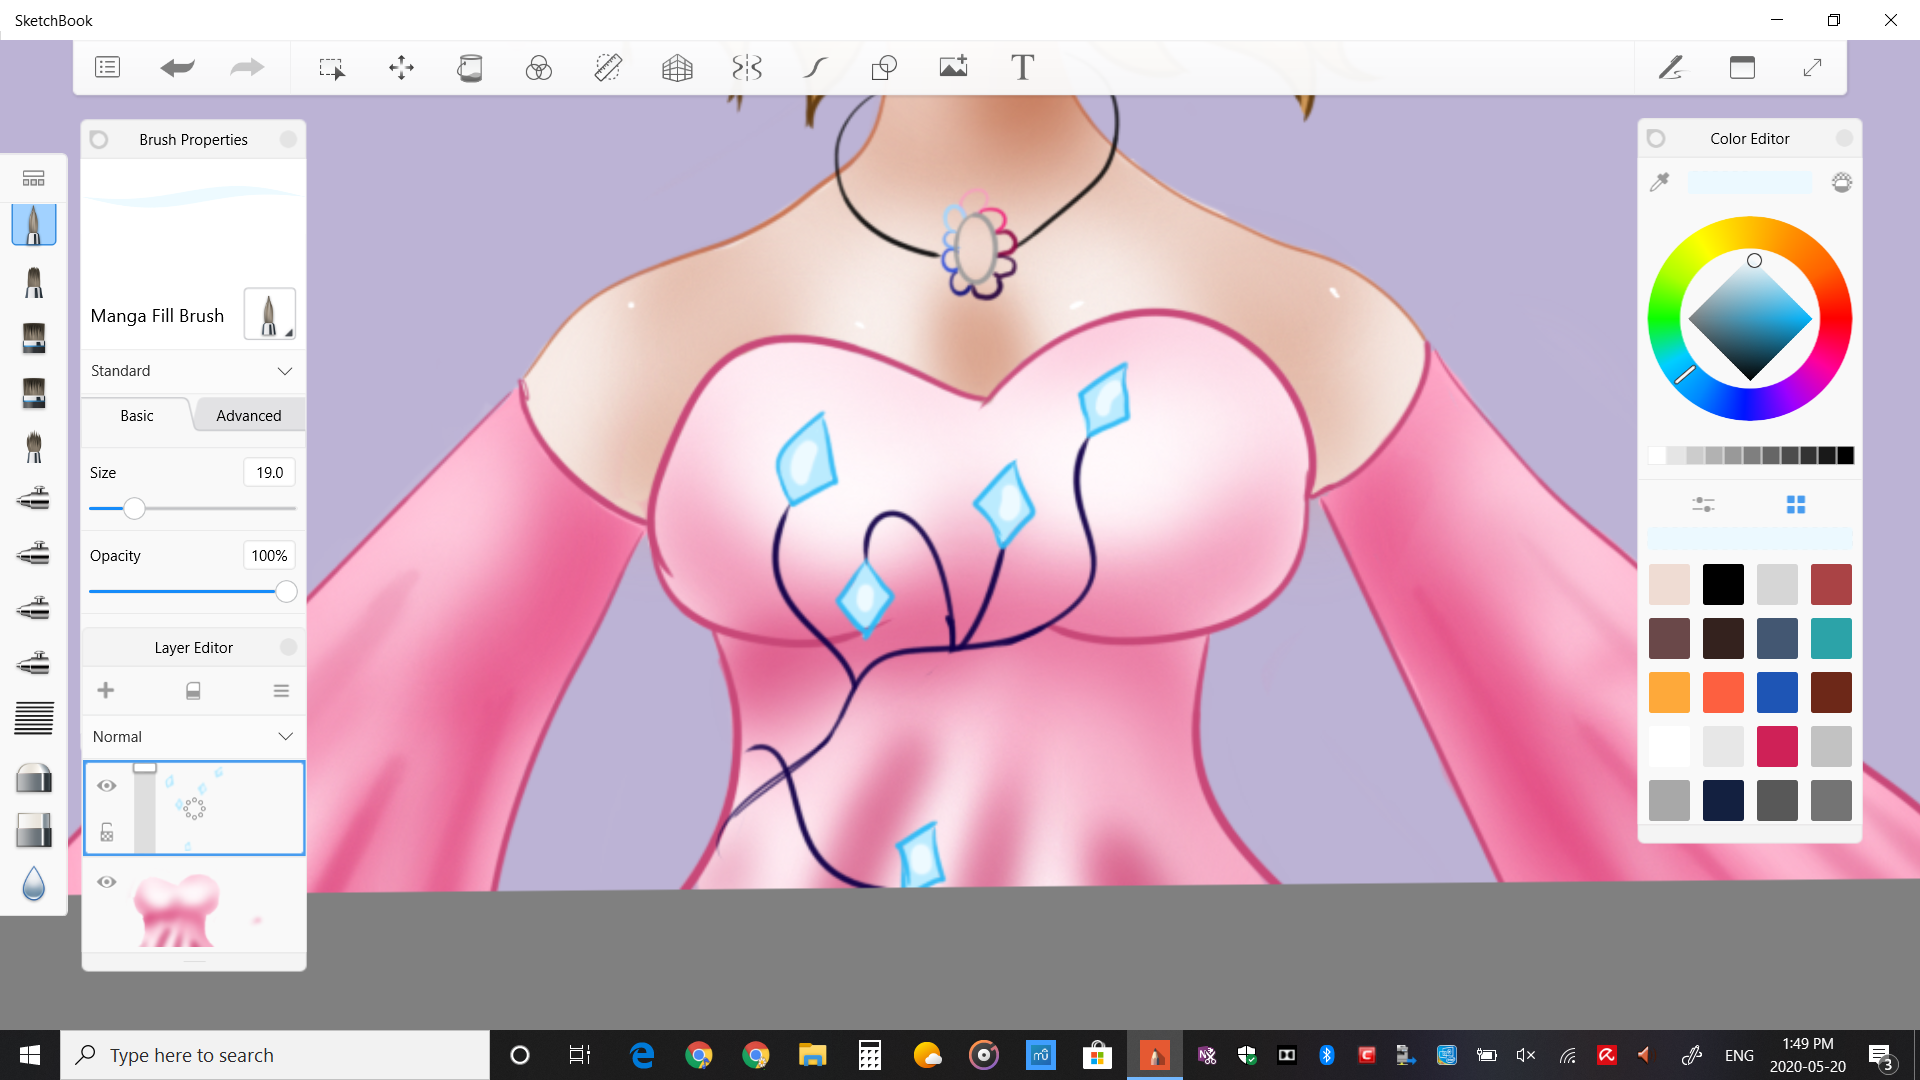
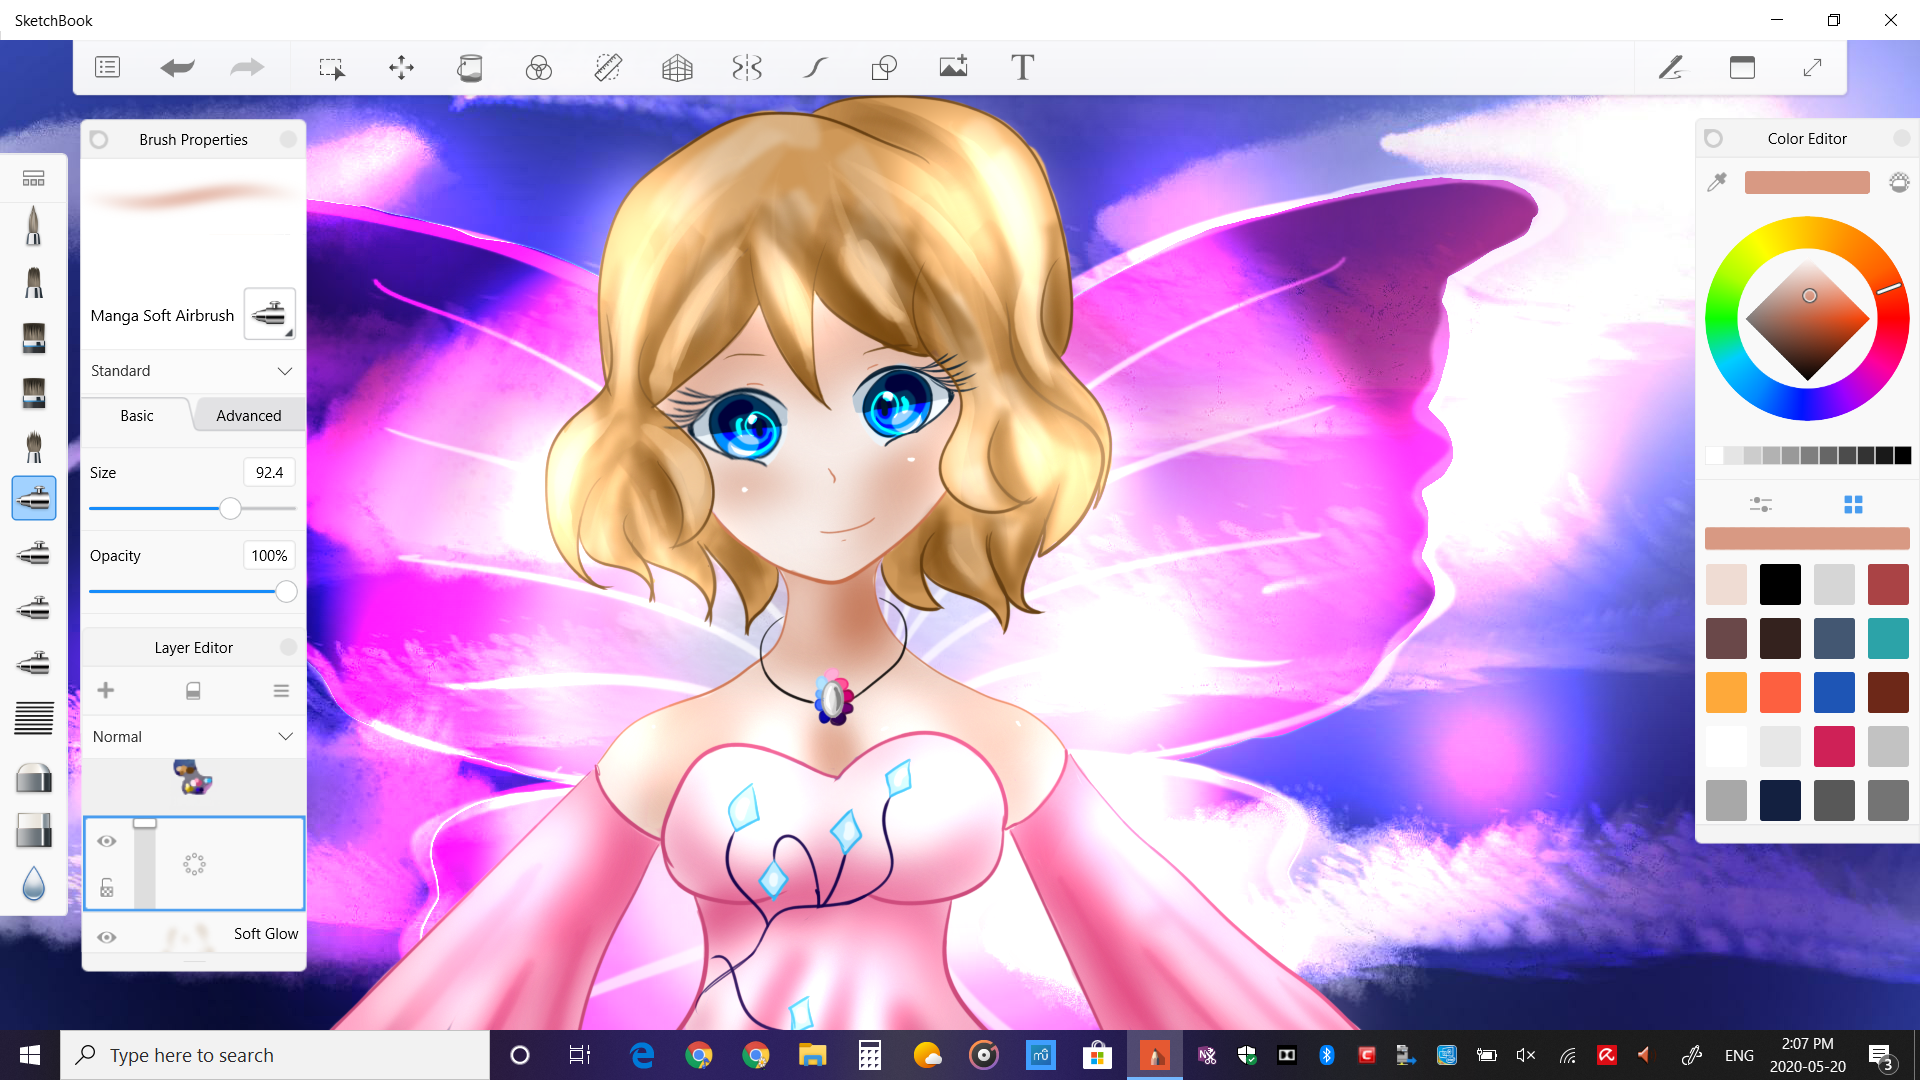
The next part is just to shade in the necklace, but this is not that hard as it's just filling in colours with no shading involved (a much needed break XD).

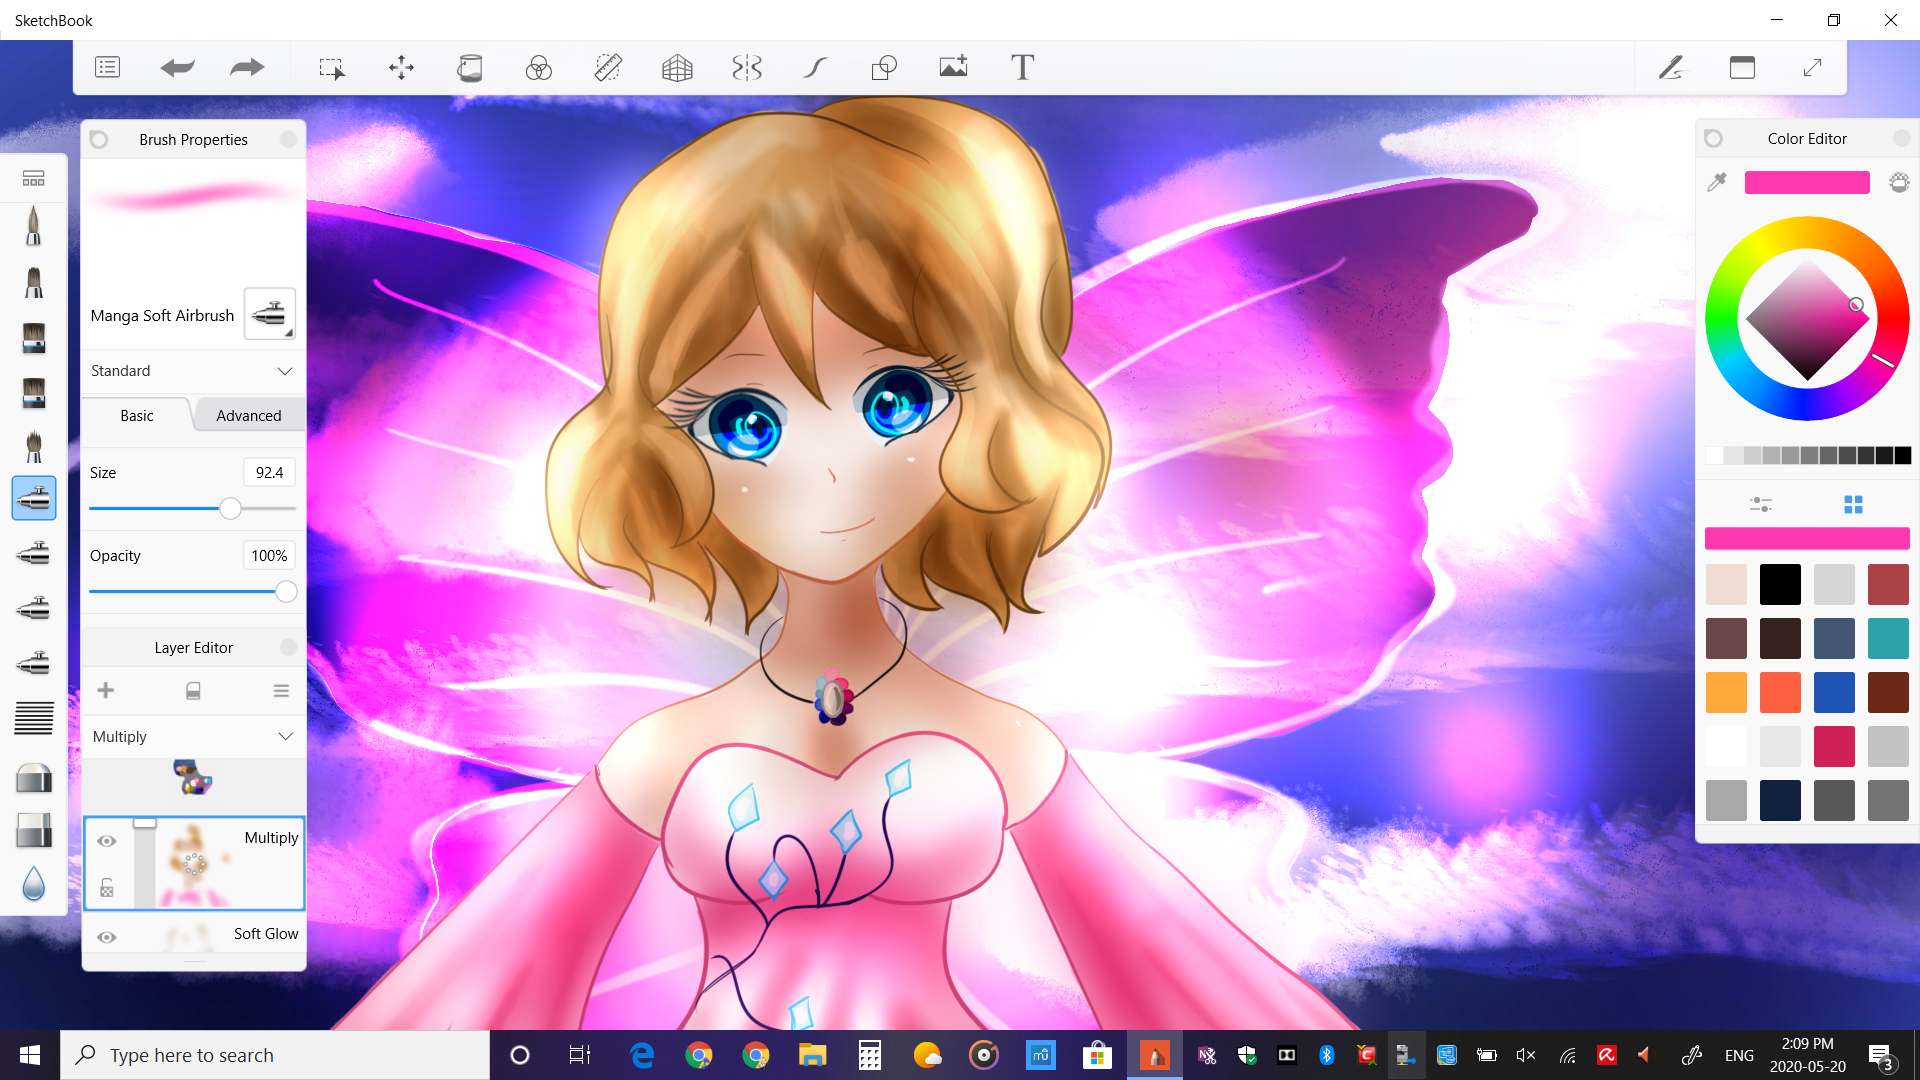
At this point I don't need the colour palette anymore, and I need the space for the wings. I also add the real background here (something I coloured last week for a different drawing) because I need it to choose the layer effect for the wings.
So yeah, I'm starting the wings now. First, I do the outline (I like to use the reflect tool for the wings, saves time).

And then set it to either colour or linear dodge depending on the background (they brighten differently, so the wings are always background dependant). The next step is filling the wings, which I just do with a solid blue and use the paint bucket tool to change the colours around to make an ombre effect.

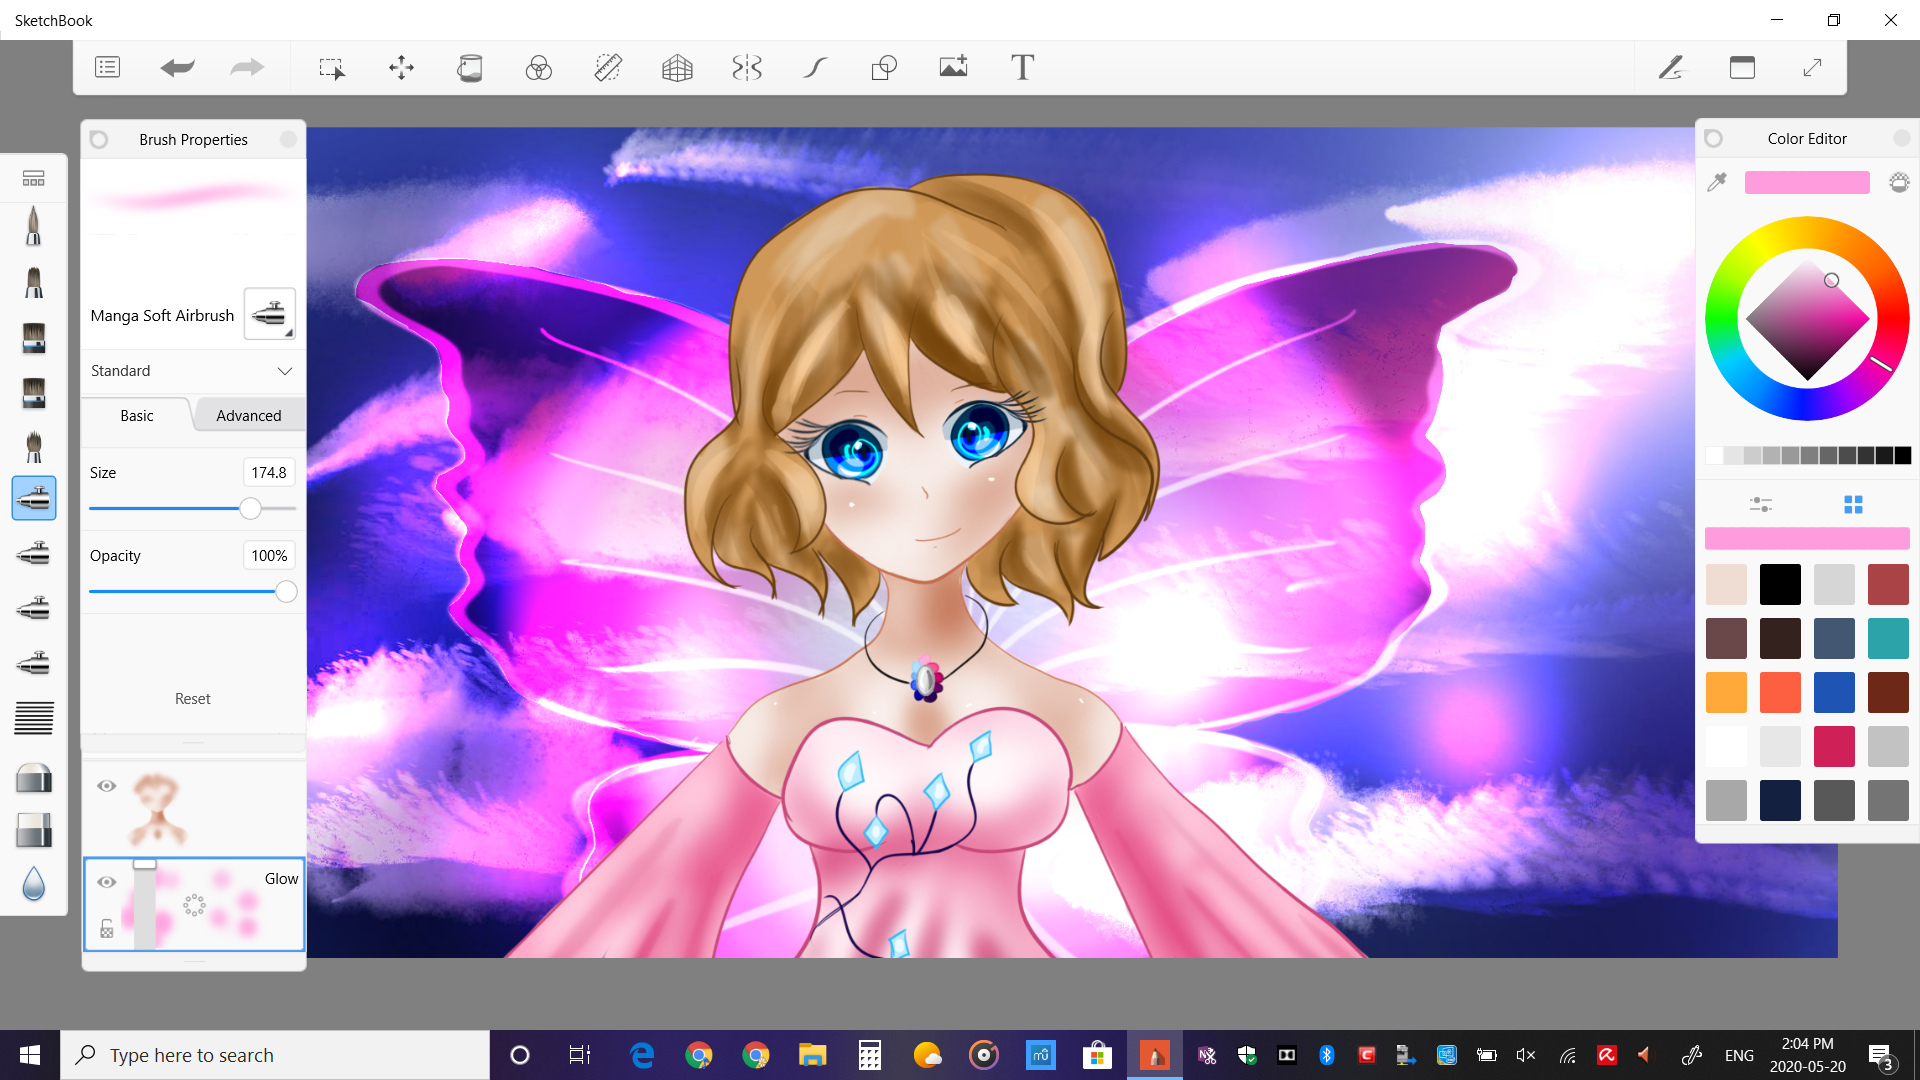
I've also set the top wings and bottom wings to different brightening layers, because the background is being mean to me today.. ahem. Anyways, I use the soft airbrush, change the layer to glow, and do some glowing dots around the wings. You might think it ends here.. but there's still more. Now are the special effects.
First, I make a layer in front of everything (including the outlines), and set it to glow, then add highlights accordingly. This is what it looks like:
Now I do the exact same thing, but this time I set the layer to multiply (darkens), and add shadows. I'm using the soft airbrush for all of this (my best friend, ngl).
There is one last thing that I've tried with only this drawing so far.. multiplying and glowing the eyes. Like darken the top half, and brighten the bottom half.

I think I'll keep doing it. What do you guys think?
Anyways, this is the final result...

Serena's looking pretty good, if I do say so myself.
Well, that's it for this 'tutorial'. It's different than what I usually do, so I hope you found it enjoyable nonetheless!!
I guess stay tuned for the next part everyone. Stay happy, stay safe :)
Bạn đang đọc truyện trên: AzTruyen.Top