VII-ALL ABOUT LIGHTING
so i see some of y'all dont understand lighting so as a self proclaimed digital artist imma just explain.
I am in NO WAY a professional, and this is just my two cents of lighting in graphic design.
Sjdjdjdh
: :
I'm not gonna roast anyone today. (Captain's nice uwu).
I just want you guys to know that WHERE you put your light source will justify HOW your character's shading will look.
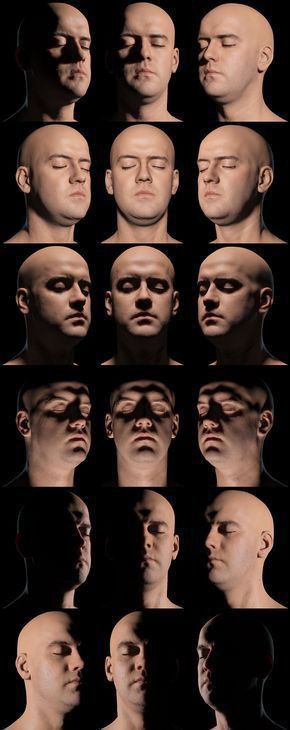
A more simplified version :
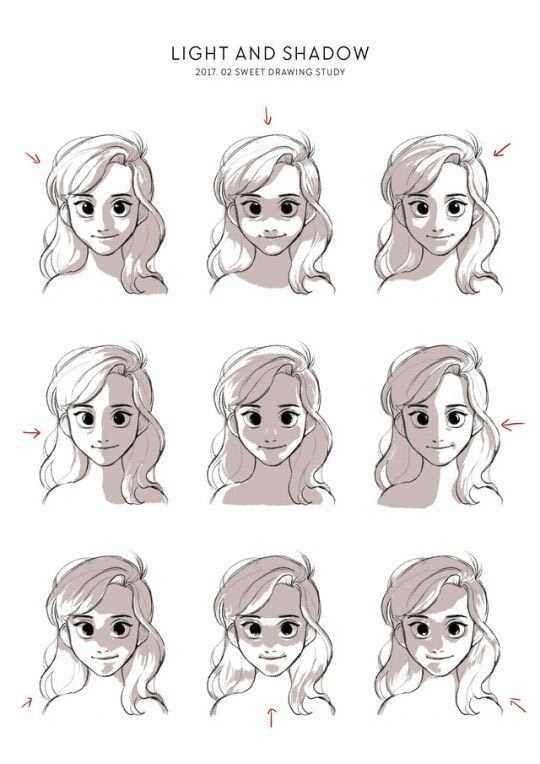
I think of it like this when I'm drawing :
The light hits the elevated parts, as well as the closest. Whereas the shadows form in the sunken parts, or below the light
It isnt a perfect analogy, but it helps I guess.
The type of lighting that usually graphic designers do are :
1. Backlighting
2. a glowing light source
3. Dual lighting.
1. BACKLIGHTING
It's light from the back. Duh
once again, backlighting doesn't work this way :
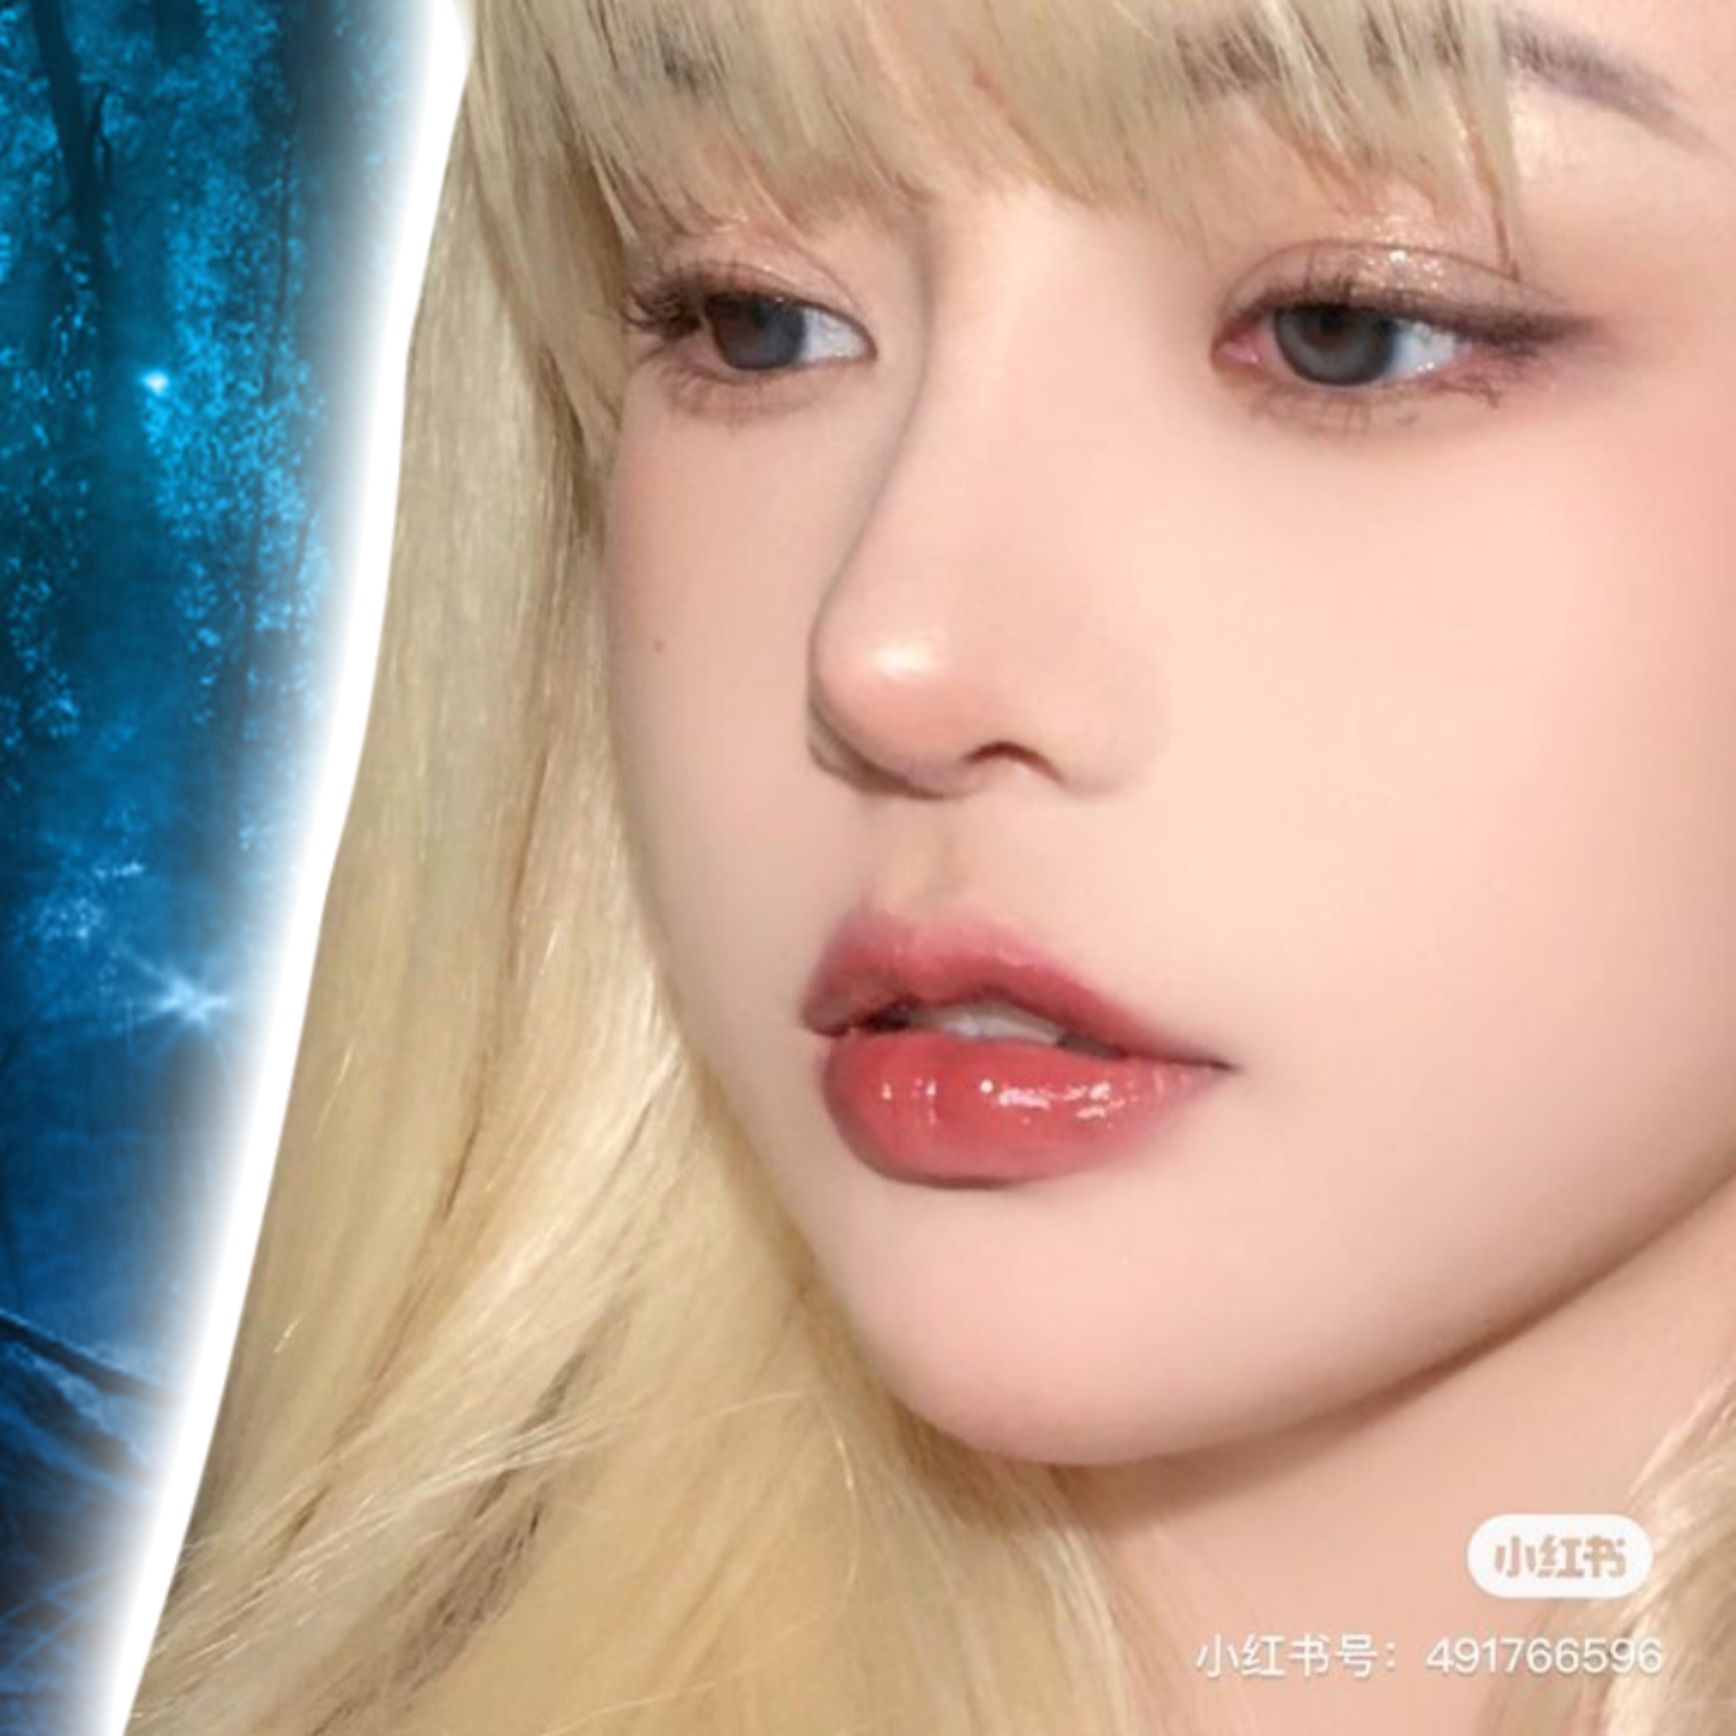
It tends to glow at some points, and hits the sides of the model like white lines/glows.
Usually backlighting, especially in designing requires :
A. a GLOW-LIKE LIGHT SOURCE
definition of glow : to shine with low light and intense heat .
Things that naturally glow (bioluminous) : the sun, jellyfish, fireflies, other stars, some mushrooms, flames etc
Things that can produce a glow : street lights, candle, fireworks, arcane symbols, magic, etc
Things that are effected by glow : all non luminous objects from books to we humans to a horse.
So applying a glow-like light source is usually like this :
-colour picking a bright part of the background/glowing object and using AIRBRUSH to brush around BRIGHT AREAS (avoid dark areas)
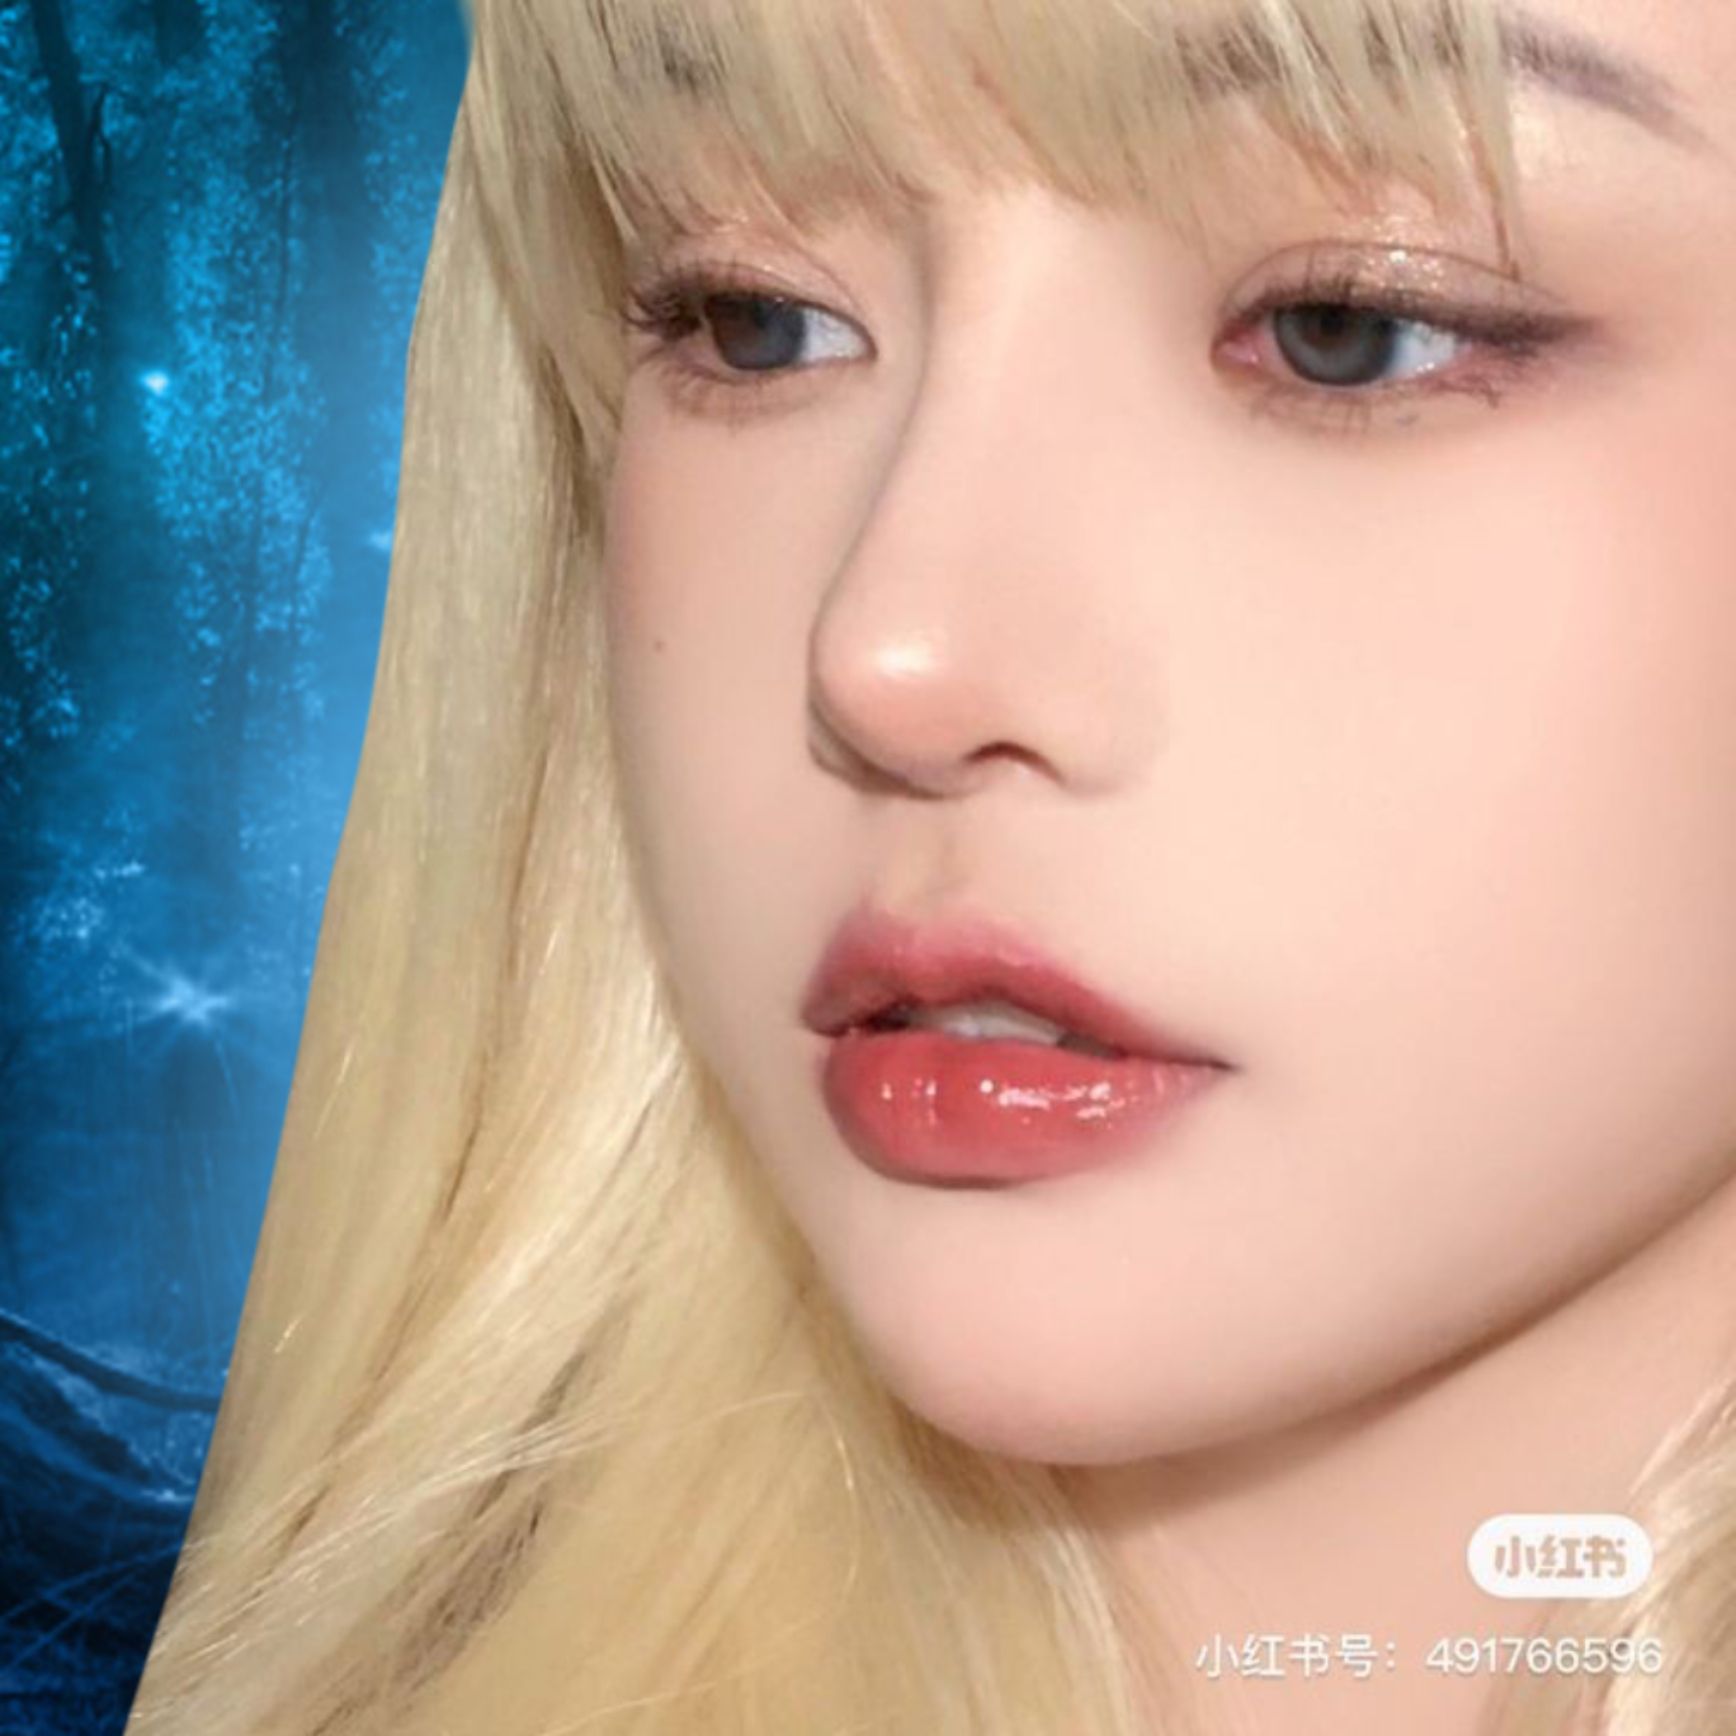
–setting it to overlay, then using a brighter colour and AIRBRUSHING it again but making sure this one is smaller then setting it to add
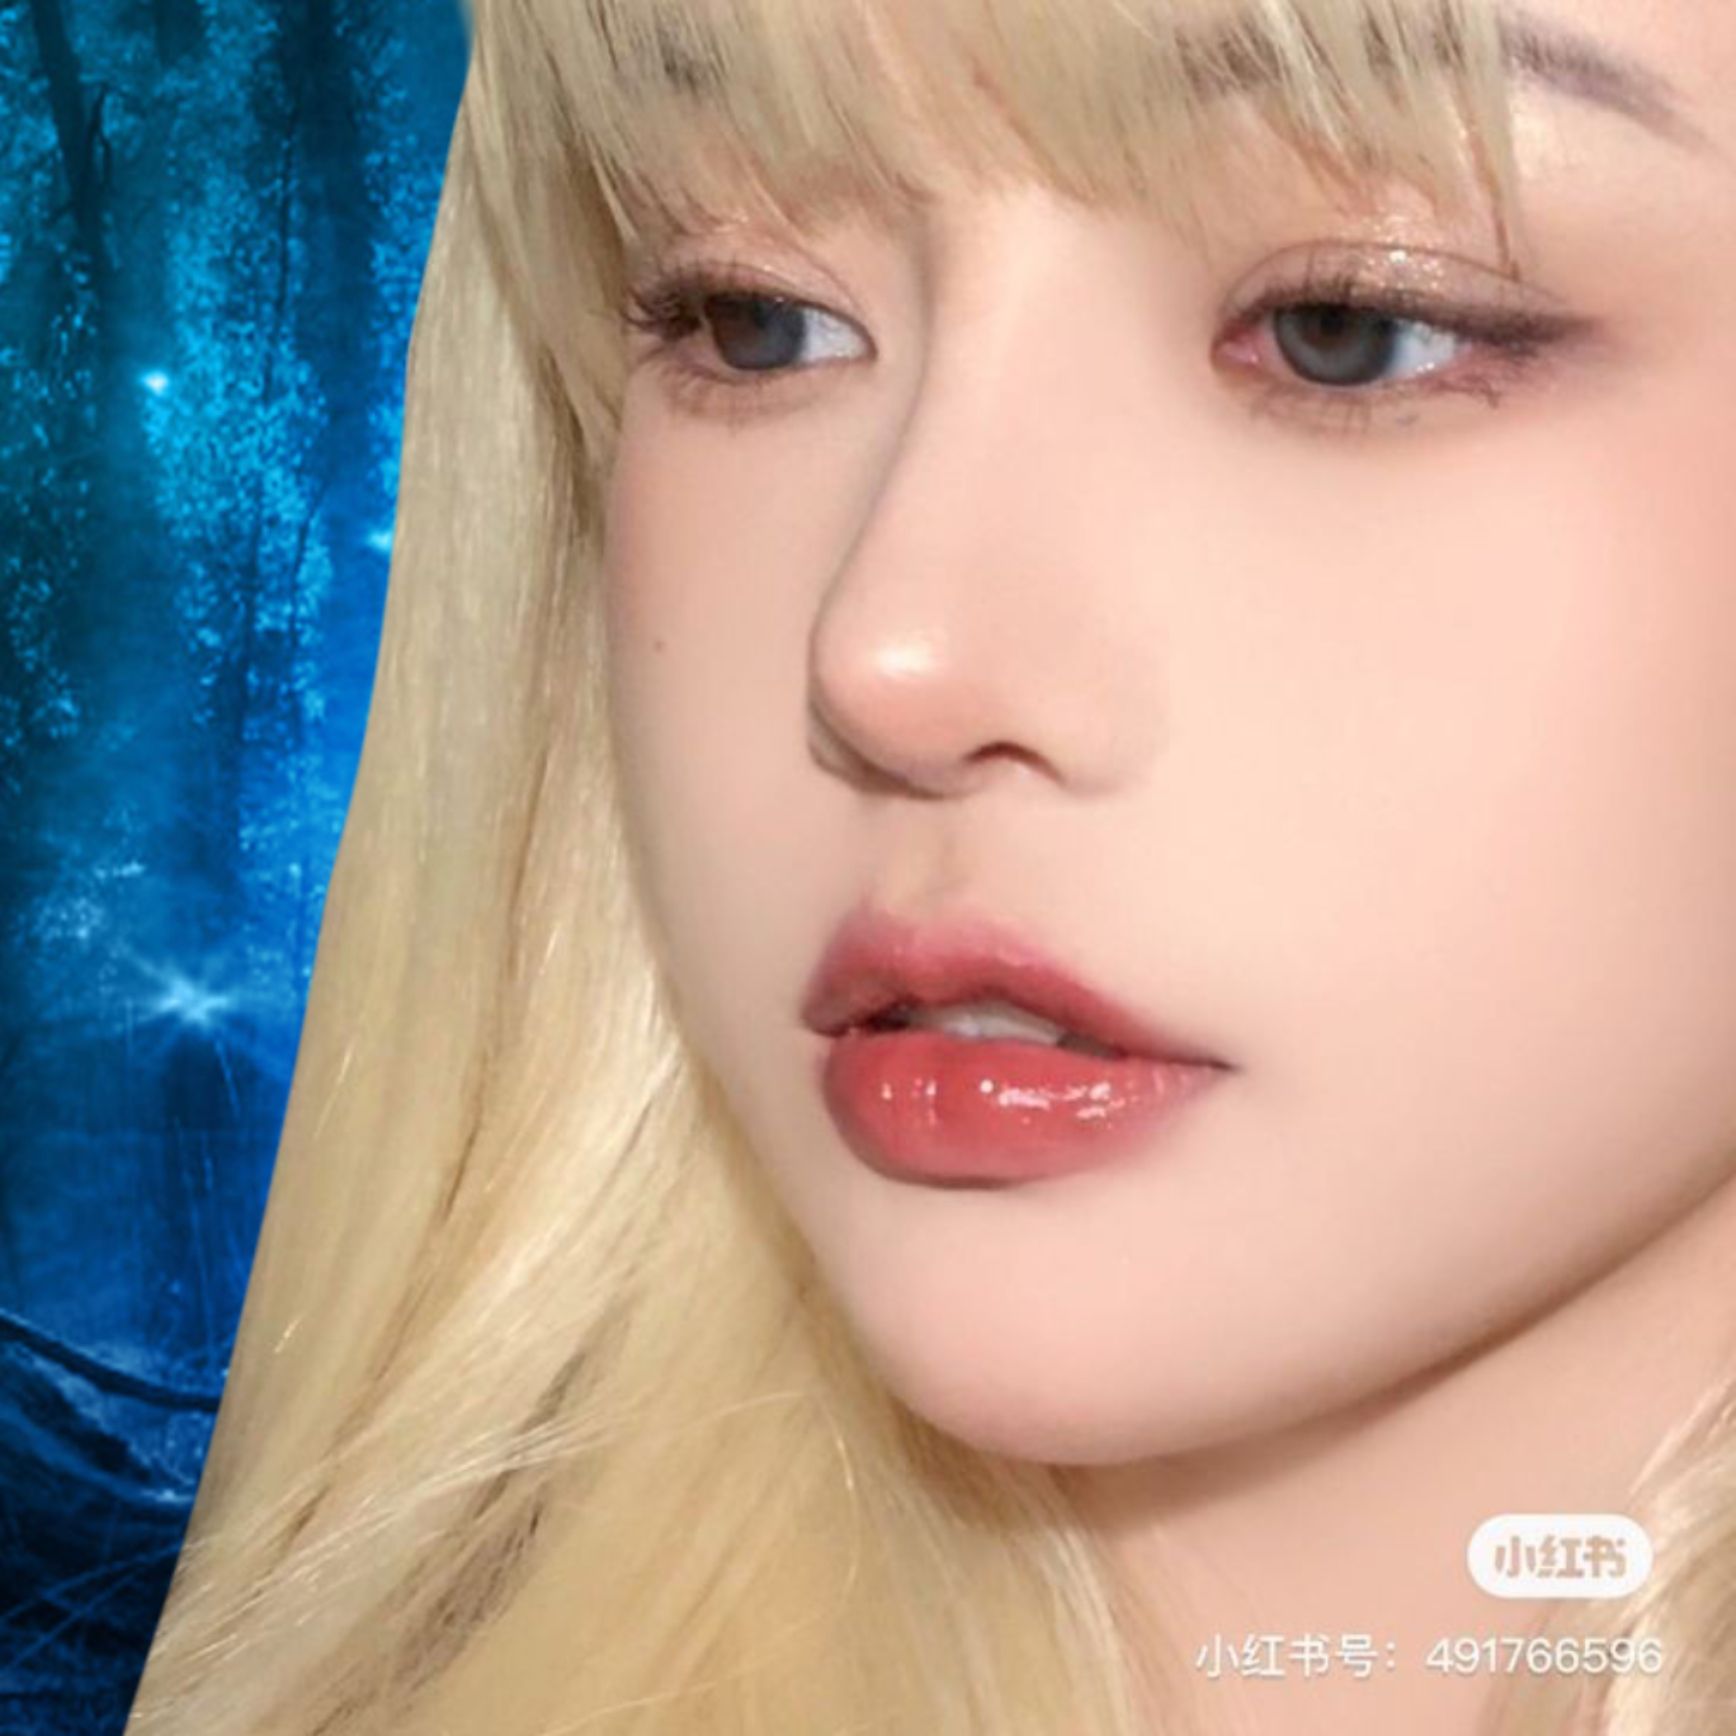

-using the airbrush to paint over the sides of the model where the light hits then setting it to add
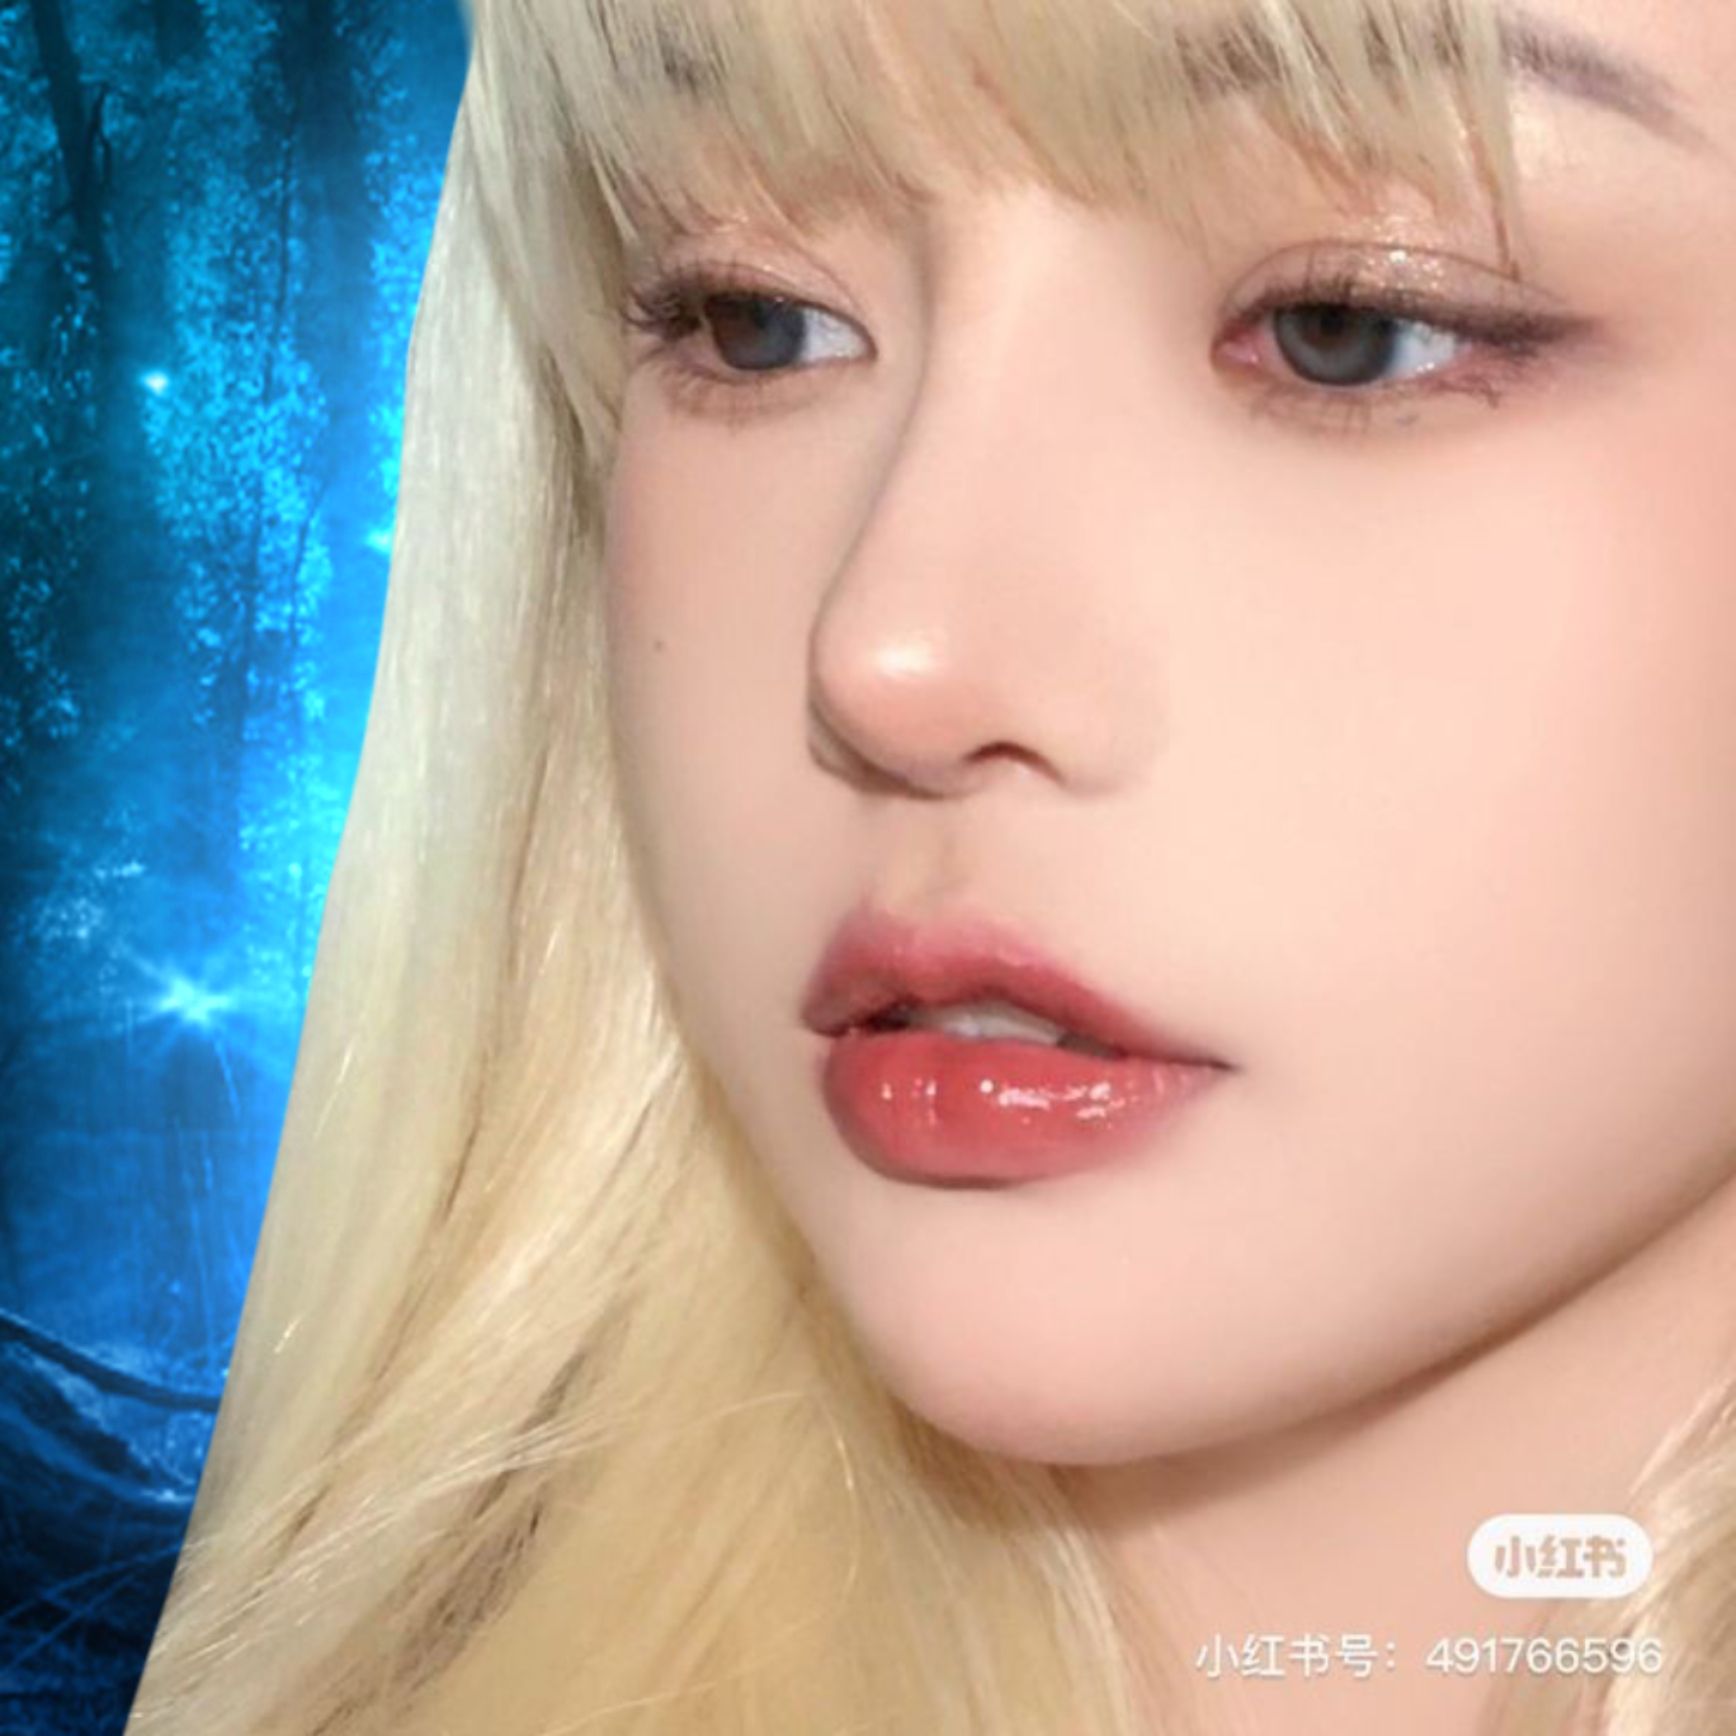
-changing the colour scheme of the model to match the bg and lighting.
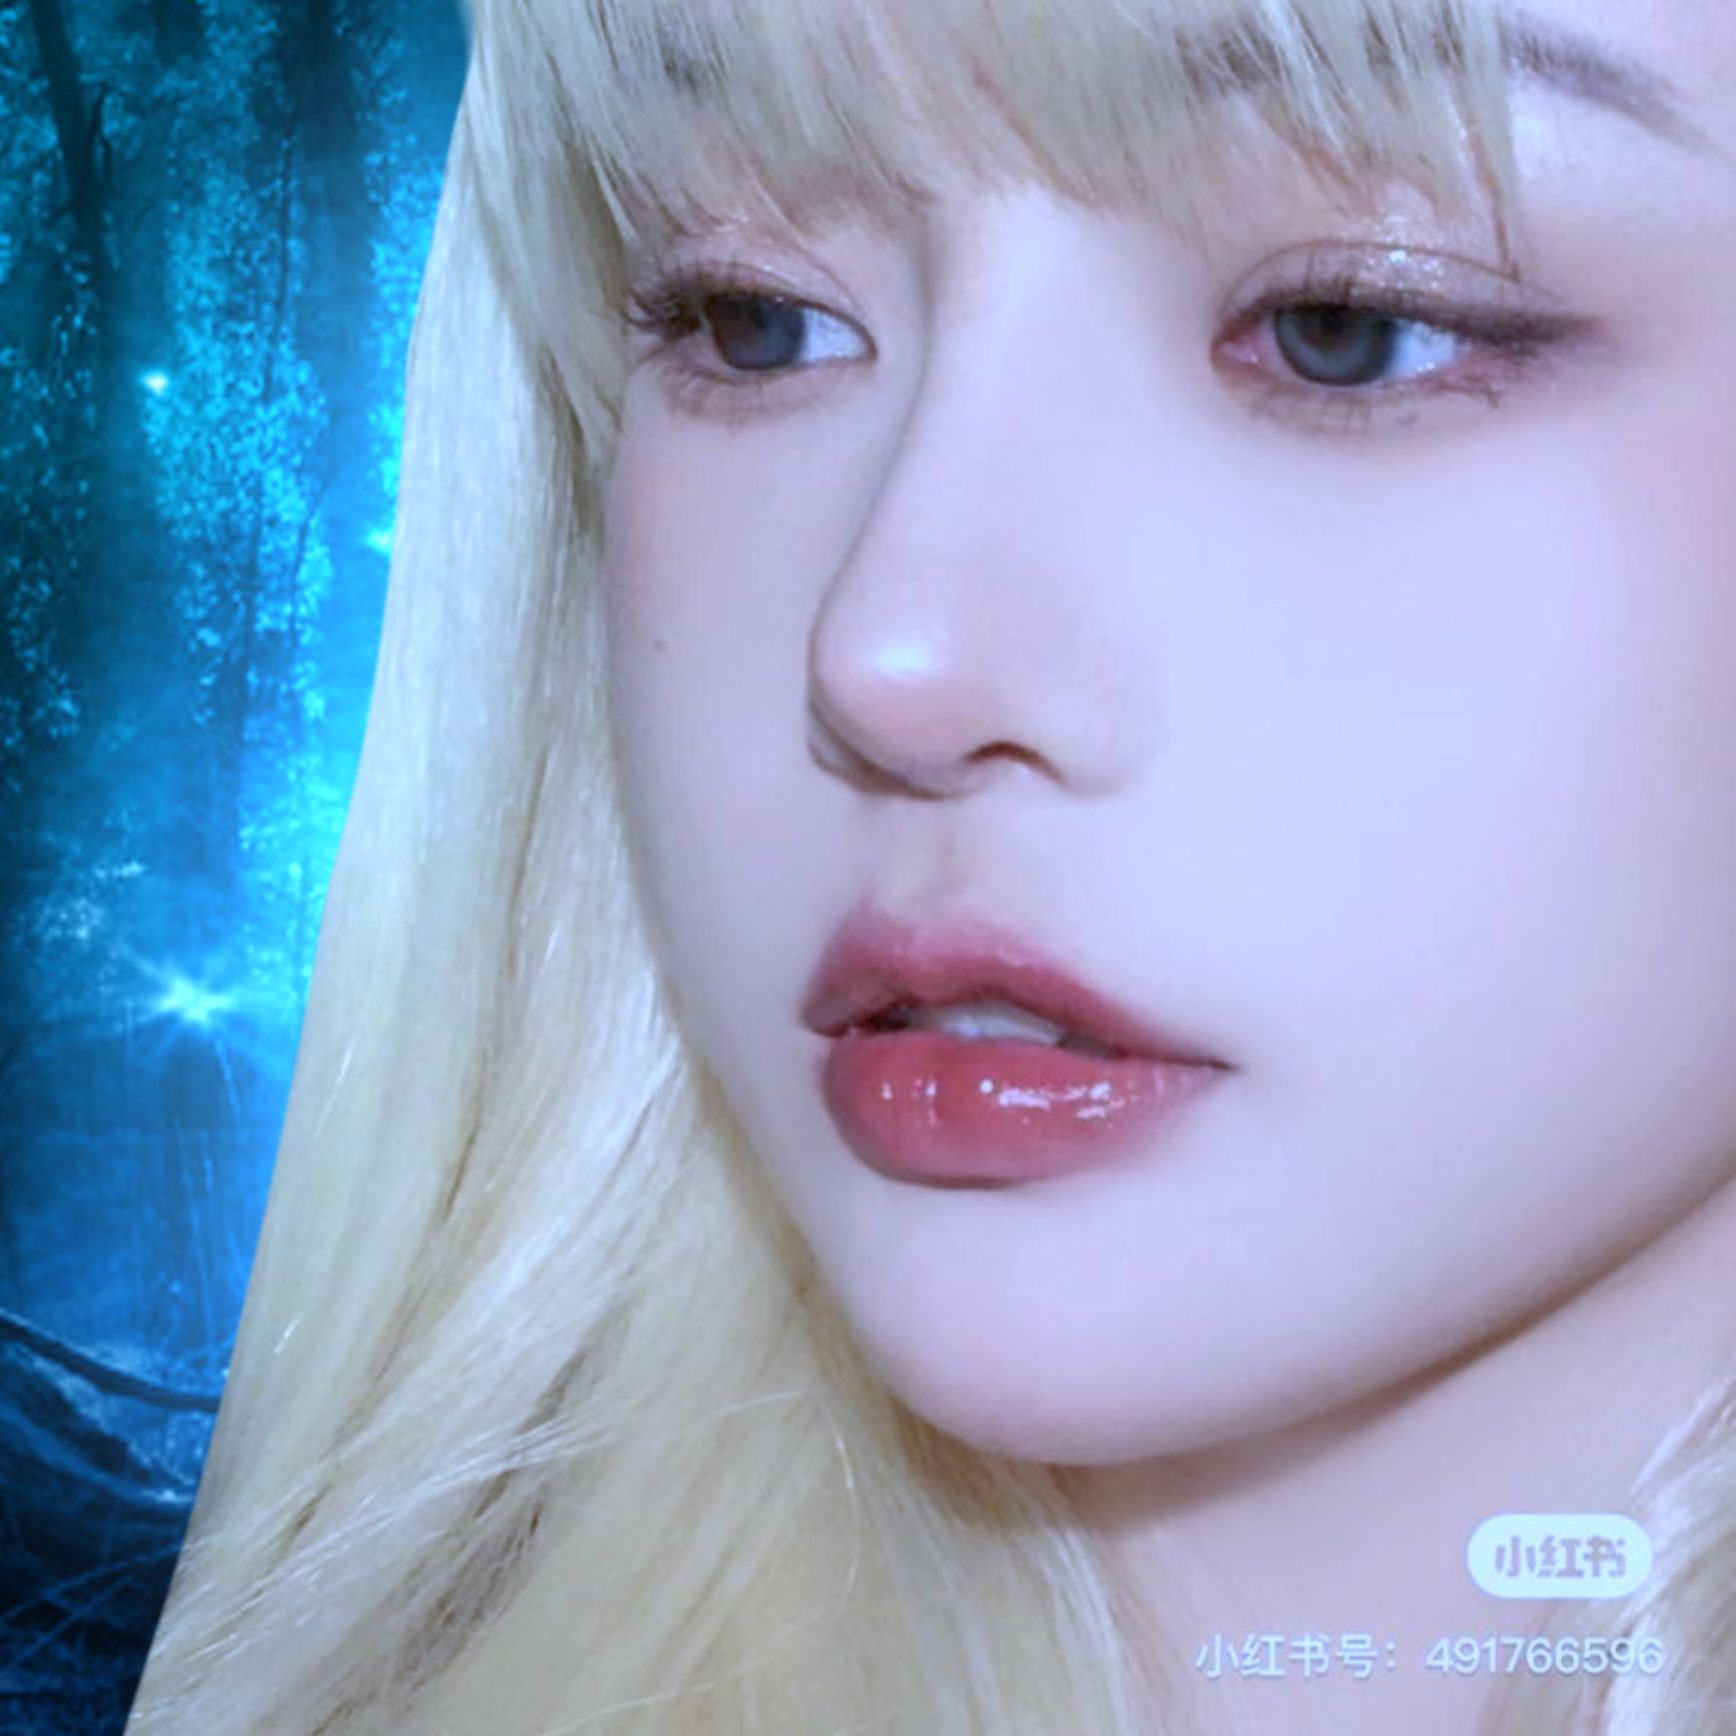
B. DARKNESS
(i hope none of my discord peeps see this 👀)
When you glow you really need to add a contrast to the image.
–DARKEN THE MODEL
If the light is coming from the BACK, then i expect the FRONT to be darker
(Also now your highlights will pop more)
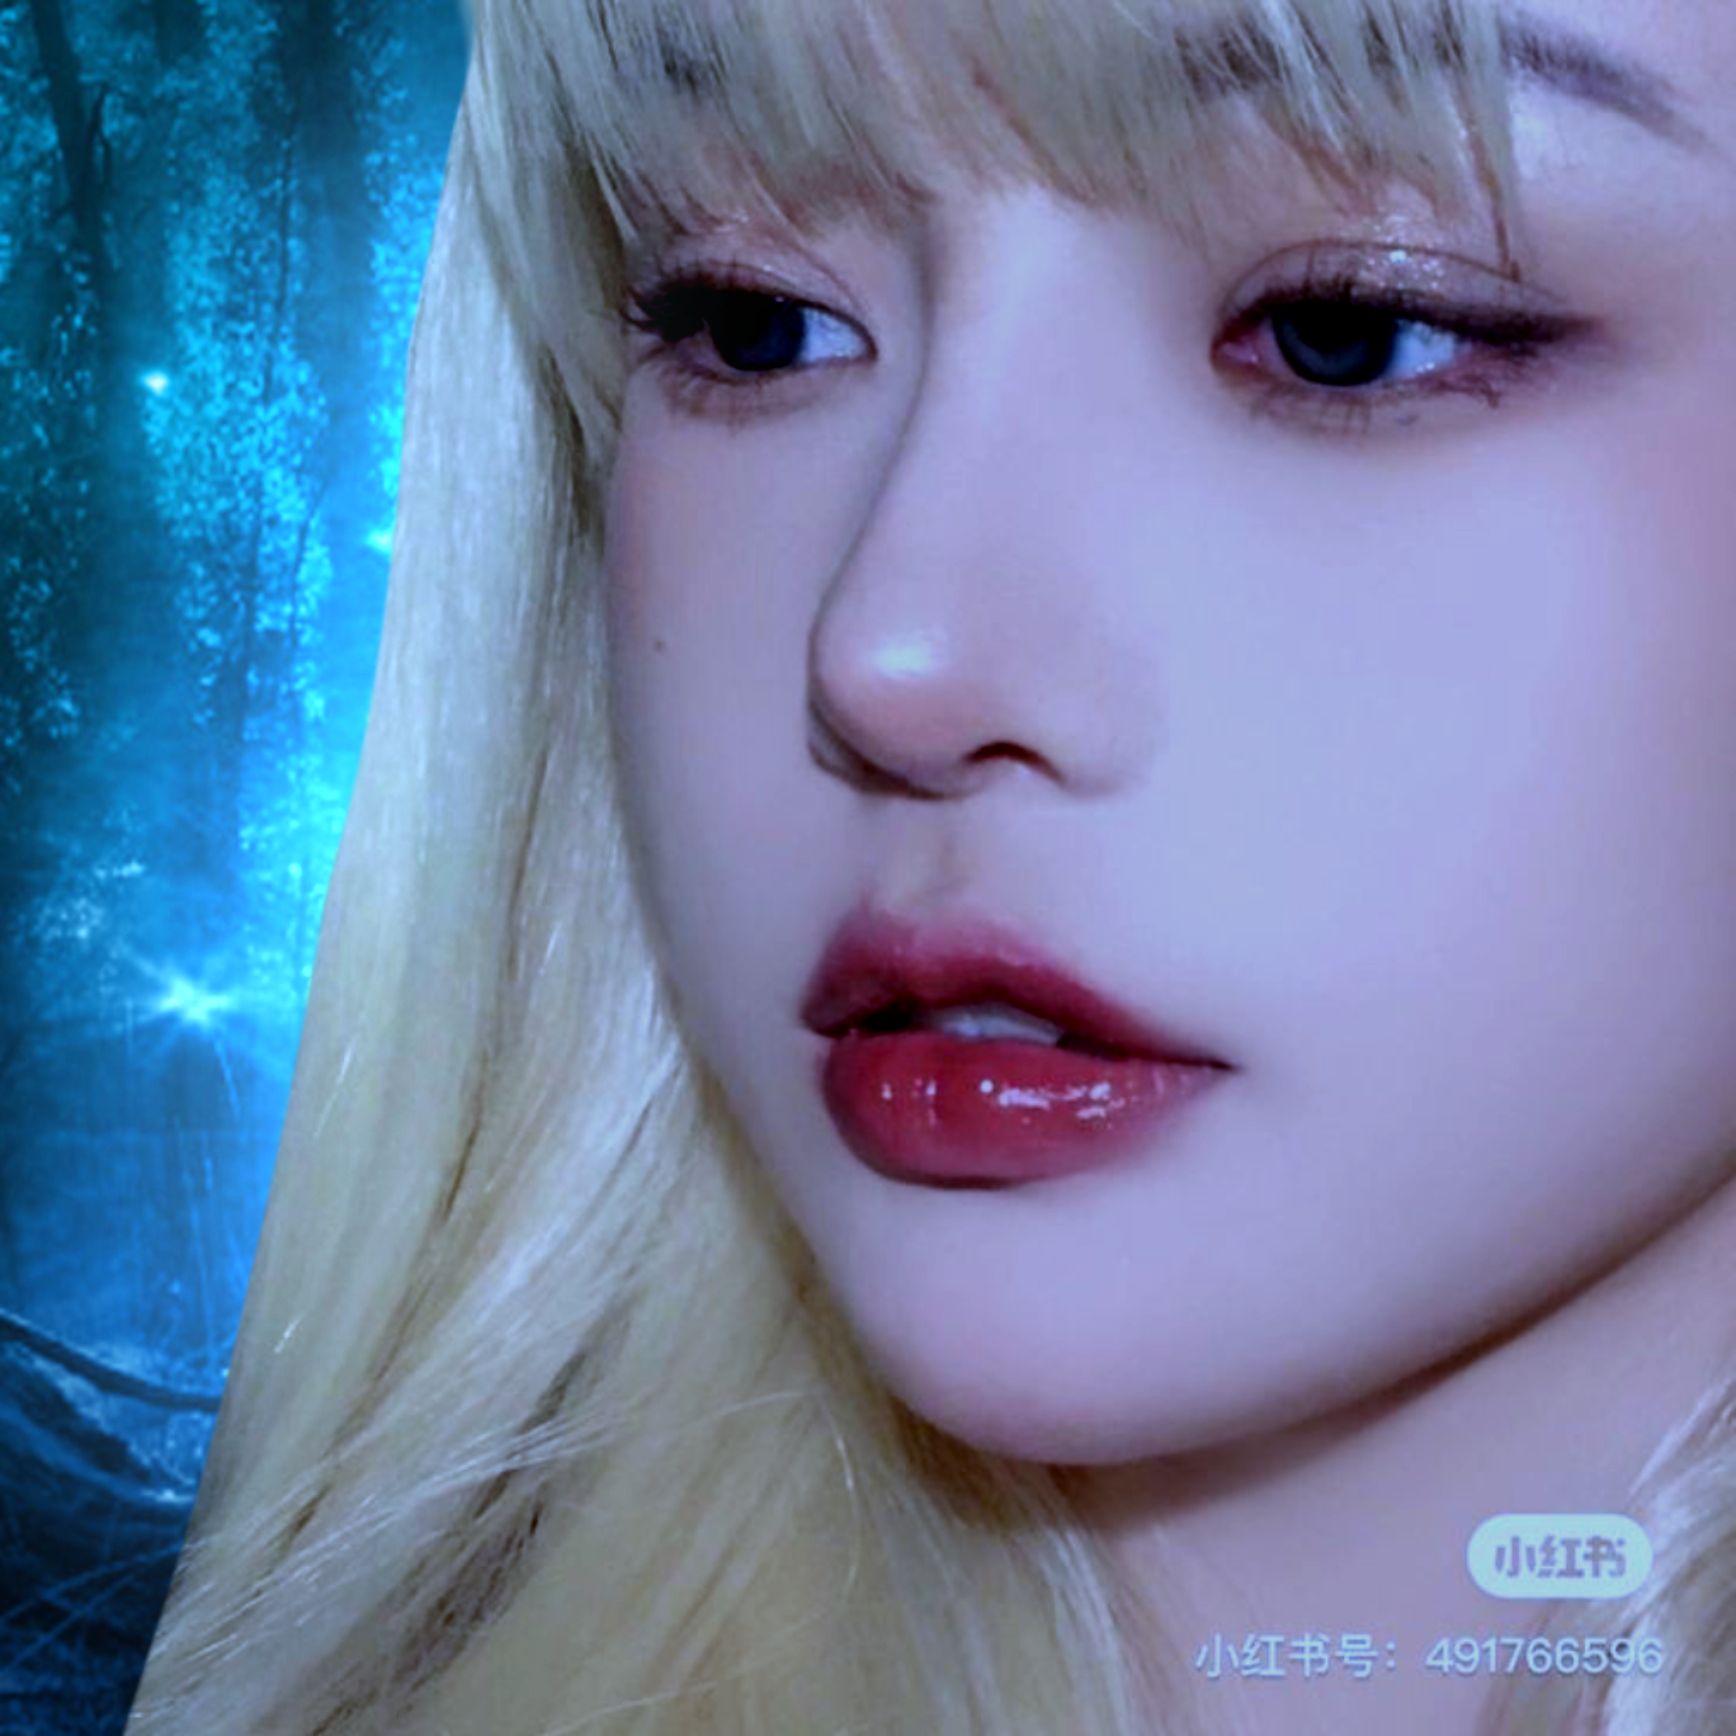
–DARKEN THE BG
either by using an airbrush and darkening the parts where there's little to no light, using a blur frame and setting it to overlay, or by darkening the bg completely.
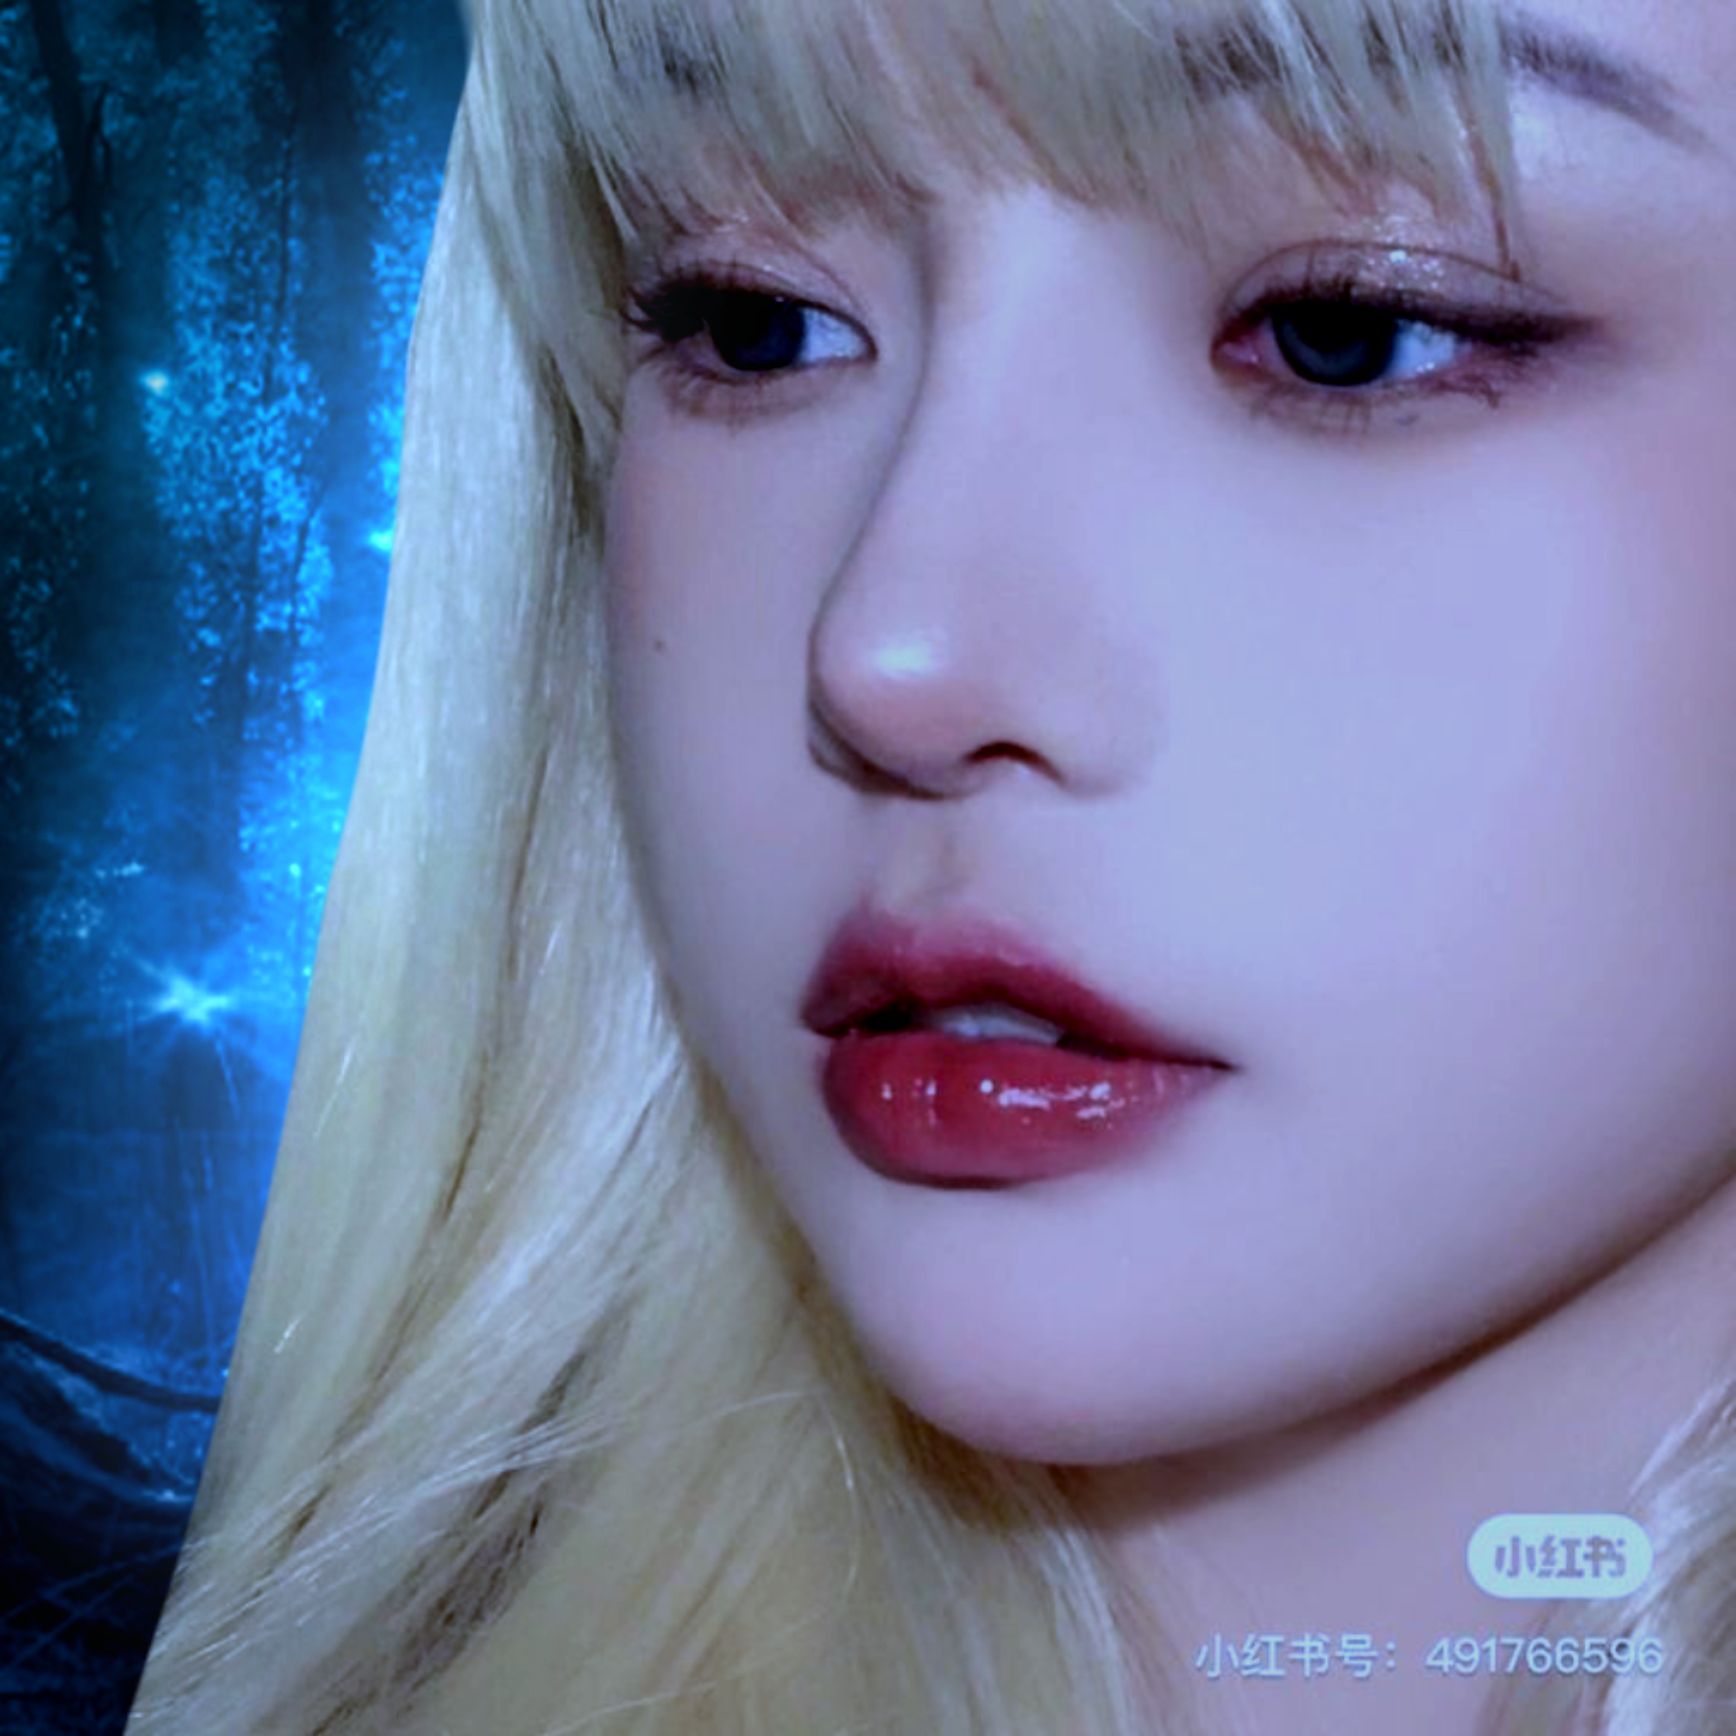
For this one I decided to do blur frame and bg darkening
–EDIT THE MODEL'S LIGHTING
the MODEL'S lighting can sometimes be completely different from YOUR lighting.
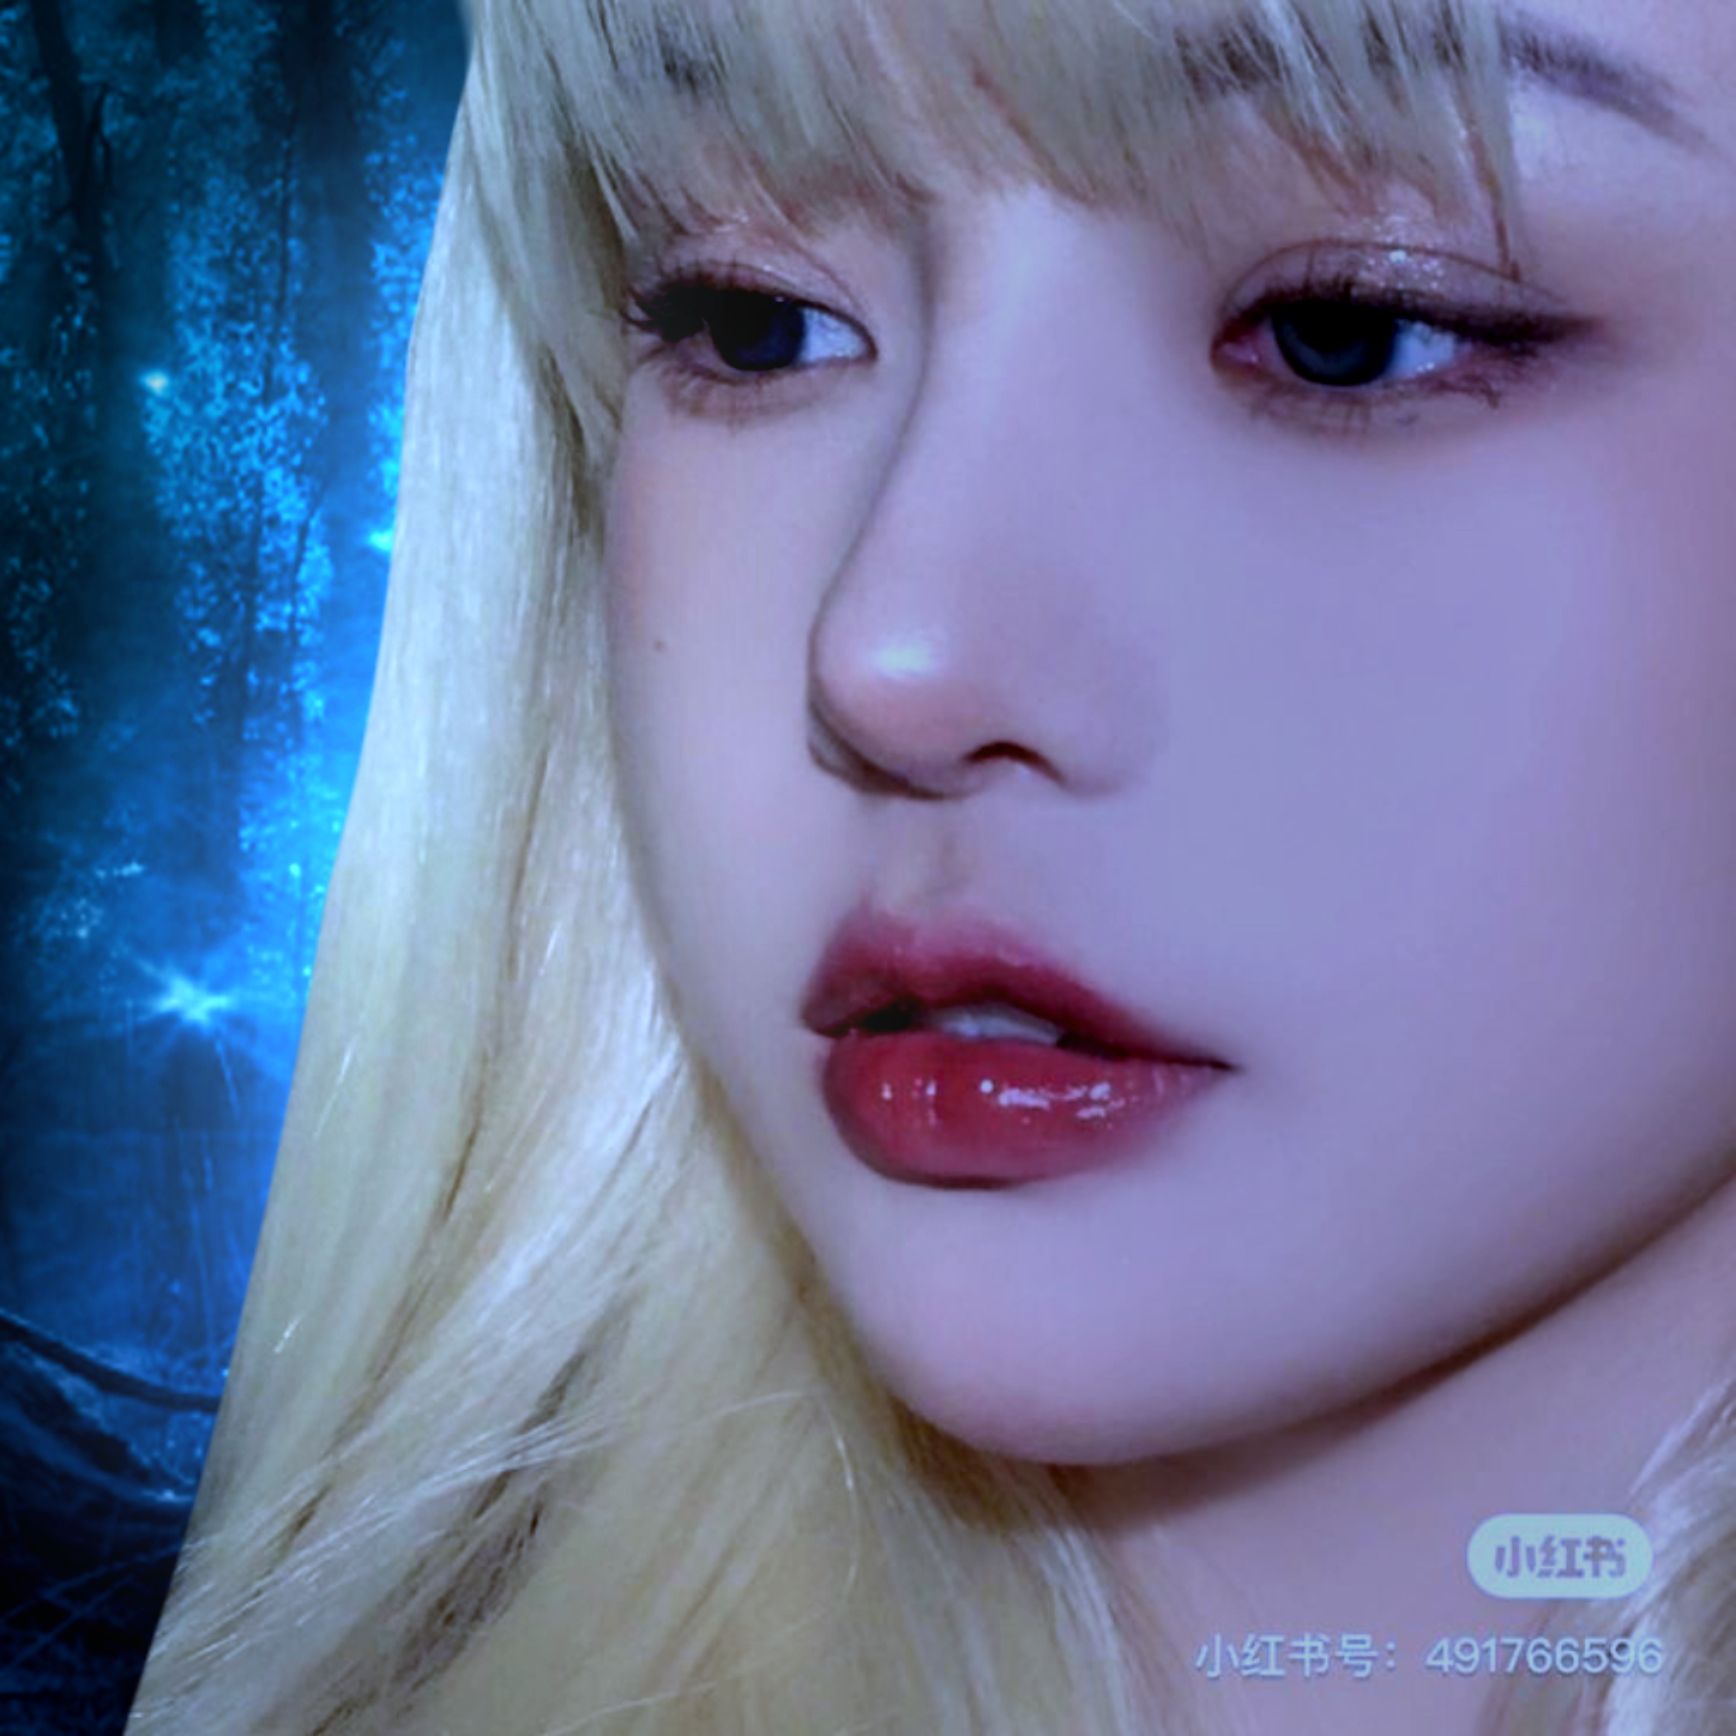
I darkened the left side of her face (since there doesn't seem to be any lighting coming from there) and brightened (just a bit) the right side of her face.
If your model were in the middle, then you'd probably brighten their sides and darken the middle just a bit.
C. THOSE SHARP LINES
The sides of the model where the light comes from usually have sharp white highlighting (or any other colour, depending on the source) eg.
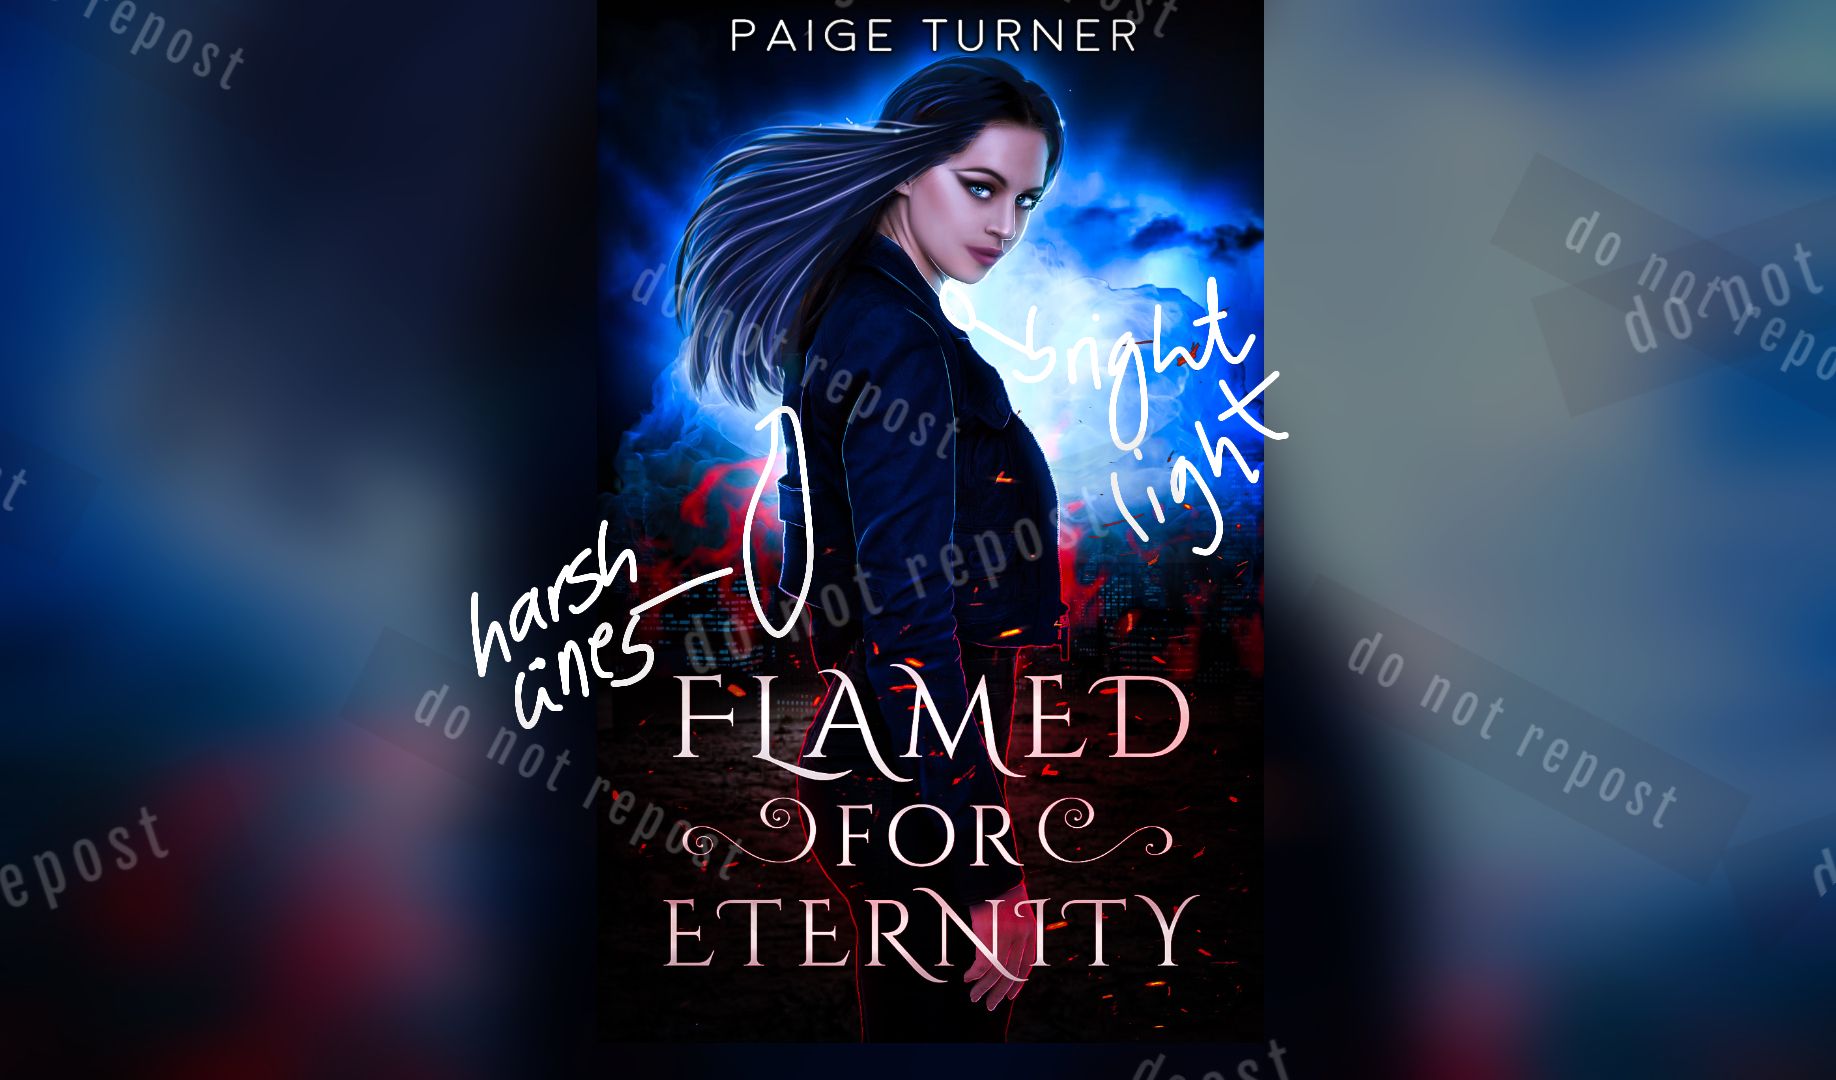
You can see that where the backlighting is affects the lighting of the sides. The sides have these sharp highlights that can be drawn with a dip pen(hard). It is usually in areas where there is a very bright glow (like that whiteish area) or where there is a change in the colour due to another element (the red fire).
2. A GLOWING LIGHT SOURCE
Light that comes from a glowing light source, like some sort of magic fire hand or something, is what I'm talking about.
There are things to note
-the glow is usually at a radius
-wherever the radius hits, it affects the lighting of that area
Example :
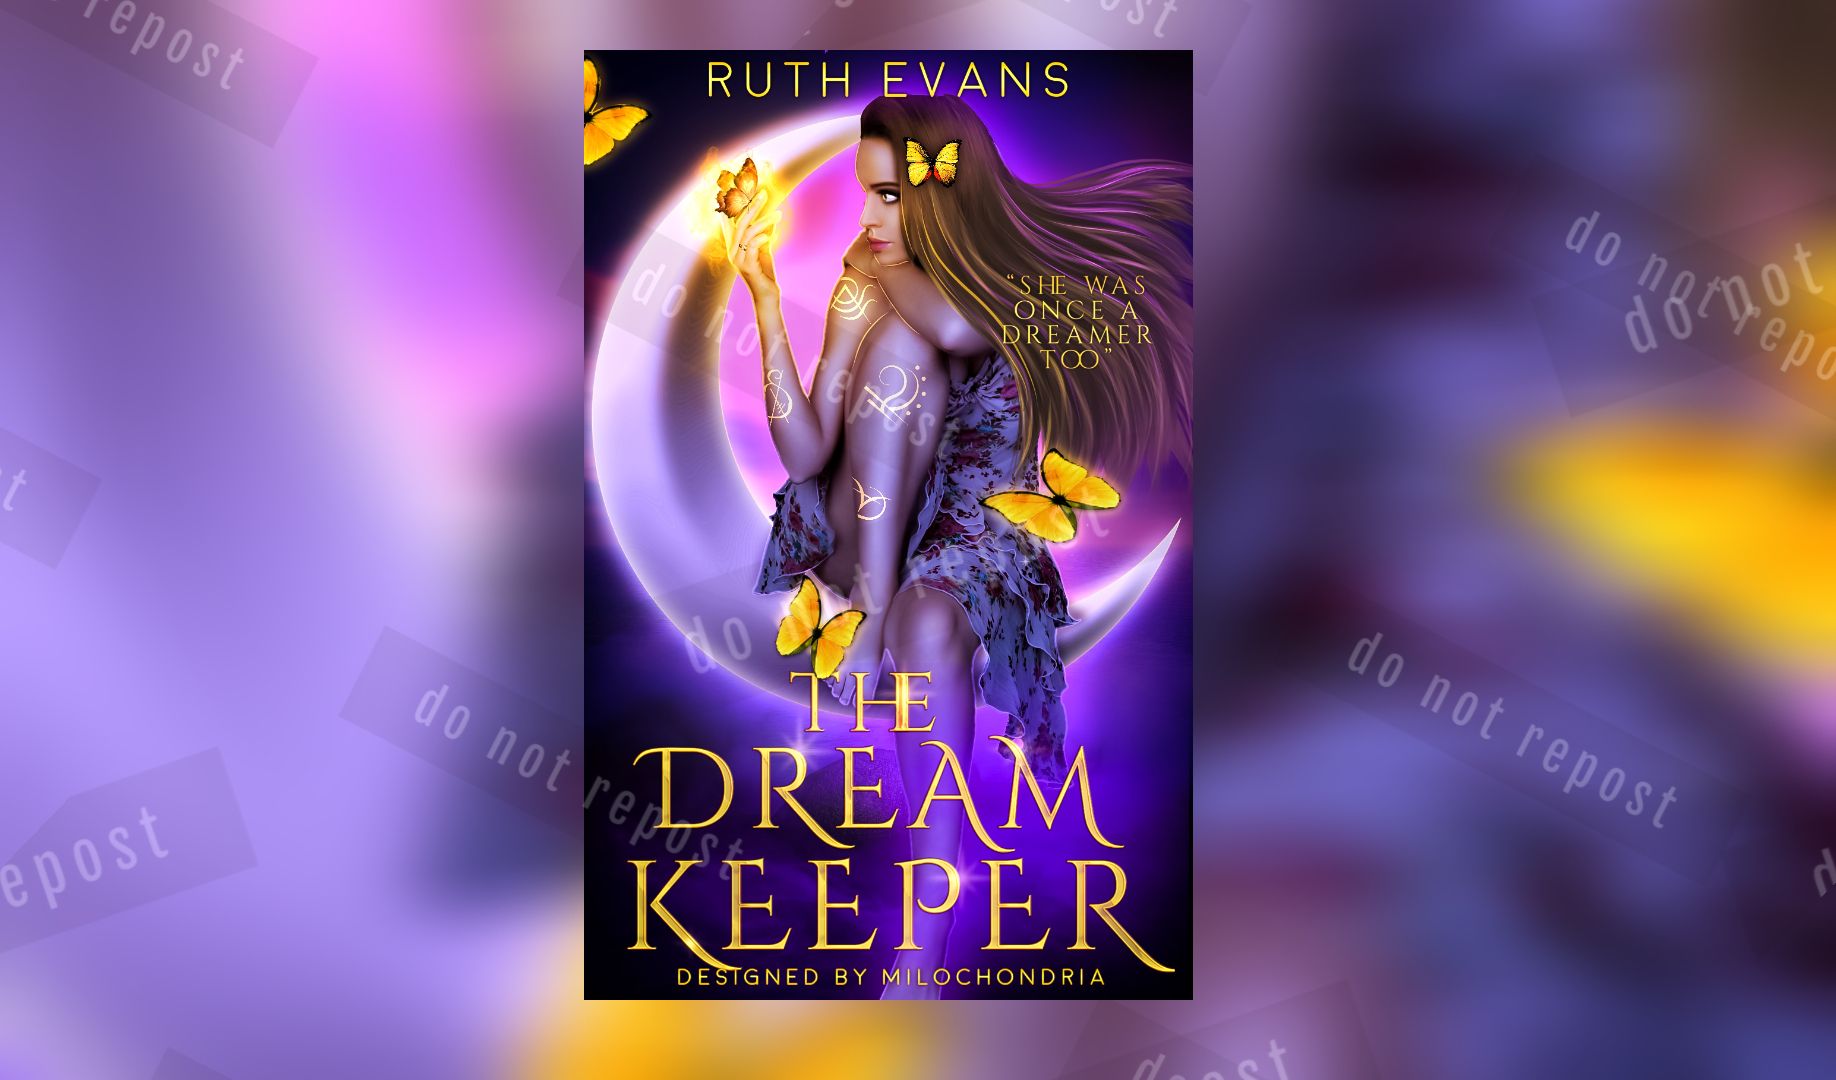
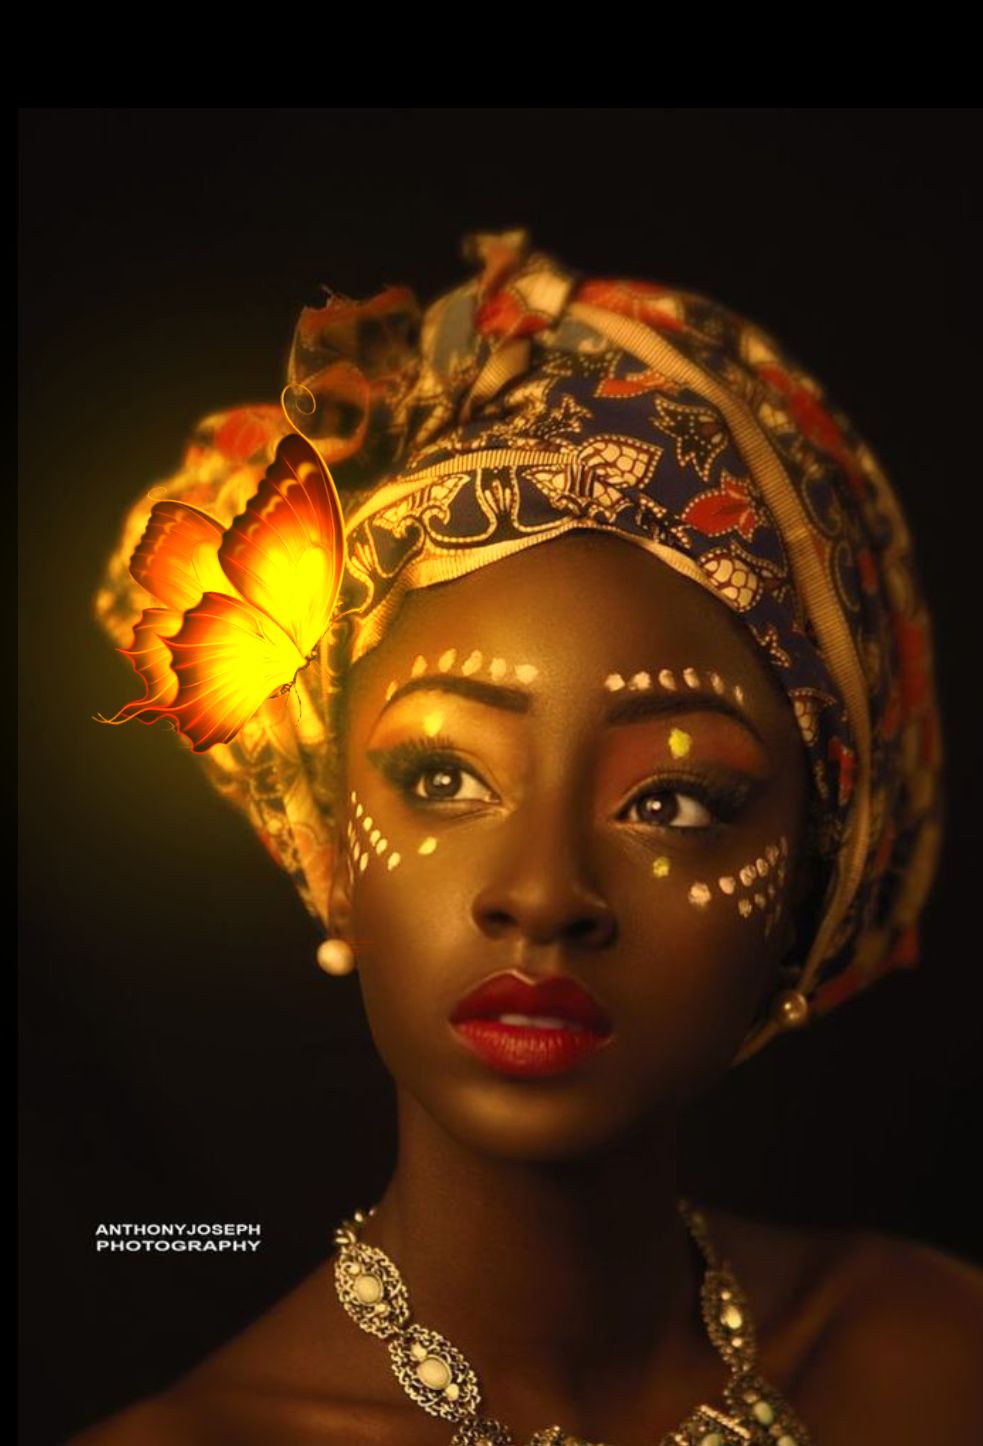
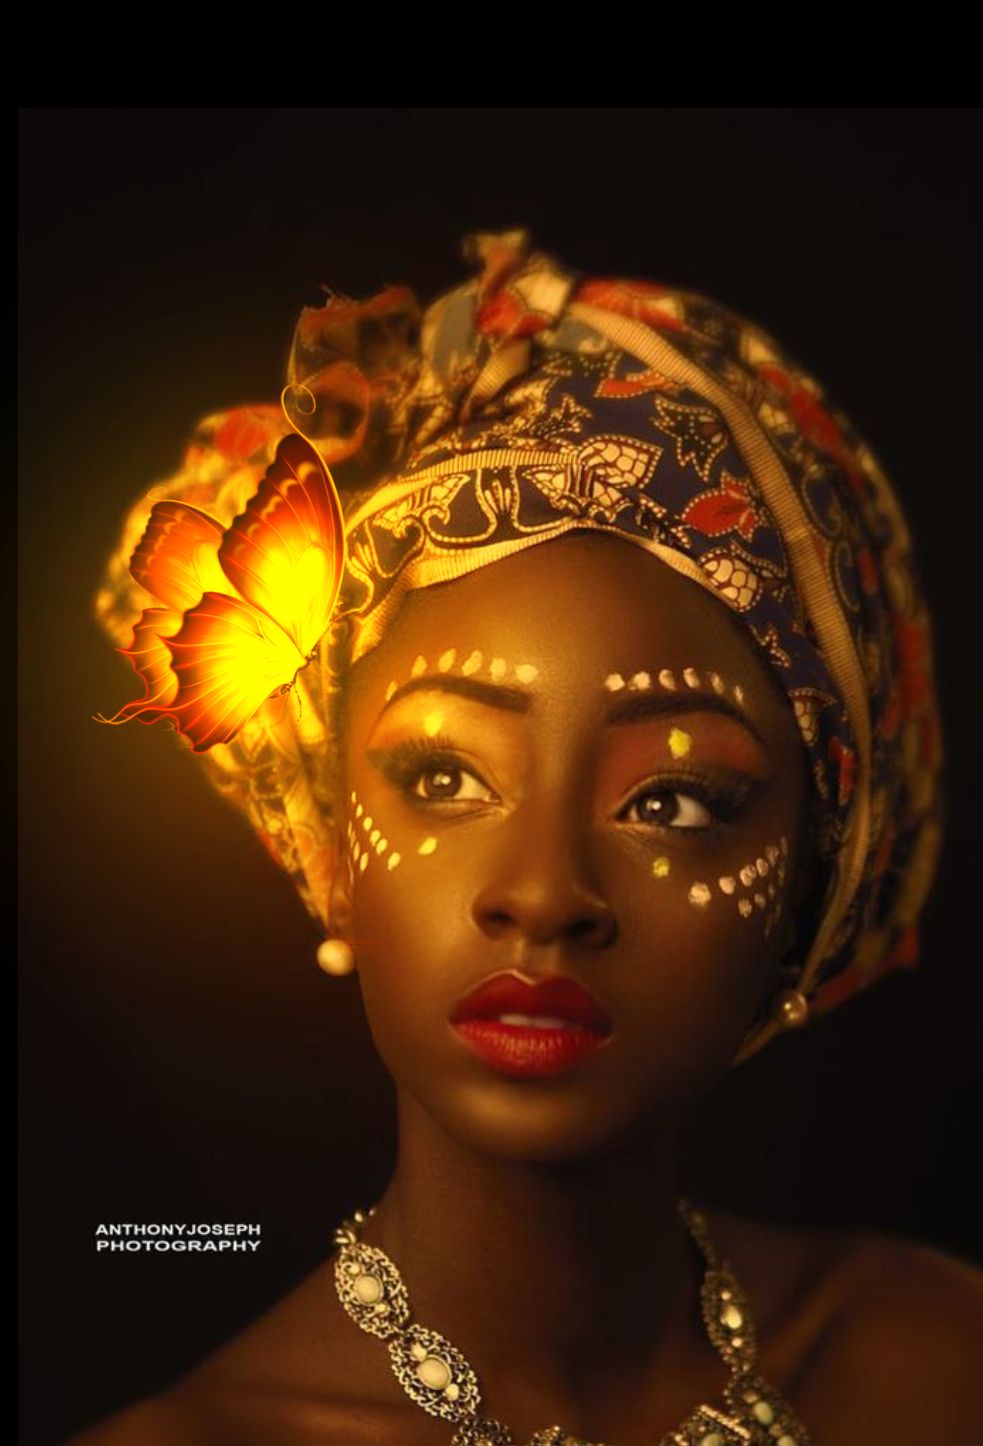
As you can see, there's a RADIUS to which the glowing butterfly affects, and it changes the colour scheme of the part which it hits (the arms, the side of the MODEL'S face)
A. HOW TO GLOW
how do you make this type of glow?
Take this for example
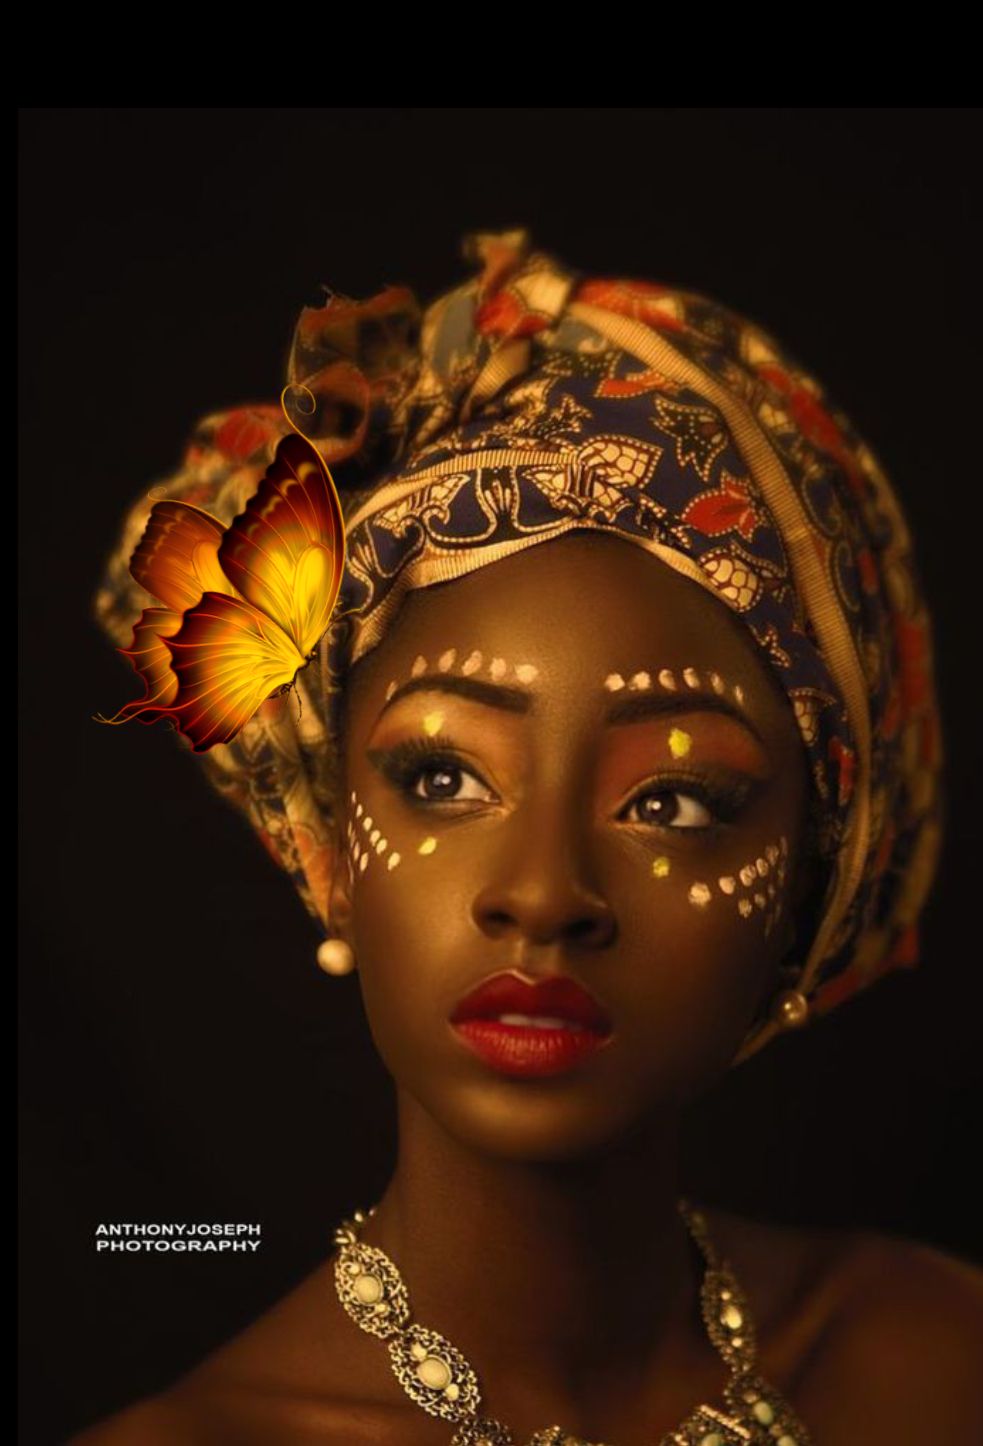
How do we make that butterfly GLOW?
- colour pick the bright part of the butterfly and use airbrush at a high size and just dot (tap) the butterfly like twice or thrice. Then set it to overlay or soft light.
- do the dot thing again, this time smaller then set it to add.
-this time just use the airbrush to brush around the model using a deeper colour (like orange ) and set it to overlay or soft light
B. HOW TO GLOW PT 2
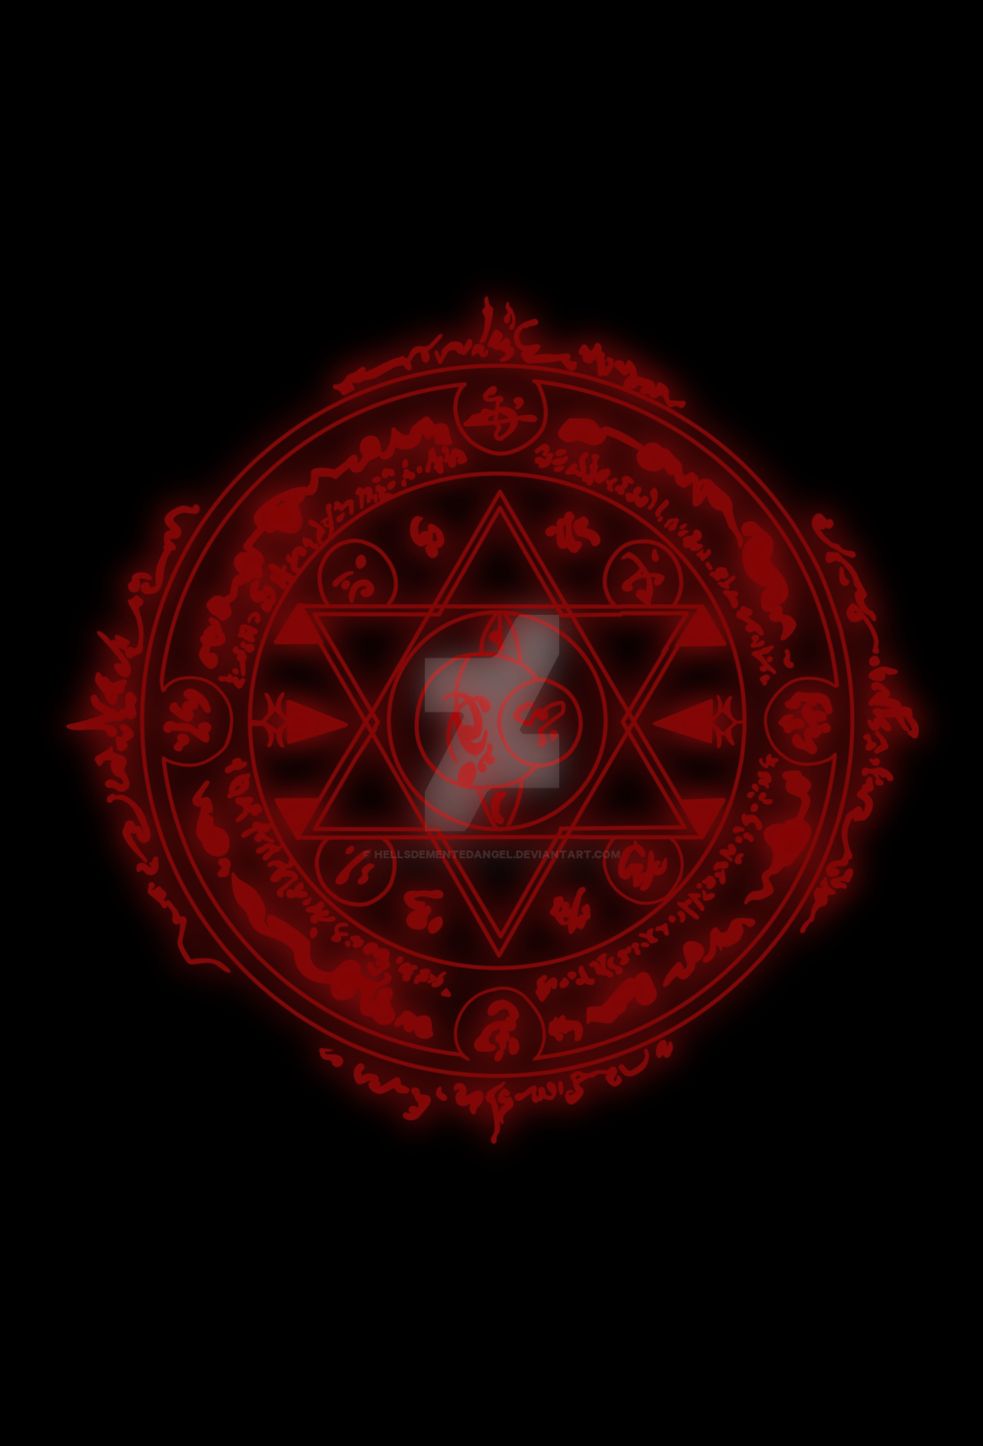
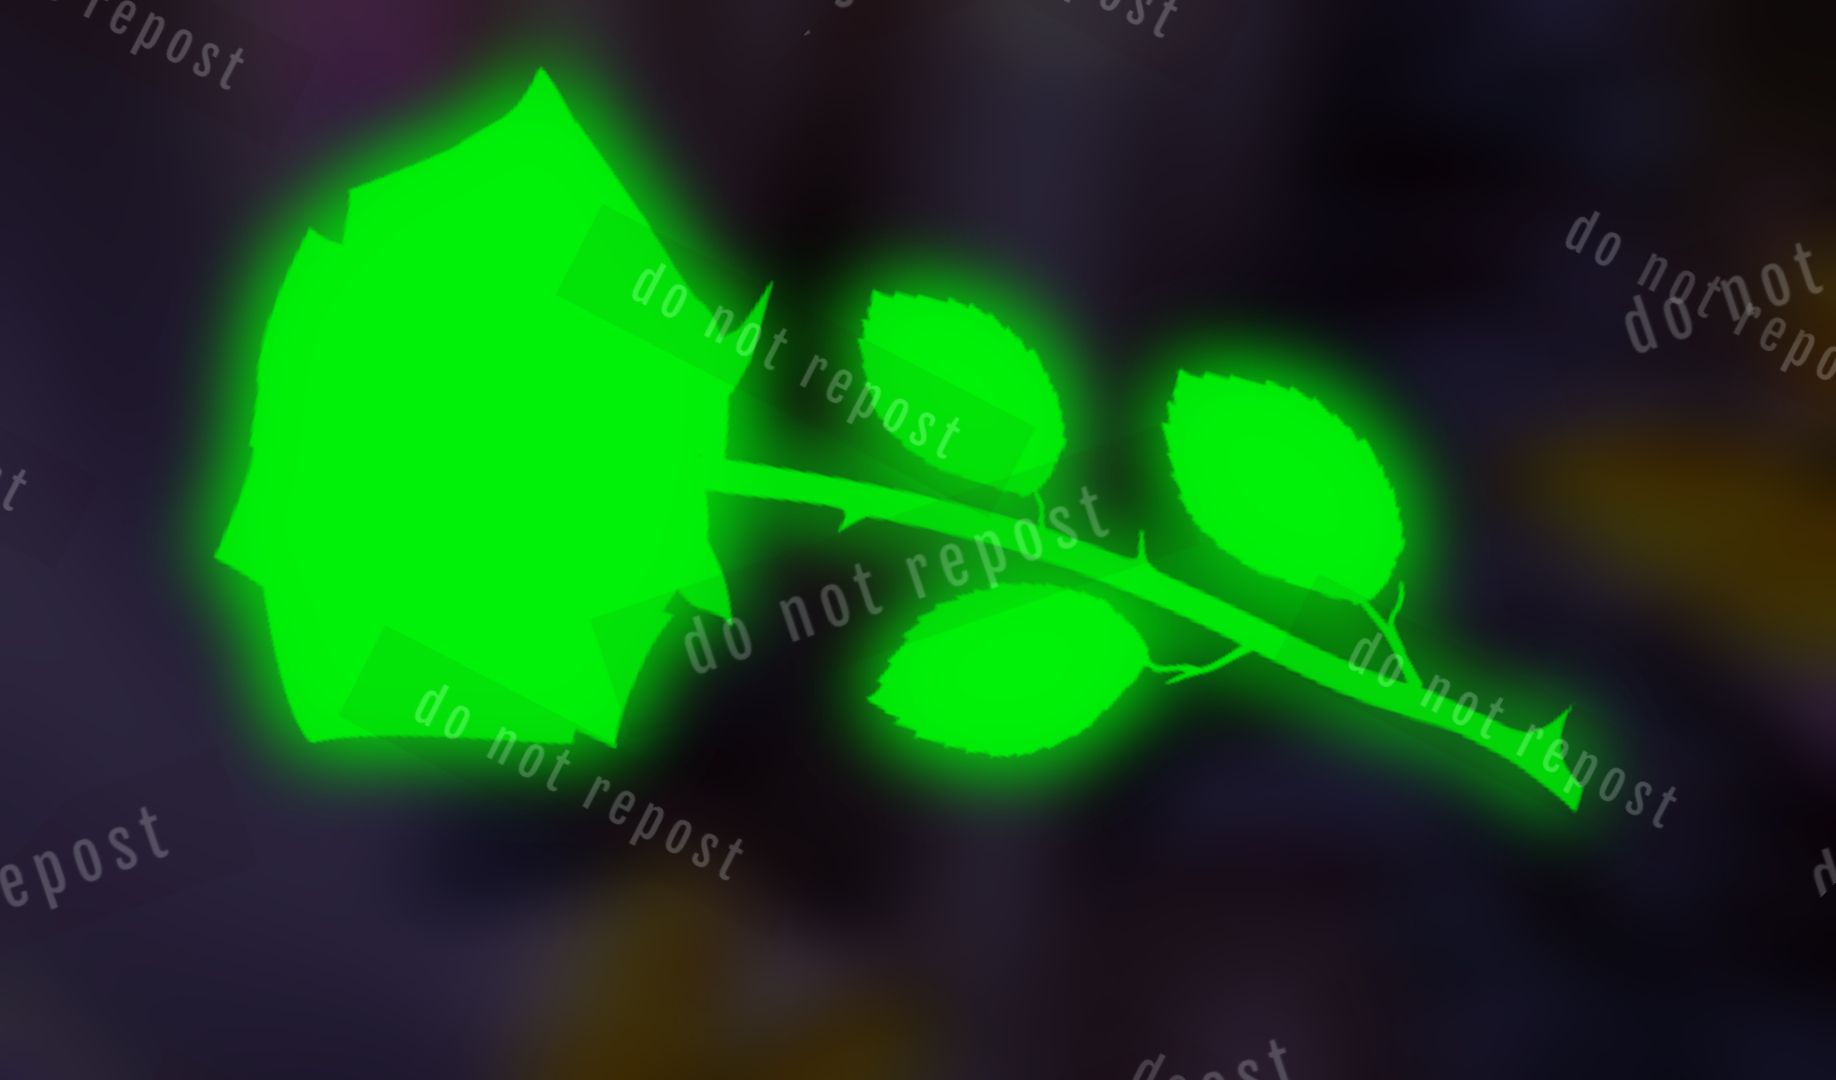
This is for more specific glowing, like if you want a glowing lasso or glowing fire or something
-get your object
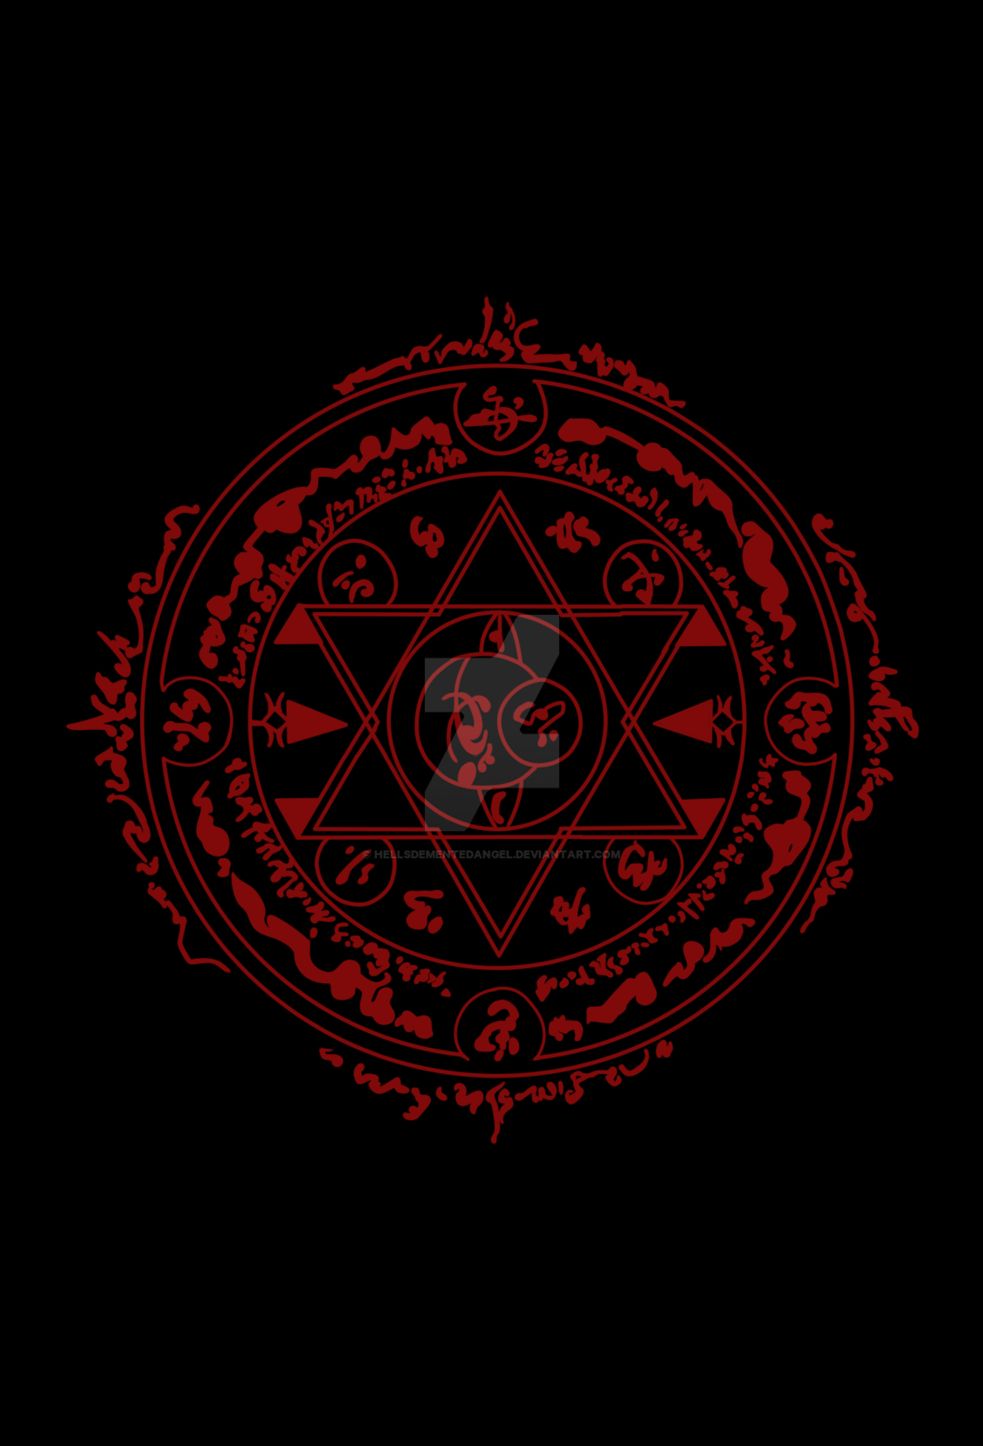
-duplicate the layer, gaussian blur it a little, and set it to overlay
-duplicate the layer above and set it to luminousity
-merge the layers
-set it to add if you want
-it looks weird on a black bg so i showed a different example as well ( a weird glowing green rose outline)
: :
This segment will be continued in the next chapter. Stay tuned for :
1. DUAL LIGHTING
2. the DON'TS of lighting
3. Highlights and shine.
Bạn đang đọc truyện trên: AzTruyen.Top