App Guide: Superimpose
Here is my guide on Superimpose, the best photoshopping app out there. If you don't feel like. Compared to photoshop, this is the mobile version at just 1.99 USD. I haven't explored much of this app, only using what I need, but I'll try to cover most of it.
There are instruction and even video tutorial made by the company that will help you. The following information below is quoted directly from the in-app instructions (some of which I simplified).
Application Sections

There are four major steps involved in creating a superimposed photo using this application. Each of the step is represented in a section the bottom tab bar.

Home: In the Home section you can load the photos and save the resulting superimposed photo. You can also save the masked image into its internal mask library. You can load masked images, previously saved into the masked library. Using the information button, you can reach the information page and to the instruction section. Use the delete button to delete the current session.
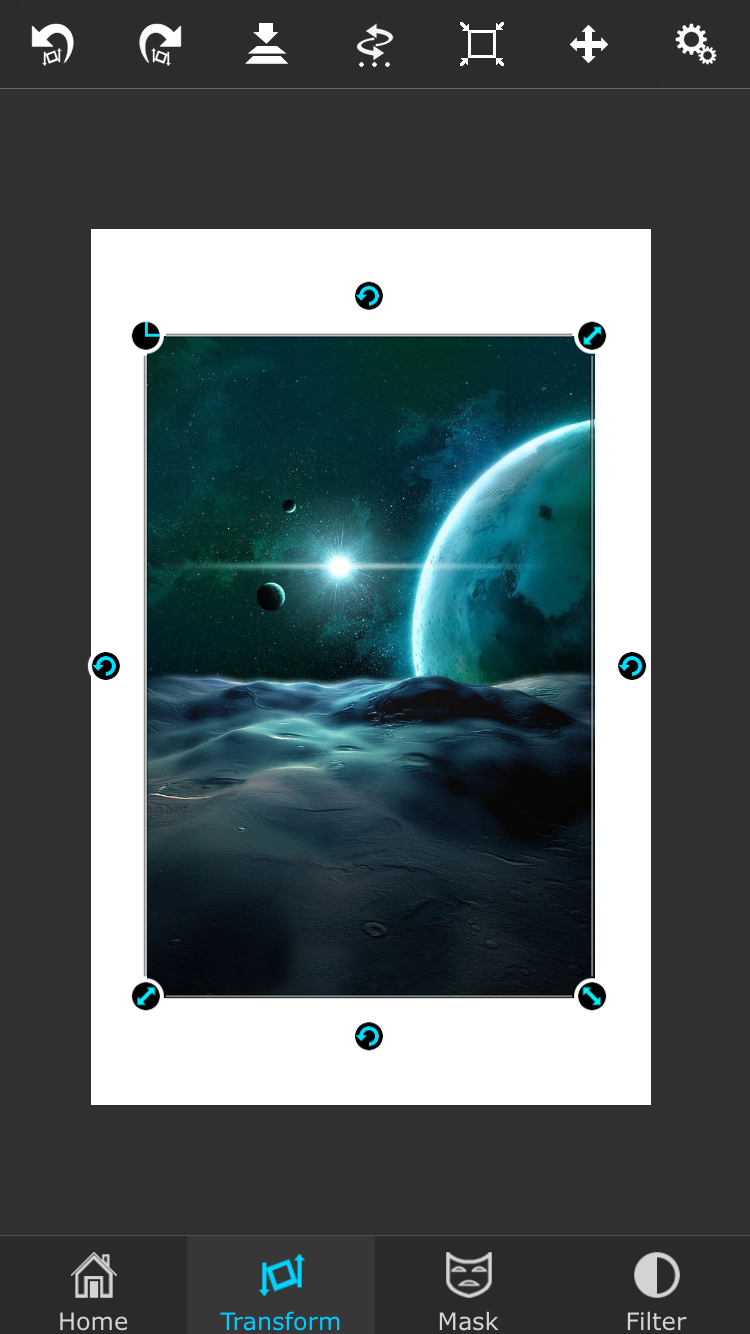
Transform: Transform section is for panning, sizing and rotating the foreground image and to adjust it's transparency and blending mode etc.
- You can also flip the foreground image horizontally or vertically. The foreground and background images can be swapped using the swap button.
- The merge button can be used to merge both the images together so that you can load one more foreground image on top of it.
- Use the reset button to bring the foreground in the middle of the background, and fit button to scale the foreground to the background.
- You can double tap on the image to fit the foreground to the background, without losing the aspect ratio of the foreground image. To keep the aspect ratio fixed, press the aspect ration lock button.
- To snap the forground image into the edges and middle of the background, press the snap to edge (magnet) button
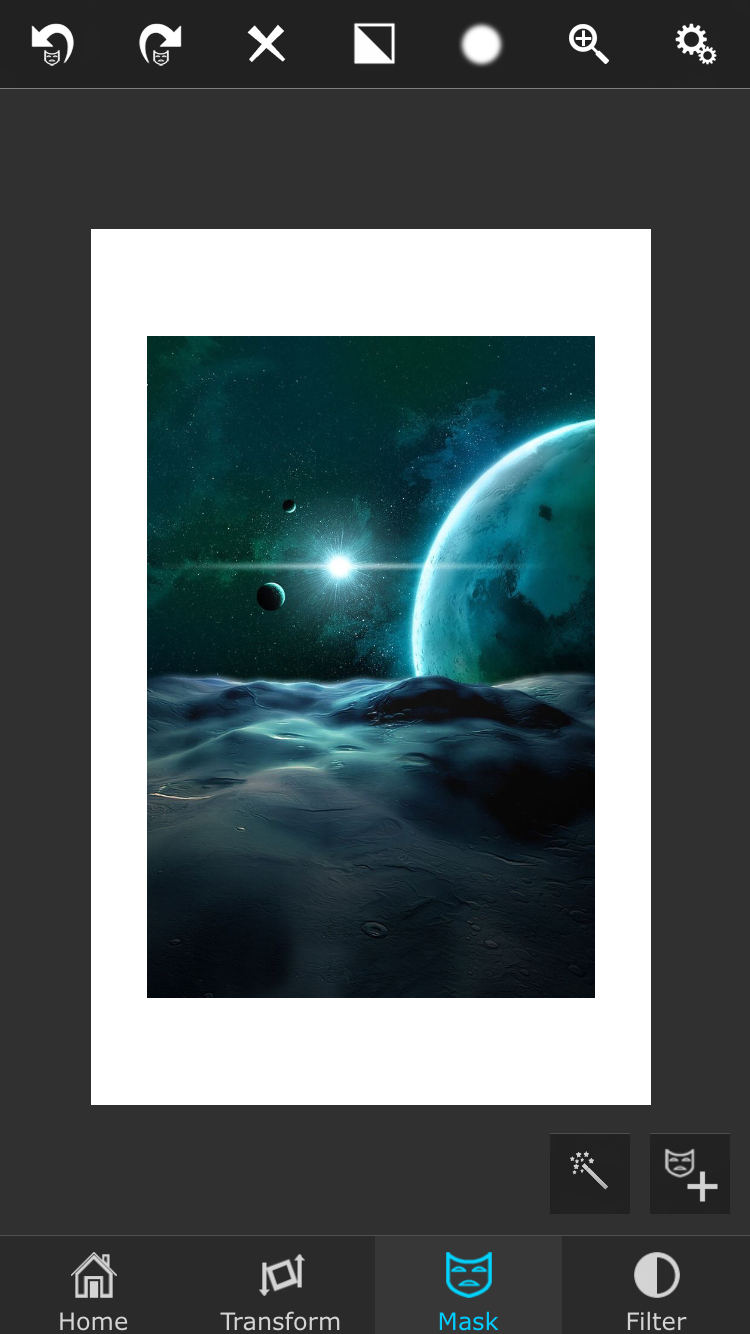
Mask: This section is one of the most important section where you can remove unwanted portion of the foreground image. There are several masking tools available which are described in the end of this help section. Use the view mask button to view only the foreground masked image. You can undo and redo your masking actions. Use the invert button to invert the mask. Clear button can be used to remove the entire mask. The blur mask is very useful if you want to smoothen the edges of the mask that you have created on the image. Note that in mask section the blending mode is always changed to "Normal" for a better view of the foreground image while masking.
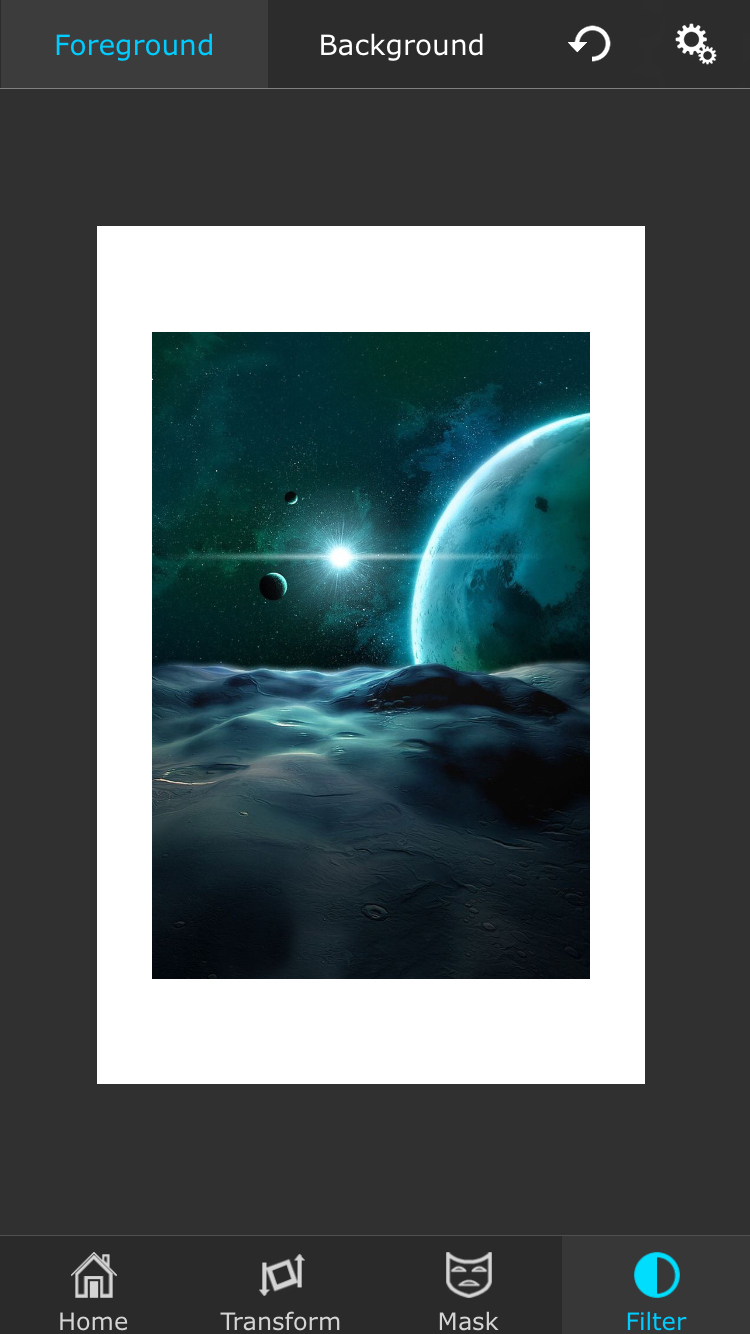
Filters: In this section, you can apply (Hue, Saturation), (Exposure, Brightness, Contrast), Color Balance and Blur filters on both background and foreground images. Use the background and foreground buttons to decide which image to apply the filter on. If you press the reset button when no filter is selected, all the filter parameters will be reset. But if you have a filter selected when you press the reset button, only that particular filter will be reset.
Masking tools
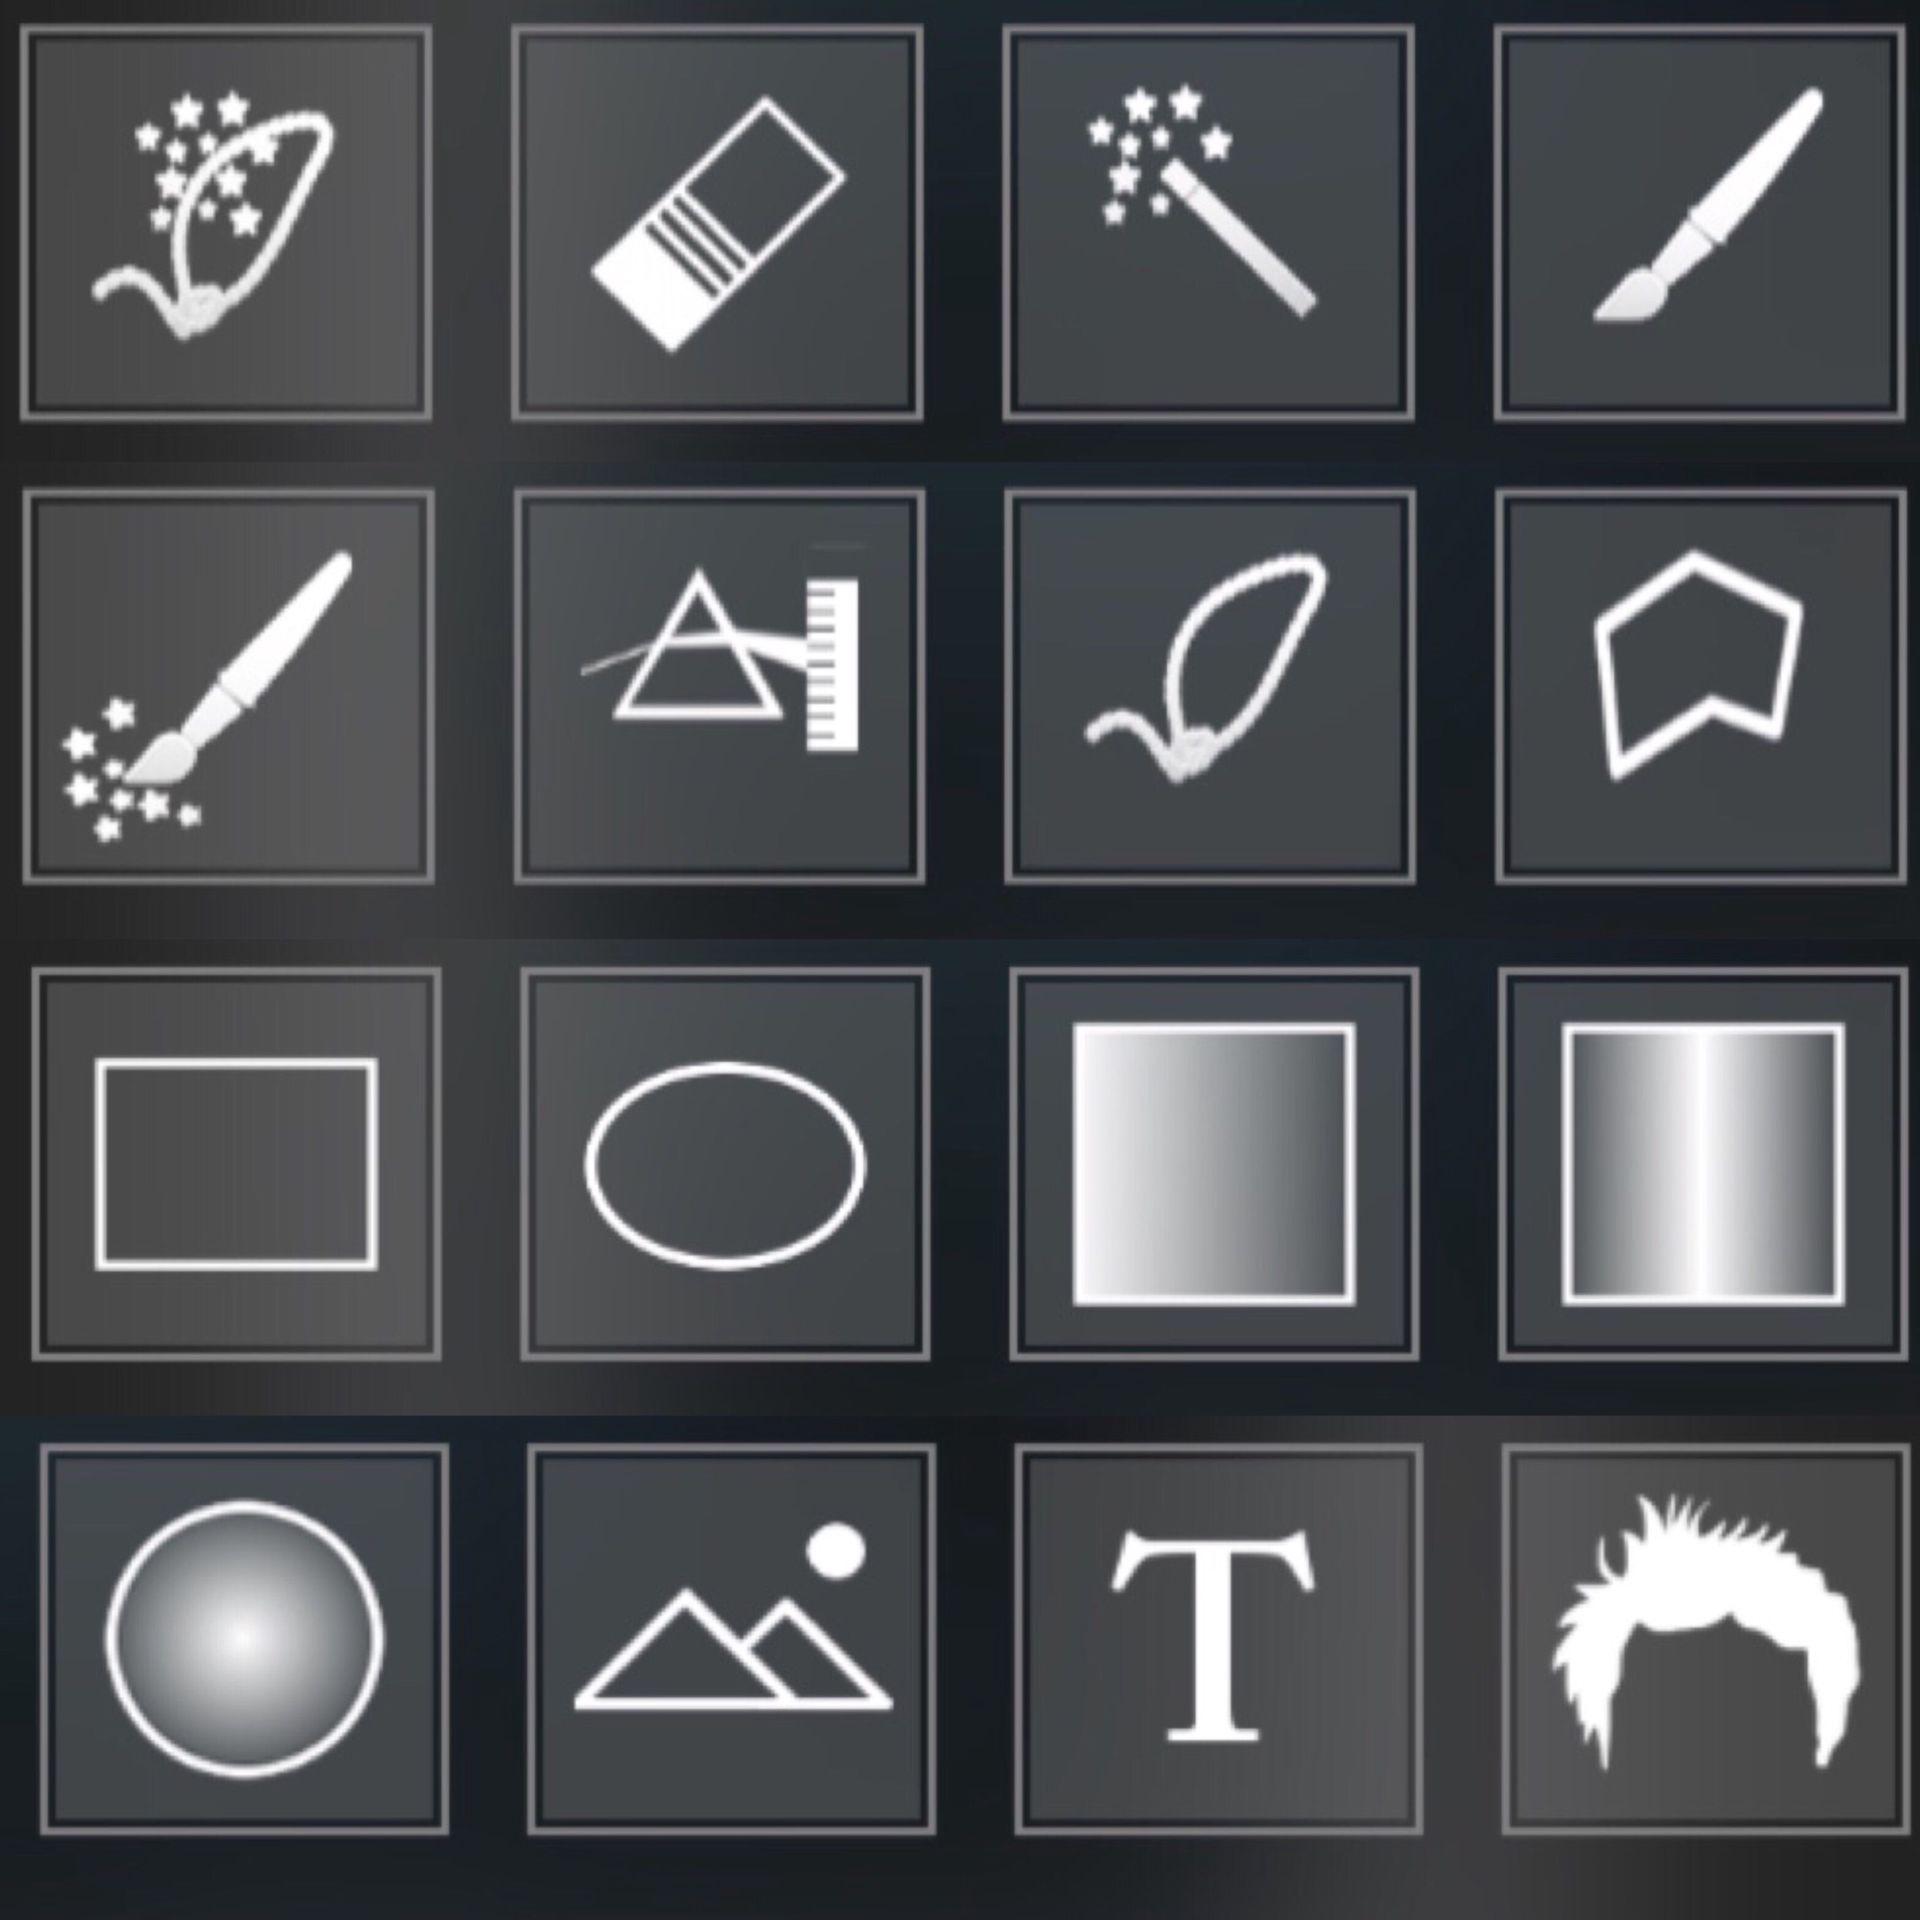
*From Left to Right
1) Magic Lasso: Mark the boundary of the object you want to extract and then press the apply button. Anything within the shape will not be erased.
2) Eraser: This is mask eraser brush, used to undo erased parts of an image. You can adjust the brush radius and smoothness.
3) Magic Wand: Using the magic wand you can mask all the similar color pixels surrounding the point where you touch. For example if you want to mask out the entire sky on an image, just touch the sky and the entire sky should get masked. You can adjust the threshold to control how much variation in color the tool should consider to be same color. The mask edge mode provides three options:
- Hard, where the mask edges remains hard.
- Soft, where the edges are smoothen out
- Feathered, where the masking strength is proportional to the similarity of the masked pixels's color to the color of the pixel that you clicked.
4) Brush: You can mask using this brush as well. In settings you can adjust the radius and the smoothness of the brush.
5) Smart Brush: This is same as brush tool, but it can recognize the edges of the area you are masking. So, it can intelligently minimize accidental brush storeks, that gets into unwanted area.
6) Color Range: Similar to Magic Wand, but instead of selecting only the connected pixels, it selects all the pixels in the photo that matches in color to the color of the pixel that you touch. Same settings as Magic Wand applies here also. This masking tool generates real time masking preview while you move your touch around the photo. Release the touch once the tool is masking the desired colors.
7) Lasso: By drawing a freehand lasso, you can mask the entire inside (or the outside) of the lasso loop. In settings you can choose the smoothen amount of the lasso mask's edge. In settings you can also make the lasso so that it masks outside the loop instead of the inside.
8) Polygon: Using this tool, you can create polygon shaped mask. Just tap on the vertices of the polygon and to finish drawing polygon, just double tap on the image. Similar to lasso tool, here also you have options to smoothen the edges and to mask either inside or outside the polygon.
9) Rectangle: Draw a rectangle to mask rectangular area. Once done double tap the image to accept the mask. You can adjust the smoothness of the mask edge in the settings.
10) Ellipse: Similar to Rectangle mask tool, but you can use this one to draw ellipse instead of rectangle.
11) Linear Gradient: Drag and draw a line, and this tool will create a gradient of mask for you. Double tap on the screen once you are satisfied with the mask.
12) Bi-Linear Gradient: Same as linear gradient, but the gradient created is bi-linear.
13) Radial Gradient: Same as linear gradient, but the gradient created is radial.
14) Image: You can create mask out of an image from the photo library. Just select a photo and it will create a mask. You can adjust the contrast, brightness of the image and can also invert the image as required.
15) Text: You can also create a mask from text. You can select font and can invert the text mask in the settings.
16) Refine Hair: Paint the area where mask for the hair should be refined and then press the apply button.
Drop shadow

On the export section, there is button to called Drop Shadow (on iPhone 4S and above). You can press the button to drop a shadow of the masked foreground onto the background. You can move around the shadow, resize it, and change it's perspective. There are two sliders below to adjust the blur and opacity of the shadow.
Mask library
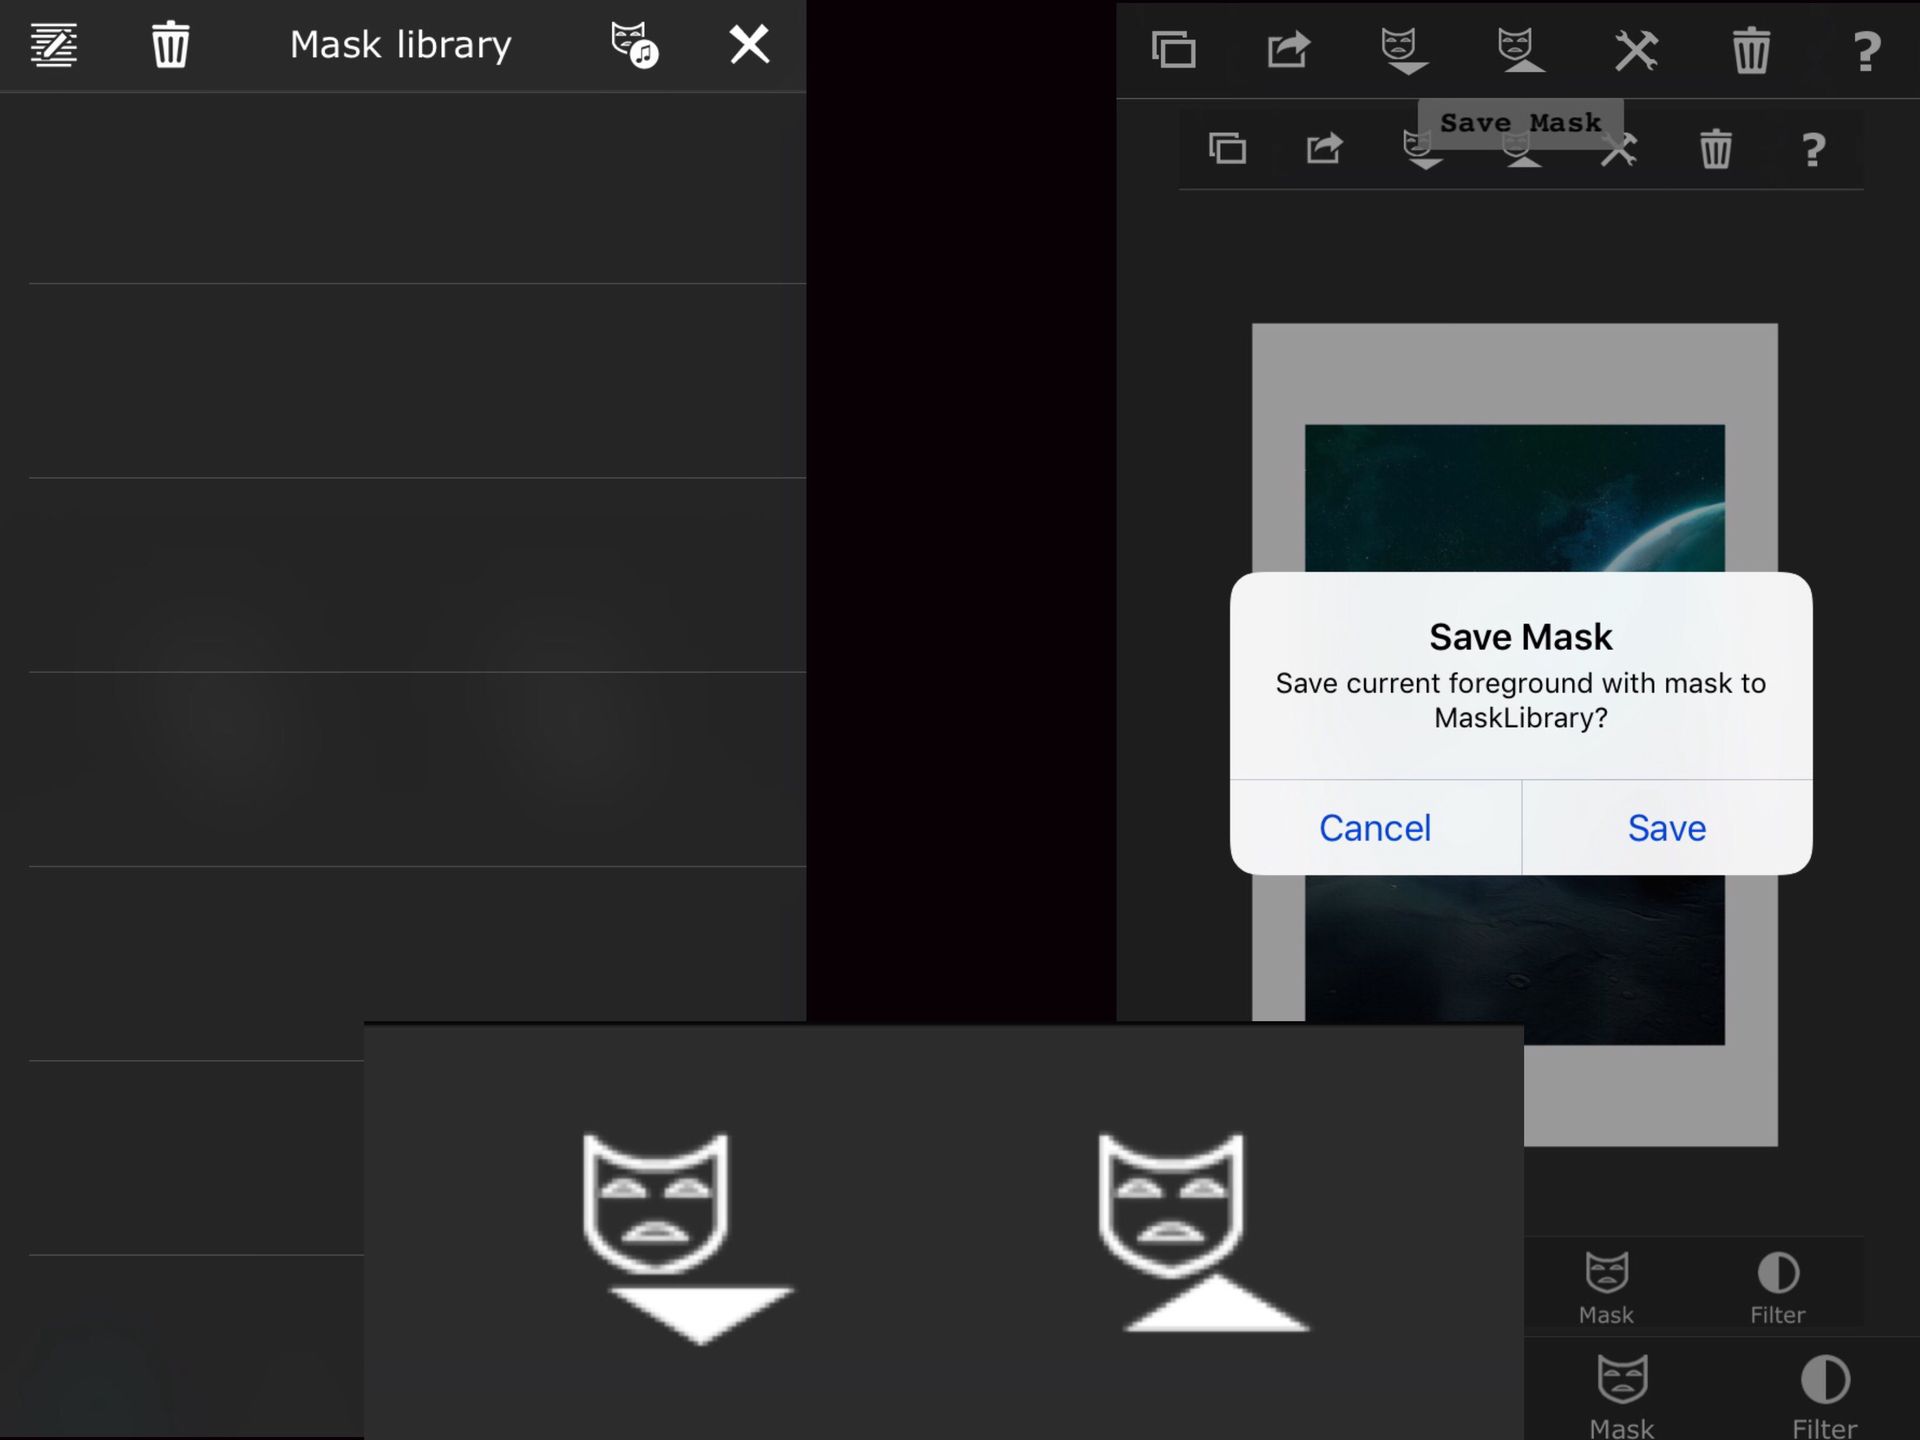
You can save masks that you have created for later use by pressing the save mask button in the Home screen. In the mask library section, you can select a mask to load as foreground. There is a edit button on the left. You can go into edit mode using this and then select multiple masks to export from the app.
You can export them either through email, DropBox or iTunes documents. To reuse the masks later, you can download them into Safari or click on the mail attachment and open with Superimpose. Also, you can place them into the iTunes document folder of Superimpose from your computer using iTunes. They will then be shown on the iTunes mask list (which can be invoked by pressing the mask with an iTunes icon on the home screen. You can select them and import into your mask library. So you are free to share/backup your masks and reuse them.
Editing tools

You can edit both the foreground and the background by selecting the icon next to the trash can in the home section.
1) Perspective: Changes the perspective.
2) Add text: Inserts text onto your edits. Can change fonts, color, size, and opacity.
3) Depth of field: Simulates real photography by keeping a small portion in focus while taking the rest out of focus.
4) Motion Blur: Blurs in one direction, to show motion.
5) Radical Blur: Blurs from the center out.
6) Ripple: Simulates rippling in water.
7) Bloat: Distorts to make things appear larger.
8) Shrink: Distorts to make things appear smaller.
9) Swirl: Twists image around the middle of a circle.
10) Glass: Distorts image to appear like looking through glass.
11) Reflection: Reflects image and gradient fades it.
Conclusion
Of course, nothing beats a video tutorial! Their channel is SuperimposeApp on YouTube and they have many tutorials going over the tools. In addition, there are also other people who make tutorials. Use your resources.
I hope this guide helps! Superimpose updates often with new features, so this may update explaining those new features.
I will be making a guide from the rest the apps I use!
Bạn đang đọc truyện trên: AzTruyen.Top