Tutorial #8 (LIMITLESS GRAPHICS)
Damn me, back at it again with photoshop and let's just say I am coming out with a banging cover (I hope). Anyway, I hope this was helpful but if you need anymore explaining then don't be afraid to ask.
What I used:
1) Deviantart for psds
2) Photoshop to make the cover (I used the free version which can be found in YouTube tutorials on how to download the free version)
3, Topaz Labs
Step 1: Start with a background, this was taken off a Wattpad account so they have bragging rights for this.
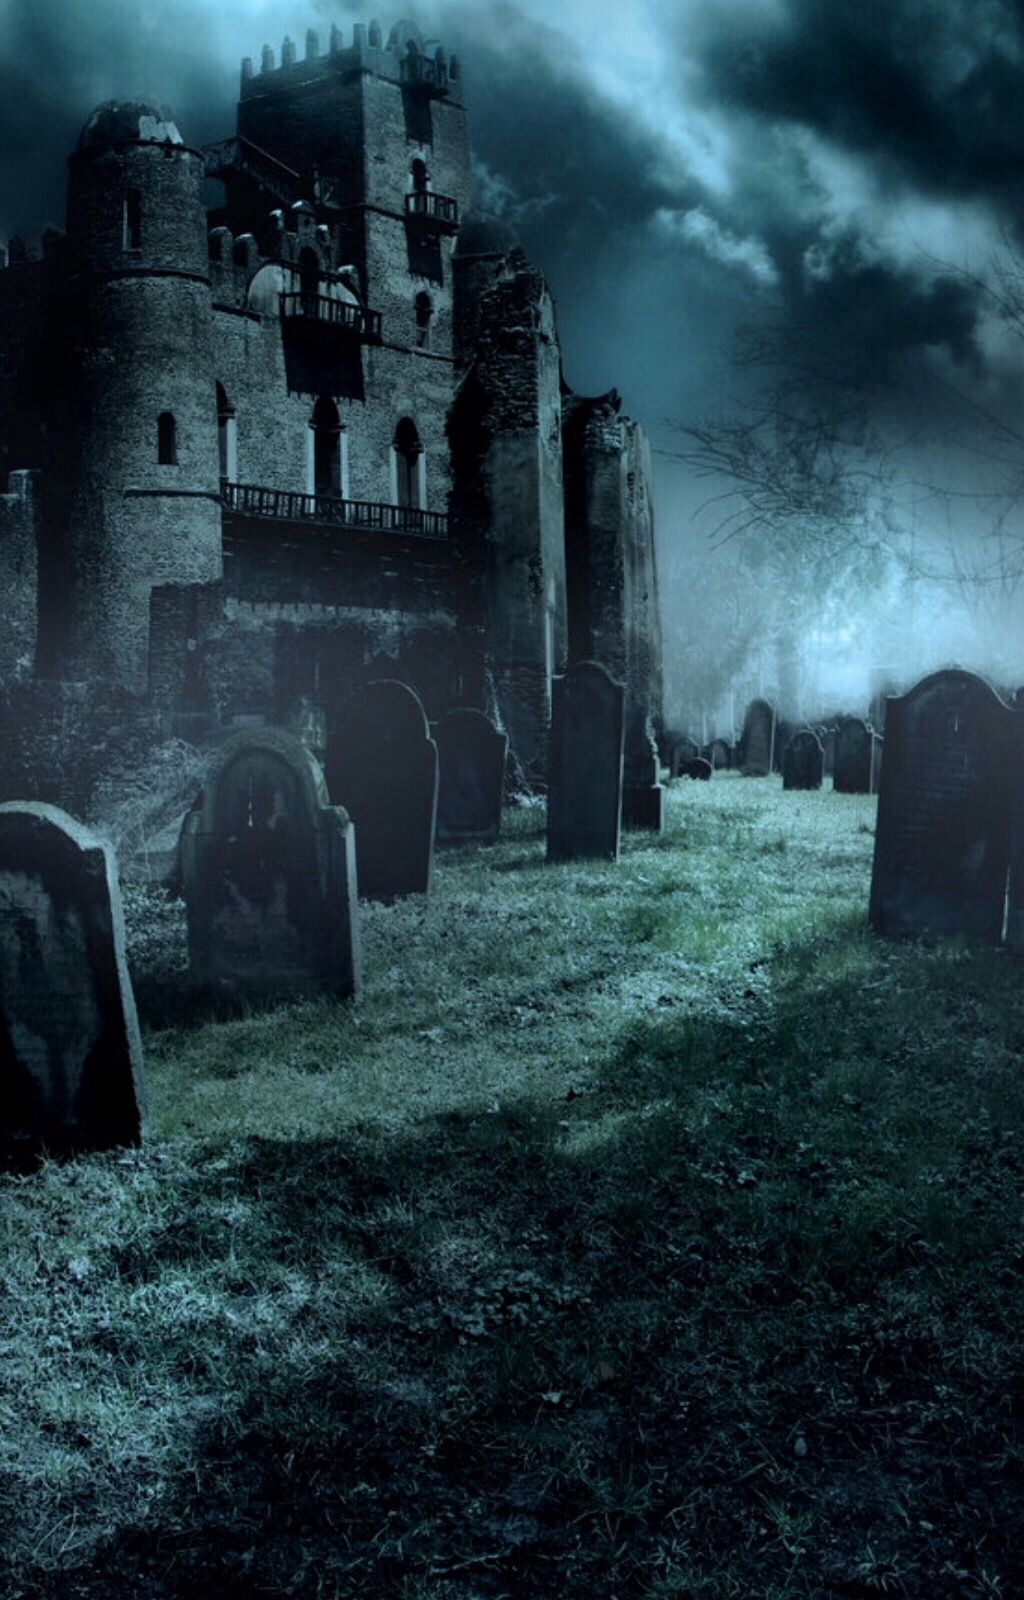
Step 2: Add your model so it is a little bit bigger then it would realistically be but no one matters really
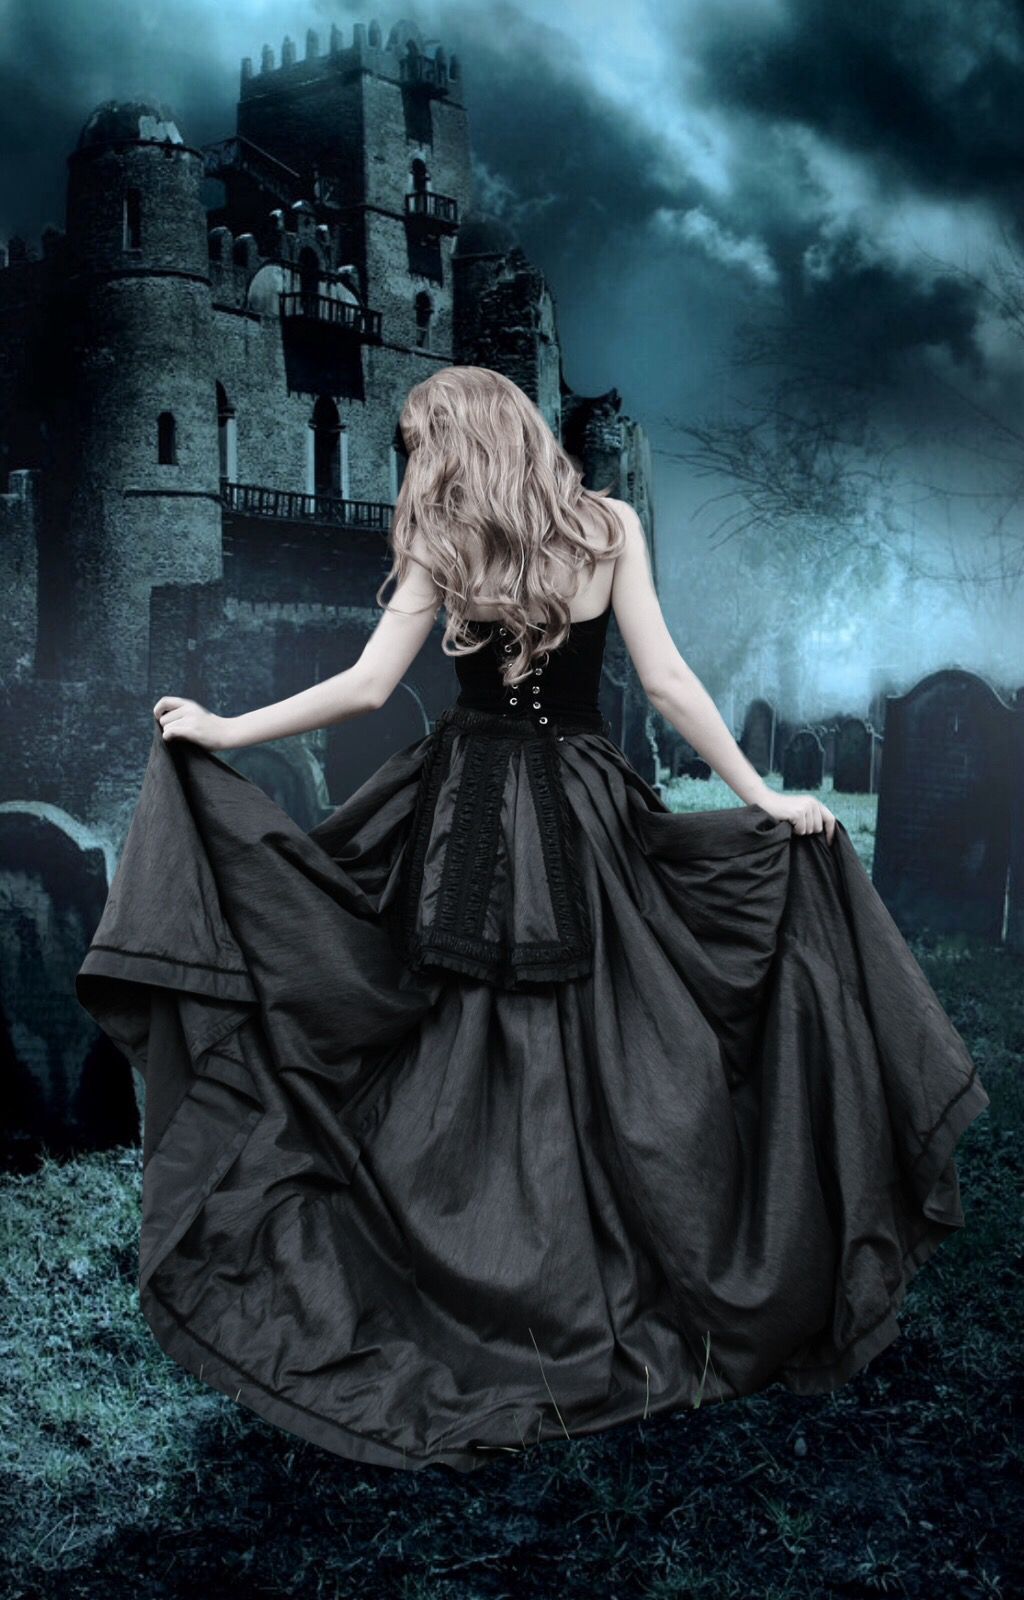
Step 3: Darken the bottom part of the cover where the light wouldn't hit the cover
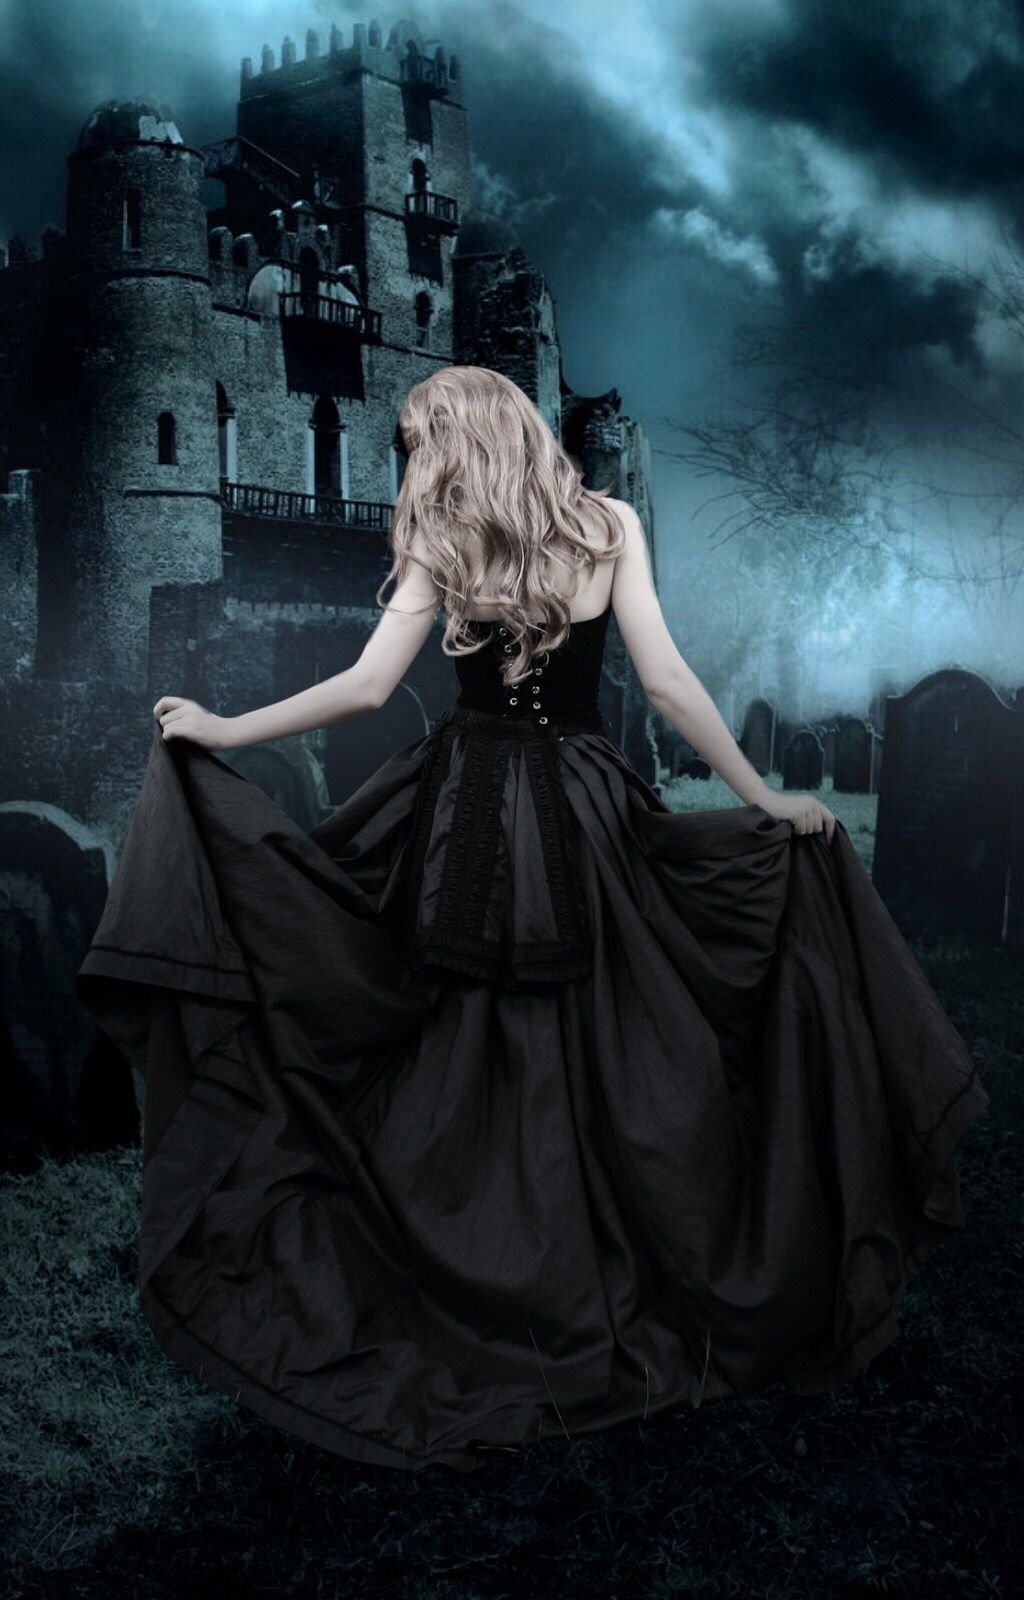
Step 4: Add the shadows underneath the model and where the light would hit the model
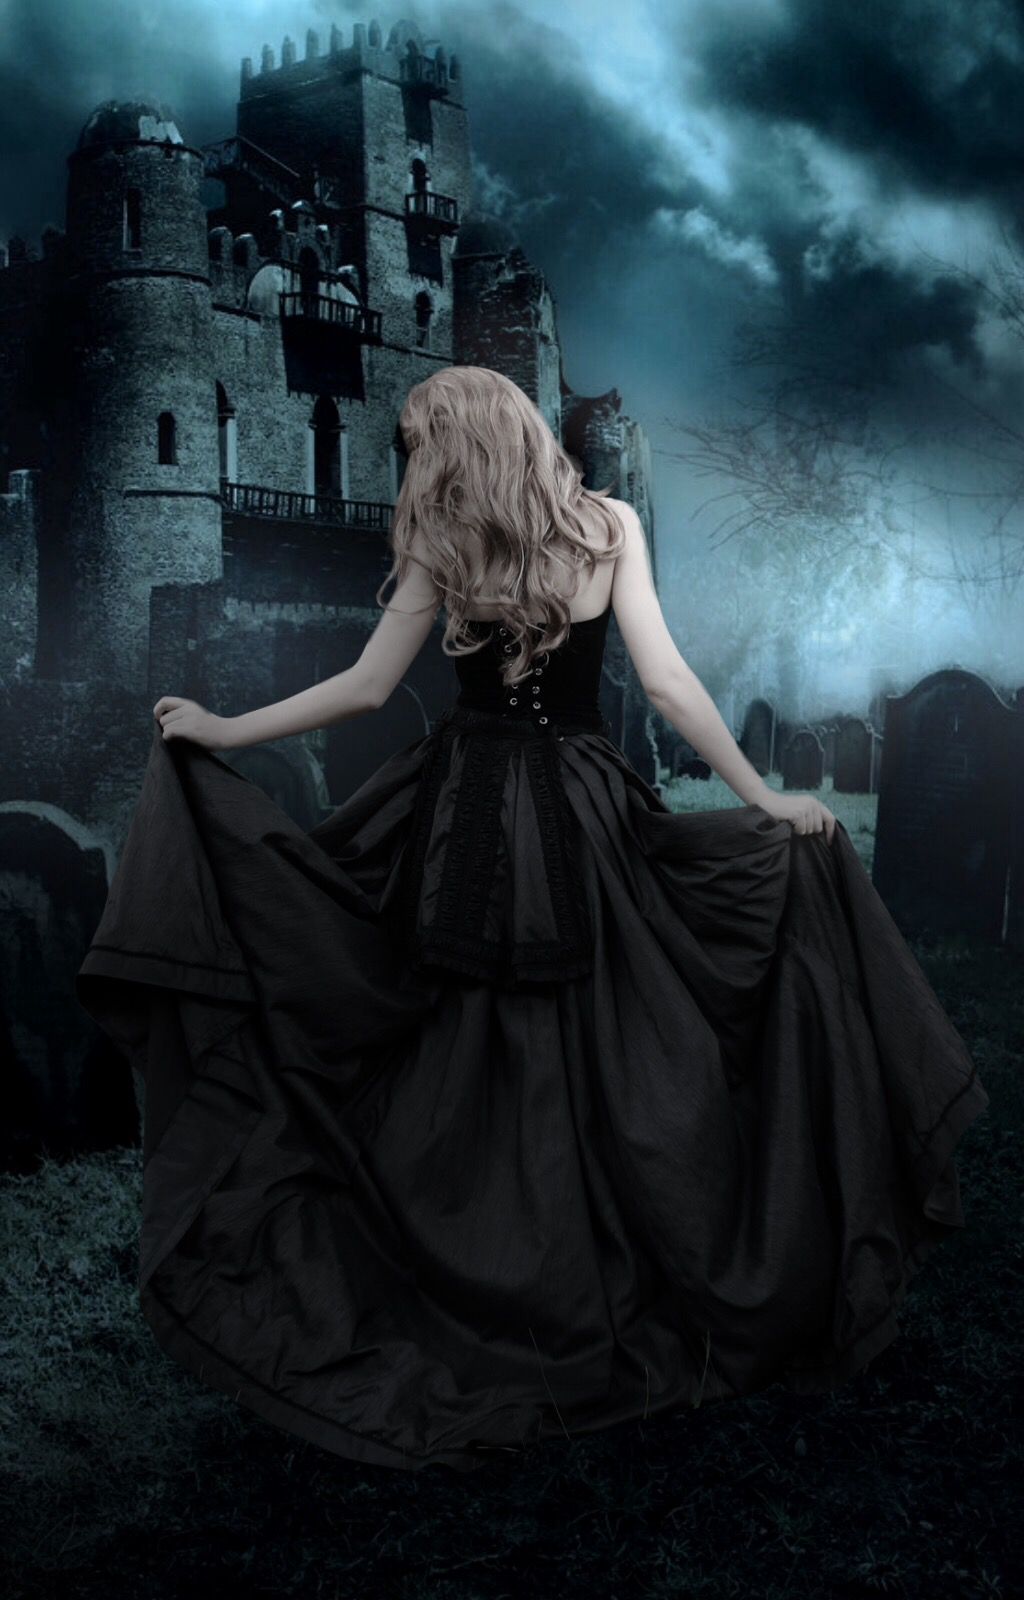
Step 5: Add a lighting then darken the cover as this is a dark cover with a dark theme which should be shown via the graveyard and spooky castle.

Step 6: Add your title and bevel it so it looks like it does below before adding this strip that fades at the edges and is also beveled. The author's name is not beveled as I don't want that to stand out as much.
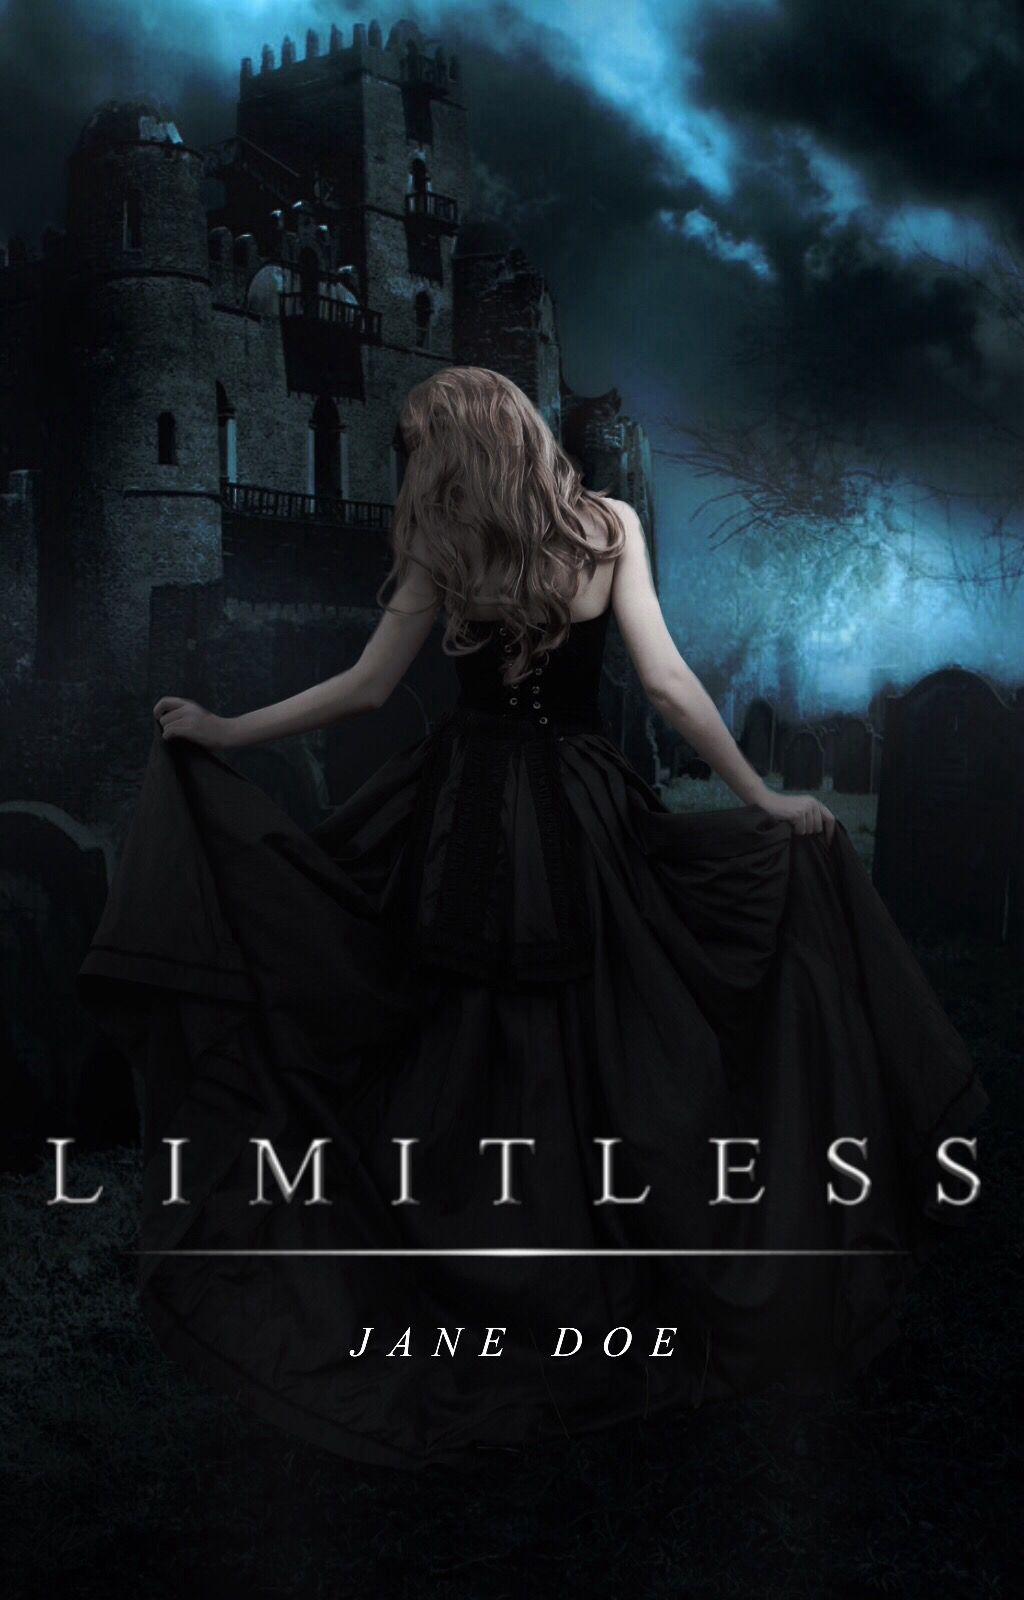
Step 7: Darken the cover again and add some tones to the model and the background so they look more noticeable if you get what I mean. Also add some weird psd which has a blue and orange type tone. As you can see the author's name looks a little beveled if you have noticed.
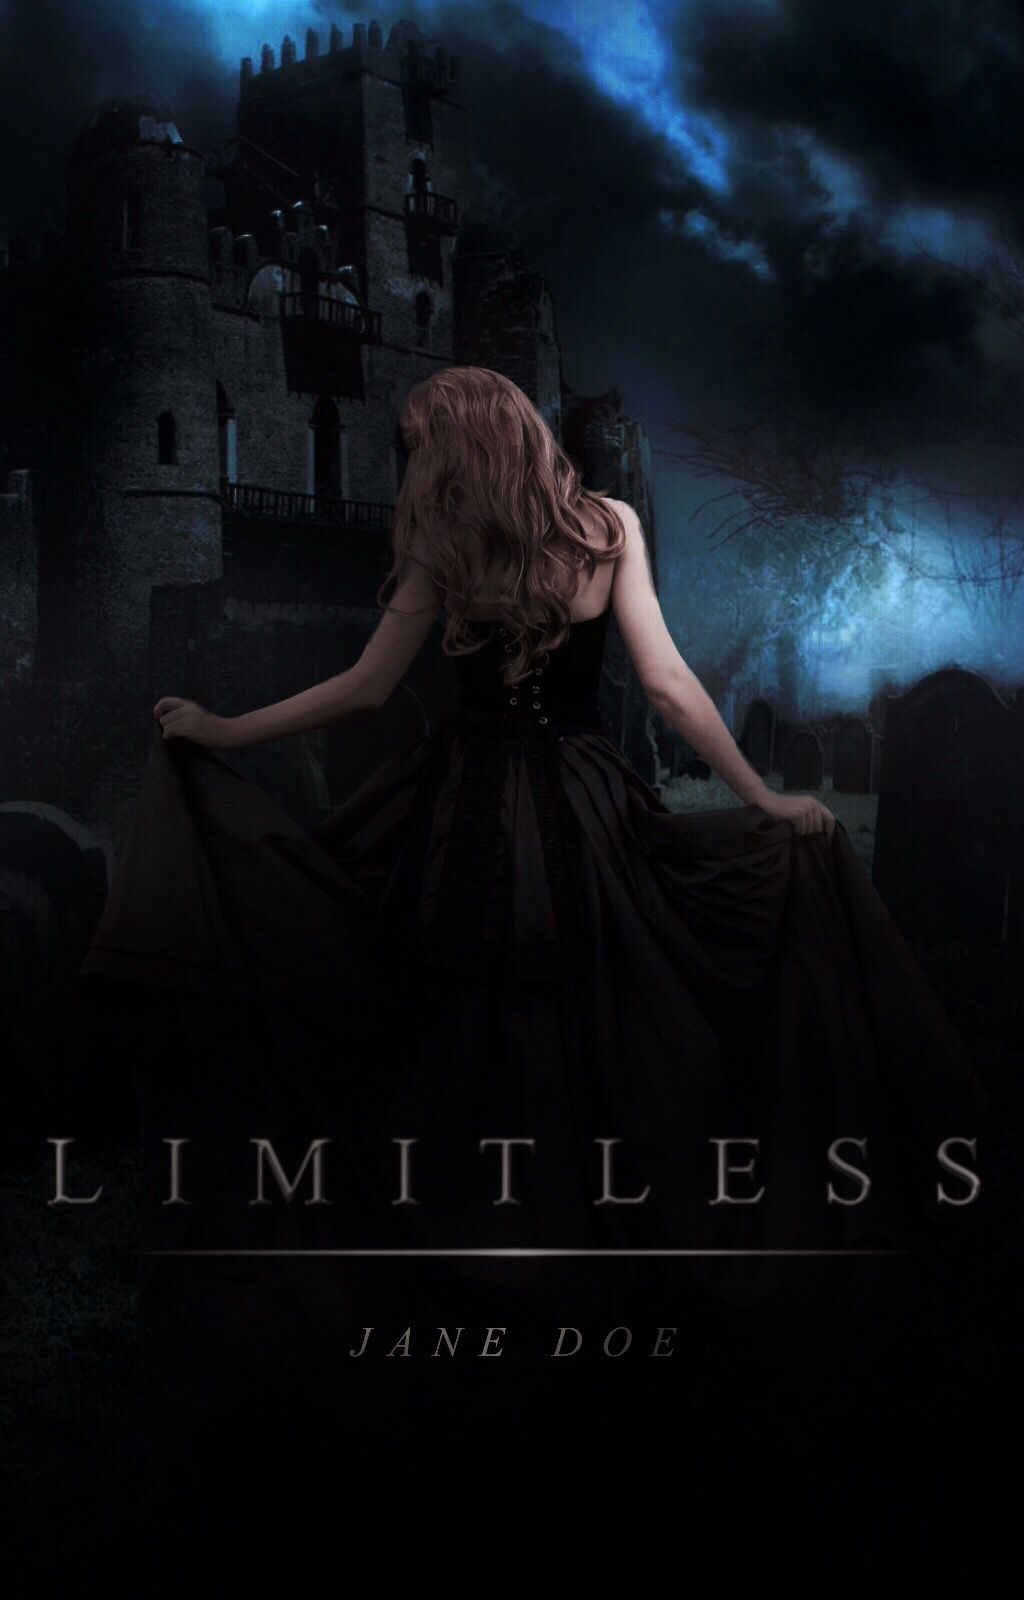
Step 8: Add your logo, white border then use Topaz labs.
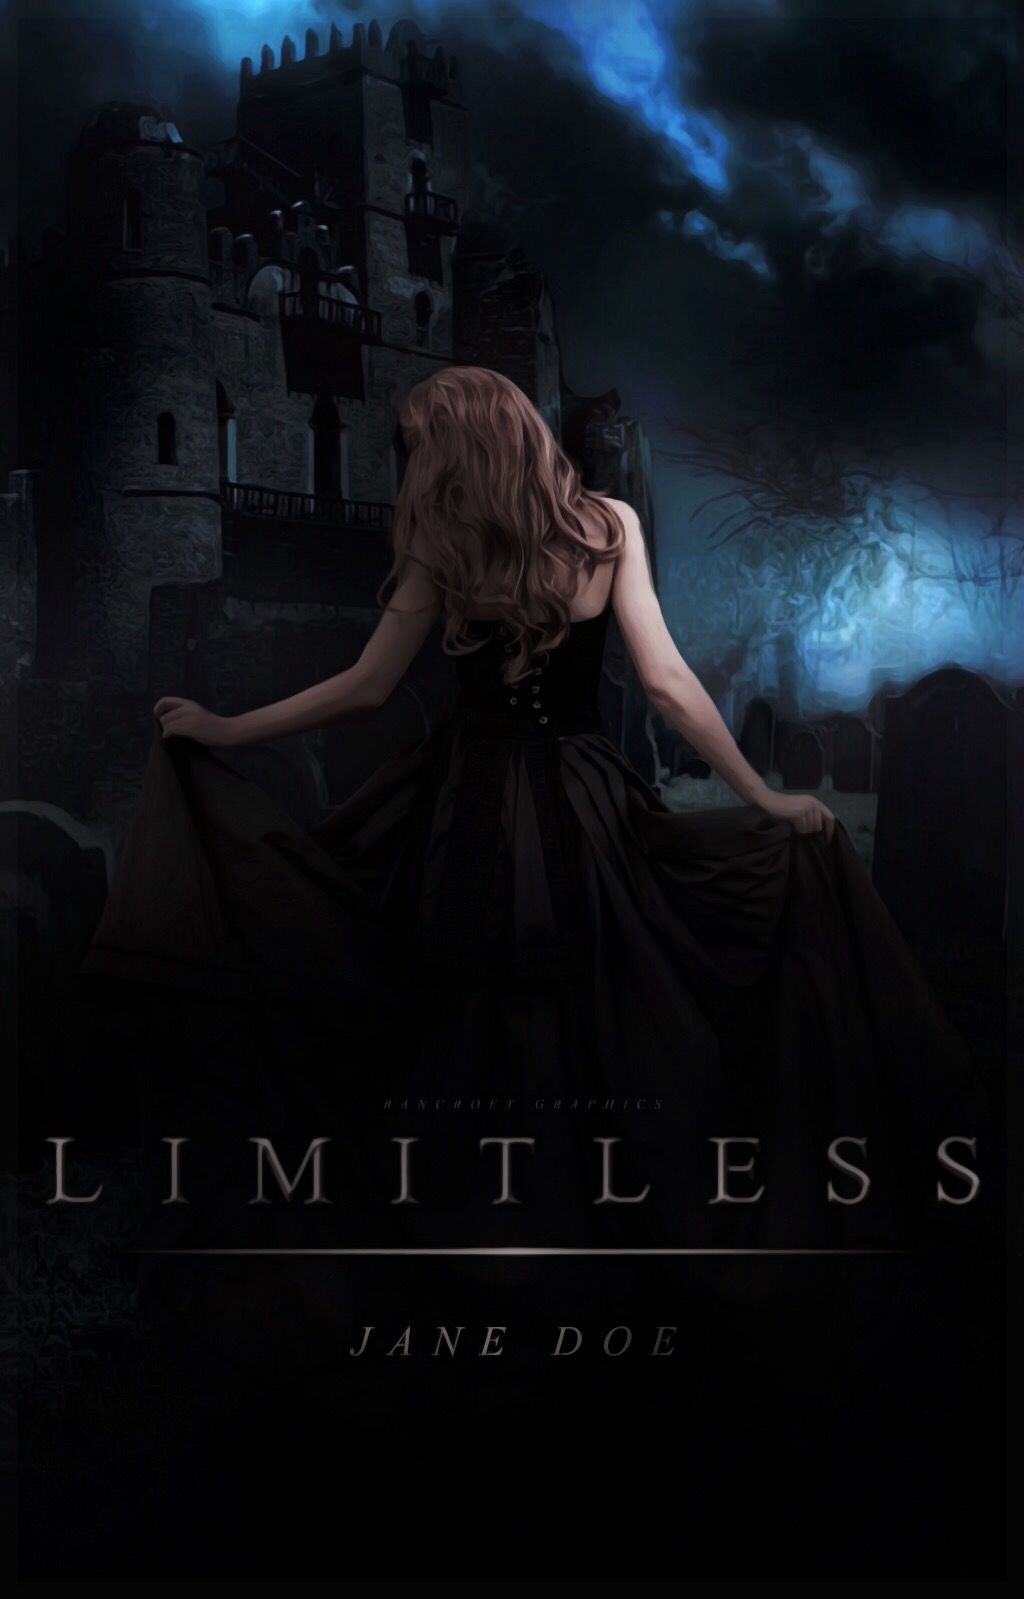
Step 9: Increase your blue tone on your background and lighten your title and author's name.
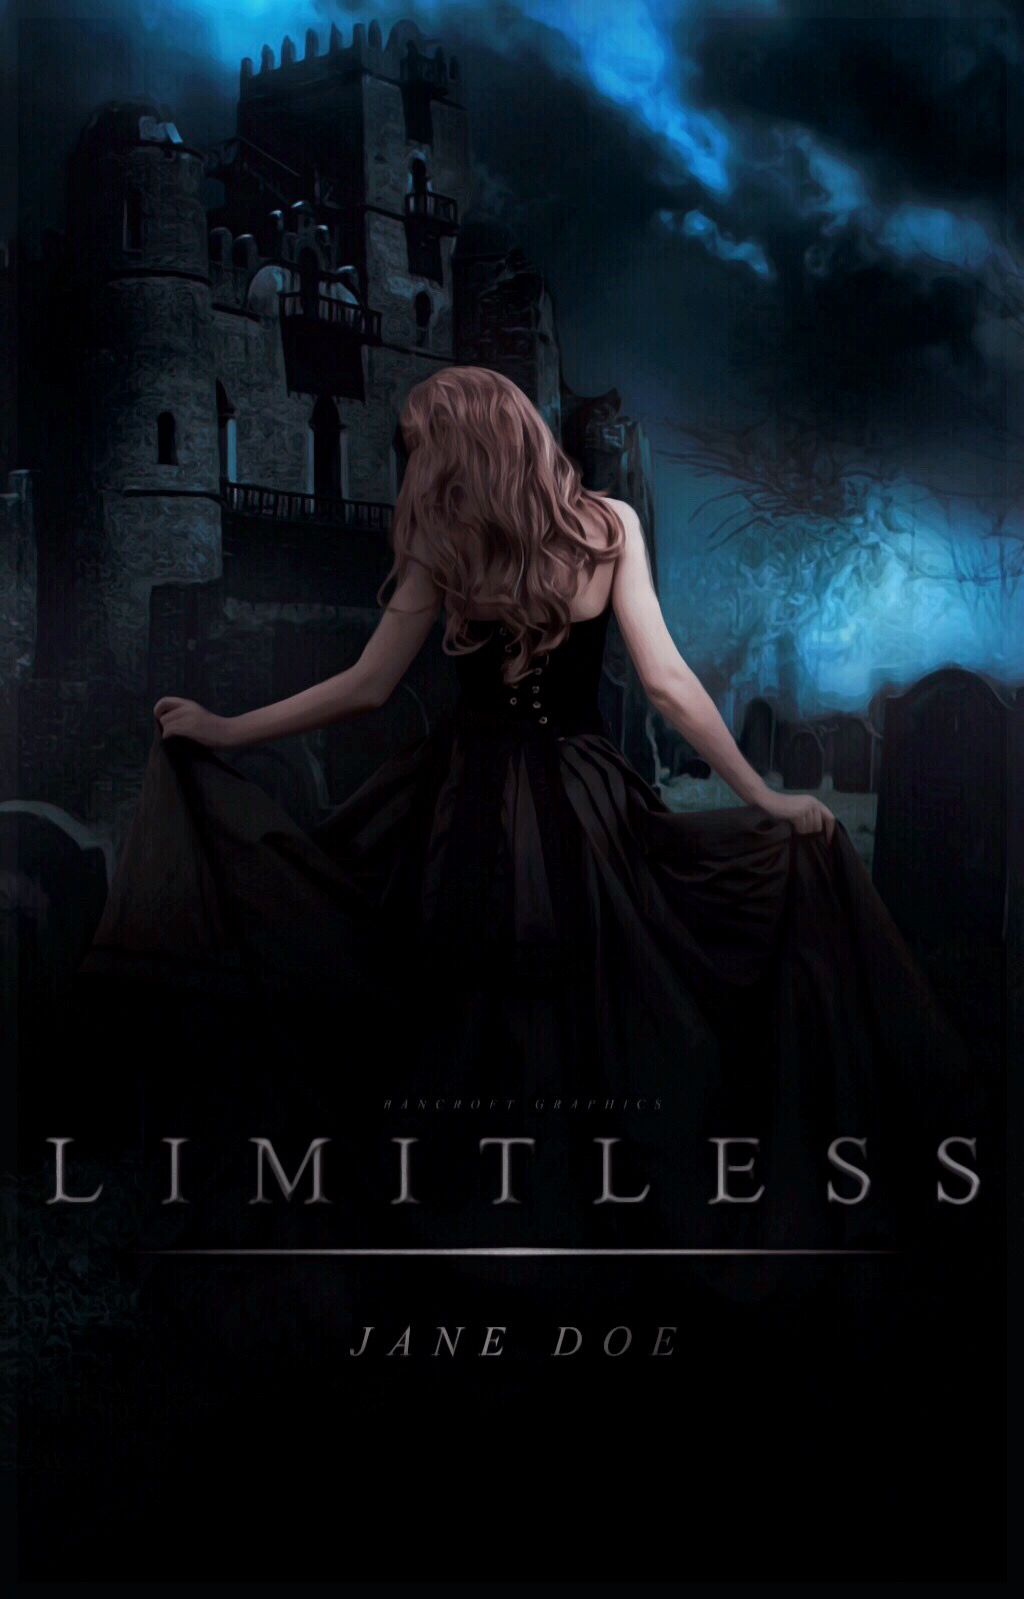
Step 10: Add a red and black/white PSD but still allow the blue to appear a little bit.
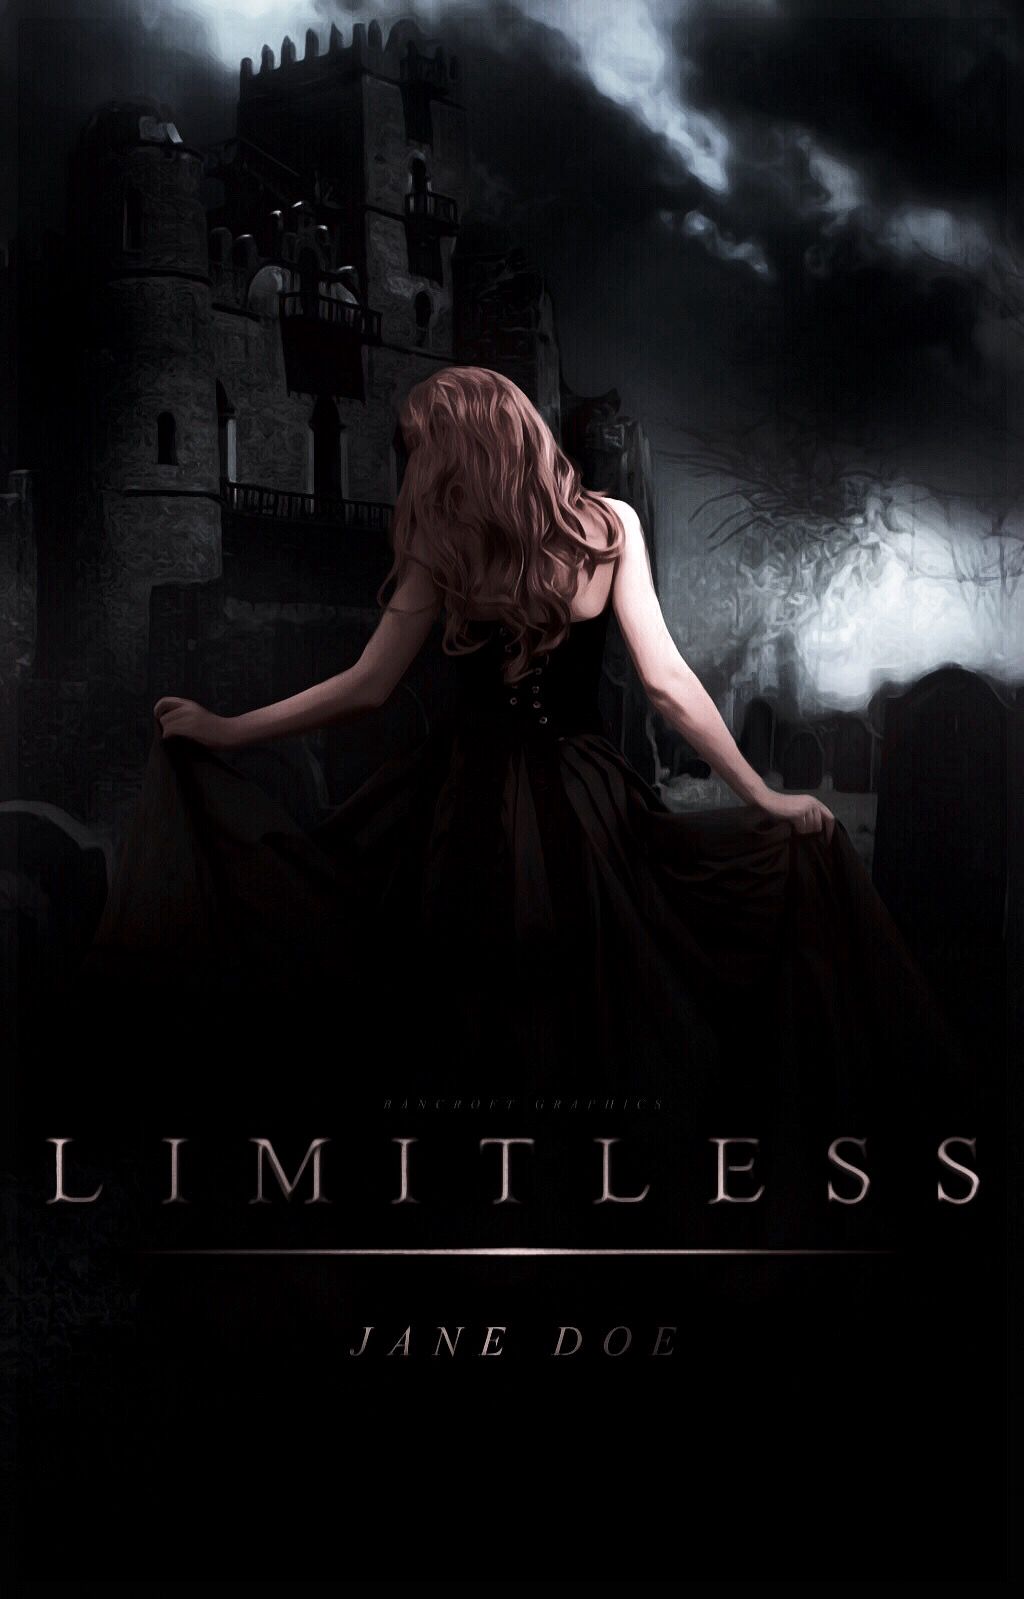
Step 11: Replace the black and white tone by adding another blue psd and then you are done.
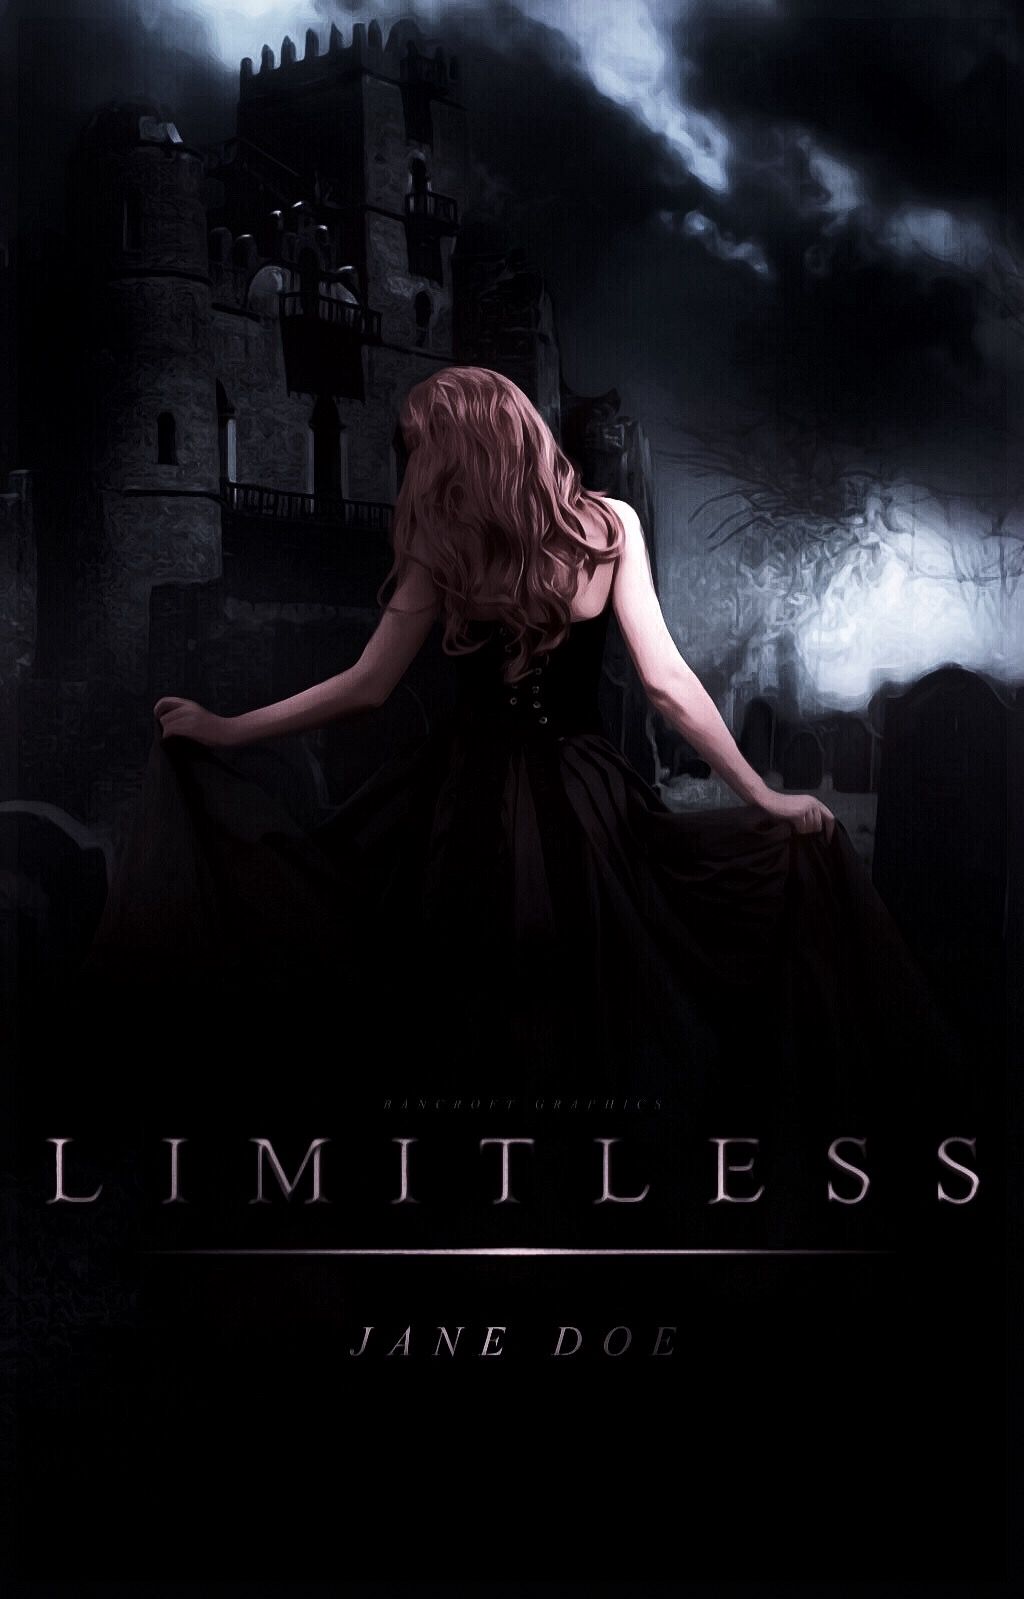
This may have been confusing but I hope you saw the changes in the pictures.
Critiques are aloud and comment some suggestions so I can try and make them.
Bạn đang đọc truyện trên: AzTruyen.Top