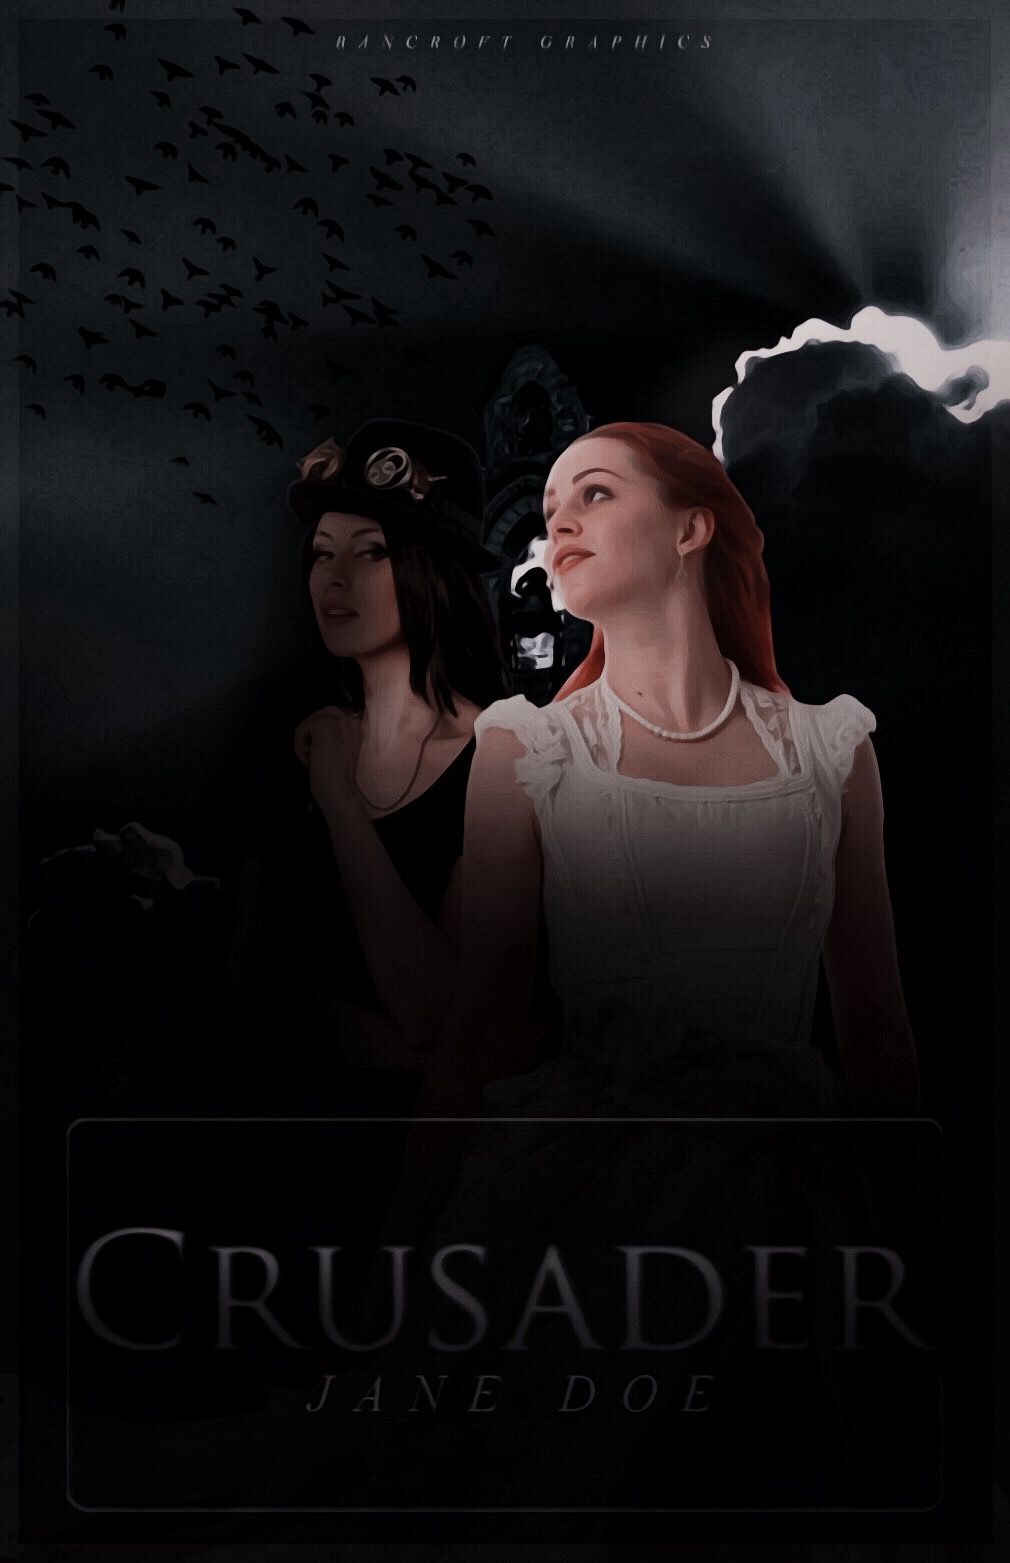
Tutorial #6 (Crusador Of Covers)
Here is the 6th tutorial I have created and I am back with covers and let's just say that the next cover after my tips and tricks for PicsArt, I am creating is going to be a manip (fingers crossed)
What I used:
1) Deviantart for psds
2) Photoshop to make the cover (I used the free version which can be found in YouTube tutorials on how to download the free version)
3) Topaz Labs
Step 1: Grab your background and place your two models near enough in the middle of the cover; darkening the bottom of the cover.

⬇️

Step 2: Shadow the steampunk looking female creating this feeling that she is the bad guy or the mysterious girl.

Step 3: Add your title - horizontally ombré (White to black) - and then the author's name; making sure that it is enclosed in a box type thing.

Step 4: Darken the cover but not to much so that you couldn't see the cover.

Step 5: Next, add a darker border, Topaz and add your Base PSD.

Step 6: Add your final layer of PSD before you are done.

Next, the tutorial will be a bookmark and her is a sneak peak of it to get excited for:

This is only the beginning so keep an eye out for it.
Bạn đang đọc truyện trên: AzTruyen.Top