Tutorial #5 (Banner)
So moving away from the covers, I have decided to move onto a simplistic banner with not a lot of added things and NO Topaz Labs.
(read till end pls)
What I used:
1) Deviantart for psds
2) Photoshop to make the cover (I used the free version which can be found in YouTube tutorials on how to download the free version)
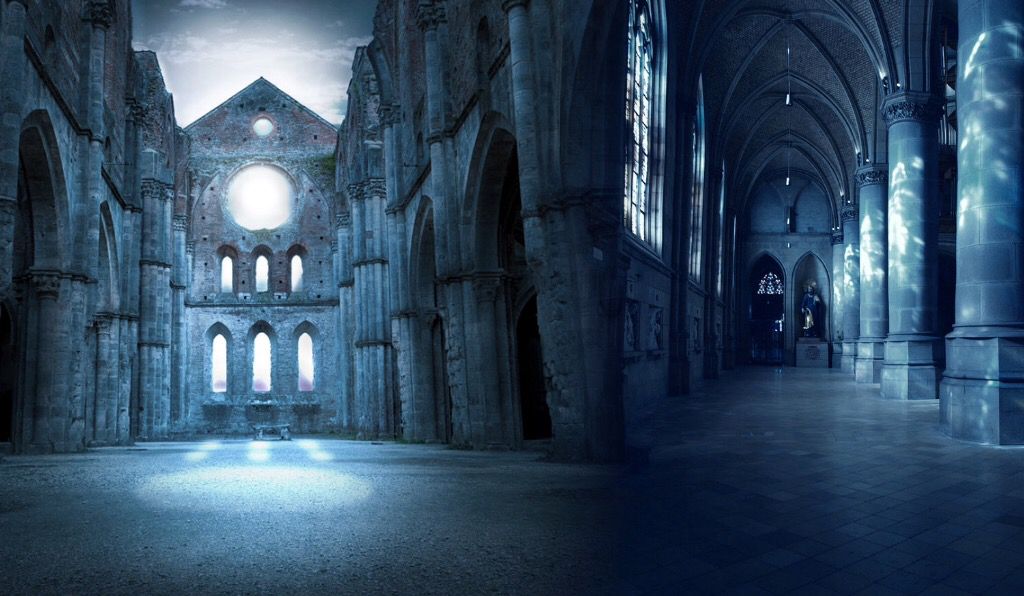
Step 1: Blend two scene type pictures that look like they are from the same place in terms of detail and such. One side being bigger then the other.
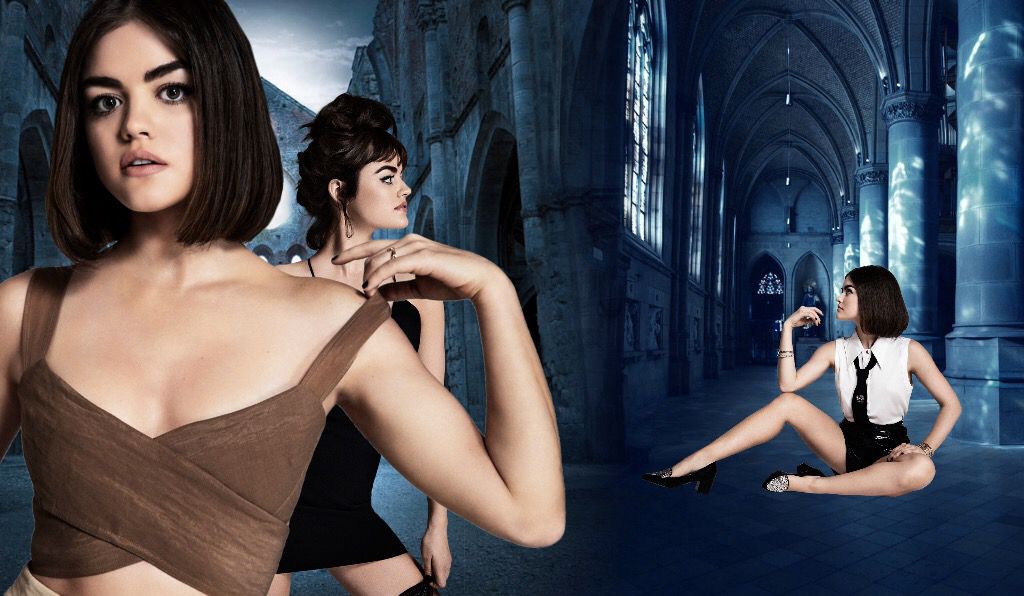
Step 2: Place three PNGs of the same model (Lucy Hale) around the cover; two on the bigger side while one on the smaller. Make sure that the PNGs have similar colourings so they fit together.
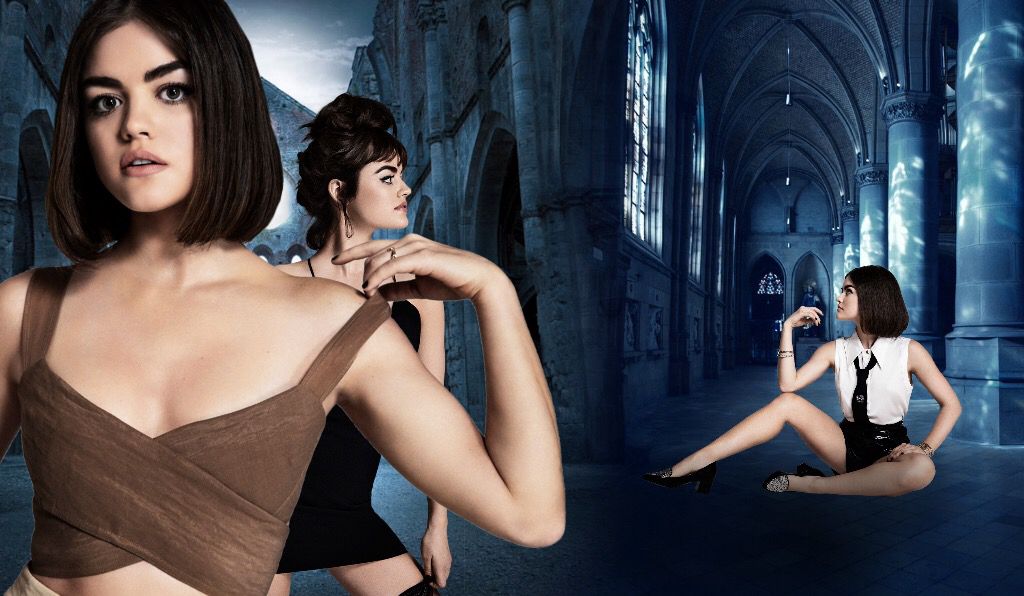
Step 3: Add a shadowing under the full body model so it could look more realistic; if you are as pedantic as me then you would shadow then legs that would not have light hitting it.
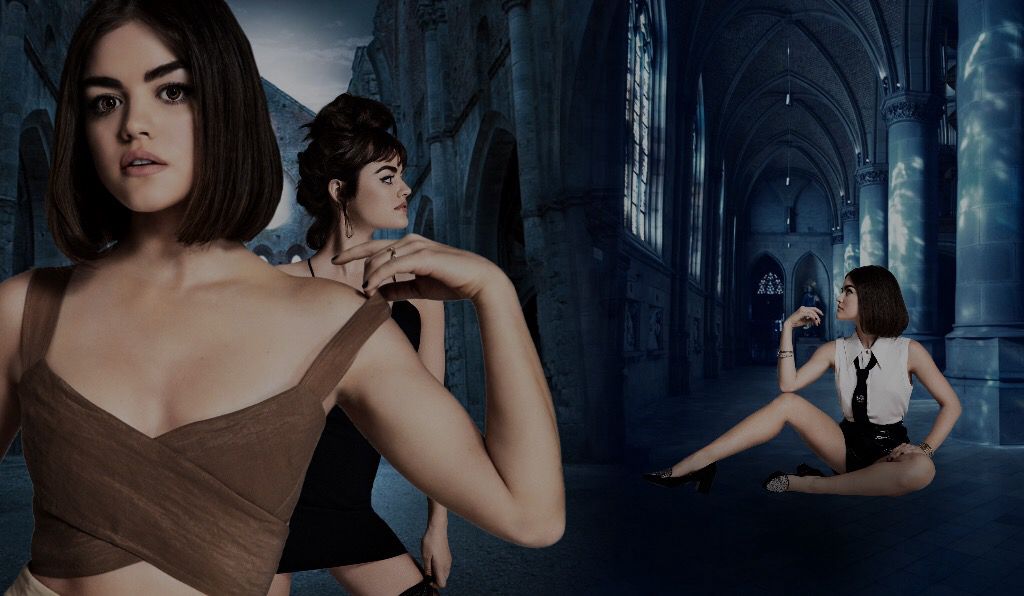
Step 4: Darken the opacity of the banner so that the background blends together really well.
Step 5: Add some words, making sure that there is a dark background behind it so that you can see everything.
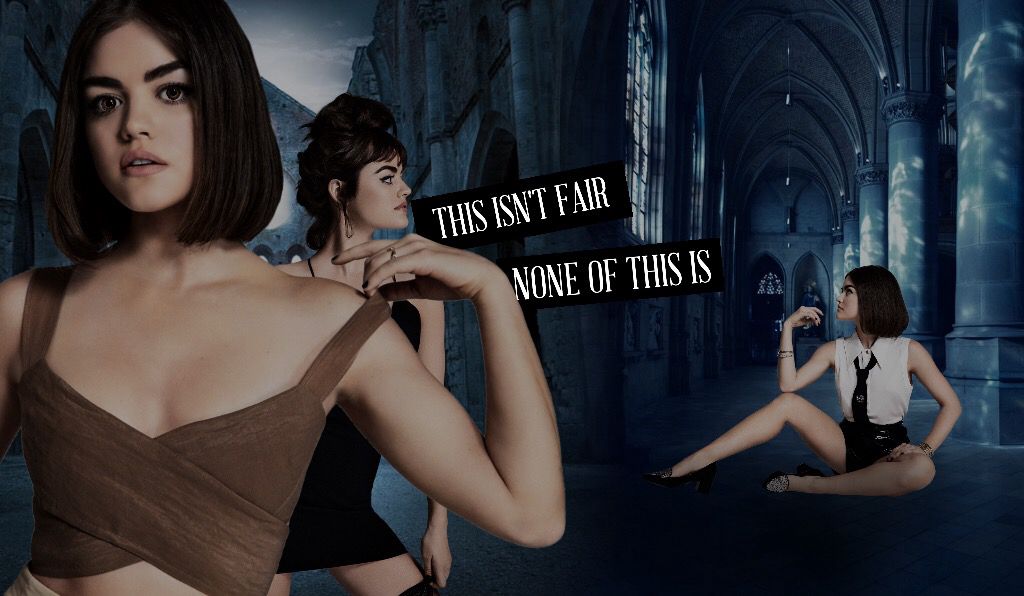
Step 6: Add your BASE PSD and your logo near the bottom making sure that the females on ⬅️ side are lighter then ➡️ side.
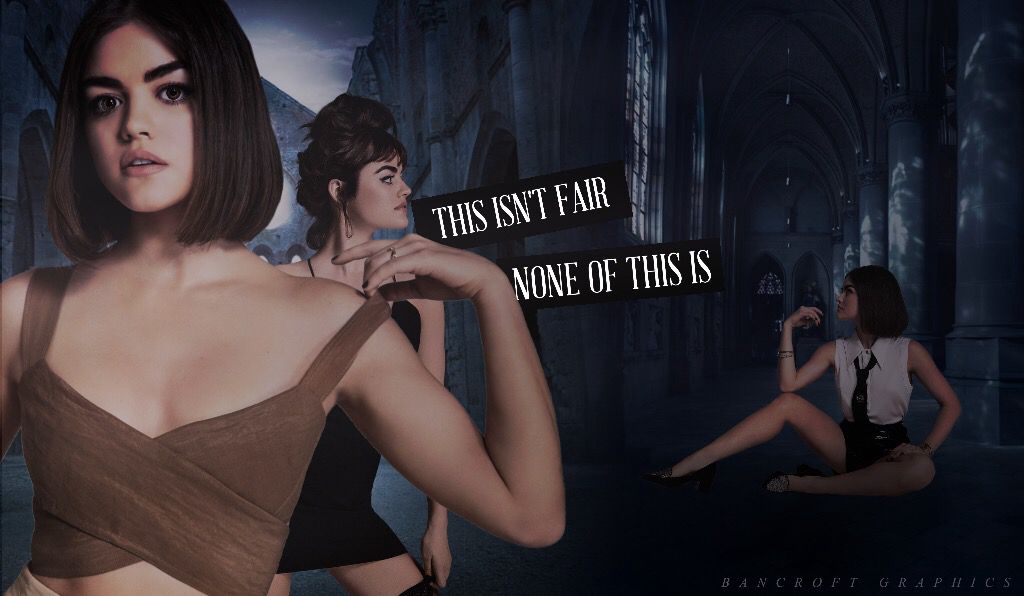
Step 7: Add your border but DON'T ADD TOPAZ. This would ruin the banner in my personal opinion.
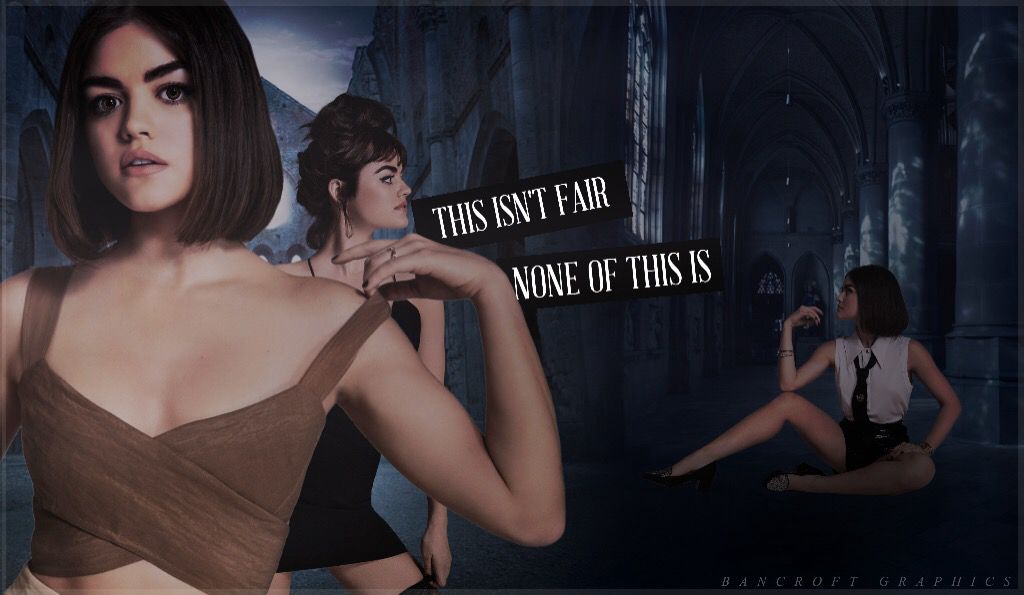
Step 8: Add your second layer of psds making sure that the blue background has turned green and the models have turned a peachy cover.
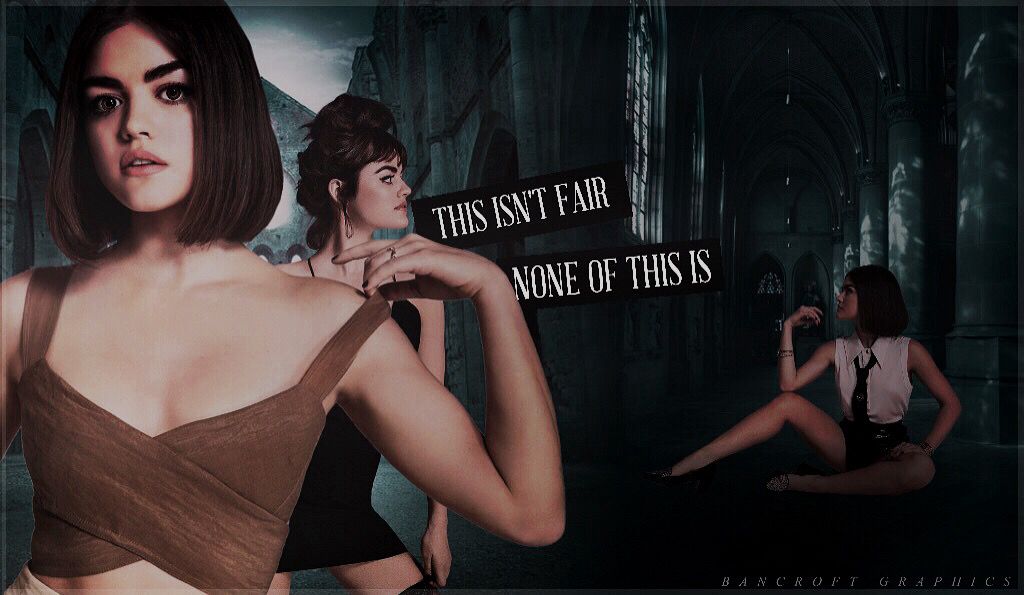
Step 9: Add your final psd - intensifying the peach colour - and you are done.
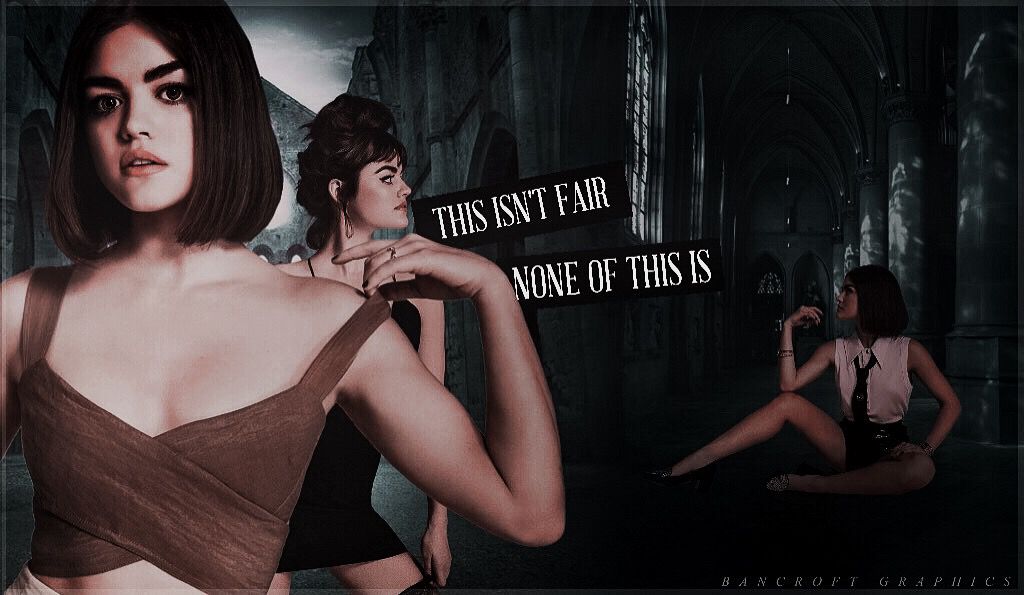
What do you think of this tutorial; a little different isn't it. I wanted to try something different but I am unsure if you guys like it.
My next tip is for how to work PicsArt which is my alternative when I am not at home or if I don't have my laptop with me.
My next tutorial however will be for this cover:
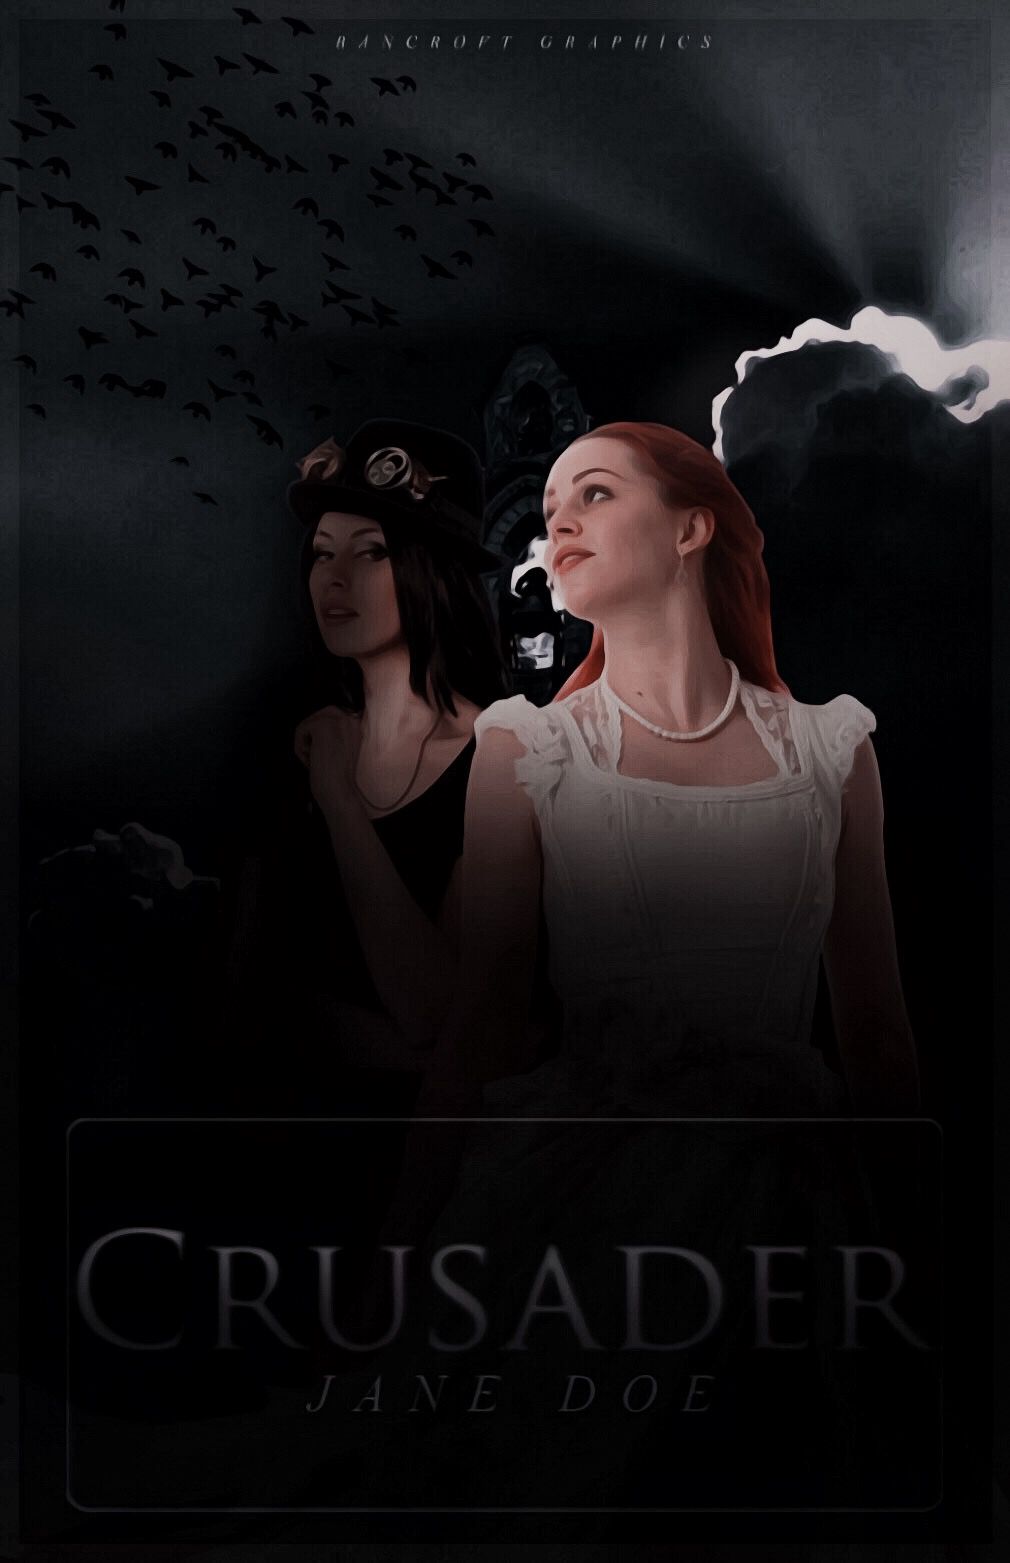
And I may do a bookmark but I am unsure for that; comment down if you want me to do a tutorial on a bookmark.
Bạn đang đọc truyện trên: AzTruyen.Top