Tutorial #2
I was so prepared for this XD.
Anyway, here is my second tutorial where I will be creating an original novel I have been planning (there is to many of these laying around on my word documents and google docs). LET'S GET TO IT.
What I used:
1) Deviantart for psds
2) Photoshop to make the cover (I used the free version which can be found in YouTube tutorials on how to download the free version)
3) Topaz Labs
Step 1: Manipulate a background (I chose a more space themed background with a lighting already place to give it that glossy feel)

Step 2: Add your model (I chose this falling model which I got from CallMeHarbinger96 Deviantart account who is a Wattpad graphic artist but I honestly cannot remember the name (does anyone know)). Anyway, I hid her feet behind a rock think but left her hand out for an added effect. I also added a little detail to make it look more futuristic.

Step 3: Add the title of your story (I have already beveled it and added this red tint which will look better once I have added the psds.
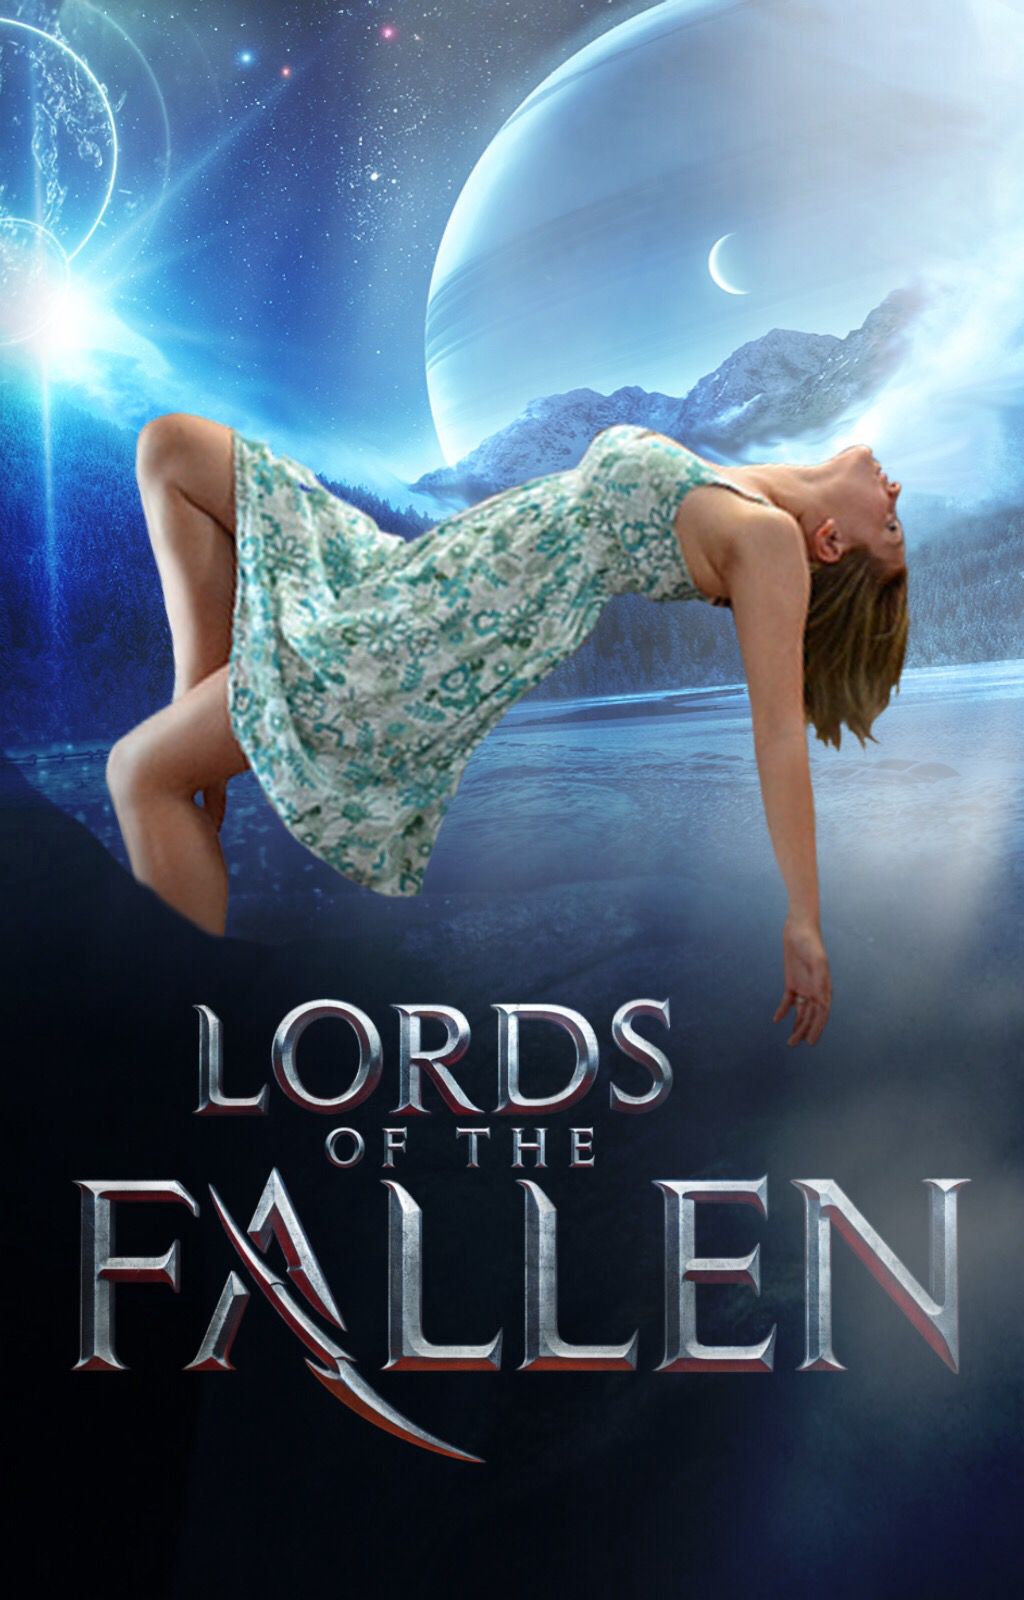
Step 4: Add your author's name but without the colour tint.

Step 5: Add base psds making sure that the title colour doesn't look odd like it was on the previous step.
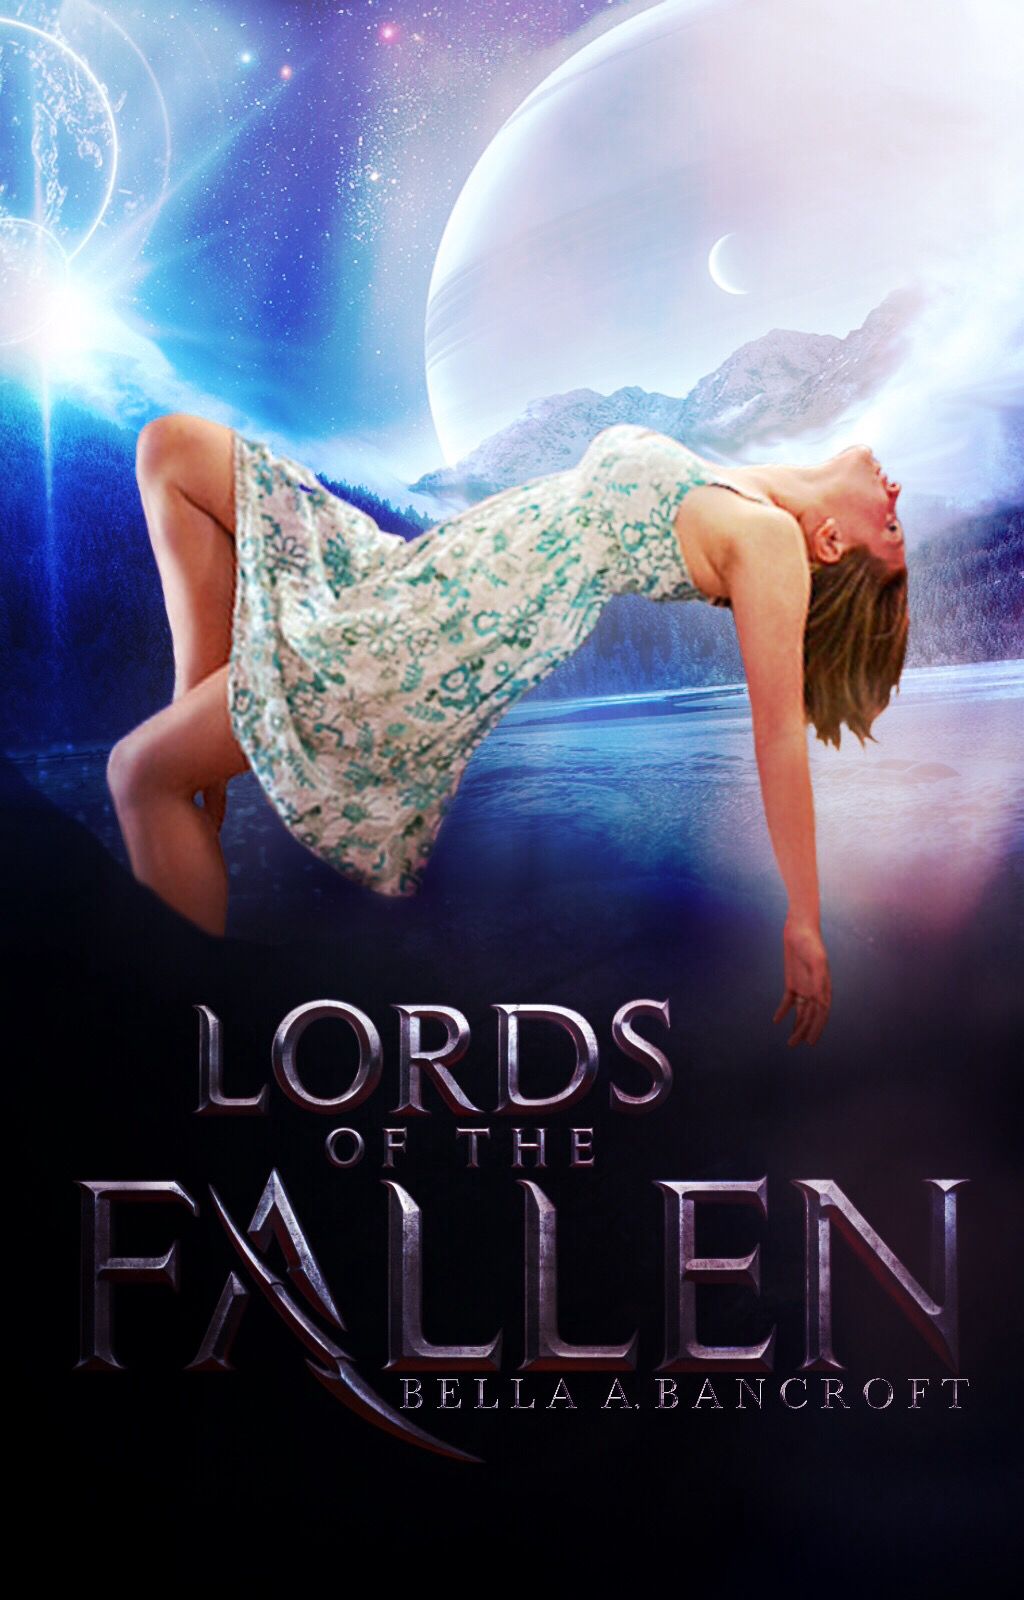
Step 6: Faintly add a border before using Topaz labs to make the model look less sharp around the edges.
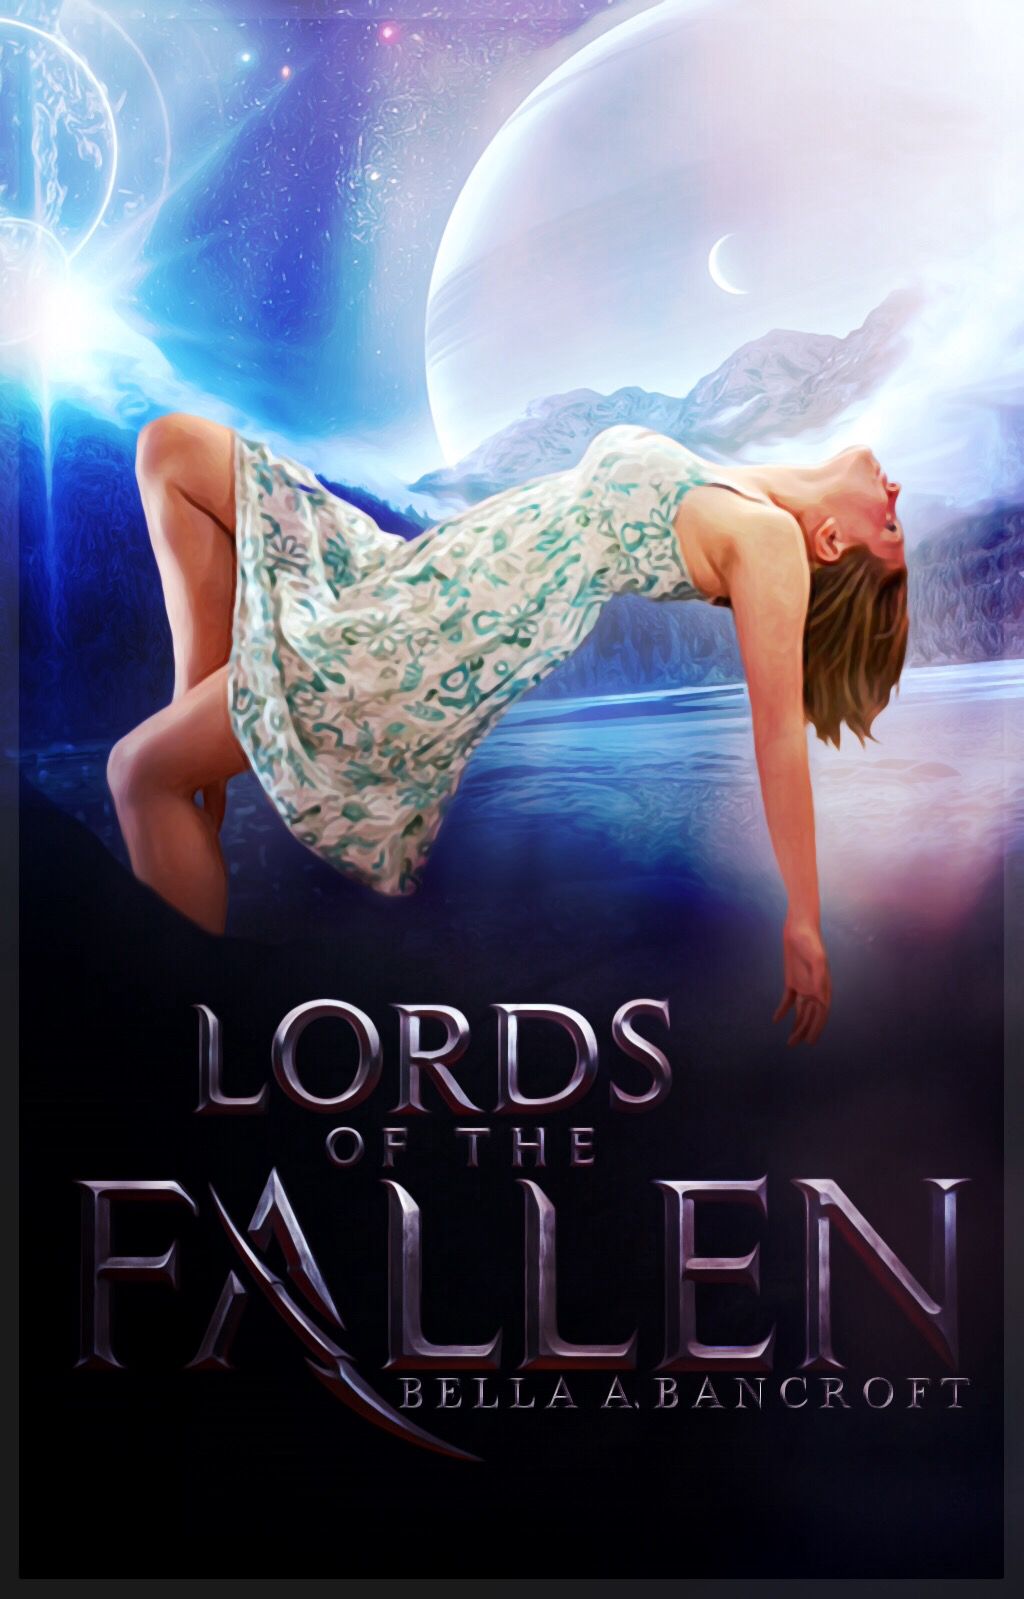
Step 7: Add your Second psd layer making it look unbearably light (this will look better I promise you all)
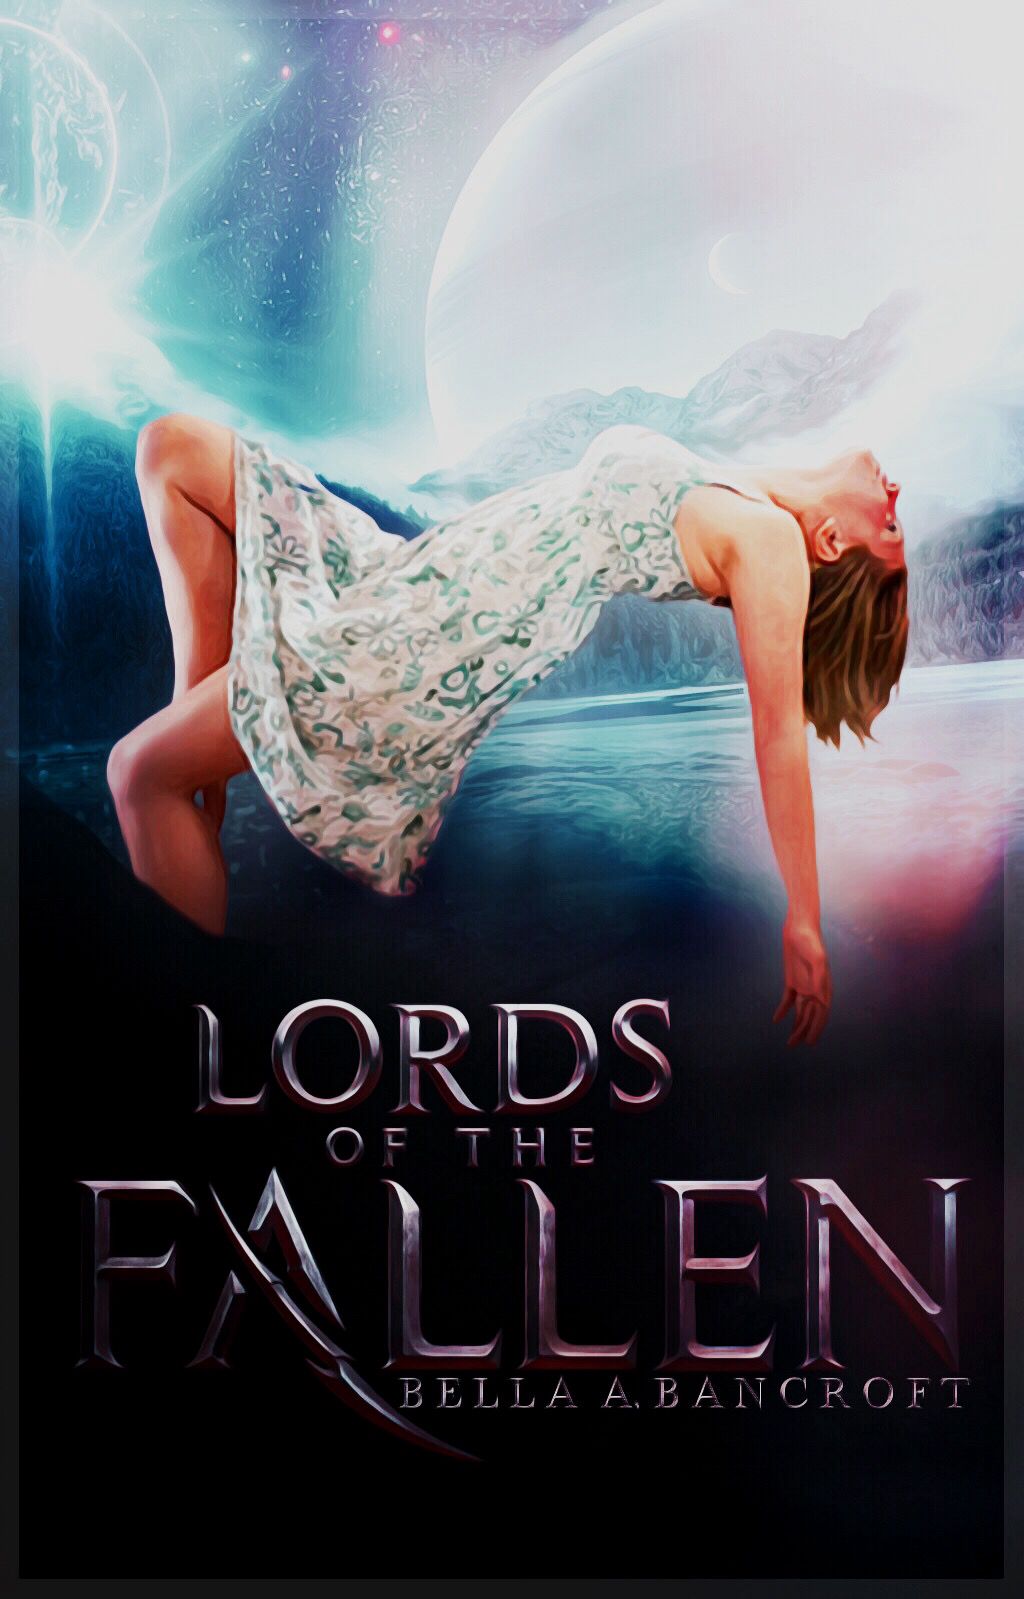
Step 8: Add your cherry toned psd and apocalyptic psd to darken the cover again (as said in the previous chapter, these are my psds)
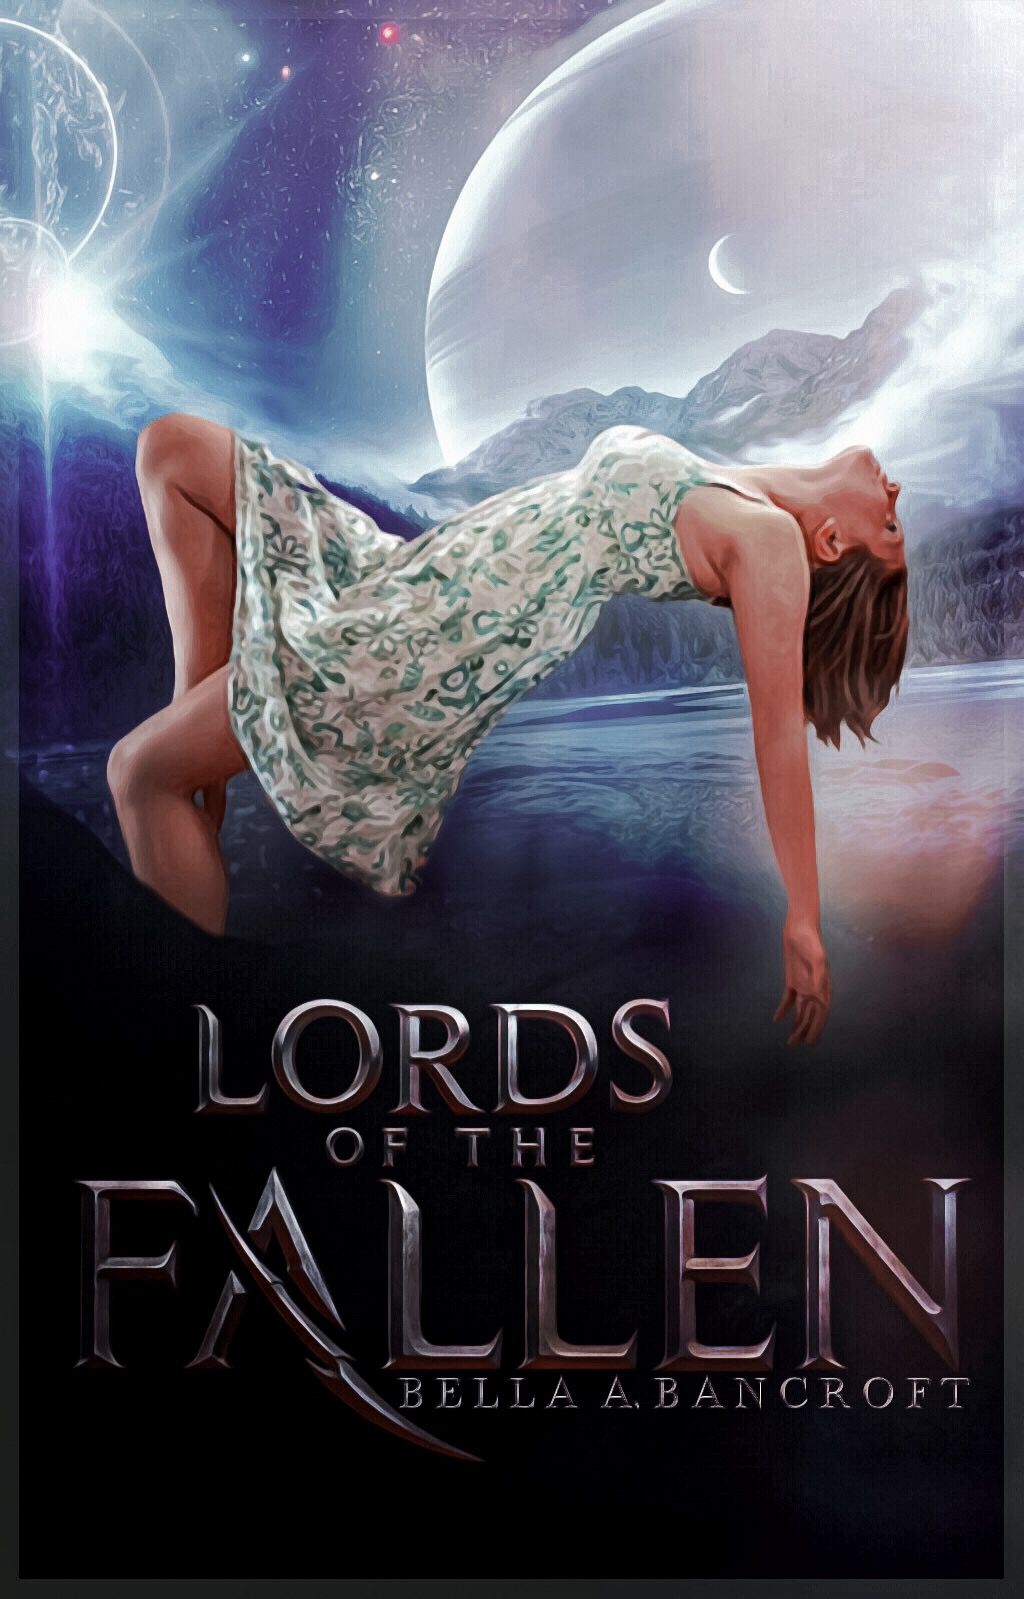
Step 9: Add your final psd to lighten and add purple tones then you are done.

Tell me which version you liked, did you like the end result or do you prefer Step 8's result, tell me in the comments. Also if you would like more tutorials then check both SERENITY GRAPHICS and THE RANTS OF HELL where I do have some tutorials that may interest you.
-B
Bạn đang đọc truyện trên: AzTruyen.Top