Tips and Tricks for PicsArt and what happens next (Part 2)
This is the final part where we will be going into polarr which is a filter type app that makes a picture better. The icon for this is the dark grey background with a white outline of a circle.
Anyway, next you select your picture and you are lead to this page where you can add colourings to your picture.
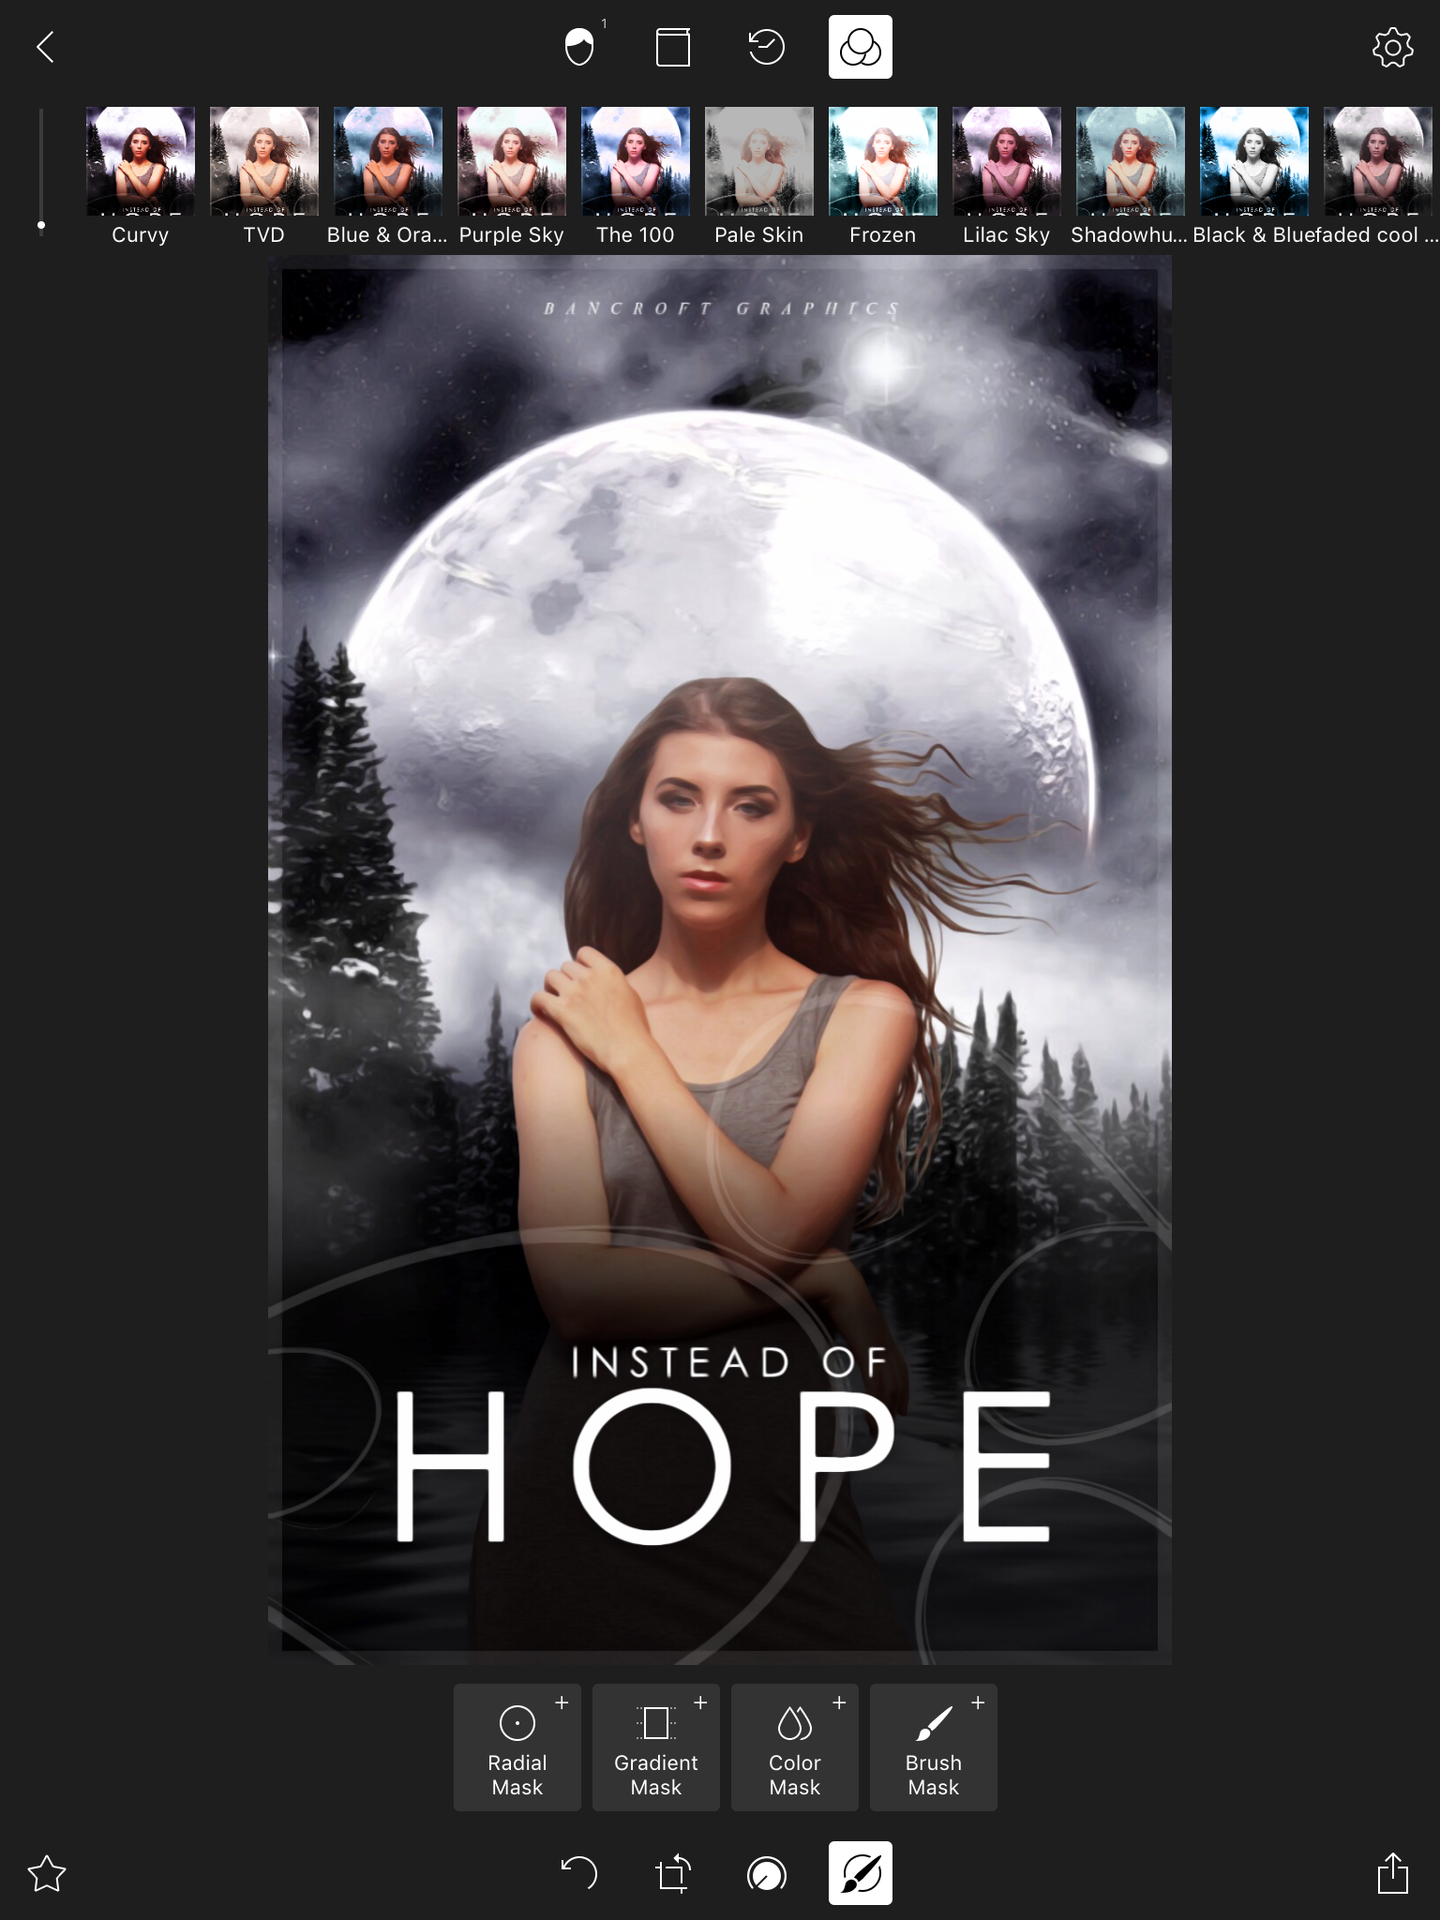
This is after I have selected a couple:
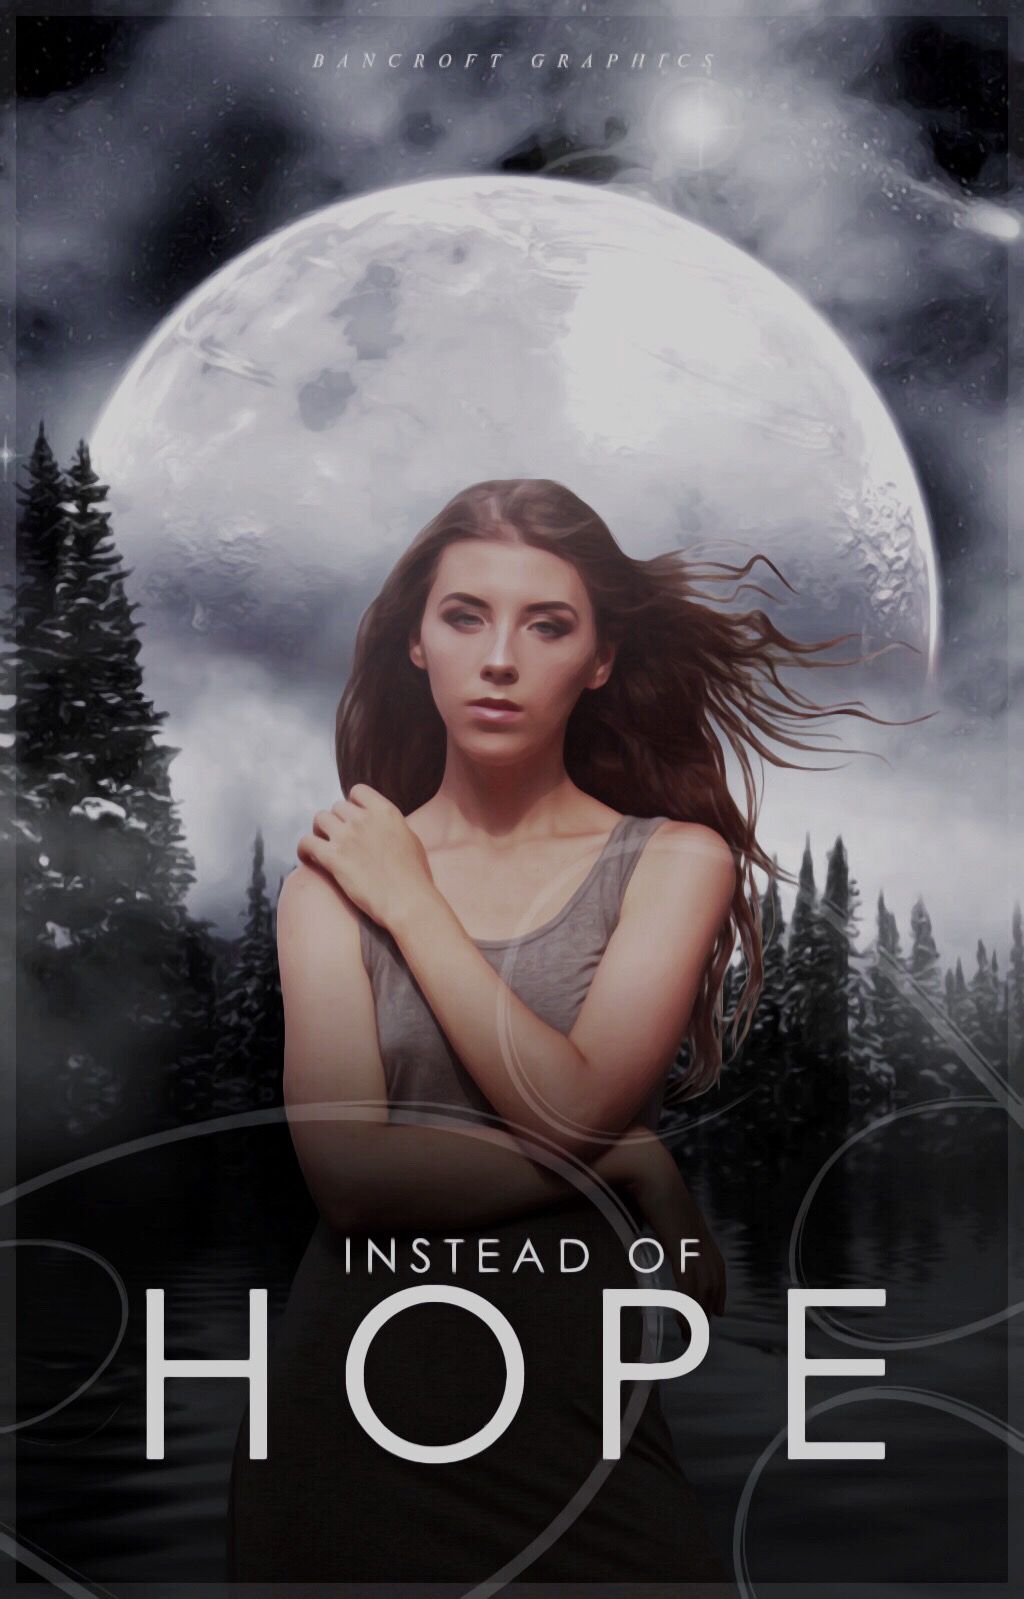
Here are the first change before hand:
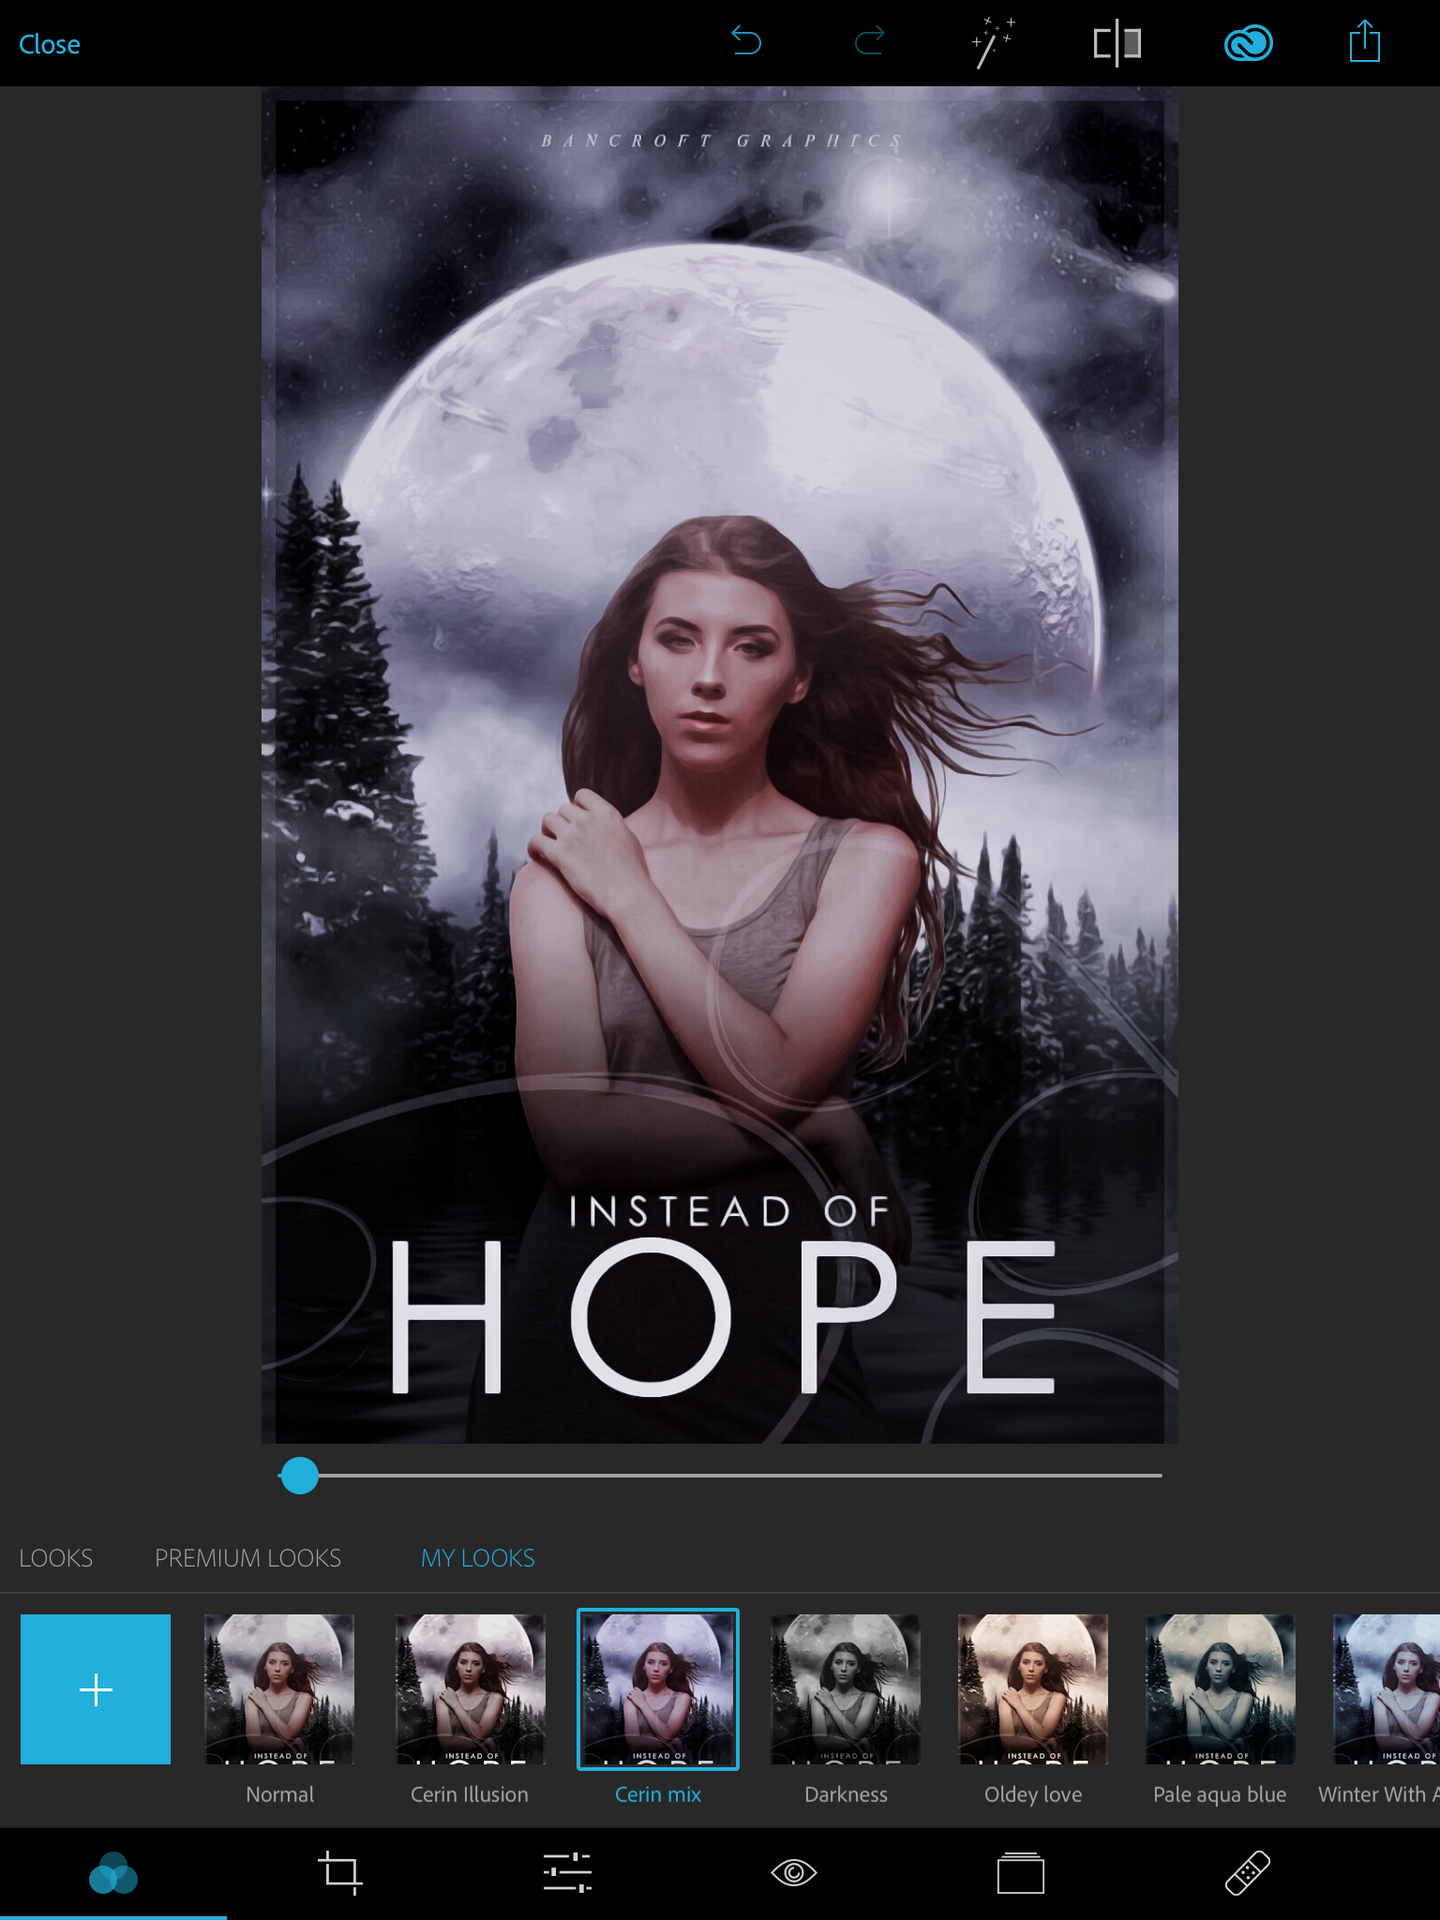
You then go to Adobe Photoshop Express which is the first one with the blue outline but with the lettering Ps in the middle surrounded by a diamond shaped outline. You then have to select your picture again and scroll through the looks; if you are signed up to adobe then you will get the premium looks. I have created my own looks but you can easily pick your own.
This is after I have picked one of the colourings:
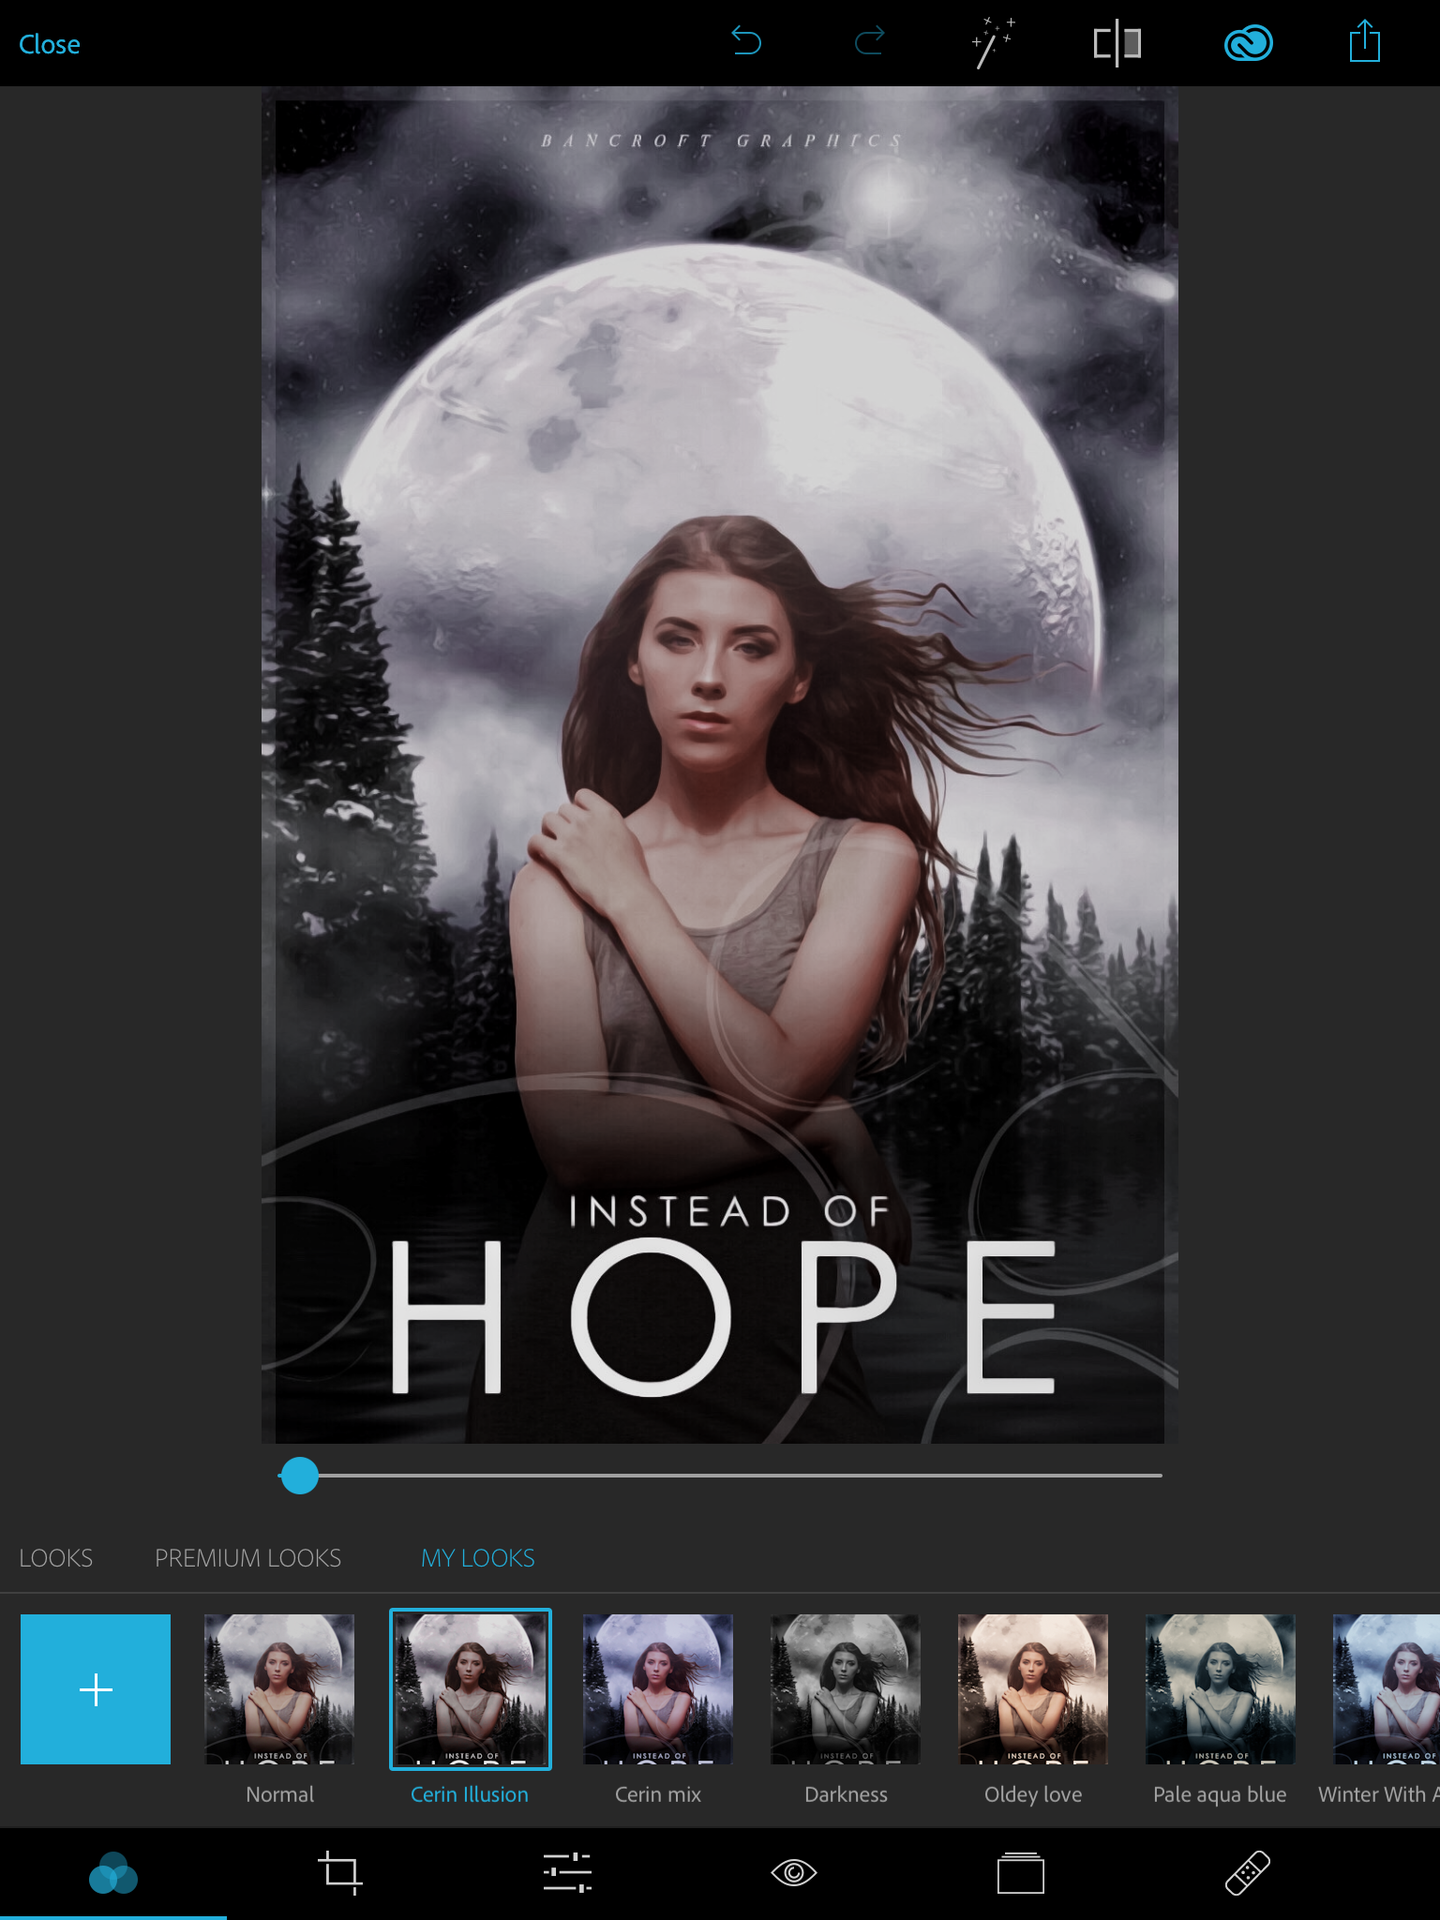
This is after I picked another after this:
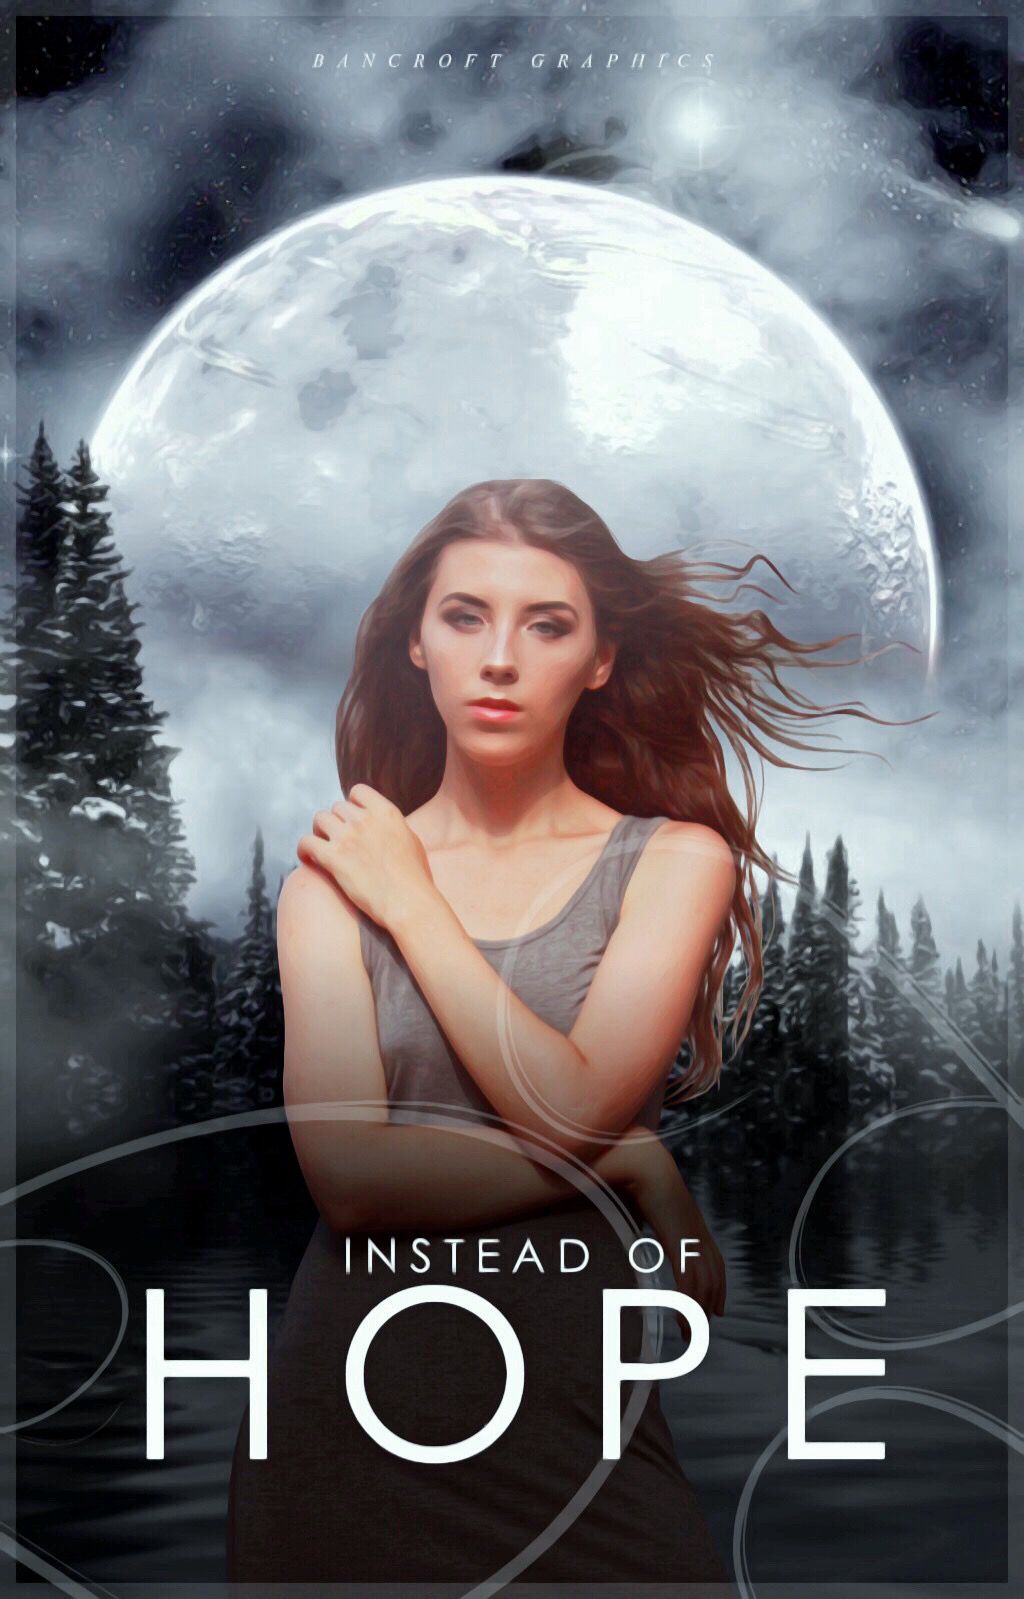
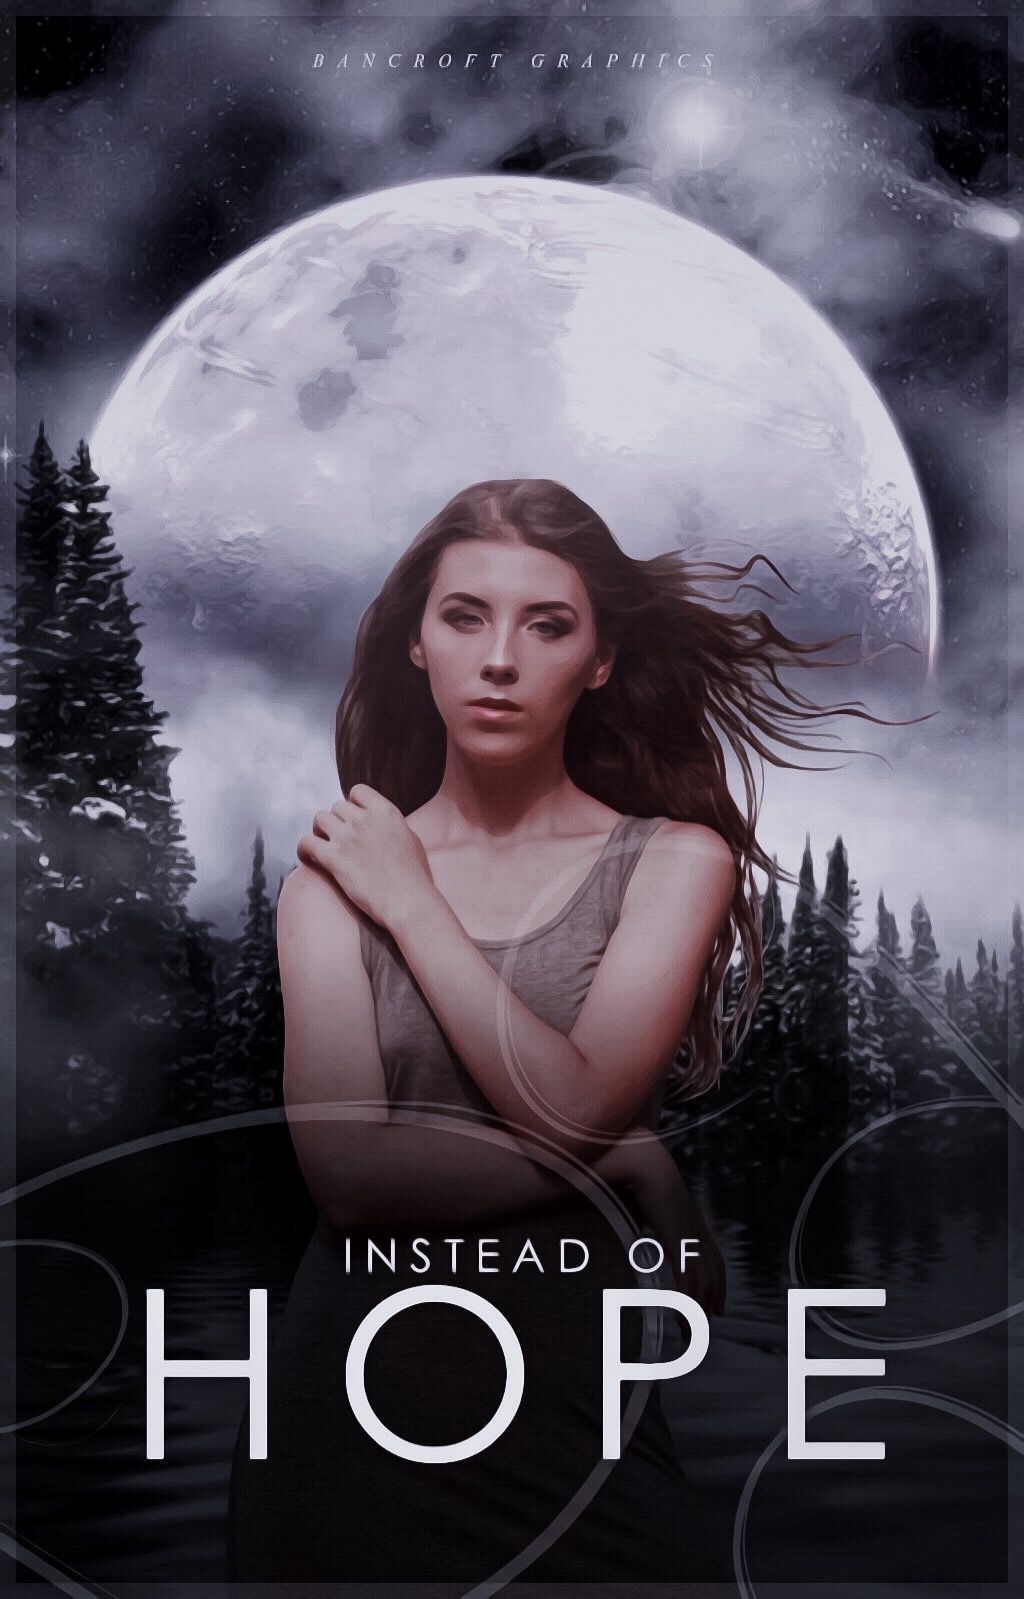
This is the end result:
I hoped this was extremely helpful for you guys who don't have photoshop cc.
Bạn đang đọc truyện trên: AzTruyen.Top