How to use PSD colorings!
Okay so have any of you ever seen pictures like these:
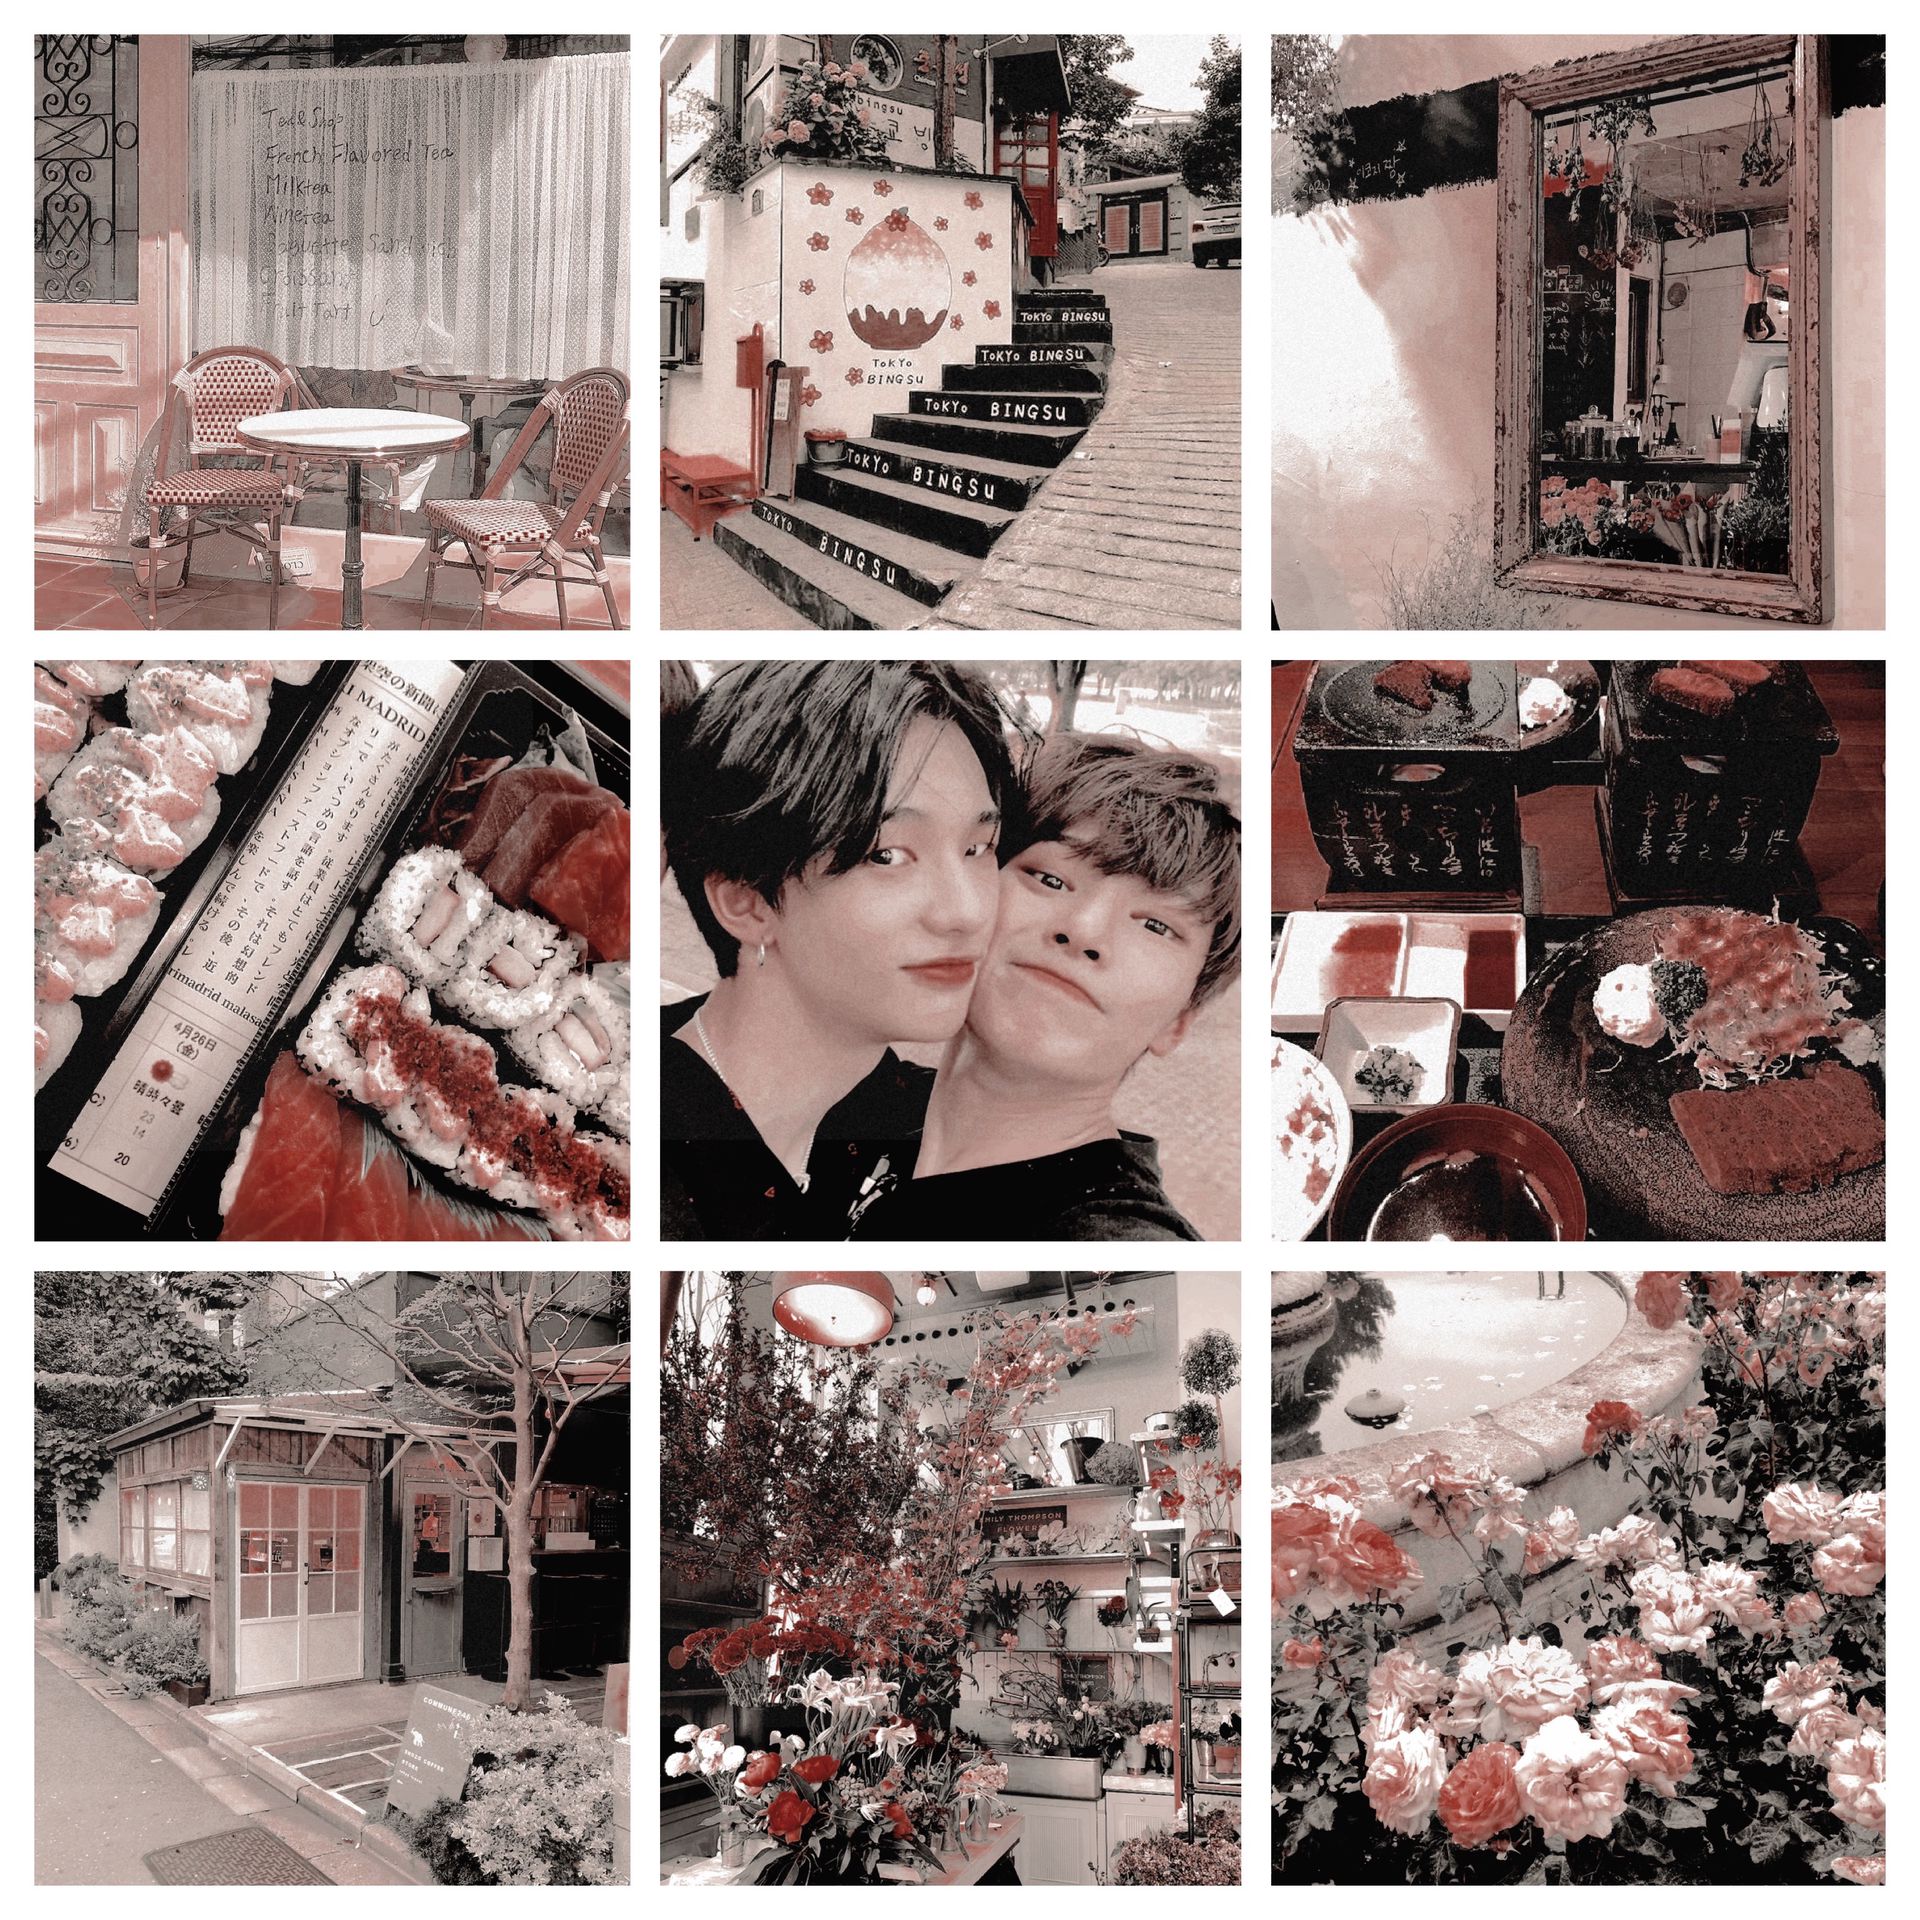
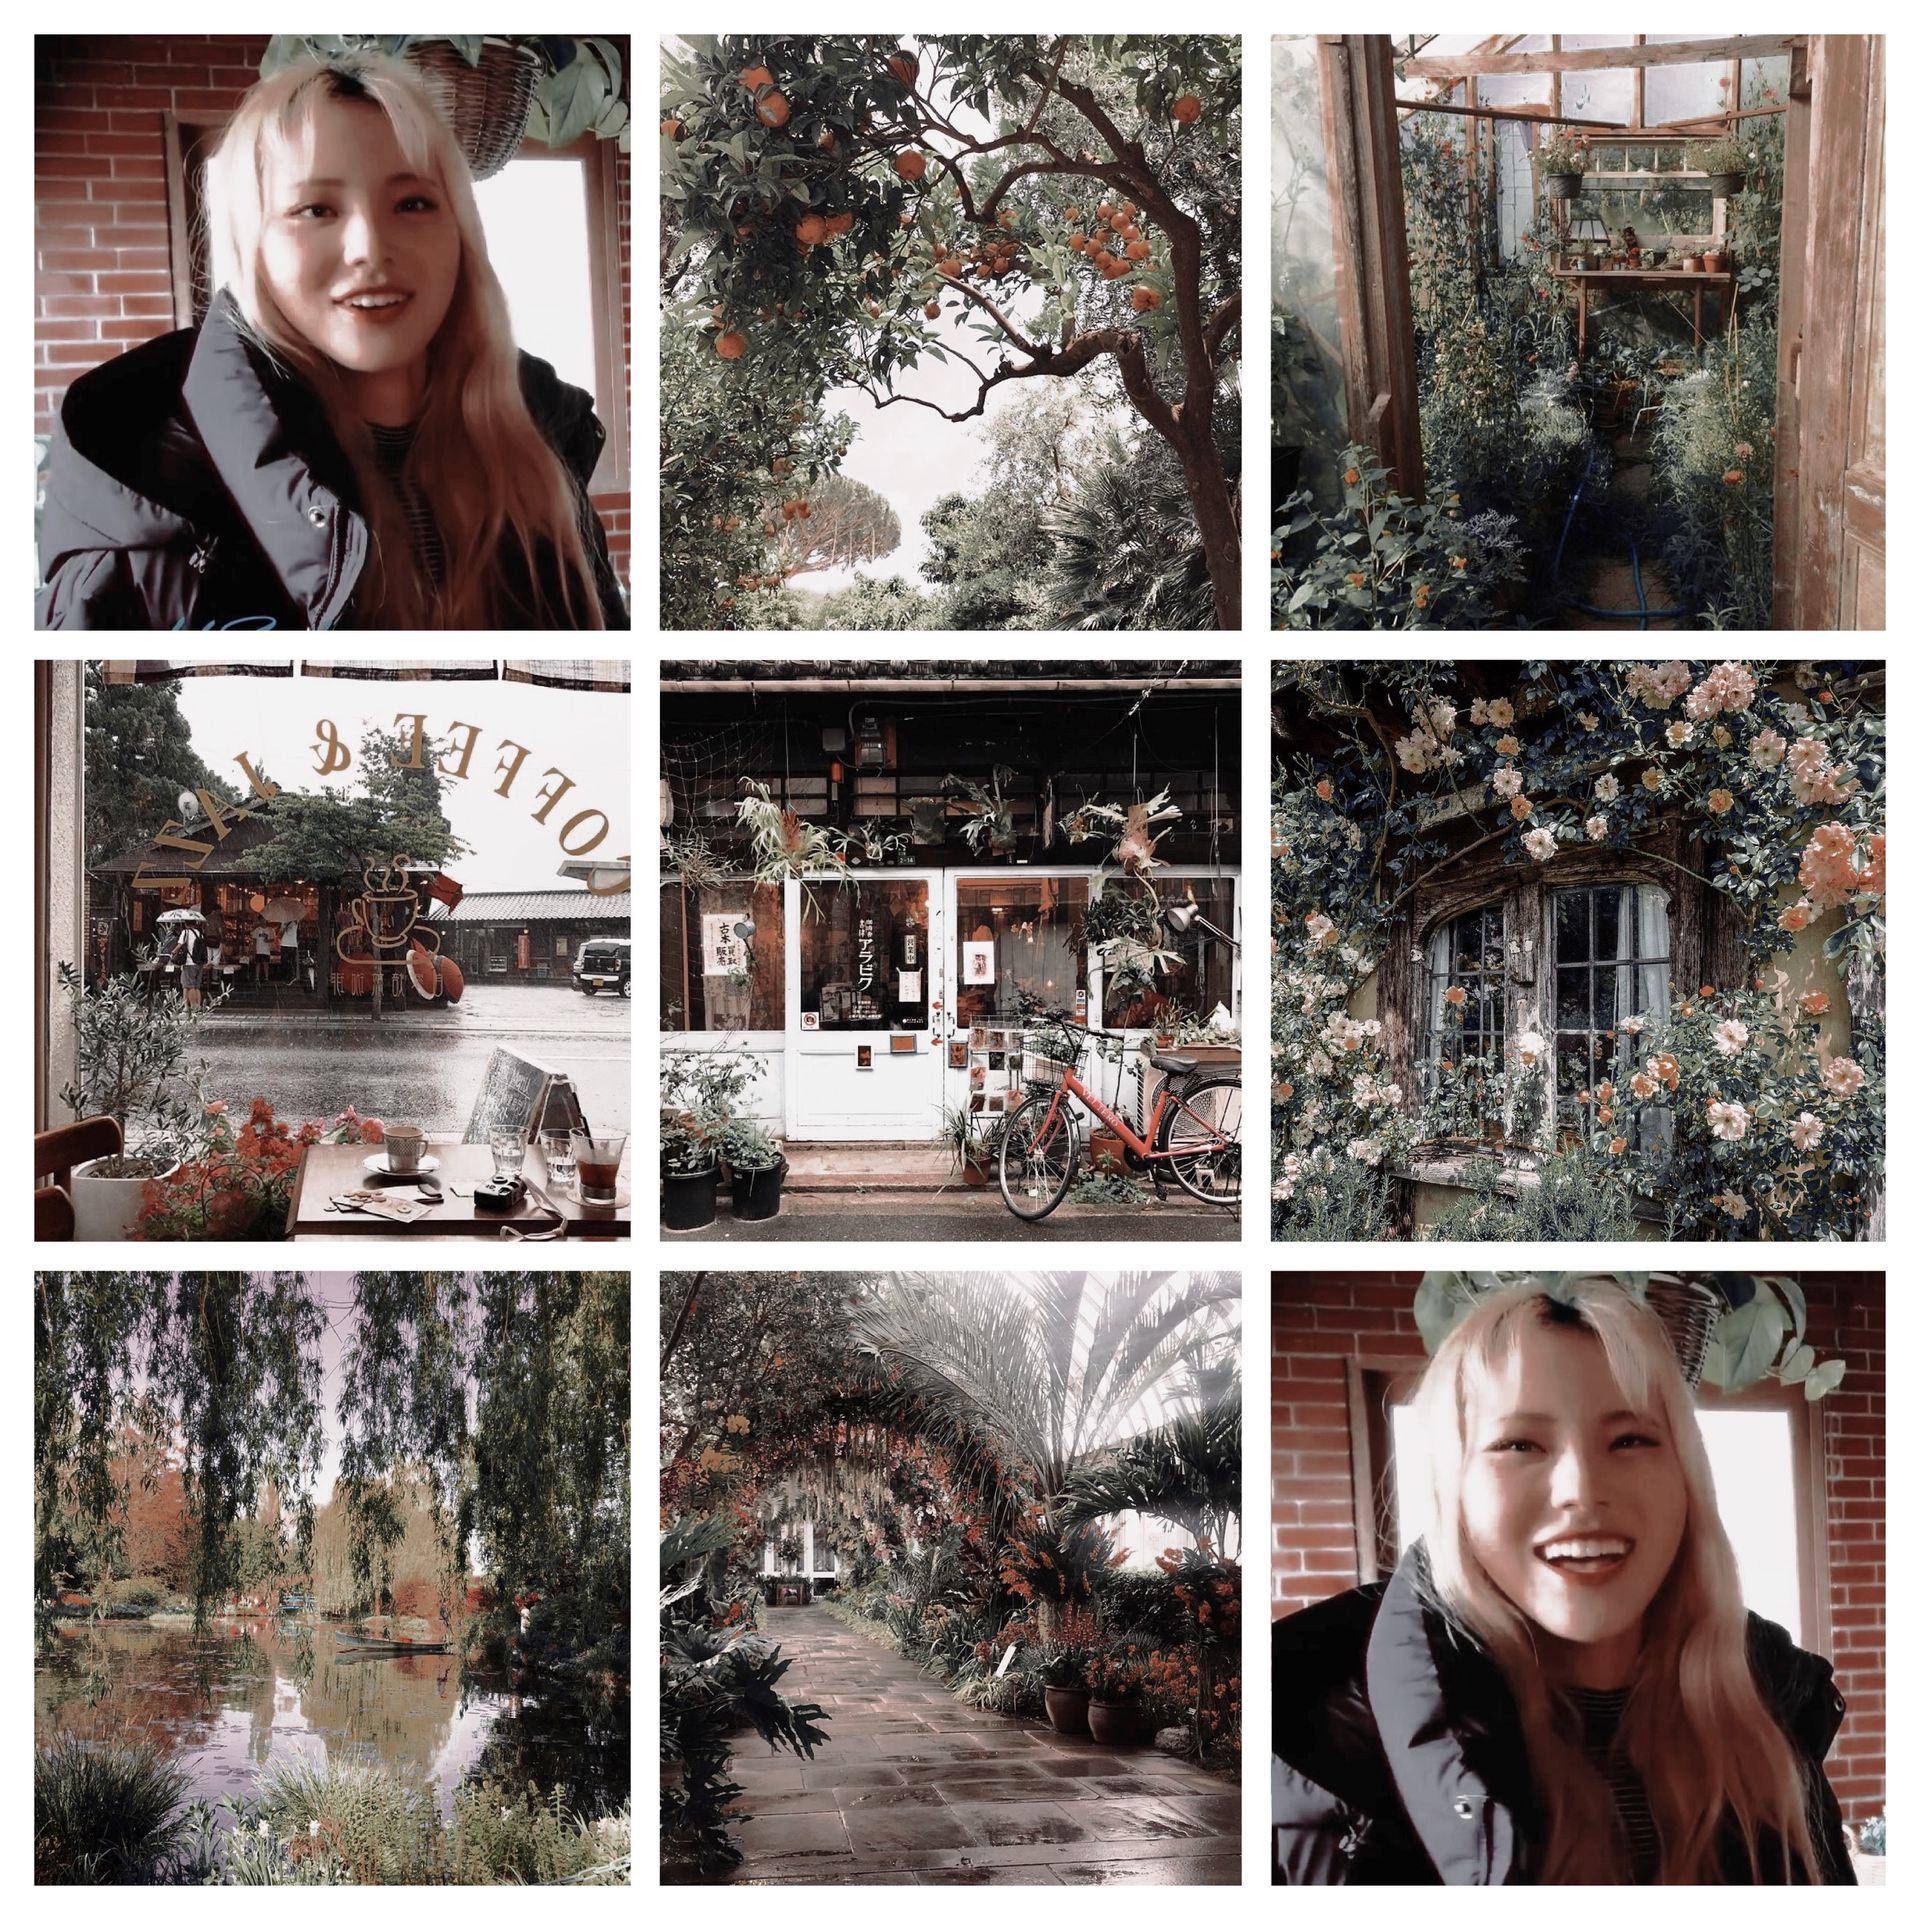

And you can't help but wonder, "How the FUCK do they get the color shades to be exactly the same and everything?!?!?!?!"
It's because of PSD colorings!
PSD colorings are basically a filter you put over your image or gifs. I JUST found out about it a few weeks ago and I wanna slap myself for never knowing about them until now.
Soooo I'm gonna teach you how to use them!
(And yes, don't worry, this will all be free.)
To teach you, I'll use an example:
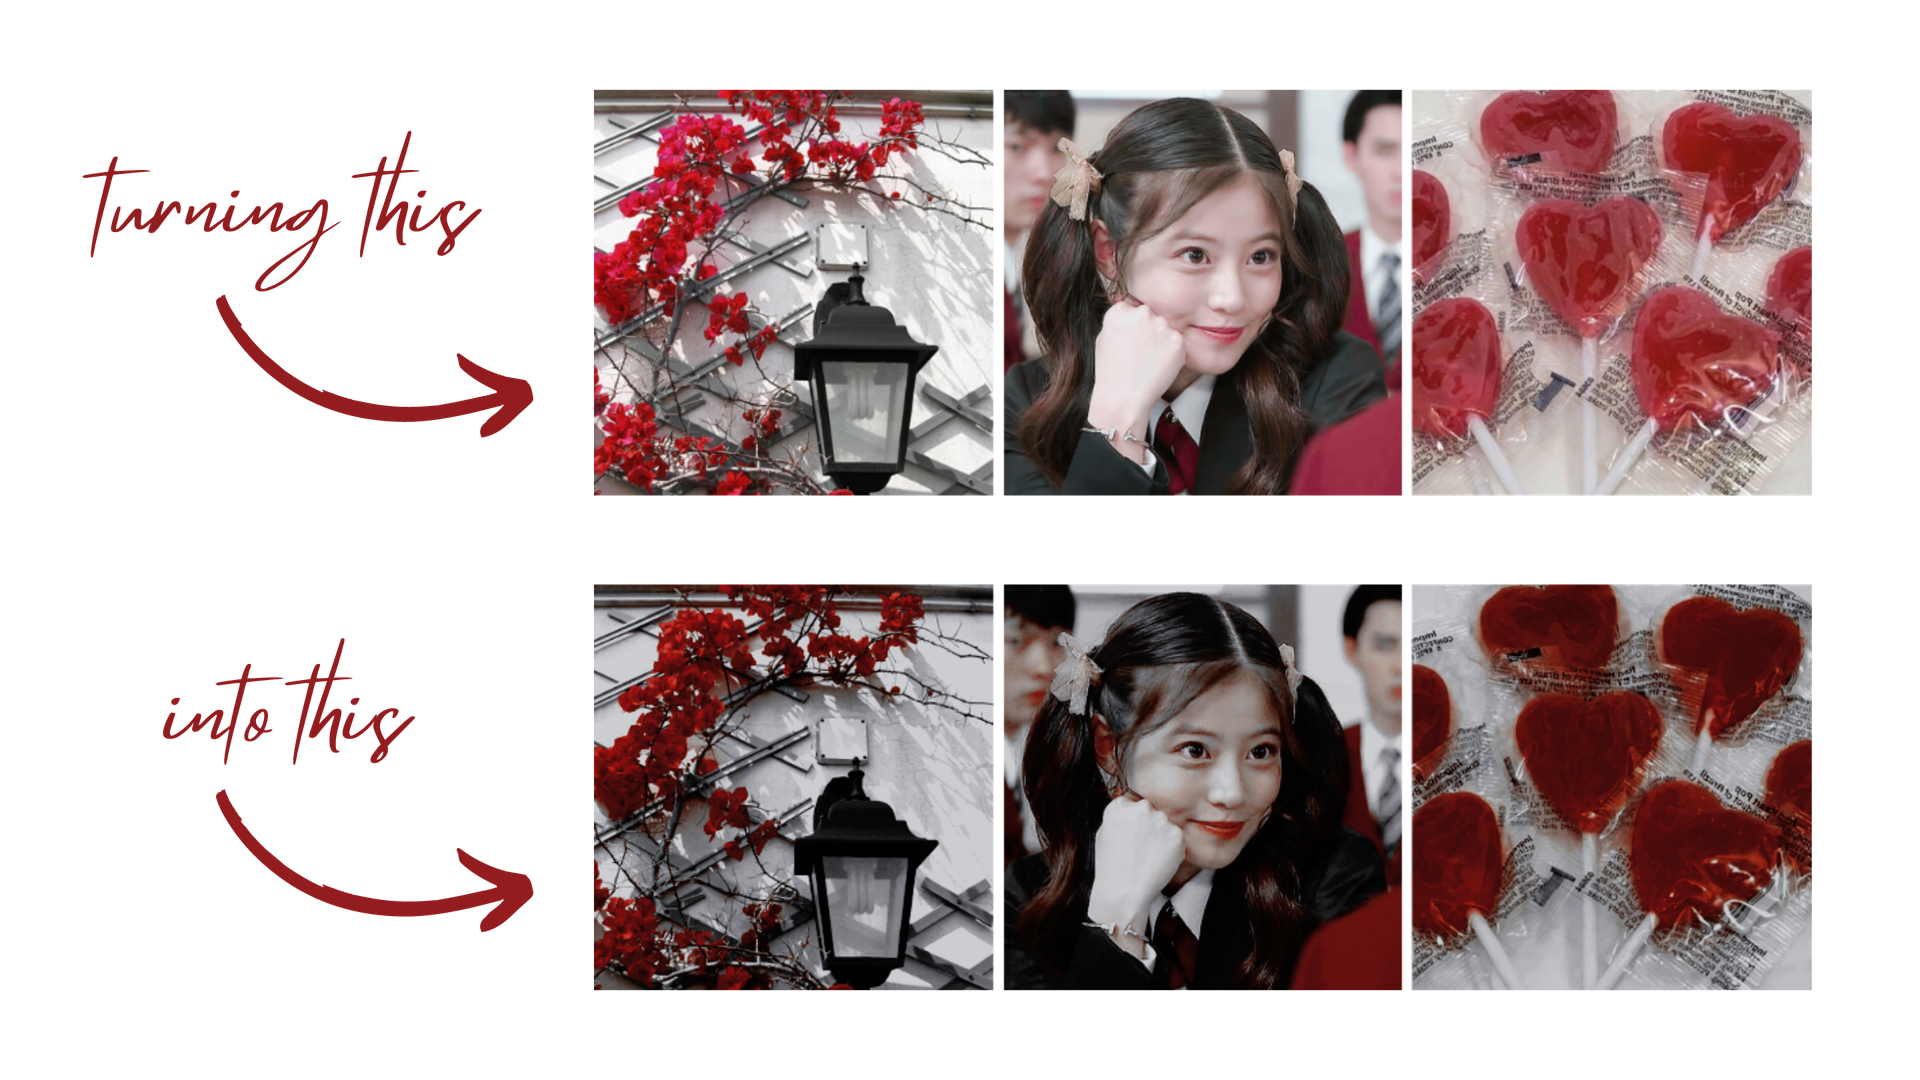
(The girl up there is Mio Imada btw, and I'm planning on making her one of the Essan babies 💖)
Now let's get started!
STEP ONE: PHOTOPEA
Psd colorings work on images and gifs, and they also work on images/gifs with transparencies like the example up there.
So make sure to get your image and gif ready and go on to Photopea.com. It's perfectly free and you don't need to make an account.
This is what the website looks like:
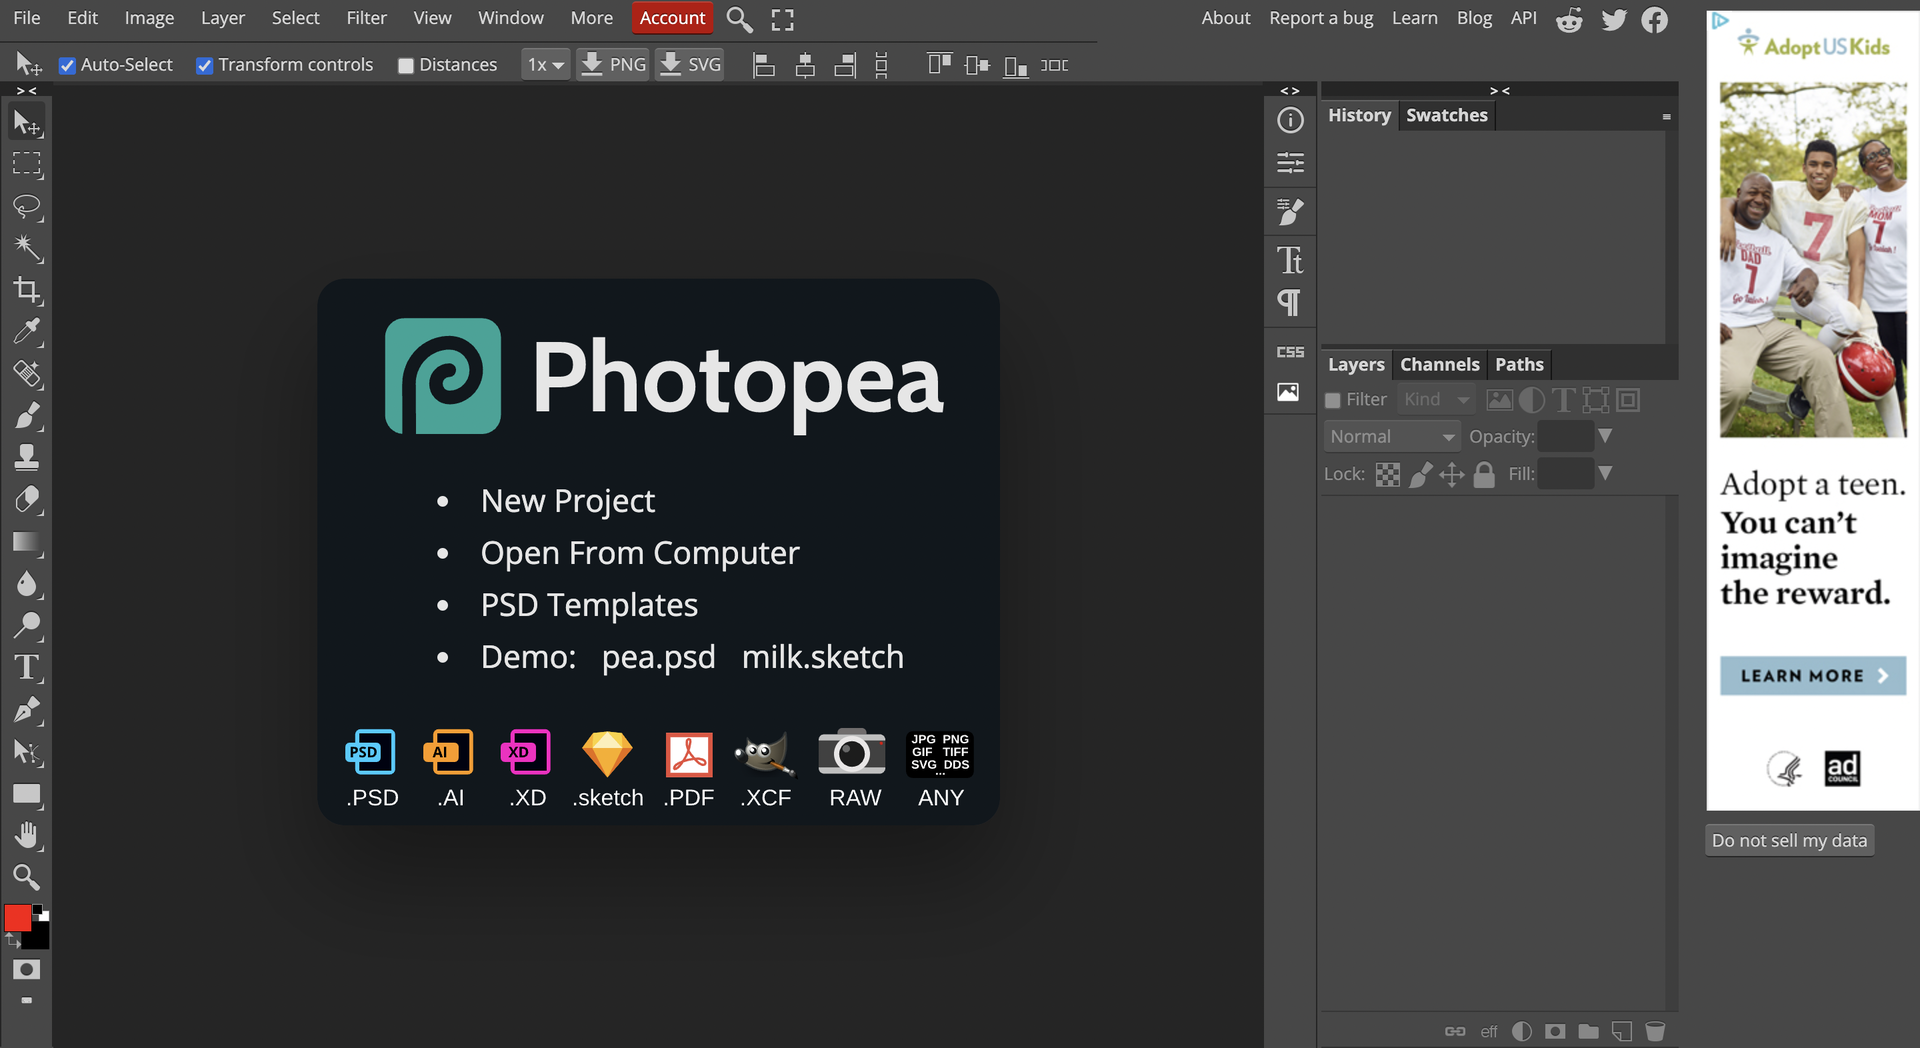
At the very top left corner, go up to "File" and select "Open..."
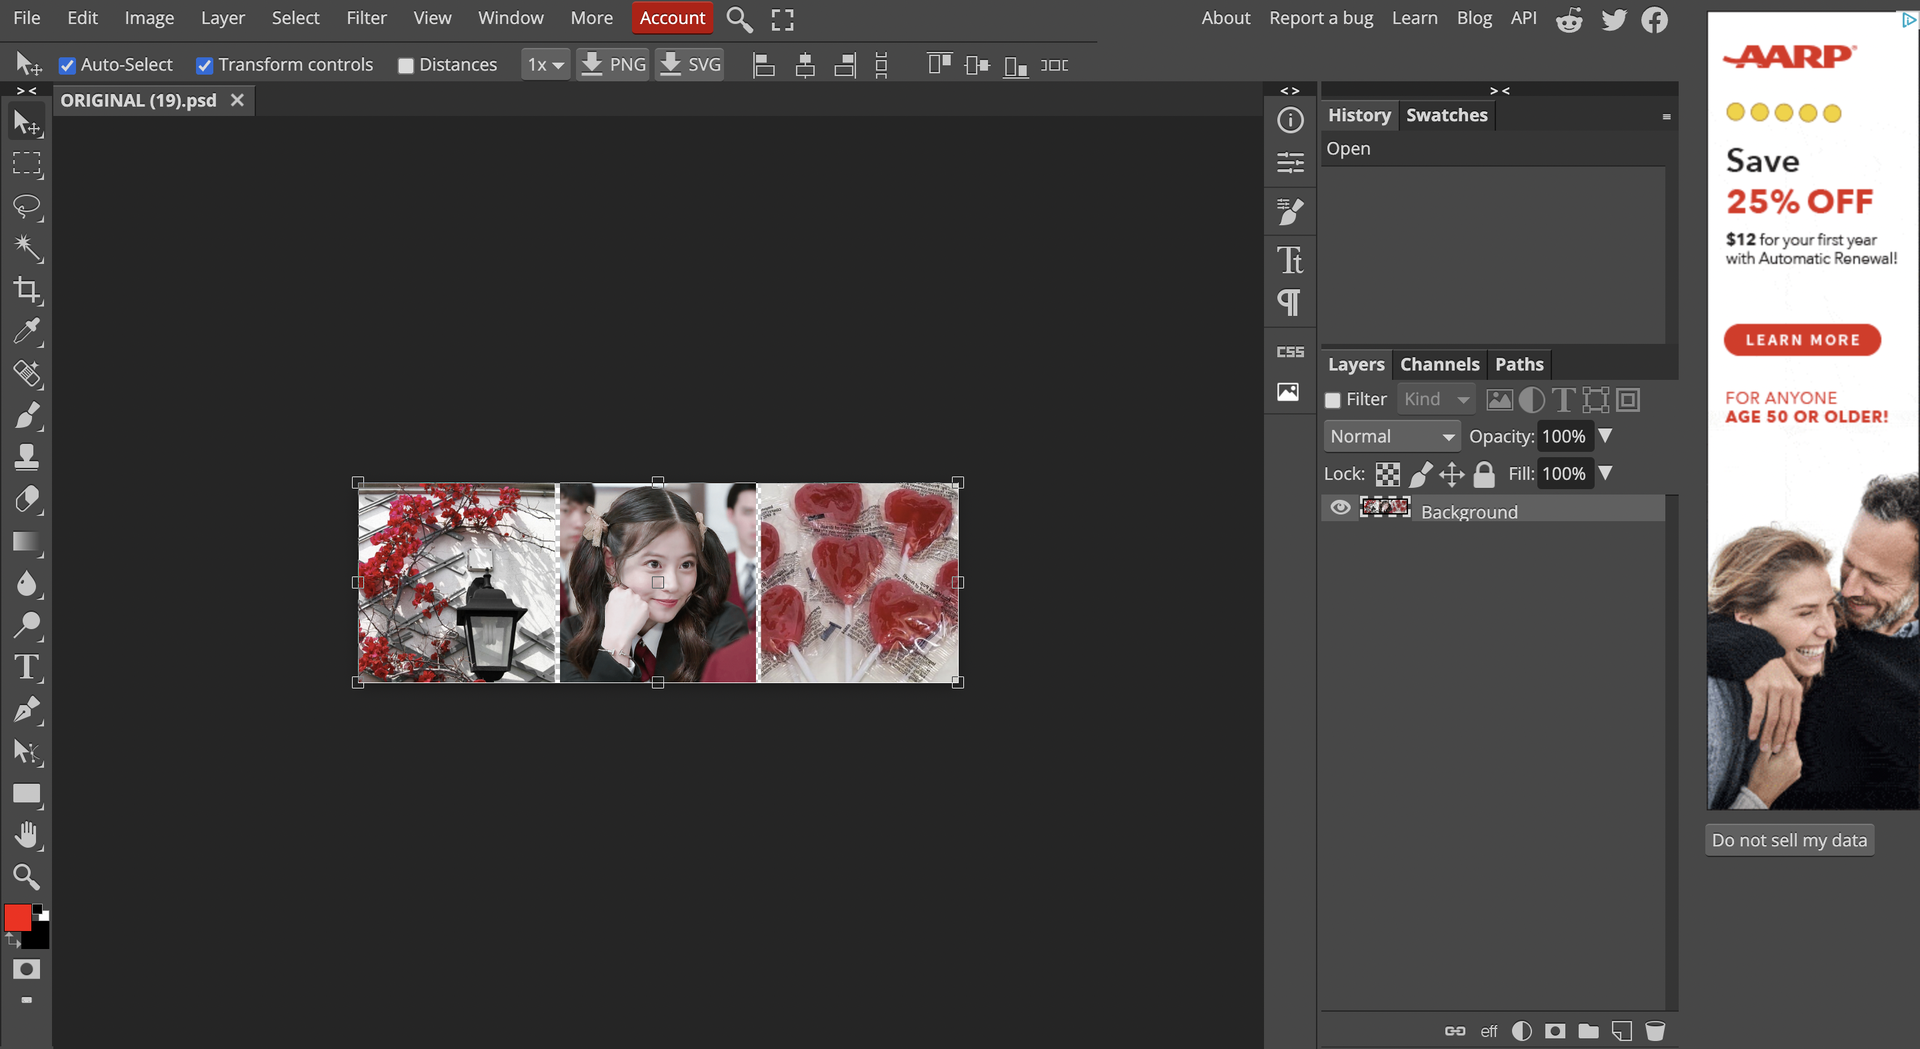
Your files should open up, so go find your image/gif and click on it. Your image/gif should show up at the center now.
STEP TWO: FIND THE PSD COLORING YOU WANT
Before you do anything else in Photopea, go to a new tab and search up "psd coloring deviantart". The deviantart part isn't necessary, but that's usually where I get my PSD colorings and they're free there too.
Scroll around and find one you might like and go click on it.
This is the one that I picked:
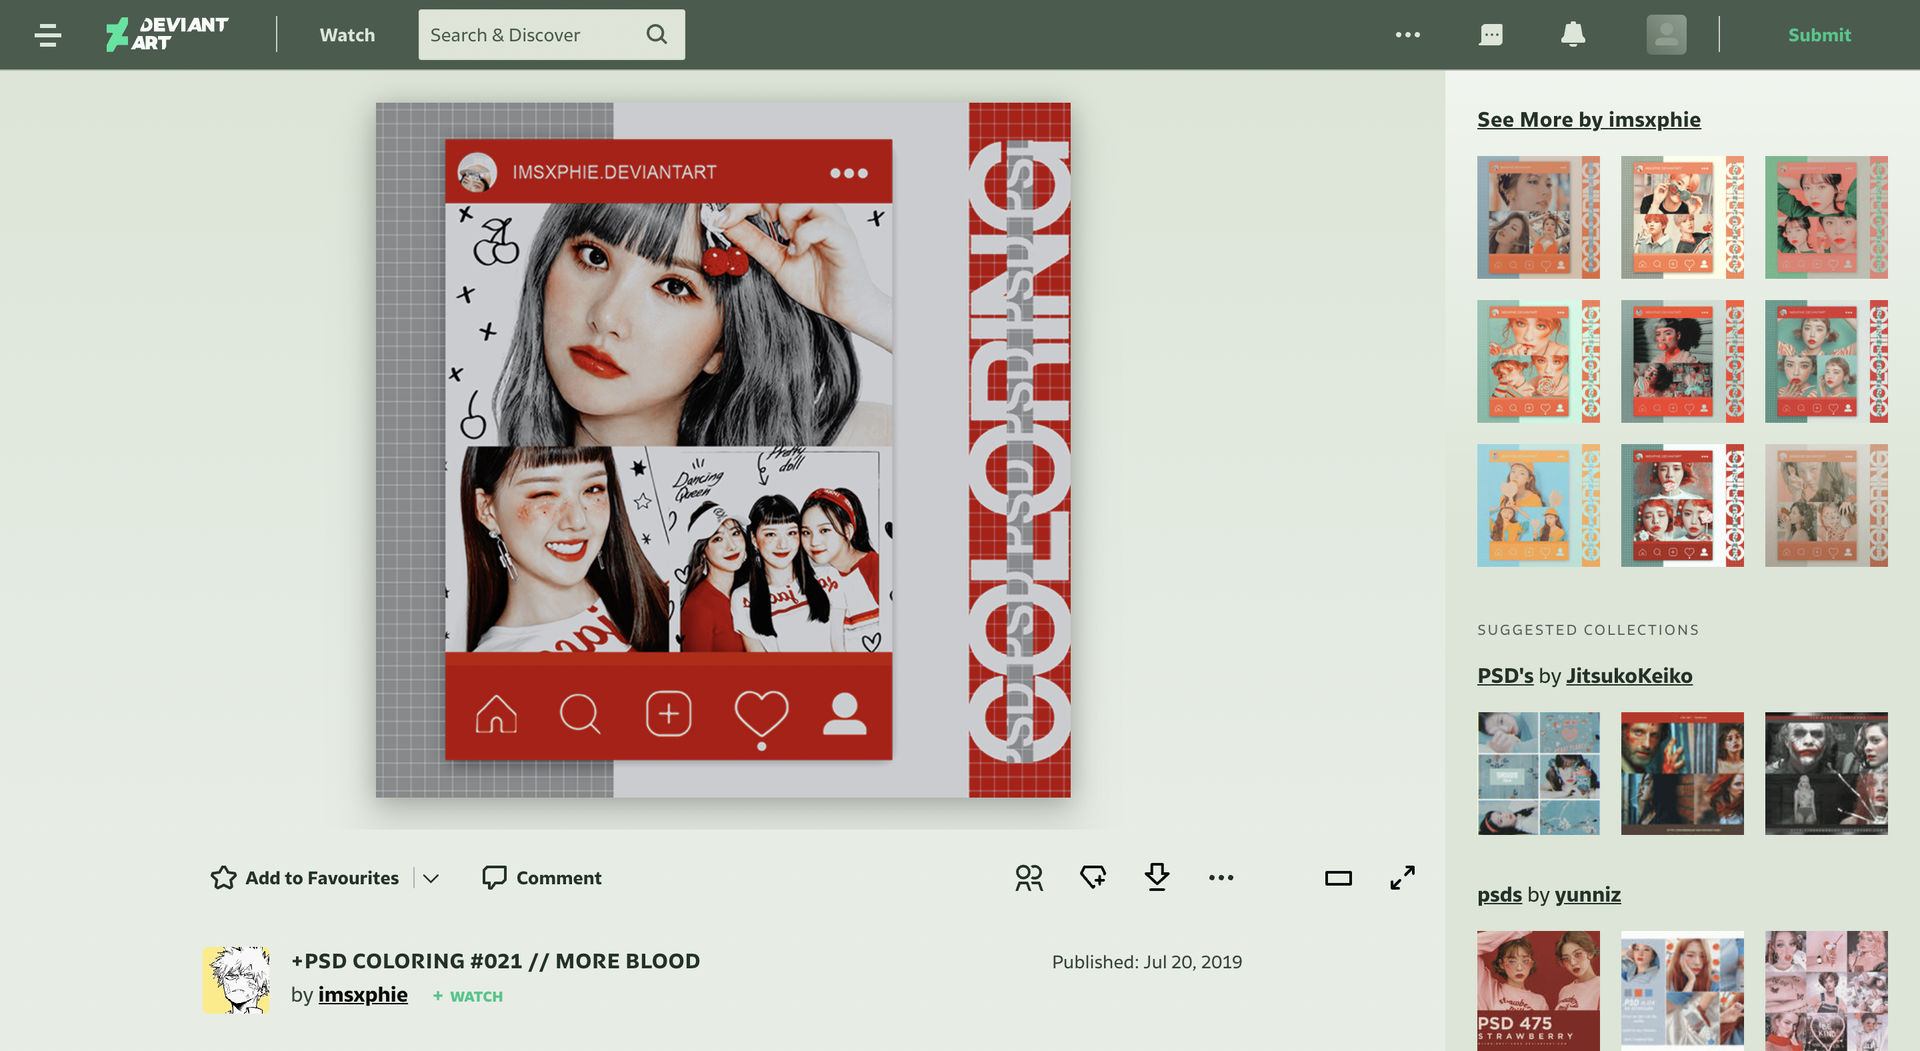
Underneath the picture there's this arrow icon pointing downwards. That's the download button. I click on that to download the PSD coloring.
Once you've got your coloring, go back to your Photopea tab.
STEP THREE: APPLYING THE COLORING
This part is kinda weird because you can mess up and it's hard to find out why.
Try not to click anything unnecessary. This website's kinda sensitive when it comes to that.
Your image/gif should have a white outline around it and these squares on the corners and sides. If you click on the black space around the image/gif, the outline and squares disappear. If you try to apply your PSD coloring when that happens, it won't work.
I know it doesn't make any sense, but this is what I'm talking about:
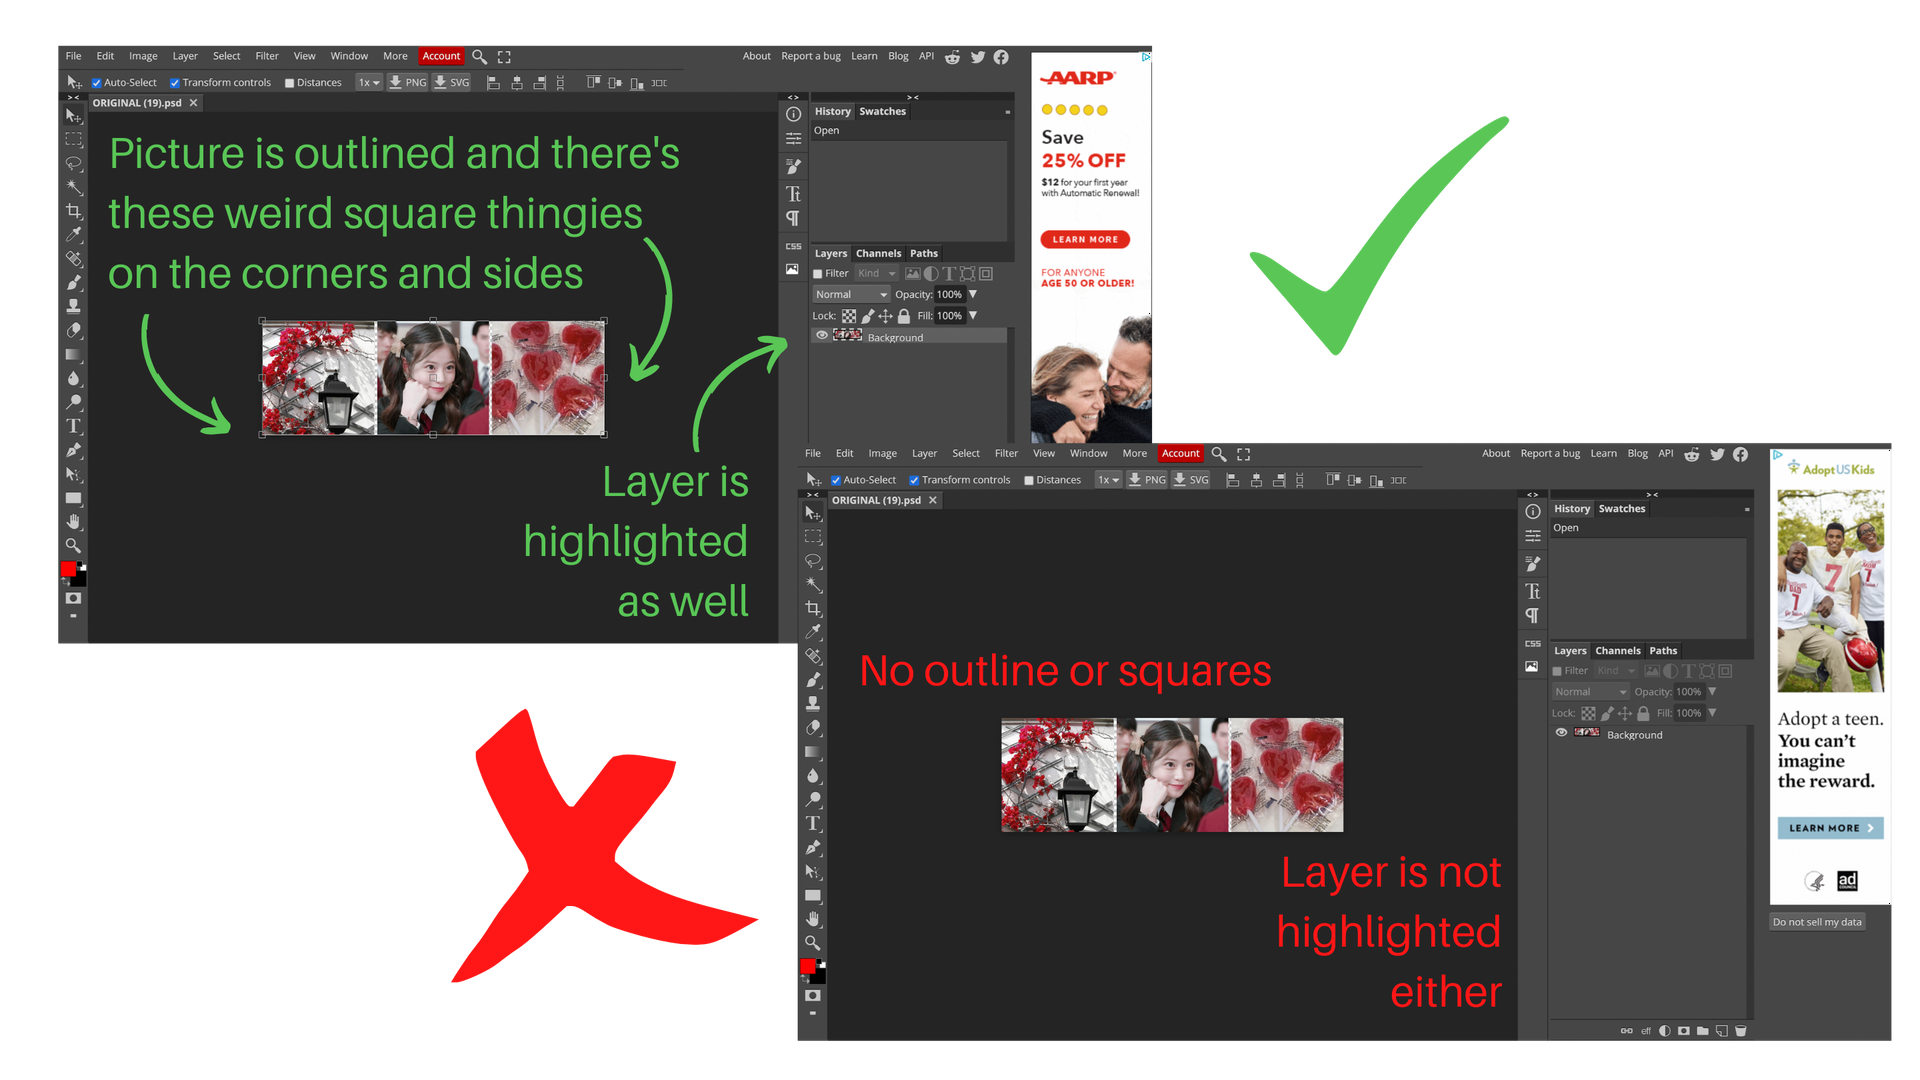
If your image/gif is missing the outline and squares, simply click on the image/gif and it should show up again.
Okay, now we can move on.
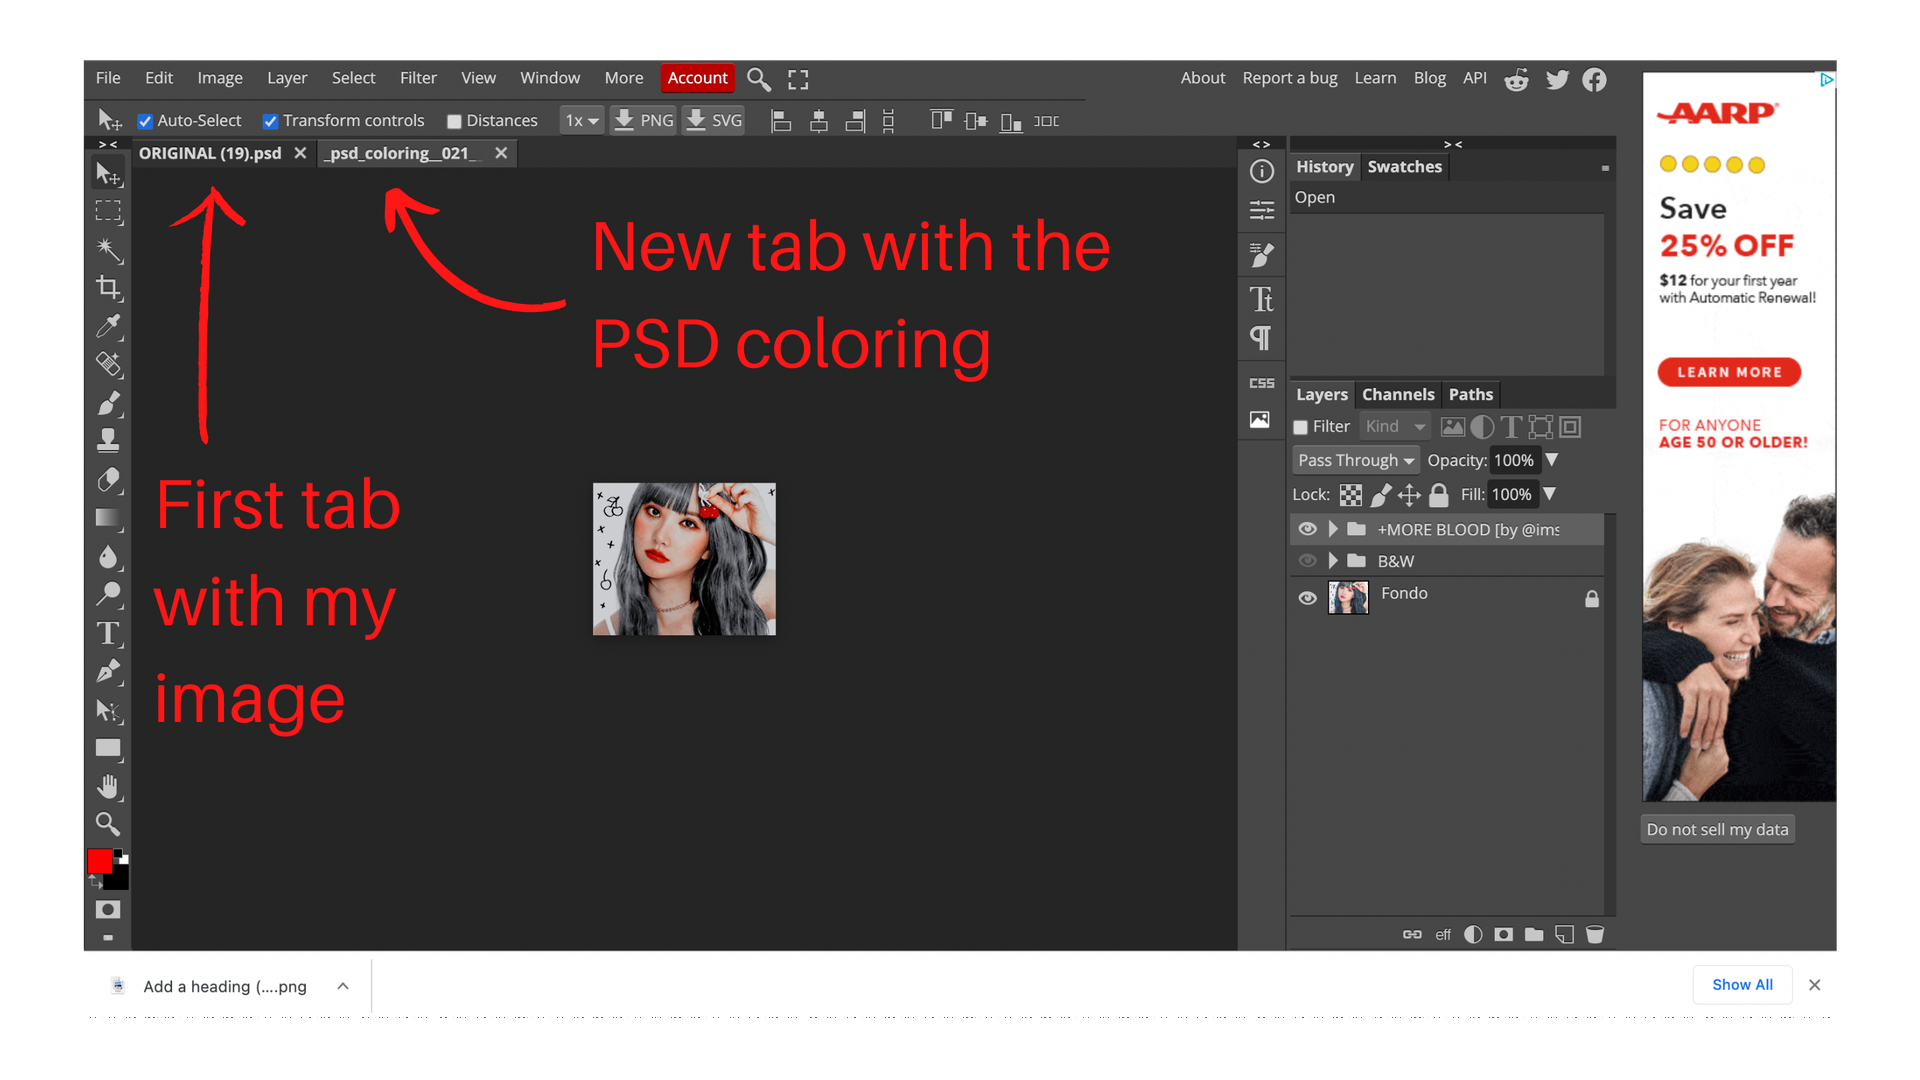
Go back up to "File" again and click "Open...". Find your PSD coloring and click on it. A second tab should show up like this:
Go back up to "Layer". It should be a few buttons away from "File". Click on it, and a bunch of options should show up for you. Click on "Duplicate Into..."
A little box should appear and it'll ask you where you want to put your PSD coloring into. Make sure to put it in your first tab where your image/gif is. Then click "OK"
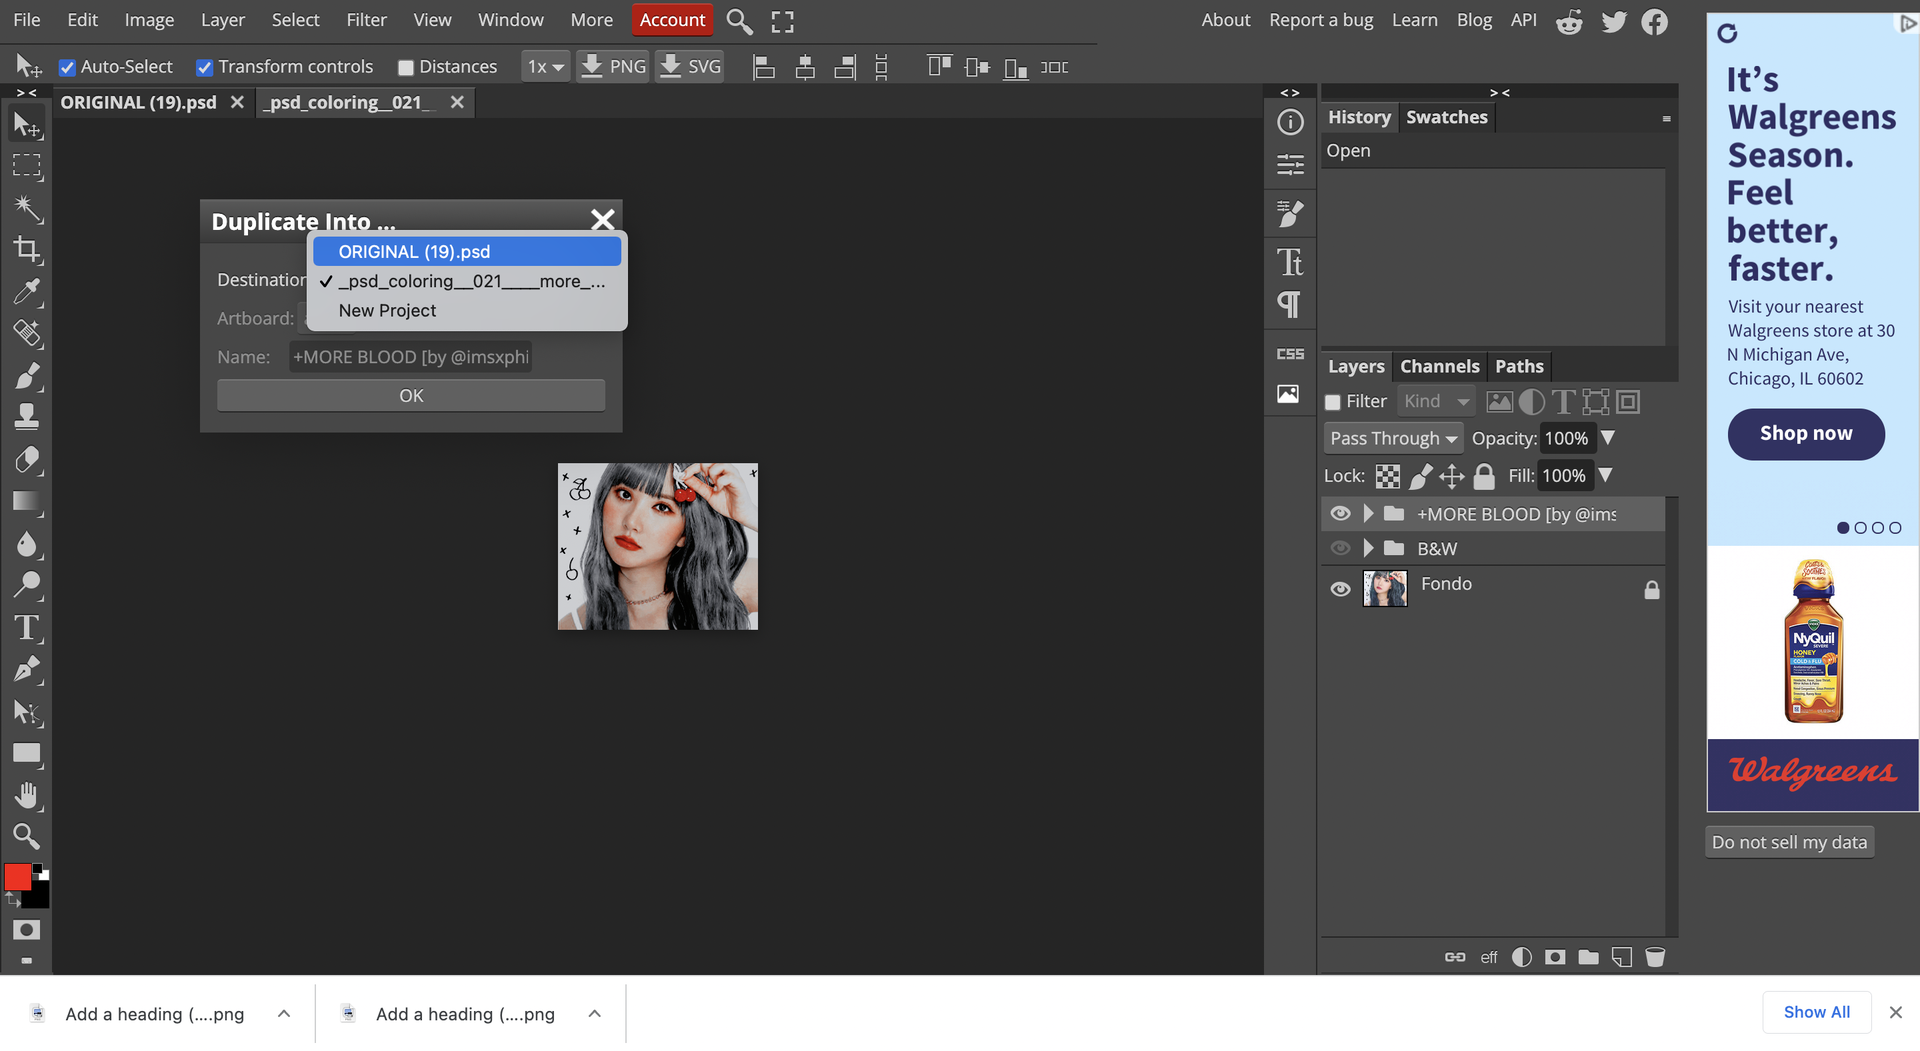
Once that's done, the PSD coloring has been applied so go to the first tab and check it out!
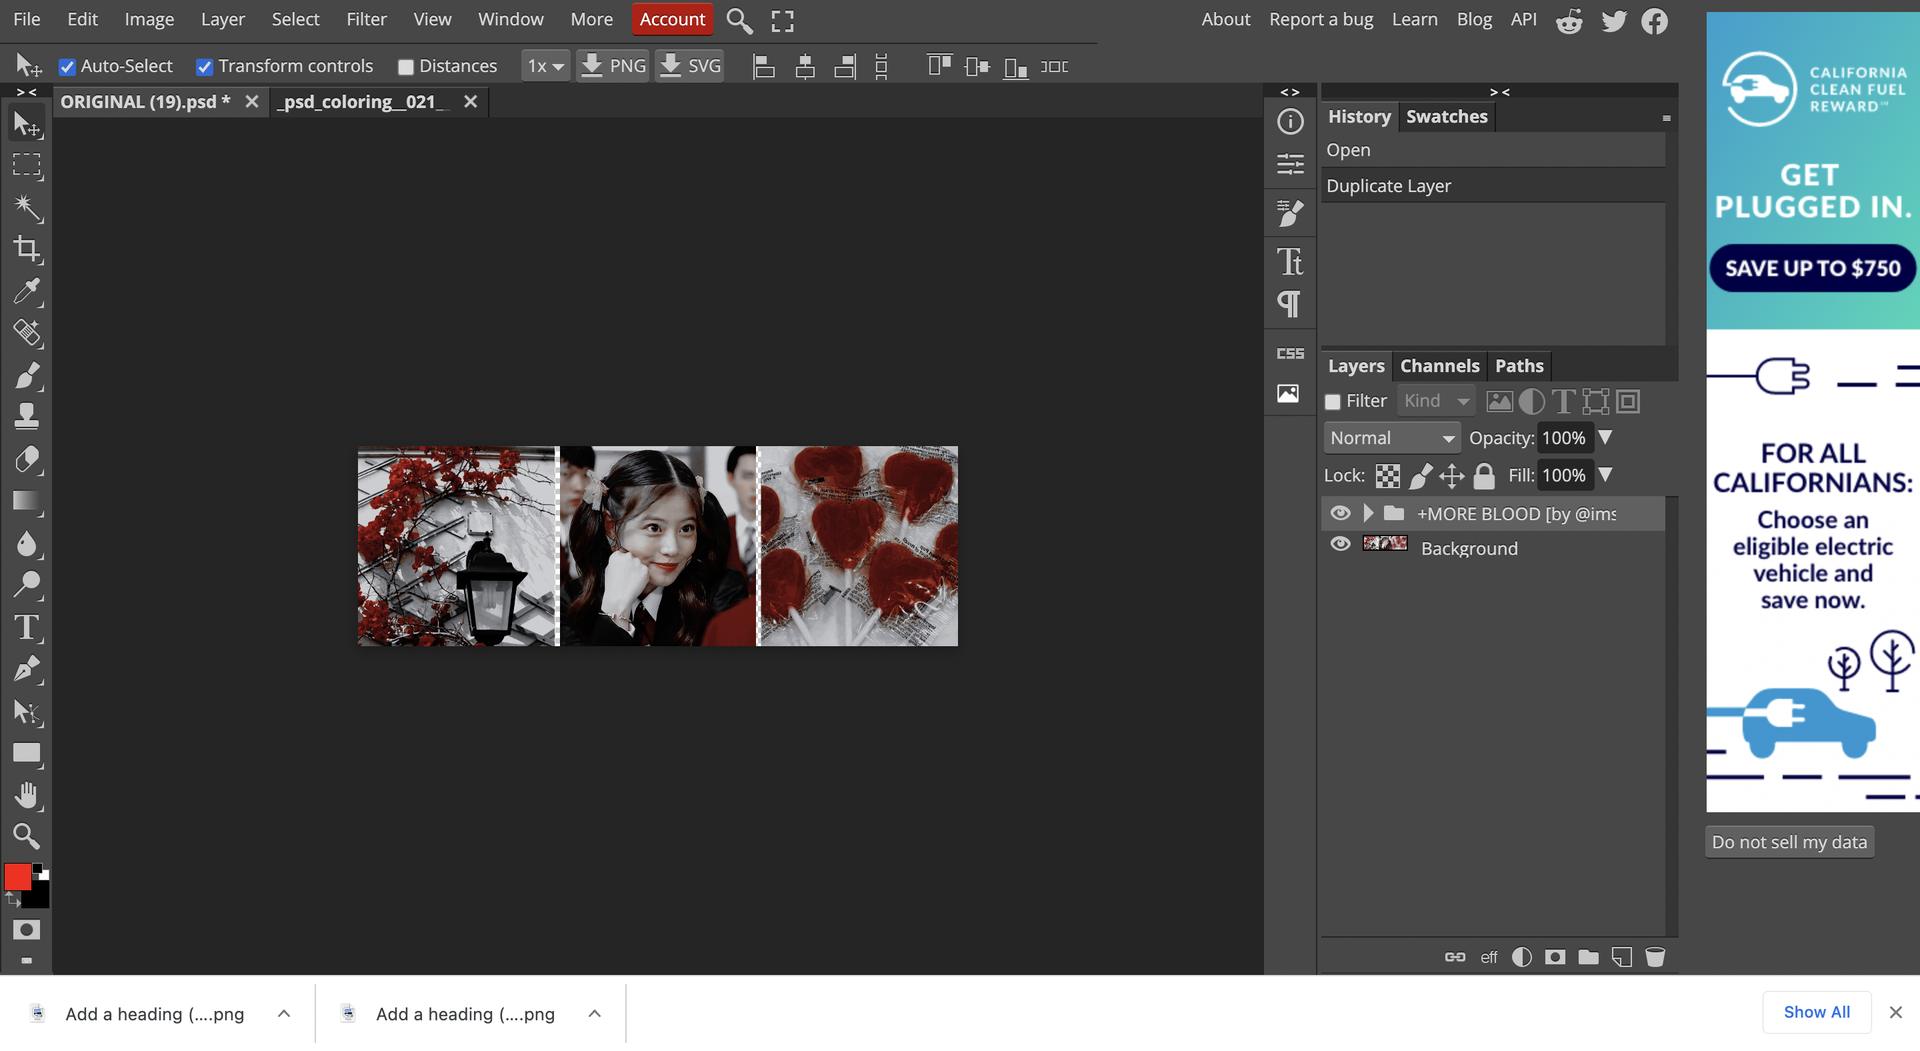
Preeeetty 😍
Now, it worked well for me, but it might not have gone so great for you.
Your final piece might not look nice and that's perfectly normal. I ended up downloading a bunch of PSD colorings because I didn't like how my final pic/gif looked like.
Heck, sometimes the PSD colorings don't even work. That happens too.
All you can really do is keep looking for PSD colorings and trying them out until you find the one that works well for you.
STEP FOUR: DOWNLOADING IT
Once you're finally satisfied with what you made, it's time to download!
Go up to "File" and go down to "Export as"
These are the options you've been given:
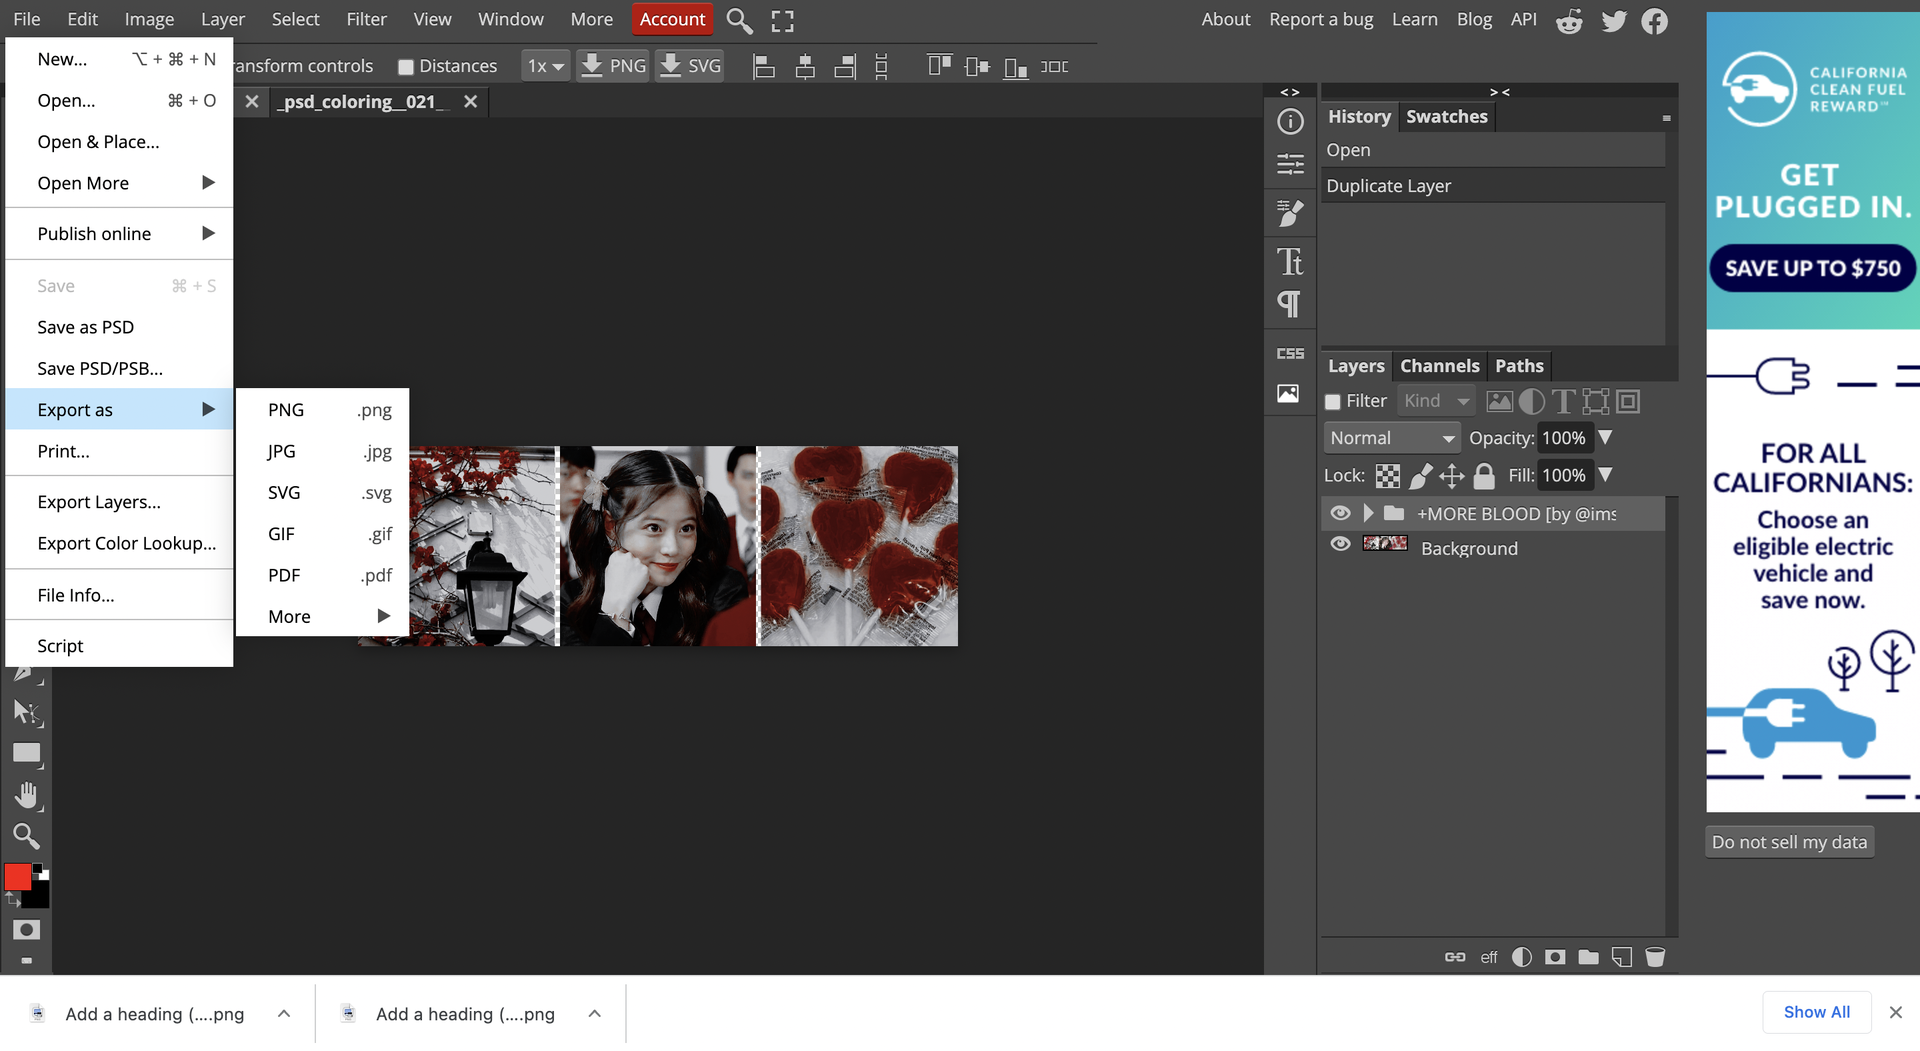
If it's just a simple image, then choose "PNG". If it's a gif then choose "GIF".
It should download for you after that.
And that's it! Hopefully it worked well. I'm still new to Photopea and I know it can be weird.
Next tutorials will be:
- How to put text over a gif
- How to make manips
Bạn đang đọc truyện trên: AzTruyen.Top