[11] double exposure effect
I searched forever to try and find a tutorial for this for Pixlr. I couldn't find one anywhere - so, I watched a Photoshop tutorial. I watched everything carefully and thought of each substitution for the tools on Pixlr. I made it as close as I could.
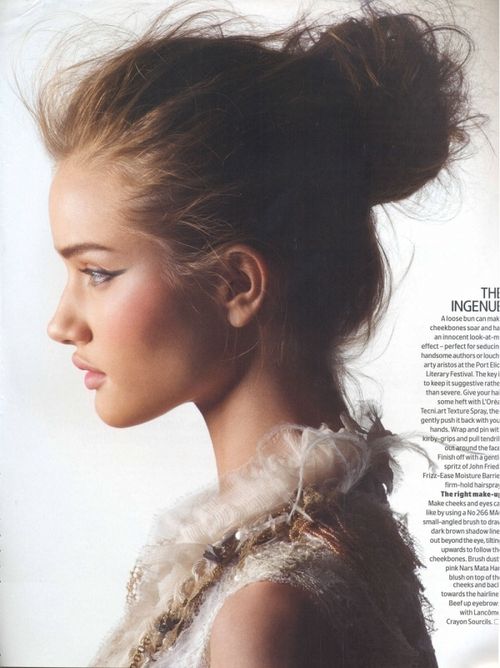
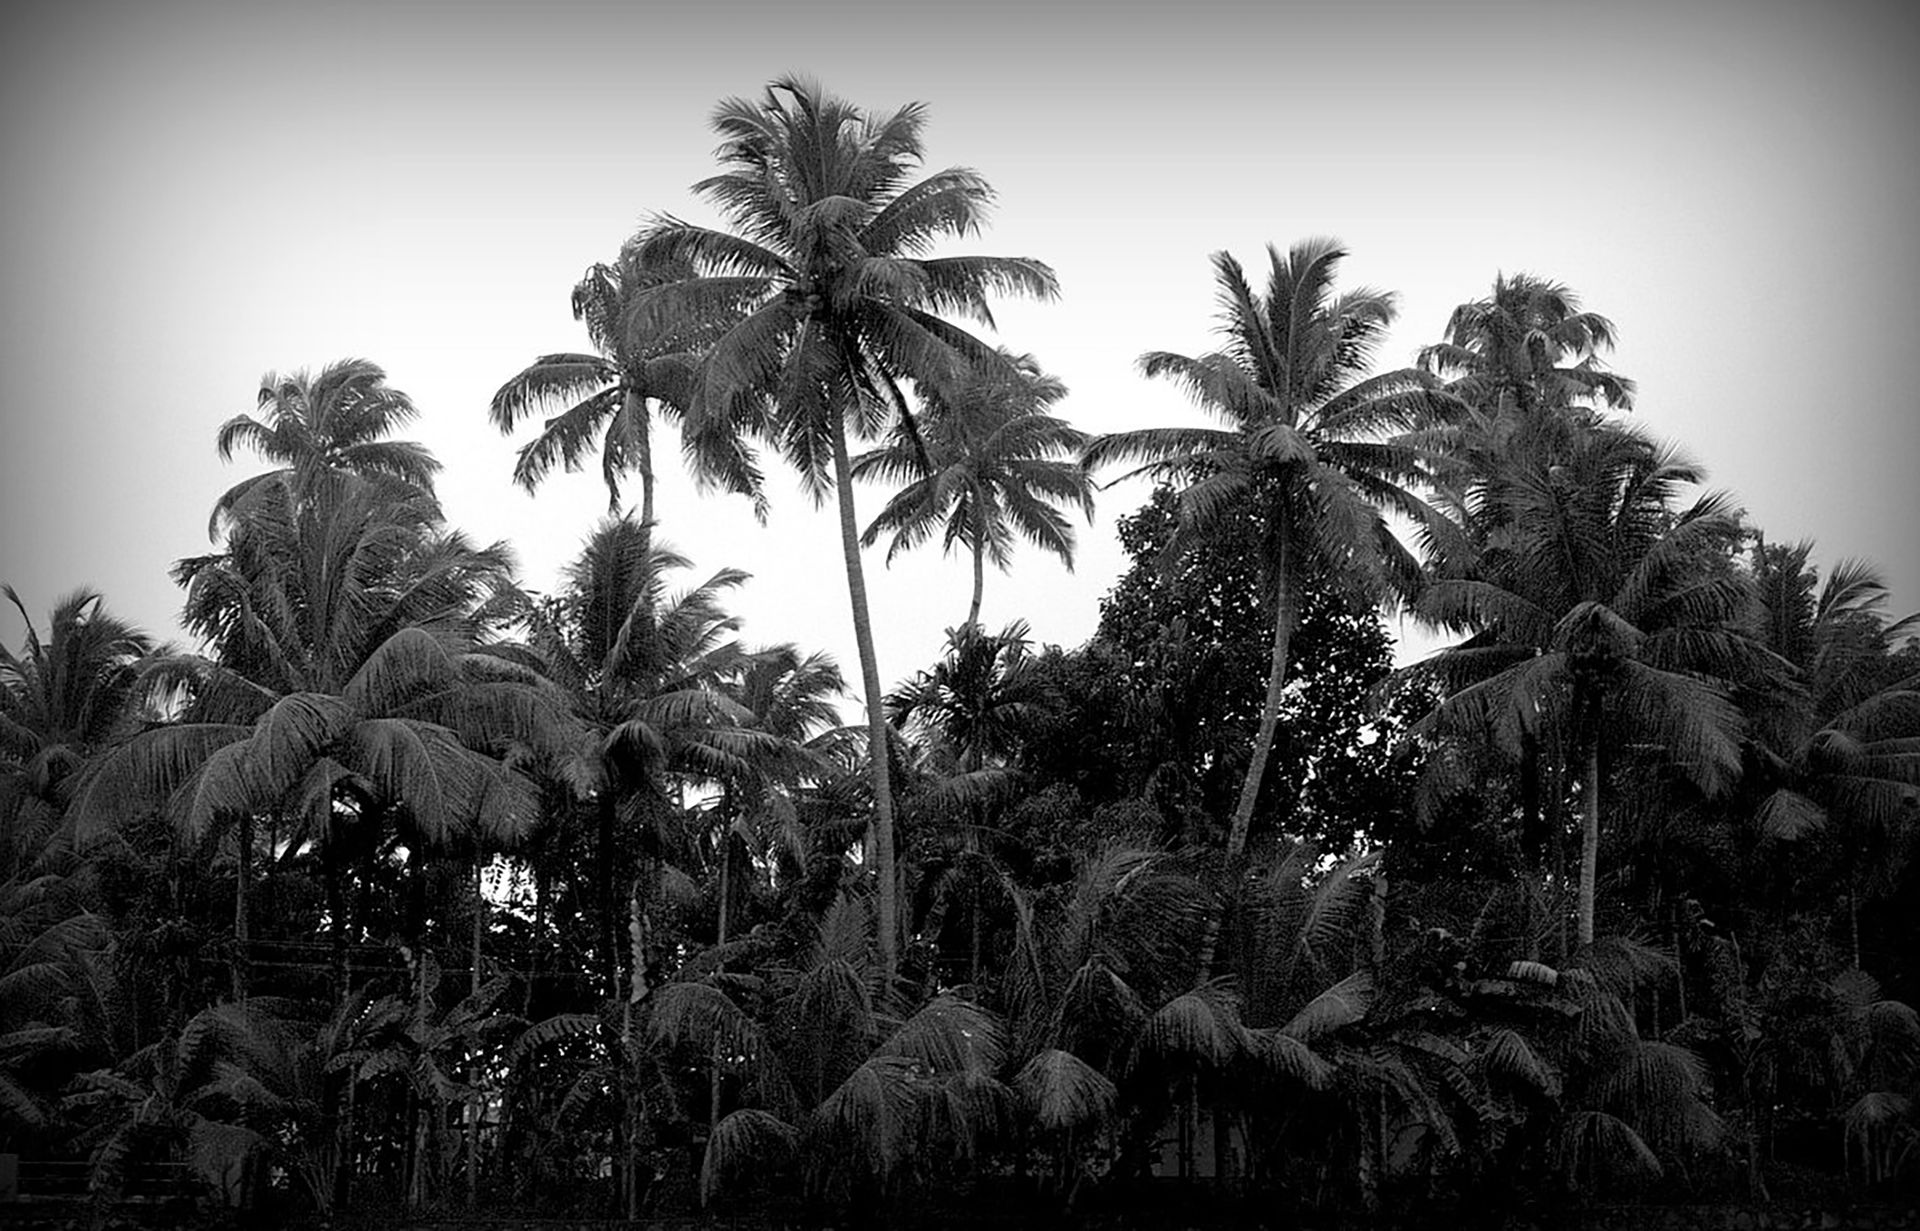
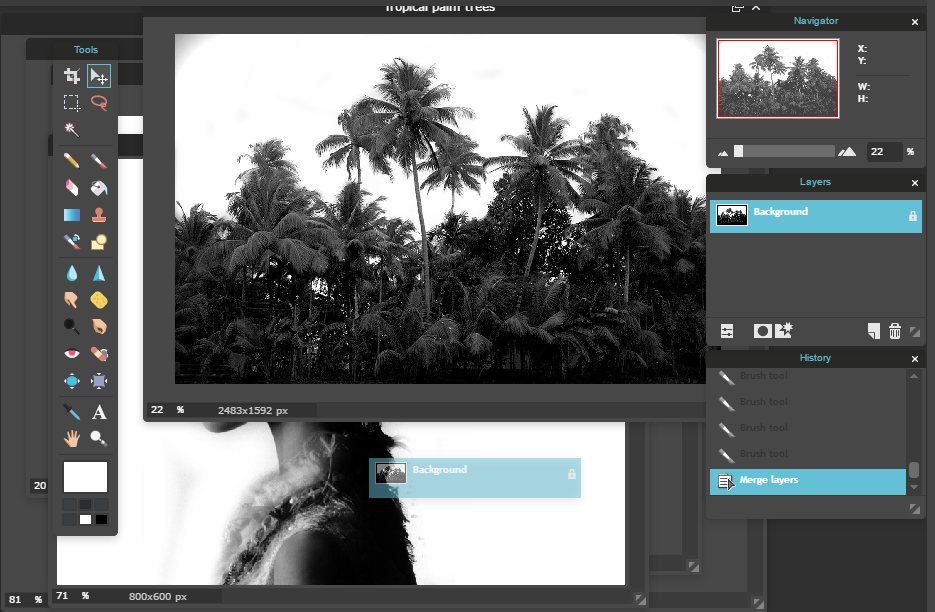
These are the pictures I will be using in this tutorial :
s t e p - o n e :
Create a New Image in Pixlr Editor. I used the normal presets (800x600).
s t e p - t w o :
Make the background white.
s t e p - t h r e e :
Open an image as layer - this will be your person. They can be facing whichever direction you want. Make sure this is Transparent or PNG. If it isn't, erase the background so it is white.
s t e p - f o u r :
This step depends on the color of your pictures. The palm trees that will be coming off of her face are black and white, so I need to change the color of the girl to black and white as well.
I would suggest changing everything to black and white, anyway. Unless the colors work together, it may not look right.
Go up to "Adjustment" and select "Desaturate".
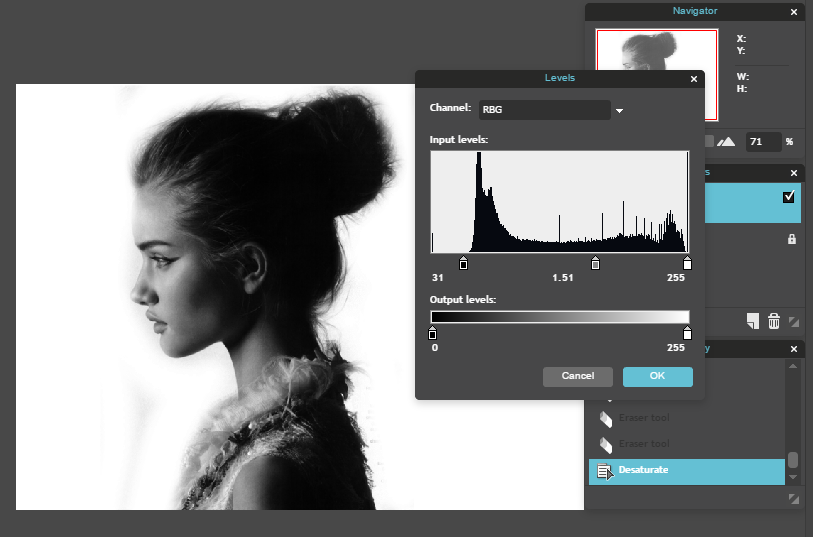
s t e p - f i v e :
This works best if there are a lot of shadows in your picture. Go up to "Adjustment" and select "Levels..." Play around with them until the image has darker shadows.
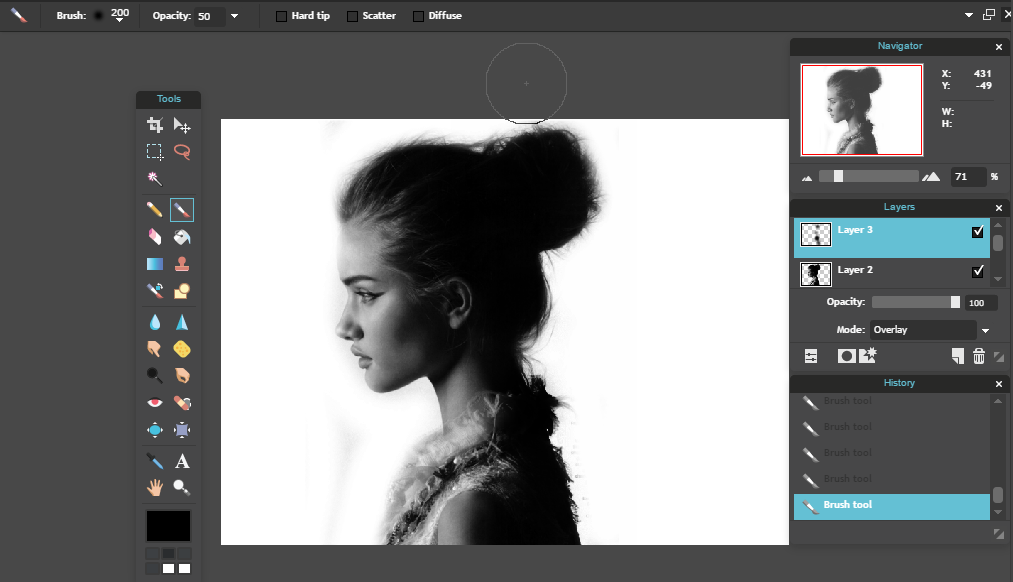
s t e p - s i x :
Create a new layer. Change the Mode to "Overlay".
You want the side of your person to be dark so the palm trees (or whatever your image is) will show up well. Click on the Brush tool. Change the color to black. Lower the Opacity to around 50 so it won't be too dark.
Color on the side of your image where you want the other picture to come out from.
s t e p - s e v e n :
Go to "File" and select "Open image..." NOT as a layer. Don't worry, this picture will still be there. Open the image you want to be coming off of your person. Make sure this image has a lot of shadows, too. You want the bottom of it, where it will be meeting the side of your person, to be very dark.
s t e p - e i g h t :
If the background is not completely white, color it in. Create a new layer. Change the Mode to "Overlay".
Select the Brush tool. Change the color to white. The Opacity should be at 100. Color in the background.

s t e p - n i n e :
Right click on the Layer 1 (new layer) and select "Merge down". This will merge it into the original Background layer.
s t e p - t e n :
Either copy the background layer and paste it into the image with your person, or drag the layer into it.
Put the two picture windows side by side. Select the "Background" layer of the trees (or your image) and drag it onto the image with your face.
s t e p - e l e v e n :
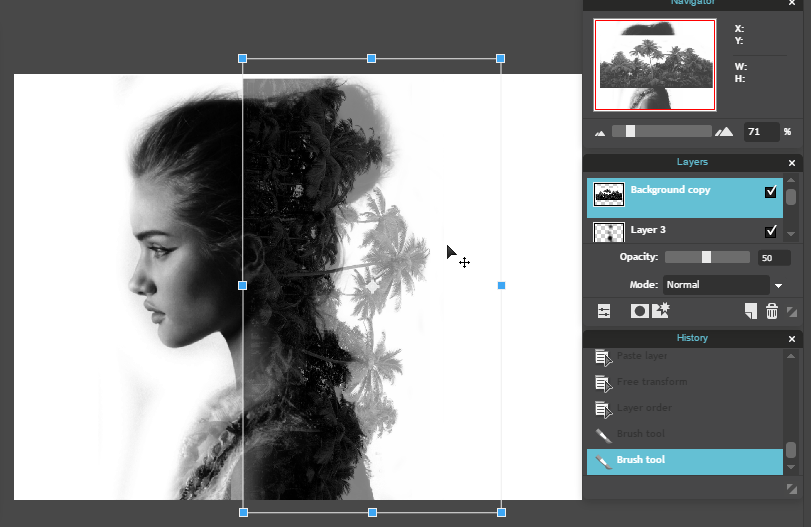
Select the layer with your trees (or your image). Make sure it is above every other layer. Temporarily lower the Opacity so you can see the person below it.
Go up to "Edit" and select "Free transform..." and move/turn the image until it is situated beside the person.
s t e p - t w e l v e :
Turn the Opacity back to 100. Right click on the layer and select "Add layer mask". It will seemingly disappear.
s t e p - t h i r t e e n :
Stay on this layer. Select the Brush tool. It can be any color.
Brush on the area where the image is. It will look like it's coloring green, but when you release the mouse the background beneath it will show up. Color on the areas you want to show up. If you want to erase something you didn't want, select the Eraser tool and do so.

And you should be done! You can make any last adjustments you want to it. If you wanted to take this image and put it on a different background, merge all of the layers together and do just that!
Bạn đang đọc truyện trên: AzTruyen.Top