[06] custom light texture
Title probably makes no sense. Basically, this is a tutorial on how to make light shining in on your picture.
Sure, it's easy to look up a transparent picture of light, but it's even easier to do on your own! Plus, you can get it exactly how you want it!
s t e p - o n e :
Open Pixlr and load your background. You probably want to have all of your layers put together before you add the light. I like to make it on top of everything.
s t e p - t w o :
Create a new layer.
s t e p - t h r e e :
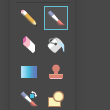
Click on the Brush tool.

s t e p - f o u r :
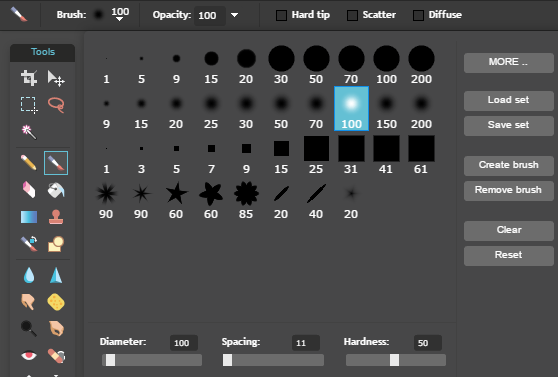
Change to the soft brush;
Size 100
Opacity 100
Diameter 100
Spacing 11
Hardness 50
* If your picture is smaller than 512x800 (Wattpad Cover Size) then change the brush size to a lower number.

s t e p - f i v e :
Change the color to white.
s t e p - s i x :
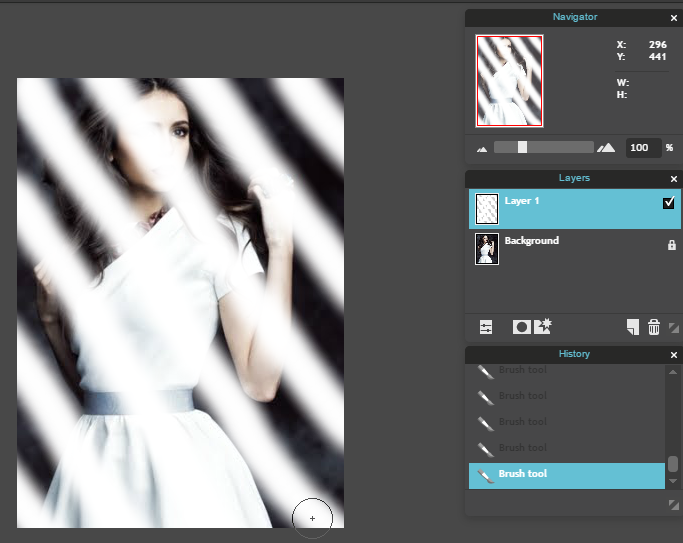
Create long diagonal lines across the whole picture. Make them spaced out, but not extremely far apart. Go slowly so you can make them straighter. It can be in any direction, but you want it to be shining in where you would think the light would be coming from.

s t e p - s e v e n :
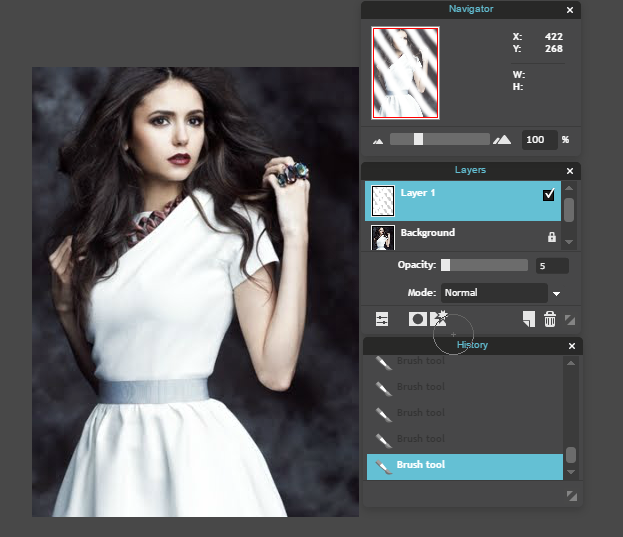
Change the opacity to anywhere between 4 and 12, depending on your picture. You don't want to go any higher than that as the lines will be evident and it won't look right.

That's all you have to do!
Bạn đang đọc truyện trên: AzTruyen.Top