[03] ripped page
A lot of cover makers use this. It's super simple! This is what I will be using :

s t e p - o n e :
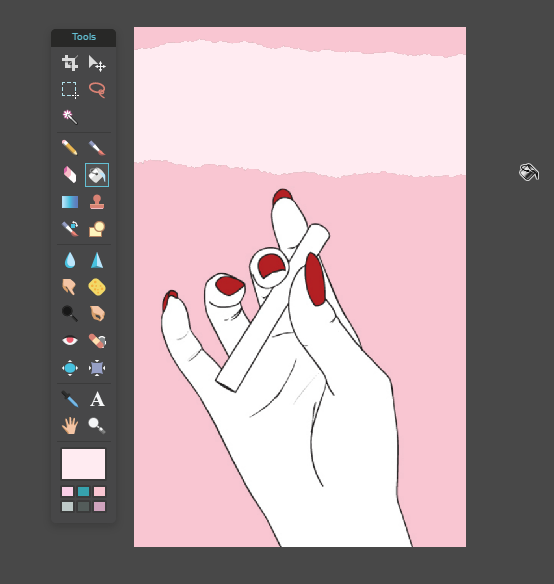
Open up pixlr. Use your desired background.
s t e p - t w o :
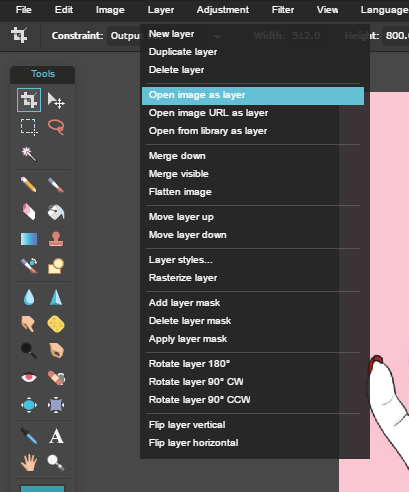
Open image as layer - this will be the ripped page. You can find these by looking up "Ripped Page Transparent" or "Ripped Page PNG". Make sure it is above the background layer.
s t e p - t h r e e :
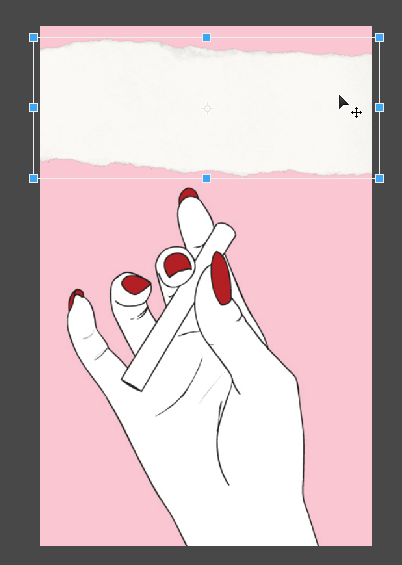
Go to "Edit" then "Free Transform" and adjust the tear until it is in the desired spot. Click outside the image and press "Yes" when the tab pops up.
s t e p - f o u r :
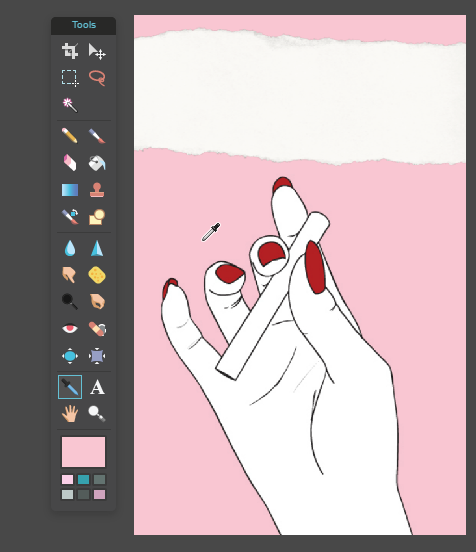
(OPTIONAL) Change the color. I usually use the Eyedropper tool and select the background (I only use this effect on simple covers). Then I adjust the color so it's a little lighter, but still has that color. (NOTE: In the end, the more "paper tear" look will go away. You'll see that).
s t e p - f i v e :
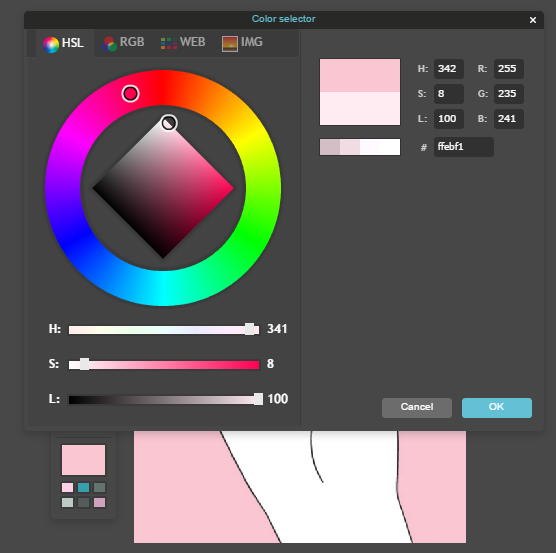
Press the Paint Bucket tool. Set the tolerance to around 102 and click on the paper tear. This will fill it in with the color you selected.
s t e p - s i x :
Add your text!
That's all!
Bạn đang đọc truyện trên: AzTruyen.Top