[60] - background tutorial (thunderstorms) pt. 2
9. Just a minor step, I colored the corner with black since I think the blue lightning was too bright so I wanted to tone it down a bit.
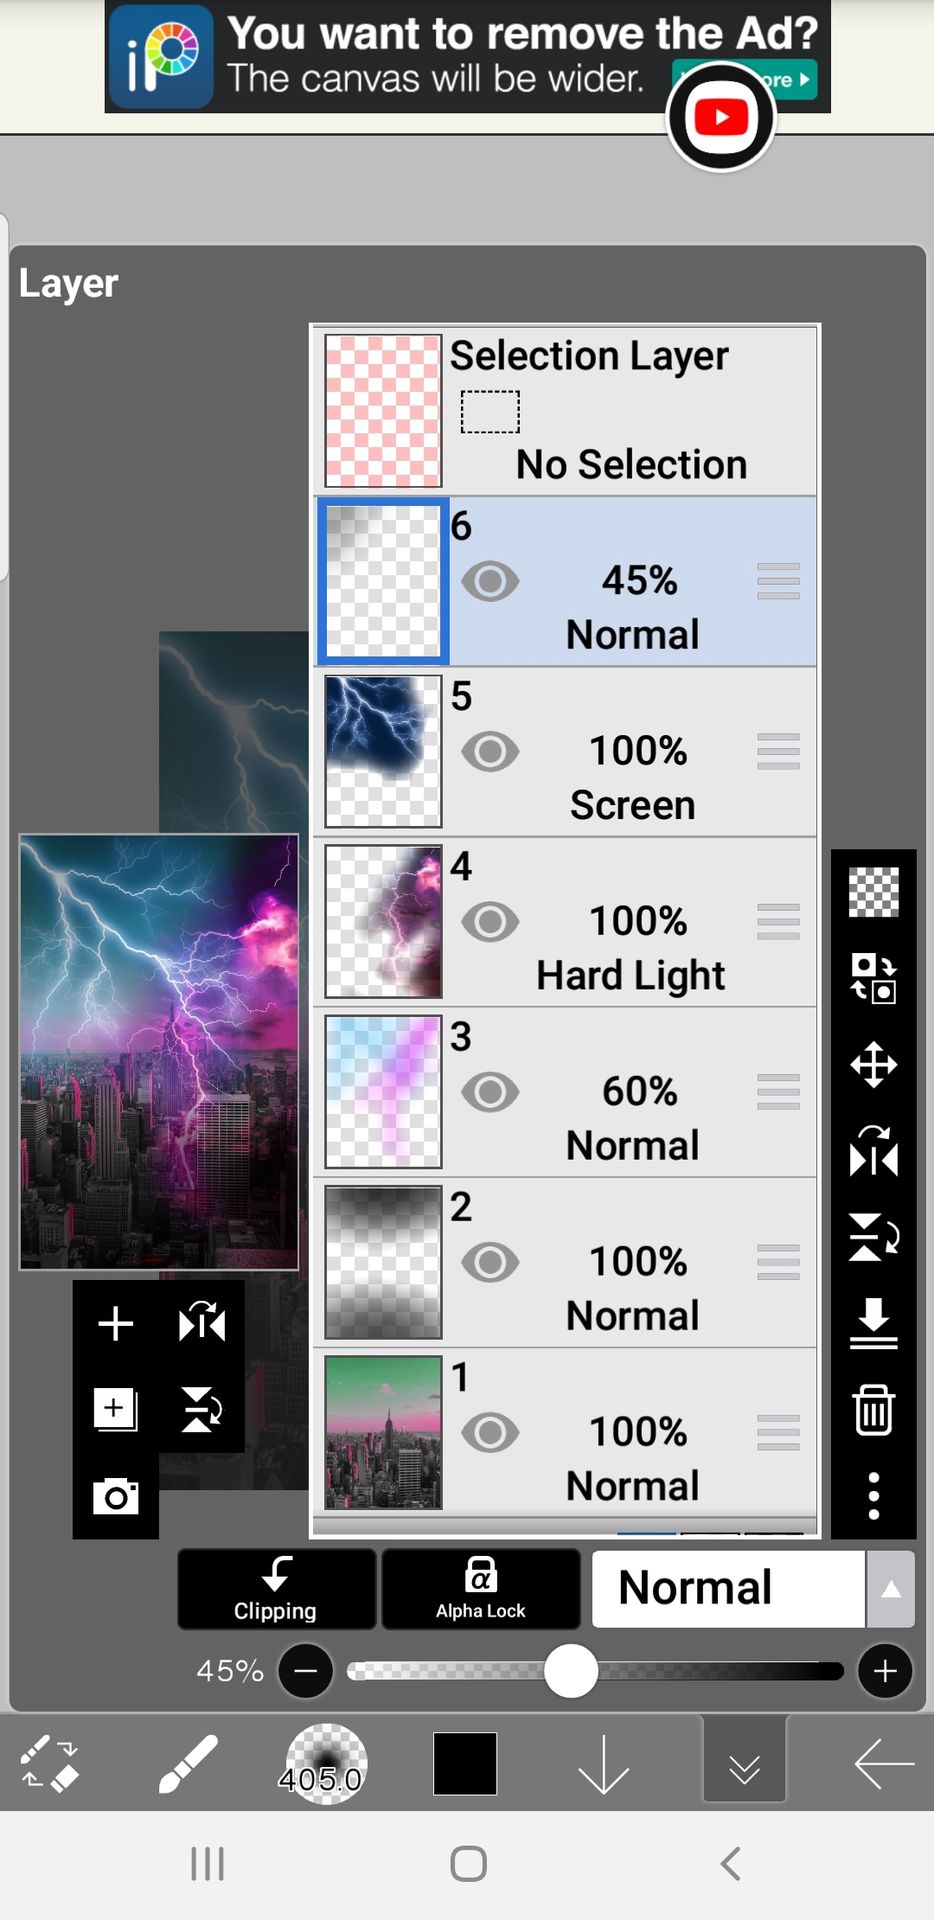
10. Next, turn on straight ruler and drag the circle at side to change the direction.
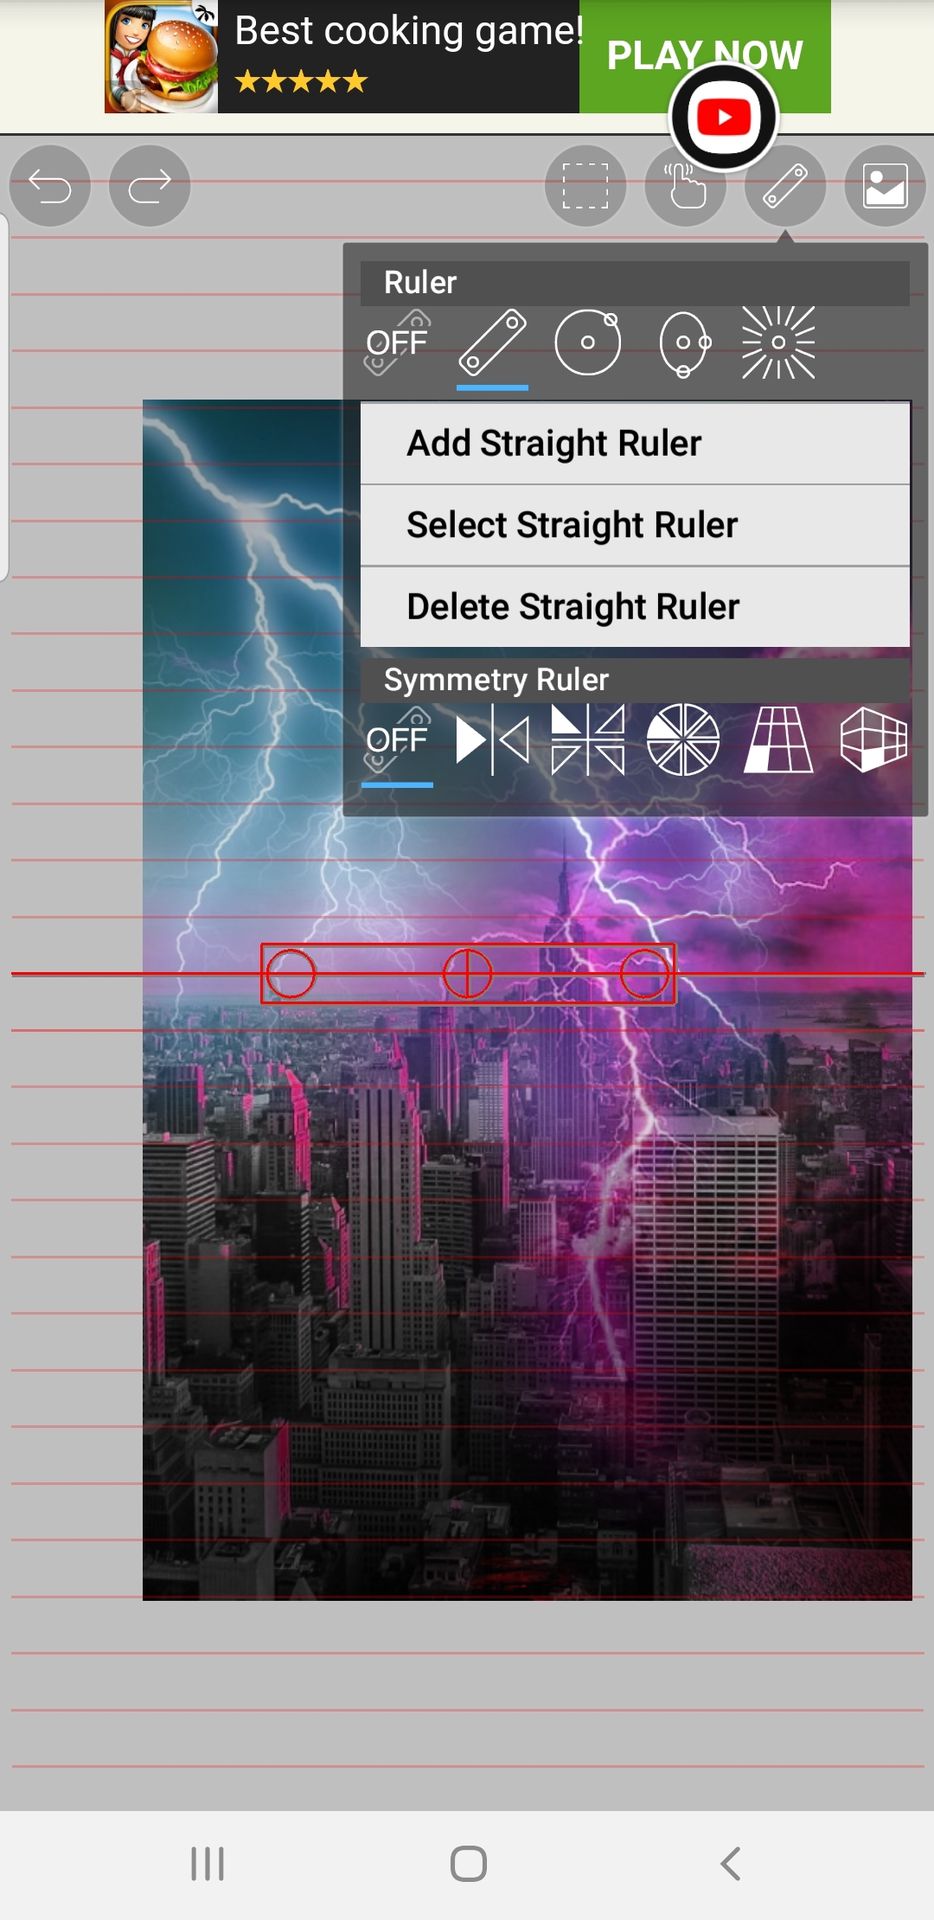
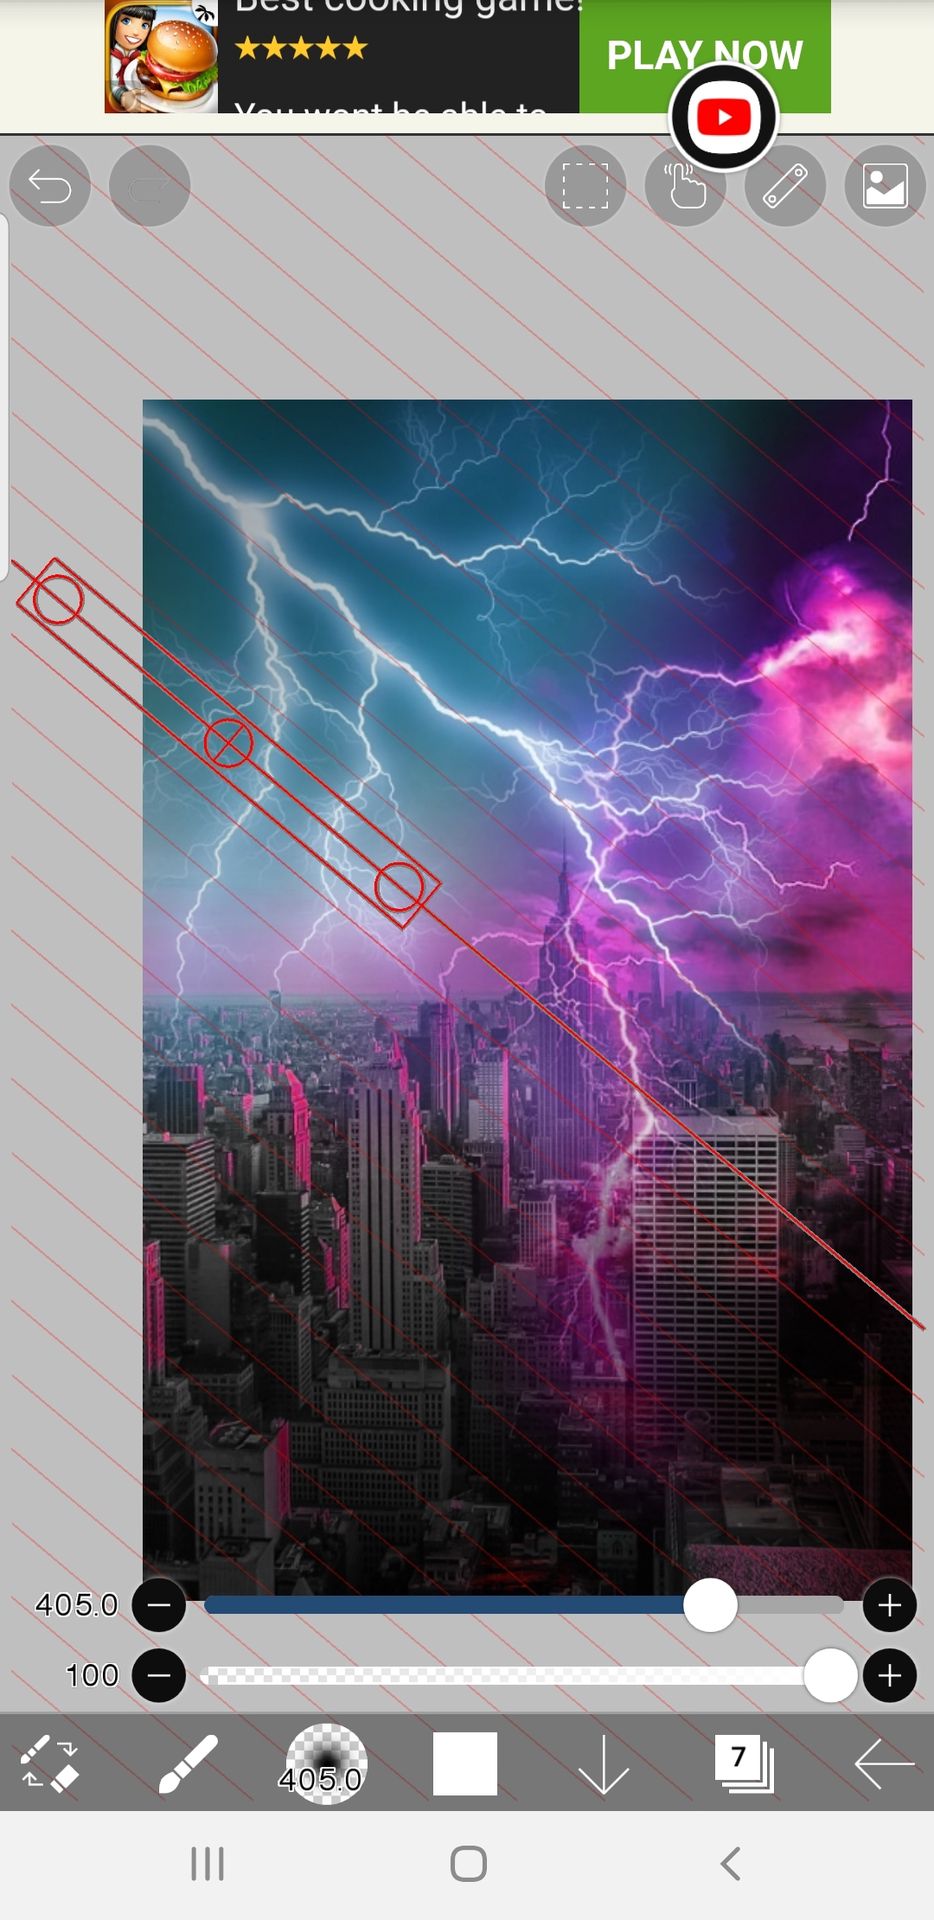
11. Change the blending mode to add and slowly brush the upper left corner with a white airbrush. This is like a small sunlight coming between the clouds :v
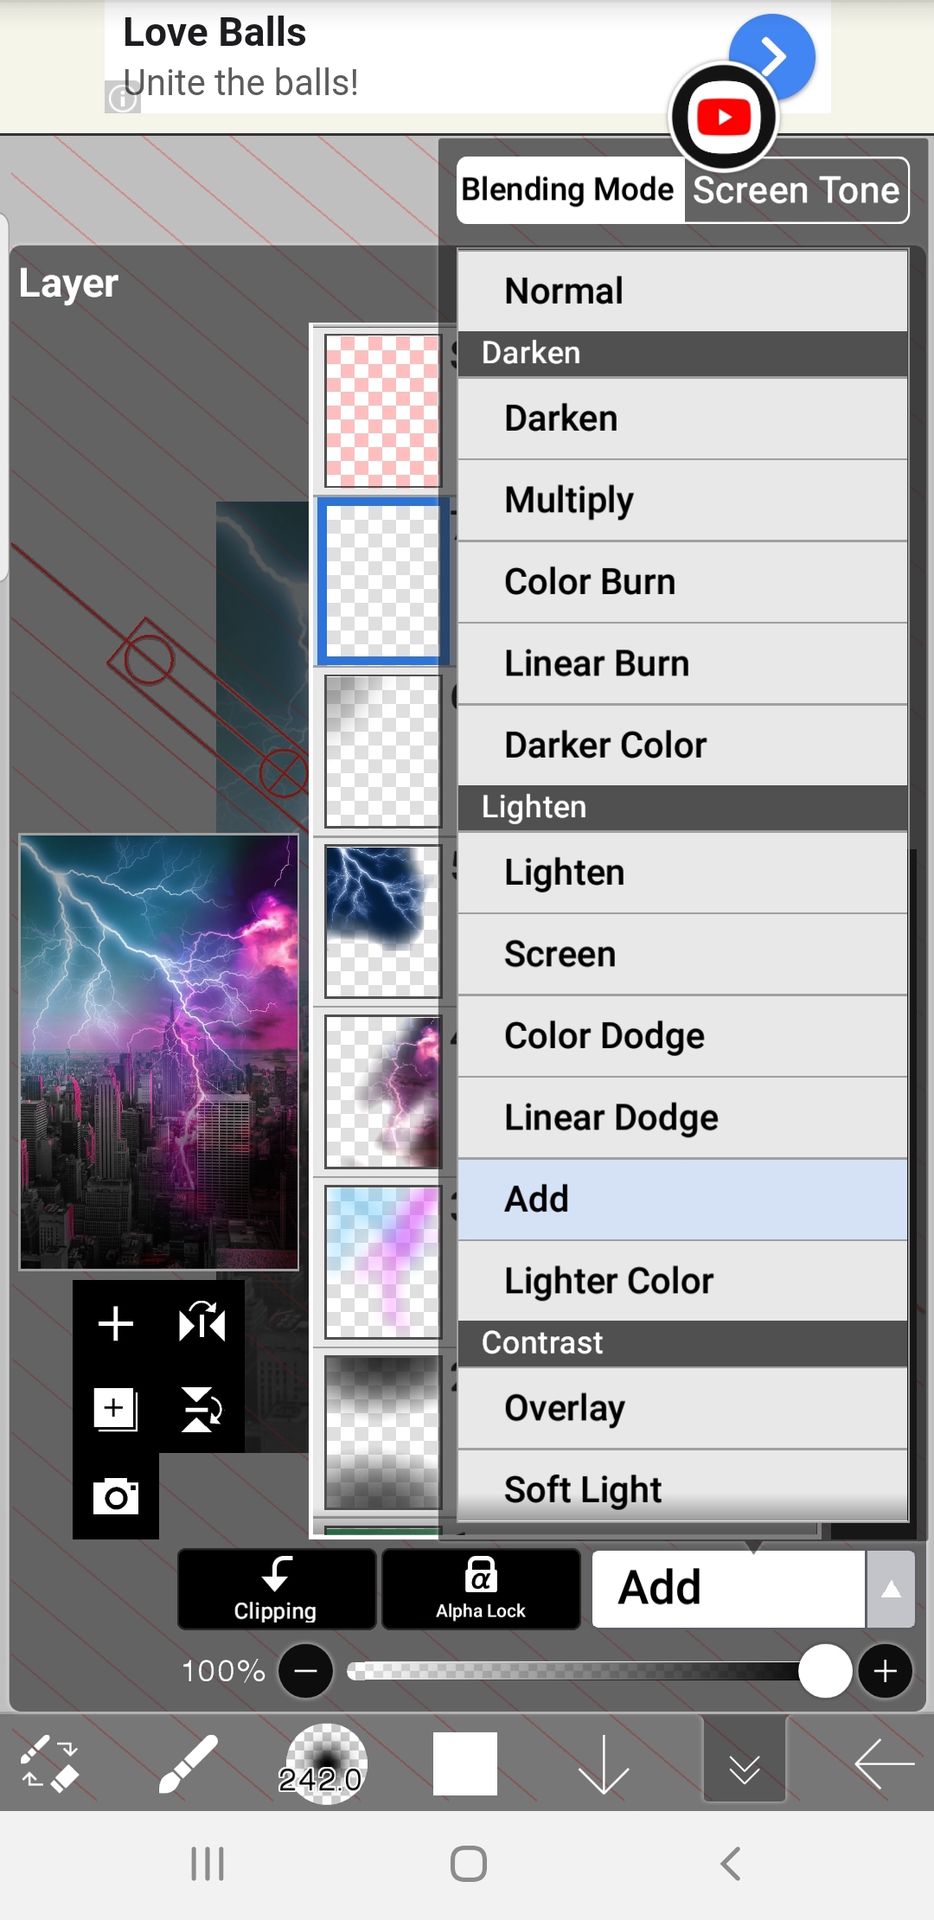
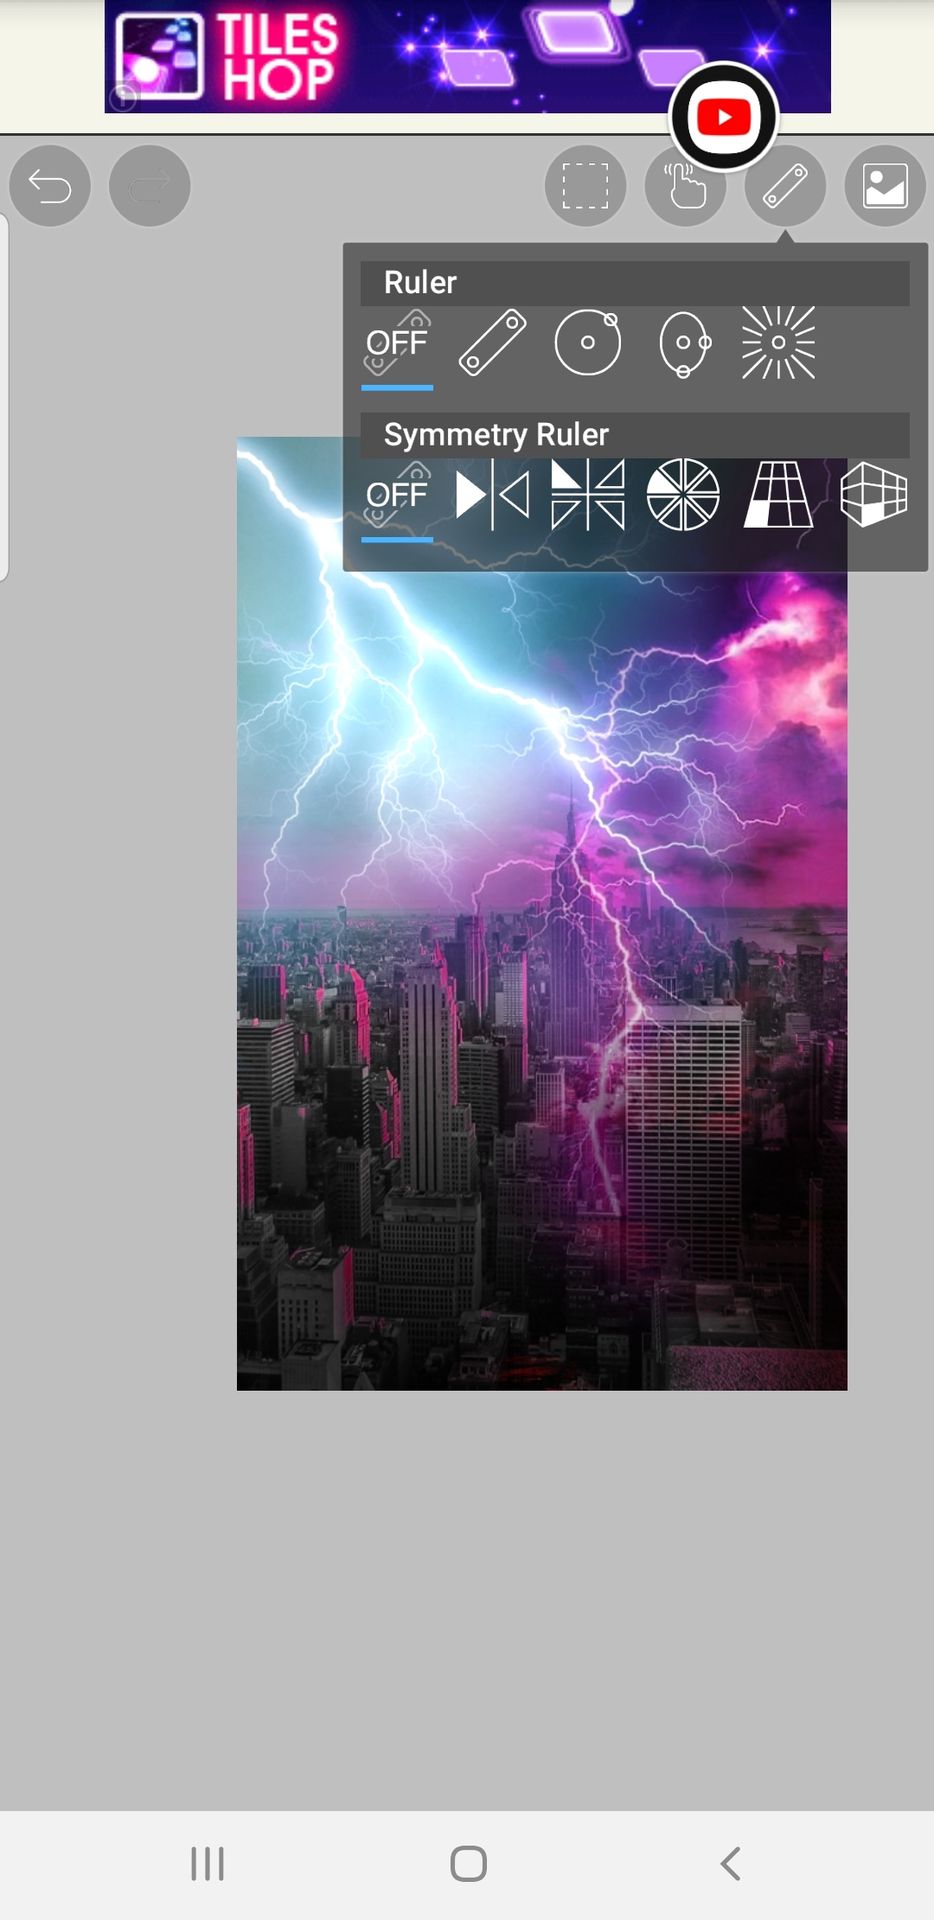
12. Lower the opacity of the layer since it's obviously too bright :v
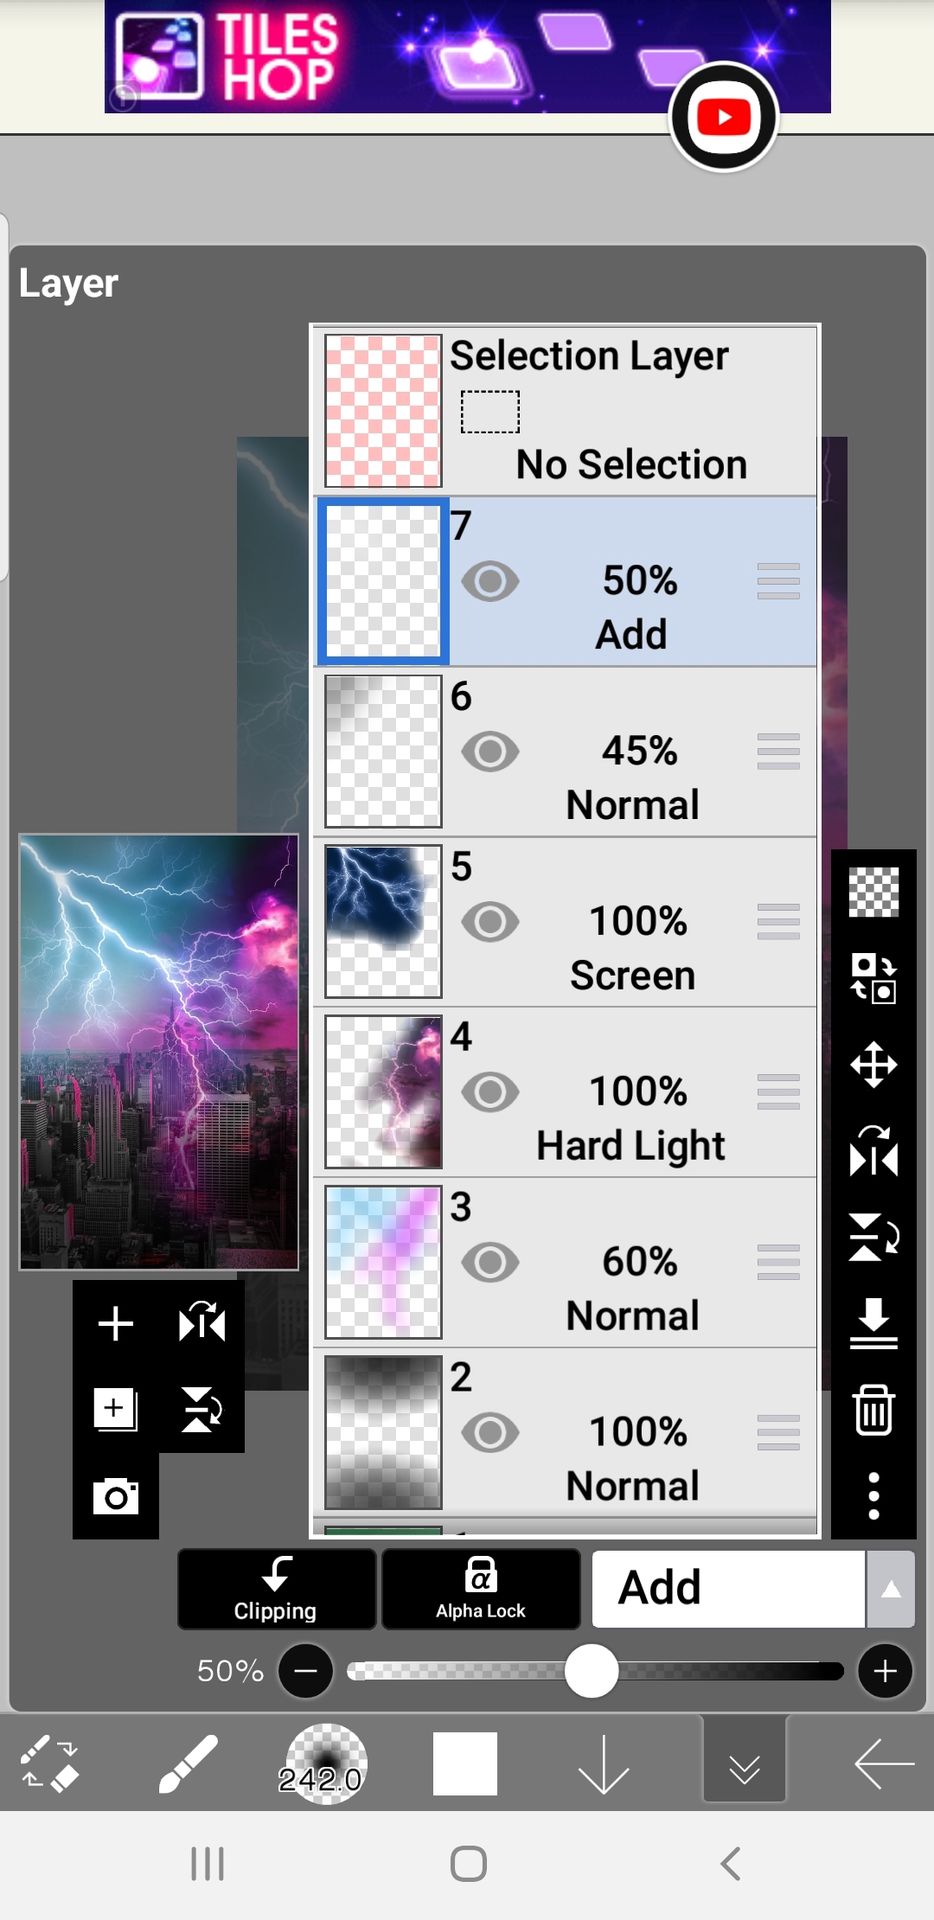
13. Add additional overlays/textures/etc to your pic and you're done!

Other examples of using more than one pictures for backgrounds :

⬆️ For this one, I just added another picture of a crowd on top of the city photograph and gave it a little bit of a blur filter to make focus towards the main character.

⬆️ The retouching isn't the best but you can also add other pictures on top of the PNG, such as the silhouettes on the bottom of the cover.

⬆️ for this one I just put random pictures over each other until they look like it's combined. It's sort of a simple and lazy way(?)

⬆️ I hate this cover with a passion - it makes me cringe a bit - but I like the background. I mixed two pictures of a forest and added a small castle at the back by erasing the background of the castle and small lines to show the branches to make it seem like it's far away.
...
That's all for now, thank you for reading!
○ n o t e s ●
- the filter tutorial I've been preparing is still on it's way, it's already halfway and 1000+ words.
- if you have requests comment here, and the ones that have requested before please be patient, I've already saved them in my notes.
- I'm posting today since it's independence day for my country and that means it's a holiday and I am free for a day :).

Bạn đang đọc truyện trên: AzTruyen.Top