[52] - manipulation cover (pt.2)
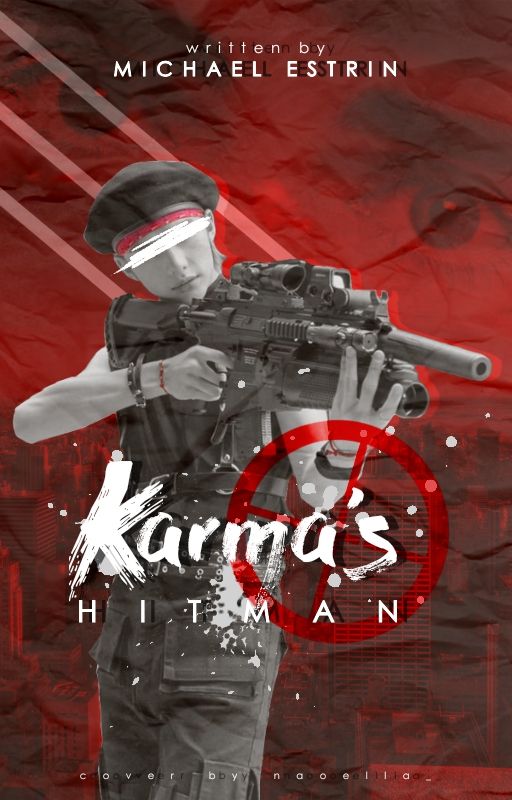
9. Since I felt the background was little bland, I decided to add another picture.
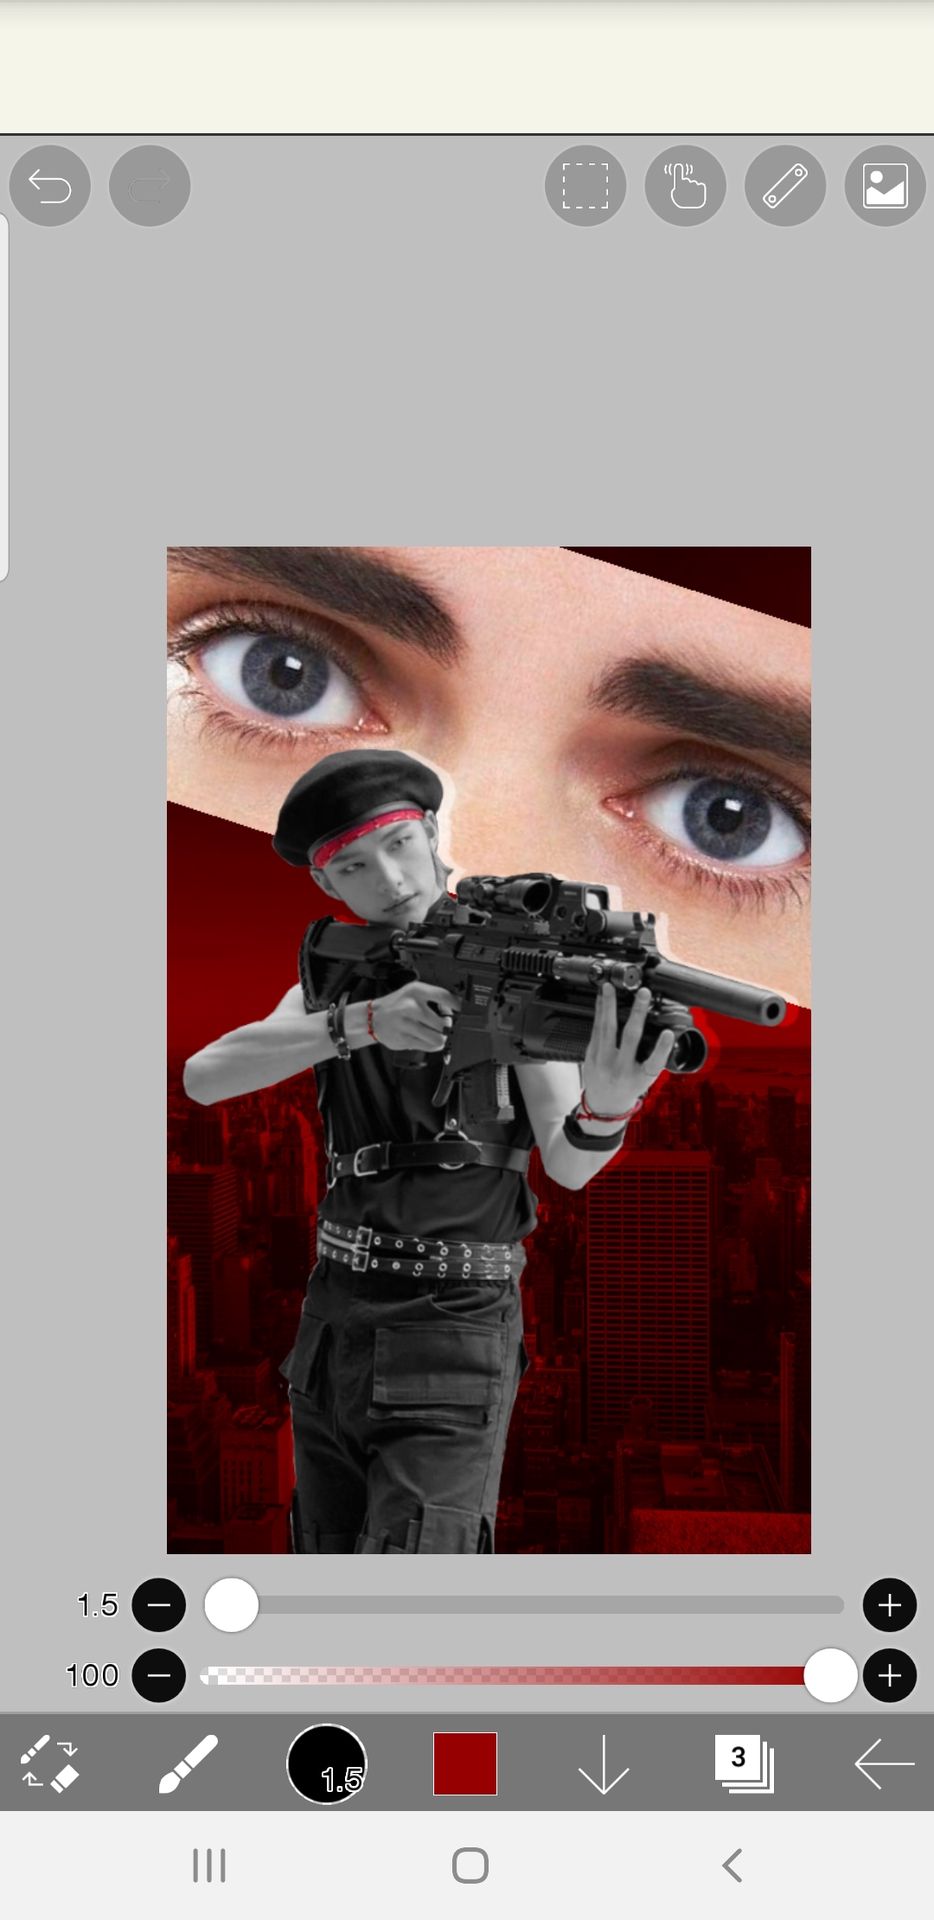
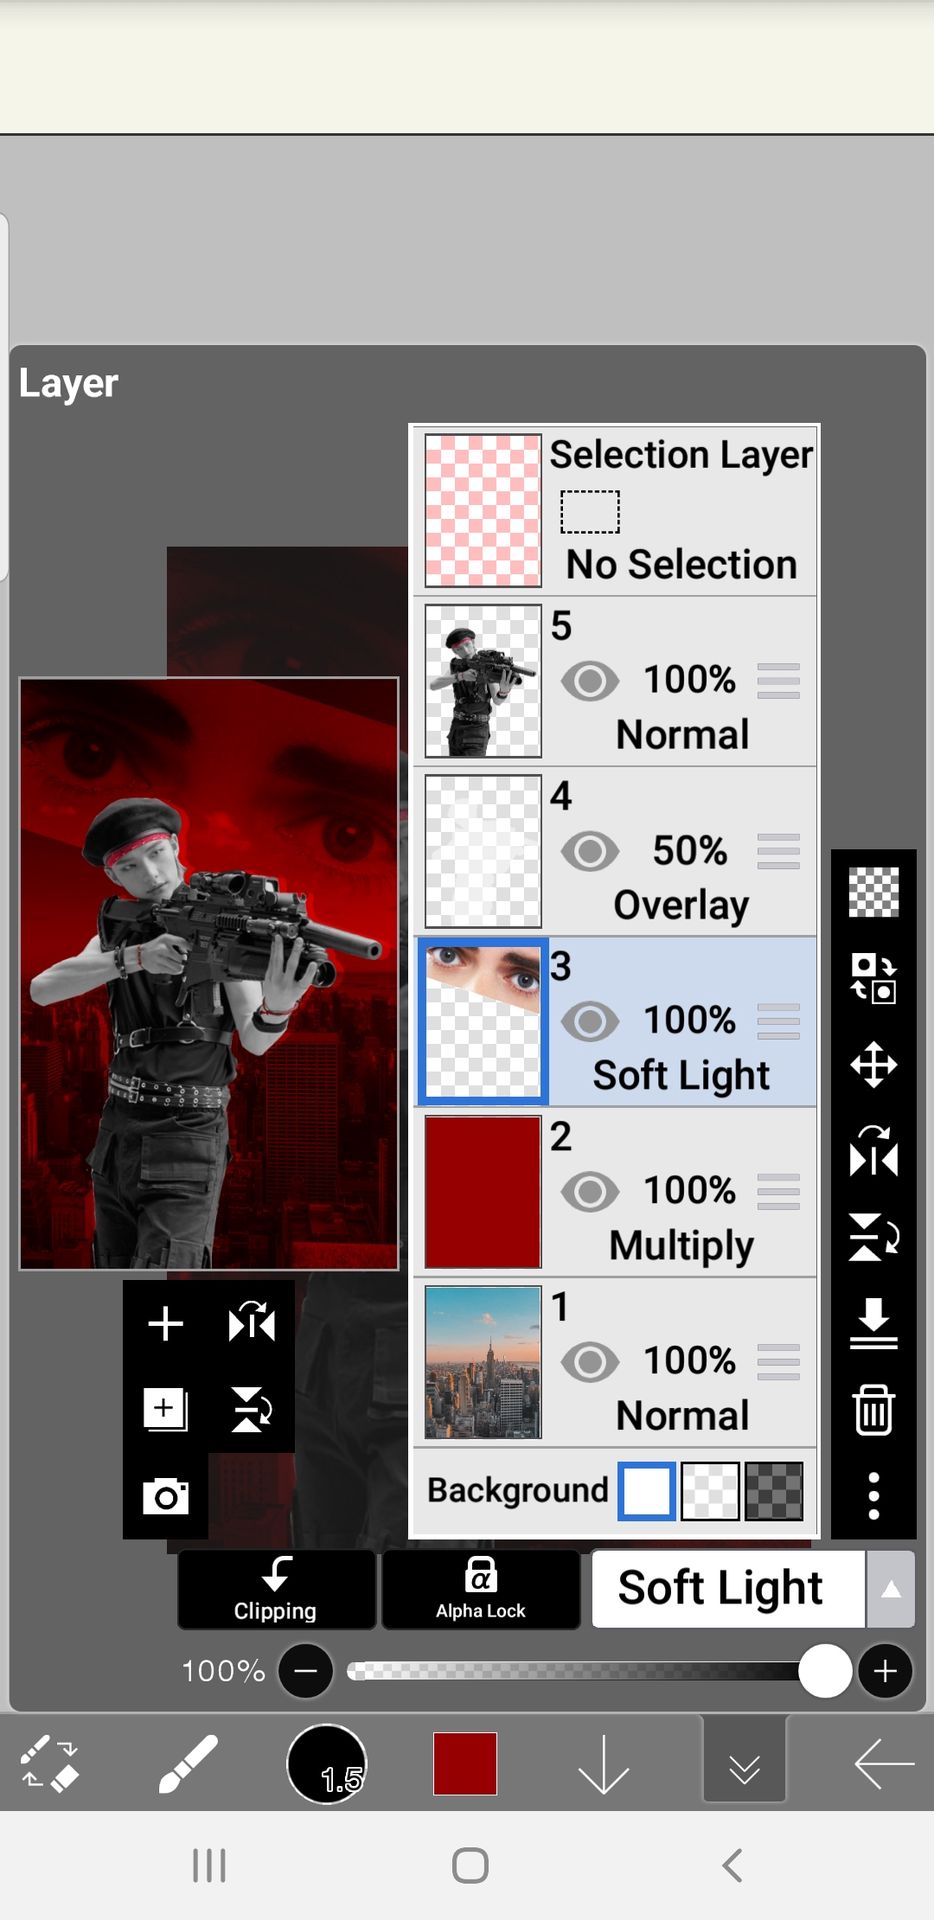
10. I changed the blending mode then erased the edges of the picture with an airbrush so it doesn't look separated.
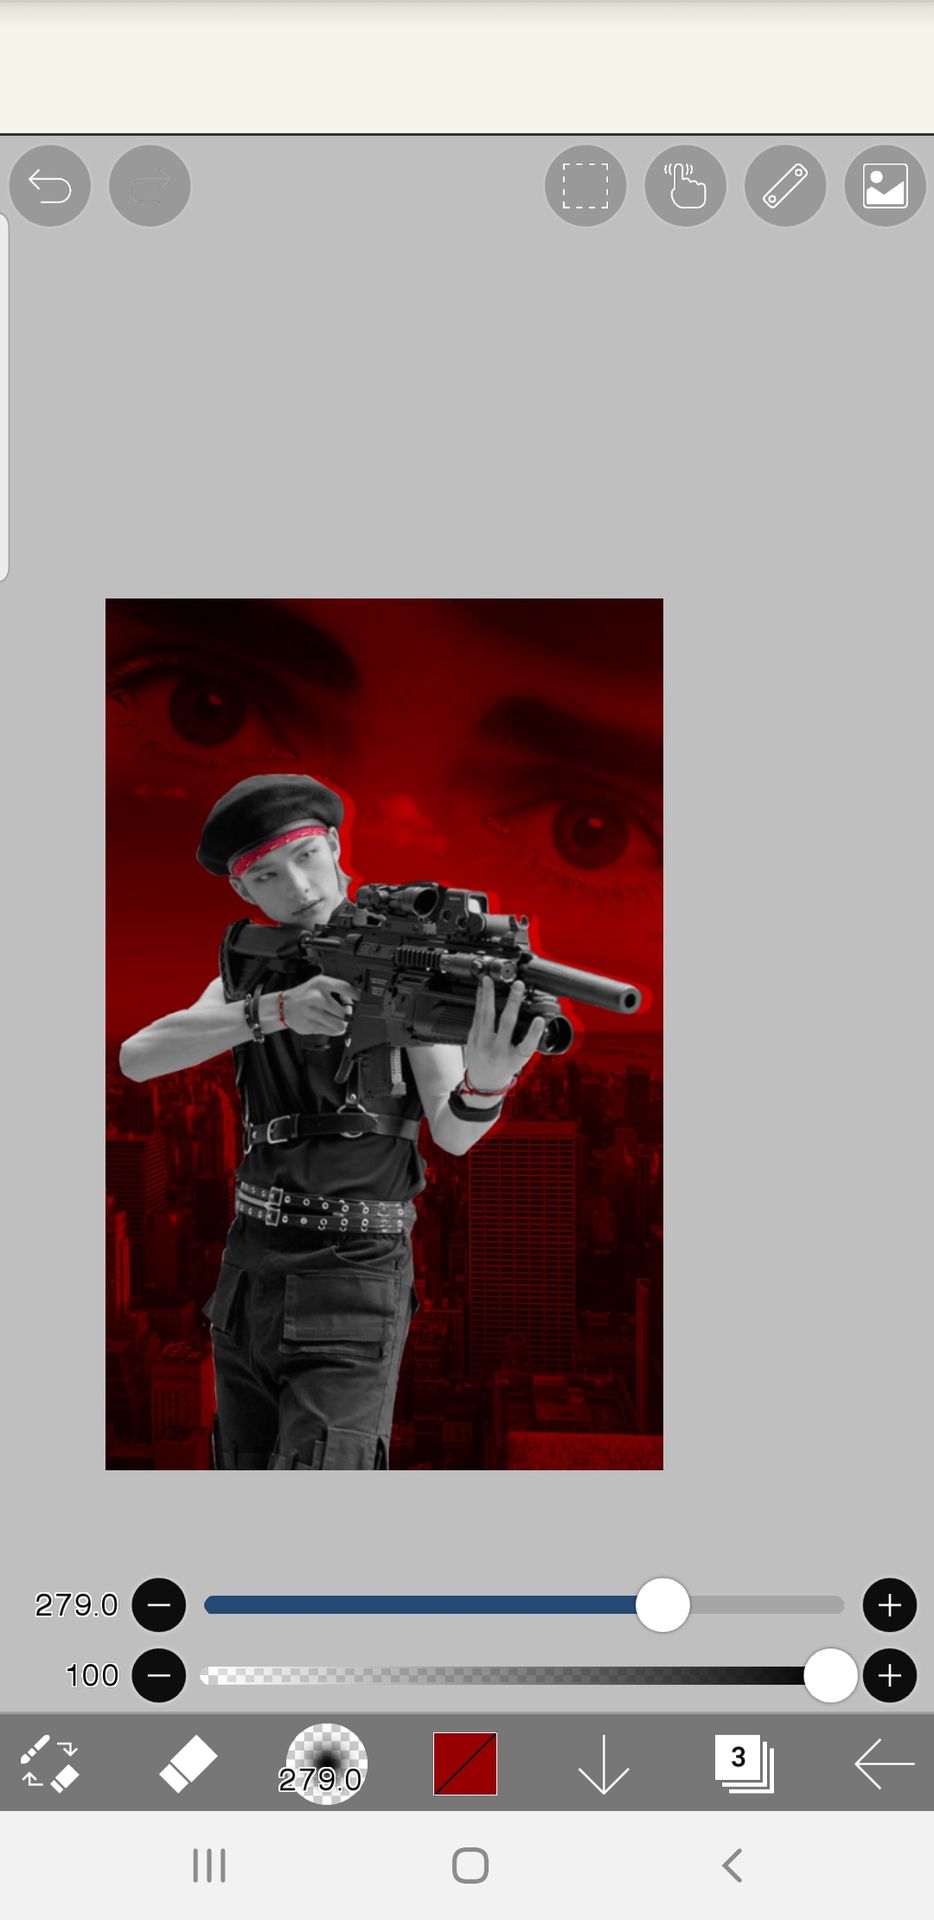
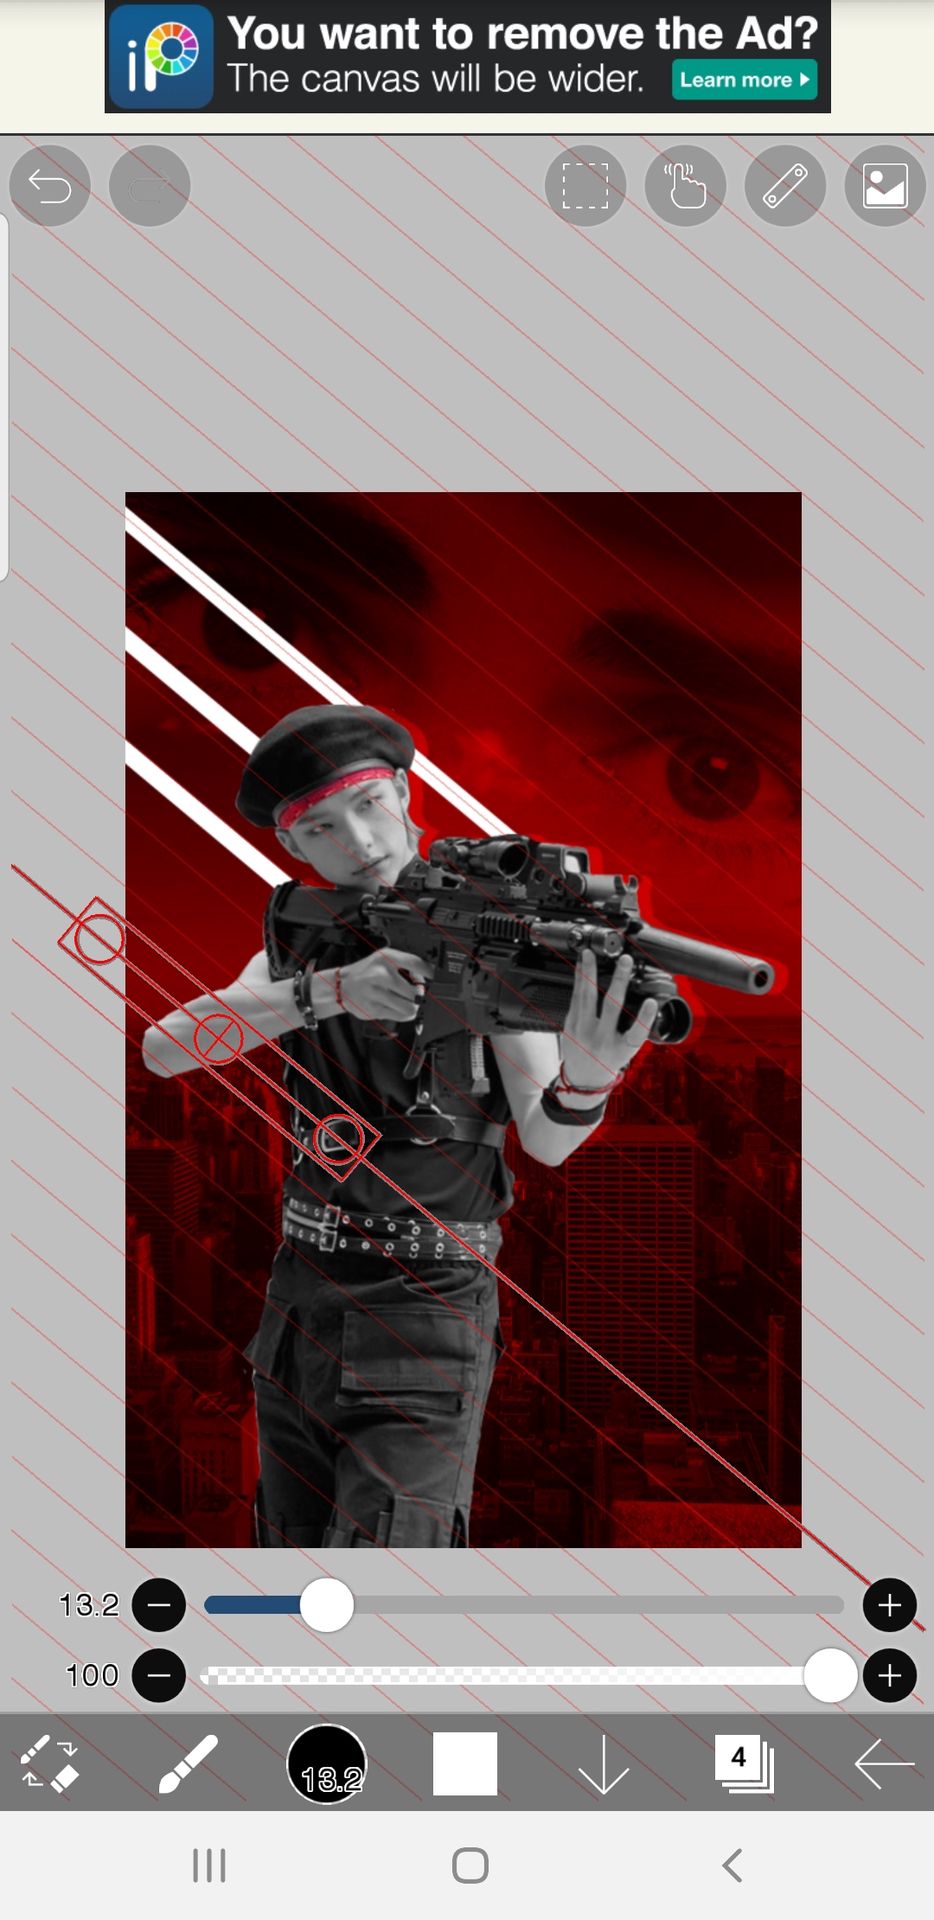
11. Activate the straight ruler and bend it a little by dragging the circle at the side of the ruler.
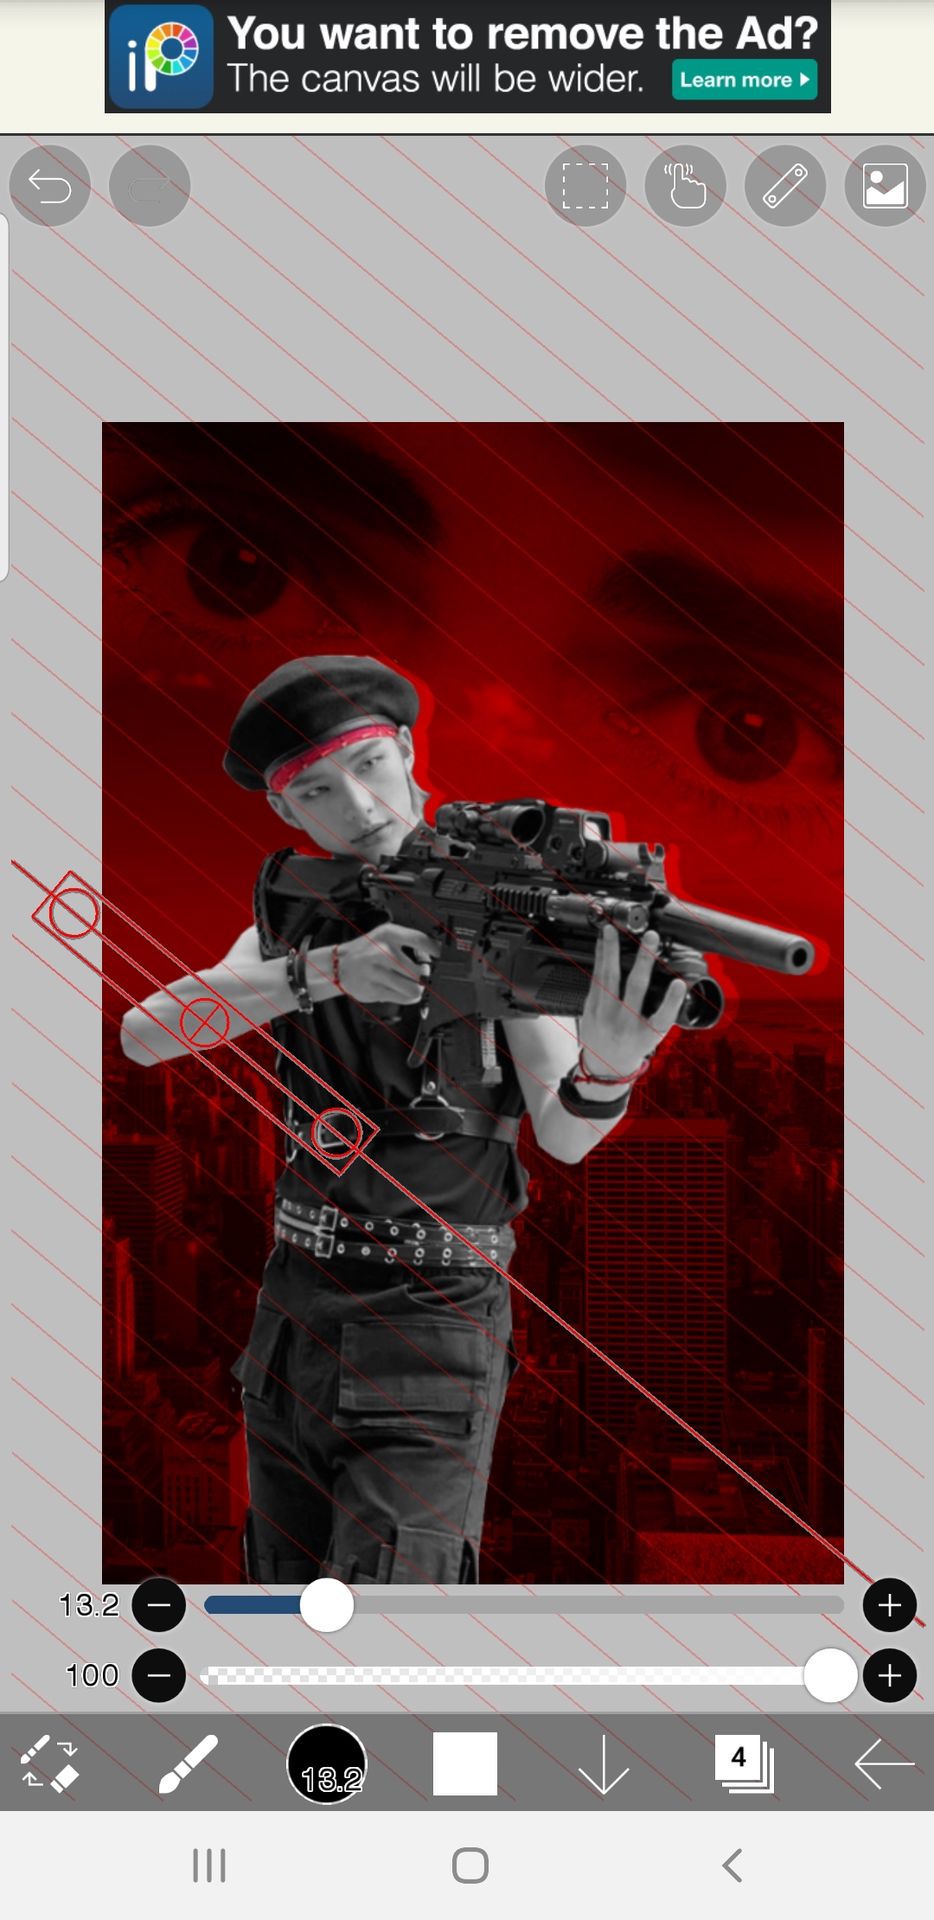
12. Draw three straight lines at the side then lower the opacity, don't forget to turn off the ruler afterwards.
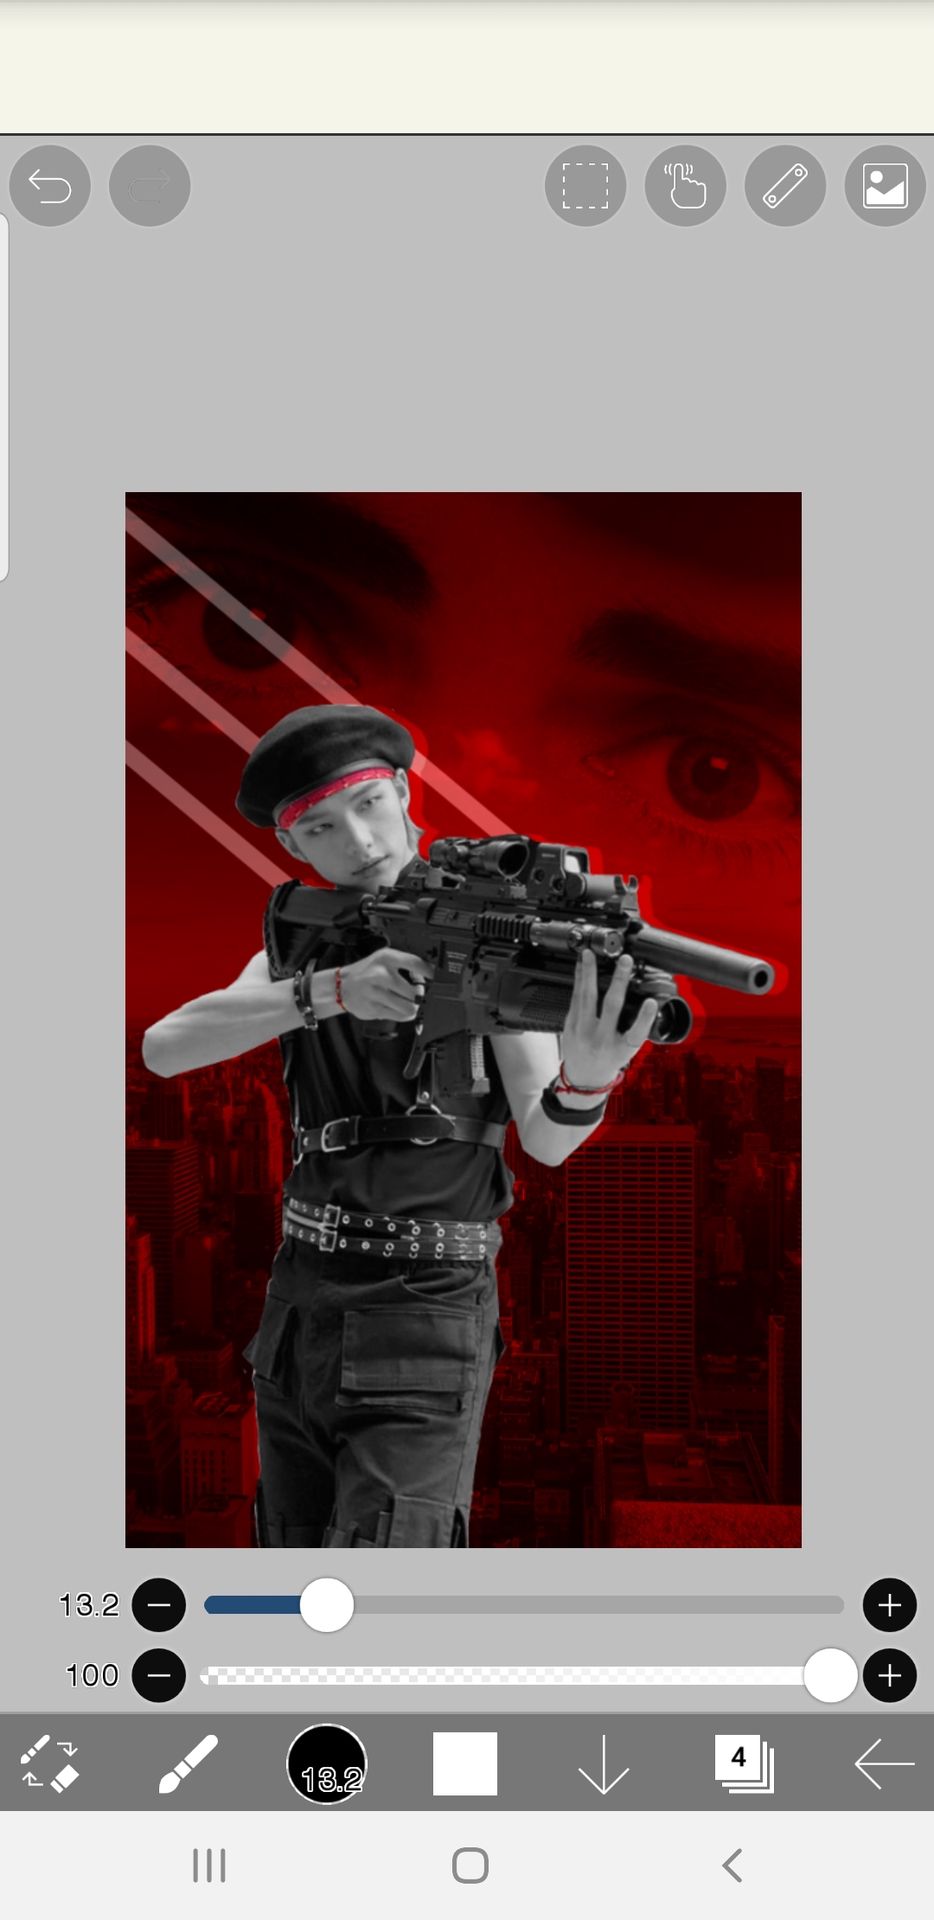
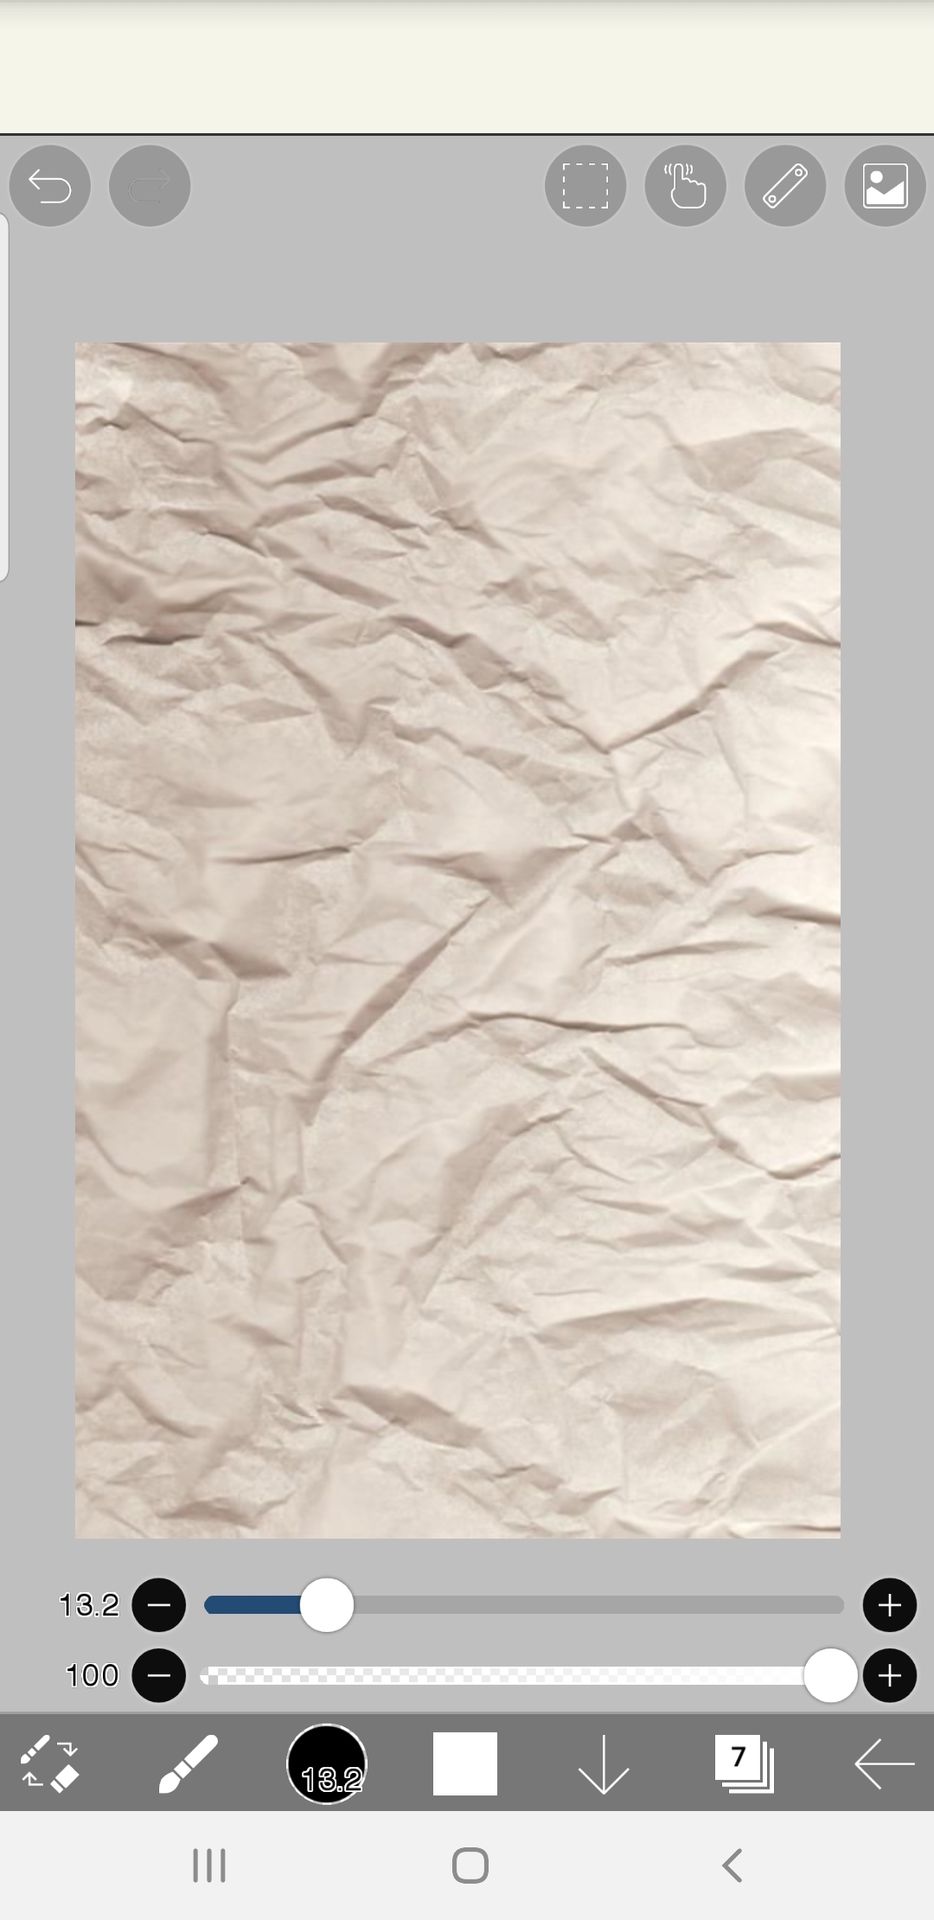
13. Add a texture overlay at the top then changed the blending mode and lower the opacity.
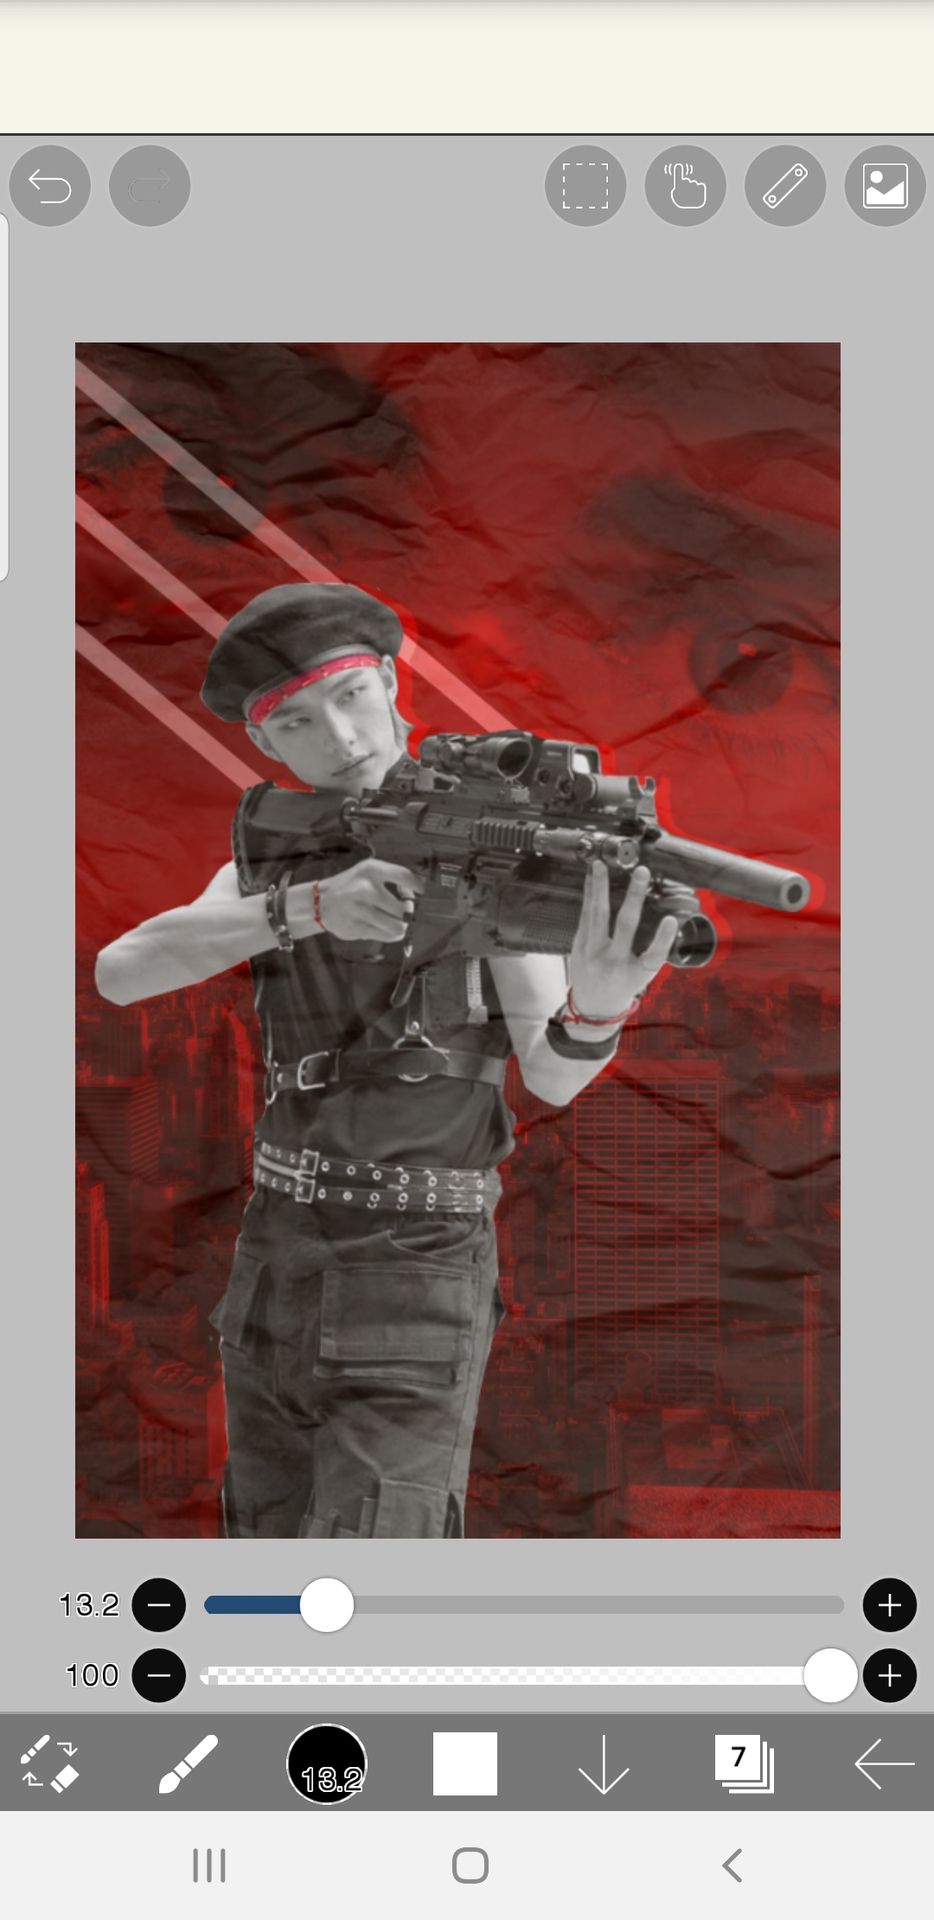
14. Add a new layer, then draw over the PNG's eyes with soft mapping pen (bleed)

15. Add the blood spaltter or any other decorative PNG then go to filter > change color > light gray, since grayscale was too dark.
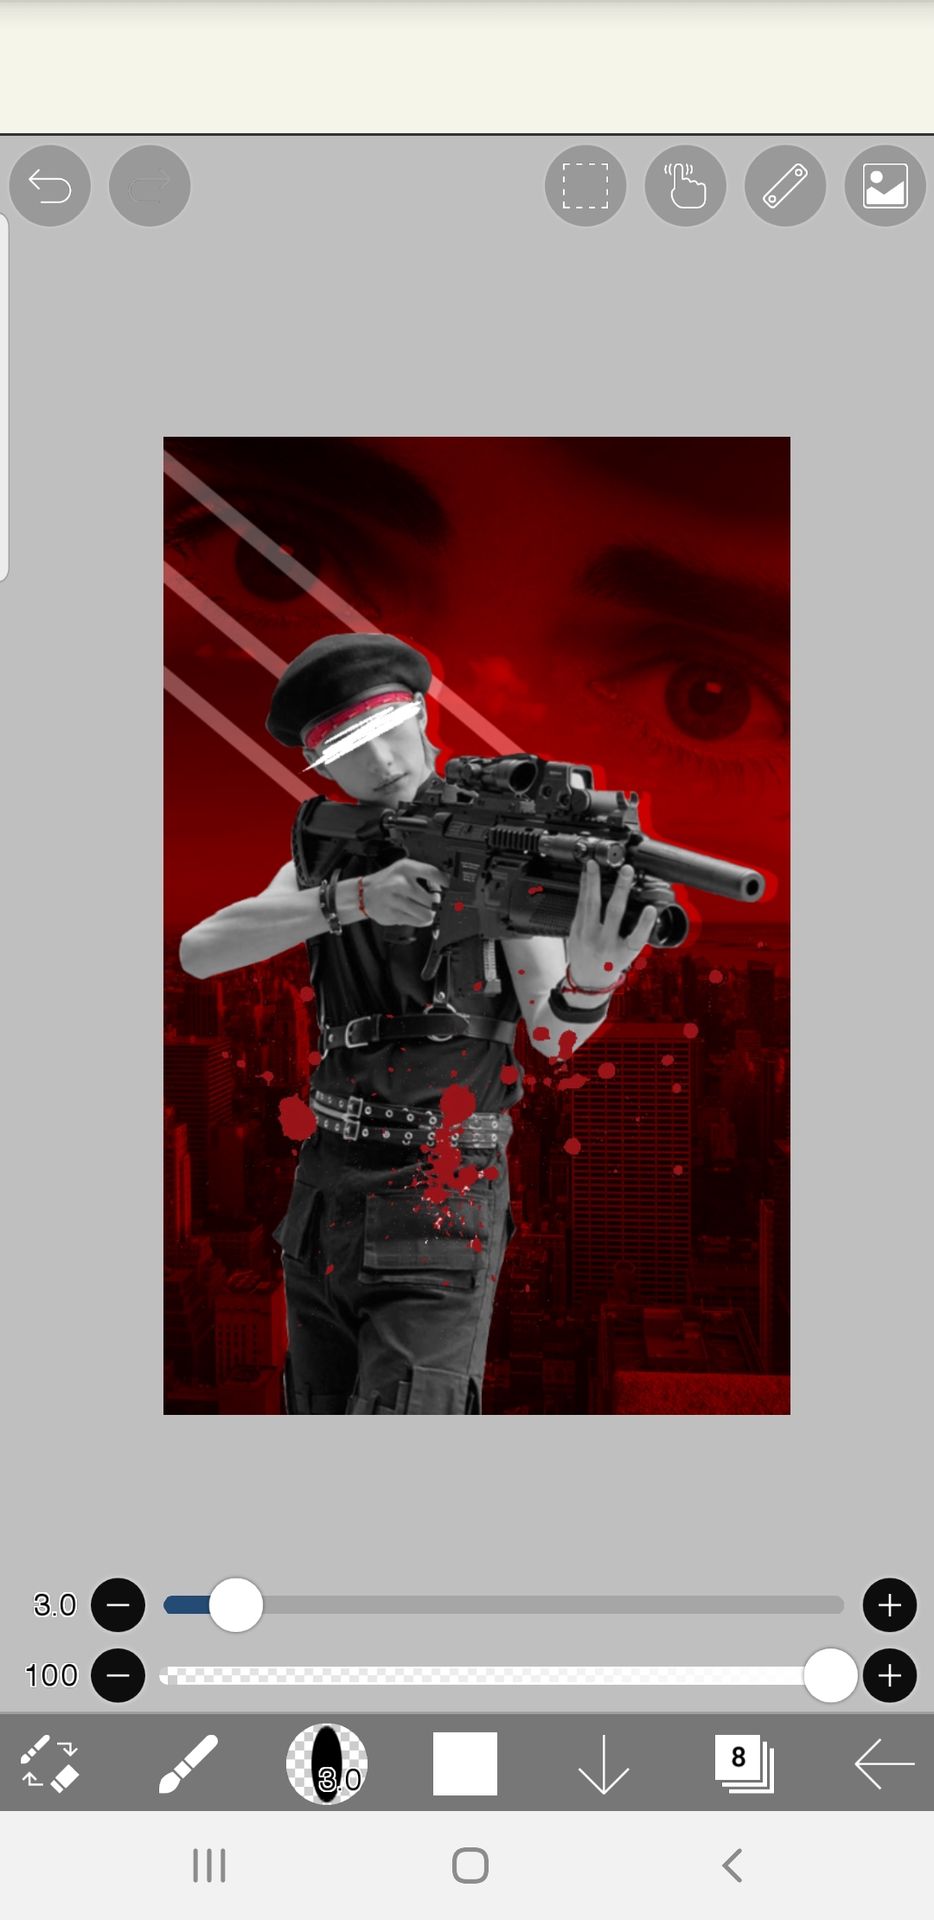
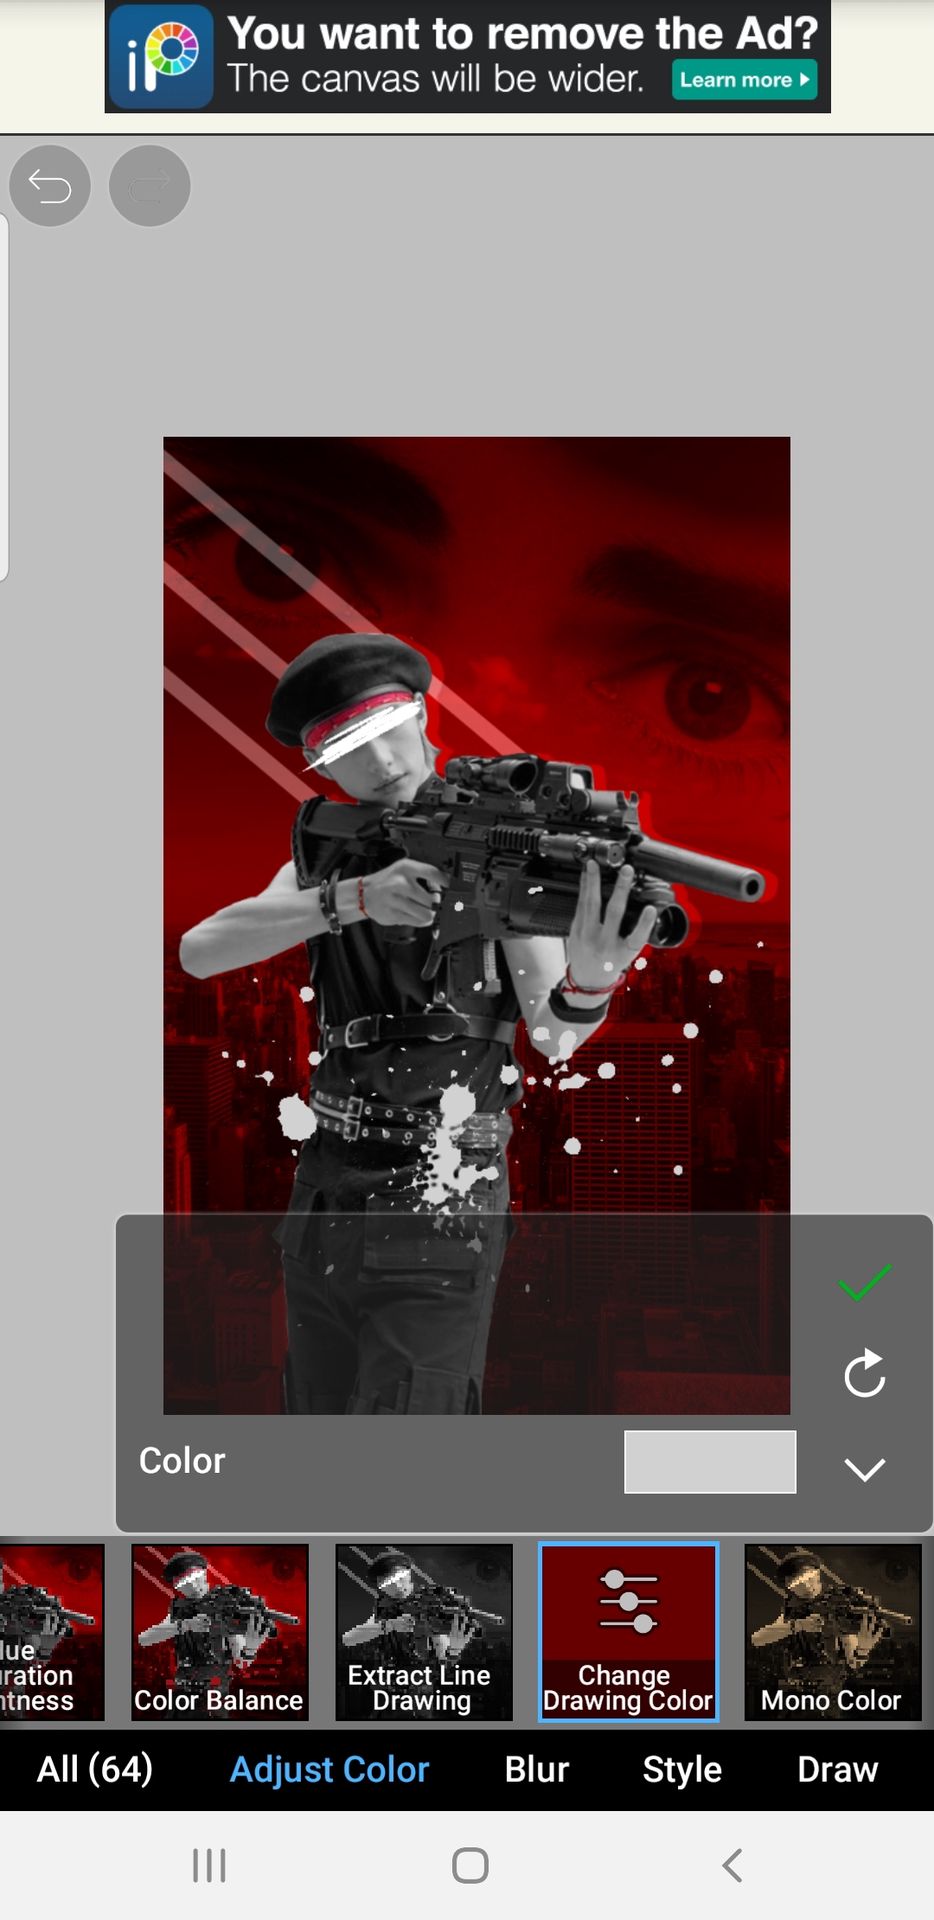
16. I drew a target by drawing a circle with the circle ruler and added a plus in the middle.
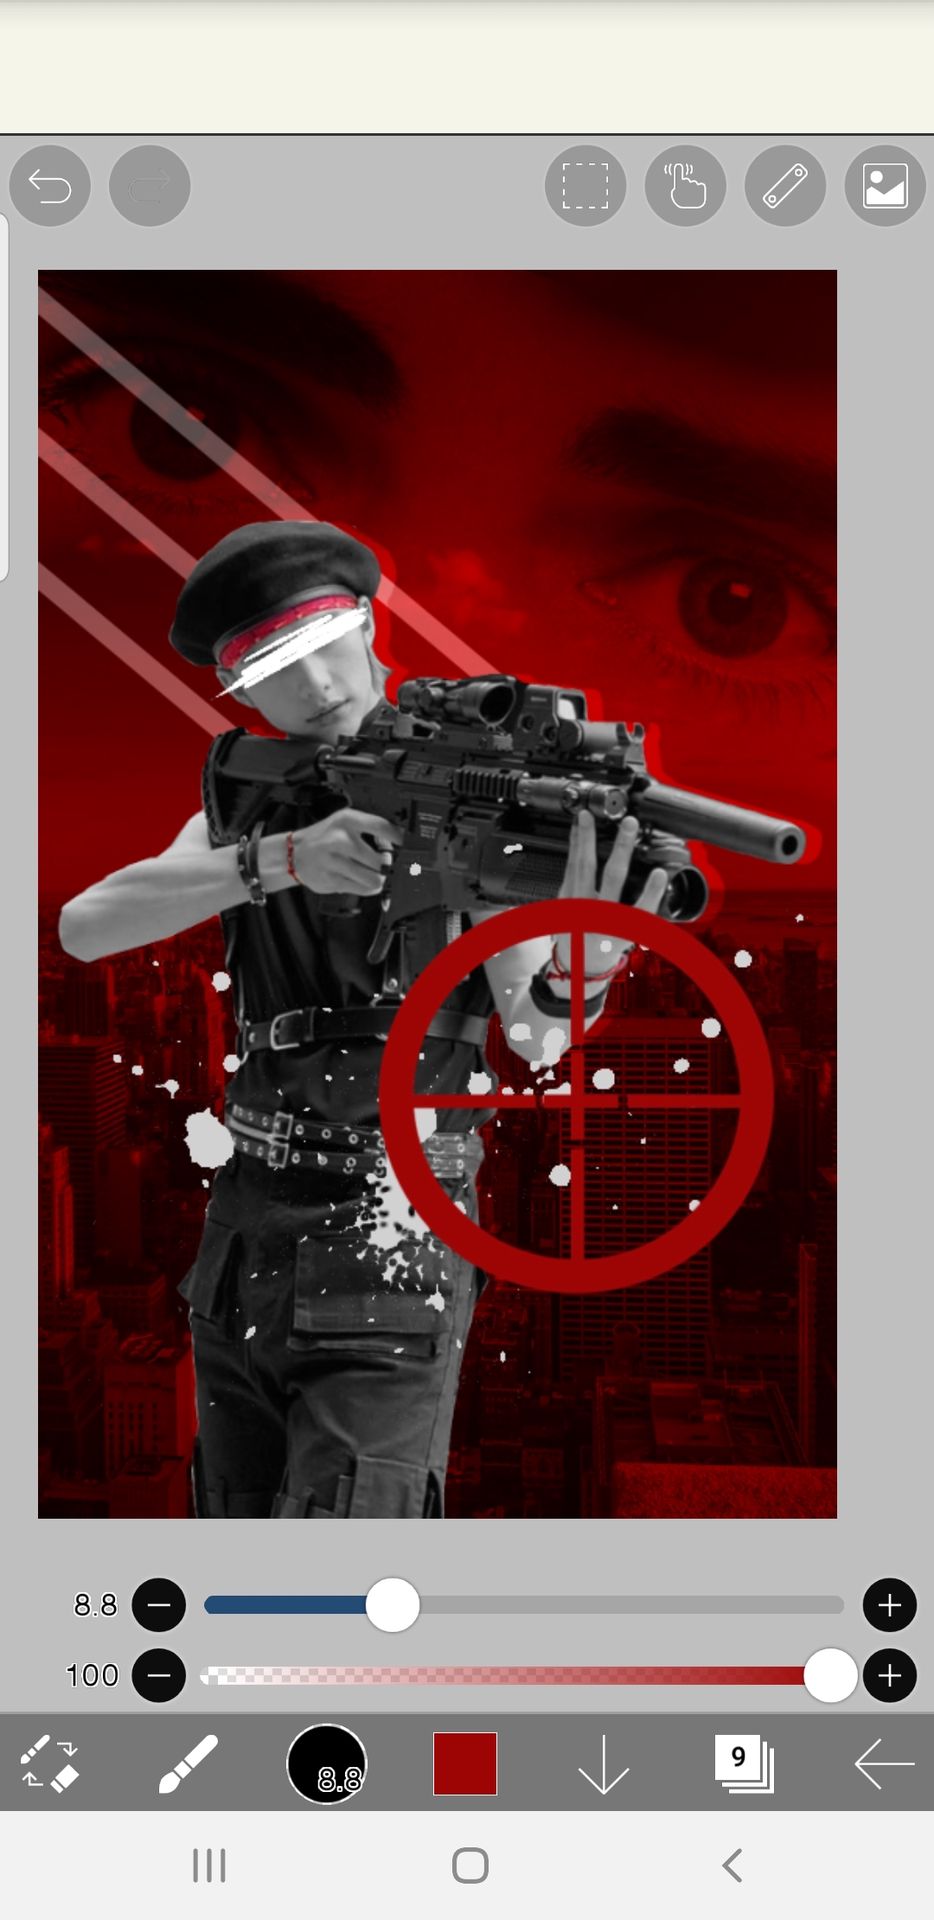
17. I changed the blending mode then adjusted the position with transform
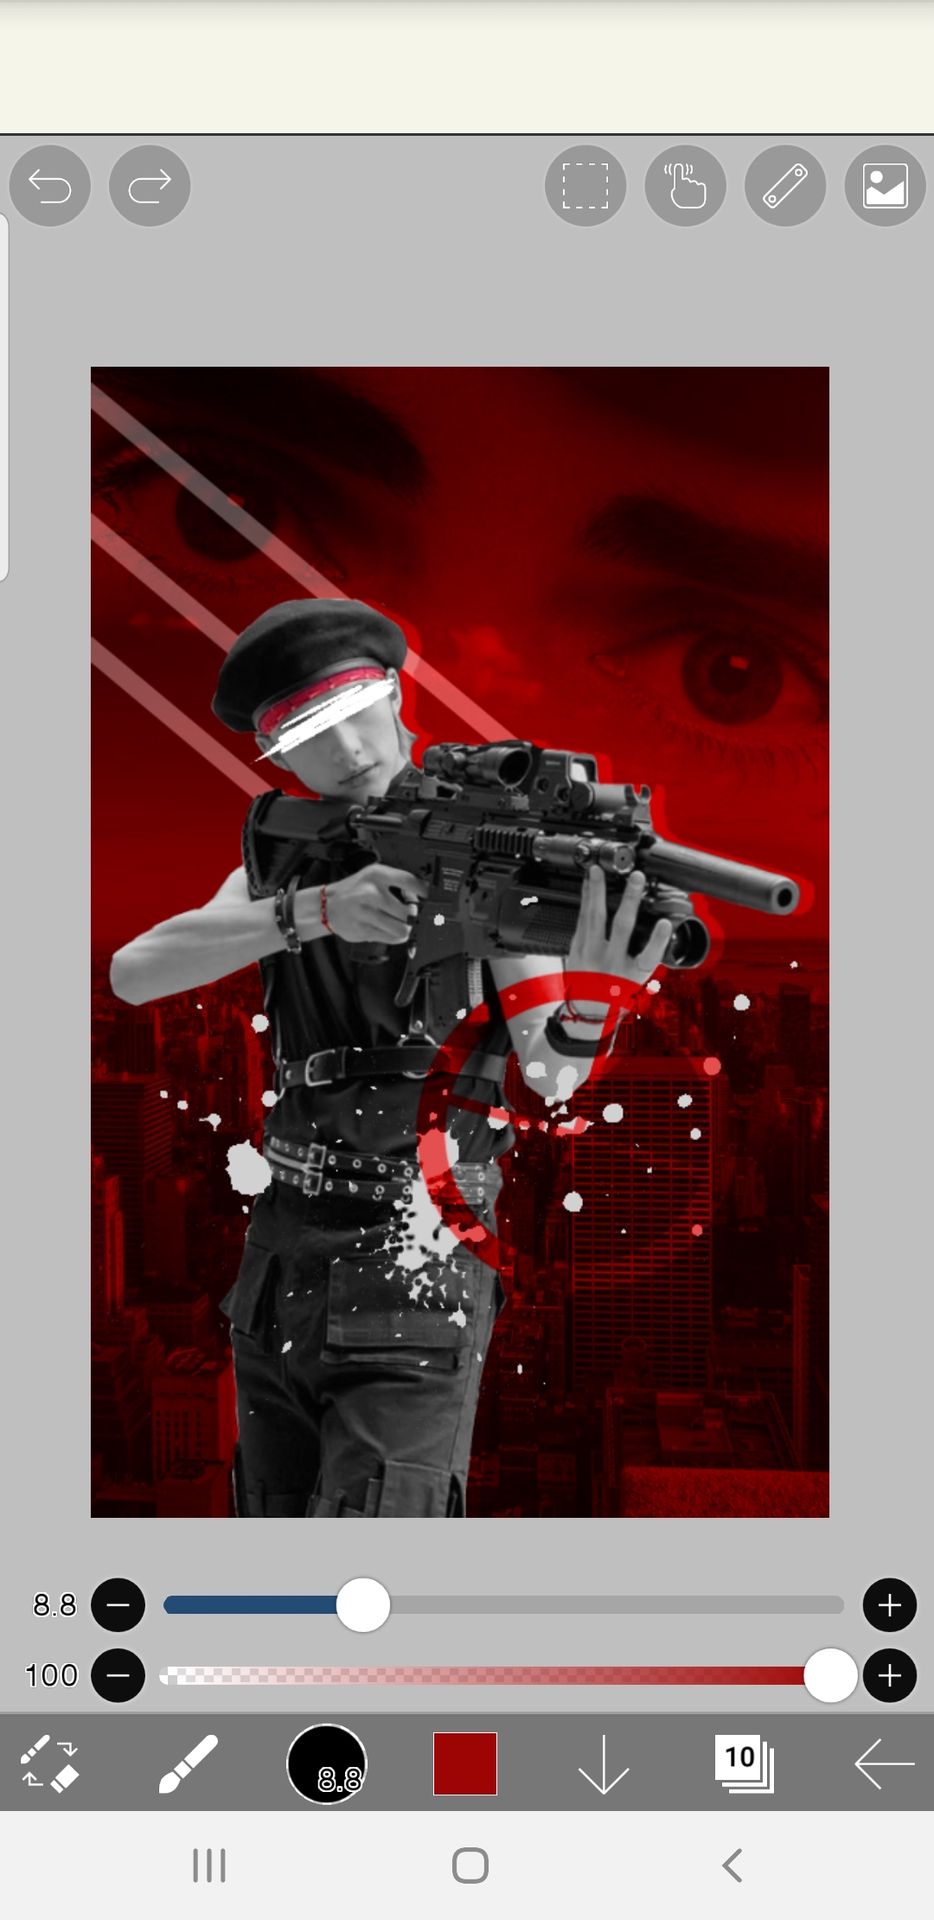
18. Add other details and done!
○ n o t e s ●
- if you have any questions, please ask!
- leave a suggestion for the next tutorial!
- fonts : oceanrush, dry brush, century gothic
Bạn đang đọc truyện trên: AzTruyen.Top