[38] - Face vector (pt.1)
Notes :
- It's a bit complicated to explain
- remember to turn on force fade!
- no selection was used in this one
App(s) used : ibisPaint X and Pinterest
Material(s) :
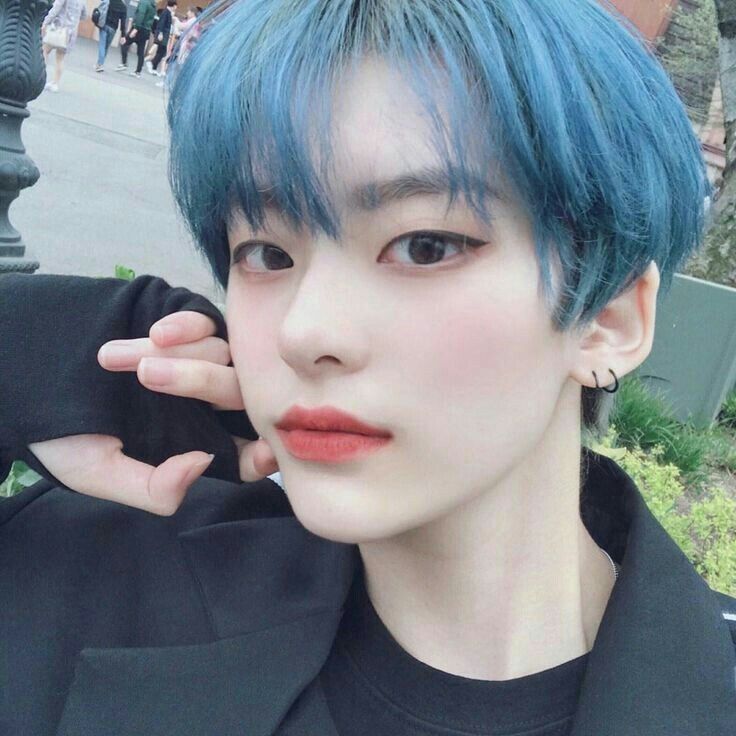
Tutorial :
1. Prepare the base
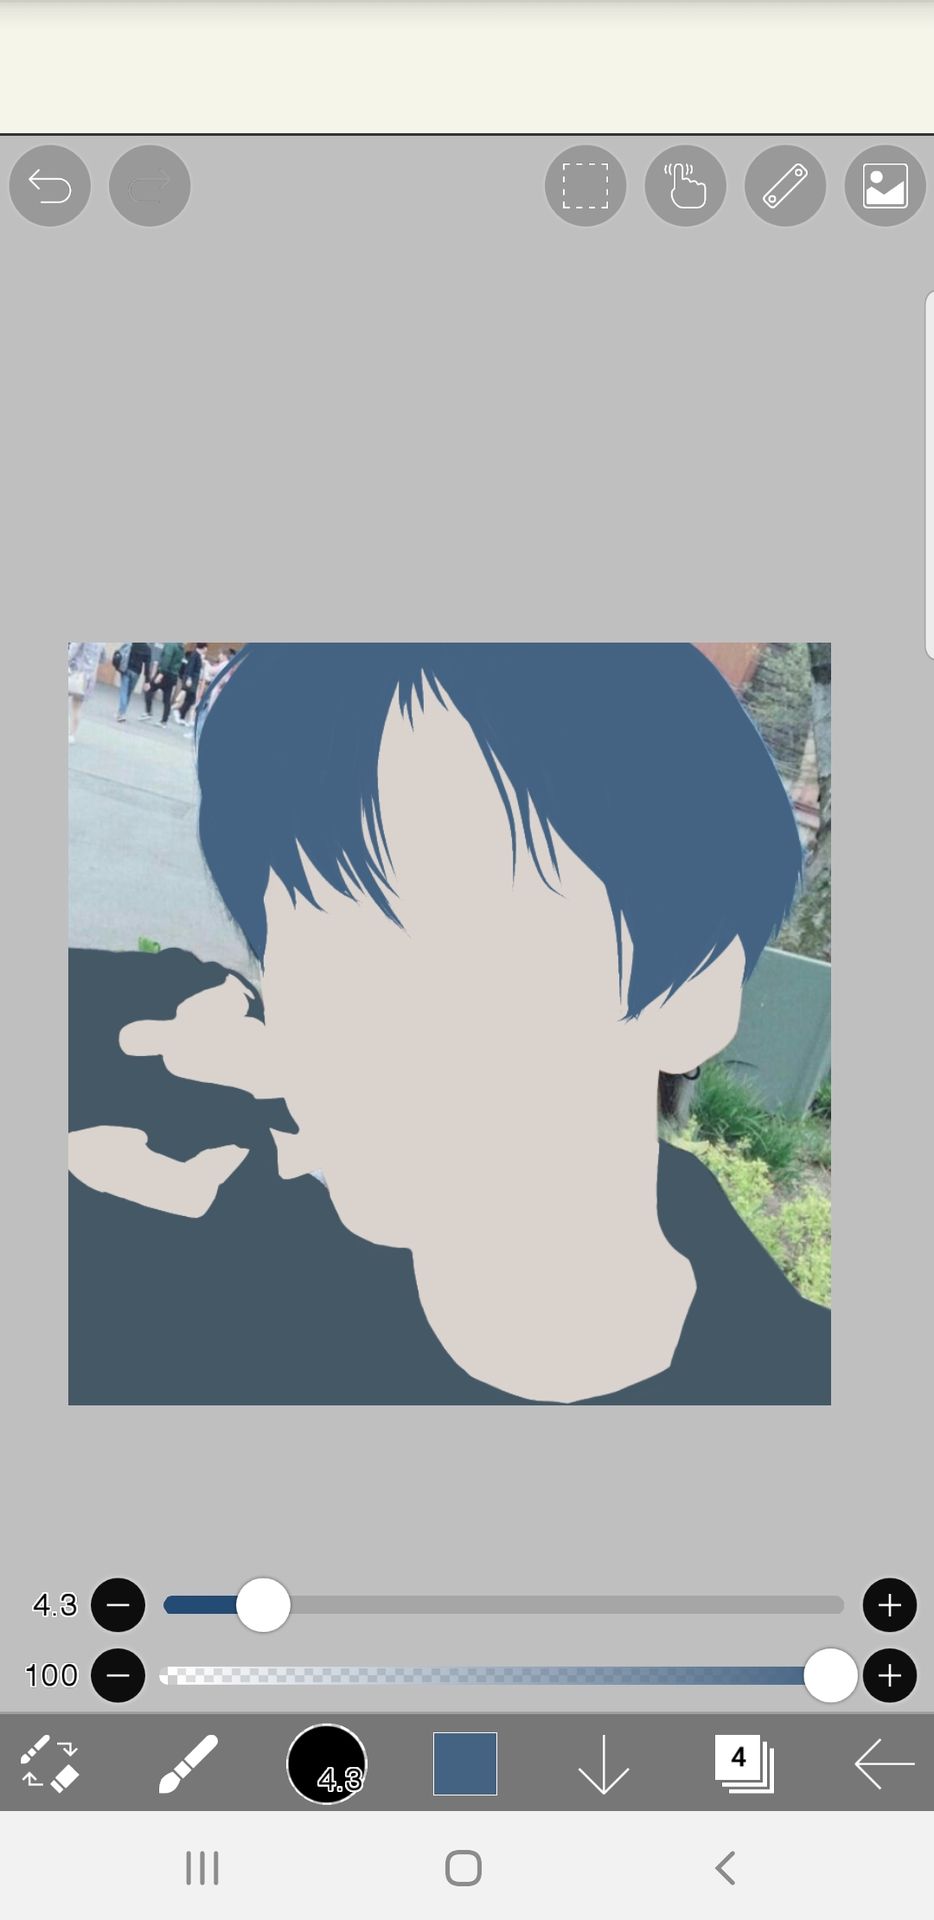
2. Outline the eyebrows by making very small strokes until it looks like this :
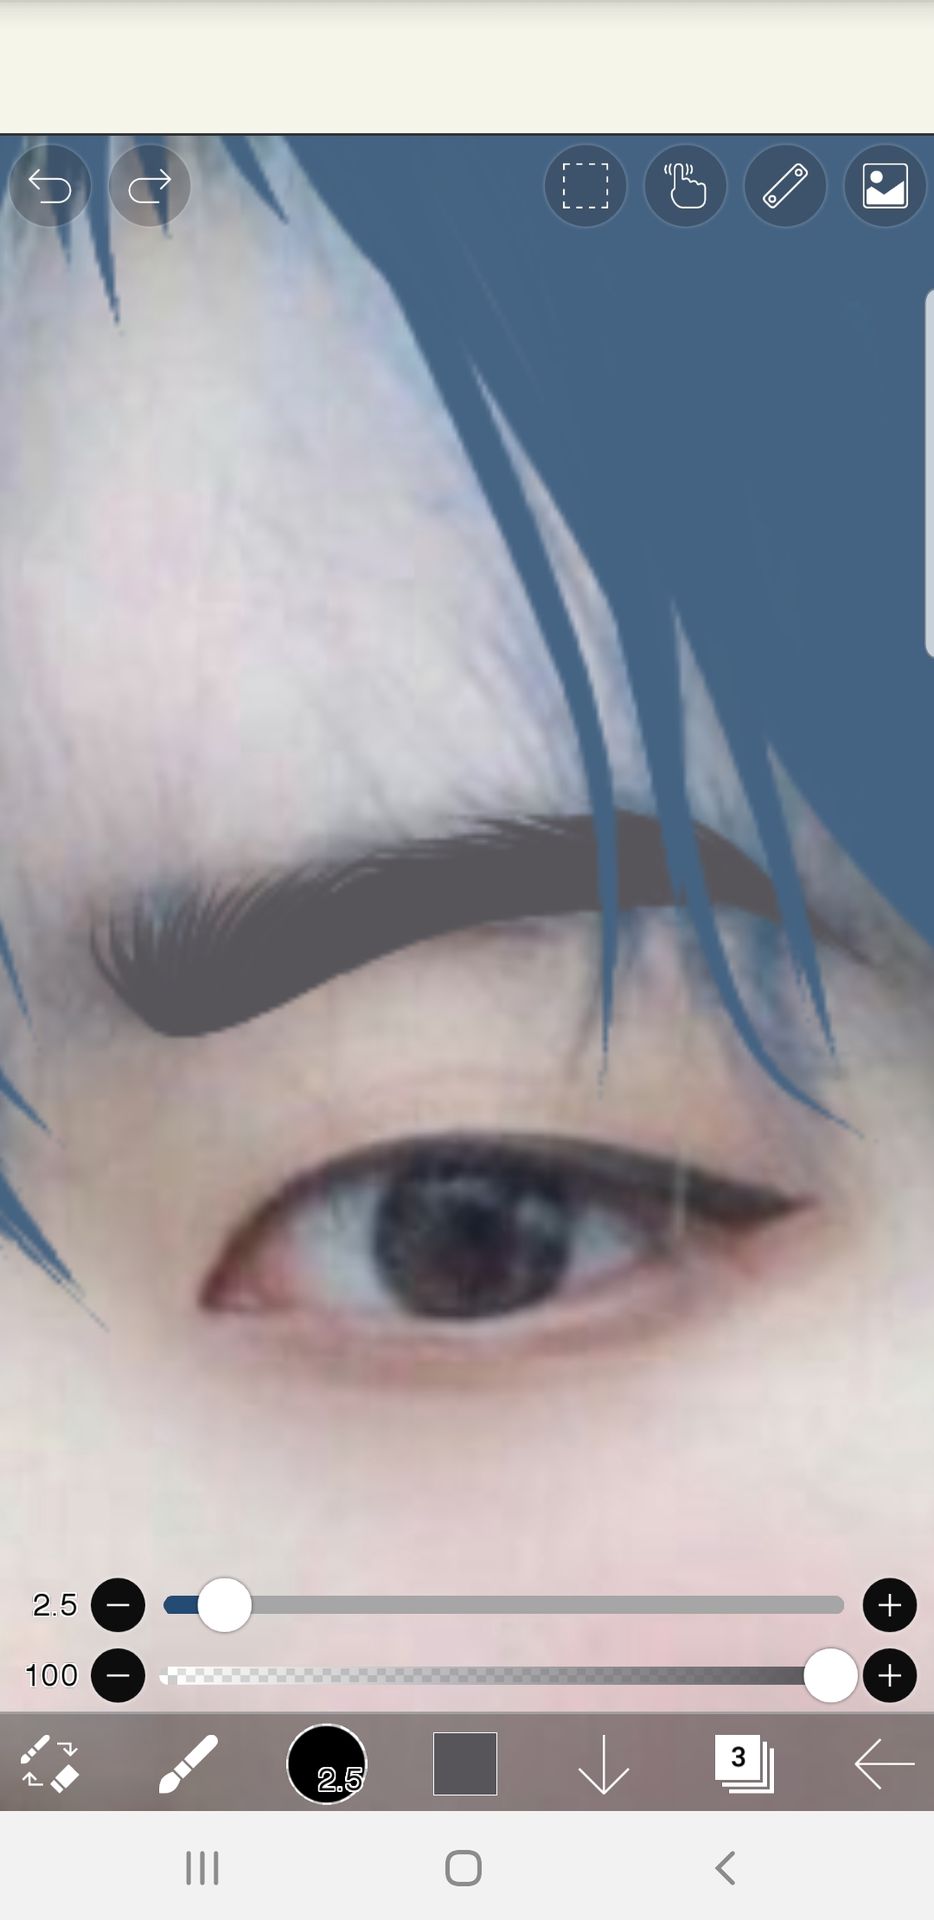
3. With a lighter color, draw some lines to make it more sparse
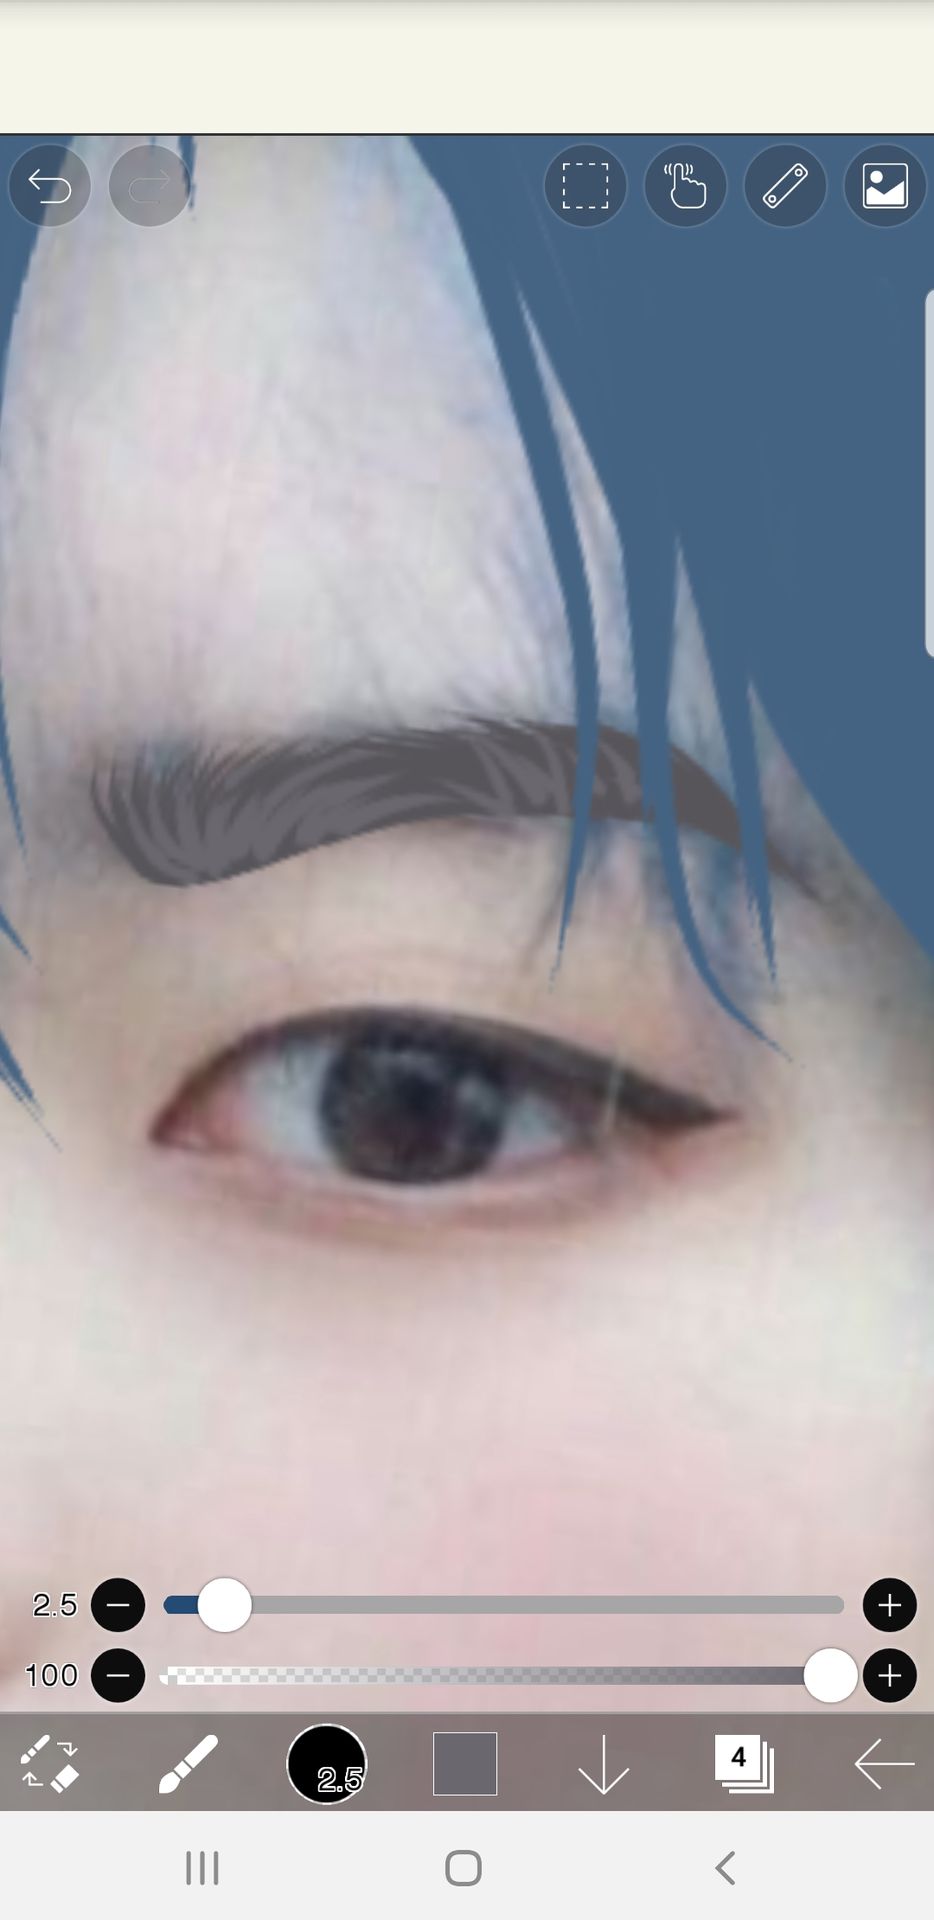
4. With black, outline the shape of the eyes, including eyelashes, pupil, eyelids, and eyebags.
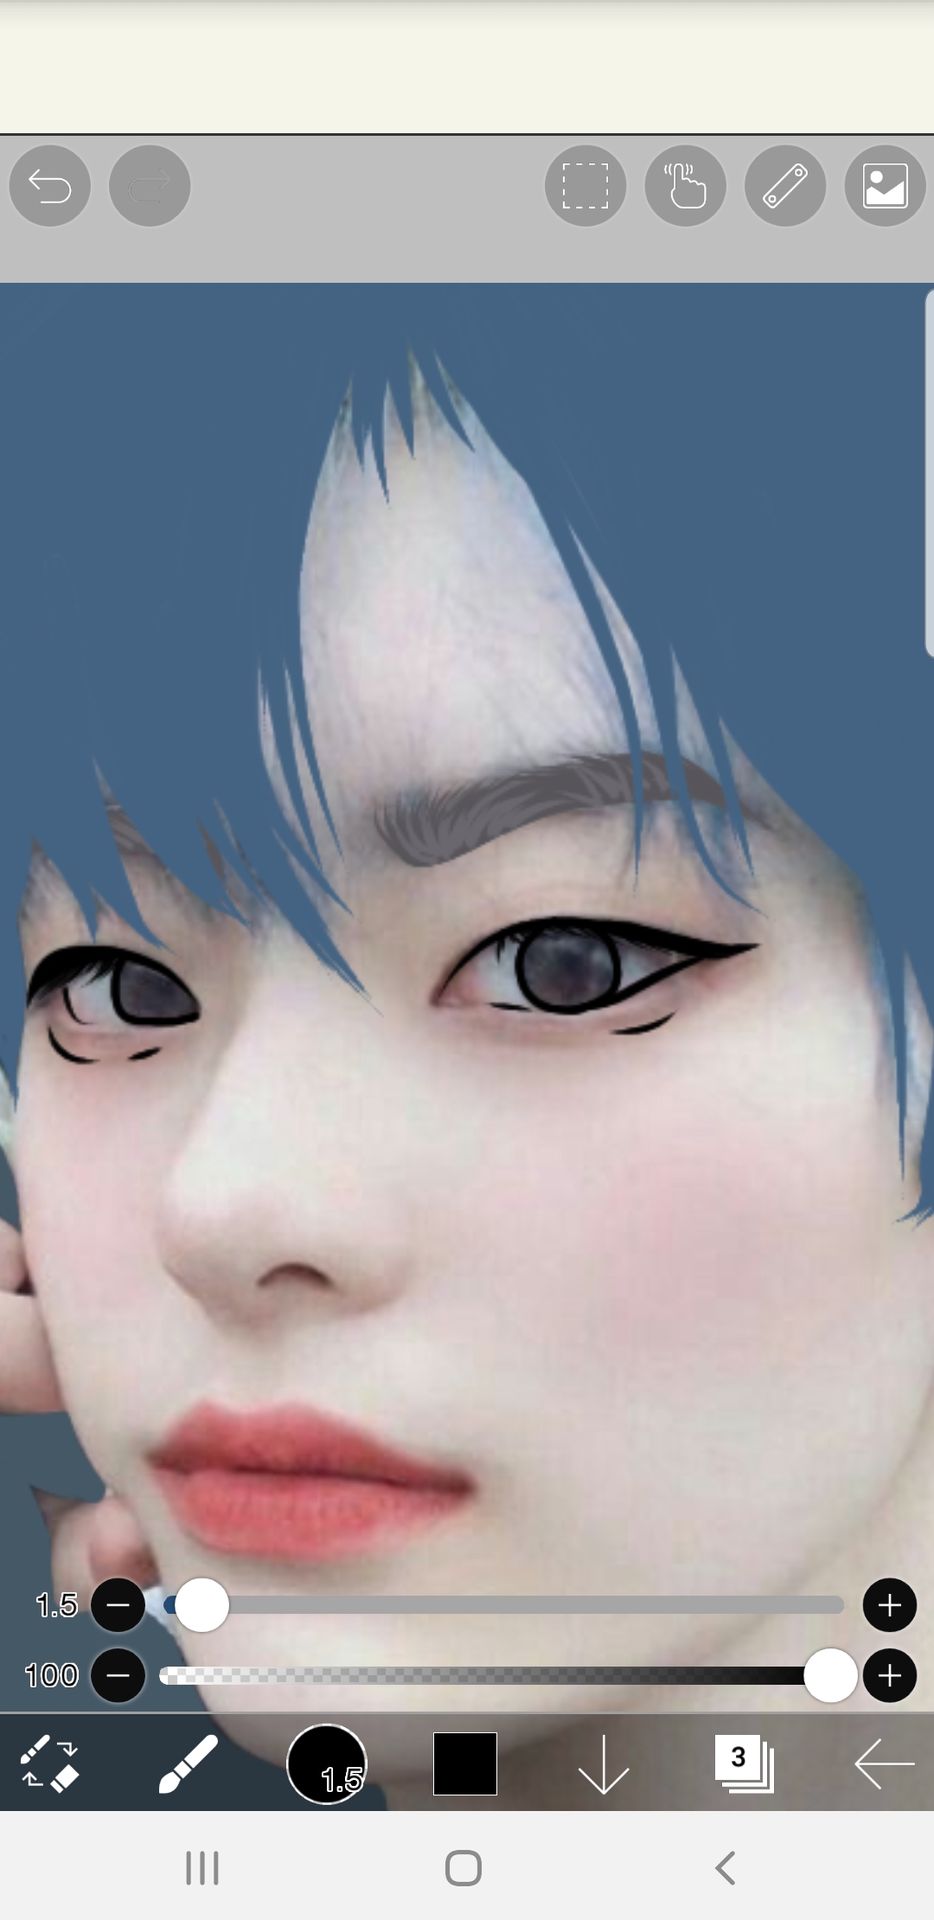
5. I've already explained how to vector an eye before, so I'll just show it rather than use a lot of blaberring you guys won't understand. Each pic is on a different layer.
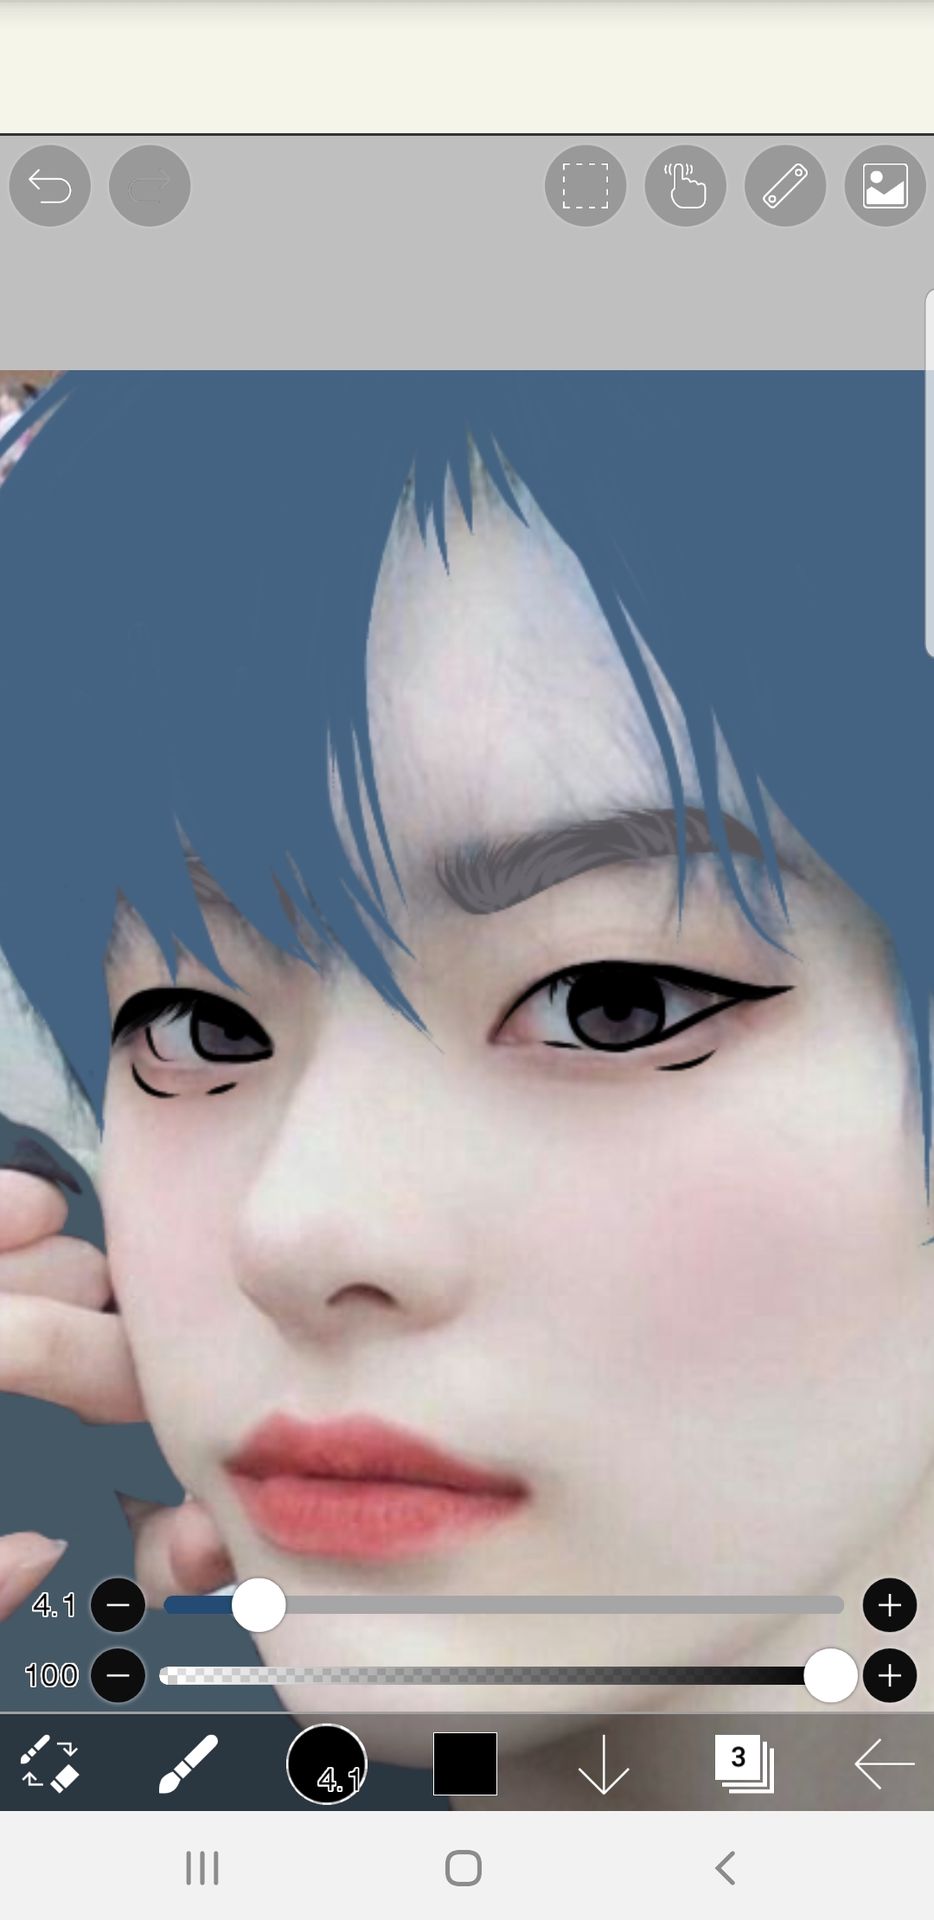
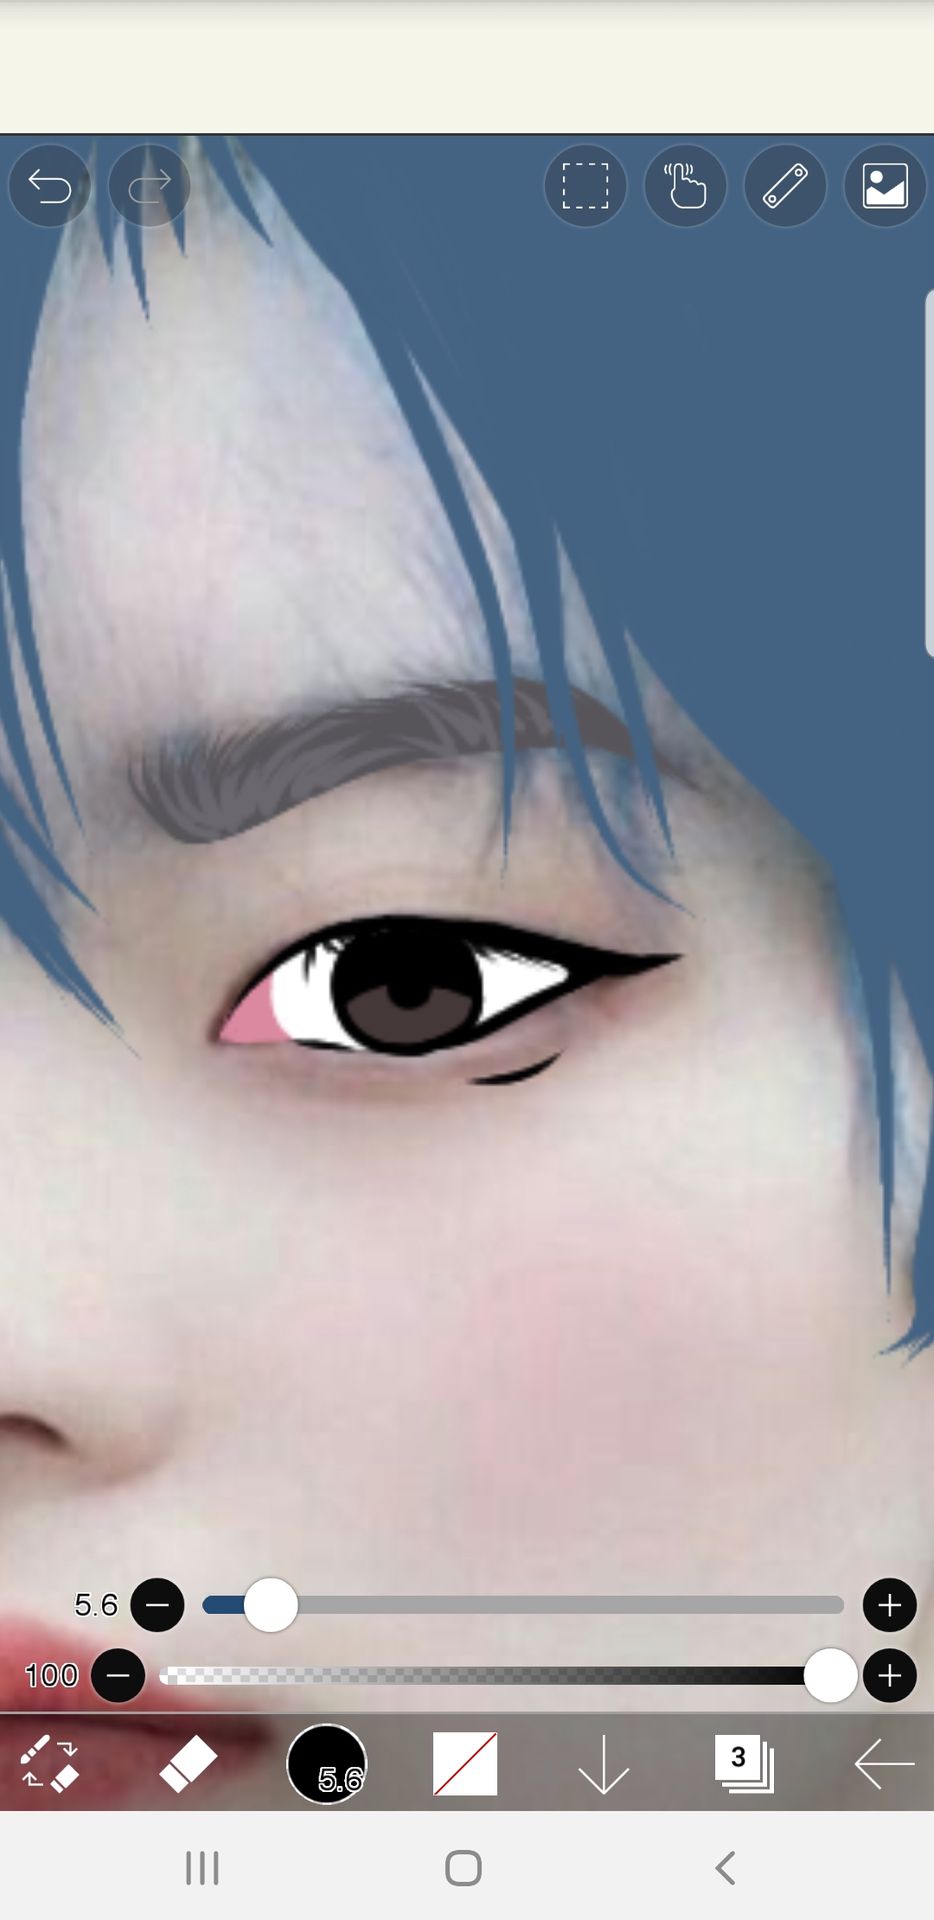
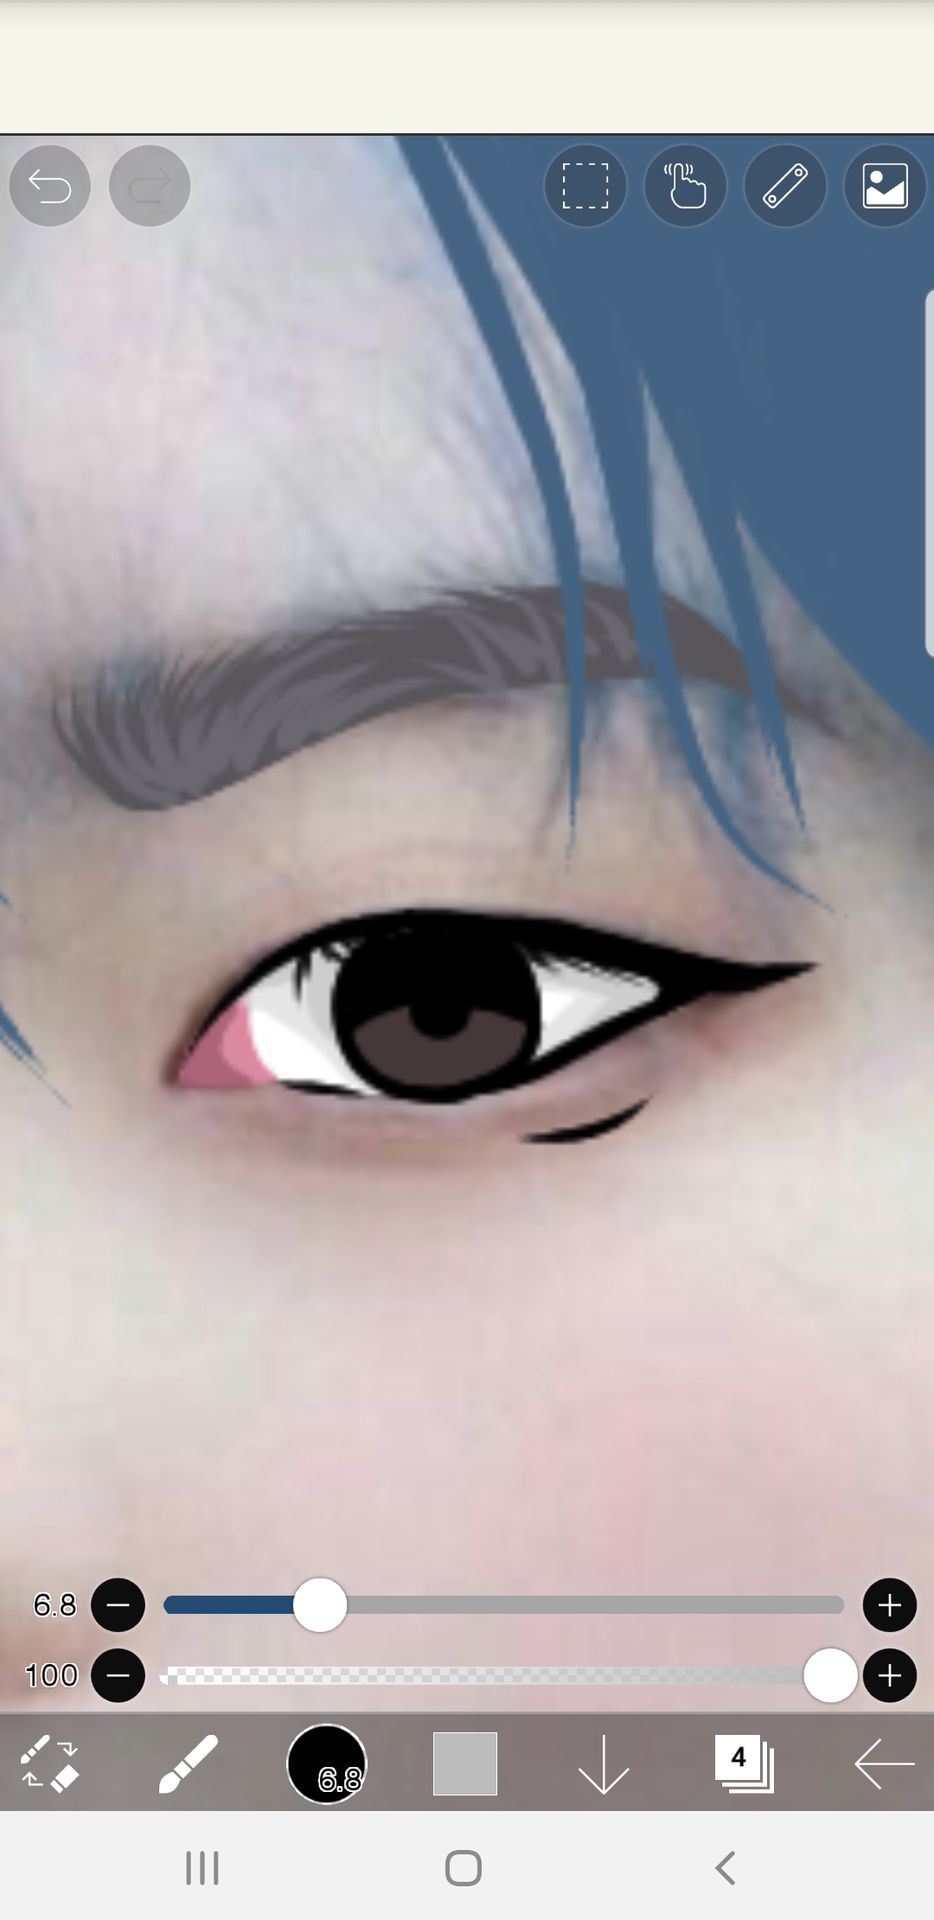
*opacity lowered ⬆️
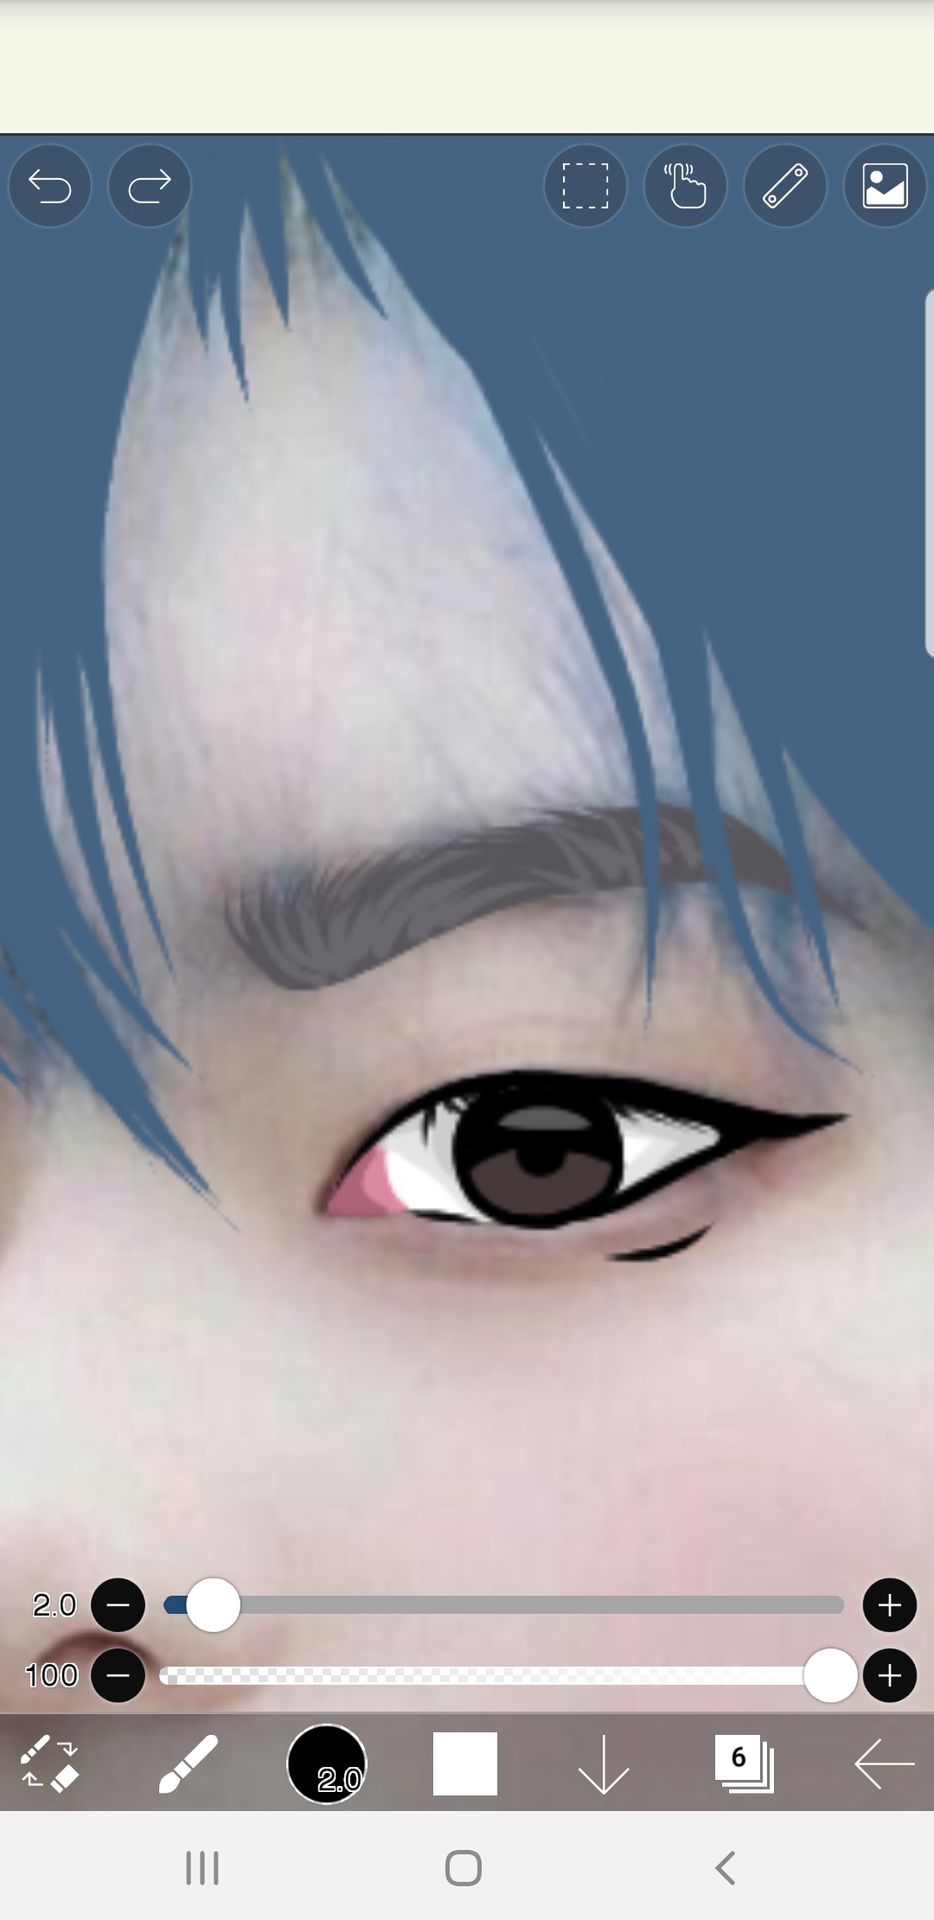
*opacity lowered ⬆️
6. Add some gradient to the eyes by coloring a darker color around the black lines then go to filter > blur <> gaussian blur.
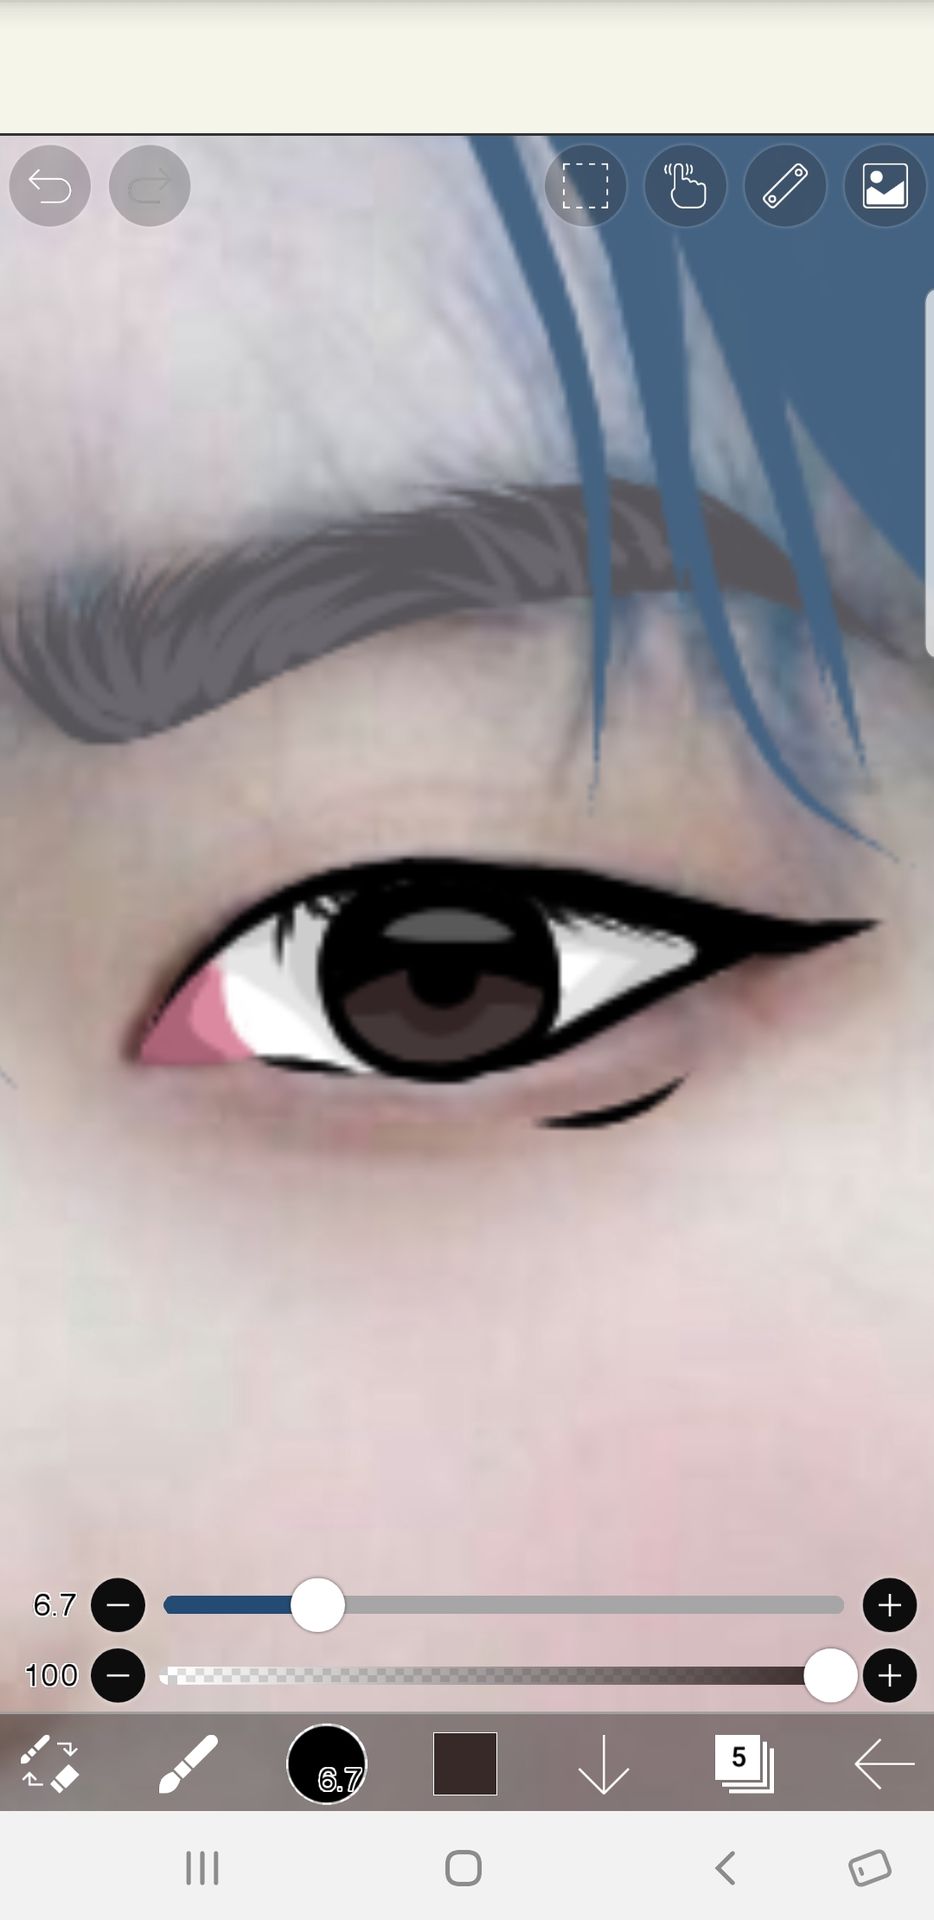
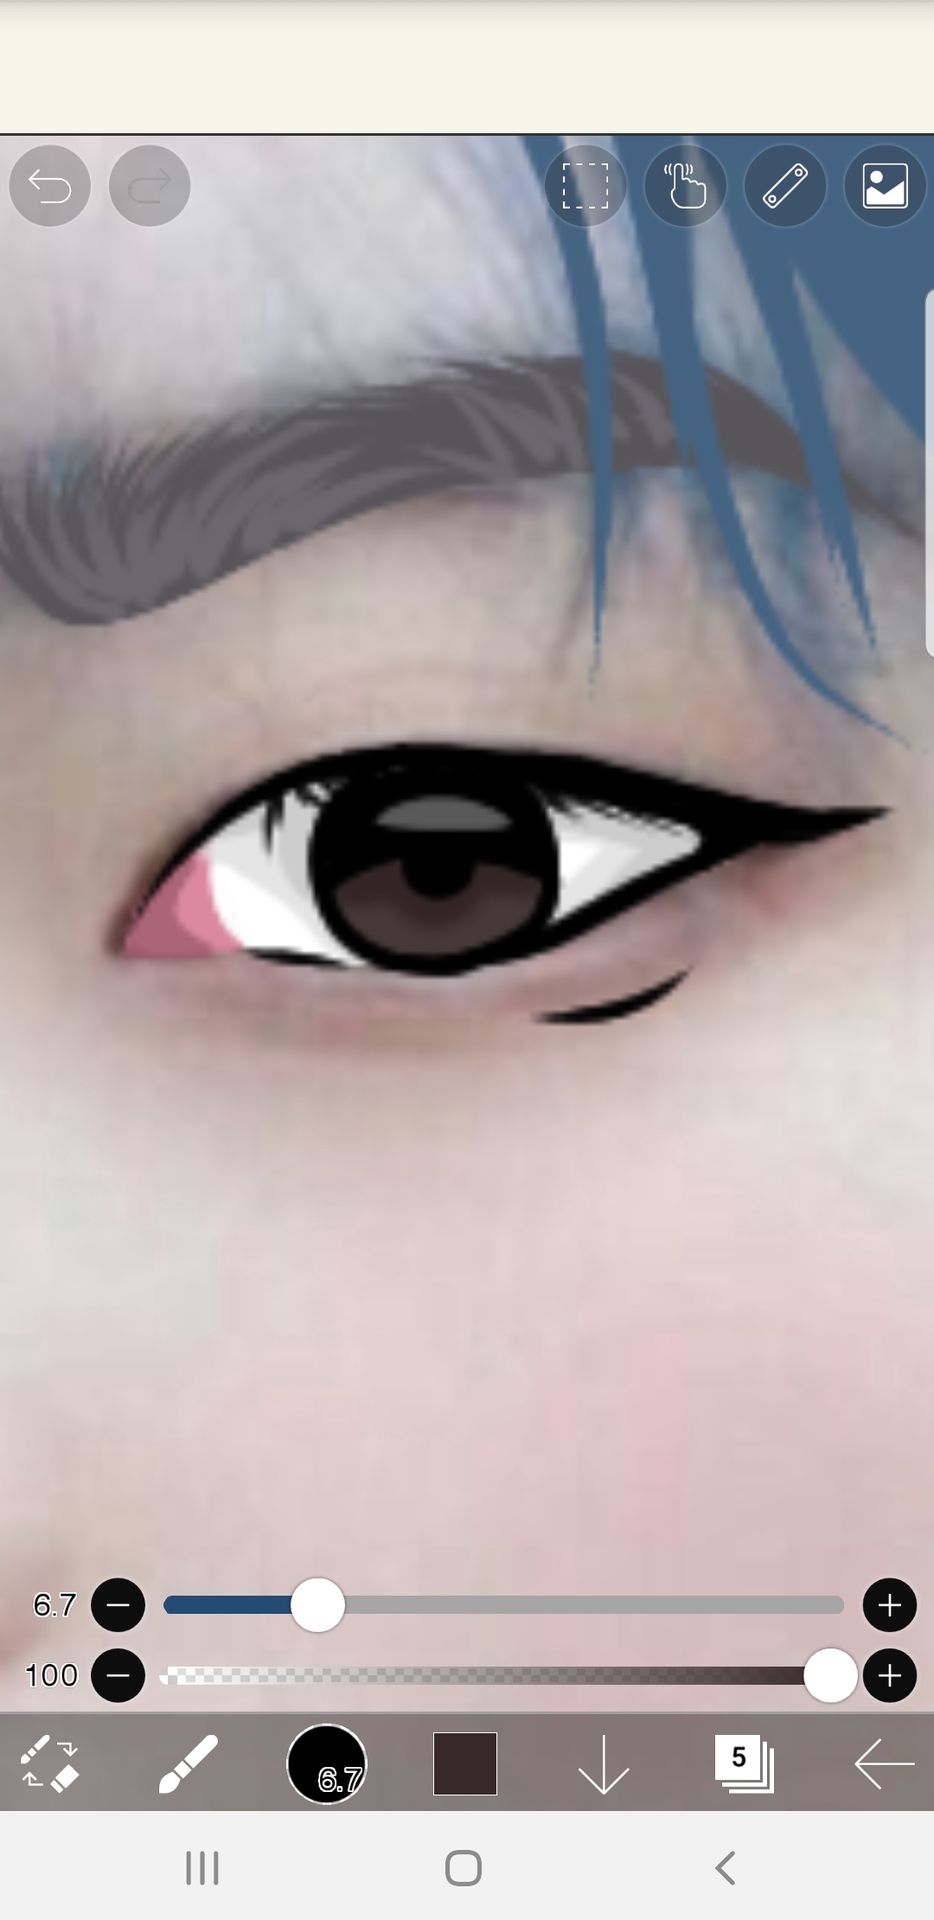
7. For the lips, hold the screen or use the eyedropper tool to get the exact color and try to follow the lines. I'll show it :
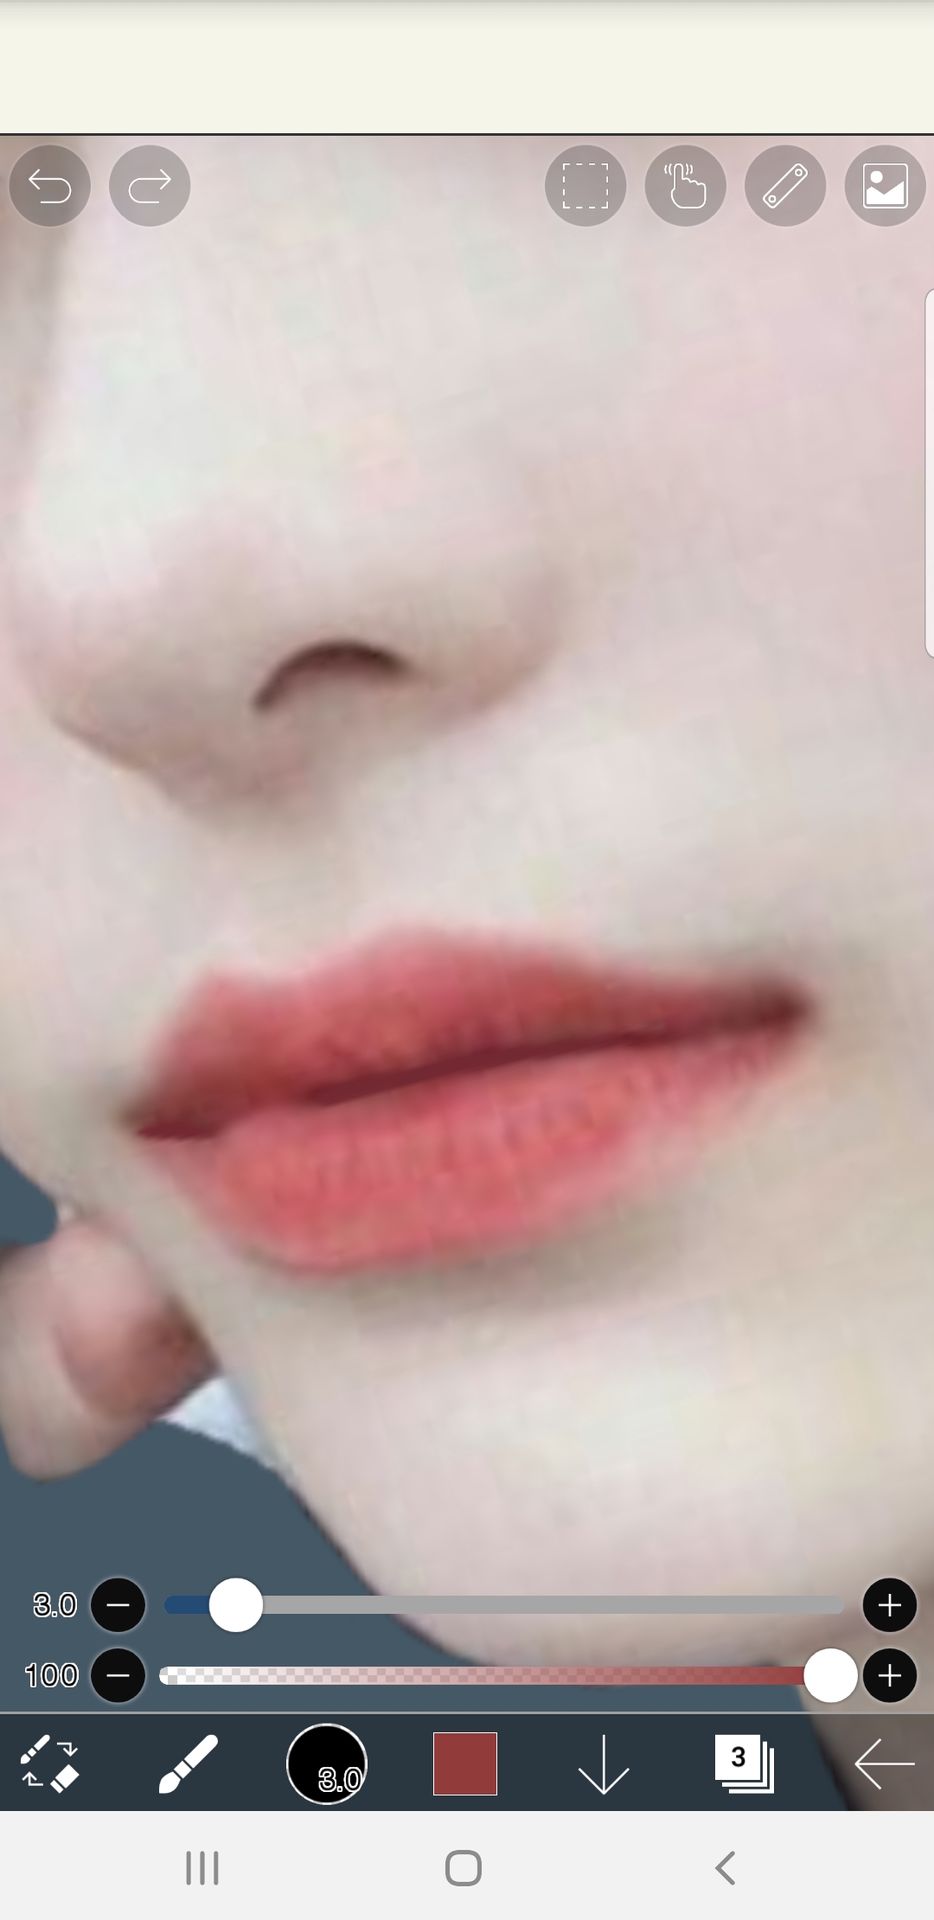
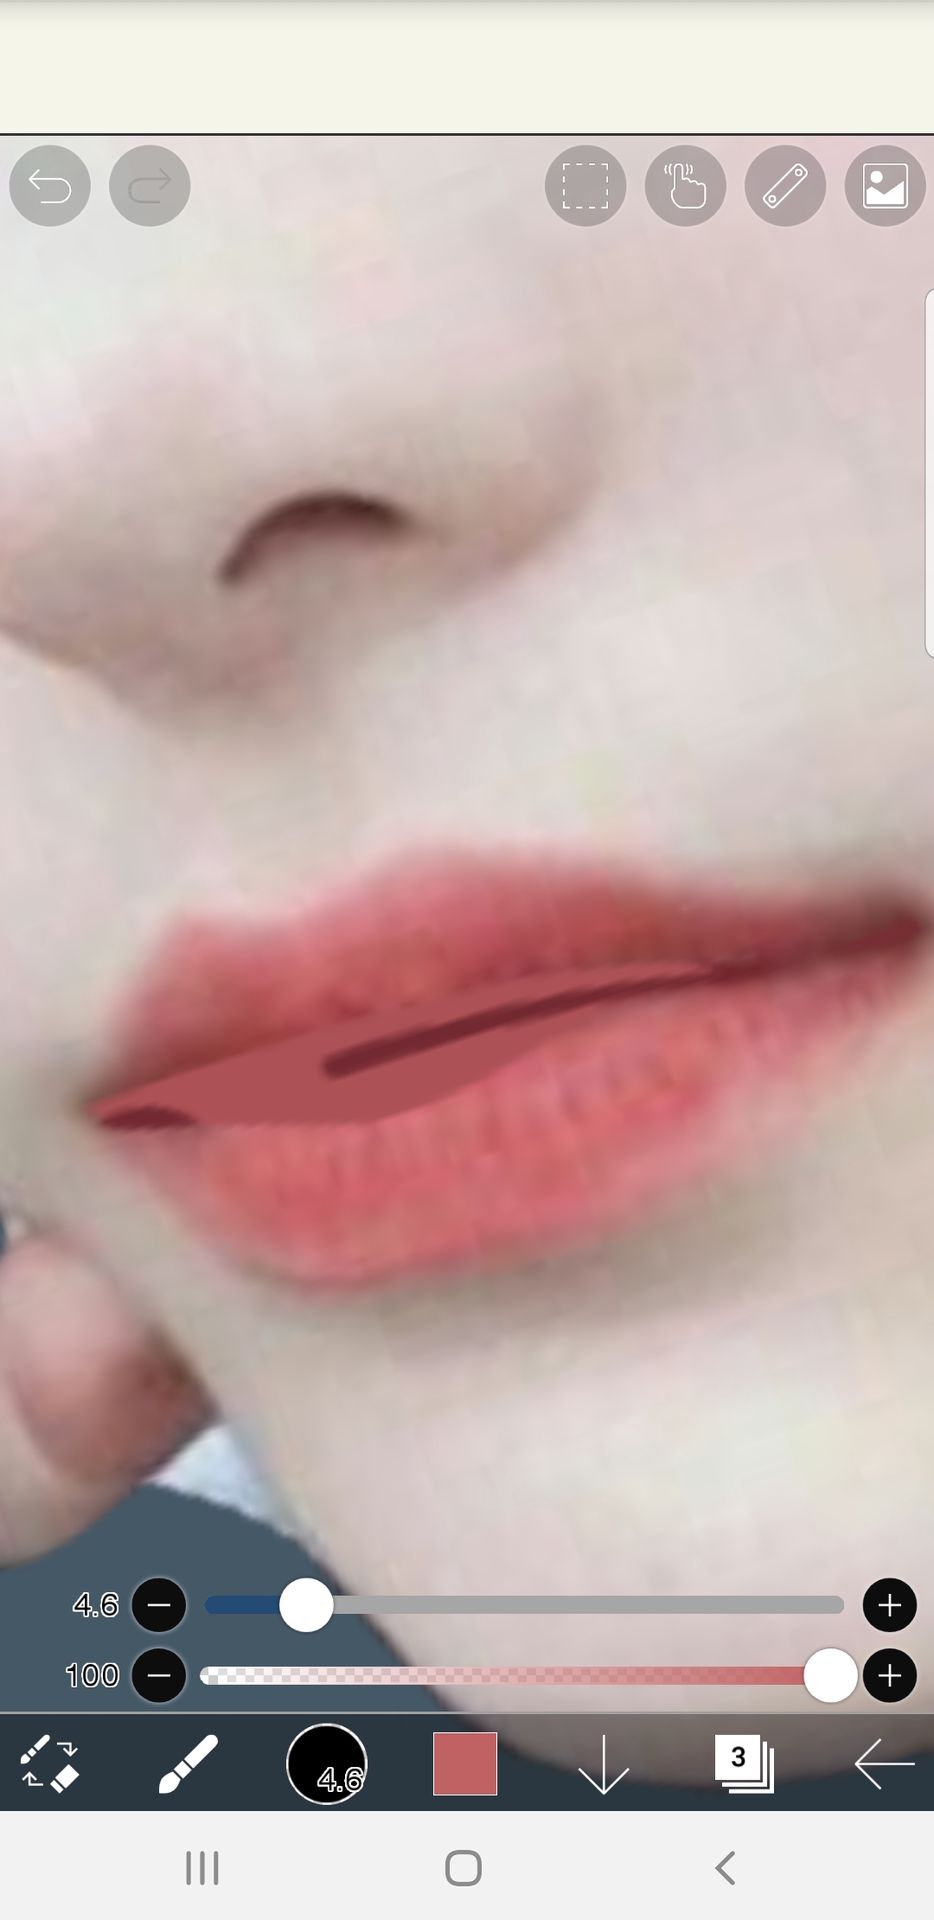
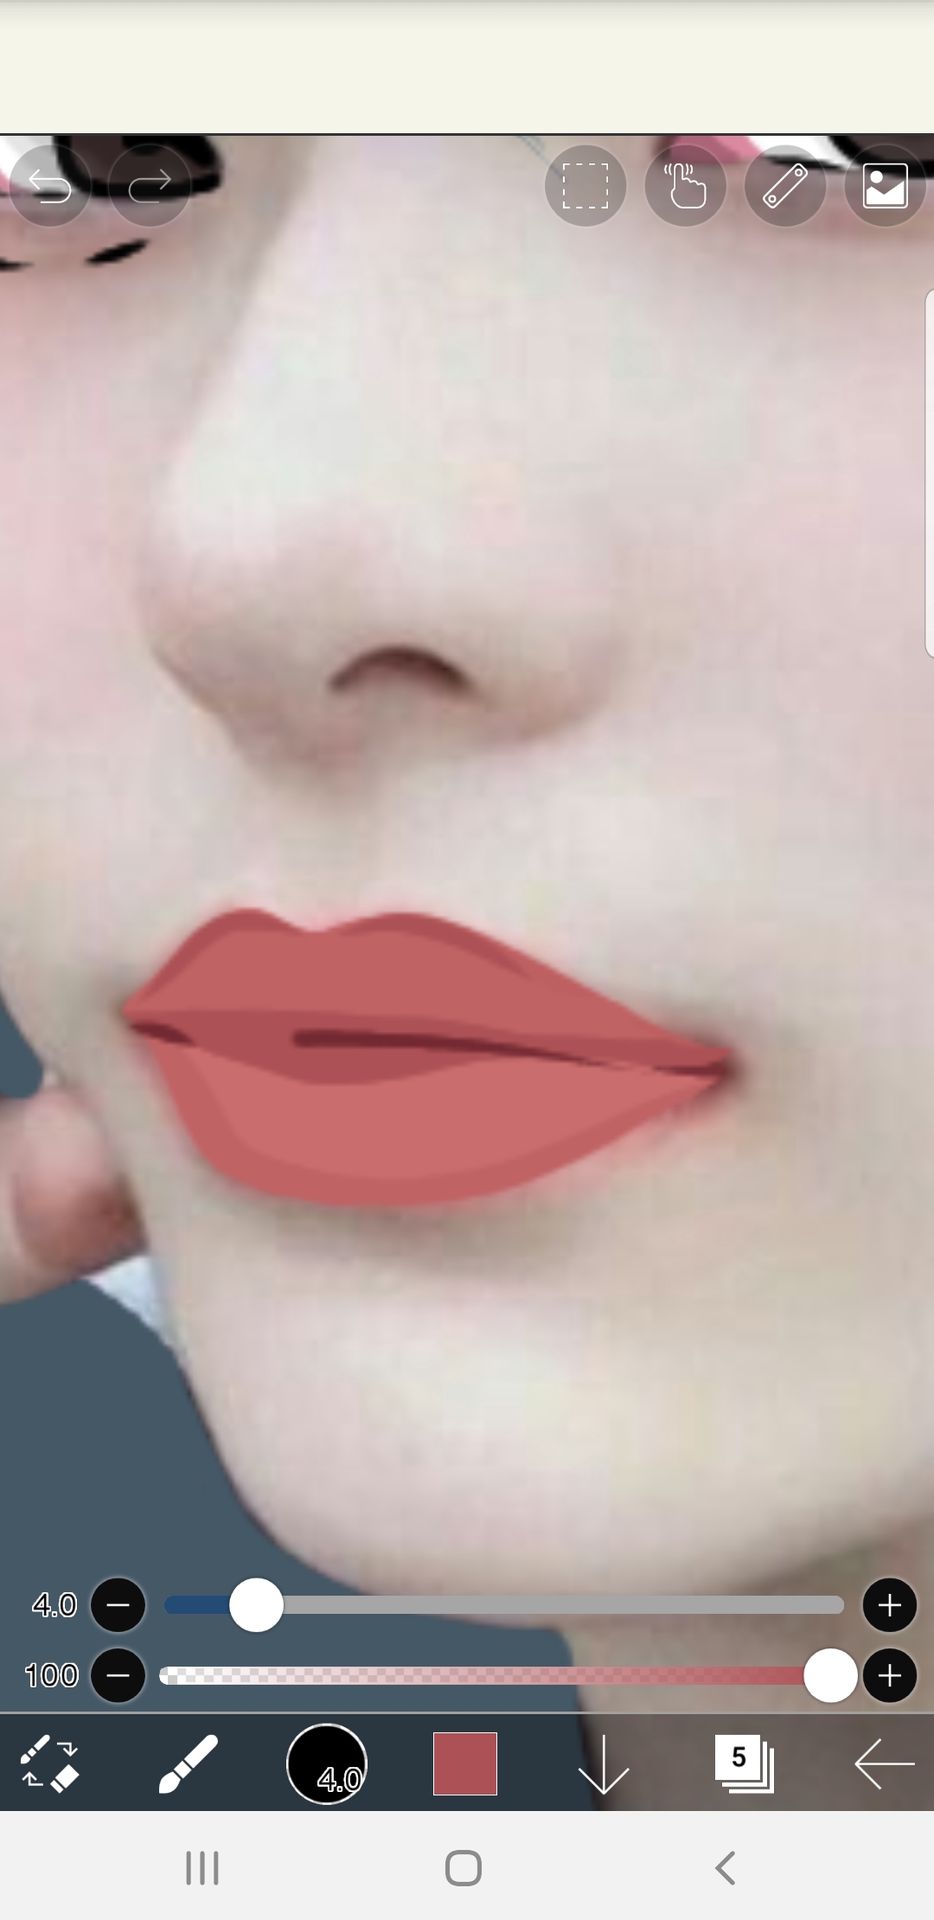
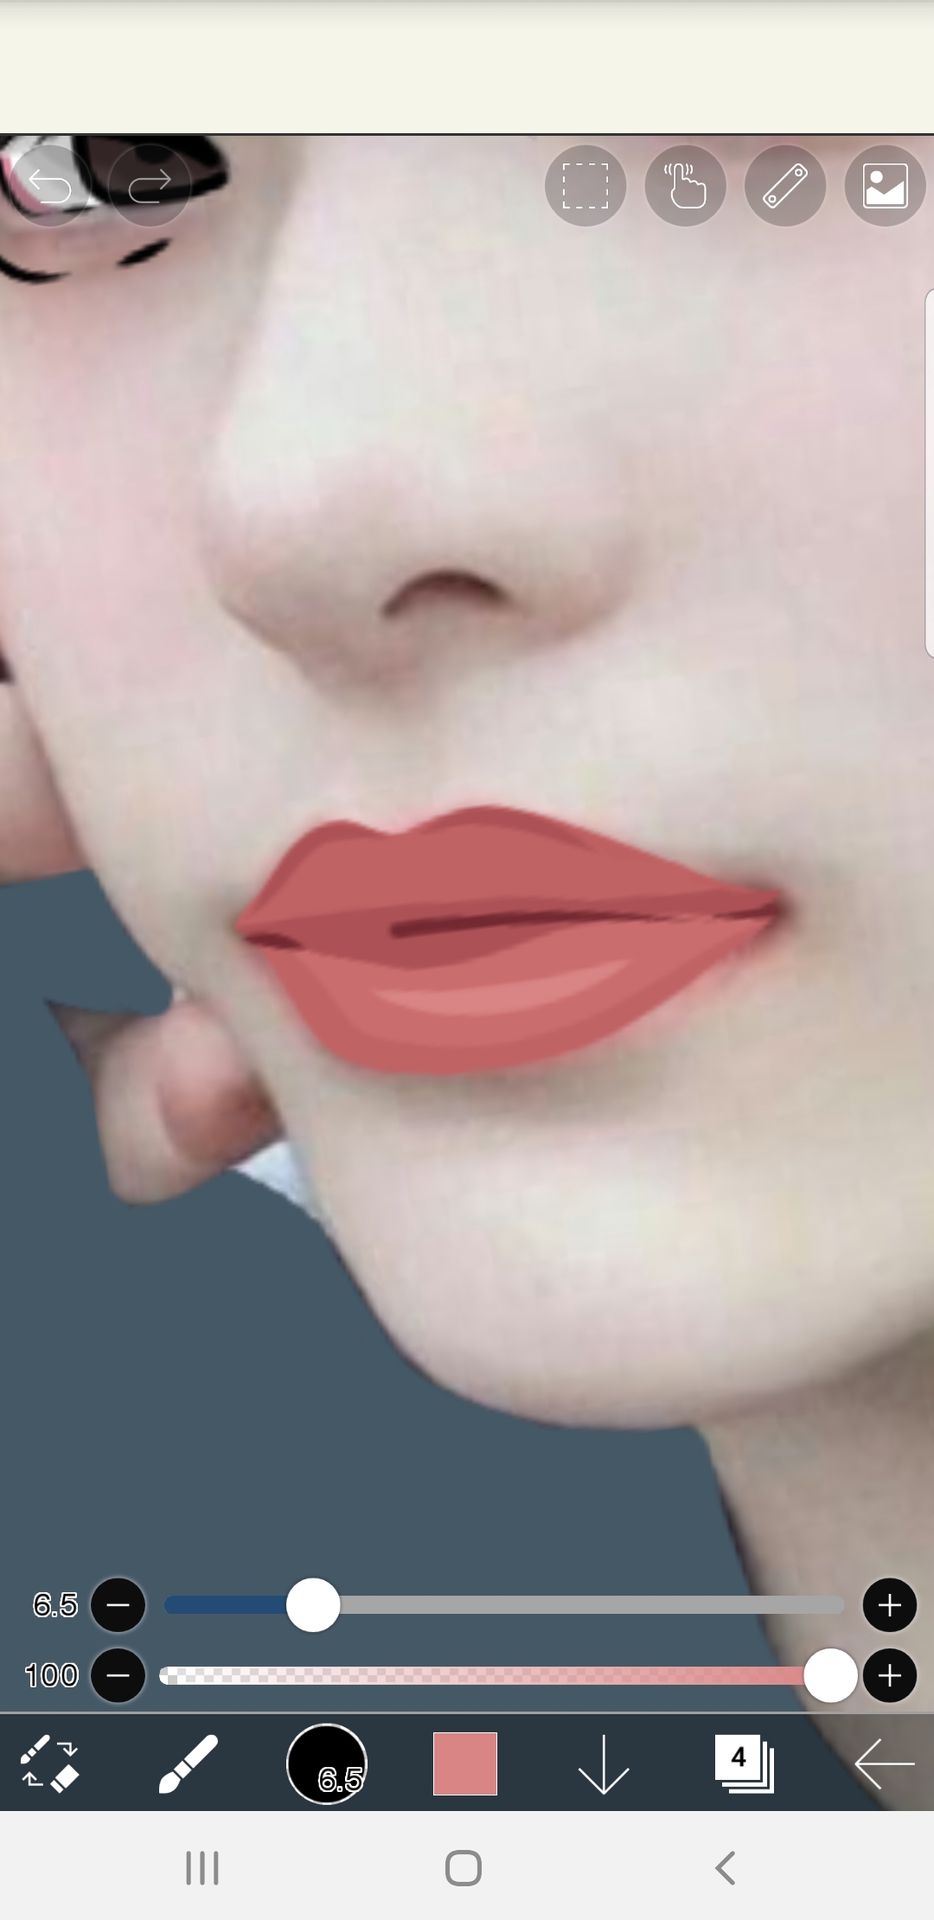
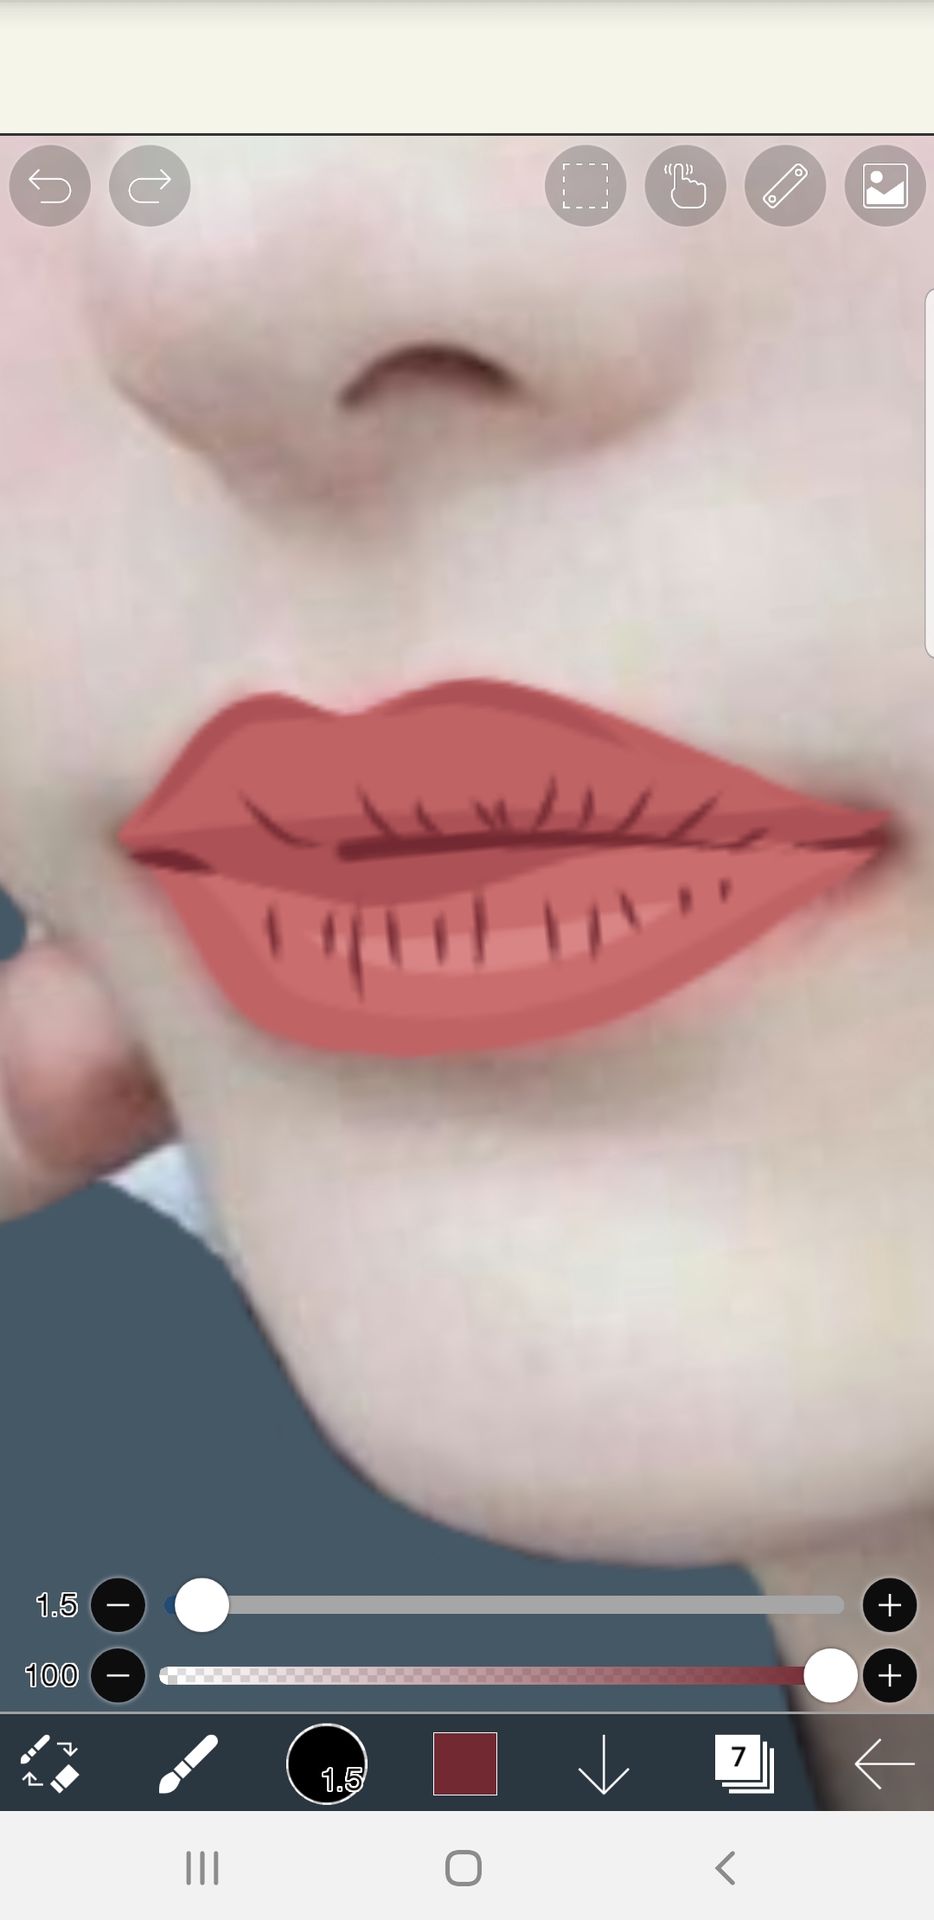
*his lips doesn't has any gloss, but I usually use white lines on their lips if they have glossy lips.
8. Like usual, use a darker colors (twice) at darker areas of the skin, but this time make it more detailed, especially around the eyes, nose, and ears. Once done, lower the opacity to blend it with the base a bit.
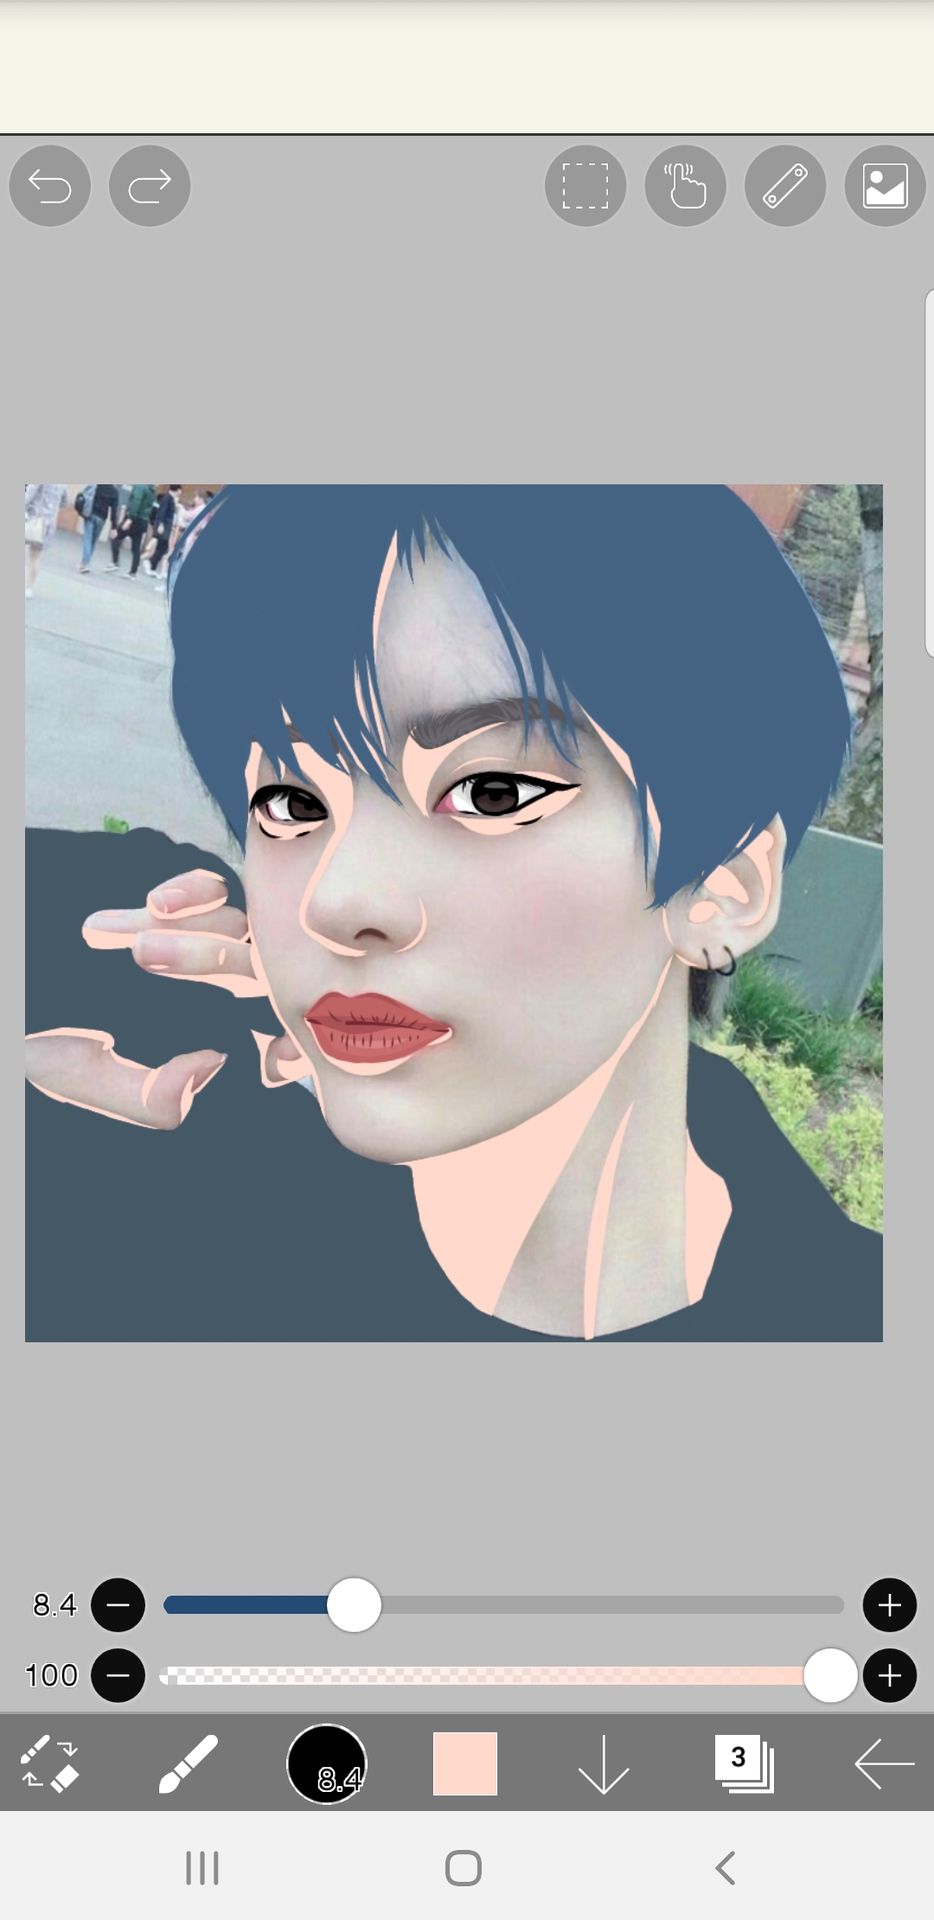
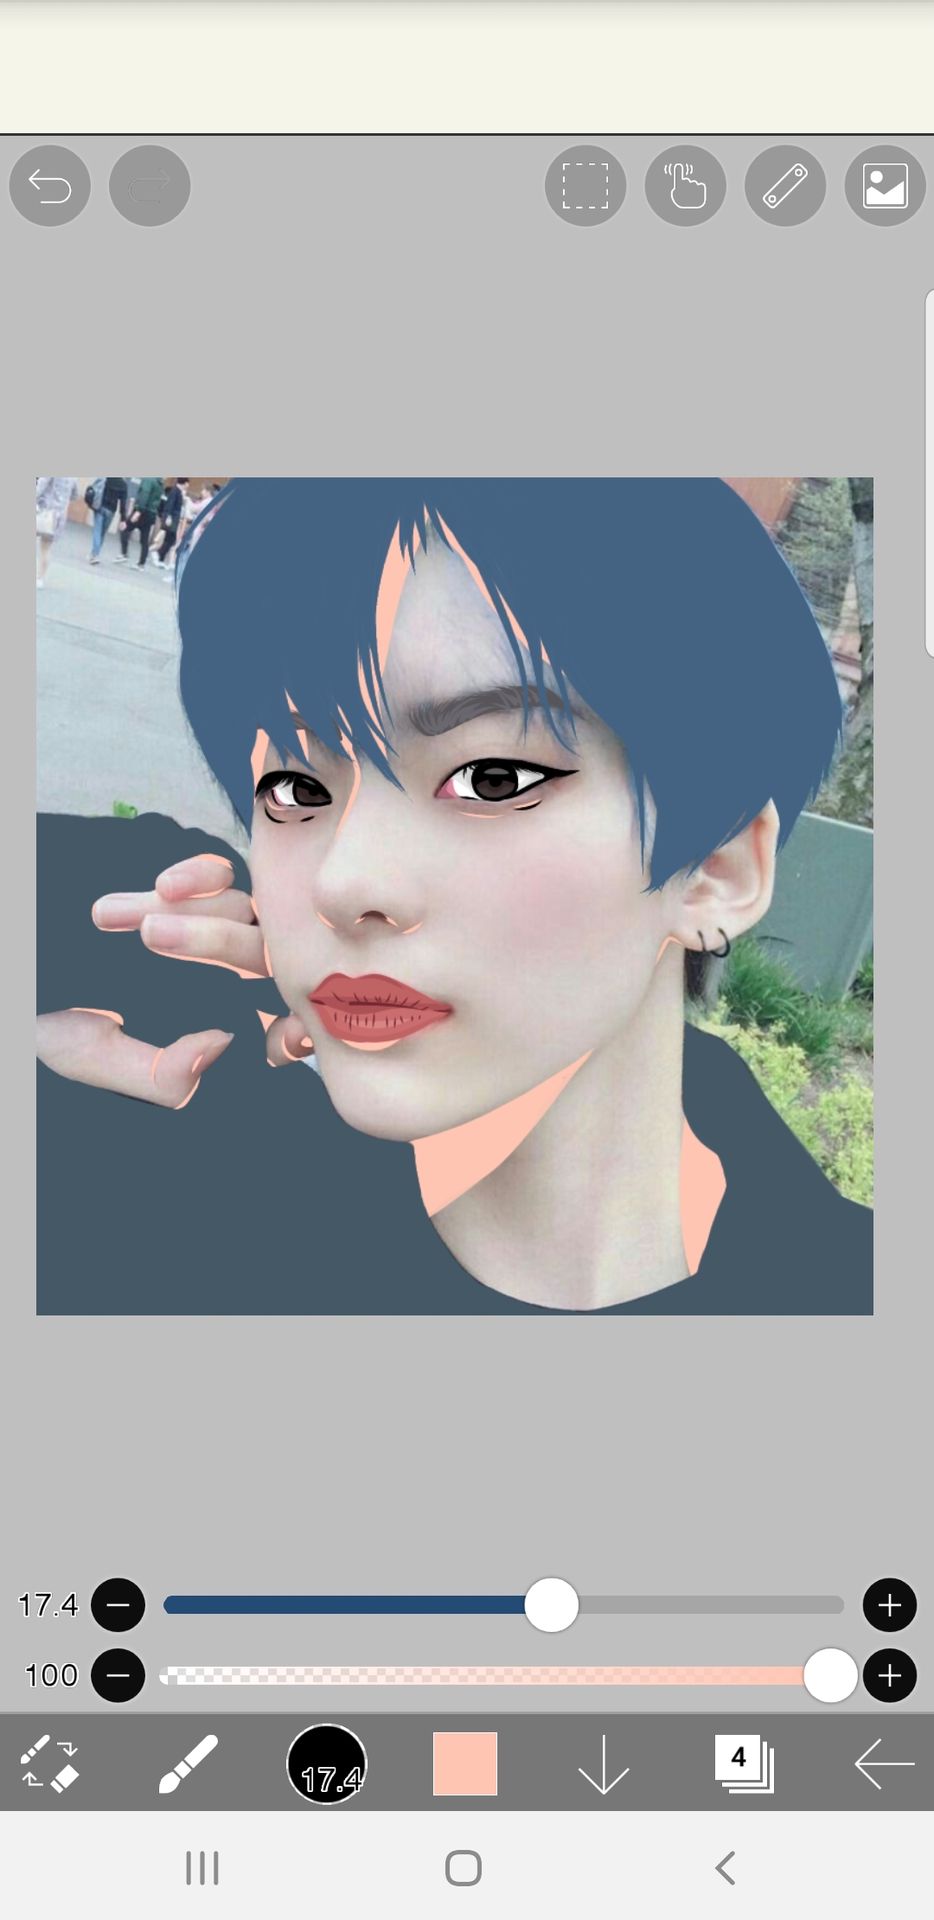
9. This is totally optional but, I added blush on his cheeks with an airbrush since in the original pic his cheeks were tinted.
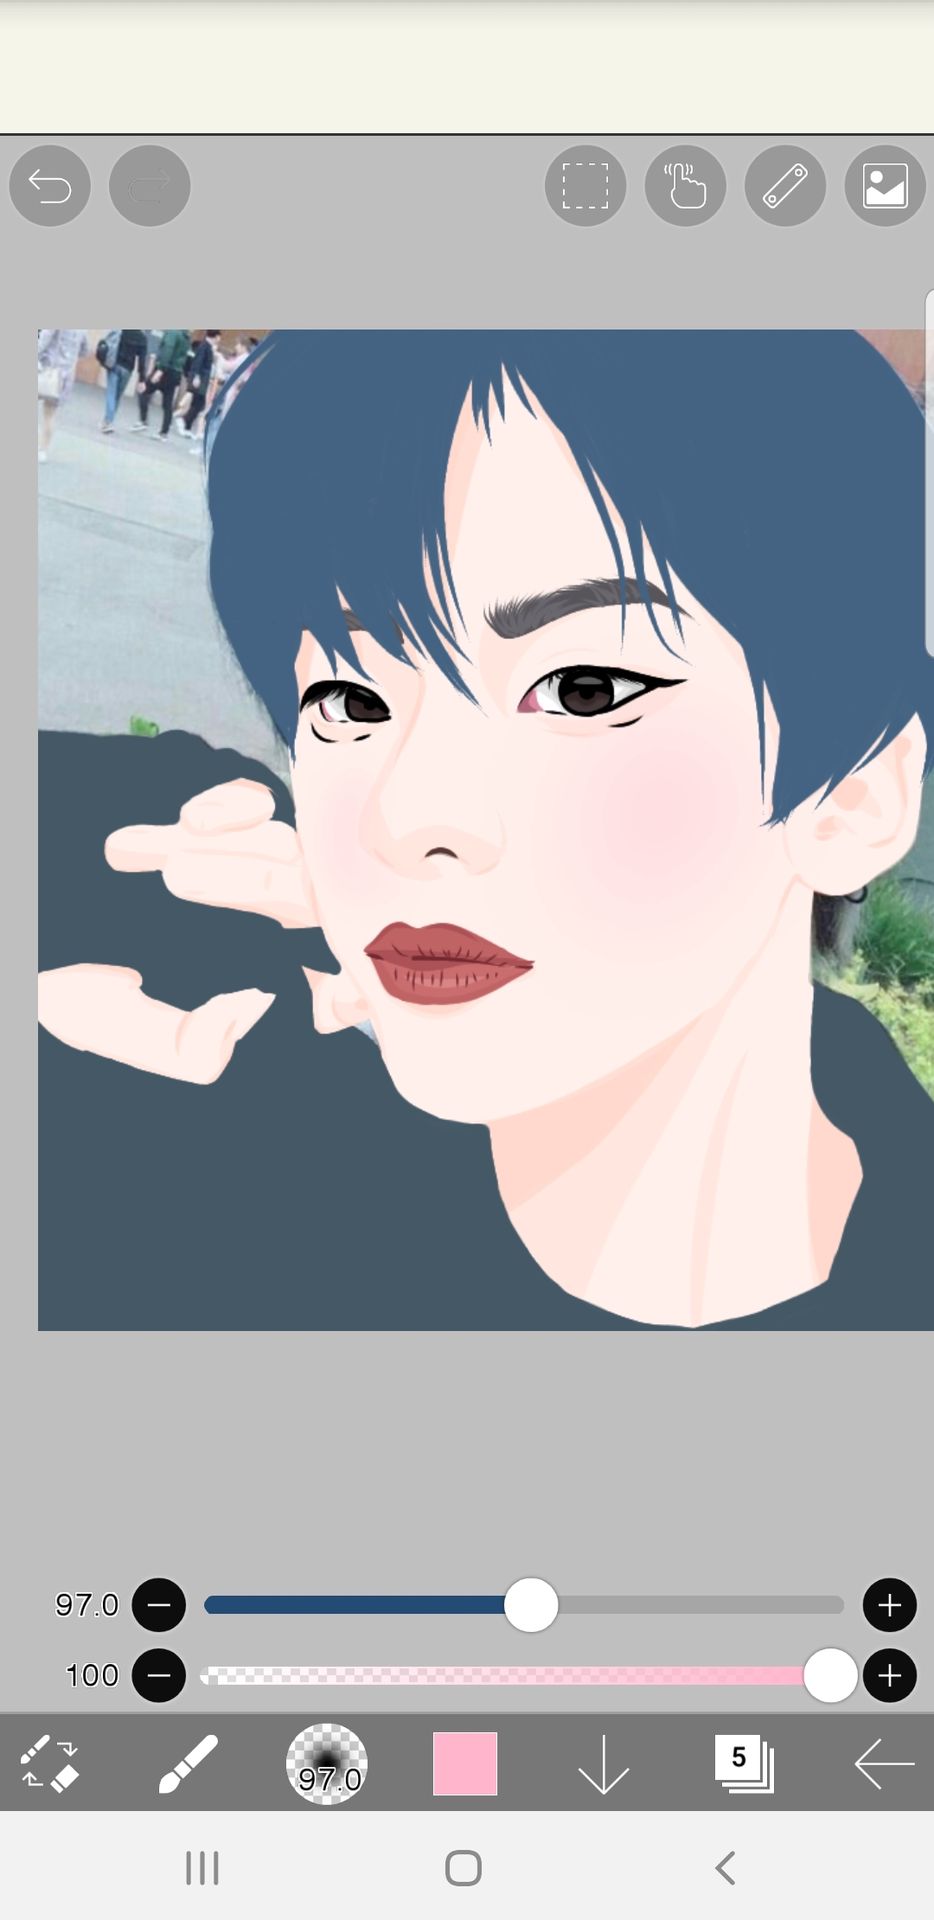
To be continued...
Bạn đang đọc truyện trên: AzTruyen.Top