[29] - coverset tutorial.
App(s) used : Pinterest and ibisPaint X
Material(s) :

T
utorial :
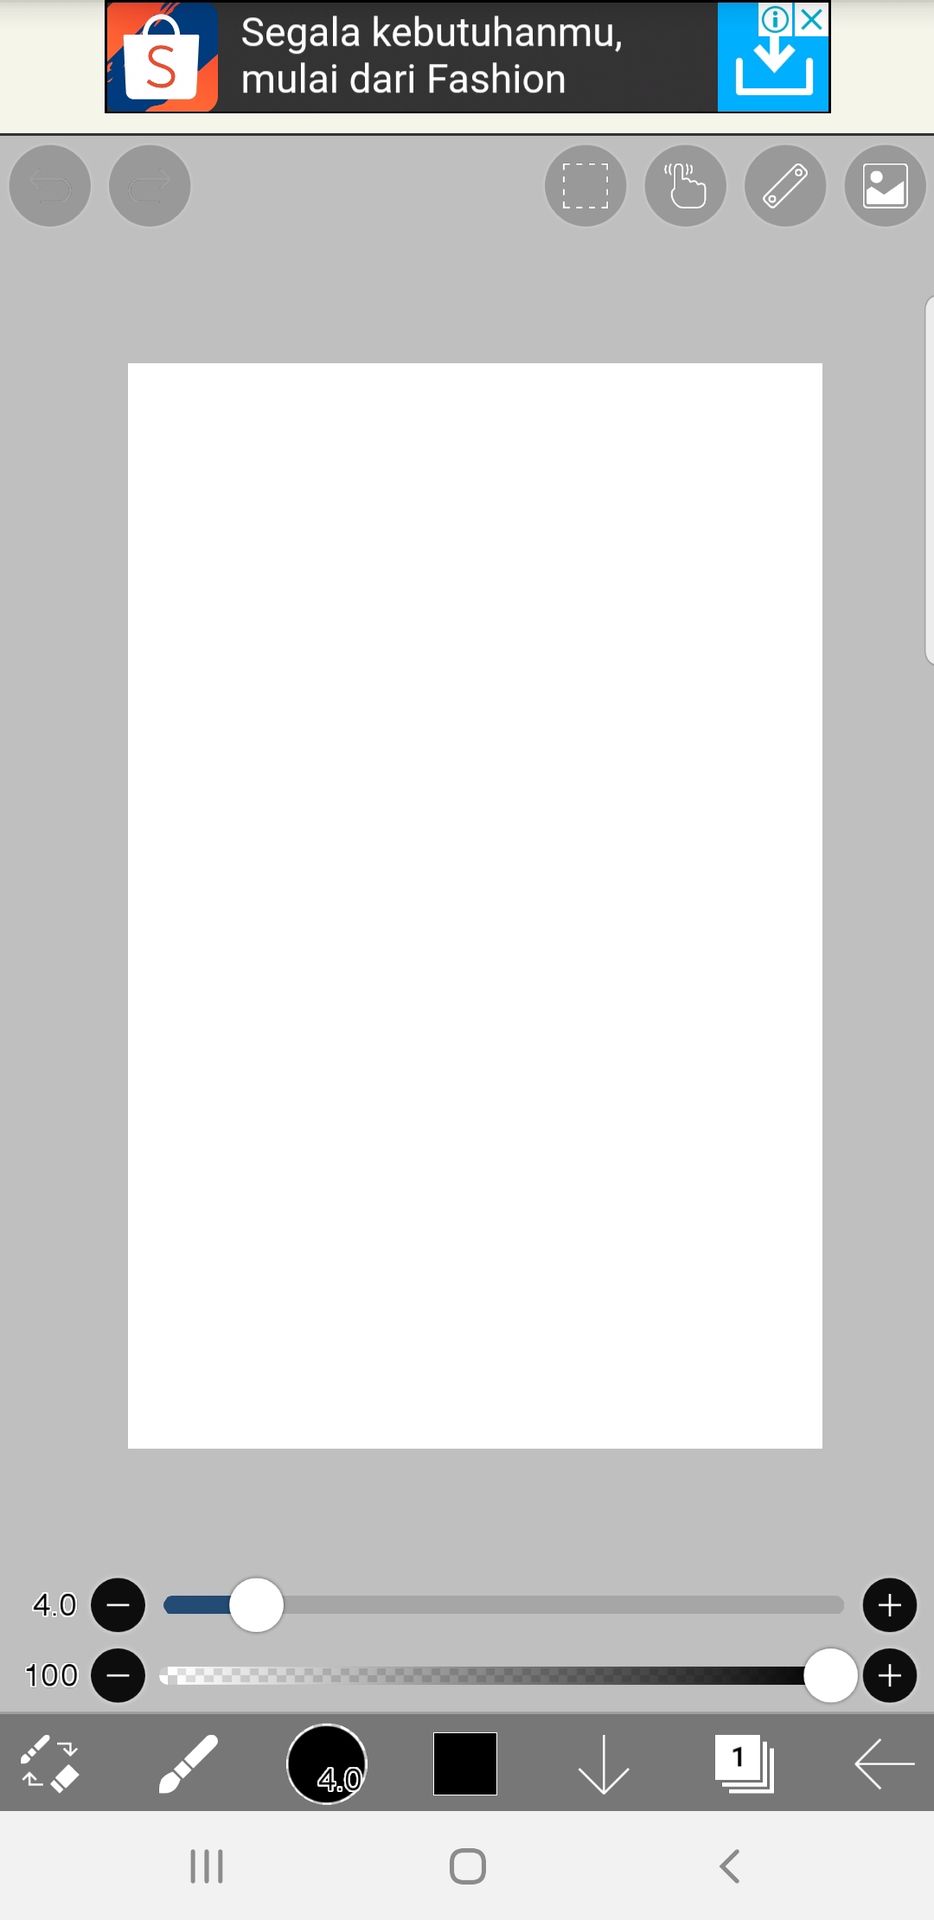
1. Prepare a blank canvas.
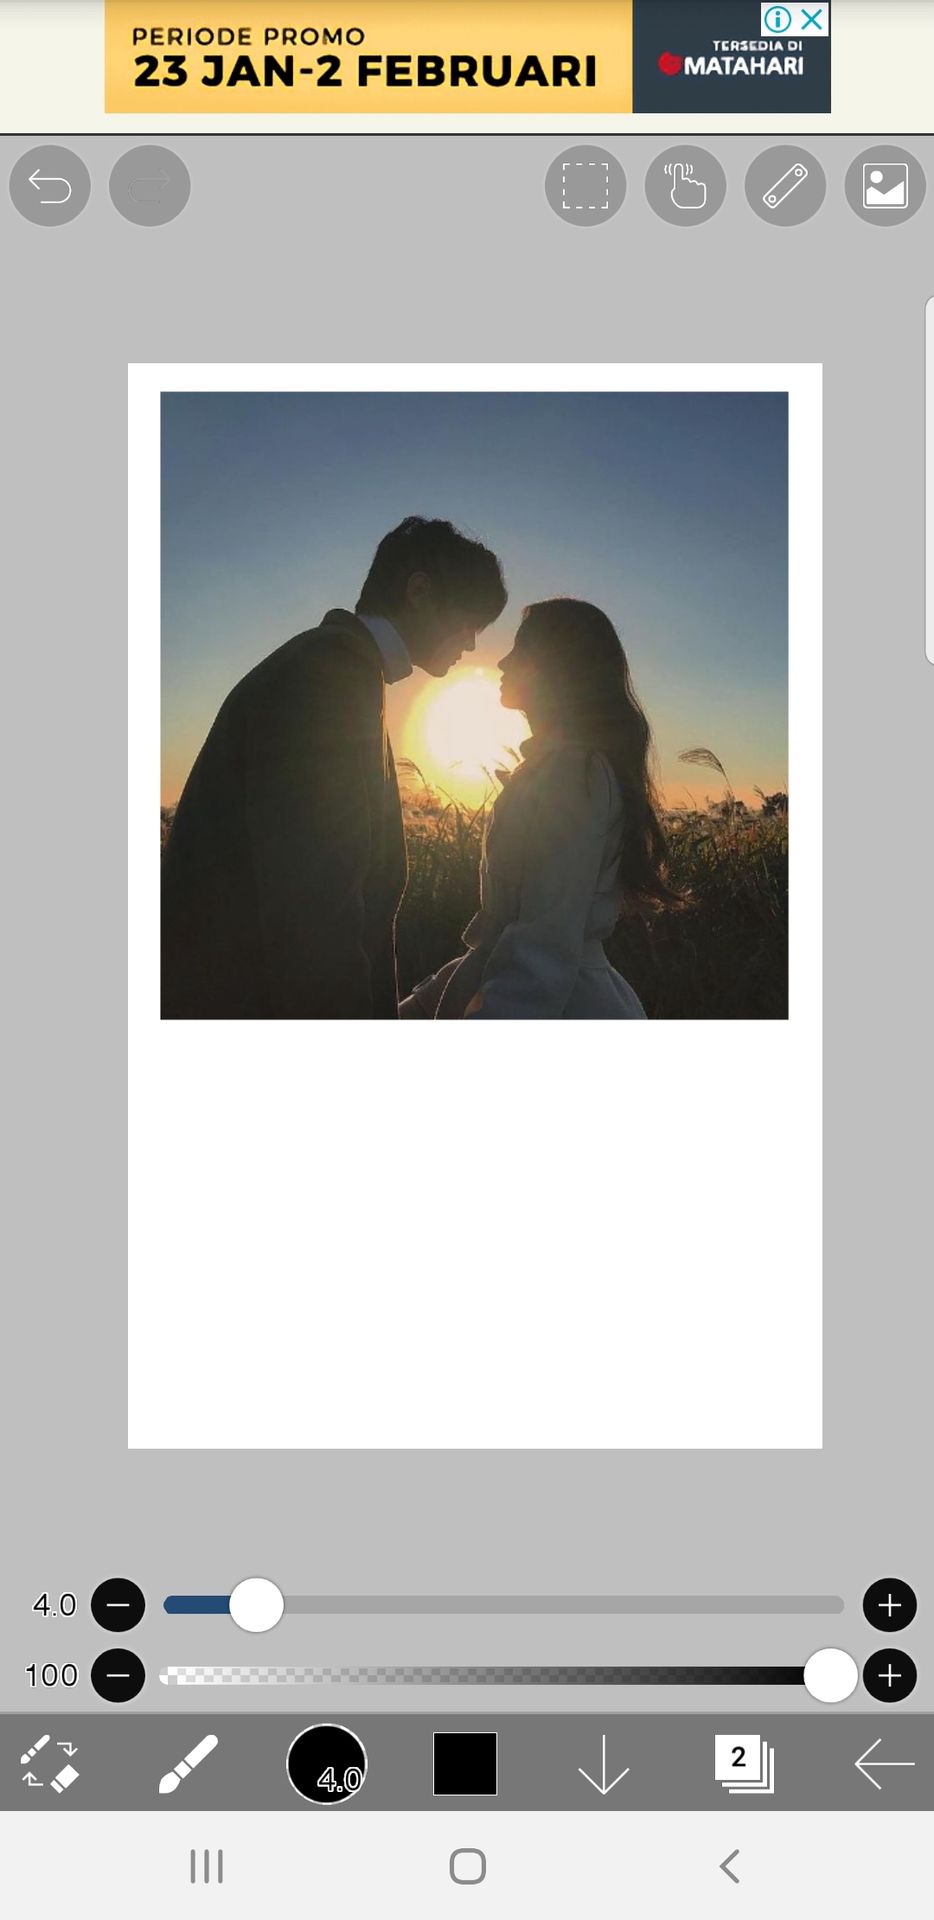
2. Add your pic.
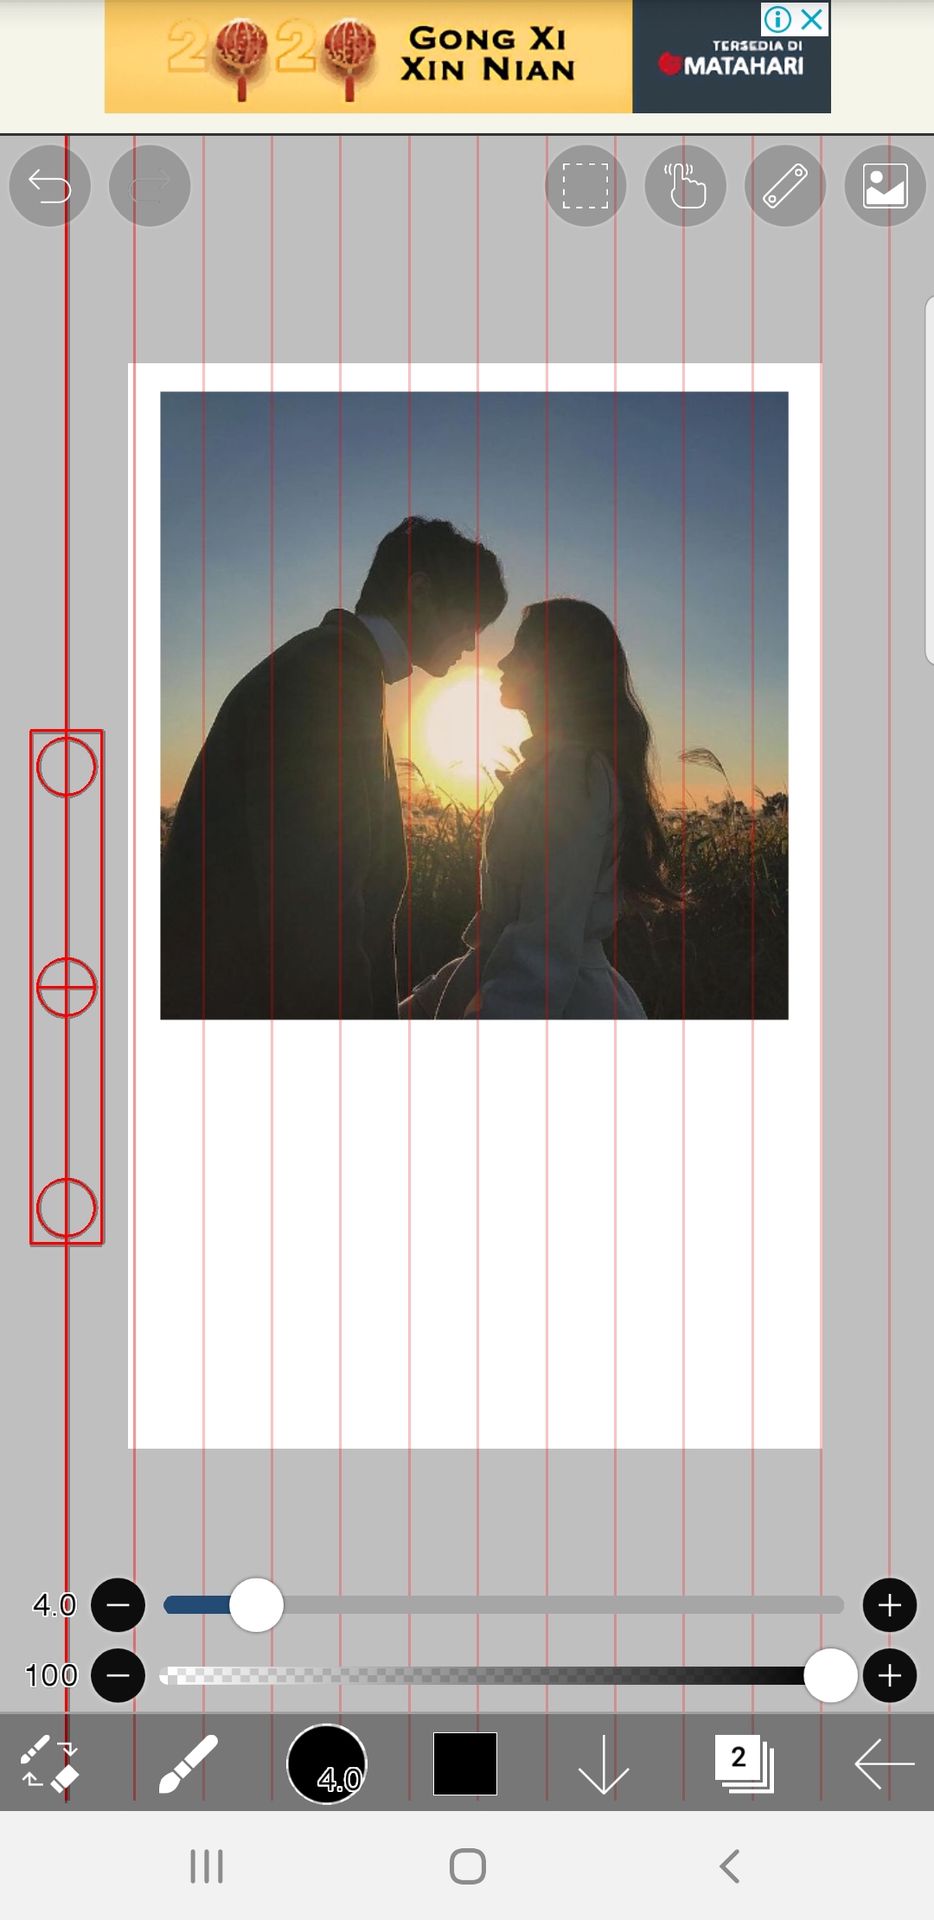
3. Turn on straight ruler from the ruler button at the corner.
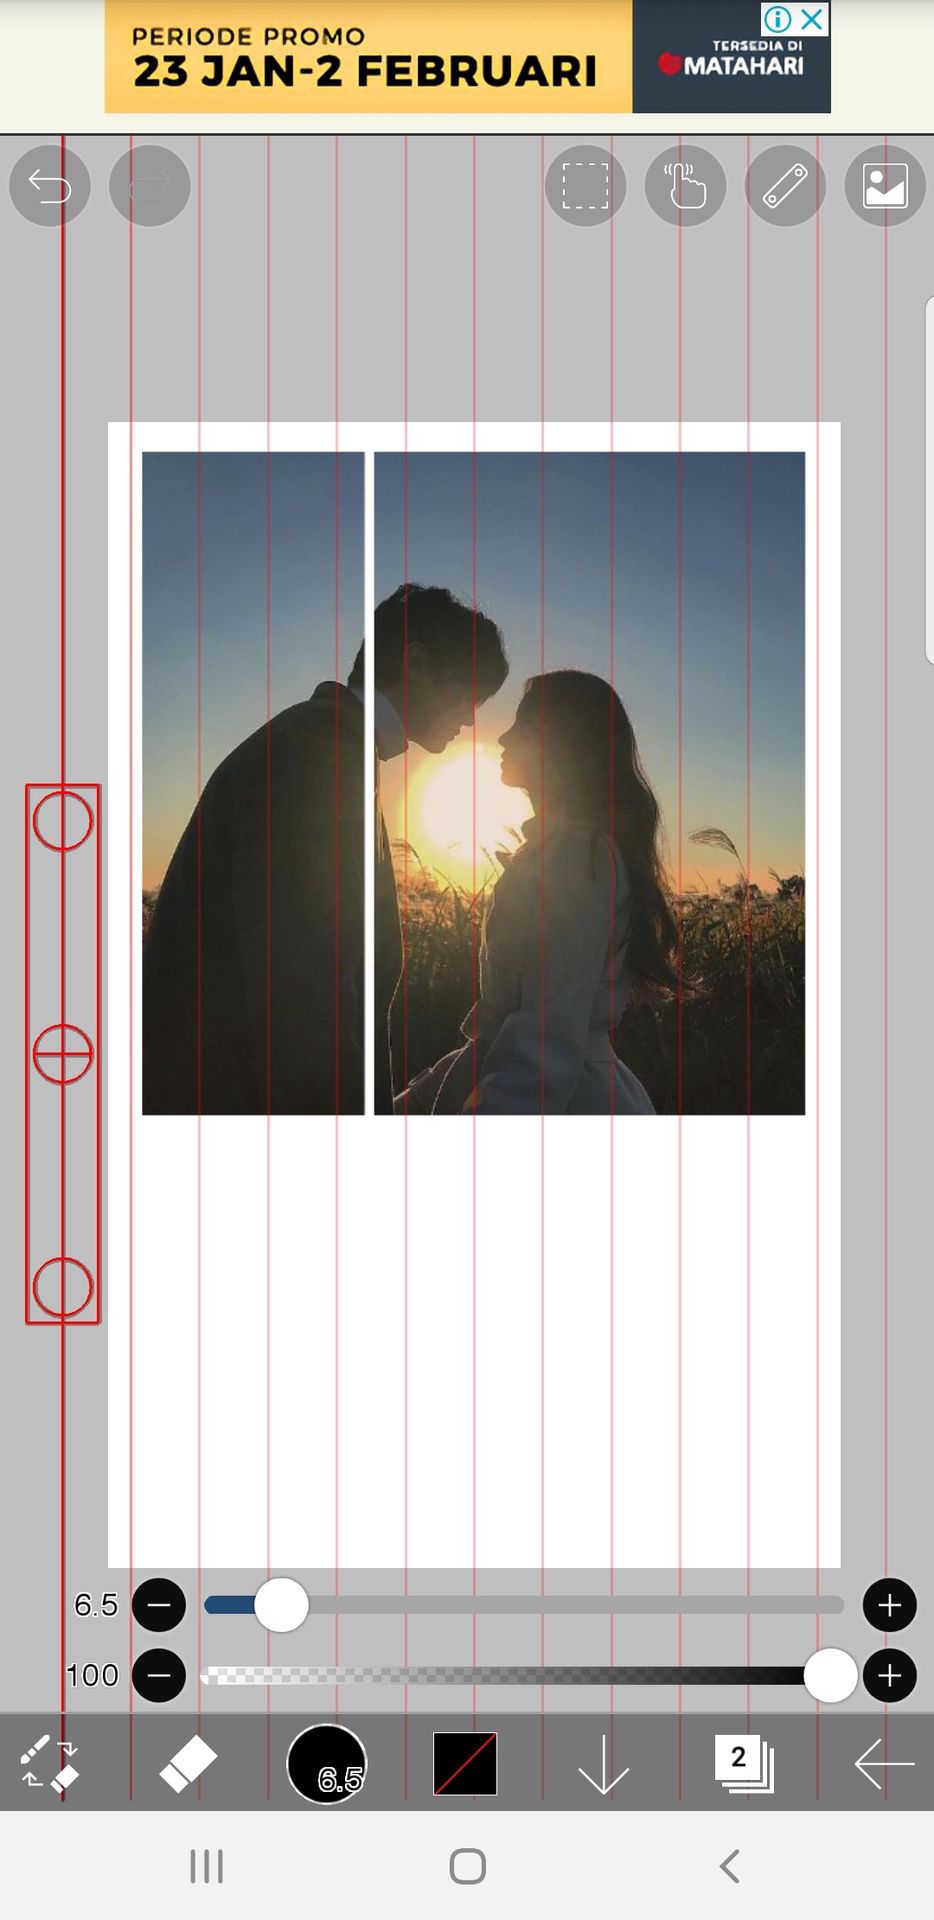
4. Erase a third of the picture.
5. Duplicate the layer and select the layer below.
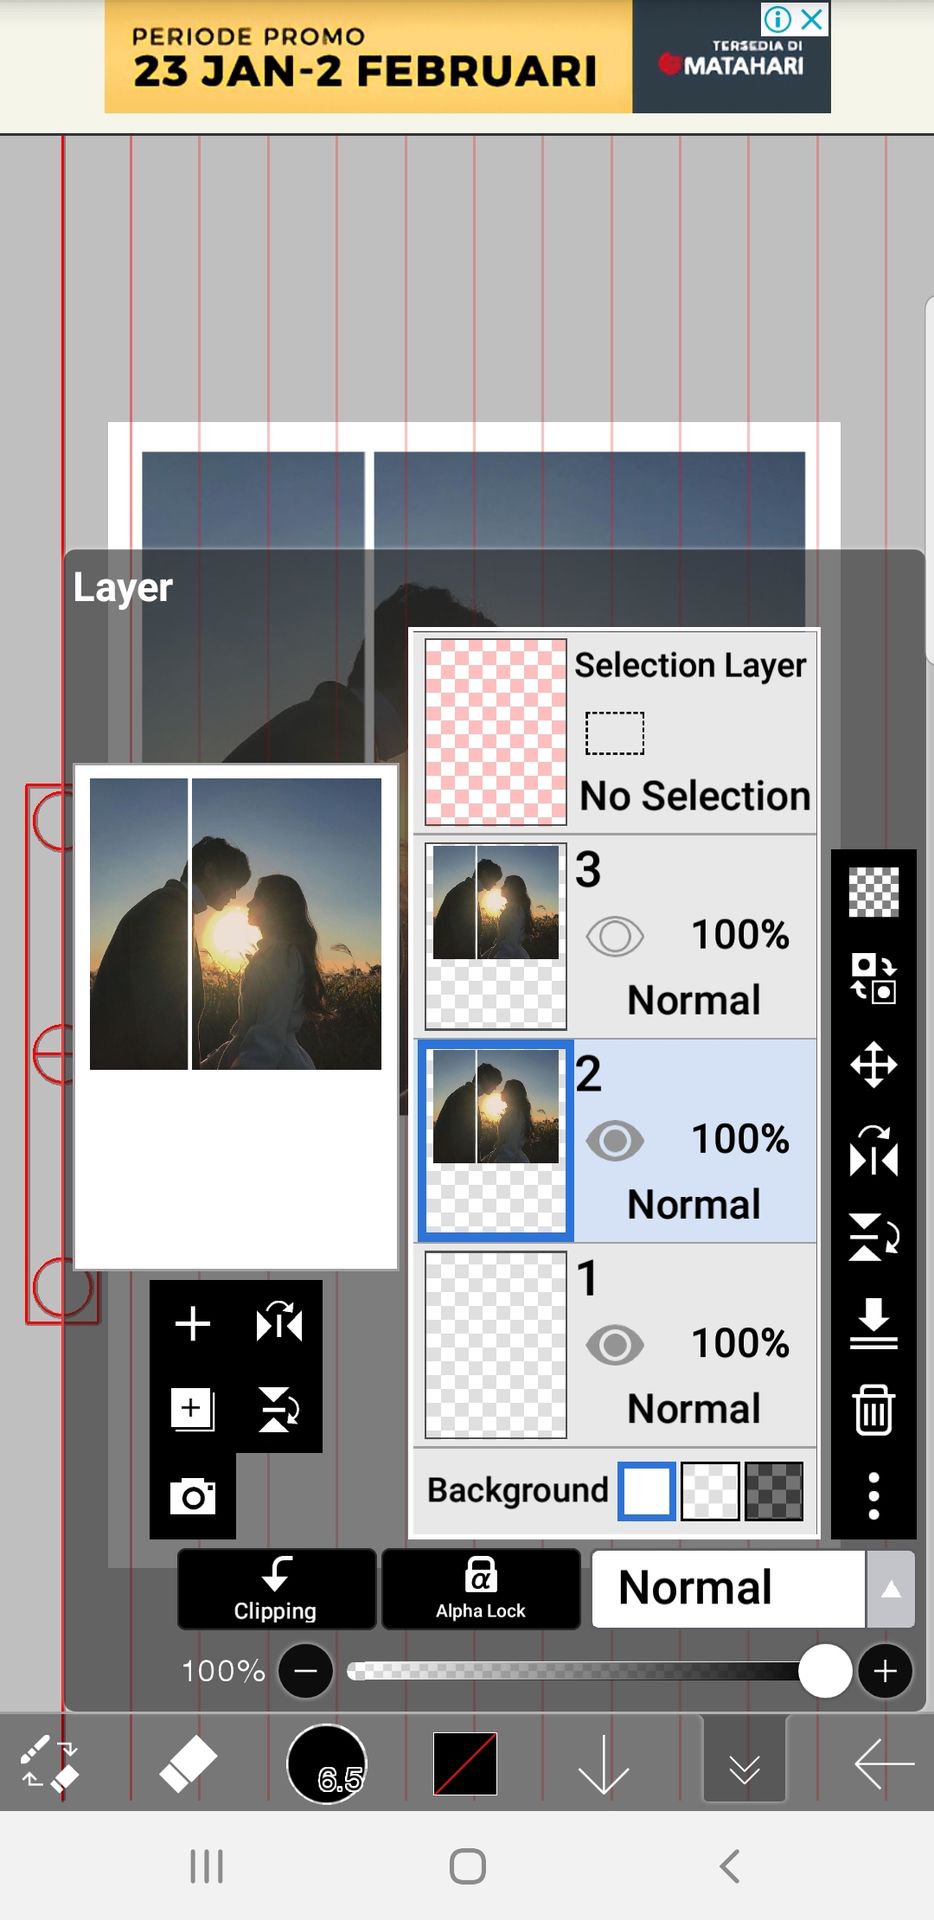
6. Erase another line, so the picture is divided into three parts.
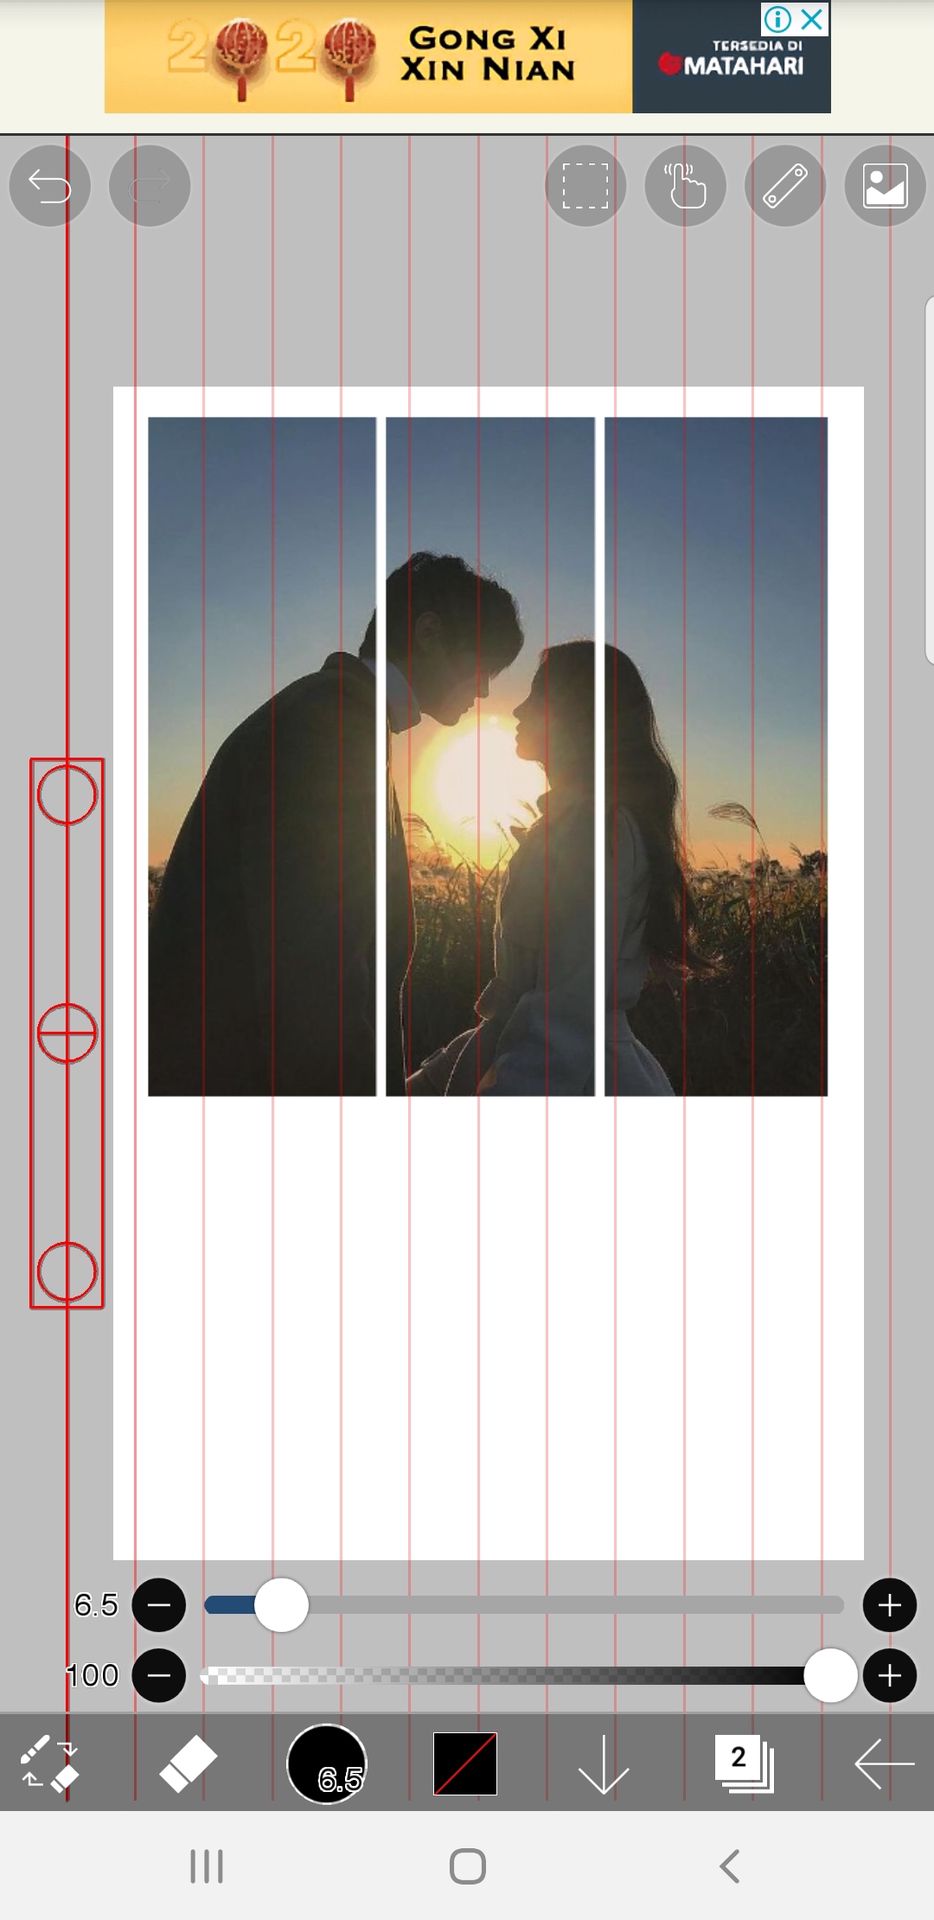
7. Duplicate it again.
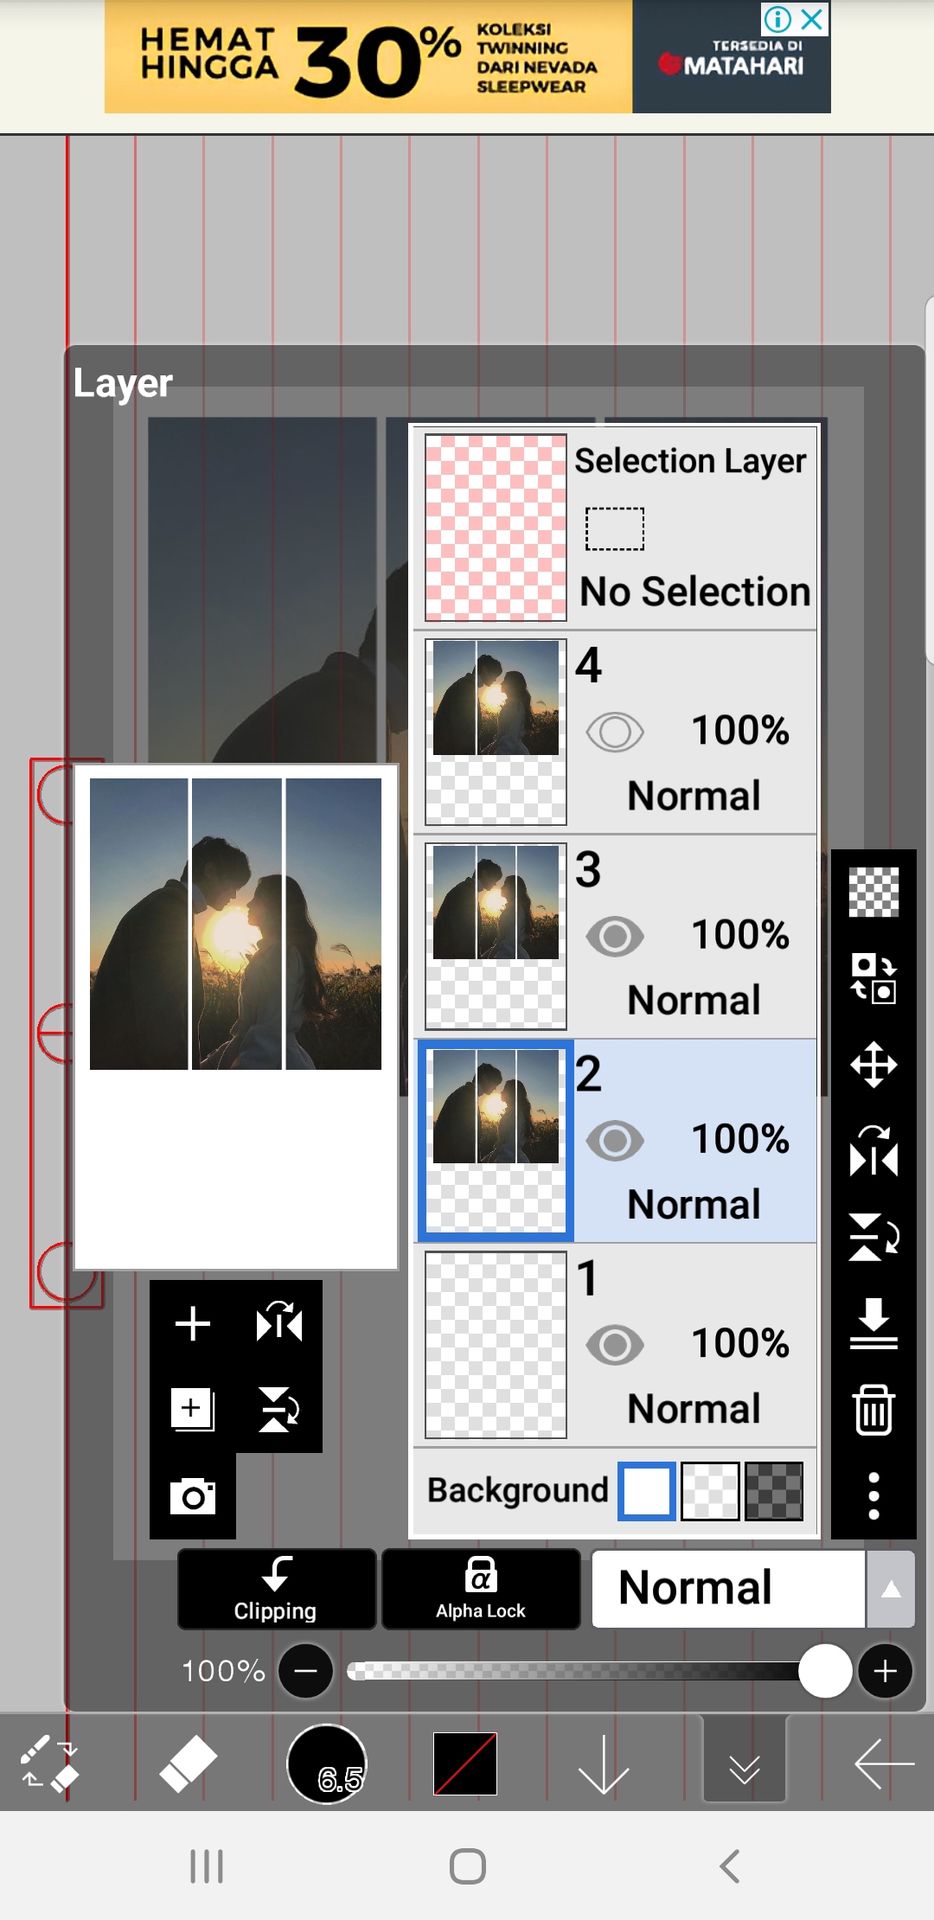
8. Pick the layer at the top.
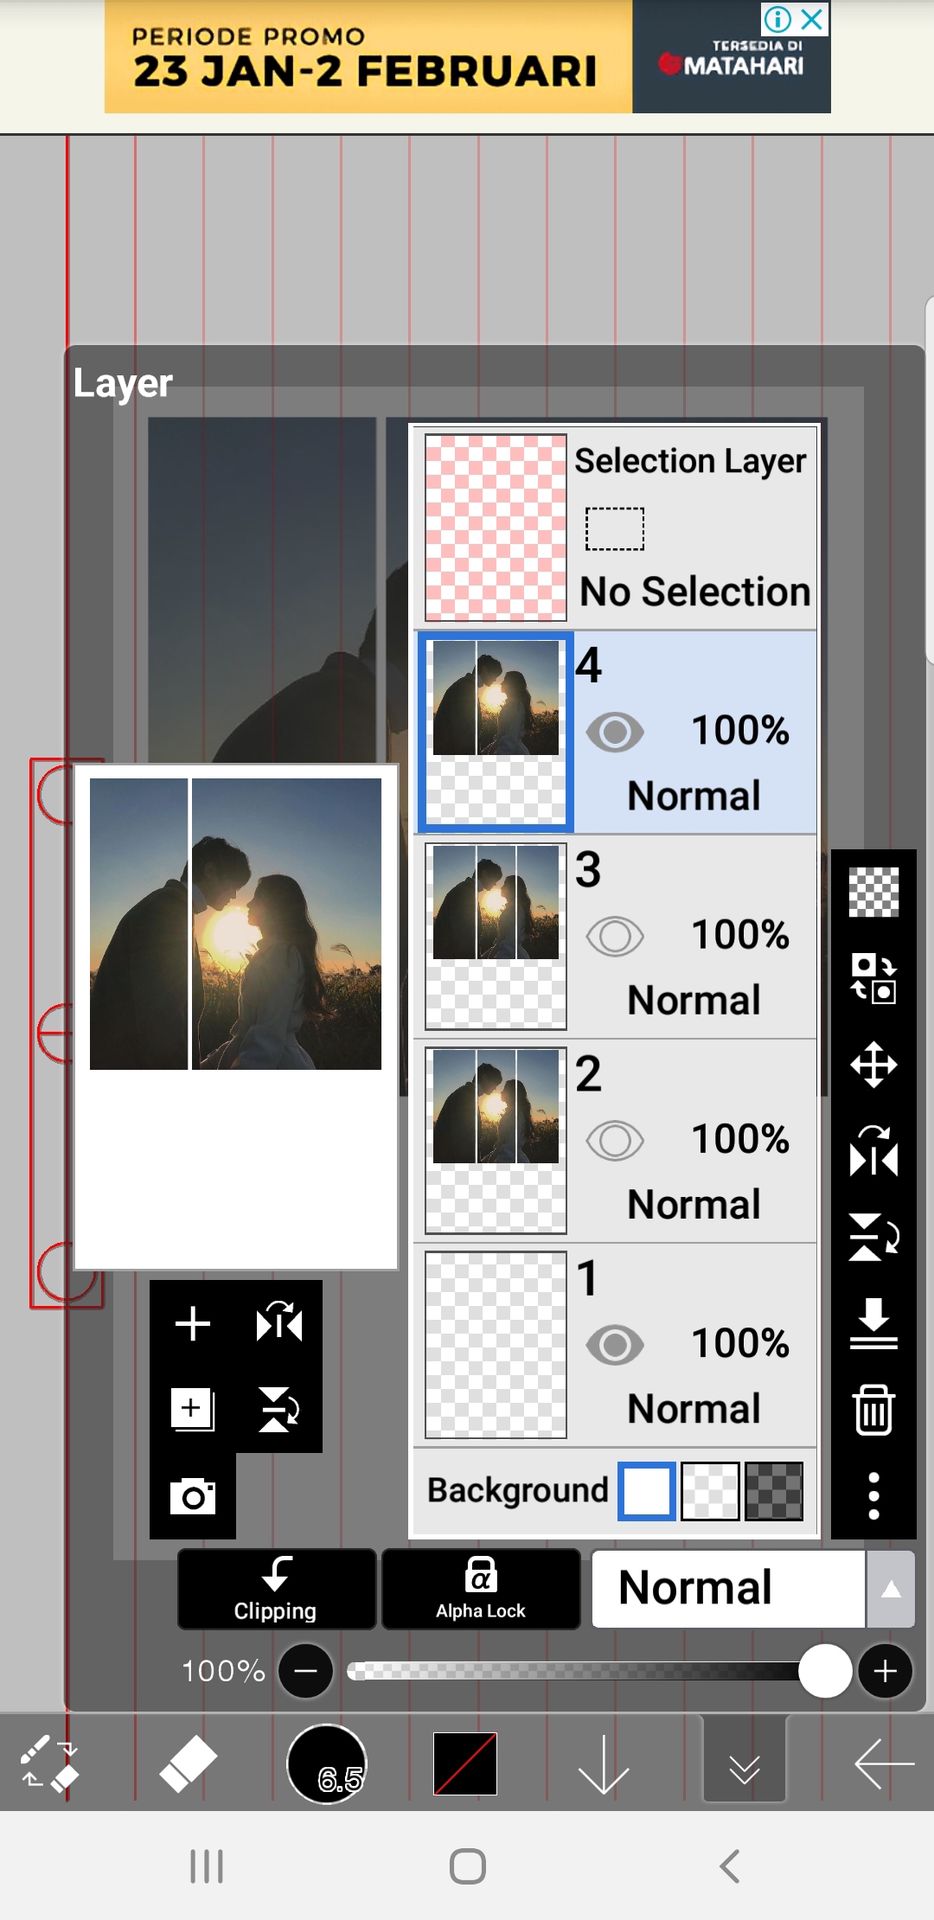
9. Erase the whole layer except the section on the left (don't forget to turn off the ruler)
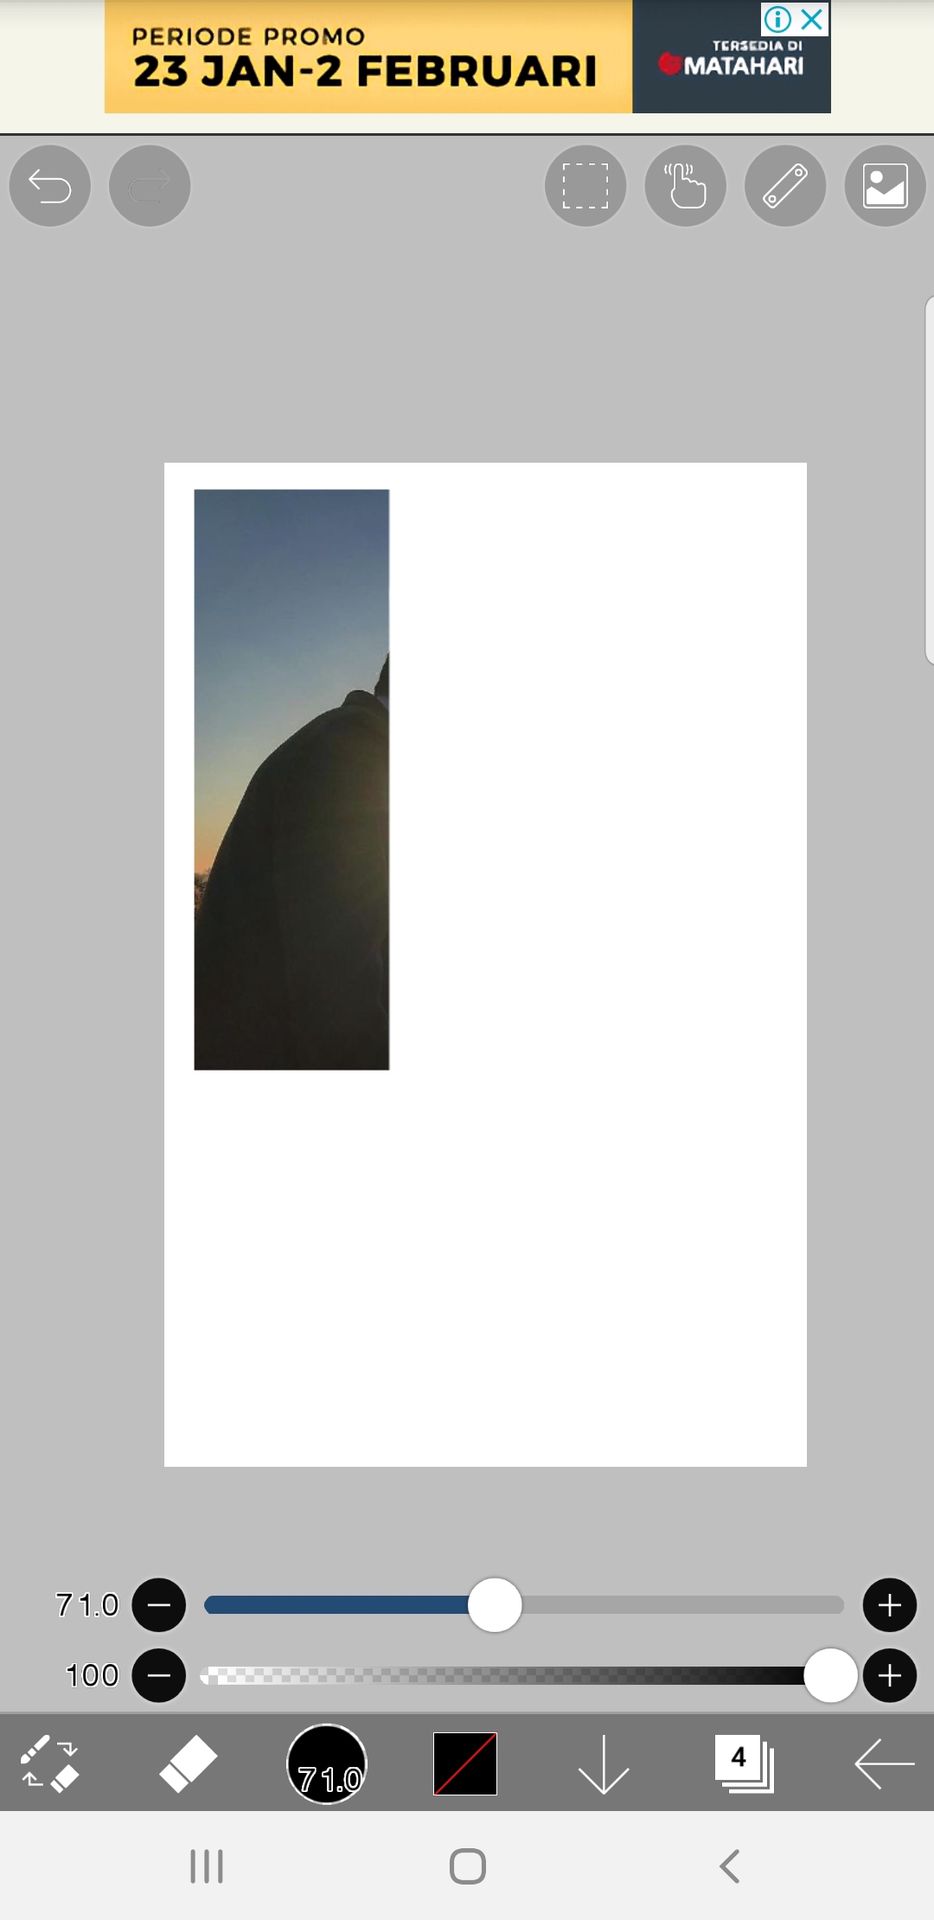
10. Pick the second layer amd erase it except the middle part.
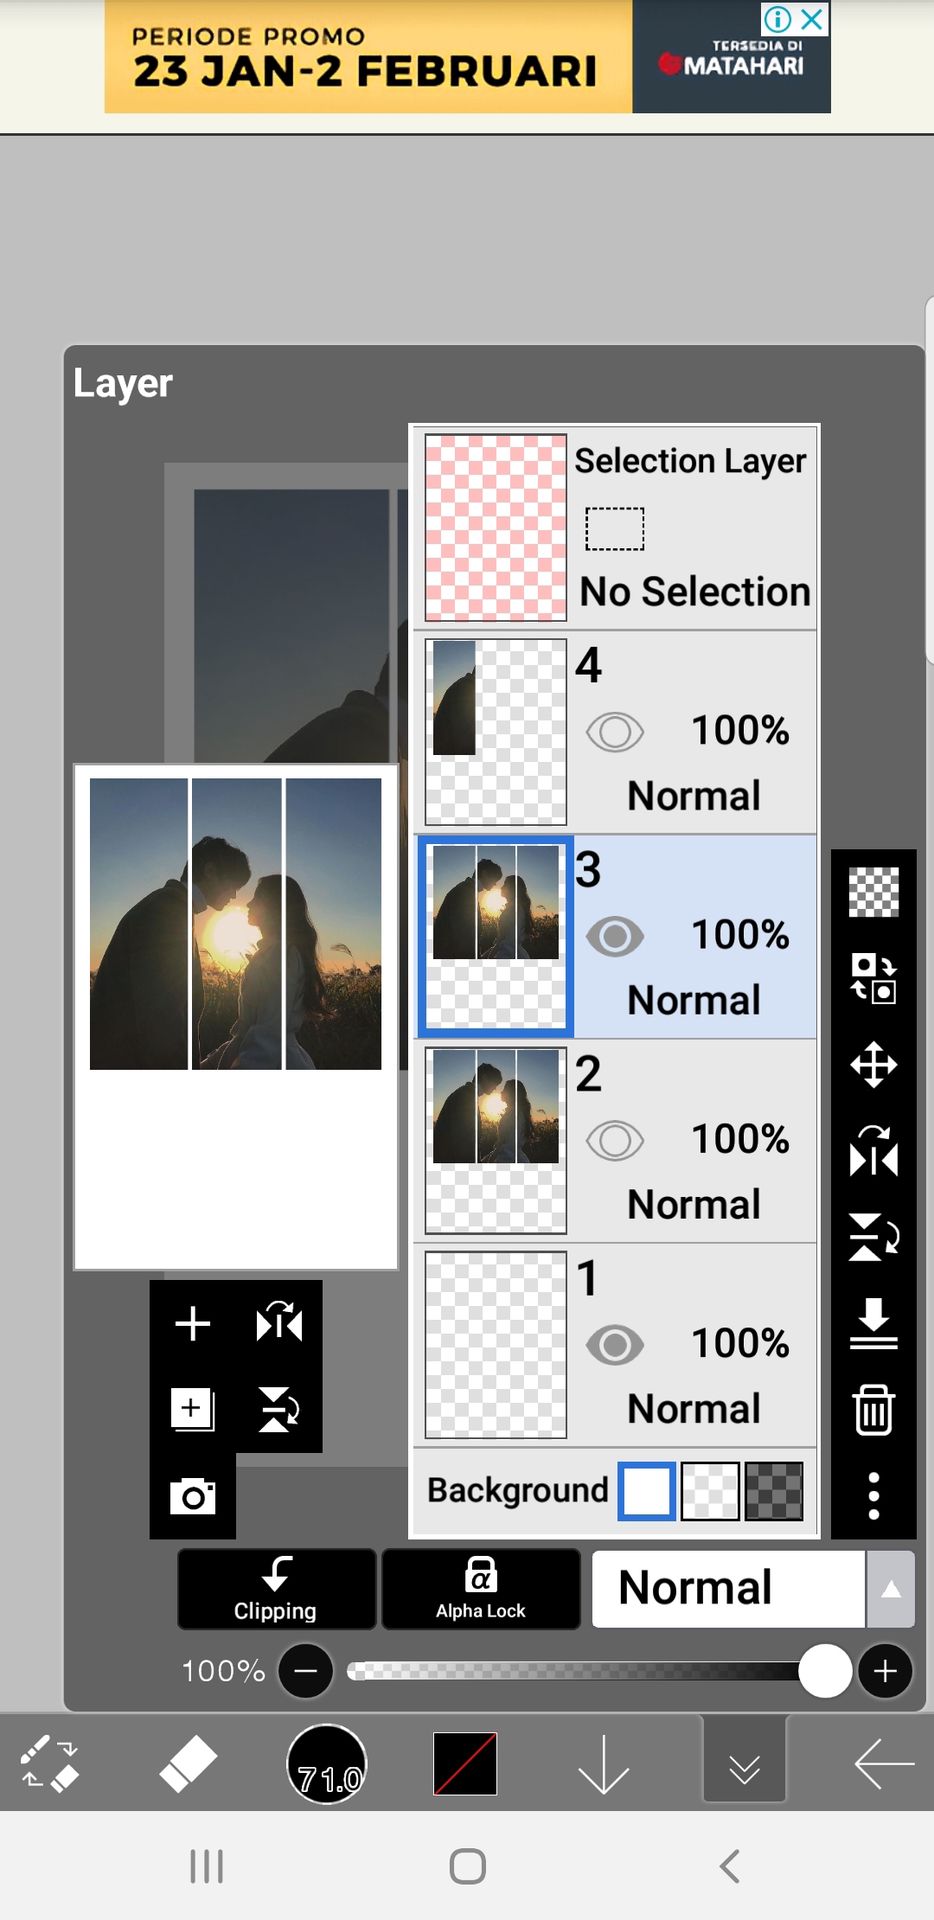
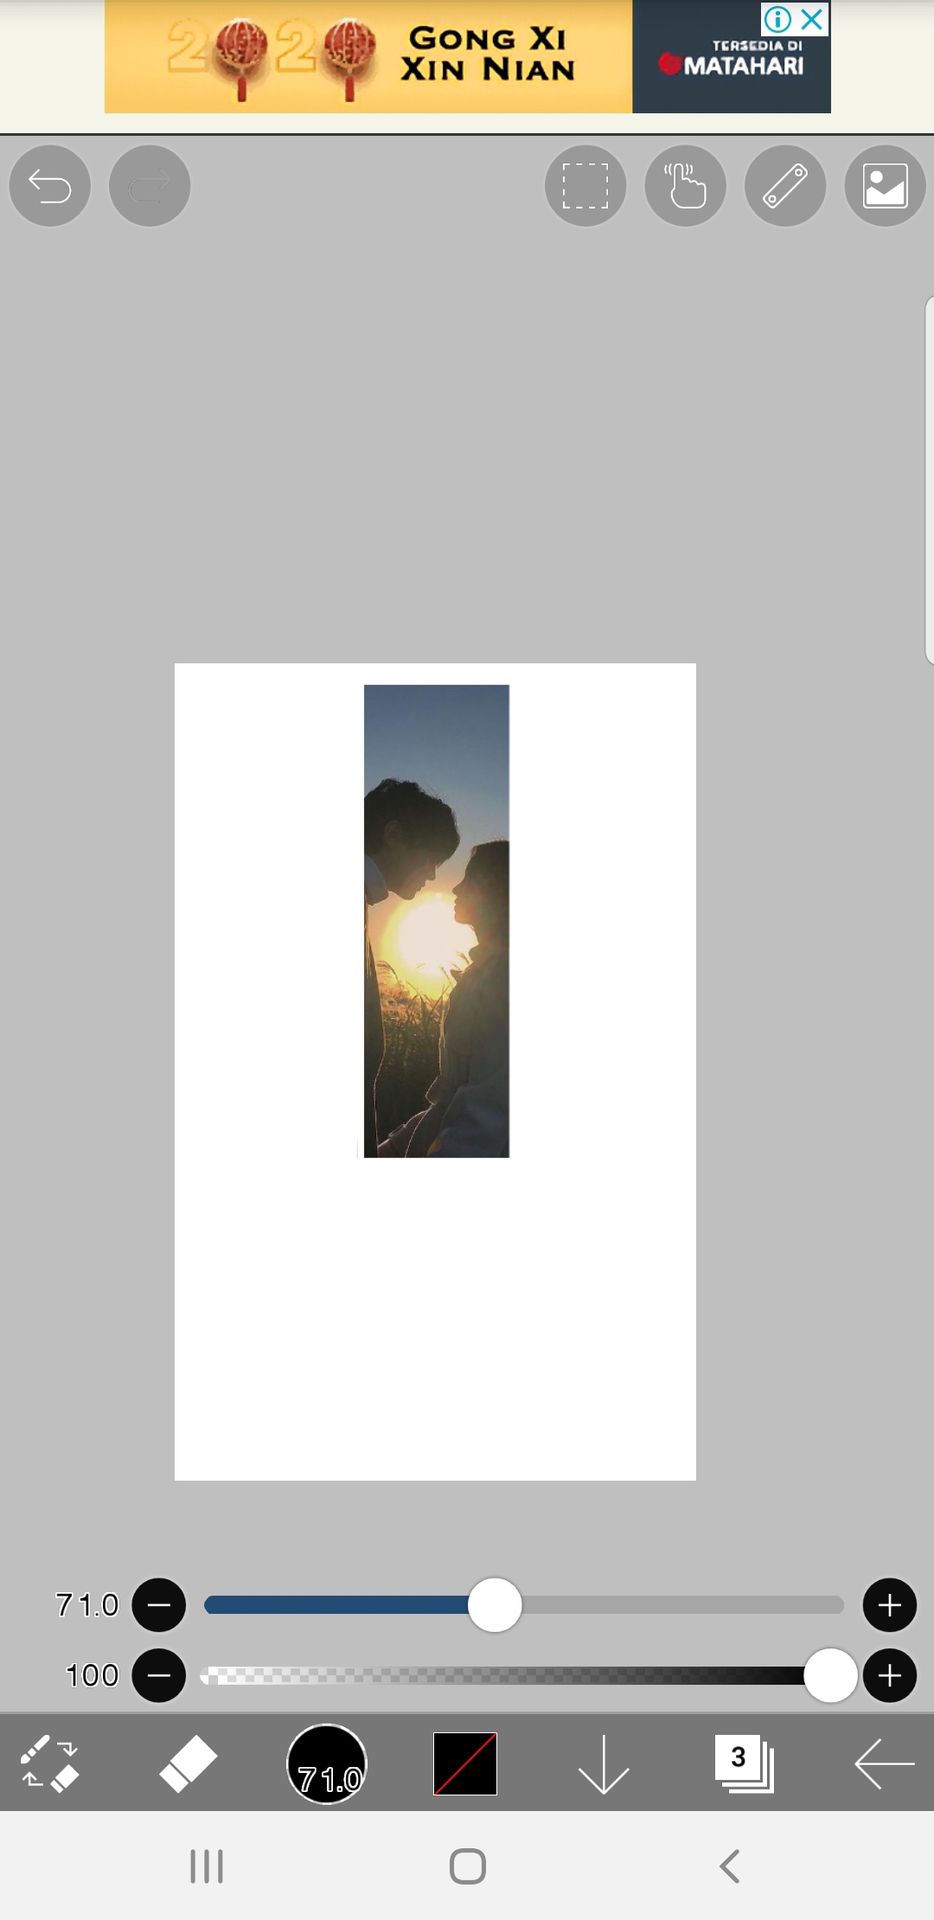
1
1. Repeat on the right side.
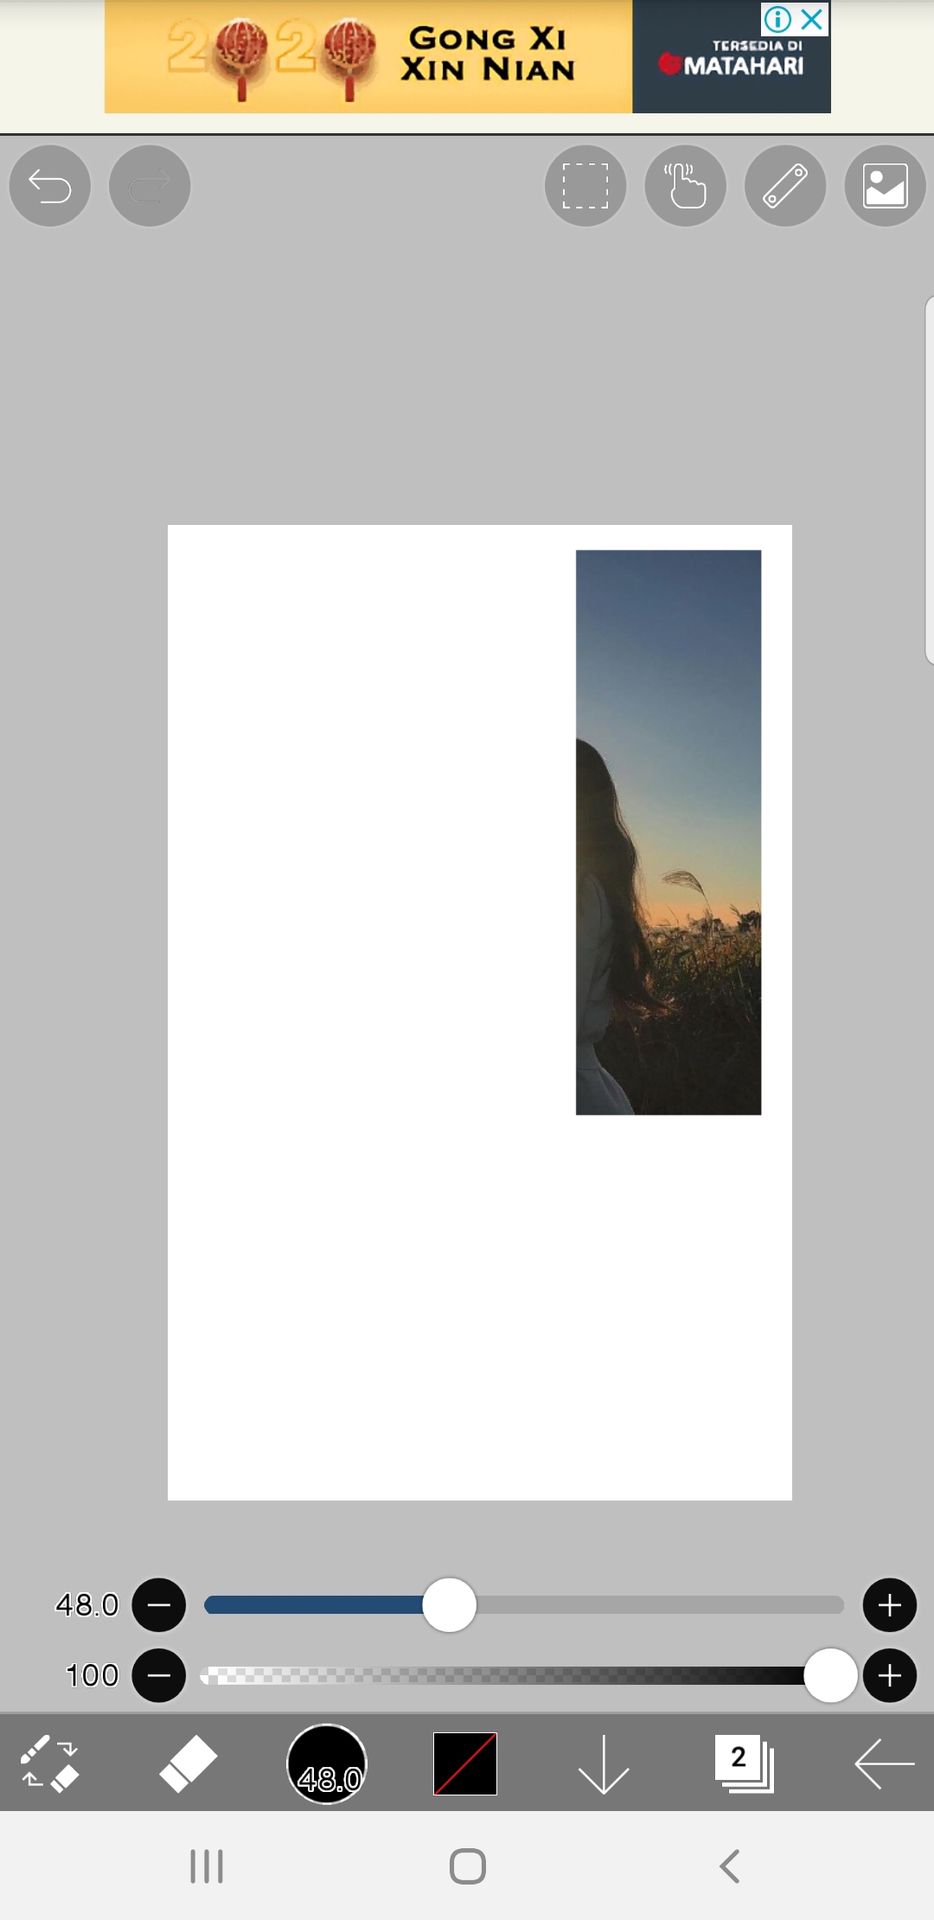
12. Through transform, pick the second layer and drag it down a bit.
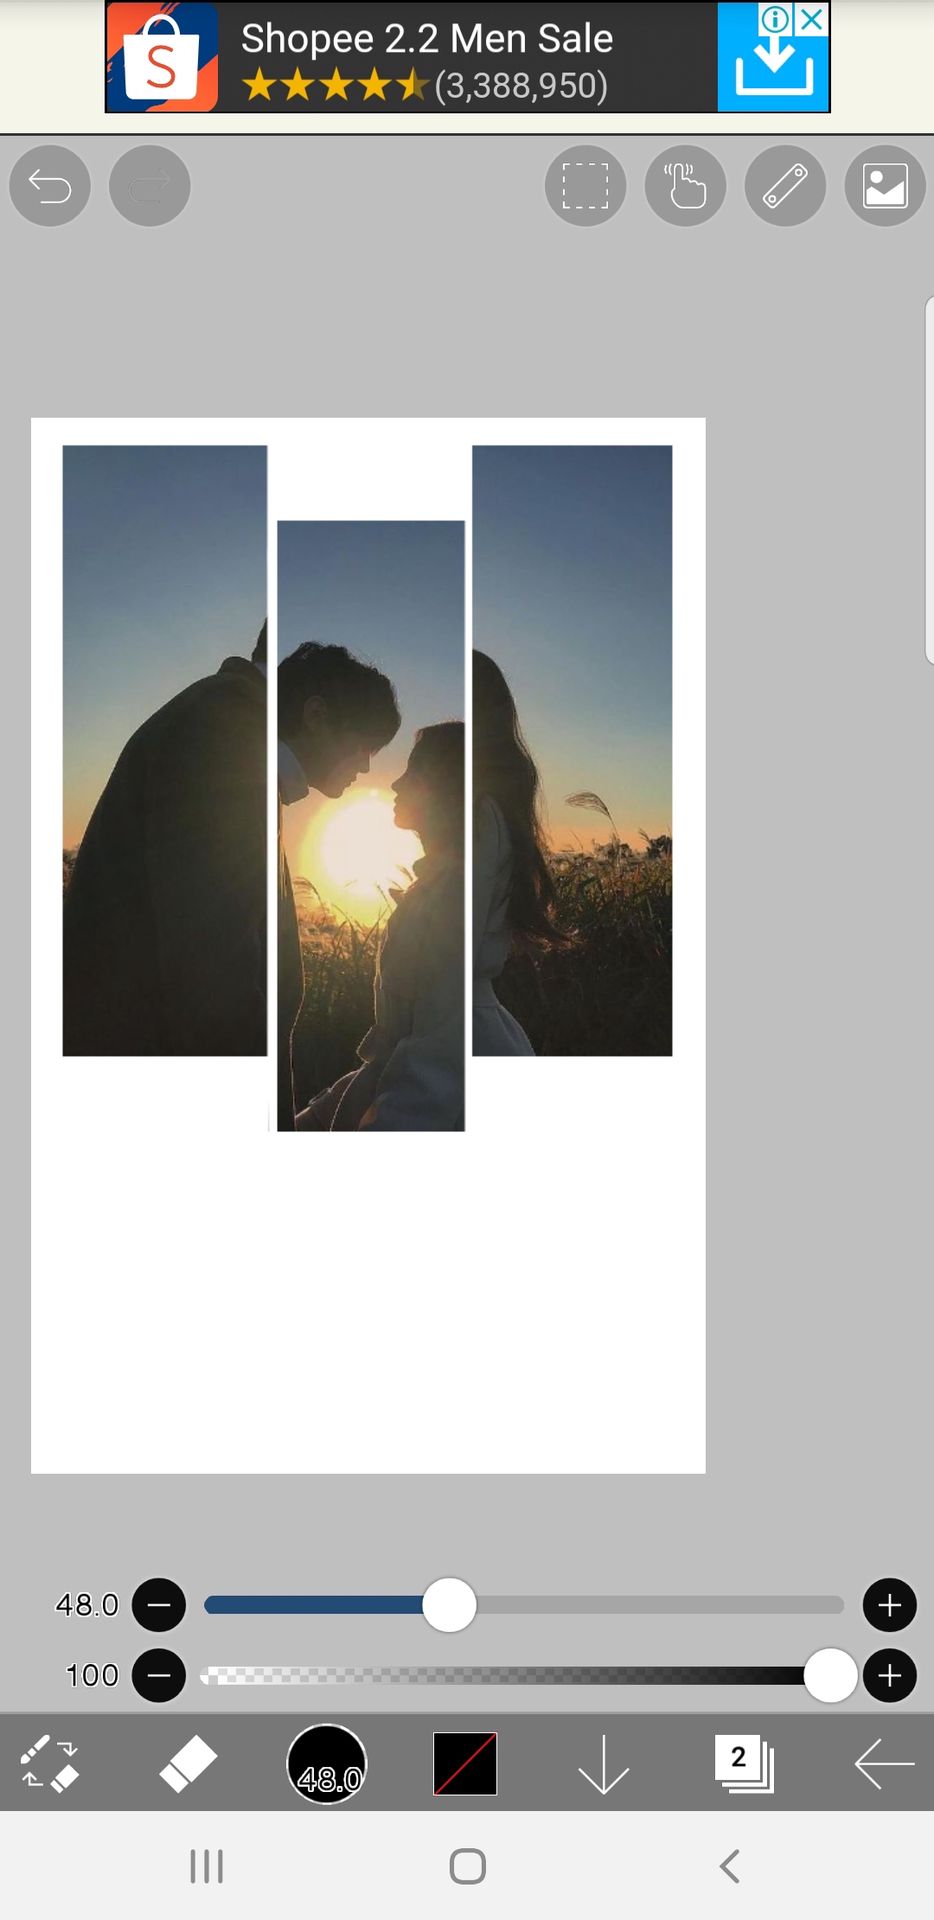
13. Do the same with the next one, but drag it lower.
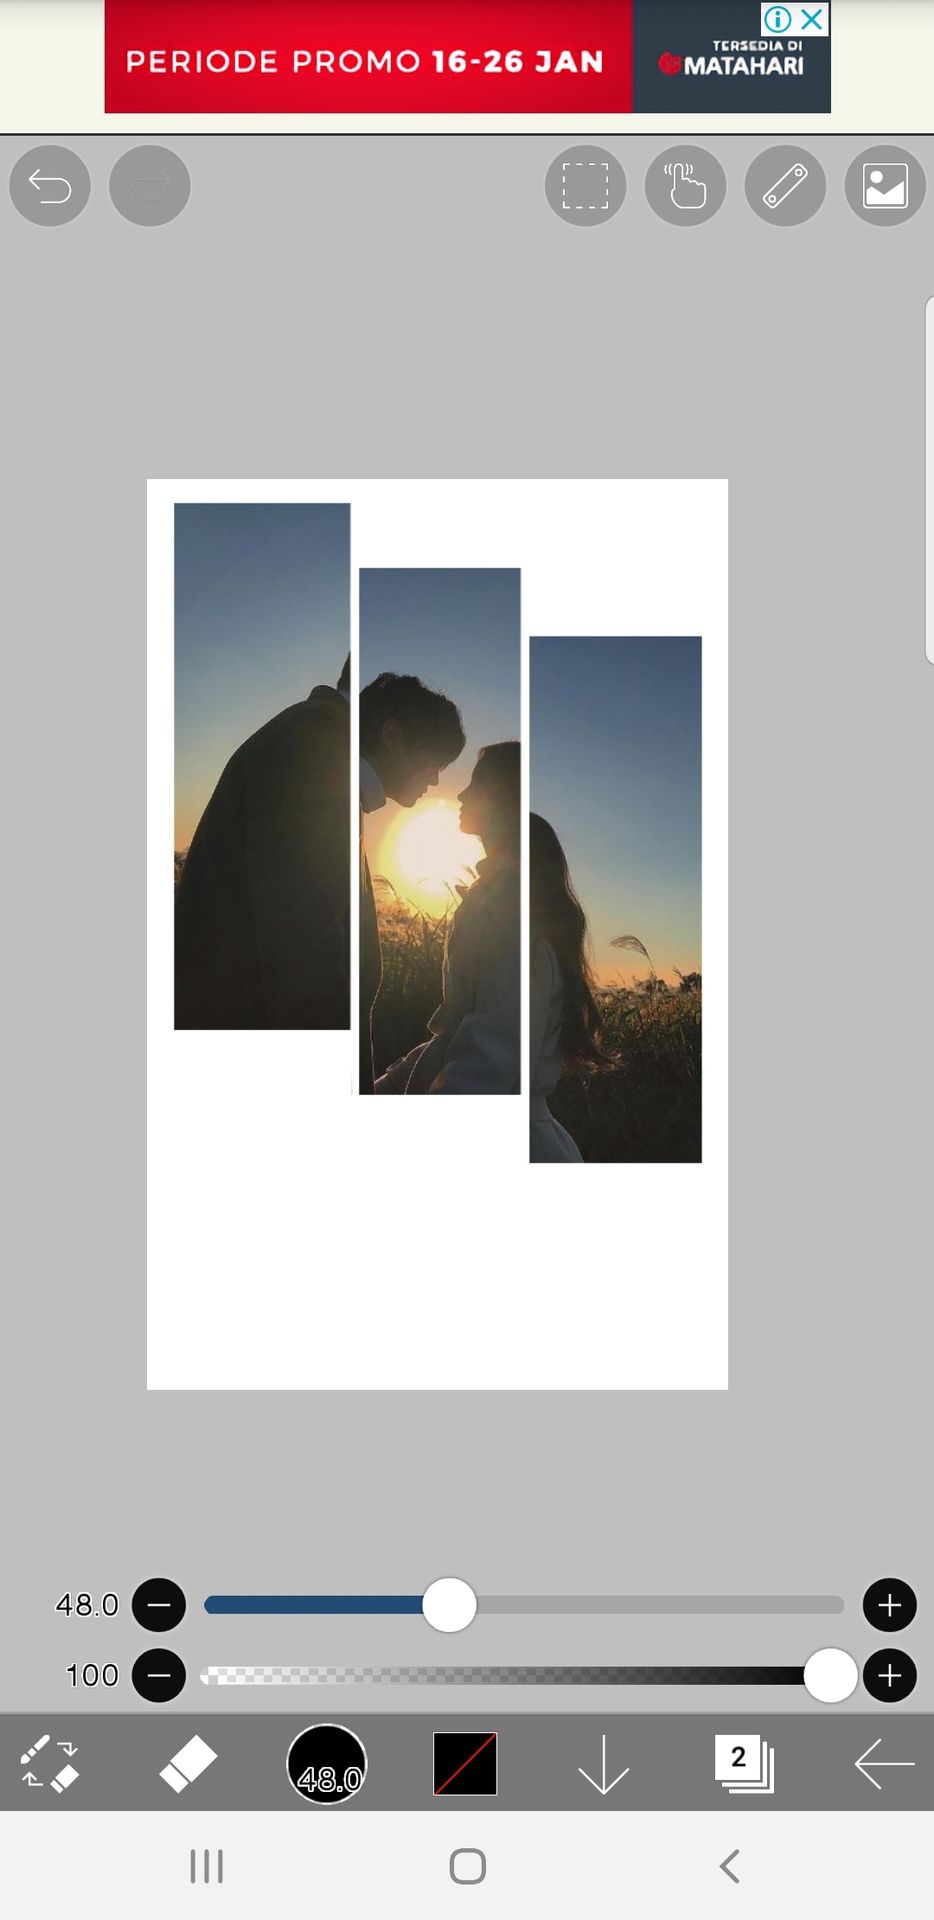
14. Add other necessities and done!

Here's the coverset look!

*i know the size of the picture is different, but I like it!
○ n o t e s ●
- I prefer square pictures rather than rectangle ones.
- it's inspired by a journal in Pinterest
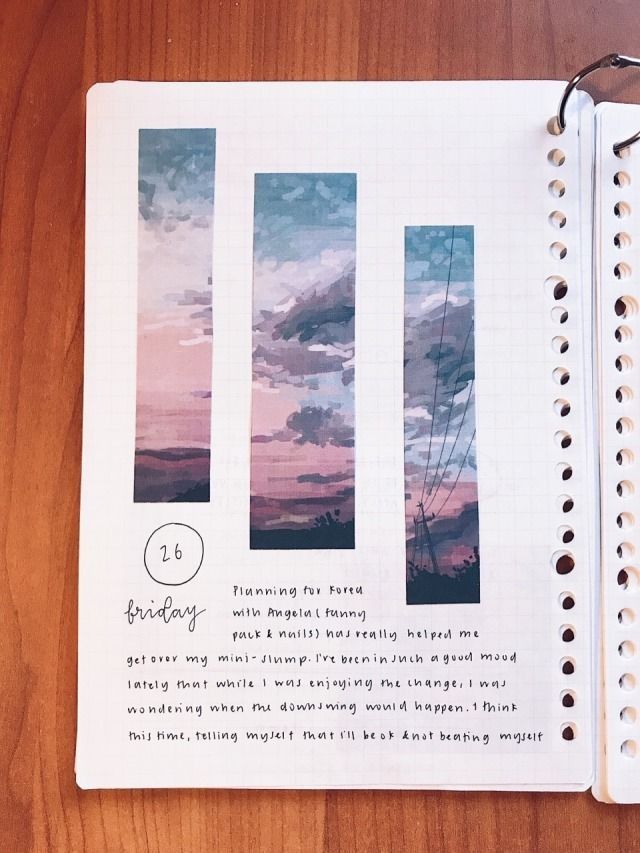
- fonts : trashhand, helio, century gothic, century gothic bold

Bạn đang đọc truyện trên: AzTruyen.Top