01»Demonic Eyes
S U P E R I M P O S E
Level: 1
----------------------------
1. Open your photo in the background. I recommend a photo that has a good view of your faceclaim's eyes, because it just makes it all the much easier for you.
2. Press the two rectangles in the top right corner. It should say, "Import Foreground" on the top. Under that, there should be 3 options. Press the one that says Pick Color. Proceed to choose whatever color you want (in this case, black.) It doesn't have to be any specific size.
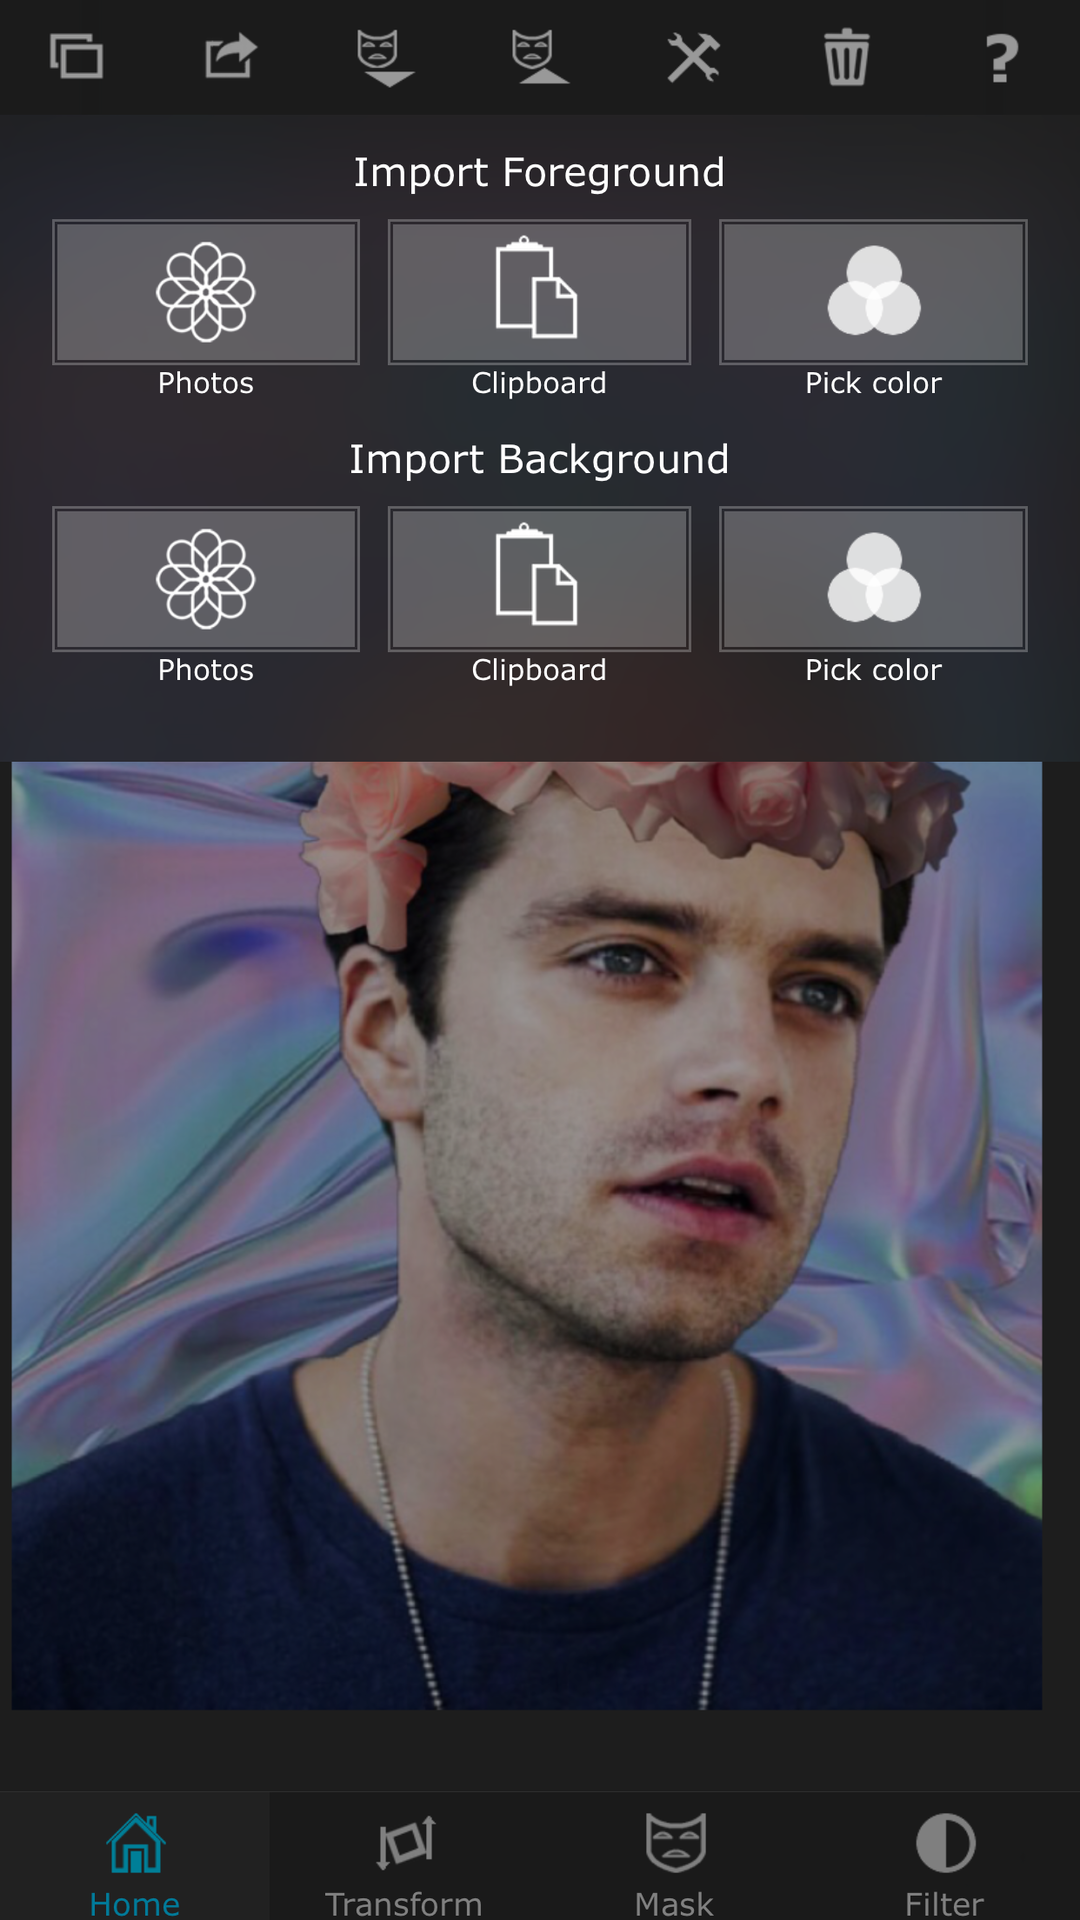
3. You should now have a black photo on top of your background. On the bottom of the screen, to the right of Home, you shouts see a square with two arrows. Press this, and then proceed to press the settings button in the top right corner. Under Blend Mode, press Overlay, so that you can see the eye in the background. You'll change this after you're done masking it so that it's wholly black again.
4. Shrink the picture, so that it covers the entire eye area. Now, after this, press the Mask button. Press the regular paint brush. Adjust the settings so that it looks like the picture.
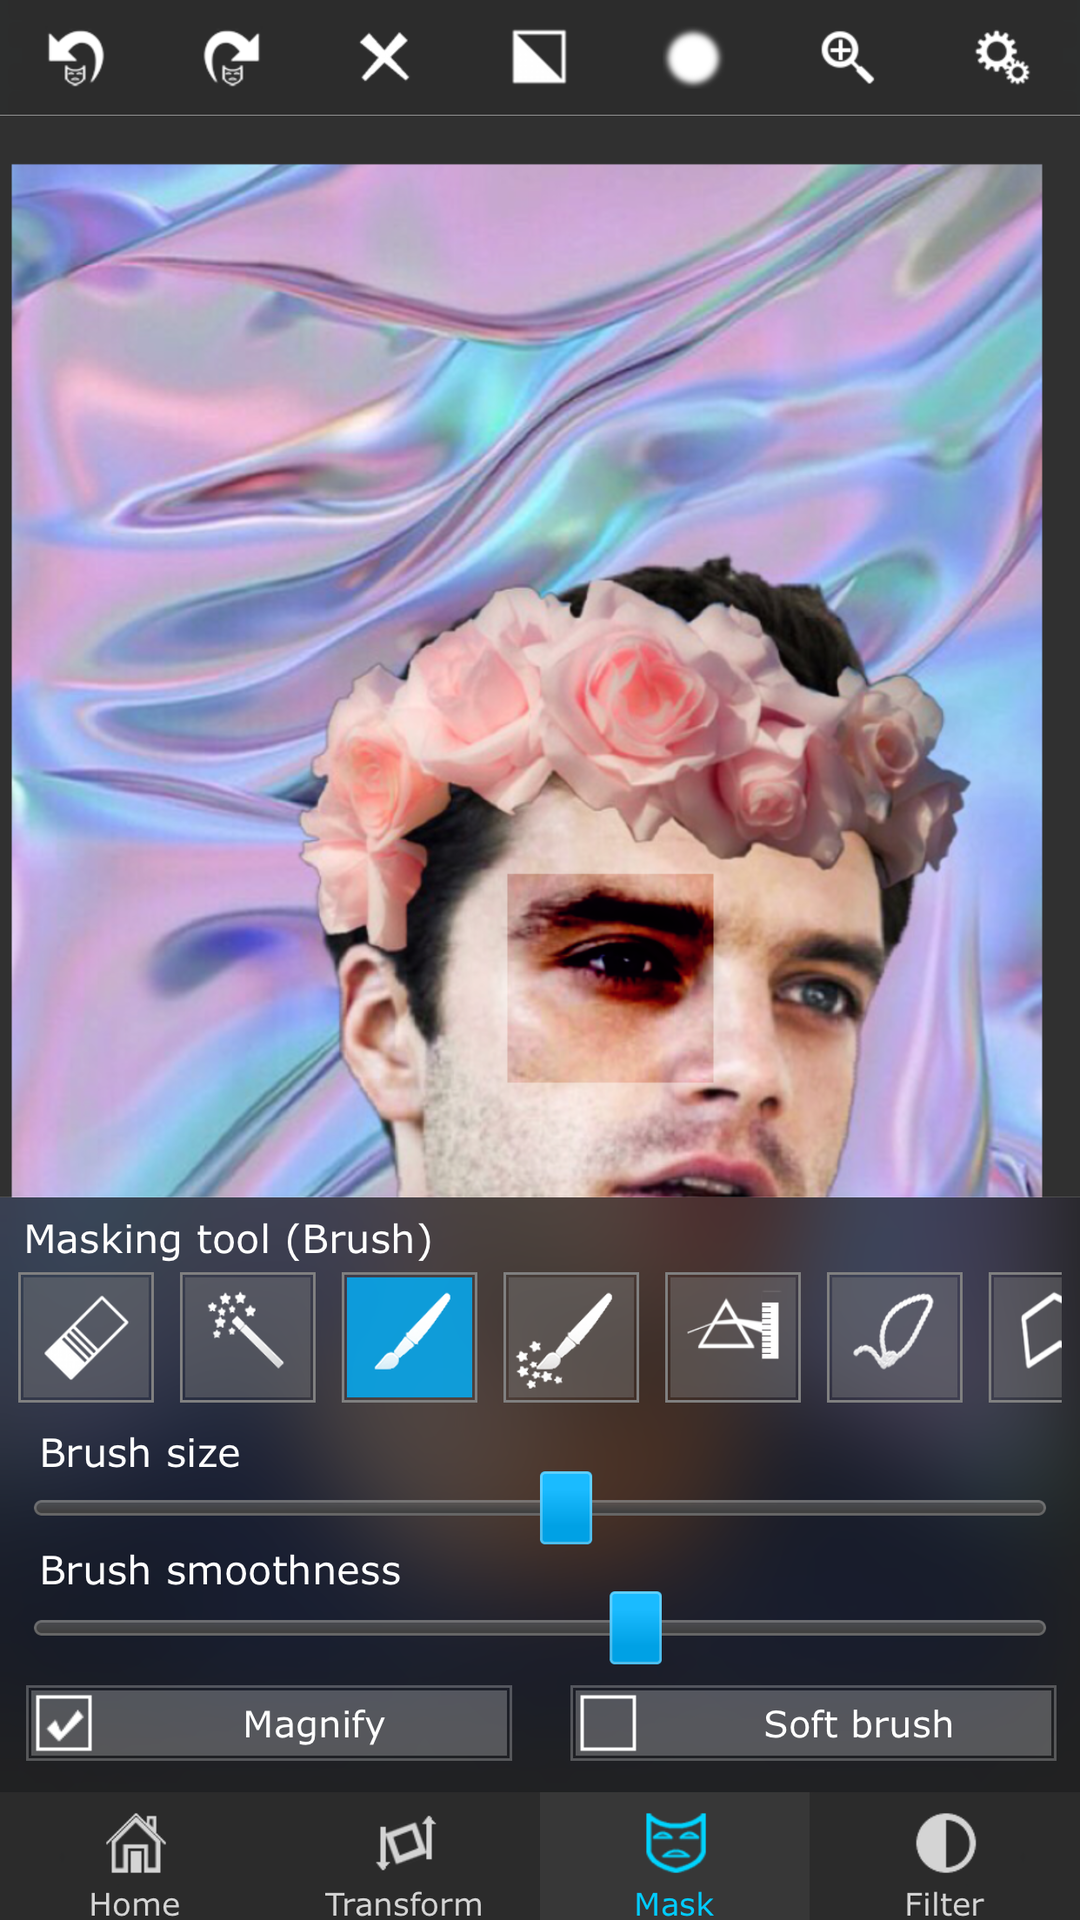
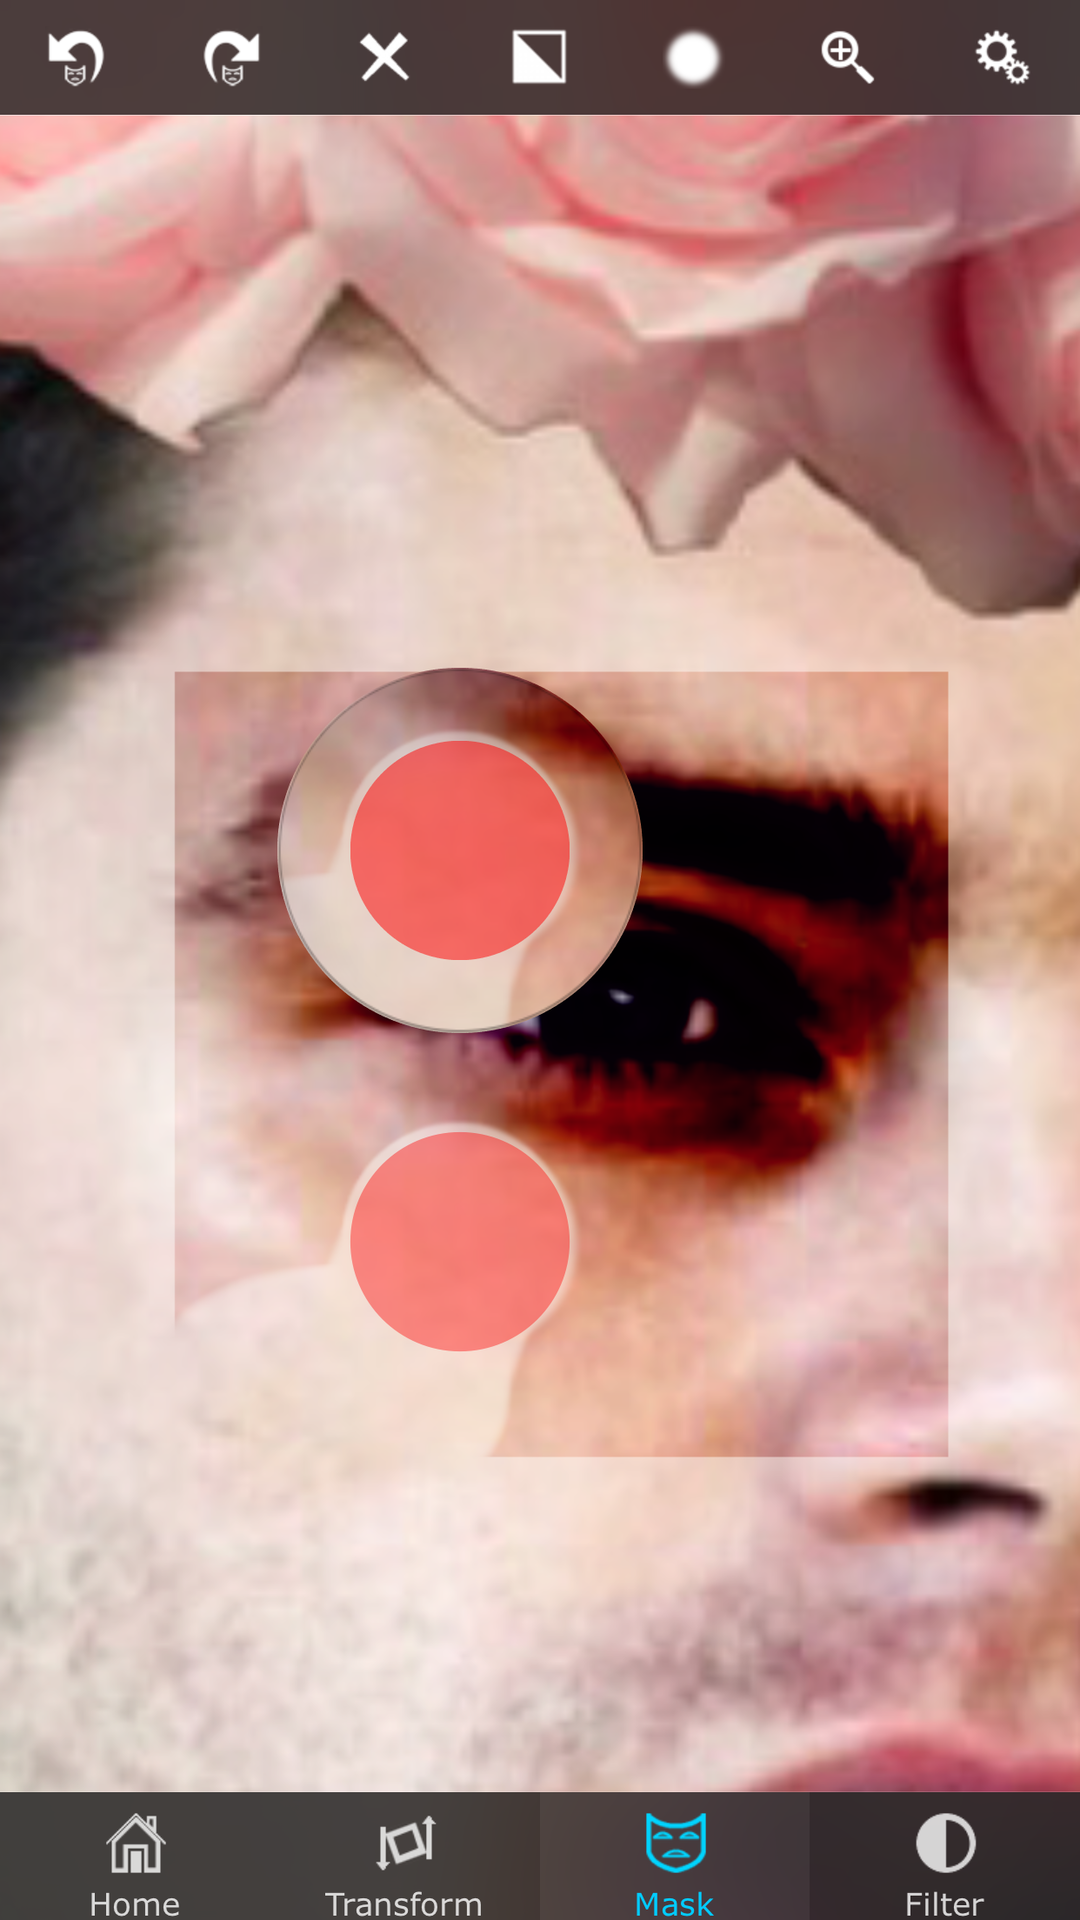
5. Zoom in close, by pinching your fingers outward. Move so that you have a close view of the eye. Proceed to start erasing the parts, so that only the eye is visible. If you accidentally erase a part of the eye, you can just press the first option (erase) and fill it back in.
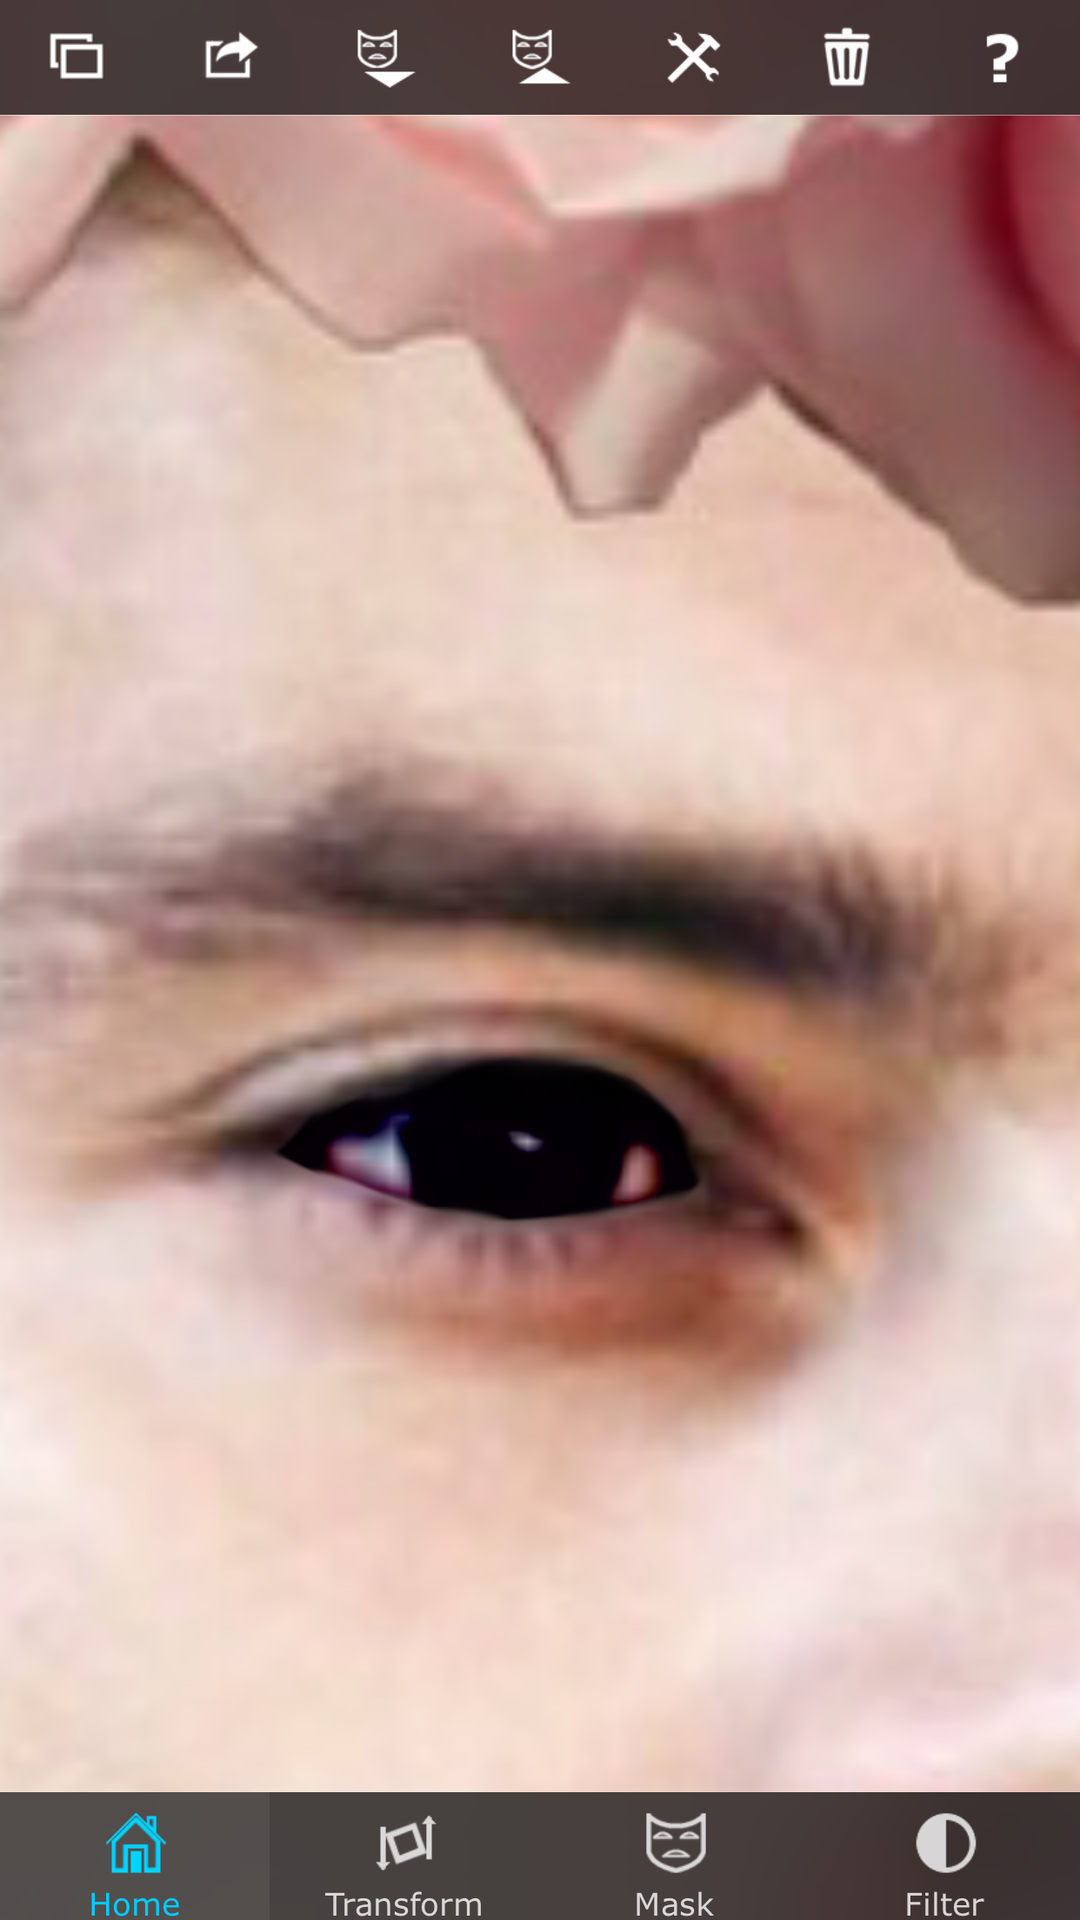
6. Now, go back to Transform>Setttings. This time, press Normal.
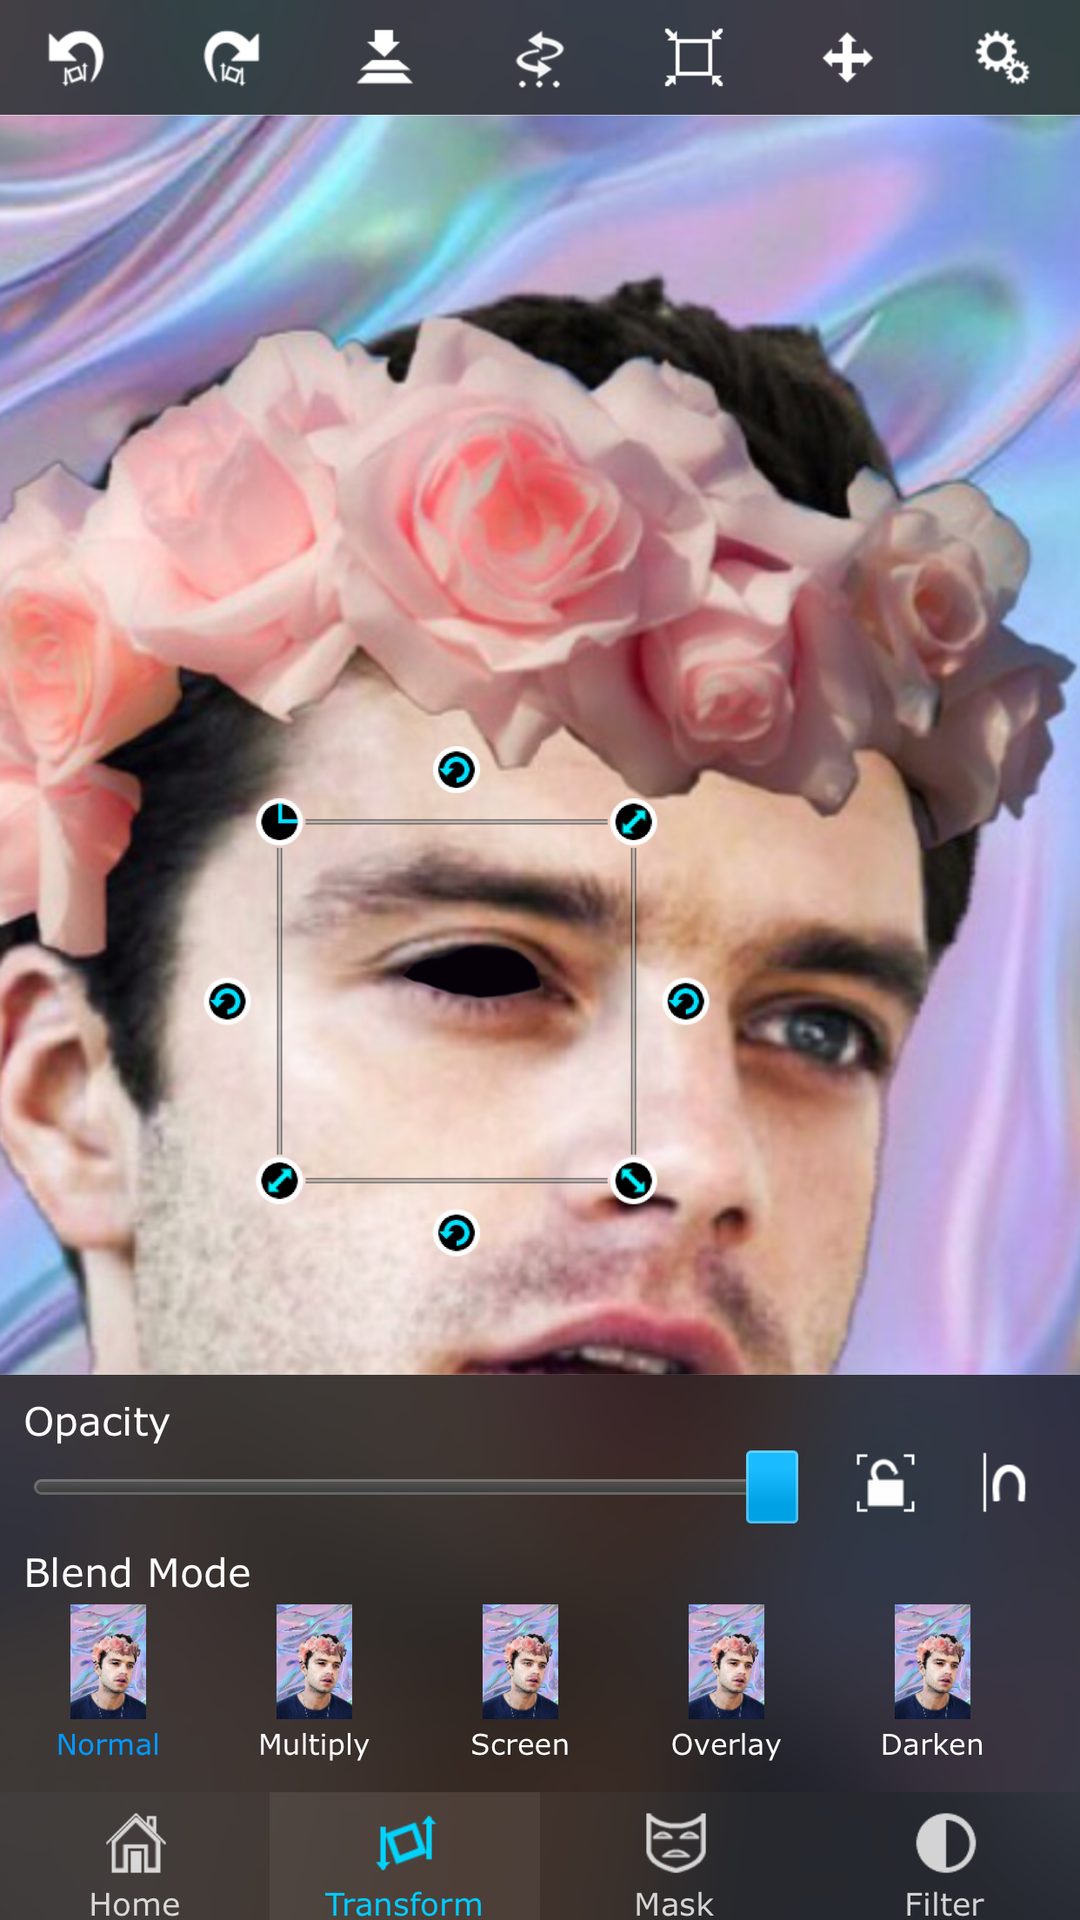
7. If it doesn't look how you want, you can go back to Overlay and erase/fill in whatever you need to. Once you're satisfied with how it looks, you press the two rectangles with the downward arrow. Press Merge. Make sure you're COMPLETELY SATISFIED with how it looks, because once you merge it, you can't change it.
8. Repeat steps 2-7 for the second eye as well.
9. To save, press the box with the arrow leaping out of it. Export Destination>Photos.
F I N A L R E S U L T:

P I C S A R T
1. Open your photo. (You'll have to save a black photo for this one.)
2. Press "Add Photo." Choose your black photo.
3. In the bottom right corner, there should be a thing that says normal, it might be different for android. Press it, and go to (yet again) overlay. Add Photo>Normal>Overlay.
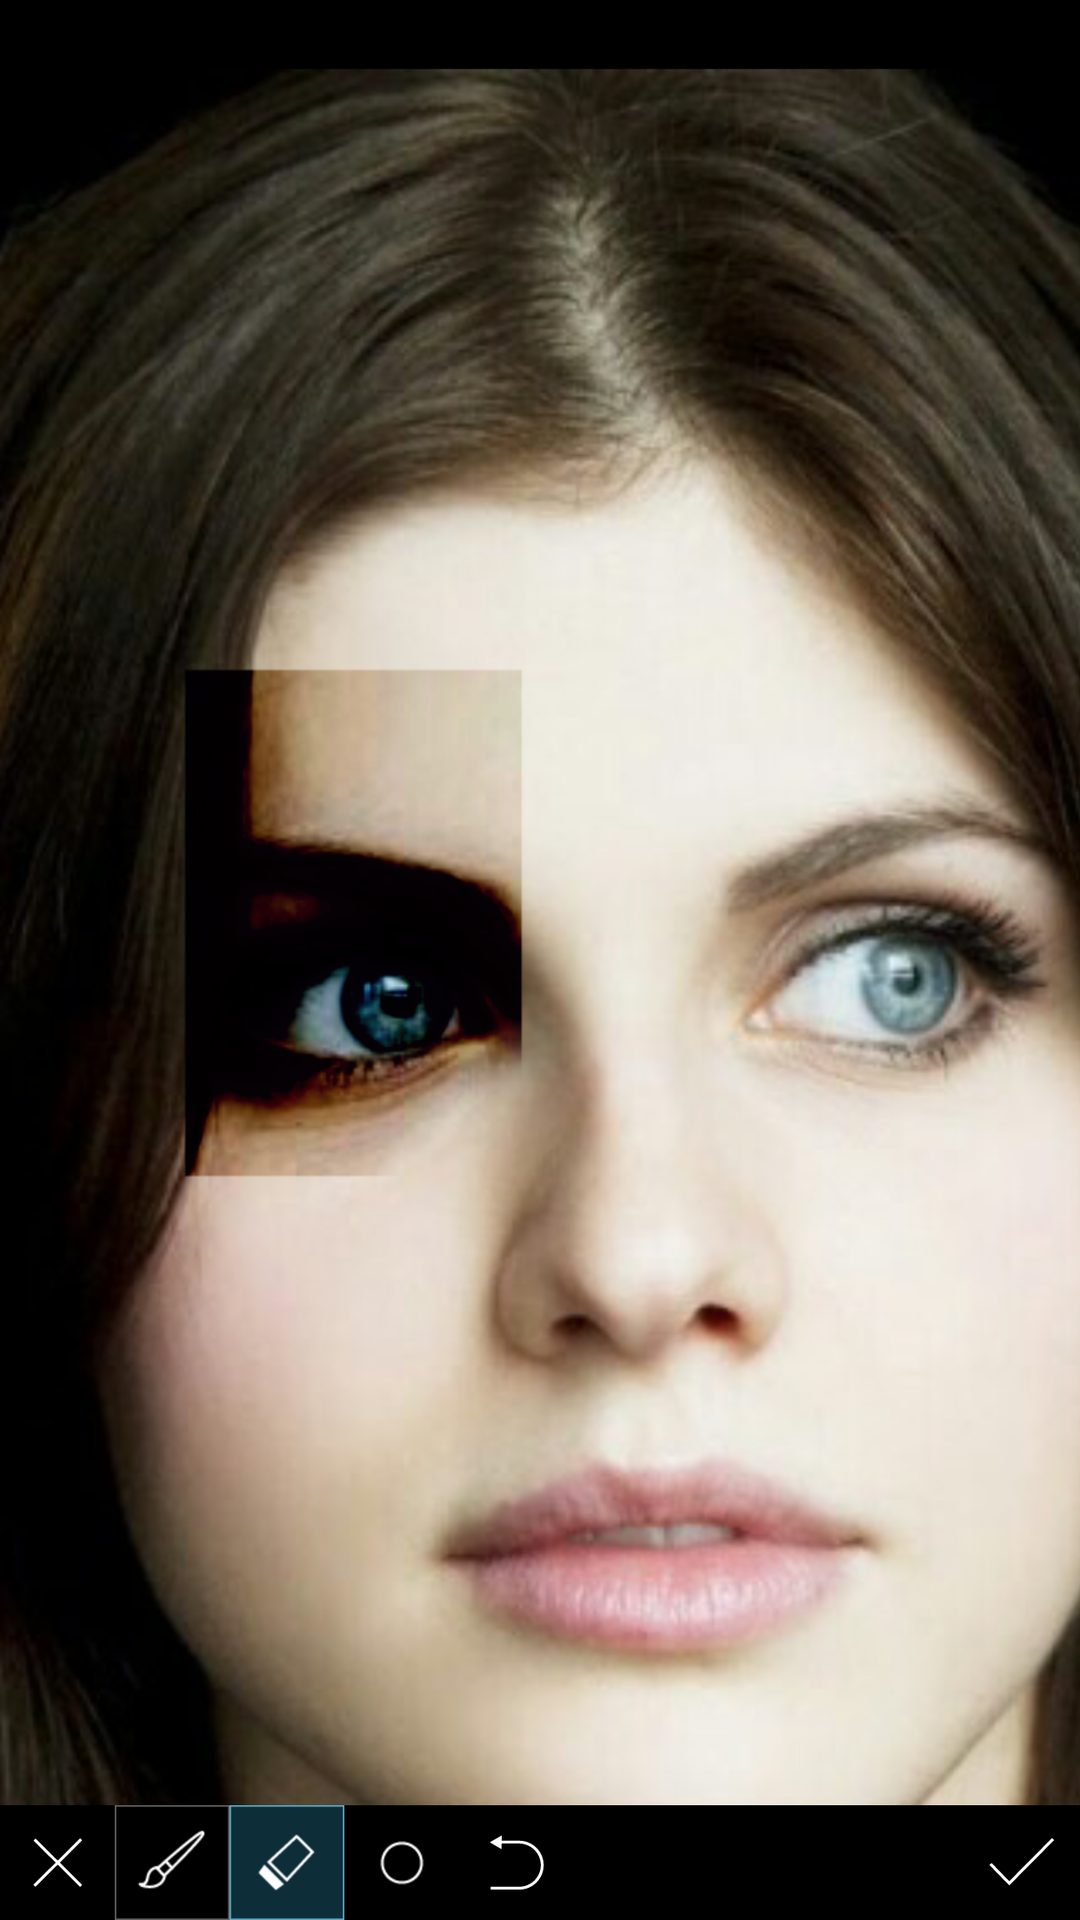
4. Just mask around like the Superimpose thing. You can press the paint brush to fill it in again, if you accidentally erase something.
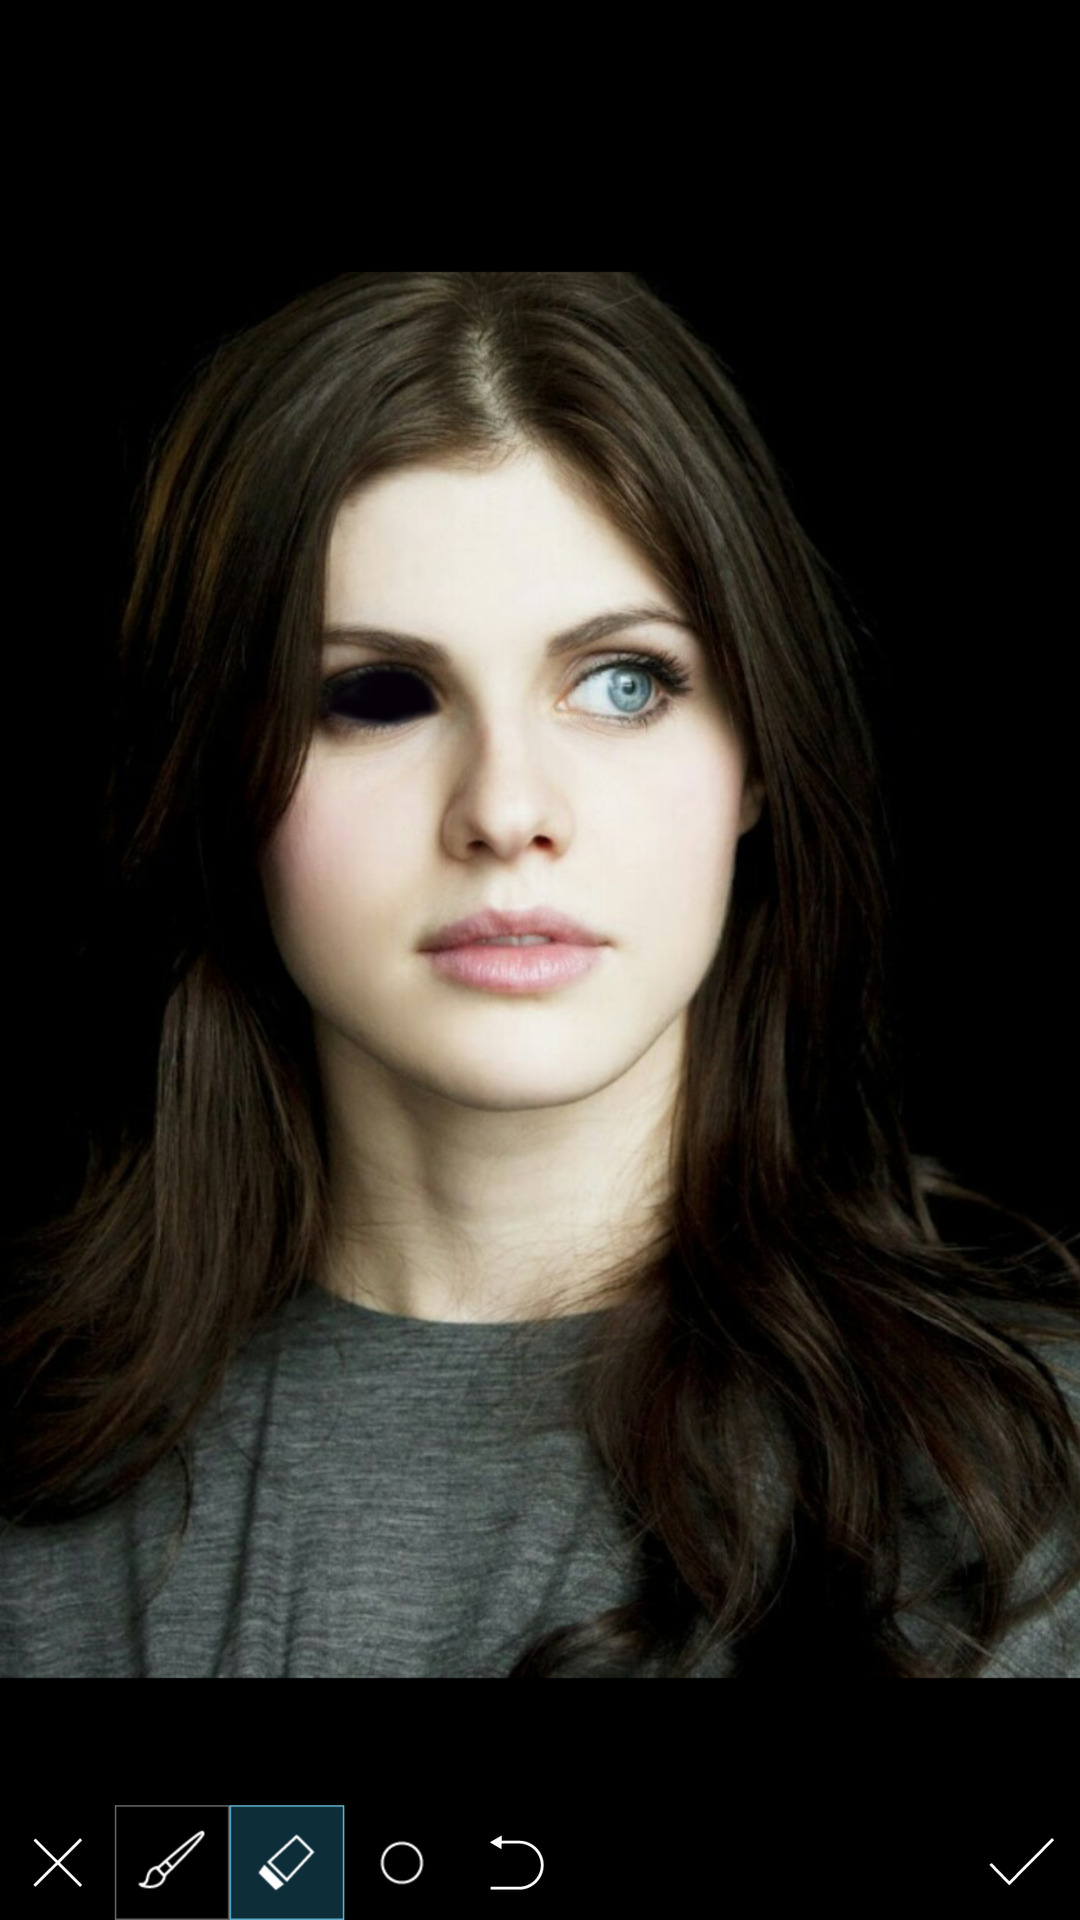
5. Repeat steps 2-4 for second eye.
F I N A L R E S U L T:
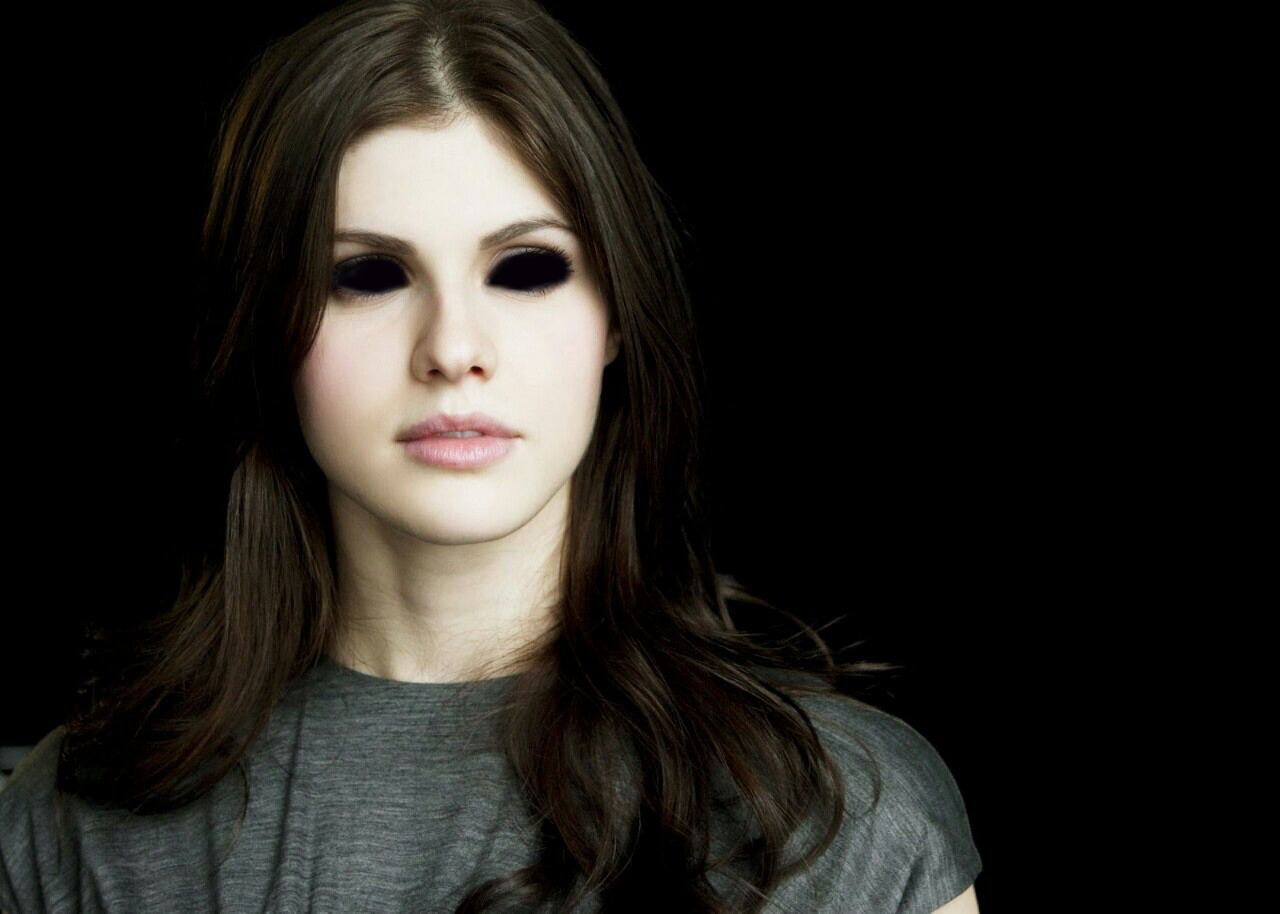
-Remember to crop your photo to 2:3, or 256 x 400!
«THIS ONE WAS ACTUALLY MY THING, GUYS, SO IF YOU USE IT PLEASE CREDIT ME WHEREVER. I MIGHT DO A TUTORIAL ON HOW TO GET THE FLOWER CROWN PERSON ON A HOLOGRAPHIC BACKGROUND, I MIGHT NOT»
A D D O N:

Faces: Alexandra Daddario (PicsArt) Sebastian Stan (Superimpose)
Bạn đang đọc truyện trên: AzTruyen.Top