Shalt (with bonus walkthrough)!
OrigamiLantern11 dared me to do a comic version of the 6 x 3 meme (which took forever, but I finally got it done - see previous chapter), AND a drawing of Shalt in First Realm and Beyond.
And since I've also been wanting to do this for a while, I figured I'd also do a walkthrough of how I do my drawings!
First off, I use iBis Paint X to do my drawings. I know a lot of artists these days are turning to professional art apps like Procreate, but I just can't say goodbye to this app just yet; we've been through so much together. 🥺
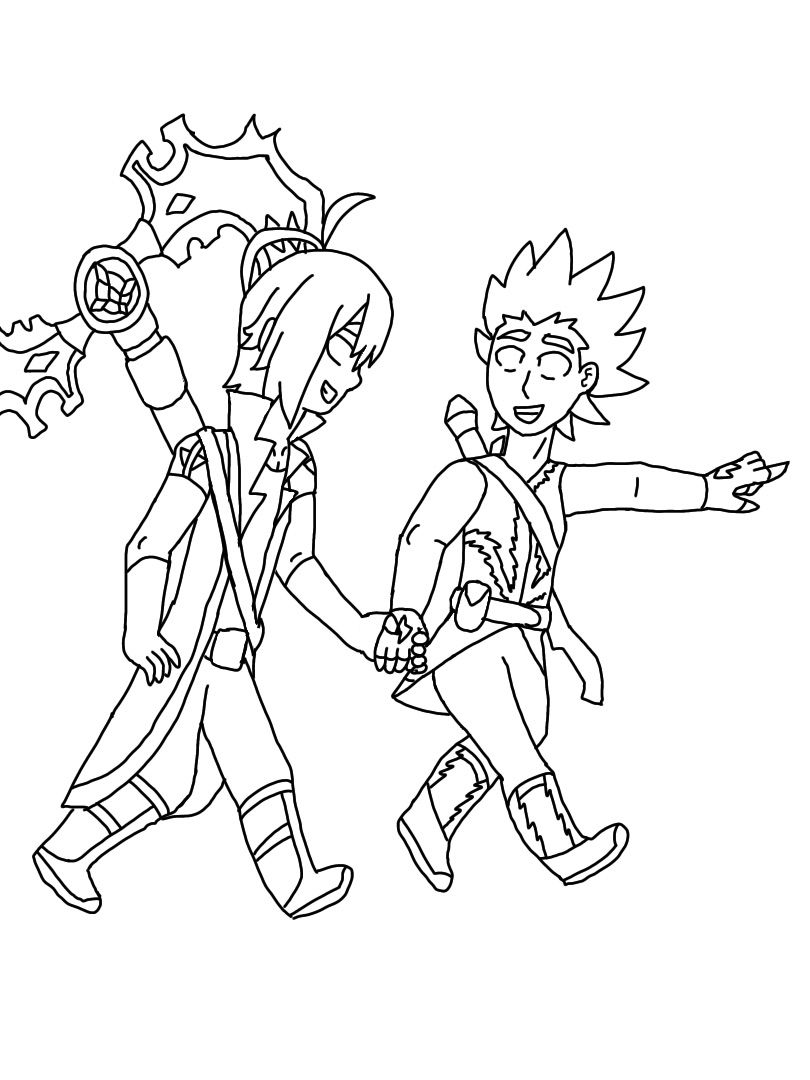
First layer: drawing. I know most people do an underlying sketch with a lot of lines and circles and rectangles, but I don't do that. I freehand all of my under drawings.
Mostly because I don't really know how to do the "professional" under sketches.
And the freehand bit is also a bit of a lie - I mostly look back and forth between the drawing and a reference photo for a while in order to get the proportions somewhat right.

Next layer, base colors. I always fill in the colors with the Paint bucket tool, then cover up the black lines; also add or cover details if needed. I only leave the lines that define where two areas of the same color meet so I know where to put the shadows. I also leave the lines around the mouths because they look weird without them.
Don't believe me?
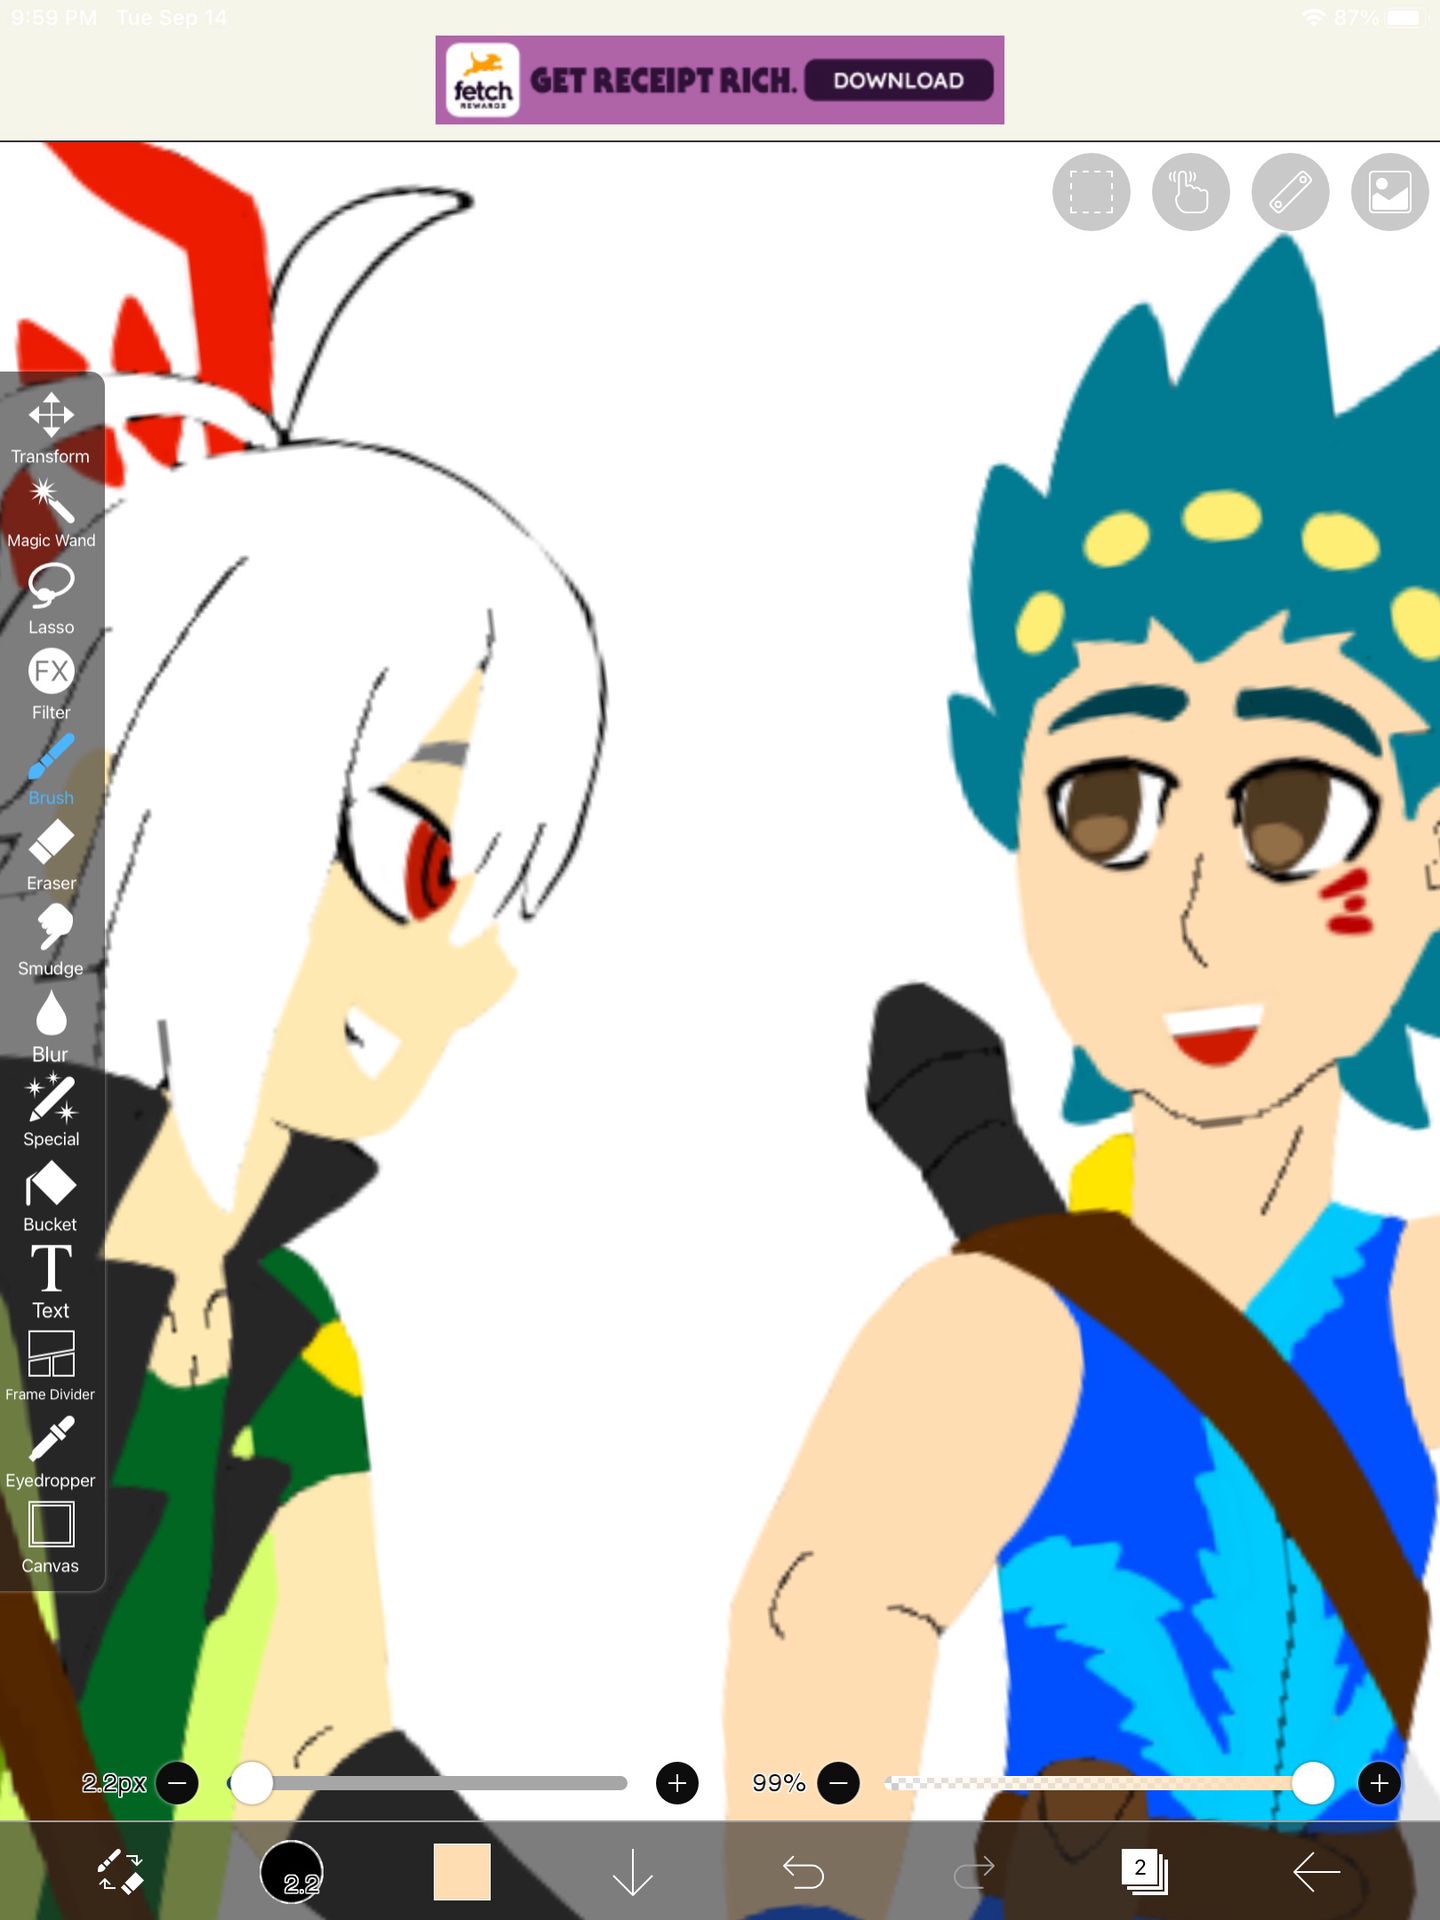
IT LOOKS LIKE THEY HAVE NO LIPS!
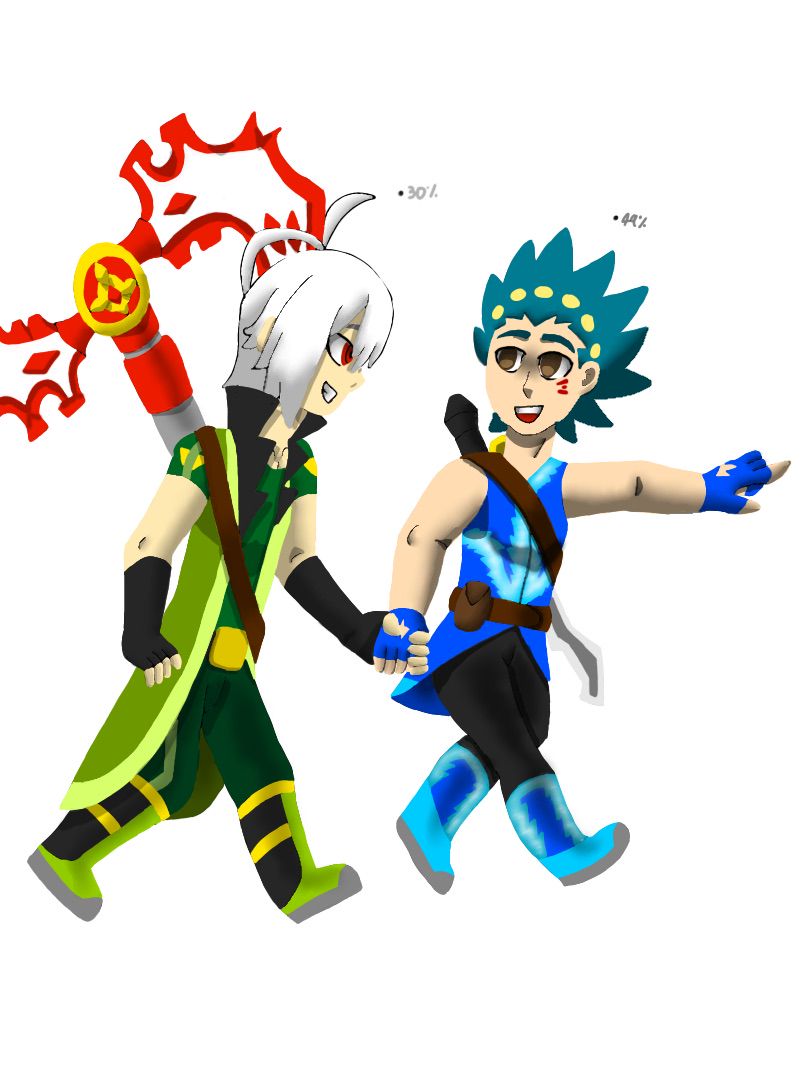
Next is shading. This is actually two separate layers - if there's more than one subject, I like to do different rounds of shading. Different people have different shadows, I feel. I start with a base color that is already the established tint for a character, like Valt's eyebrows, then I tinker with the color black on another space on the body until I get roughly the same color. Then I apply that tint to the areas where I feel shadows would be.
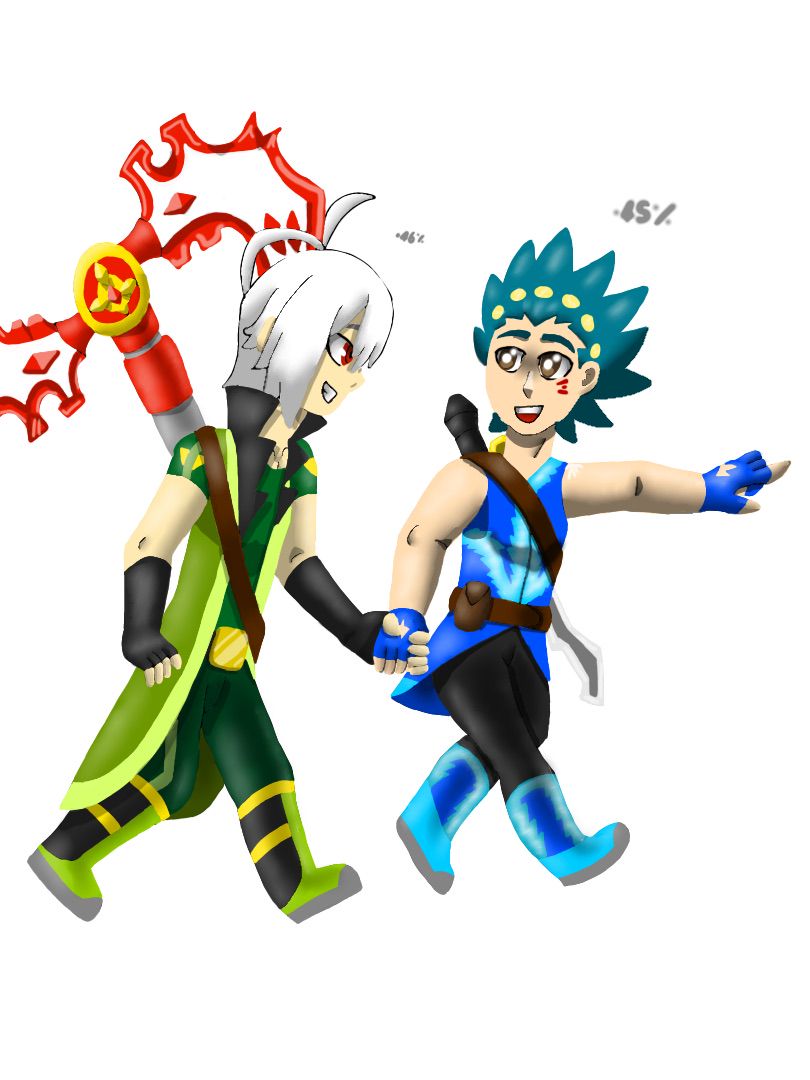
Next two layers are highlights. Same concept as with the shading - turn white to a certain percentage pertaining to each person, then scribble it on an area and use the blur tool.
This is honestly my favorite layer - the highlights bring the subject to life, I think.
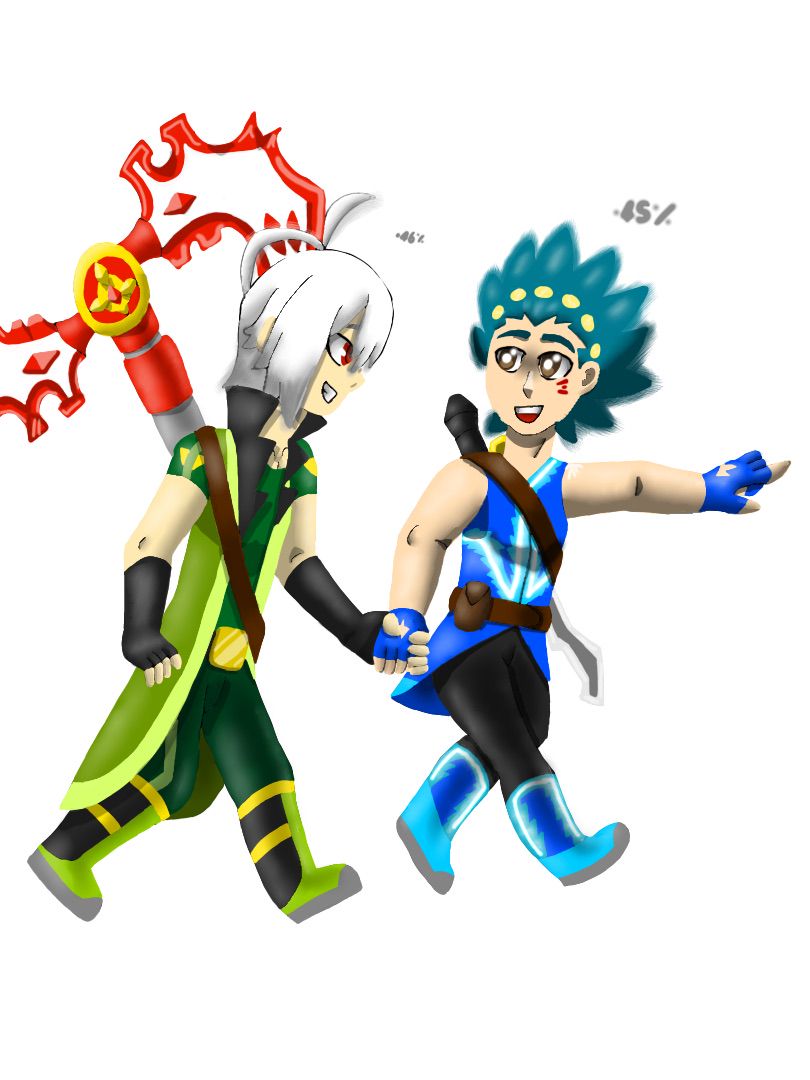
Then I go back to the layer with the base colors and use the round tool to add some detail to the hair.
And I actually just found this out with this drawing, but there's a neon tool that I used to add some more light to Valt's lightning. Cool!
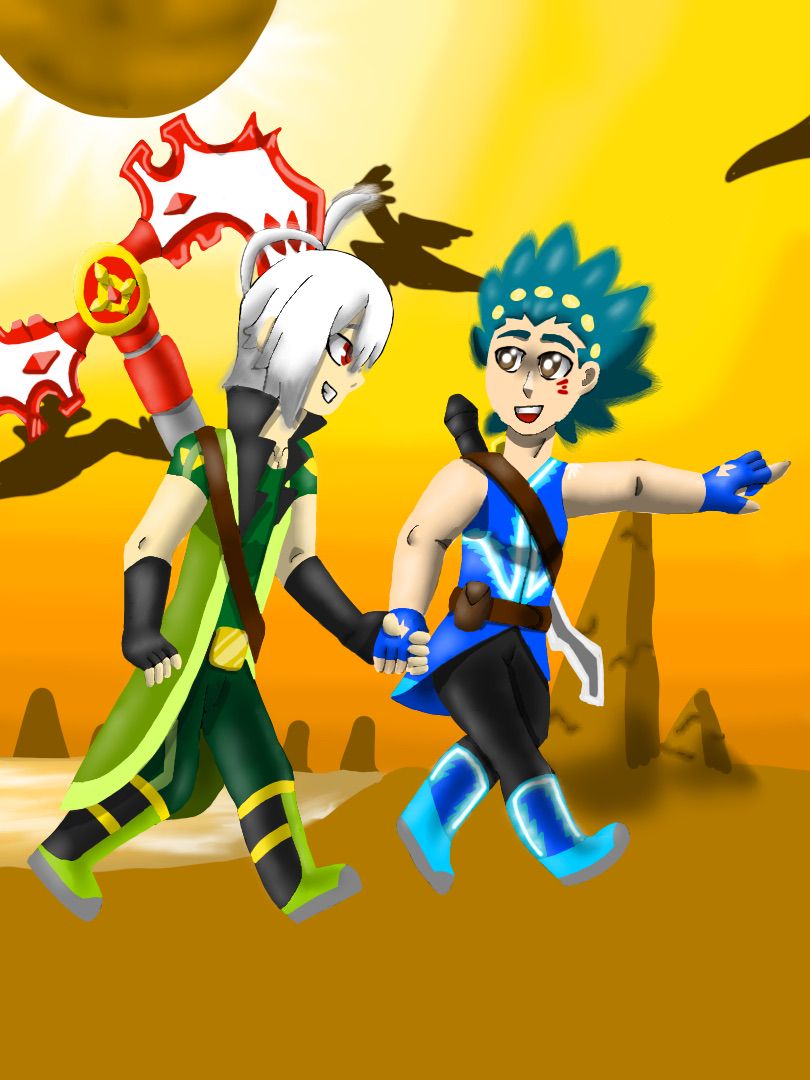
Then make the background with a series of layers that I won't add because there are too many.
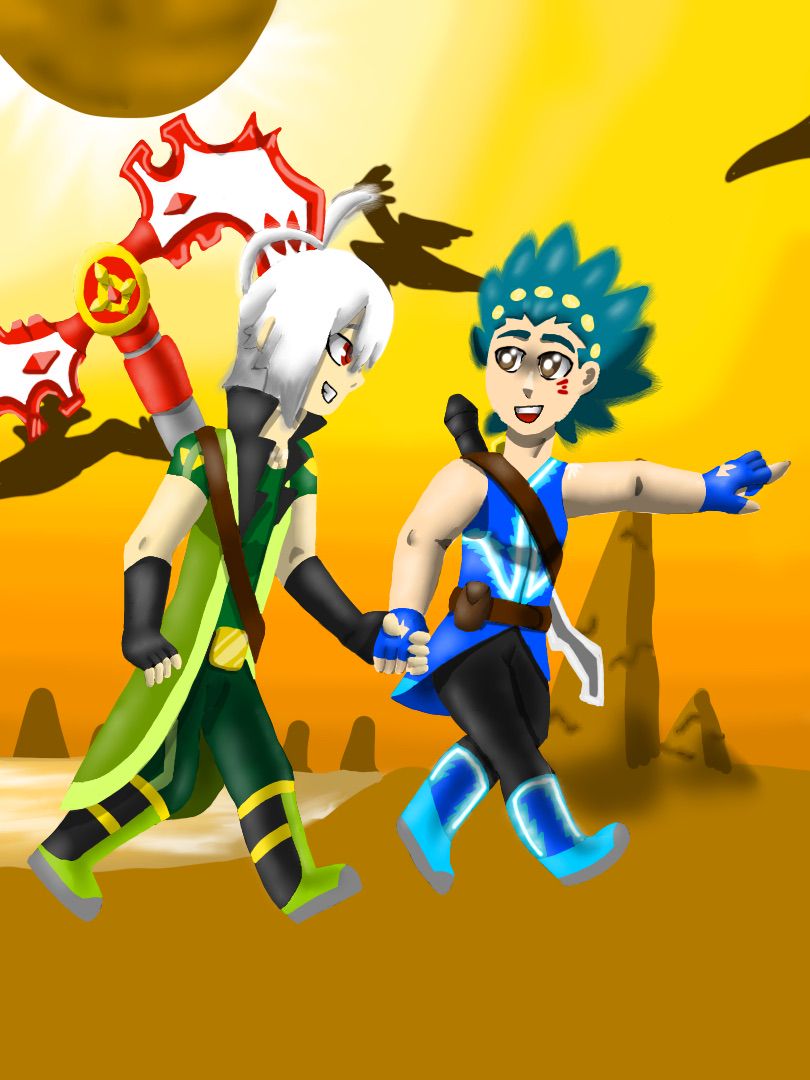
Go back to the line base and color over the black lines I had left behind.
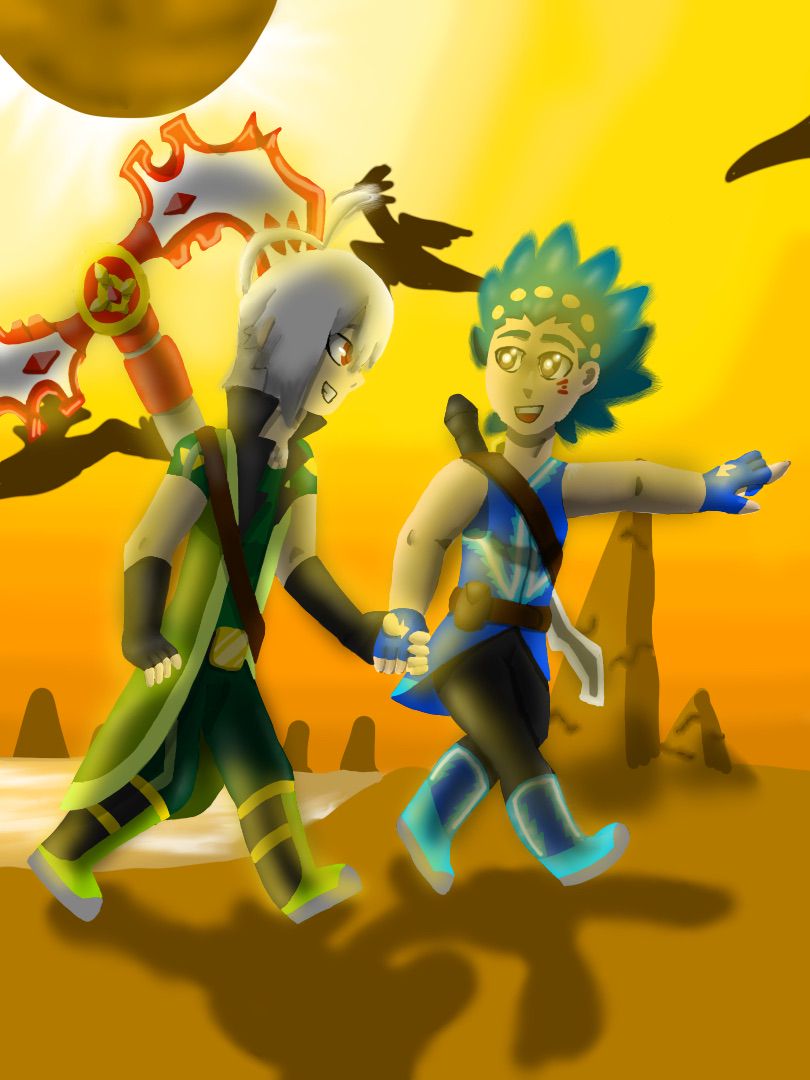
Add another couple layers and put in some last minute shadows and lighting.
And with my signature, I hereby christen this drawing...
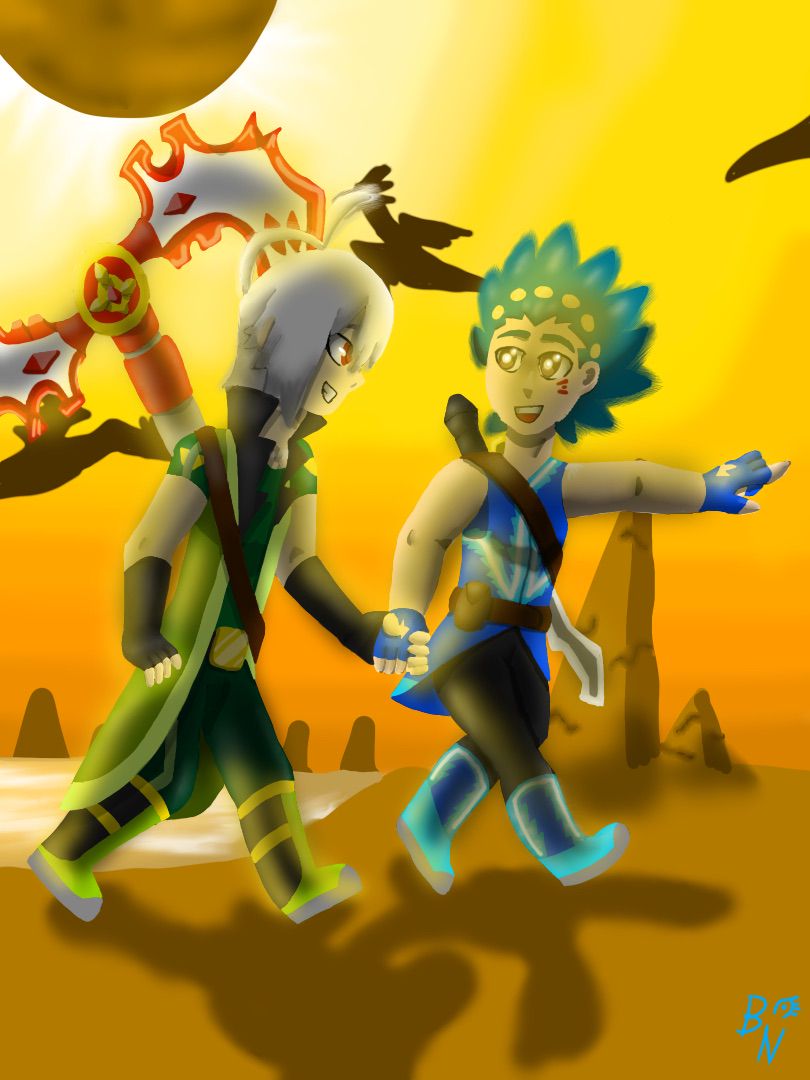
Done!
Phew, those were some long dares, but I'm done and I'm personally happy with the results!
What do you guys think?
And to let you guys know, I do take requests. Let me know what you think!
Bạn đang đọc truyện trên: AzTruyen.Top