004 palette tutorial ii
palette tutorial ii; 080718
finally the part ii has arrived!
and before i continue, thank you guys so much for one hundred reads already, i'm jungshook at how fast the reads went up i have no words-
anyways, here we go with the tutorial uwu
step twelve; use the eyedropper tool to sample the colors that your white arrow is indicating at.
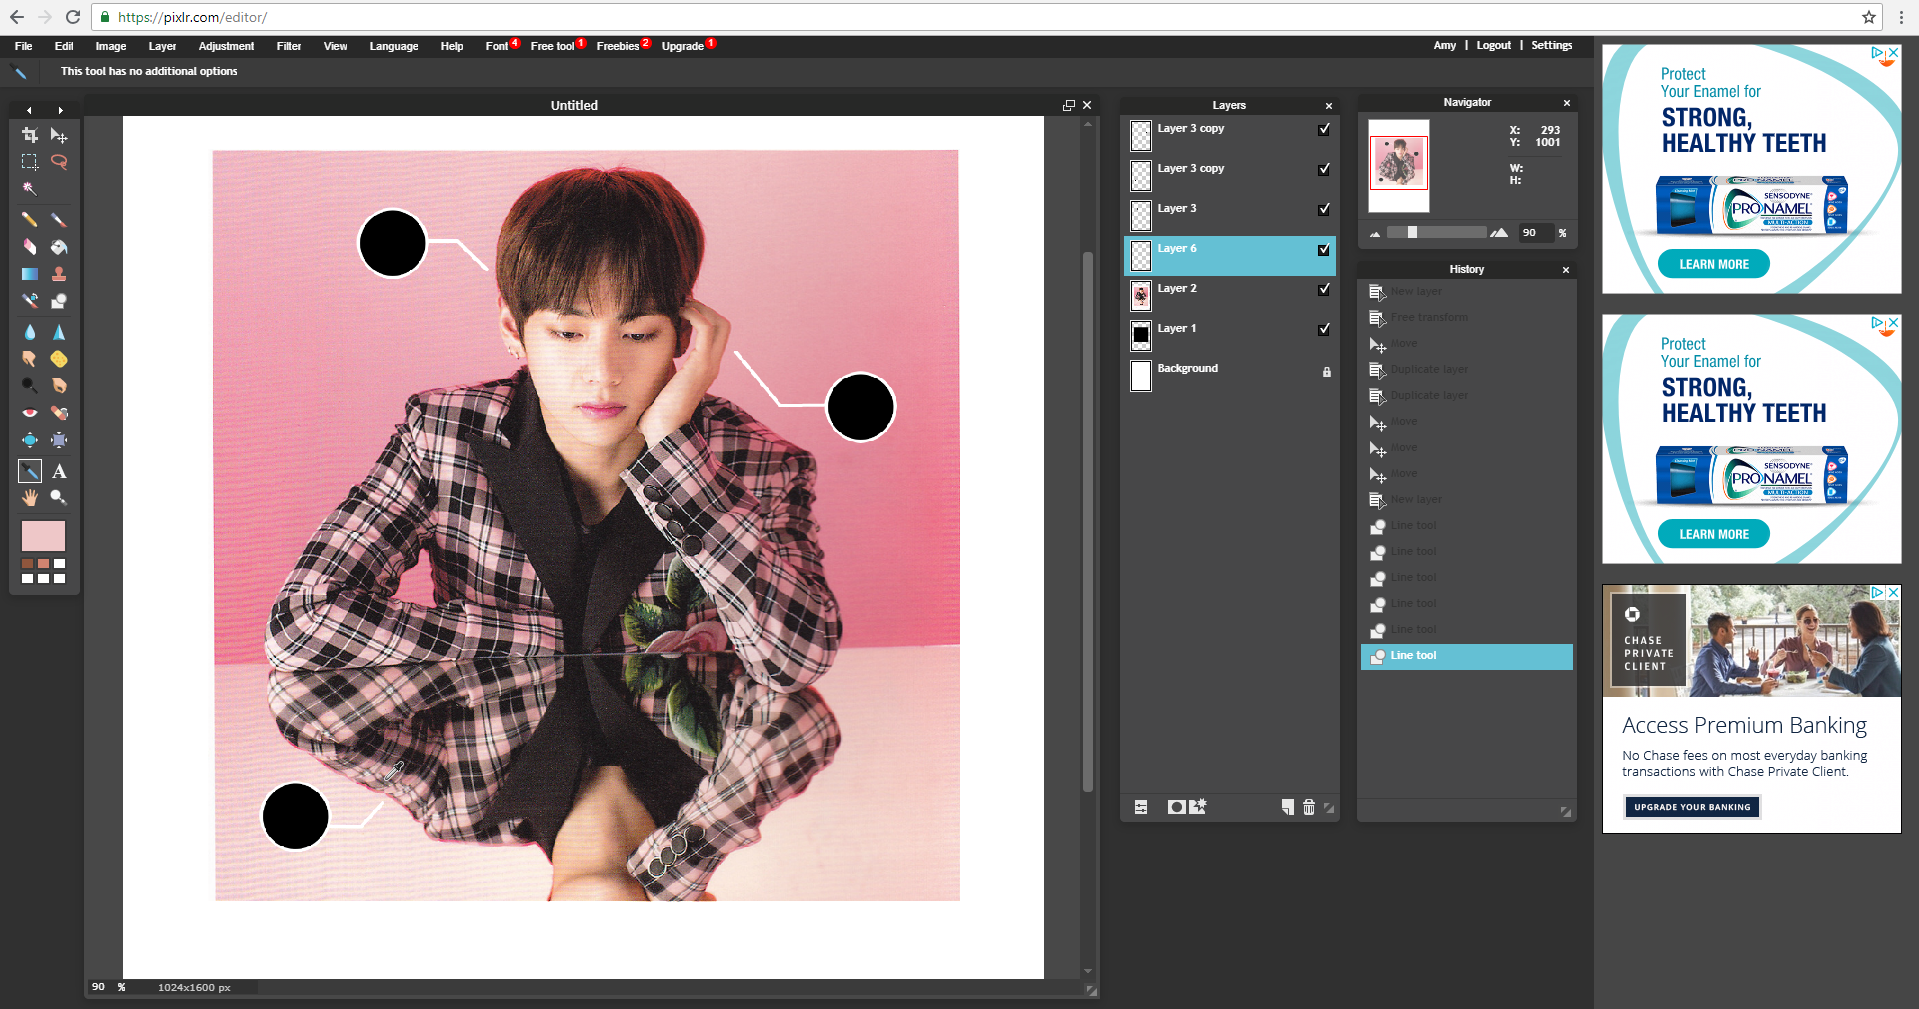
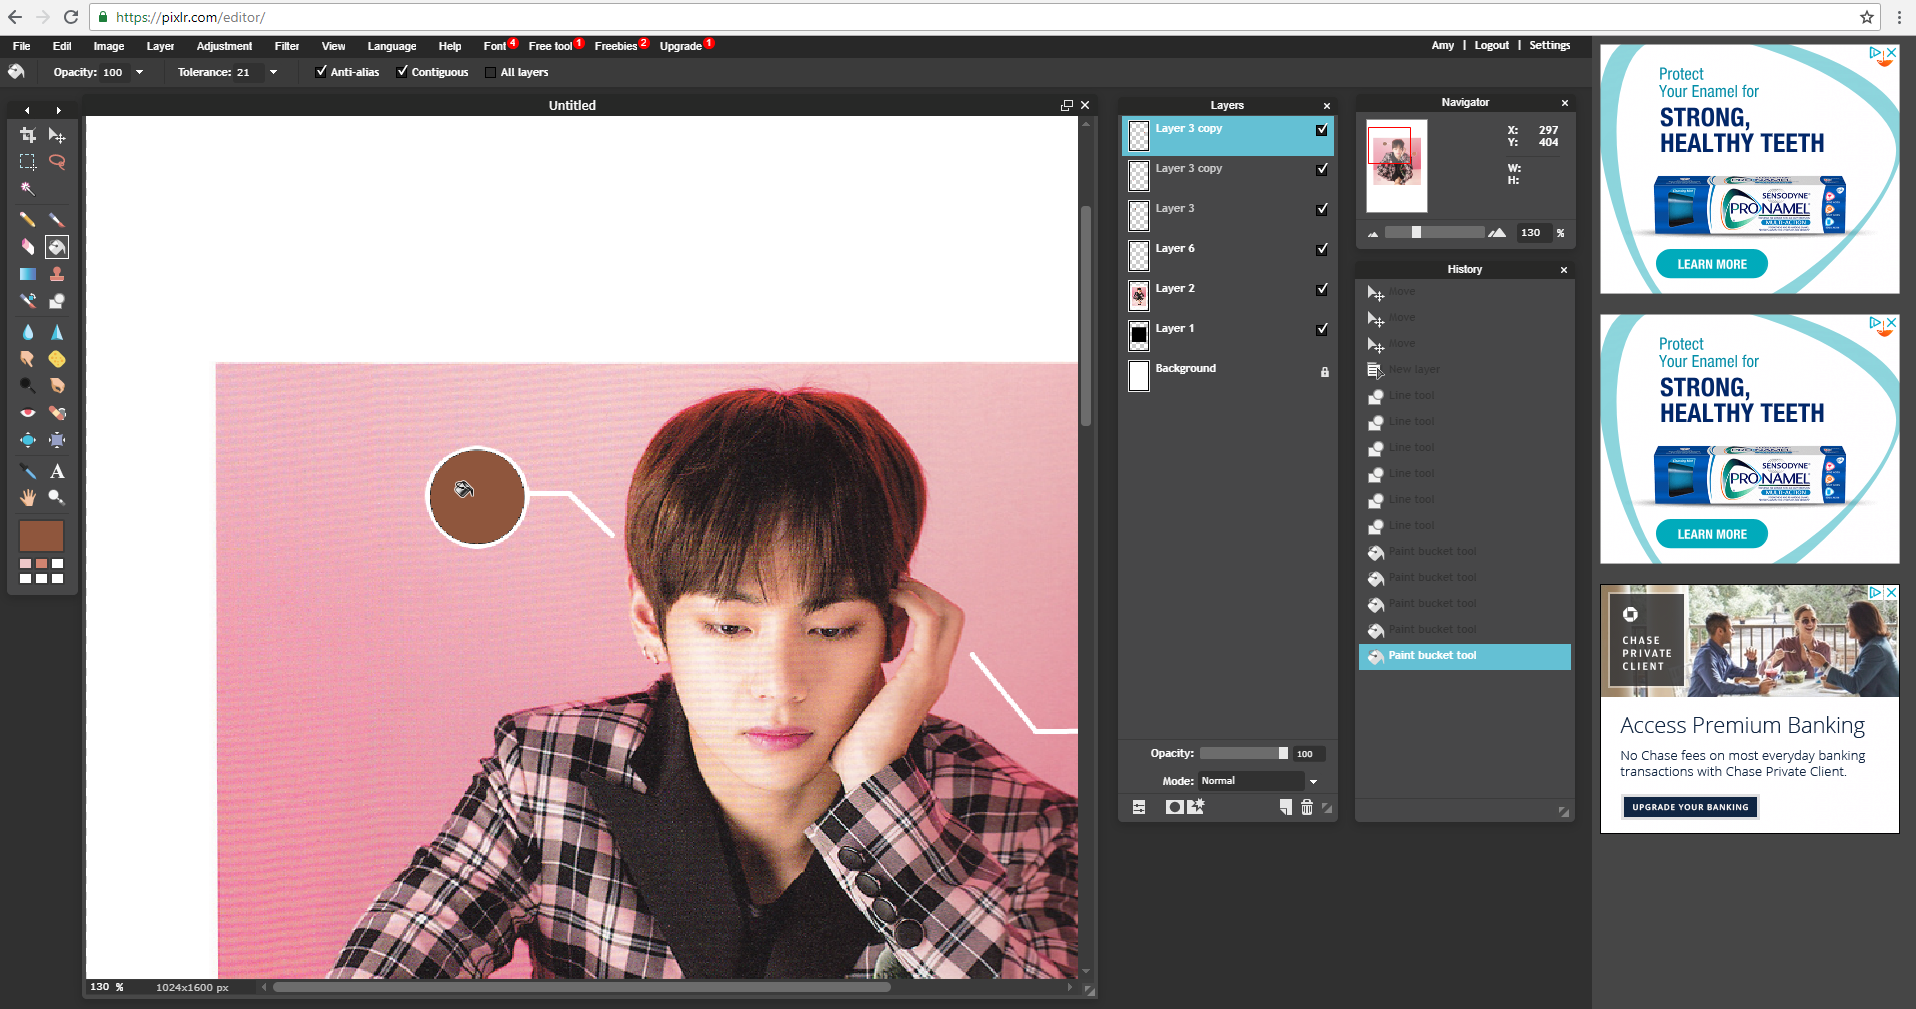
step thirteen; this honestly isn't the cleanest way to do this, but it's the easiest. now using the paint bucket tool, fill in the black circles with the colors you eyedropped.
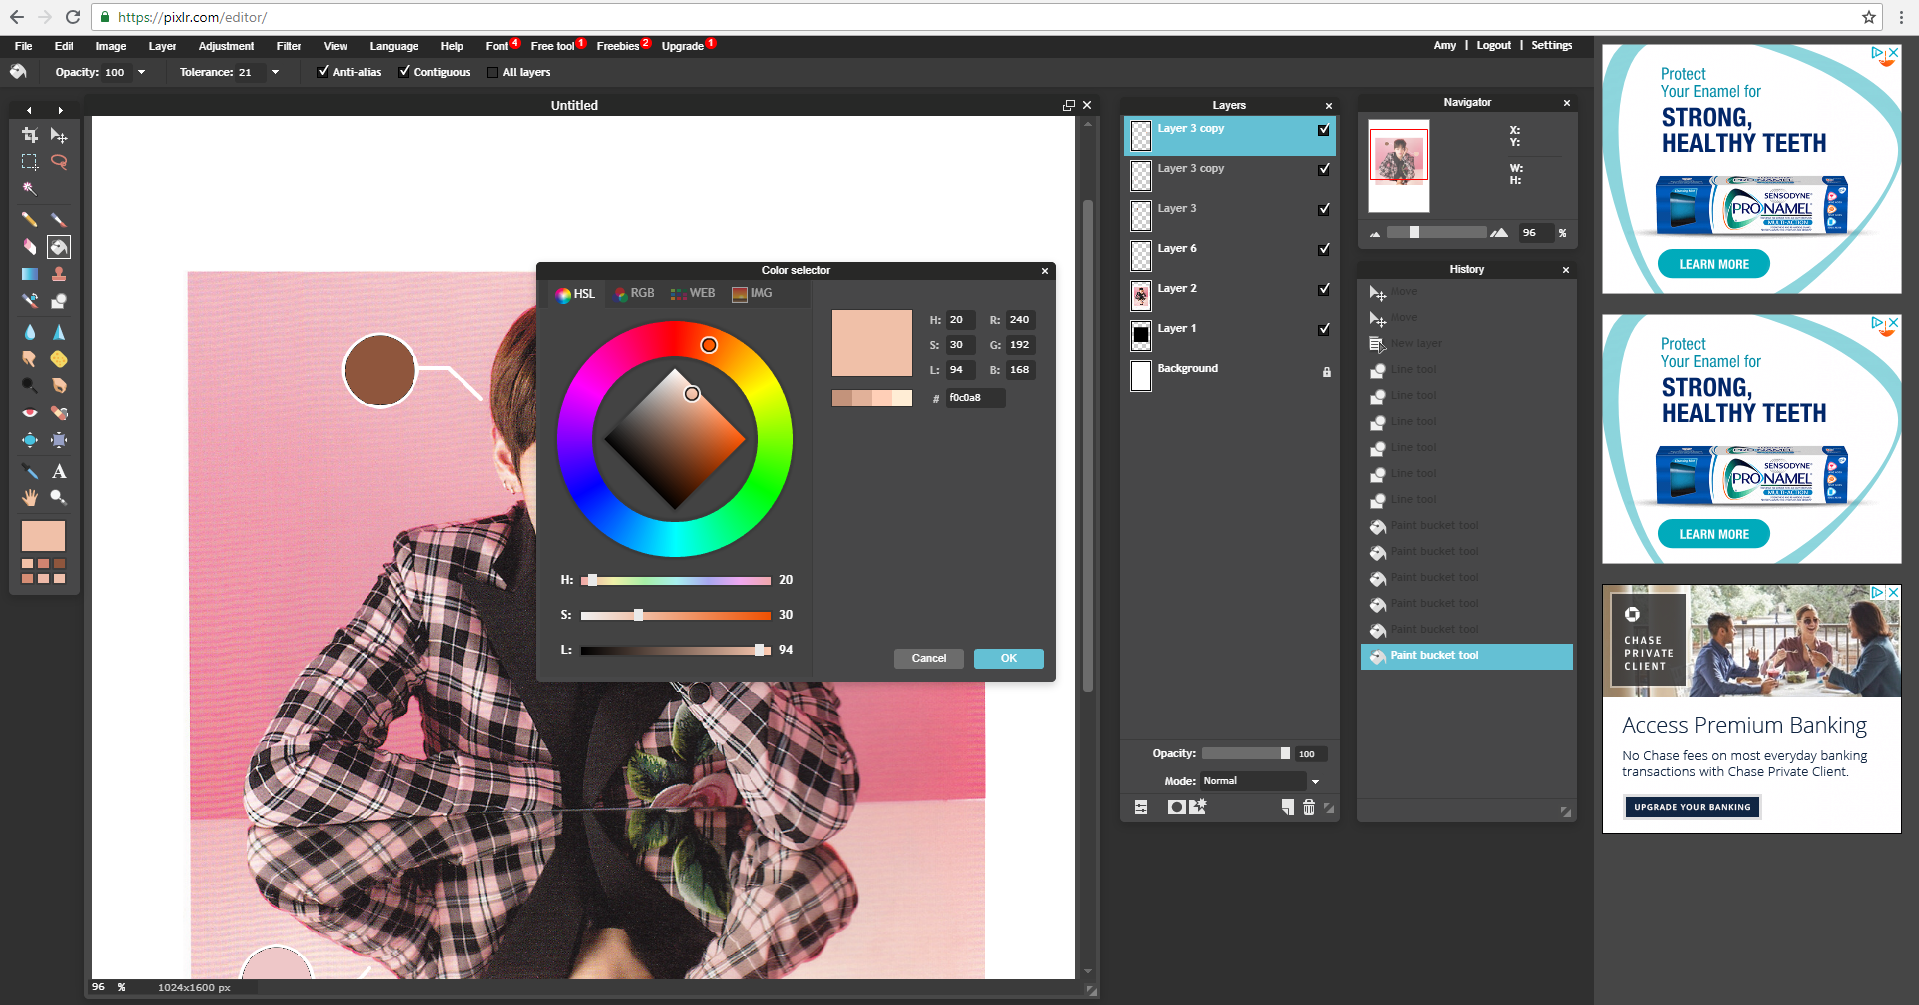
step fourteen; from this step to step fifteen you can skip if you don't want to add in the color codes below the palettes. but in my personal opinion, the cover just seemed empty without them, so i'll be adding in the text of the color codes below. what you need to first do is click on the color to see its color code. for example, white's color code is #ffffff. once you find the sampled color's code, copy it.
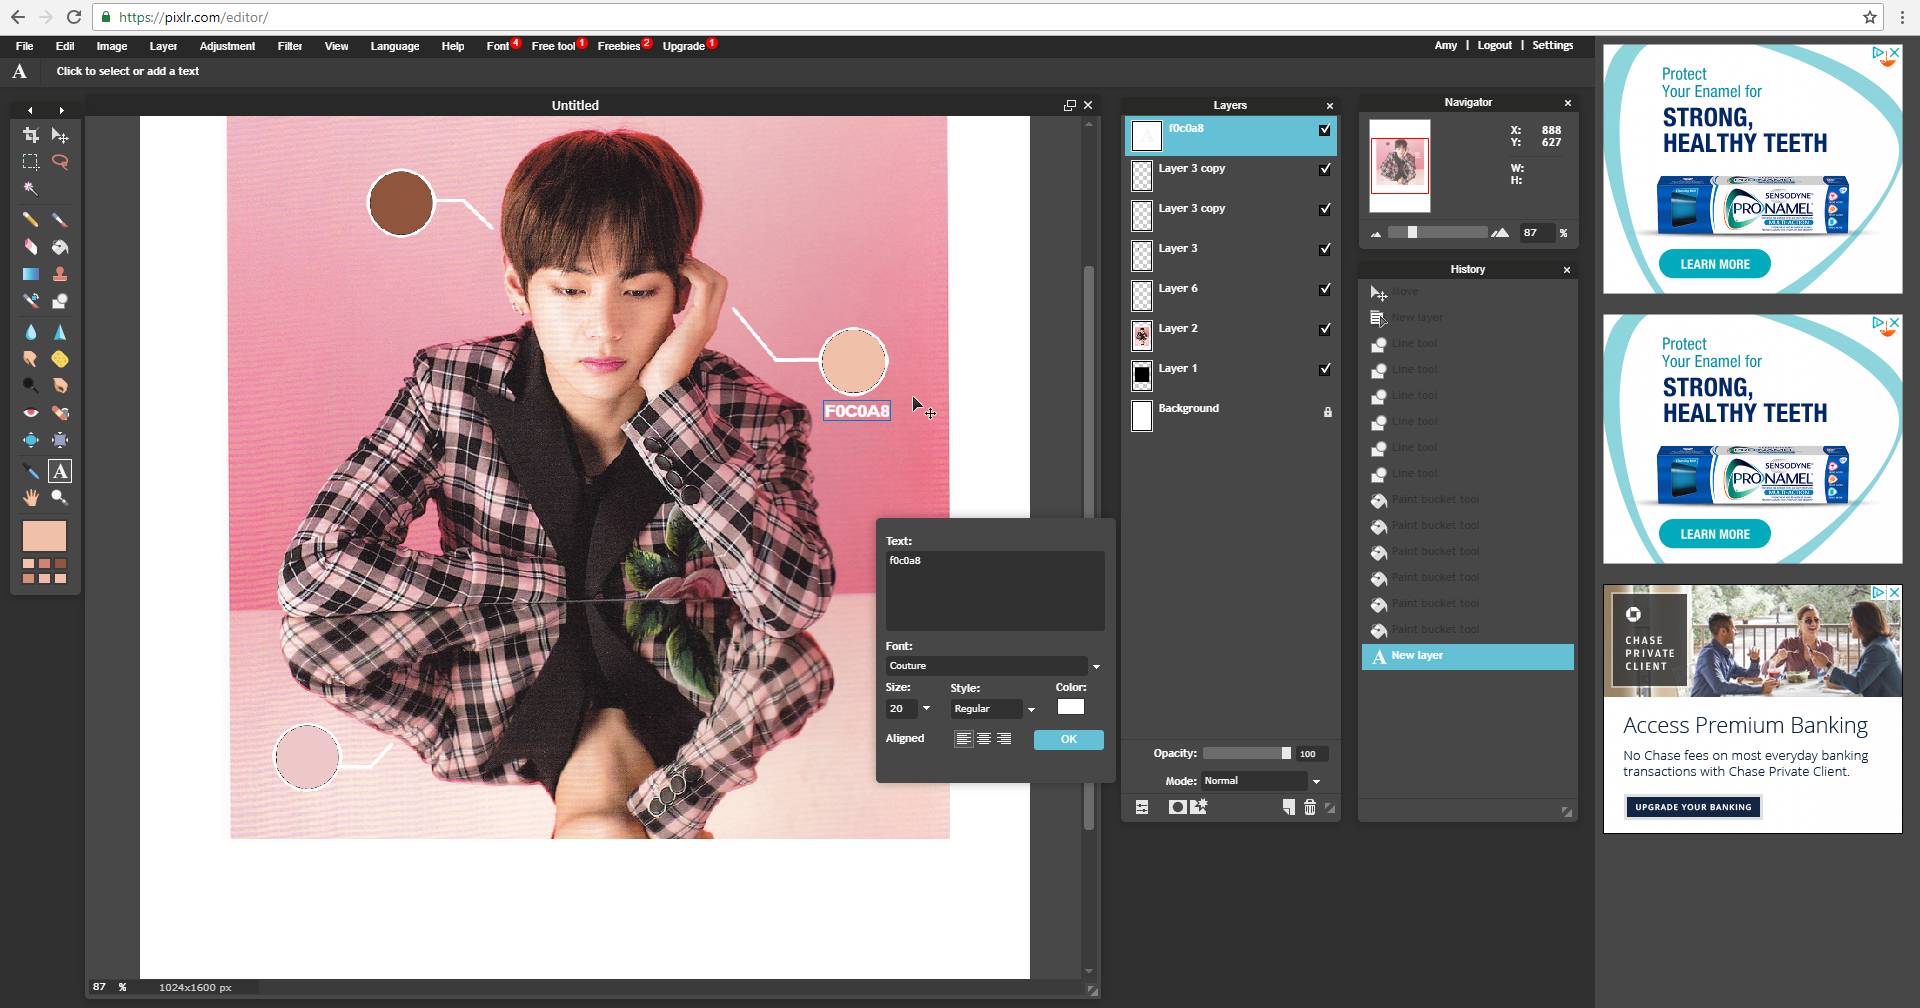
step fifteen; opening up the text tool, paste the code. the font, size and its color is your choice but i went ahead with couture, size twenty, and white. place the text under the palettes.
step sixteen; split your title into two parts. now the first part, type it down in a somewhat big size. again, i used couture but any font can be used. one important thing is that the color has to be black.
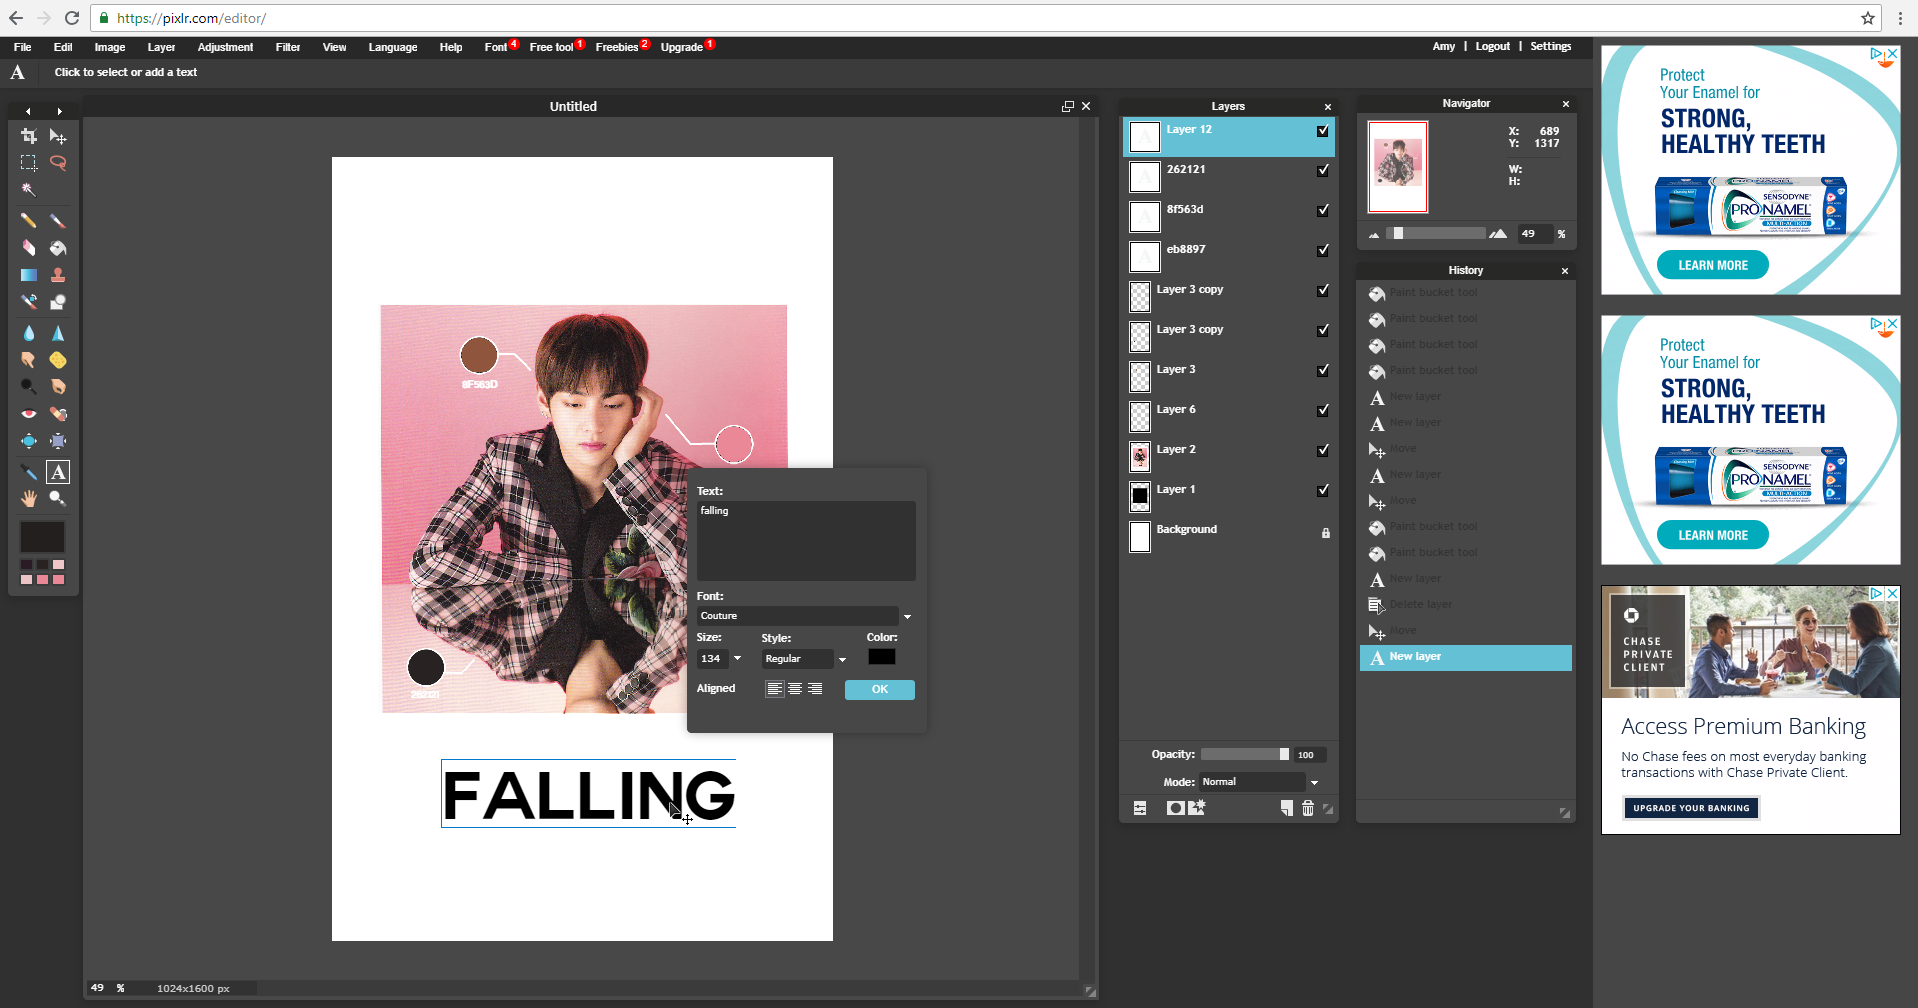
step seventeen; say the name, seventeen- okay, anyways so after typing down the first part of your title, write the second part, a bit smaller right under part one of the title. also make sure to type out your author name on the top.

step eighteen; now over all of this, open another one of your main image as a new layer and after pressing ctrl + t, transform its size to cover up the whole work and make sure to apply the change.
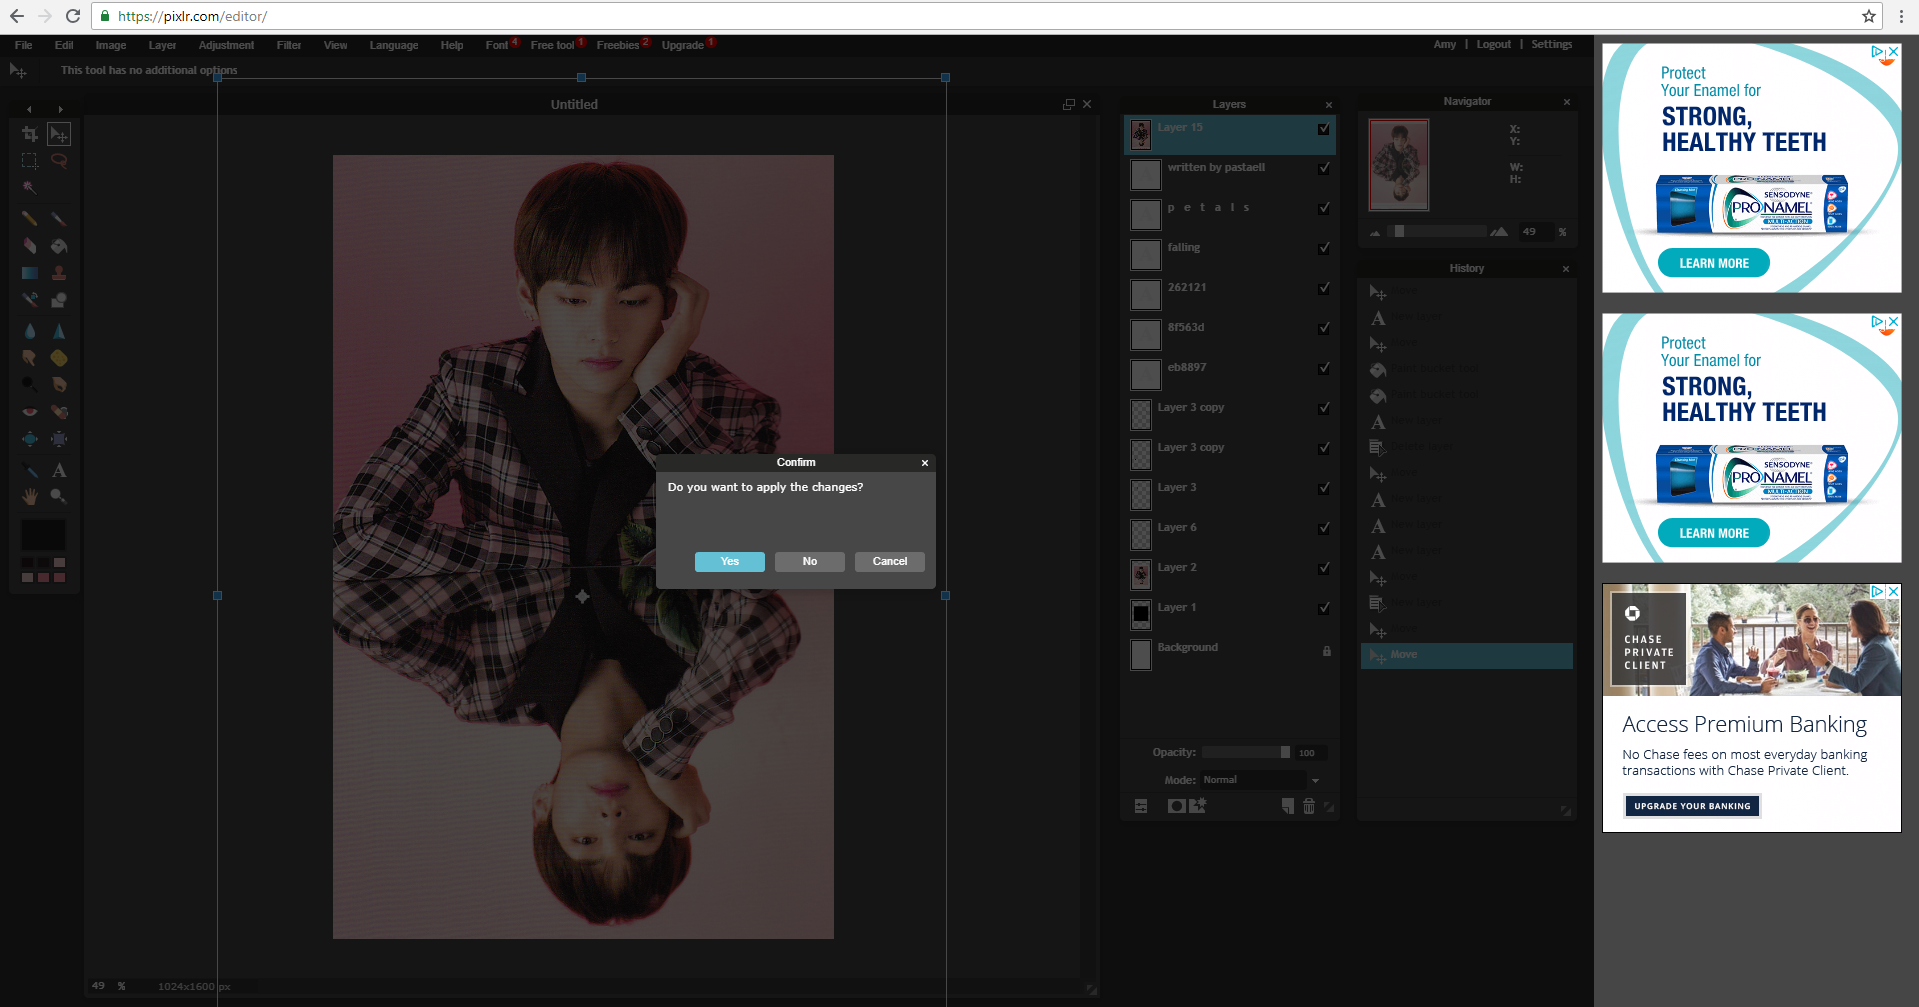
step nineteen; afterwards, make sure to change that layer's exposure to add again. it'll result in something like below, and don't panic when it happens, we can fix it.
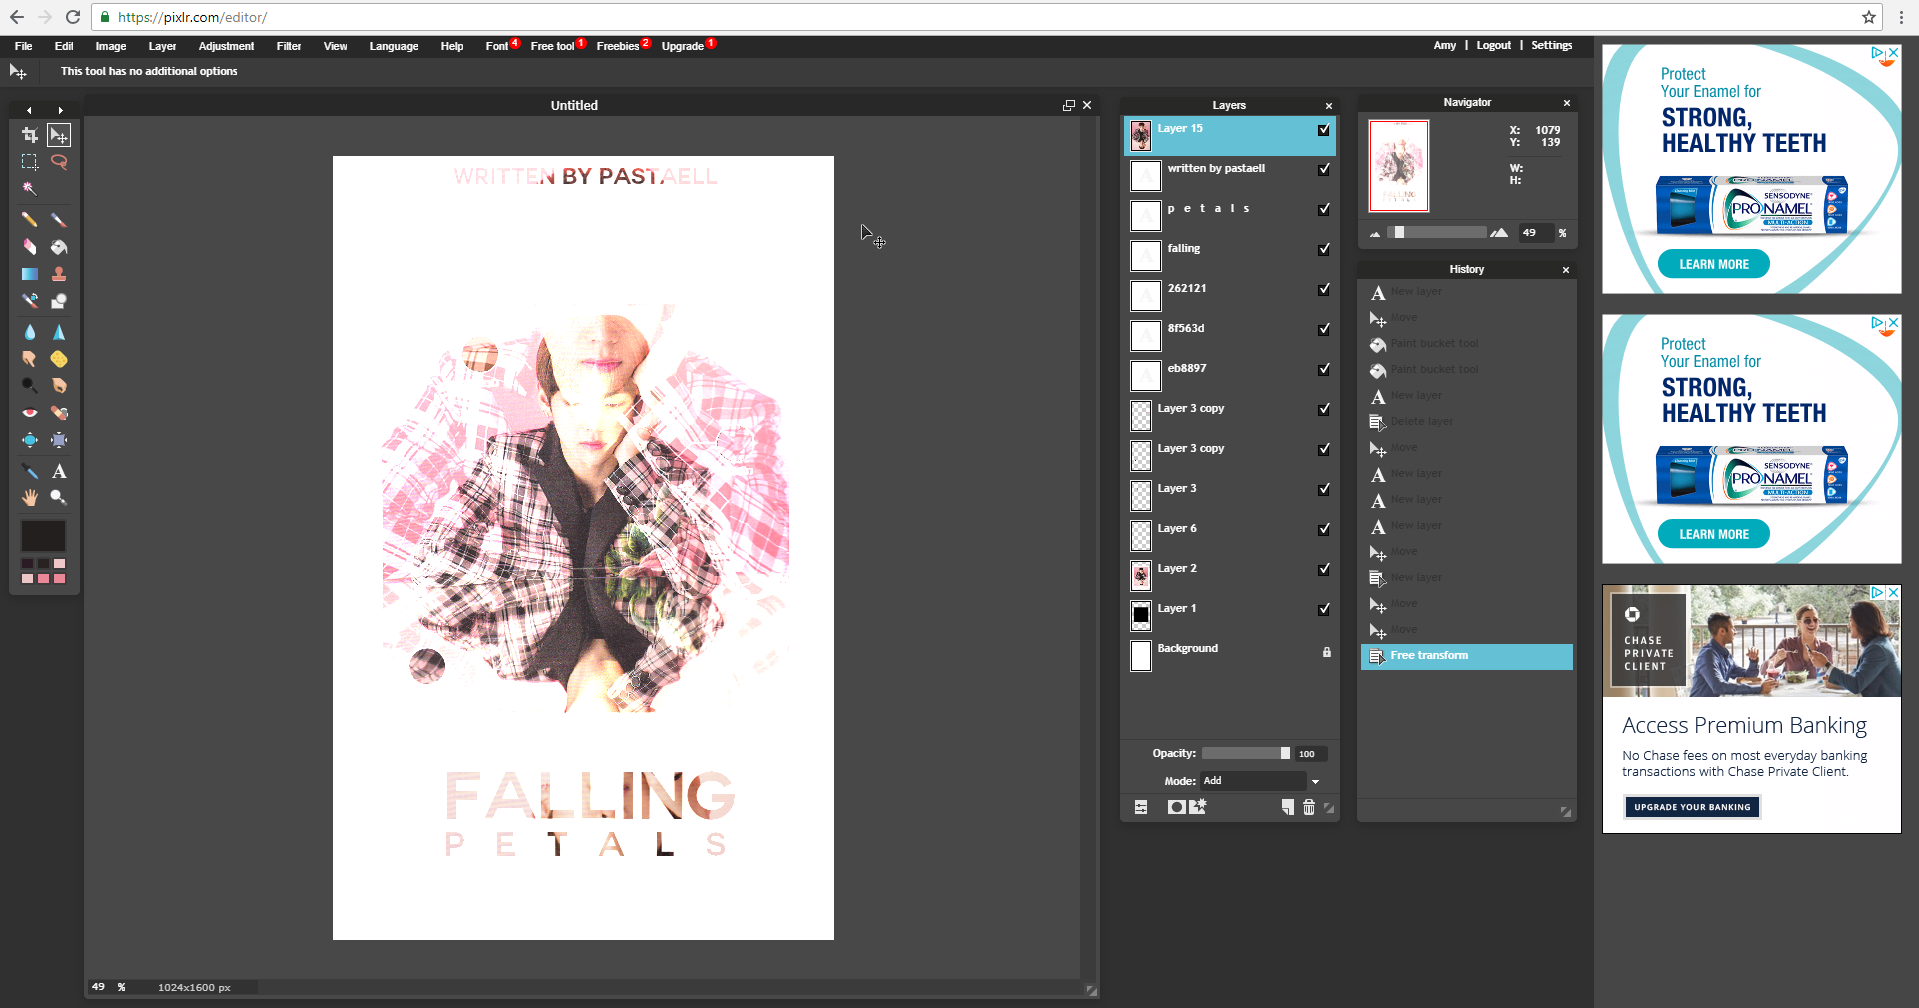
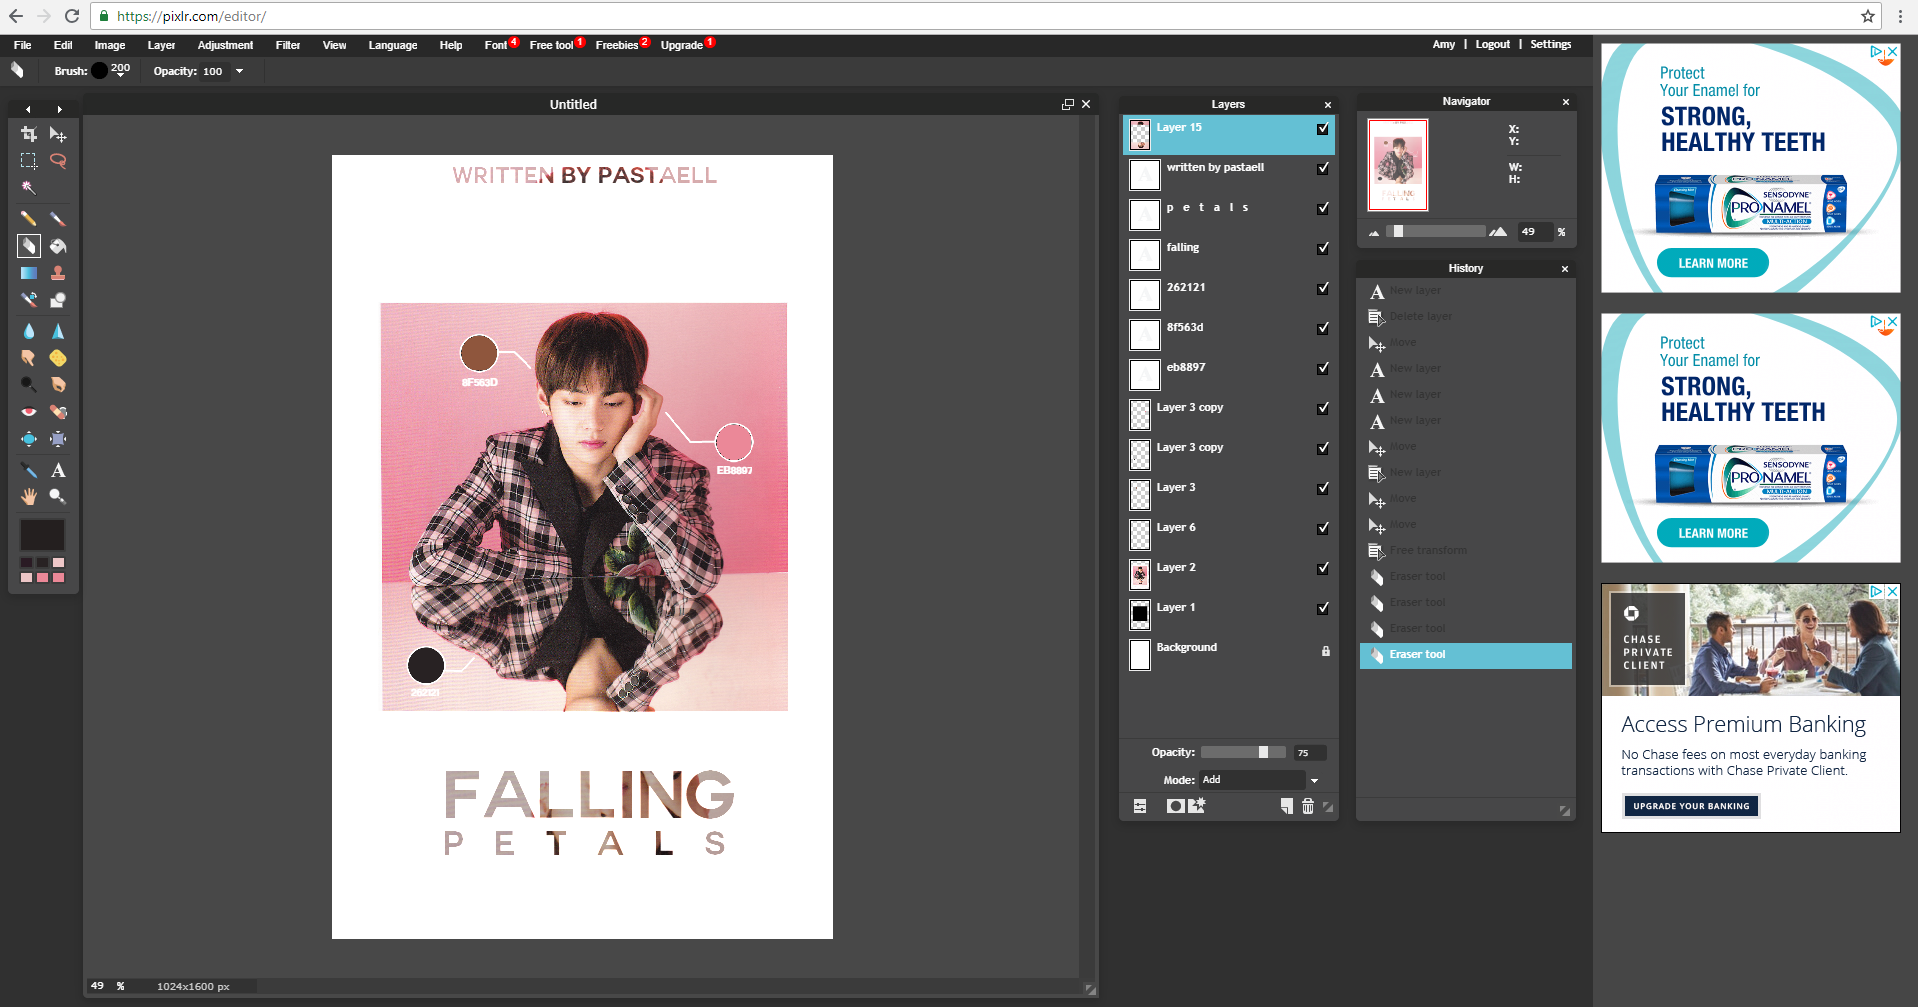
step twenty; get the eraser tool and basically erase over everything inside the original black square.

step twenty-one; after erasing everything inside the black square, lower the opacity of the picture to make the title a bit more visible.
and now we're done!
i hope it helped you guys at least a little, and if you have any questions, don't be afraid to ask uwu
if you guys also want any other tutorials, i can try making them or give you tips ♡
thanks you so much for reading ily ♡♡
Bạn đang đọc truyện trên: AzTruyen.Top