01 » Higher Powers Cover Tutorial
Tutorial by: kerozeo
Step 1.
Open up your background image in Superimpose, any fantastical space image should work for this cover.

Step 2.
Open up a stock castle image as your foreground. Make sure change the size such that the image covers the entire graphic.
Change the transparency, add filters etc. if you want to.
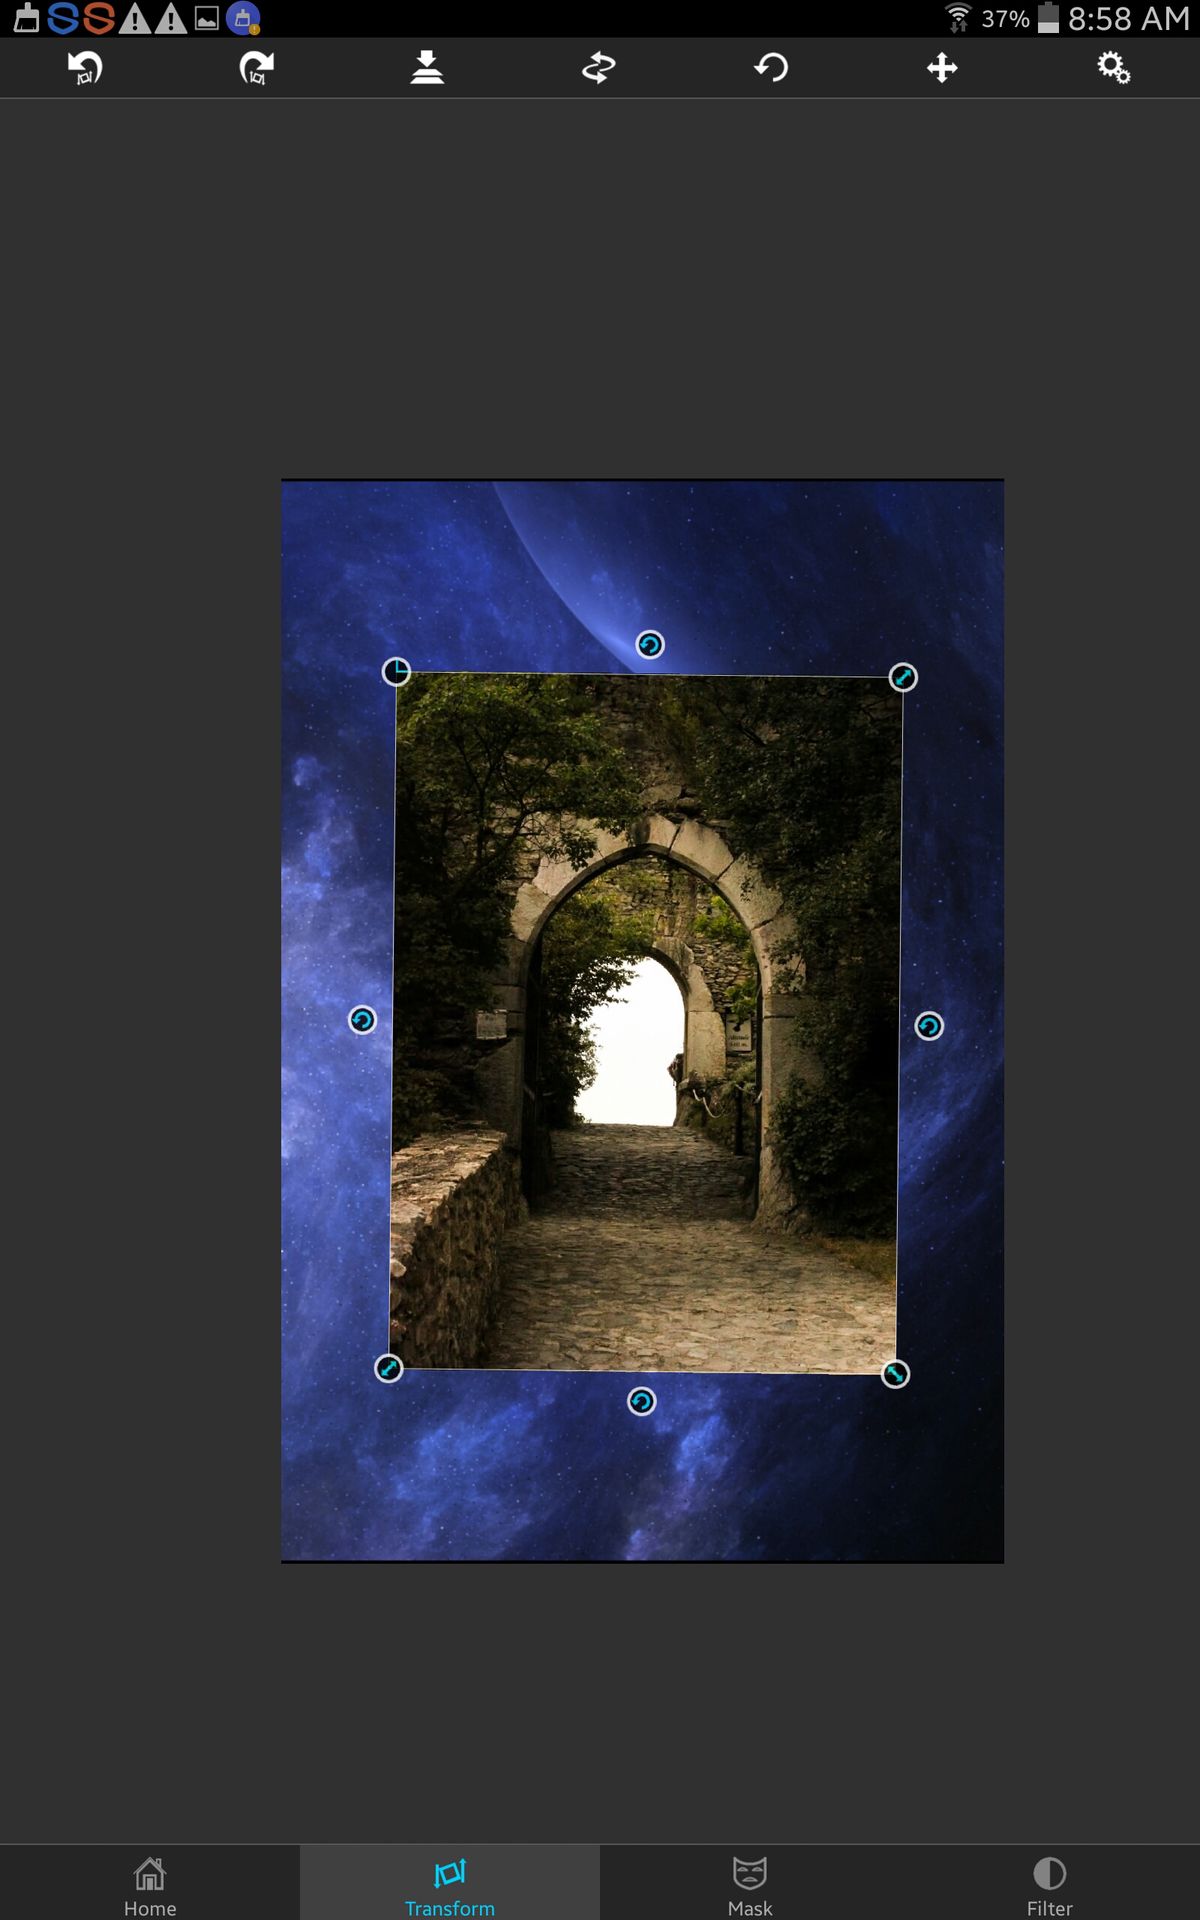
Step 3.
Erase the white spot with the mask tool. The white spot is in the castle background. For different masking tools, click the gears at the top right-hand corner.
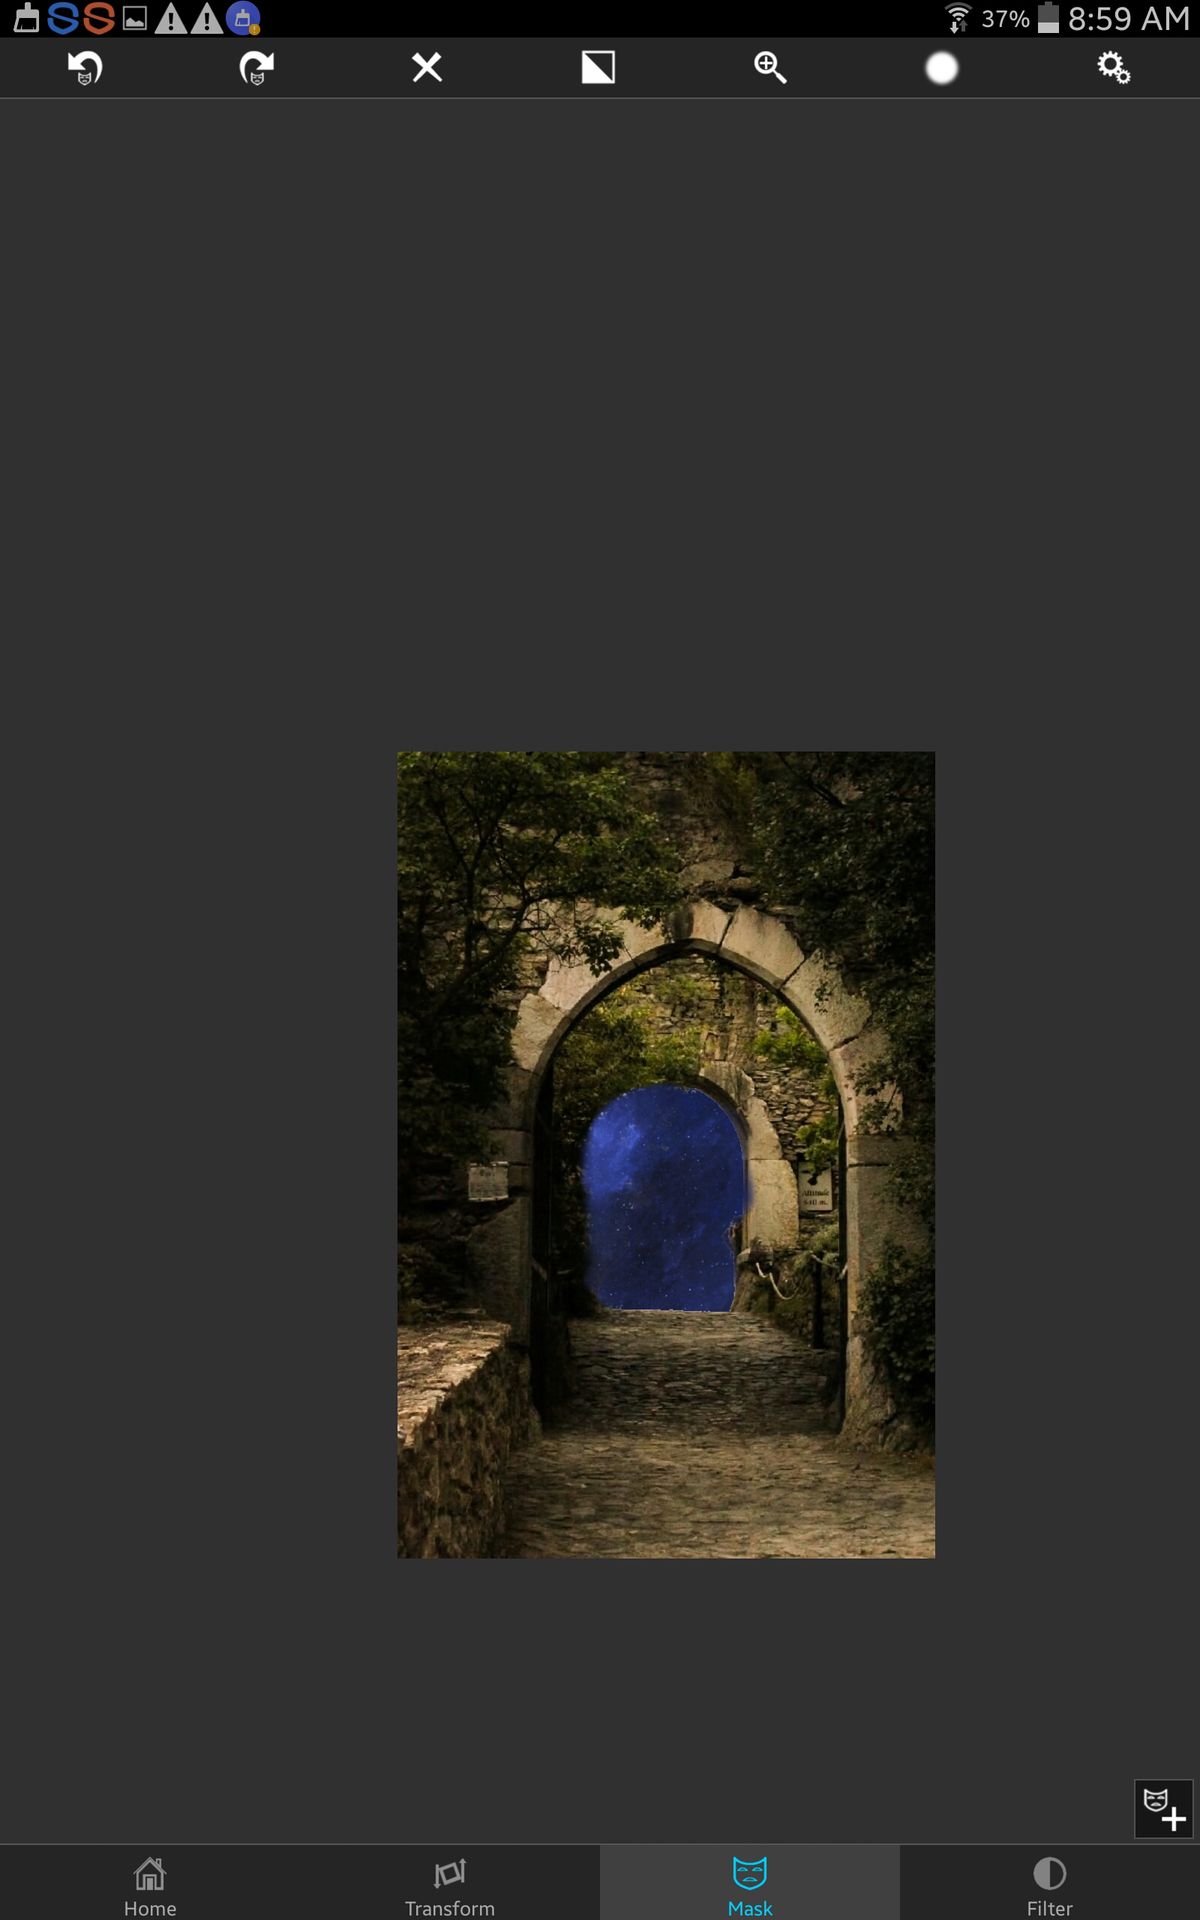
Step 4.
Go to the filter tab and edit the background image so it is green and has a high contrast with lower light level. Do the same with your foreground image.
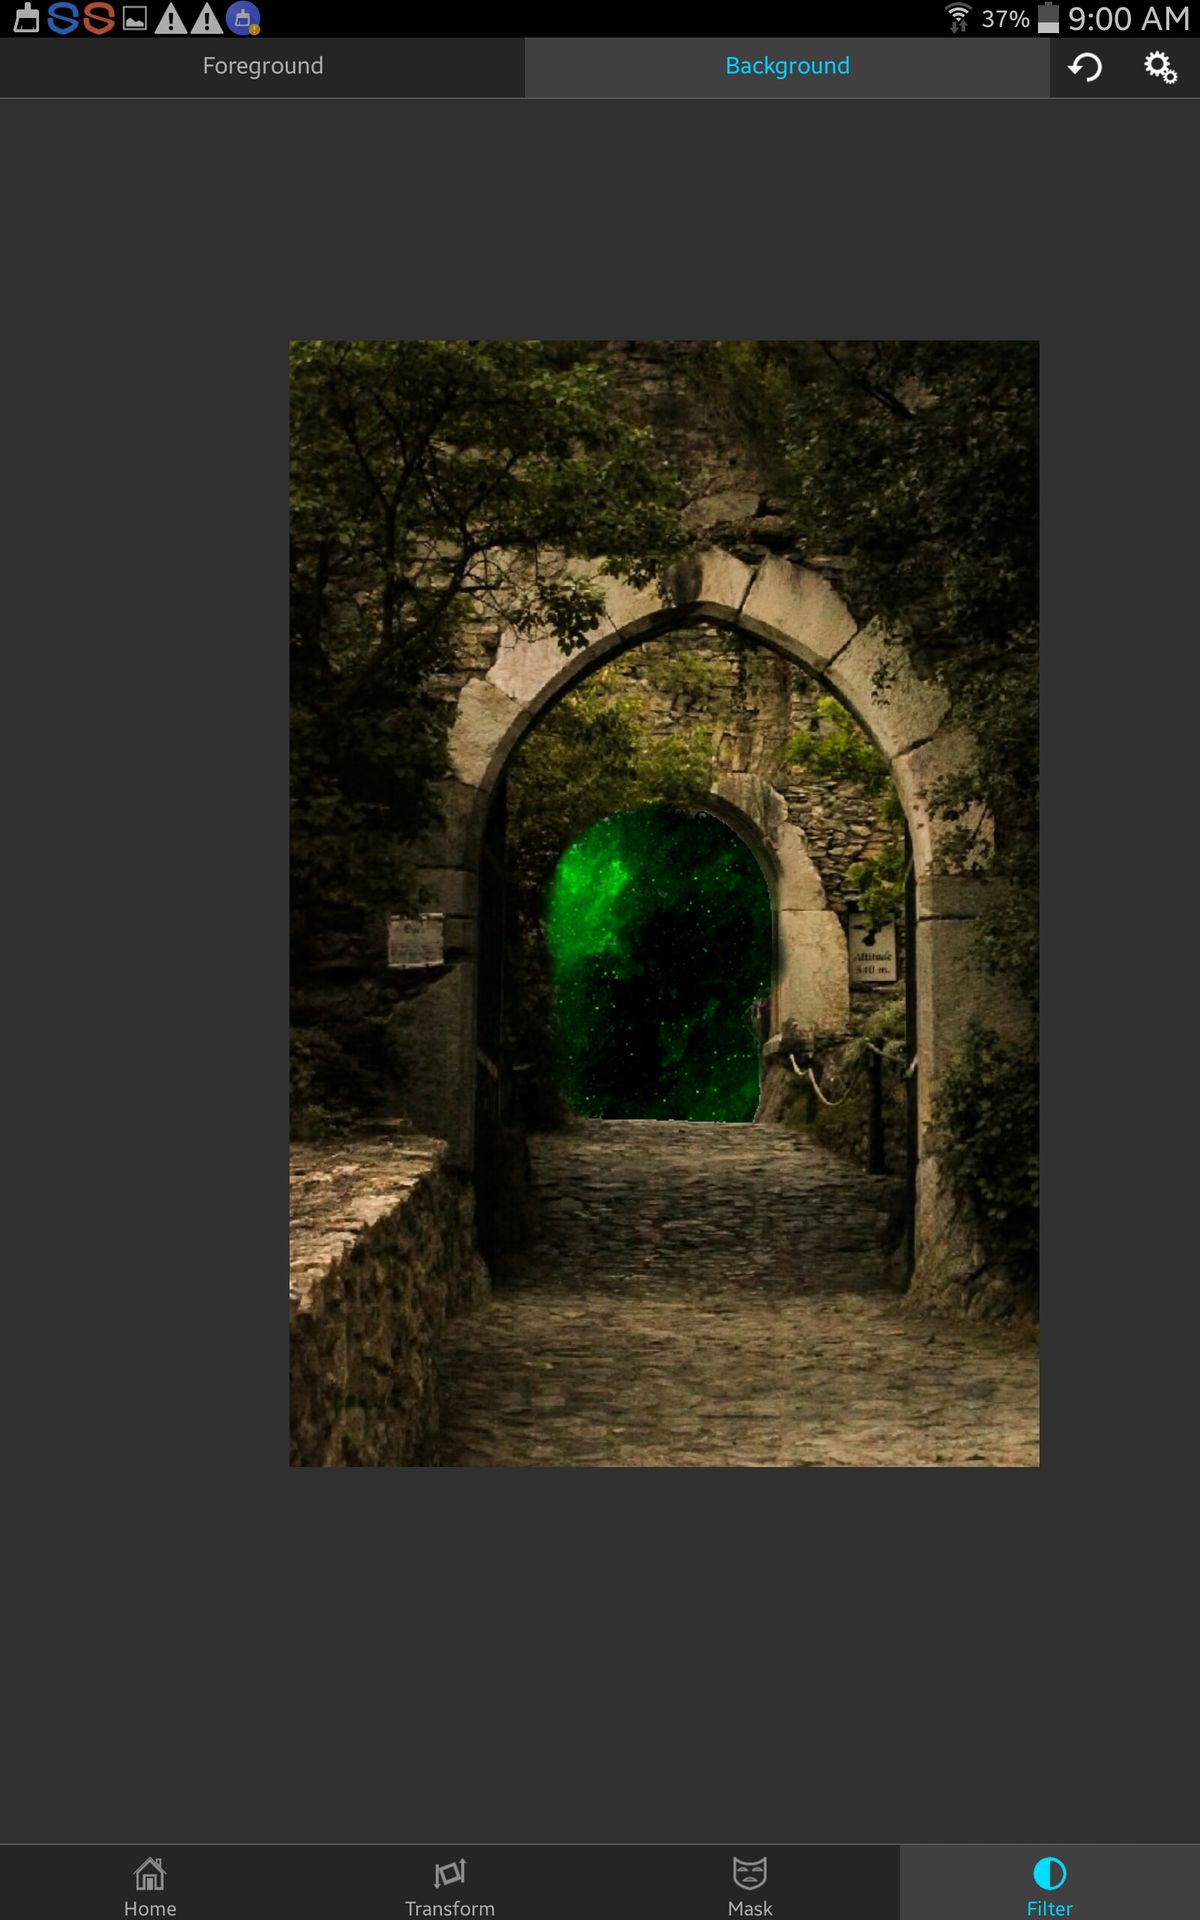
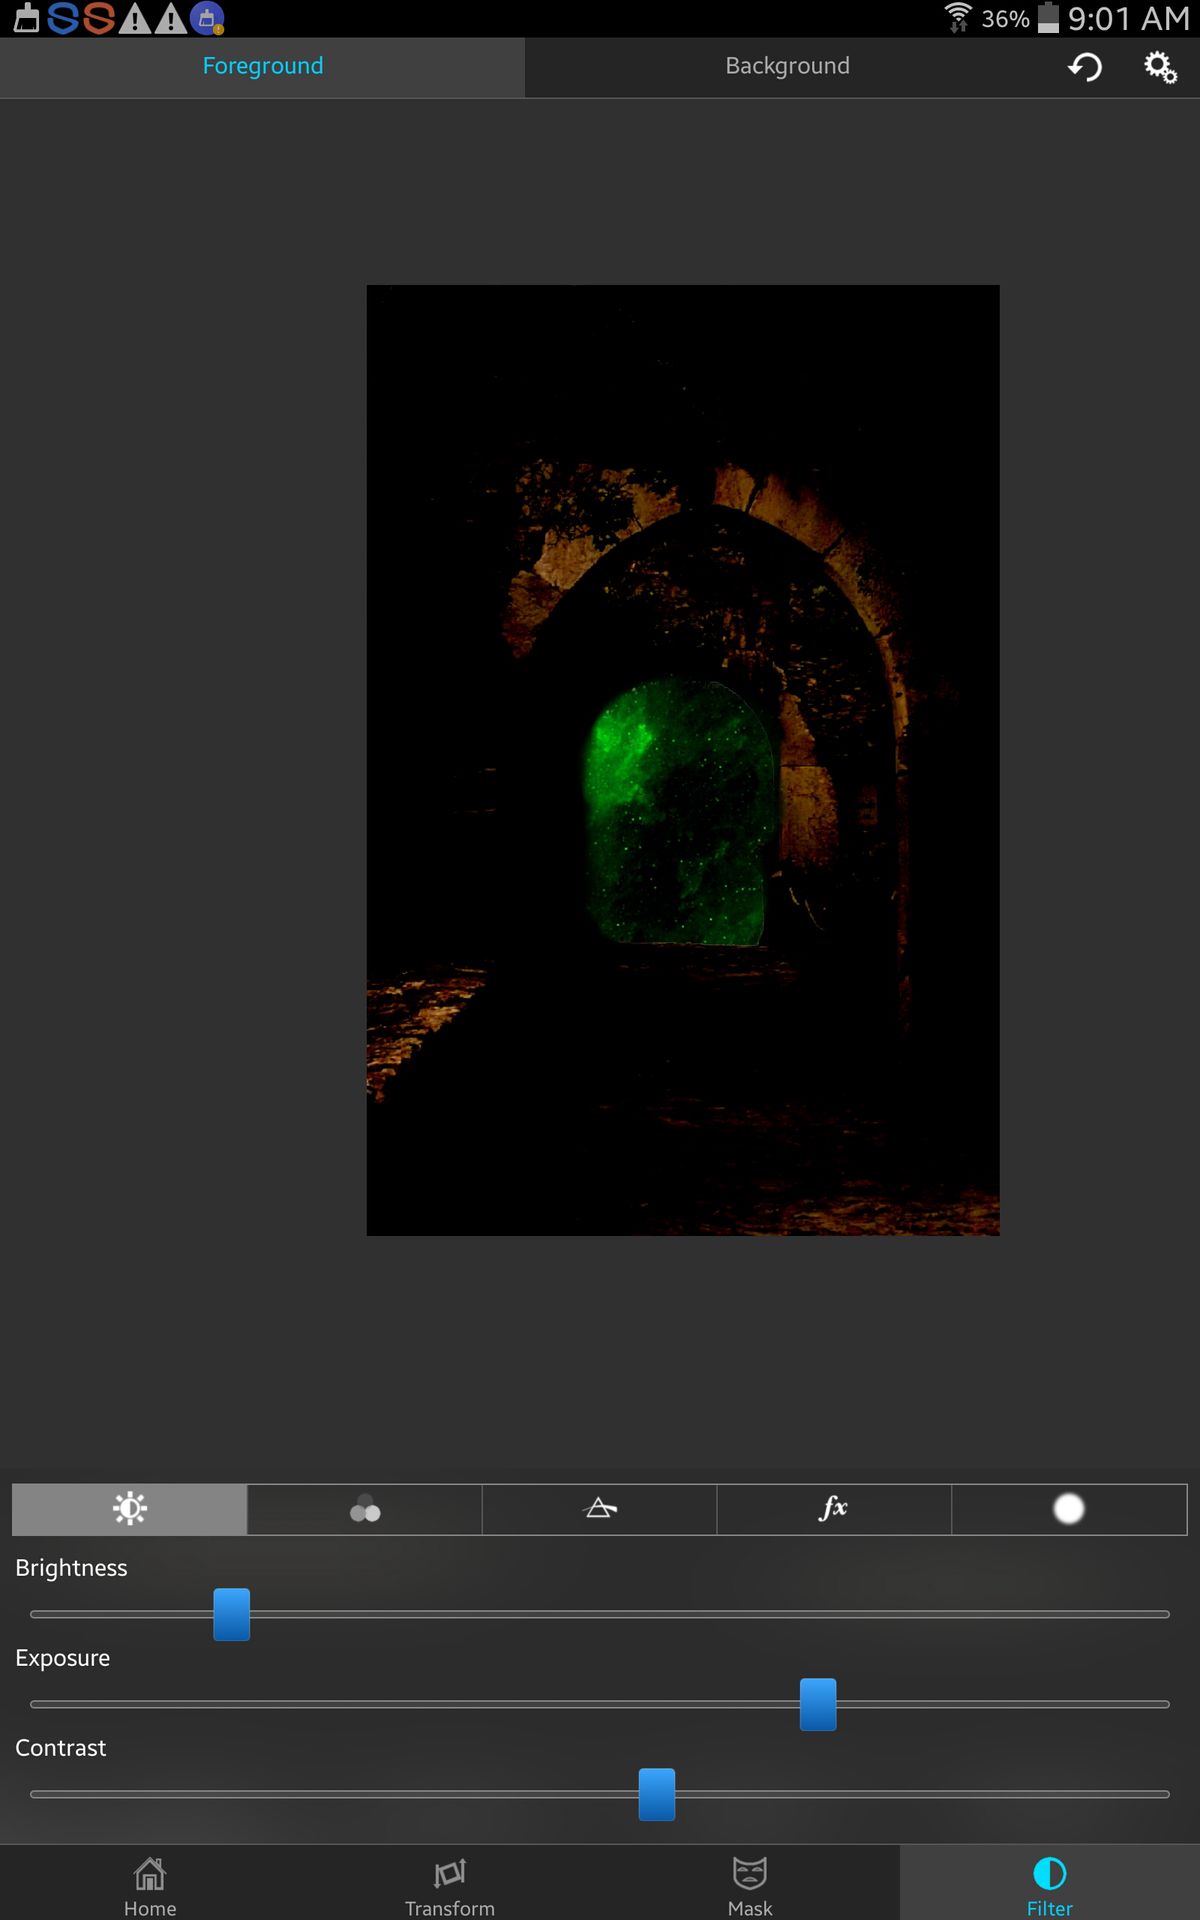
Step 6.
Now merge your two images together and add a new one. I used my first model. Move him very close to the right side
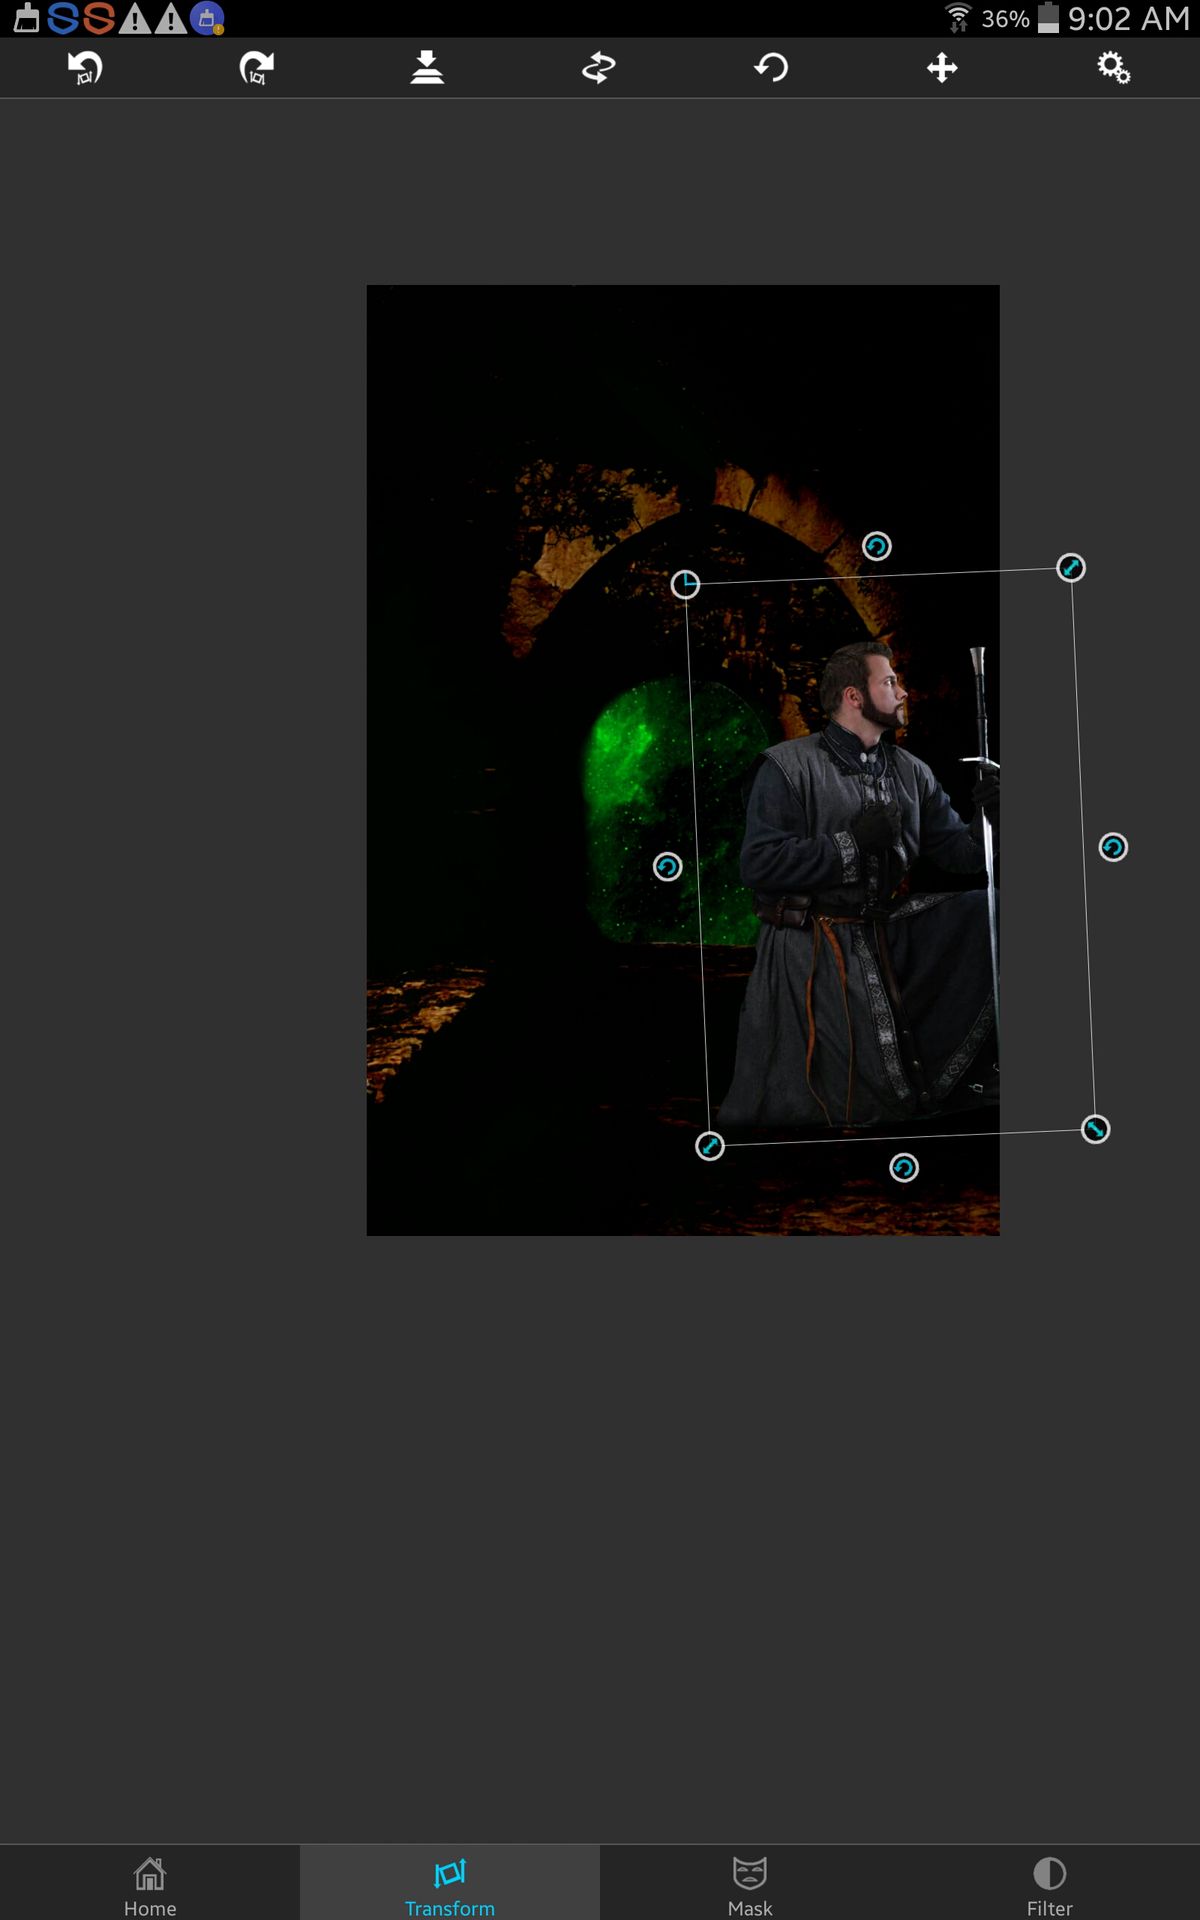
Step 7.
In the masking tools, there should be a gradient mask (3rd 1 from right). Use that so his lower body is gone but he is merging a little with the background.
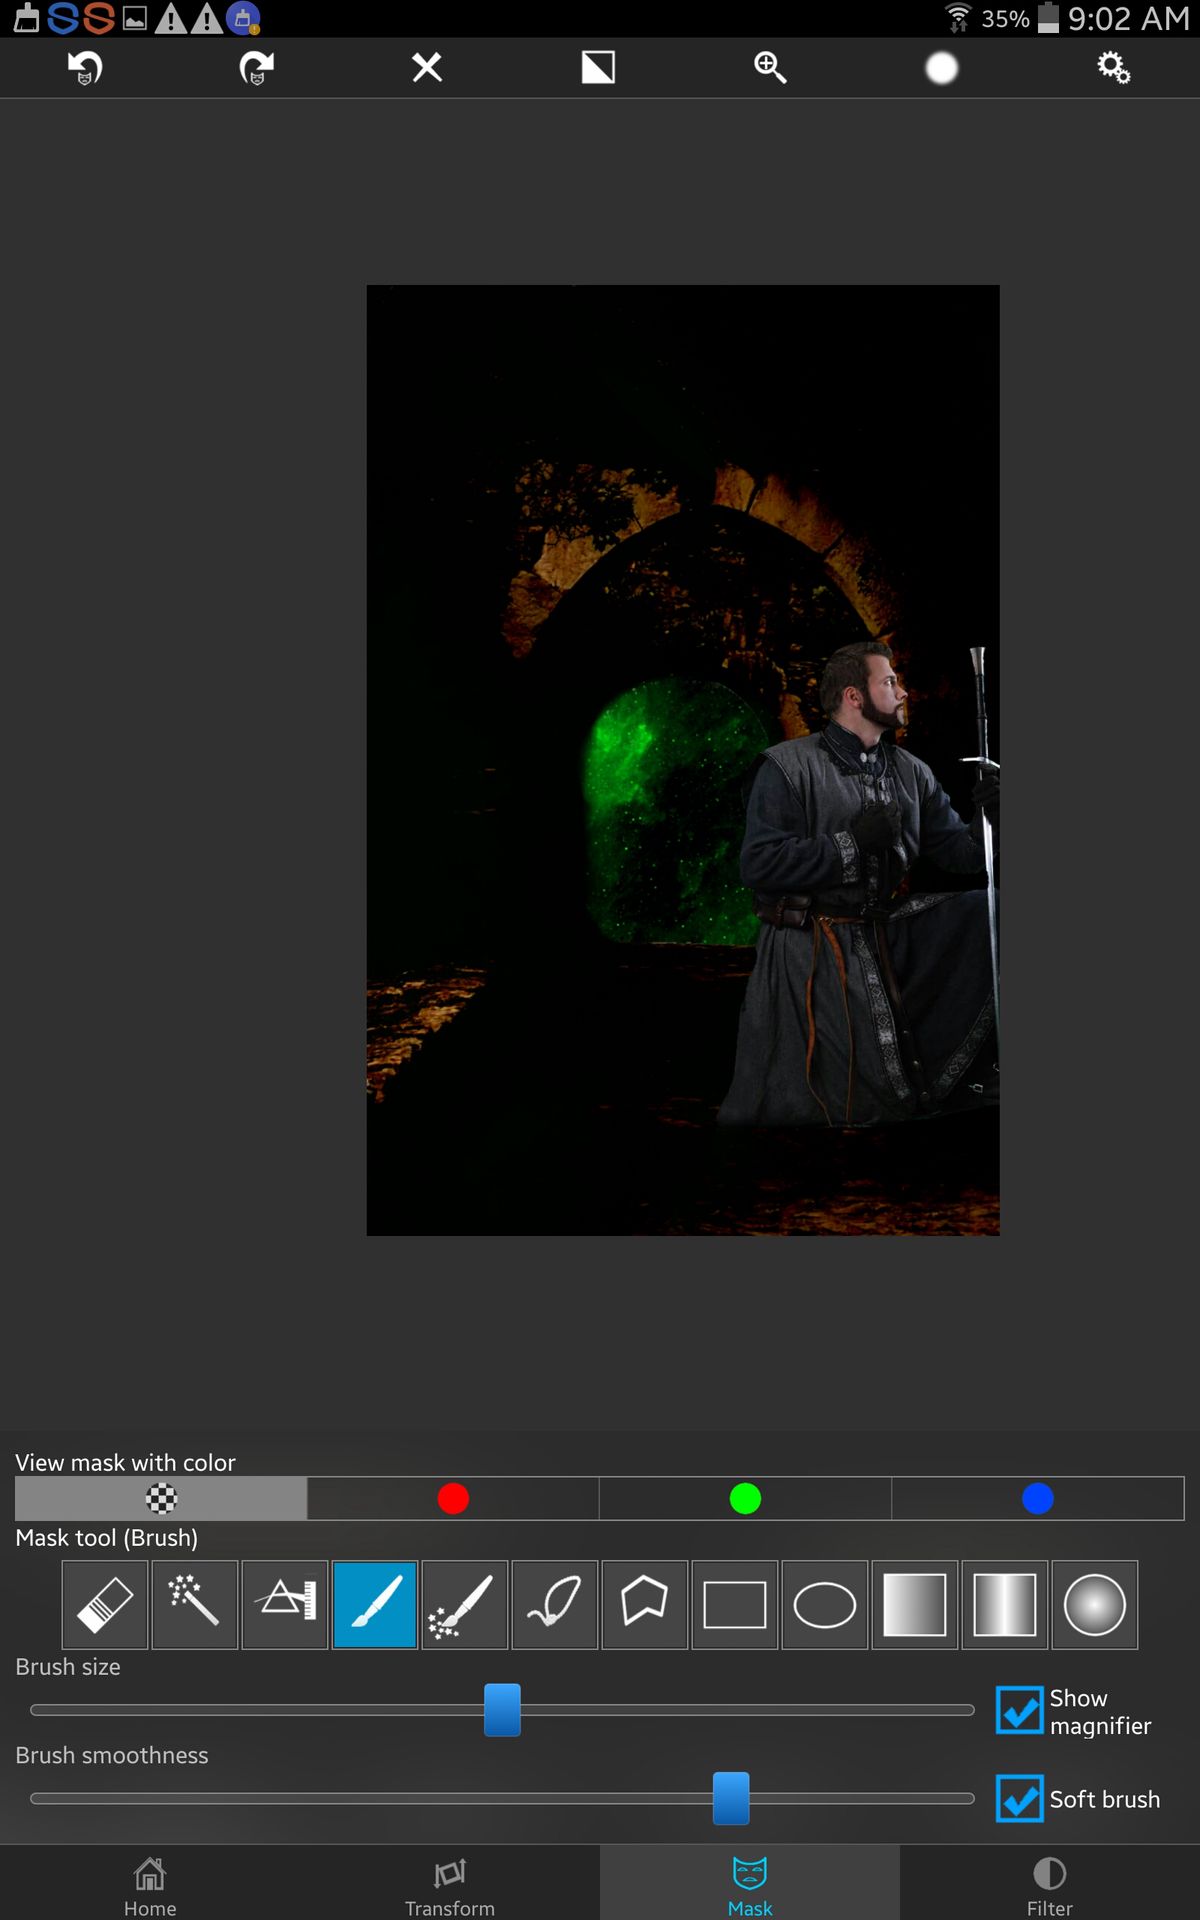
Step 8.
Now I'm a dingbat and only screenshotted the model masked, I also added some effects (effect 3) and changed the light levels and contrast.
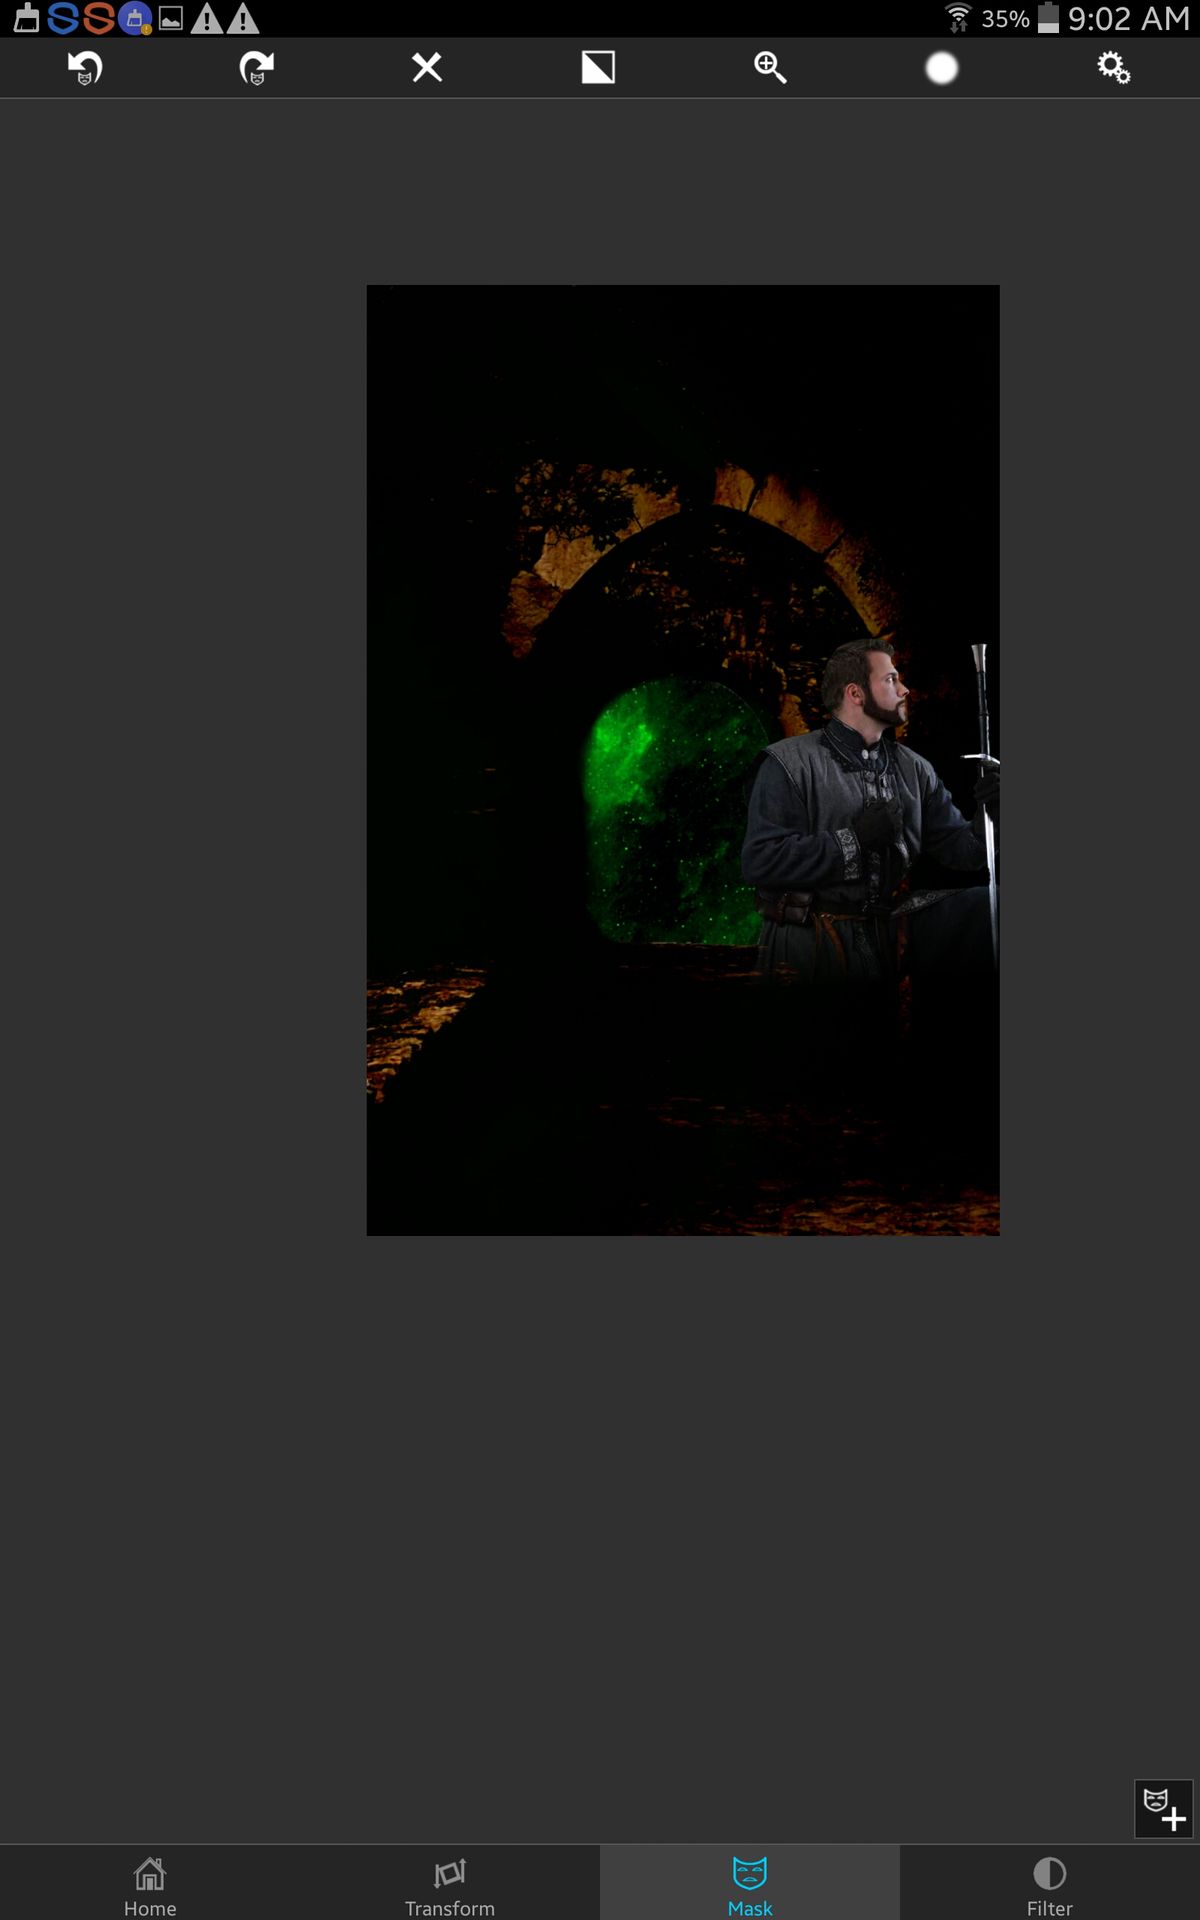
Step 9.
Add the second model on the left side and do the same masking and effects.
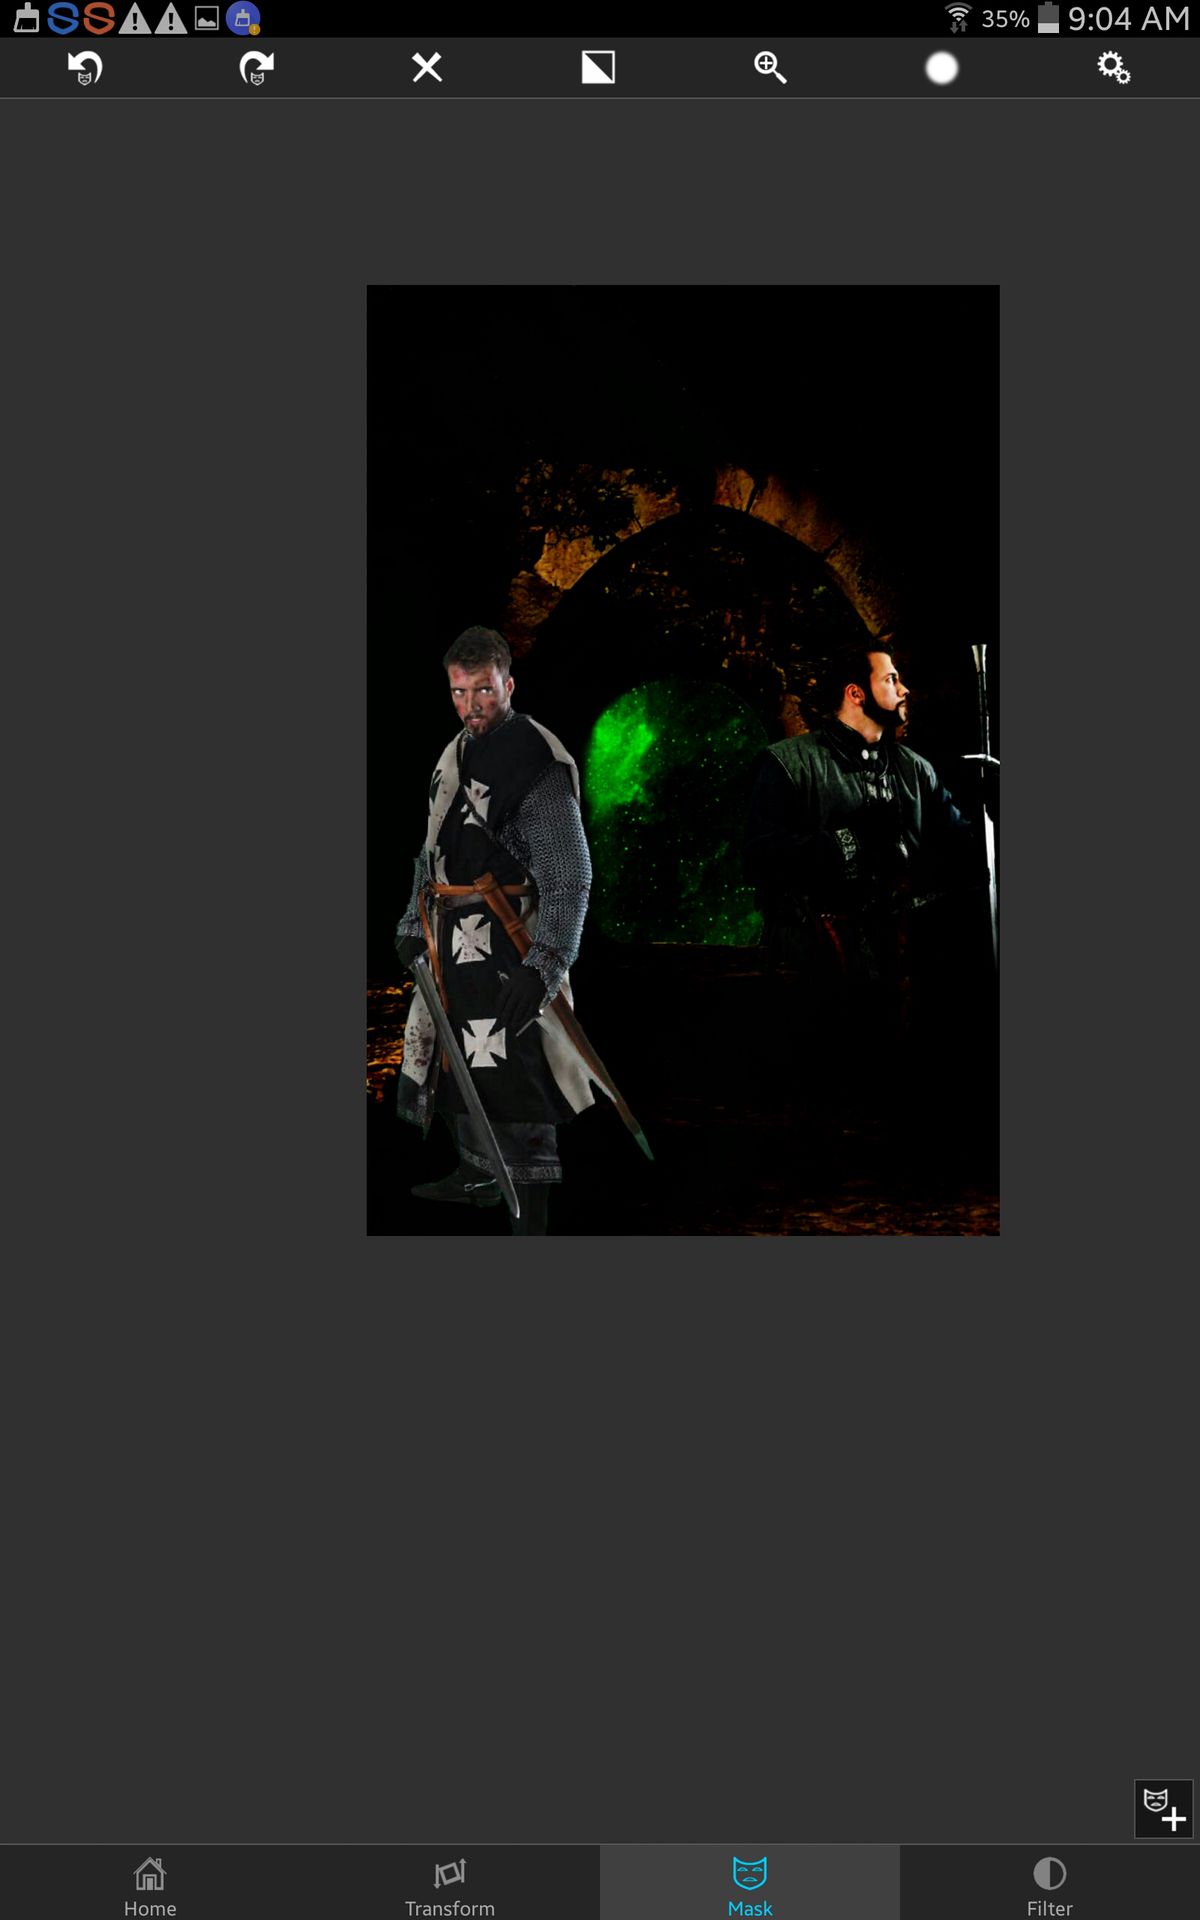
Step 10.
Again a dingbat and don't show effects, sorry
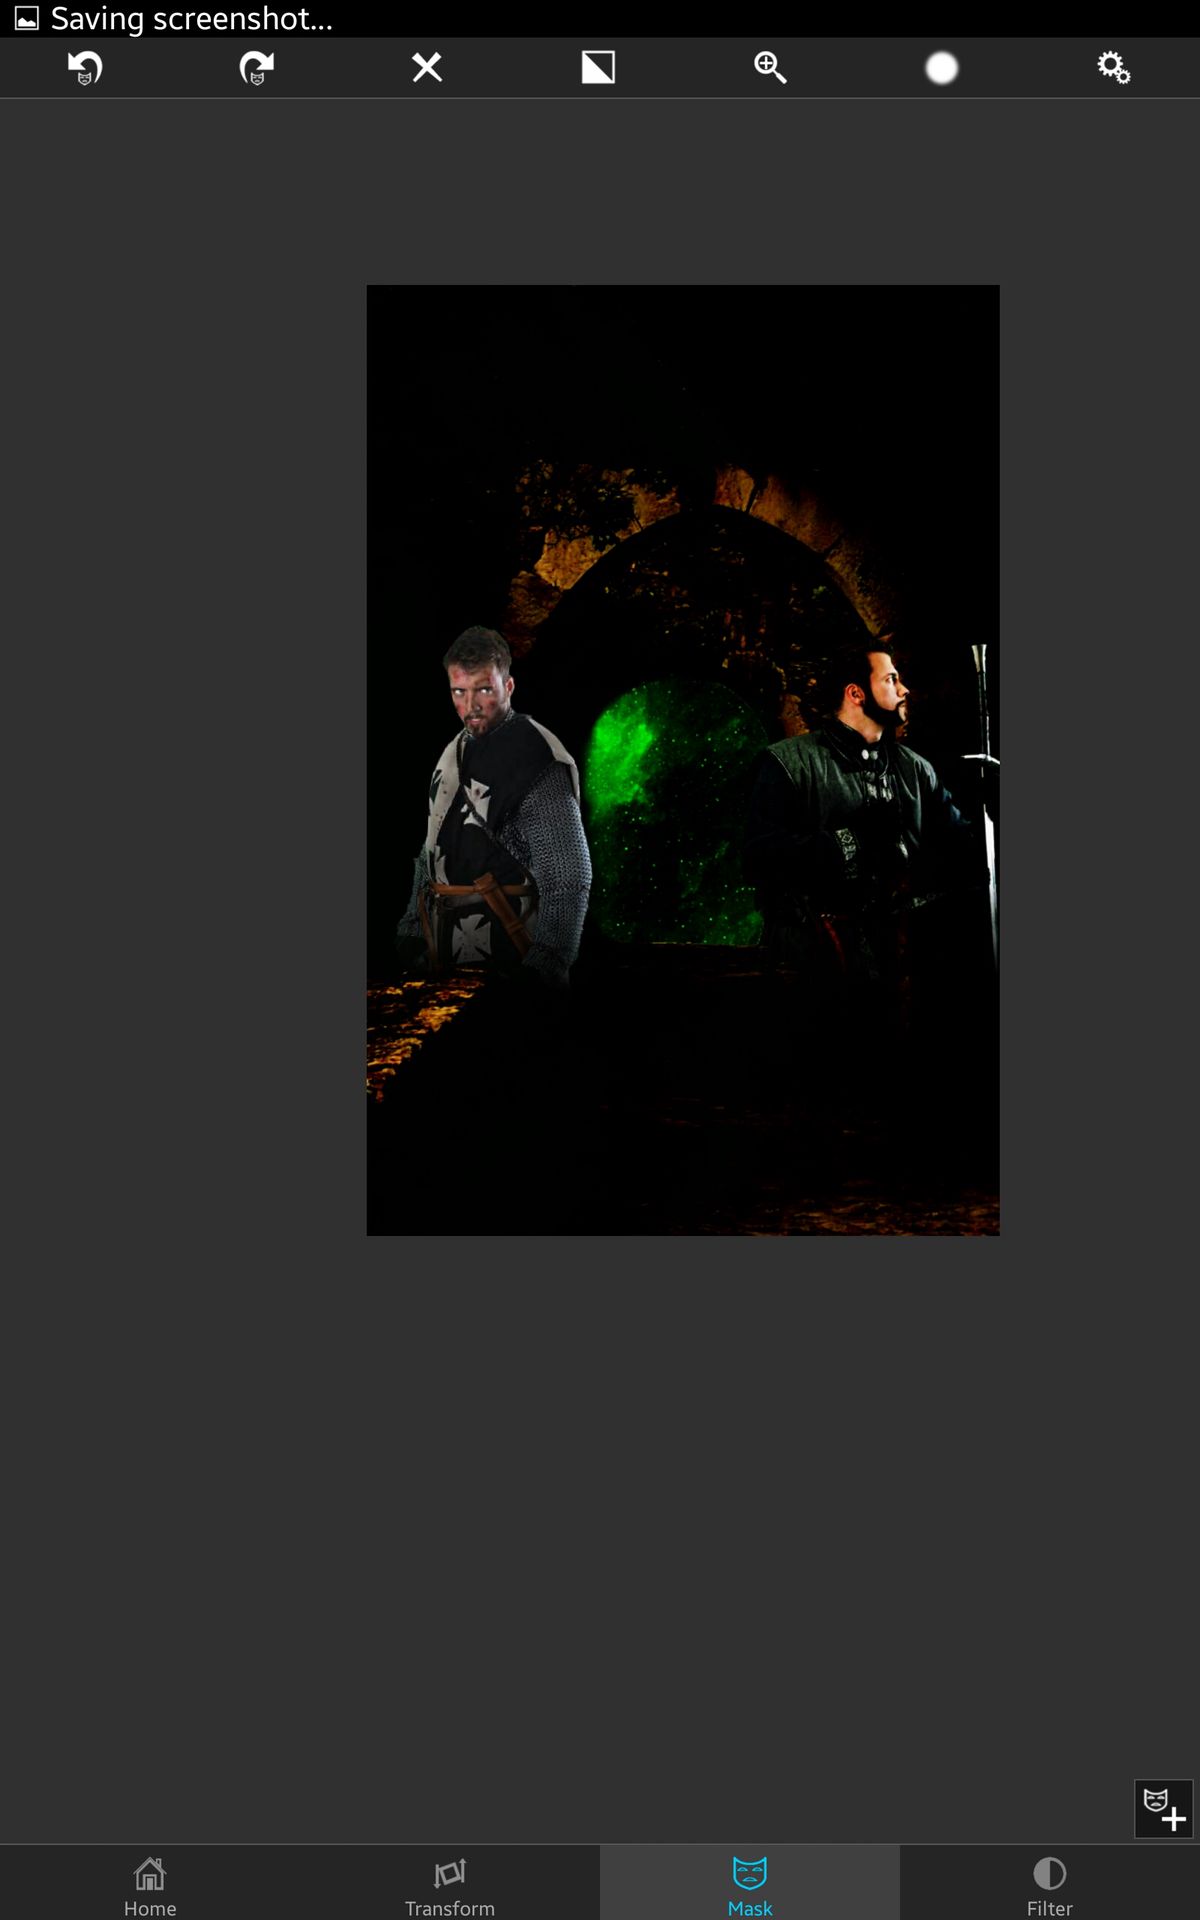
Step 11.
I just suck at tutorials apparently. I totally skipped the girl model. But same deal, effect, light levels. Now I also added the text.
I went into phonto wrote out my text on a black background and the text was green. I saved it and then went to pixlr and overlayed a metal texture then saved that and placed it in Superimpose and just magic wand the black.
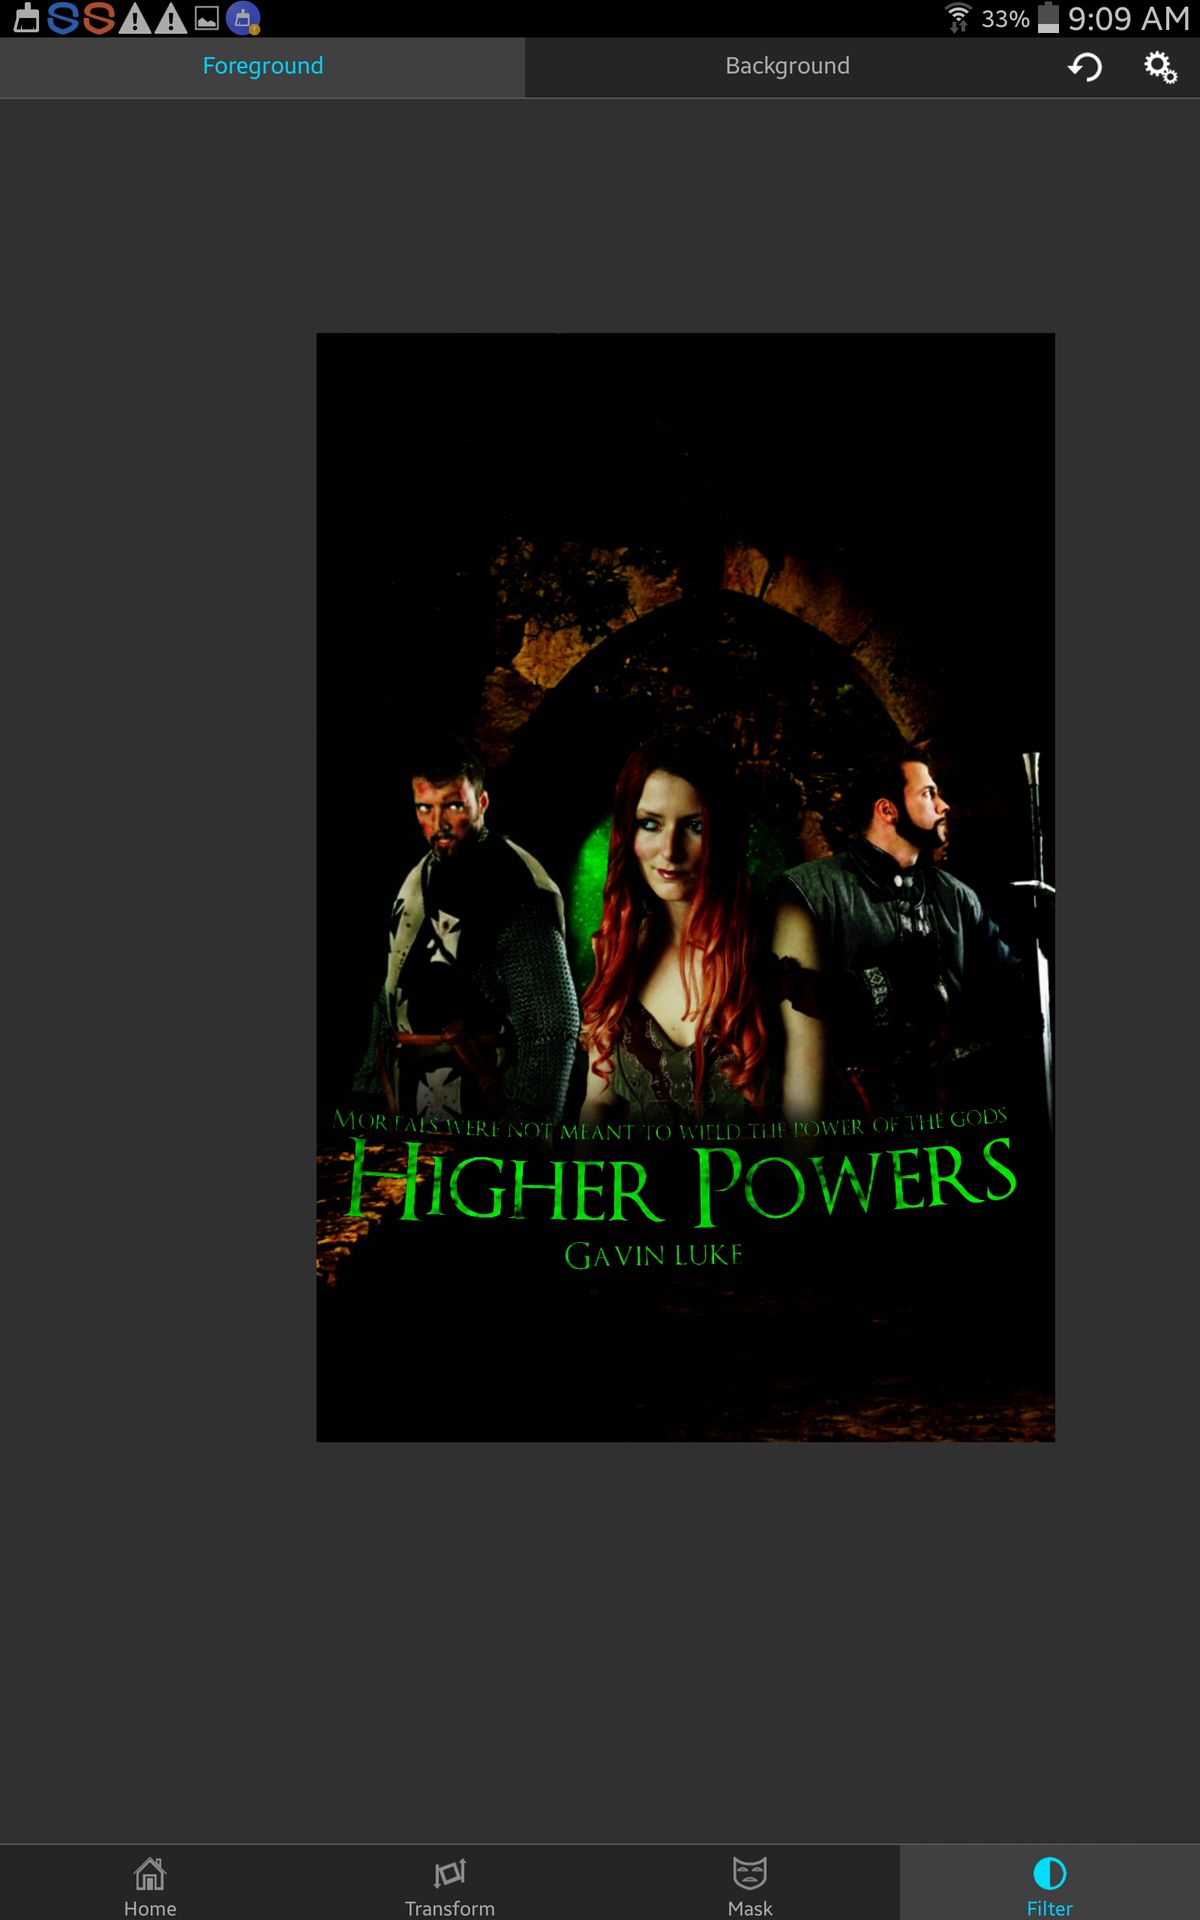
Step 12.
Place this image and then screen it. Place it on the bottom.
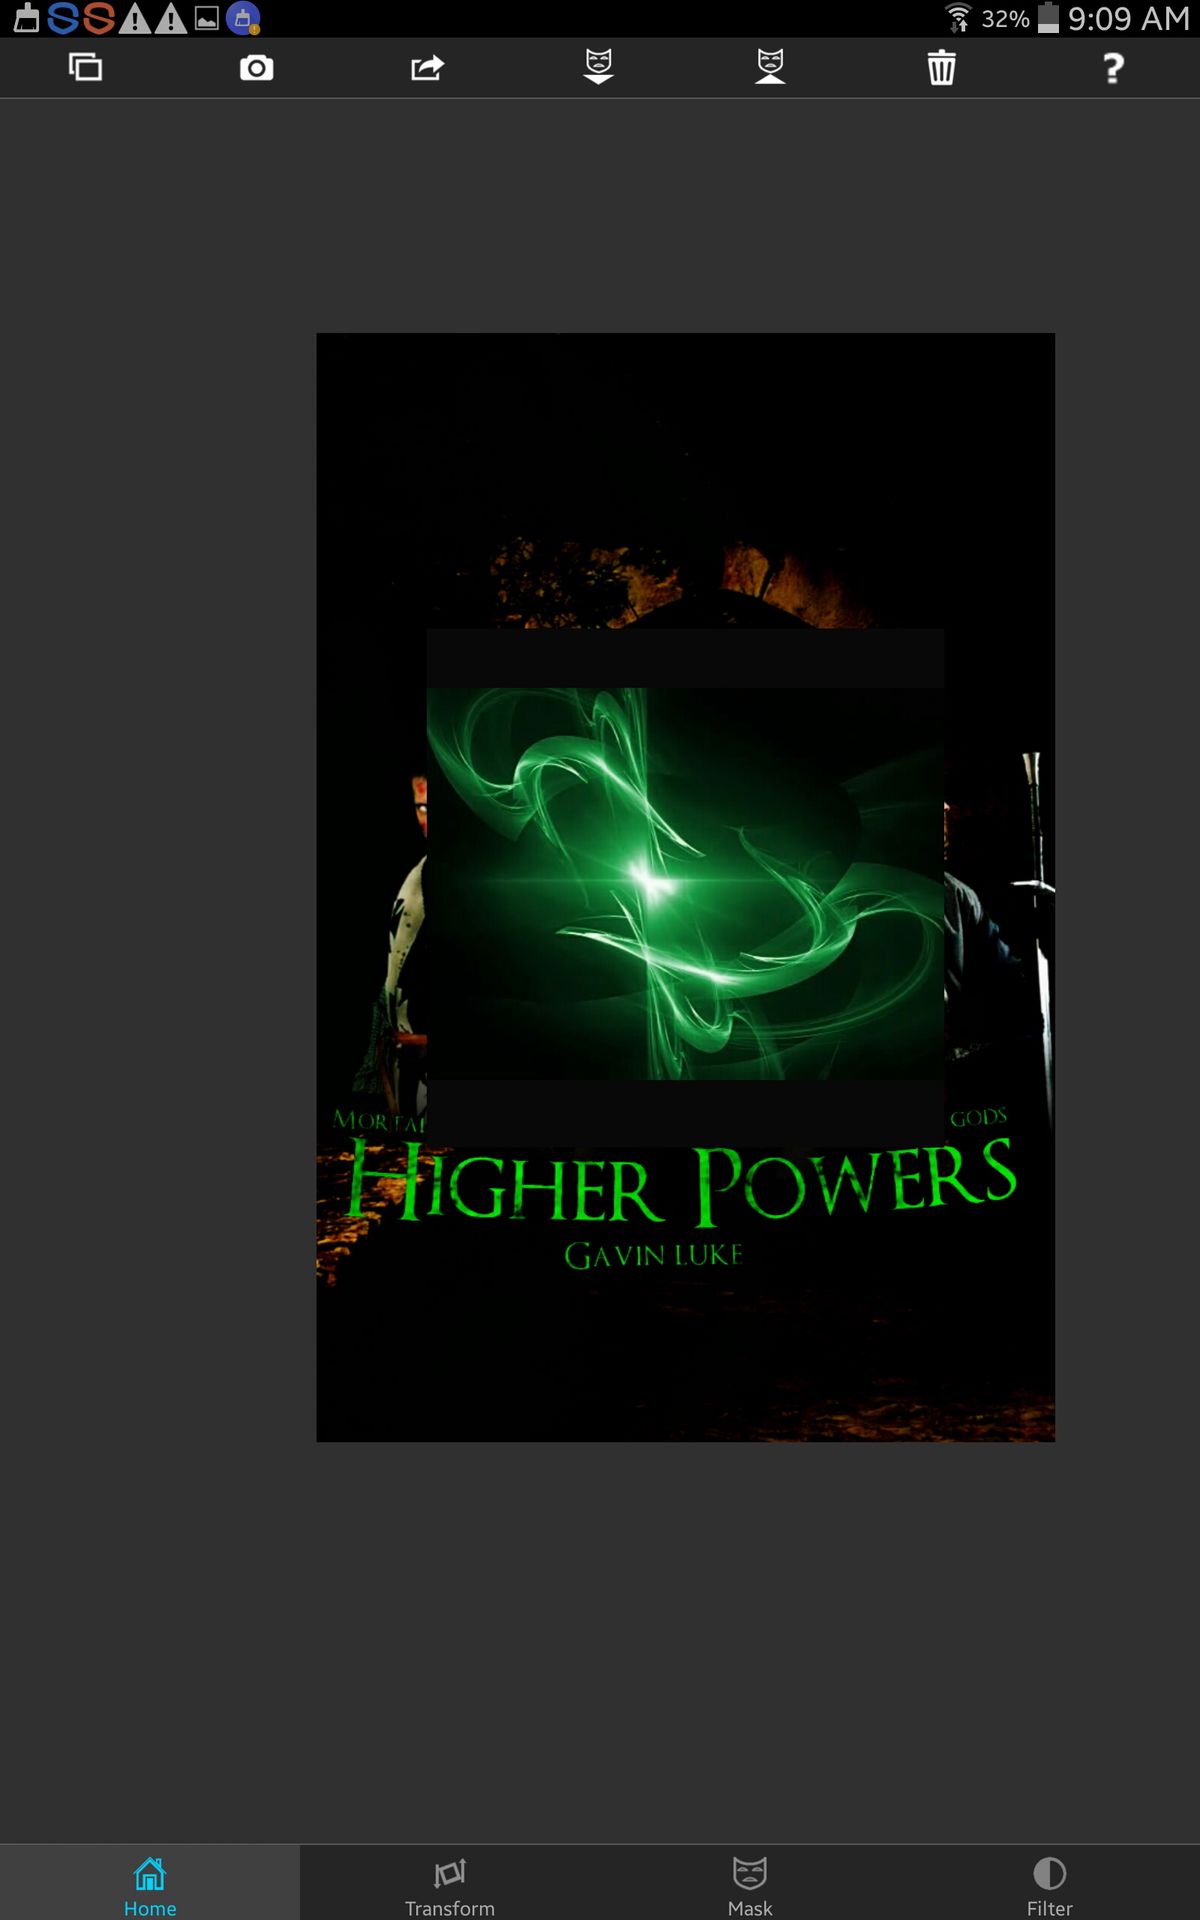
Now after that is finished I save it and go into pixlr for final touches and effects.
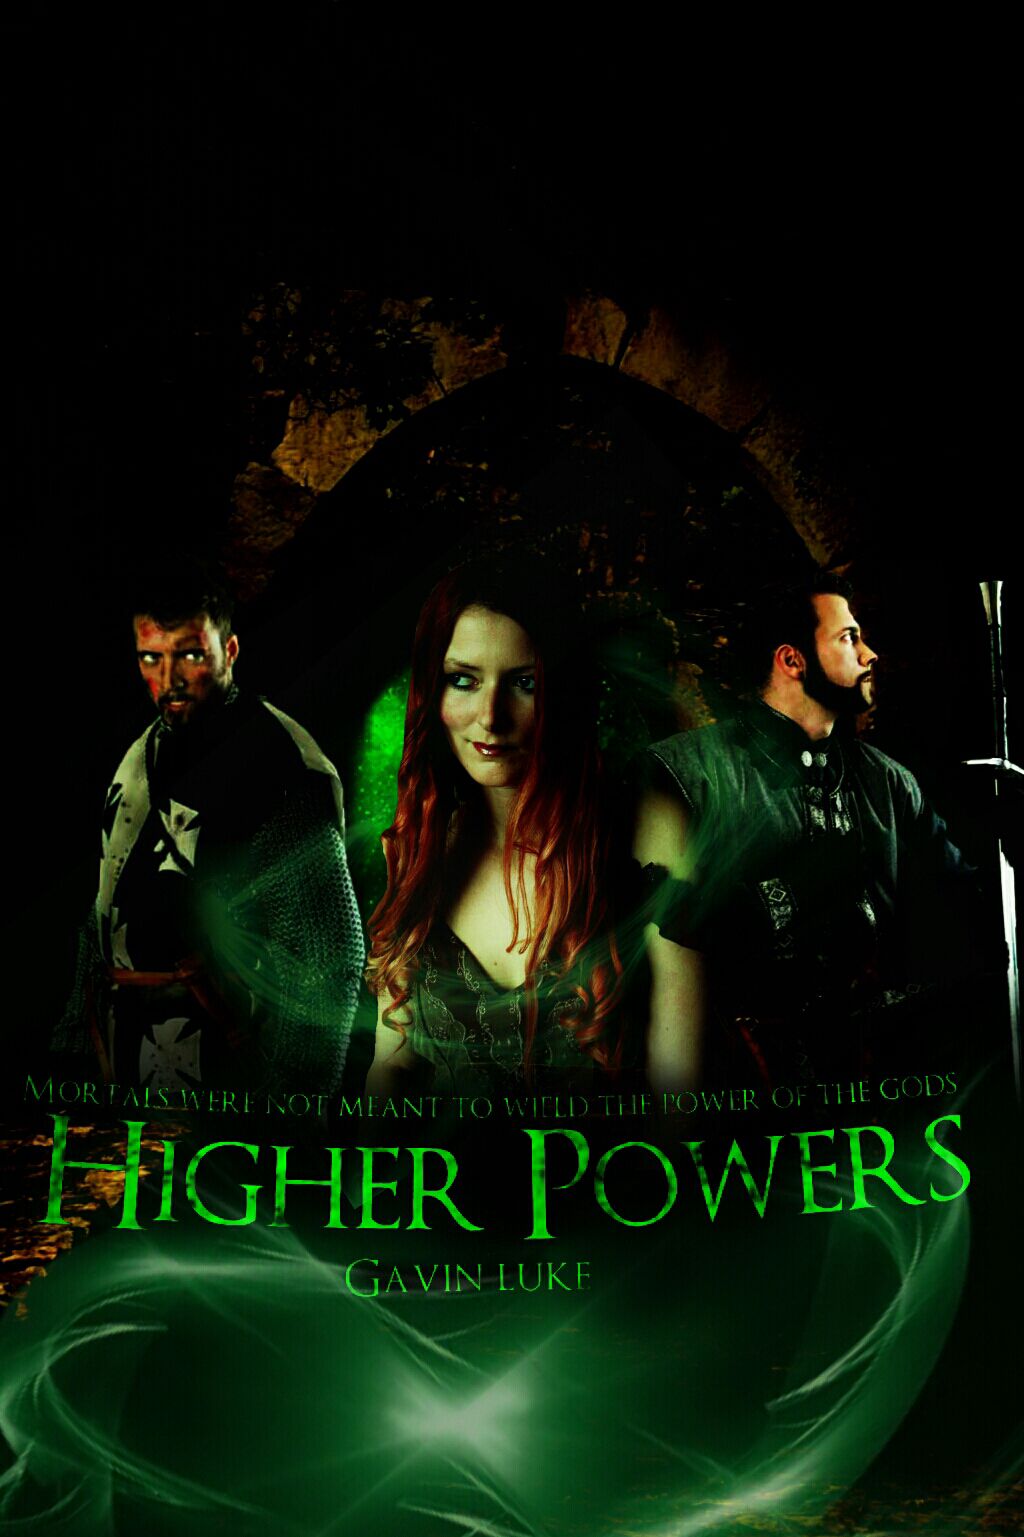
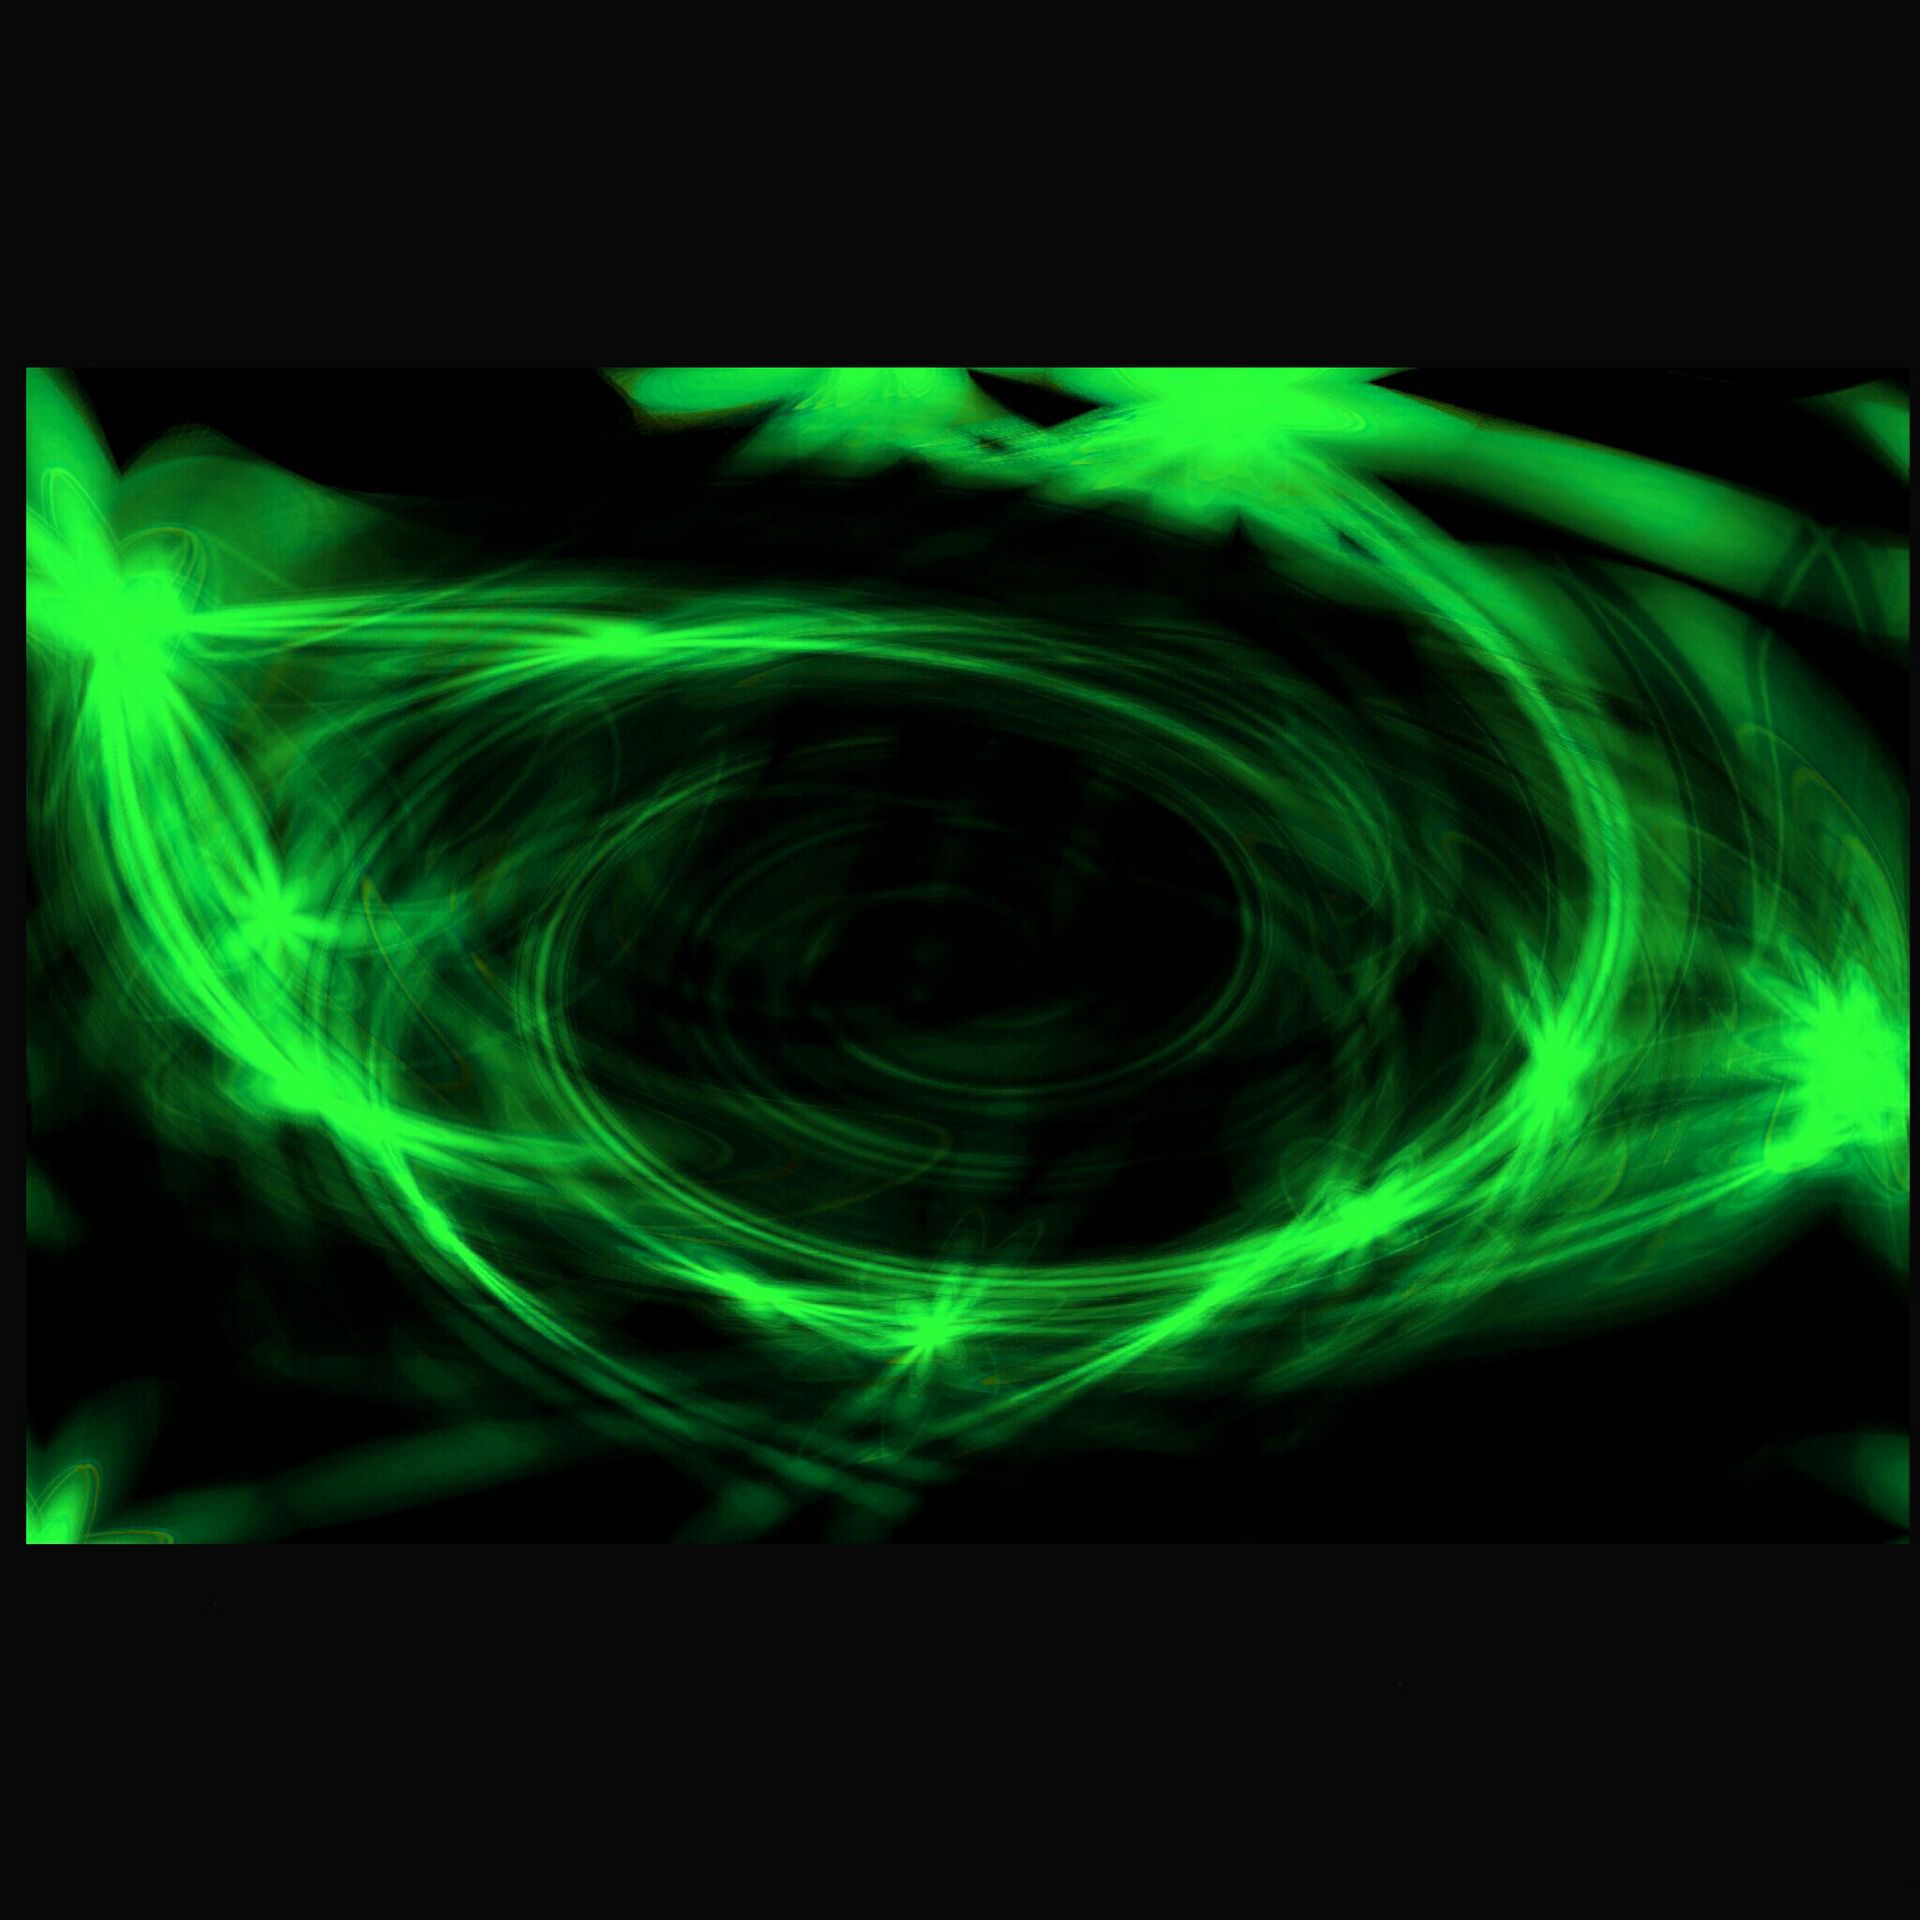
I did forget to also show the wispy thing going around the female model. Here is the image I used.
Hopefully this was useful to some of you! I swear my tutorials will get better.
~ Lucas [ ]
Bạn đang đọc truyện trên: AzTruyen.Top