THE MAKING OF --> Reborn
Final product:

Link to resources in external link and in comments
For intermediate photoshop (maybe gimp and pixlr?) users
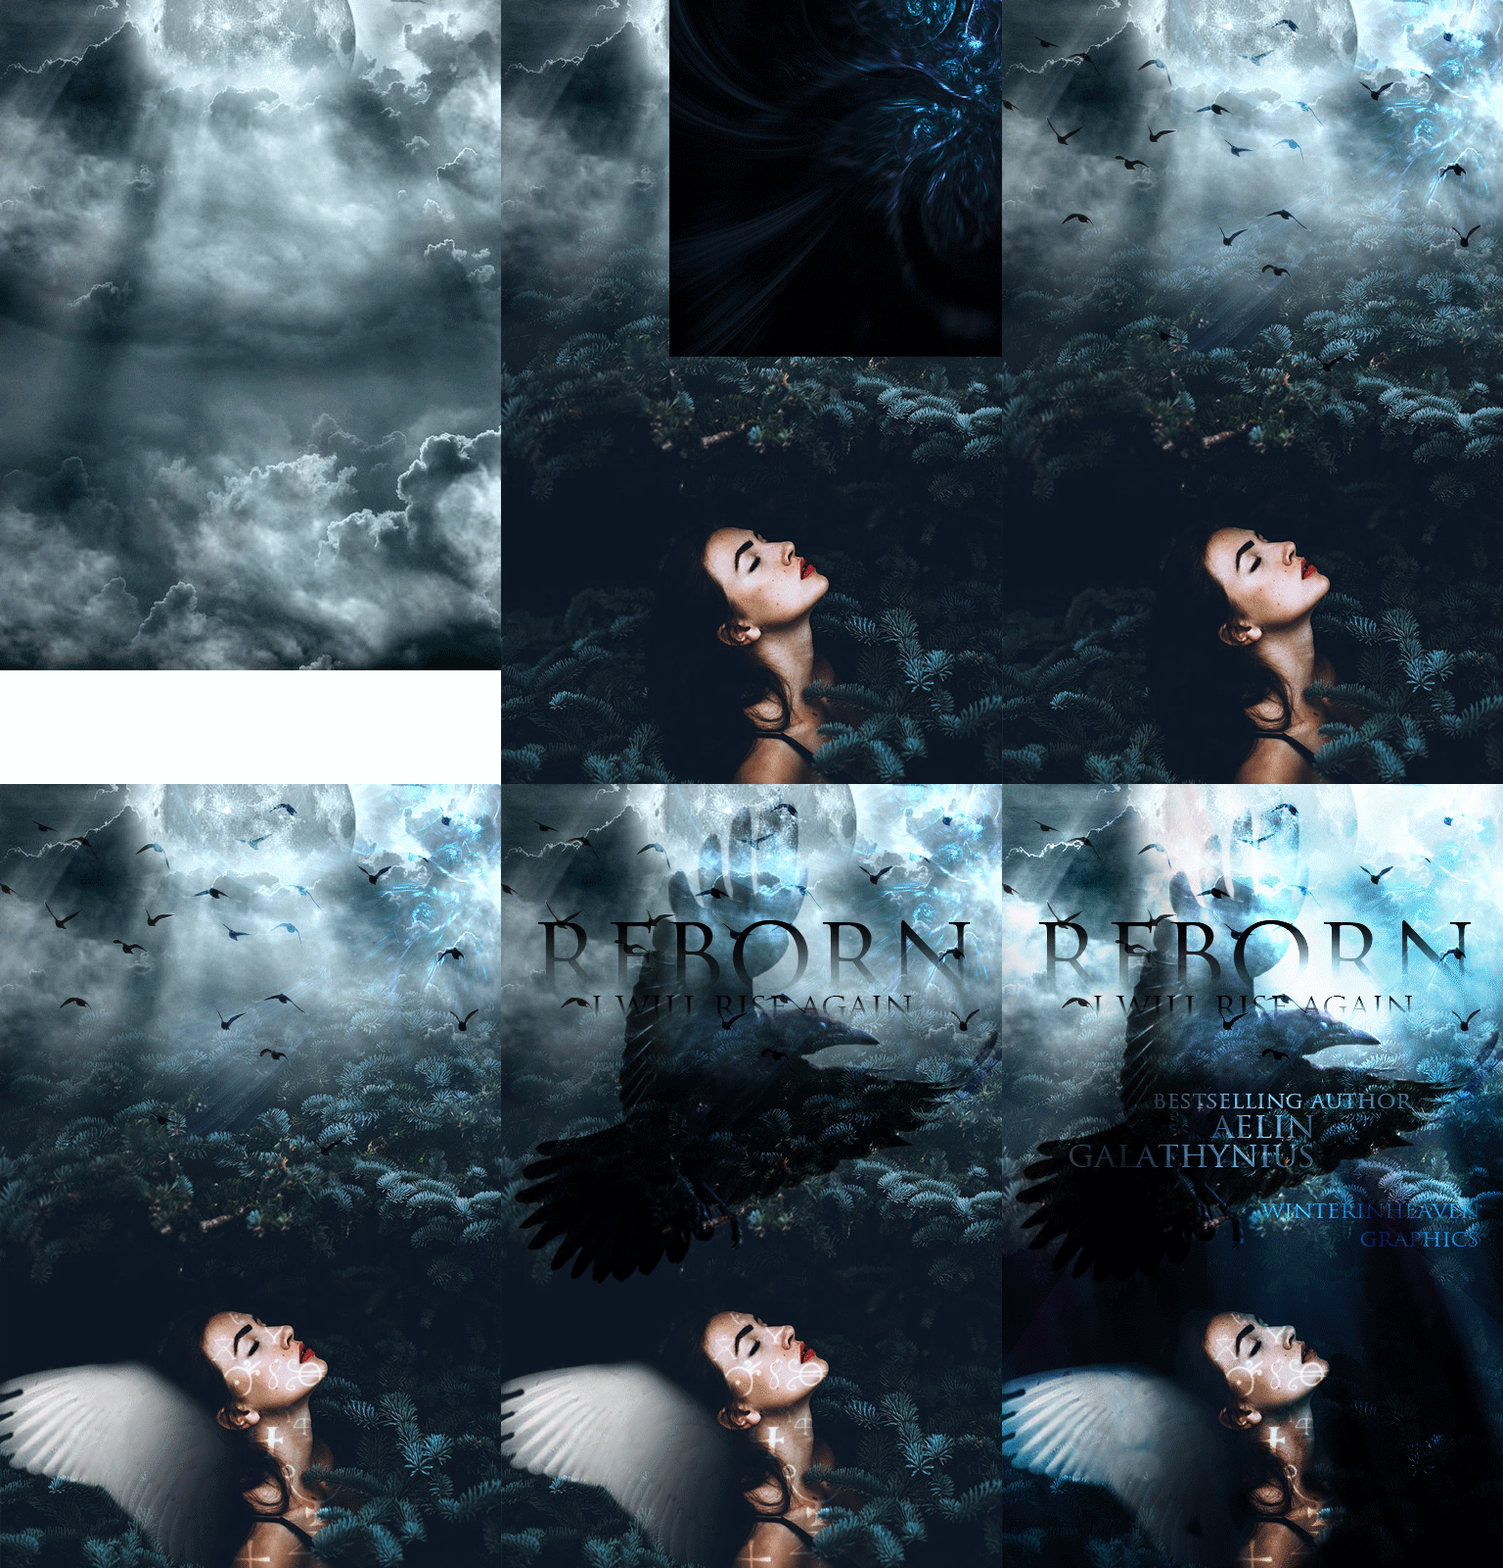
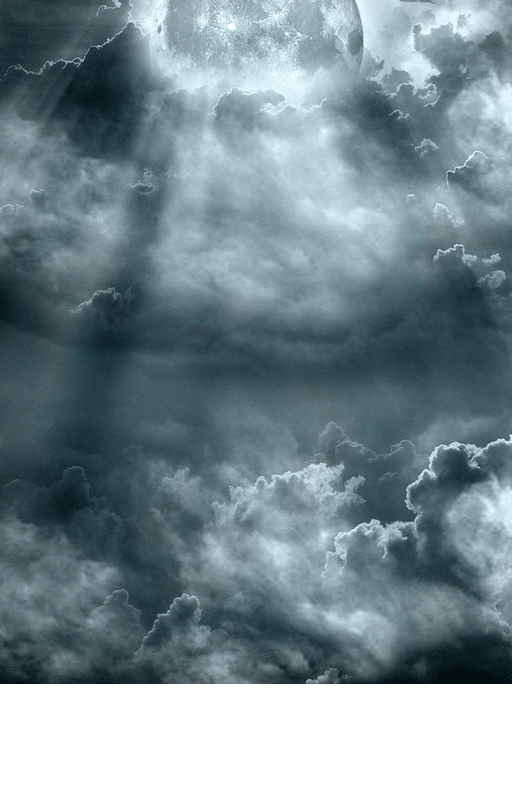
Step 1: Open up your document, and open up the sky stock as your first layer
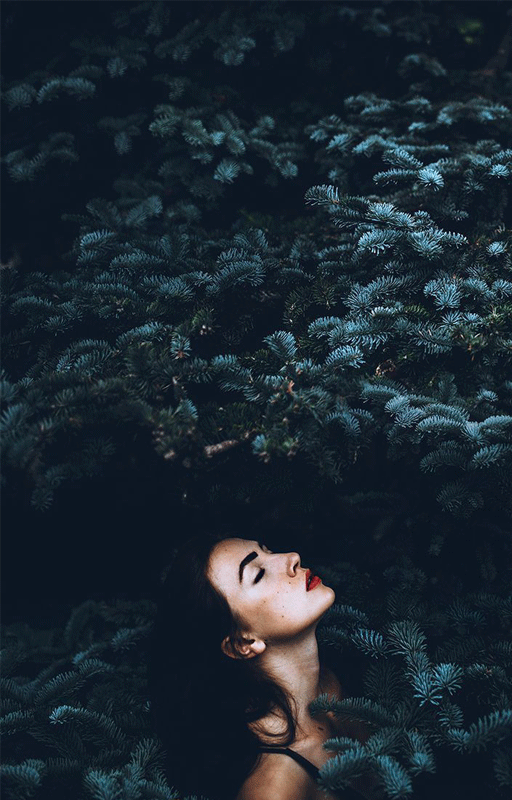
Step 2: Pull up the picture of the girl over the sky picture
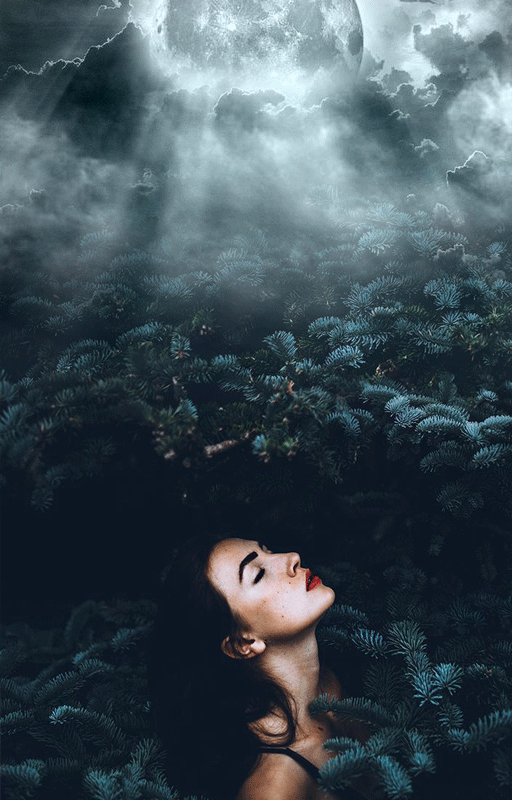
Step 3: Open up a layer mask for the layer w/the girl, and use the gradient tool (make sure the color is black to white) to play around until you reach similar results as the one below
Step 4: Open up the swirls (sorry if the pic isn't the same- I couldn't find the original one)
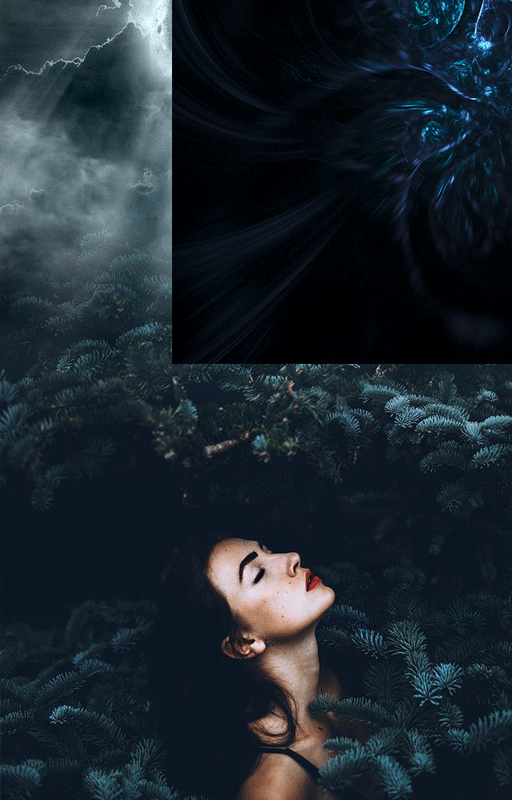
Step 5: Go to layers pannel, select Normal-> Screen or Linear Dodge (add). I used the latter, but the results are pretty much the same

Step 6: Open up the bird picture, put it in Overlay mode, and then duplicate the layer
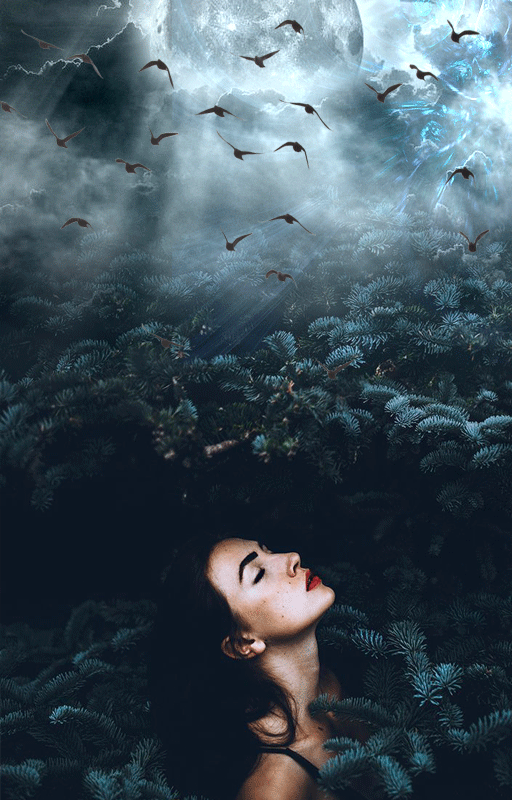
Step 7: Add the Wings picture, cut out the left wing (I used quick selection tool) and resize and position it like it is an angel's wing
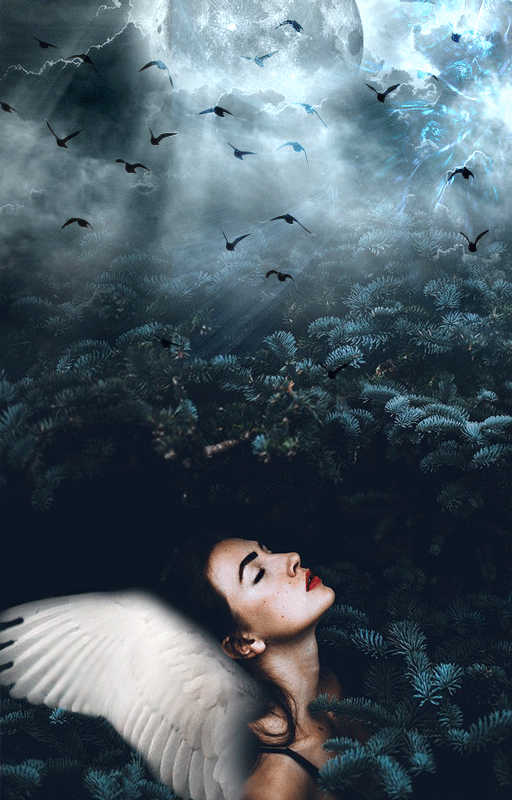
Step 8: Add layer mask to the wing layer, and play around with gradient tool until it looks like the wing is natural
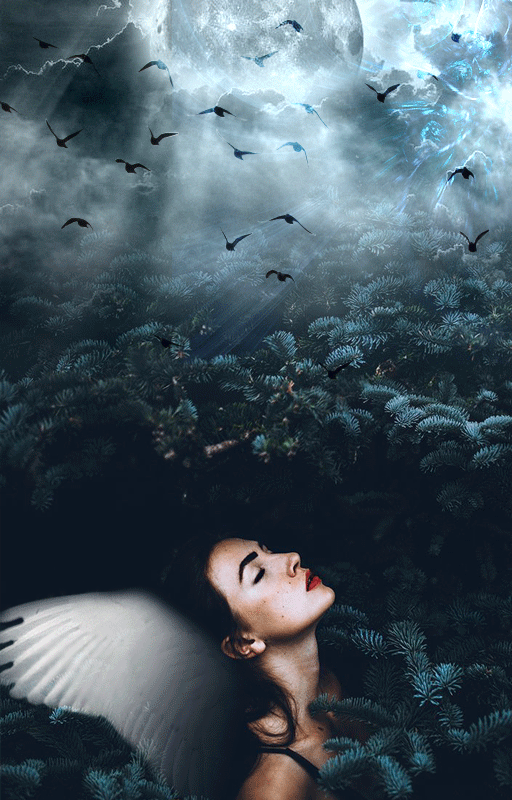
Step 9: Add text (I used Trajan Pro) and the crow. Set the crow on Screen, and duplicate layer. Use the alchemist brush to add symbols to the girl's face

Step 10: Add the author's name and your watermark
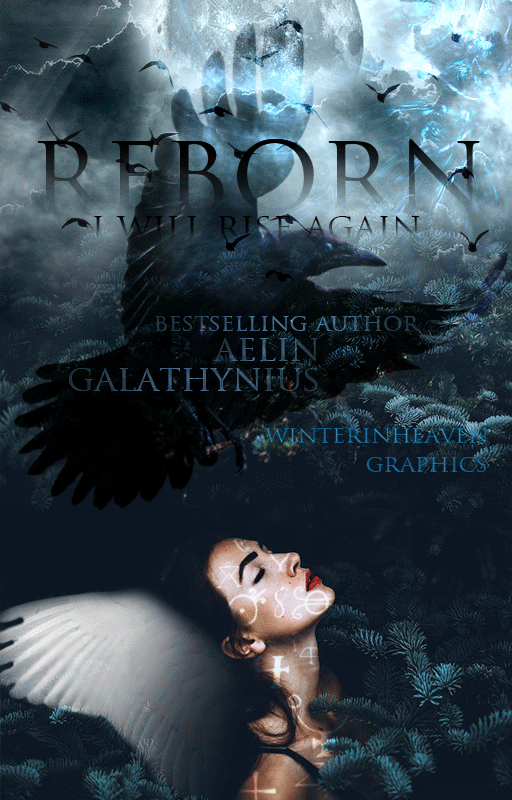
Step 11: Add Texture, set it on overlay, and (optional) use an eraser with 40-50 opacity and erase the texture over the model's face and neck
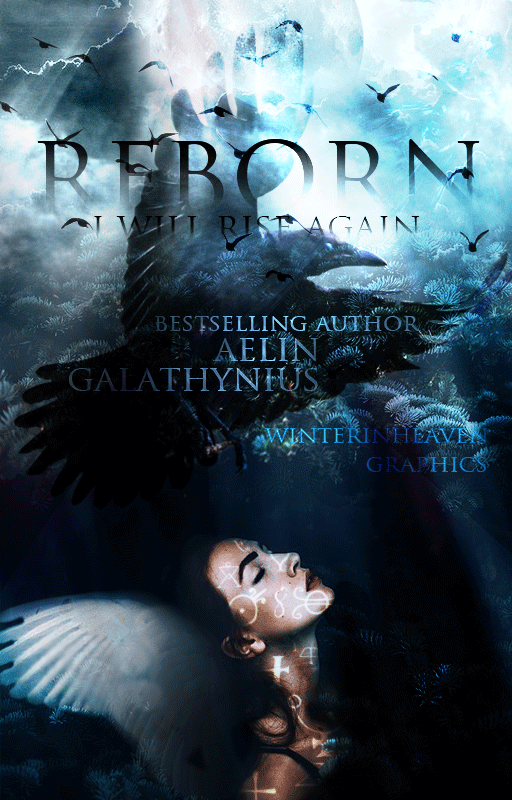
I hope this tutorial helped you! if you want to make a cover similar to Reborn, please, please, please credit me. Thank you :)
It took me two hours to do this tutorial, so it's gonna be a while before I do another one.
Once again, thank you for 300 followers, I couldn't have done it without you. As for the psd colorings, I've made three and they will be uploaded tomorrow.
Lots of love,
Emily
Bạn đang đọc truyện trên: AzTruyen.Top