⌫|making pngs
Heyy everyone! Welcome back to this book and today, we're going to make pngs.
>What are pngs?
It's more like a picture without a background. People use them in graphics designing a lot. Pngs have different definitions but I think that this was the best way to explain.
Ok, so let's get started!
For making pngs, we are going to use Ibis Paint x.
There are many apps to make pngs, but I suggest using Ibis Paint x. I'll soon make a tutorial for making pngs on PicsArt as it's my second suggestion.
Enough with the chit-chat now.

Step 1: Open Ibis Paint x app. Install it if you don't have one, trust me it's worth it!

You will see the screen like this. Click 'my gallery' to start.
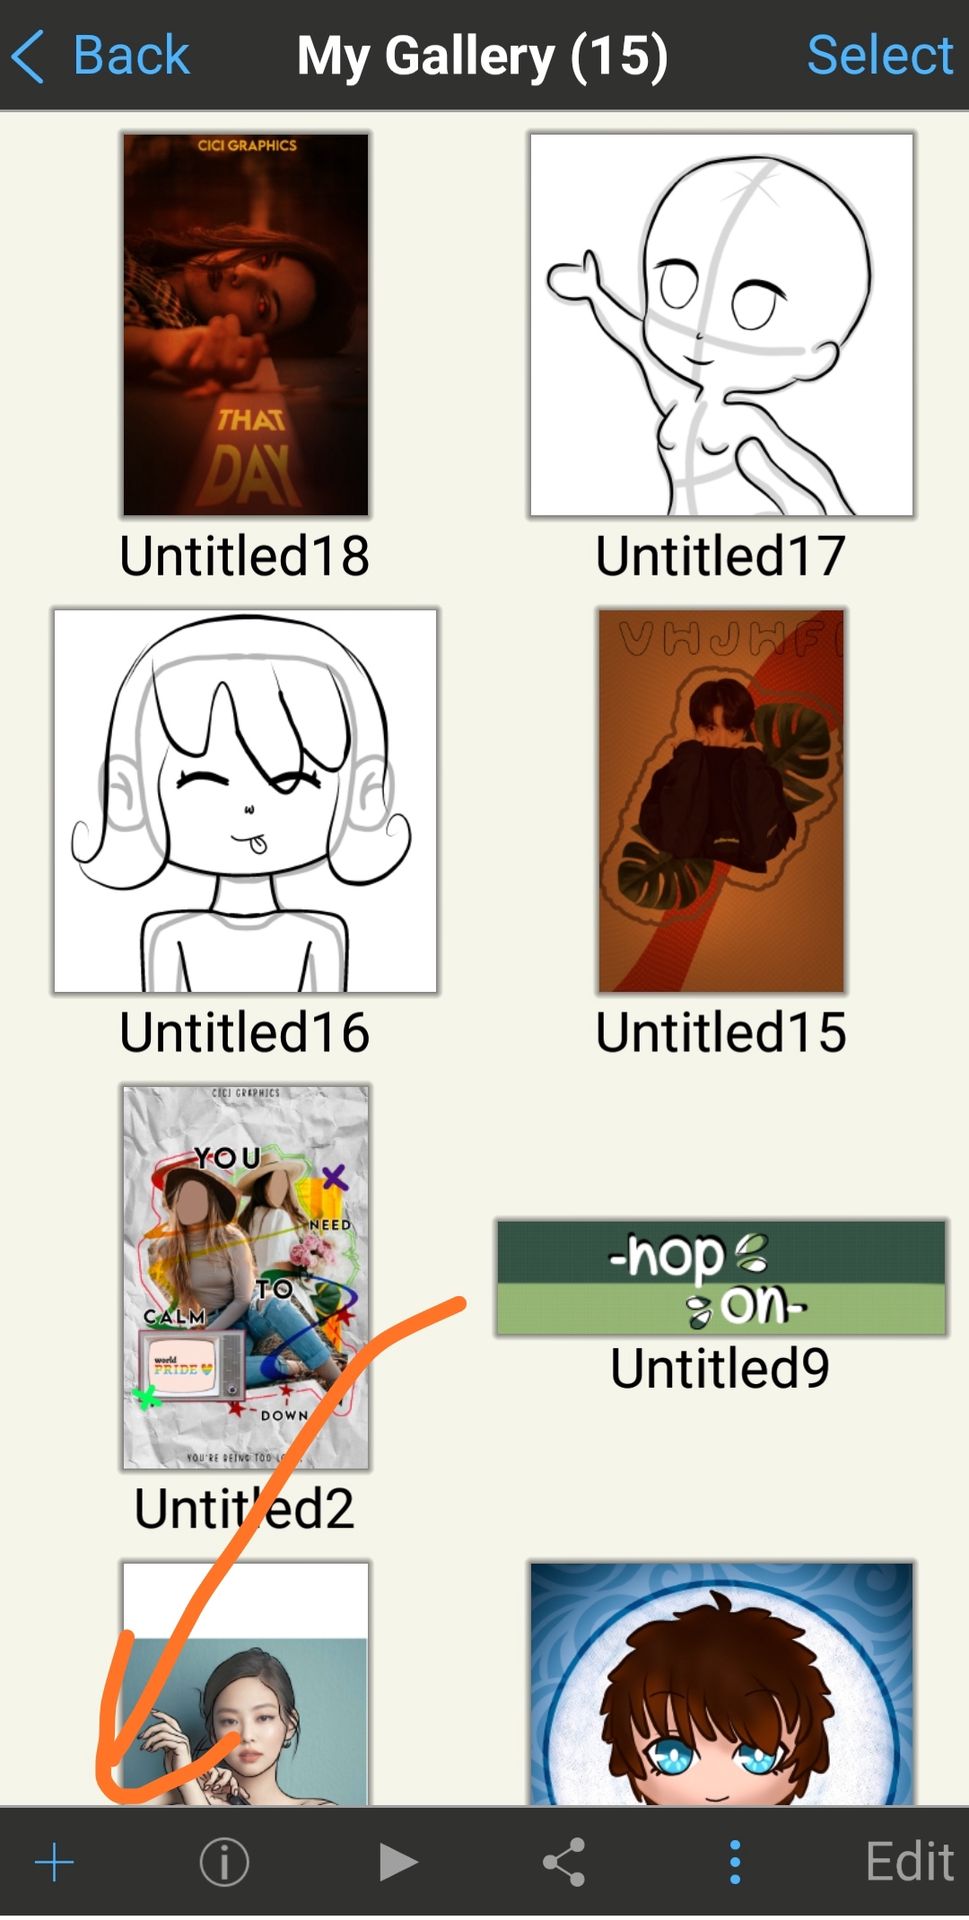
If you are using this app already then your screen will appear with all things you've made/drawn.
If you are new that it will be blank.
Click the '+' sign shown at the left bottom of the screen.
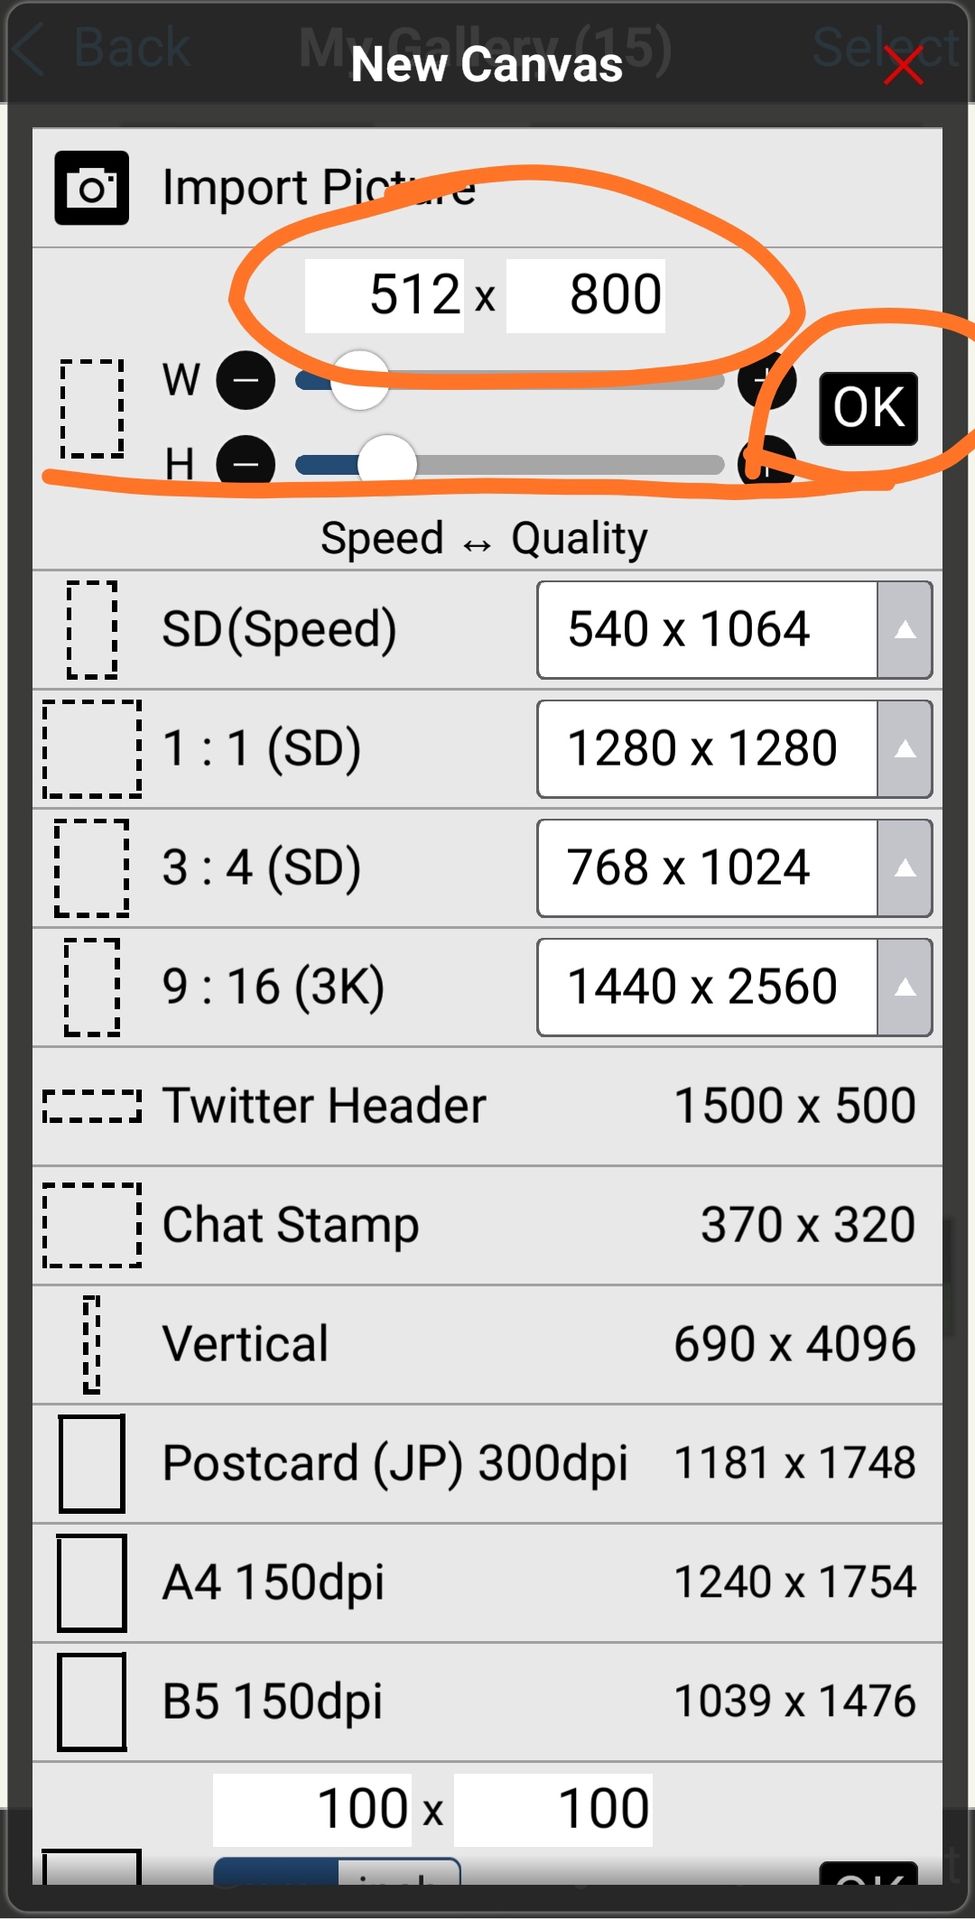
This box will pop up as soon as you clicked the '+' sign.
Now, we have to create a canvas i-e a base on which we will work. For doing this, I'm choosing the regular size of Wattpad cover.(512 × 800)
You can choose any size from the box shown.
After setting or choosing a size, click 'OK'.
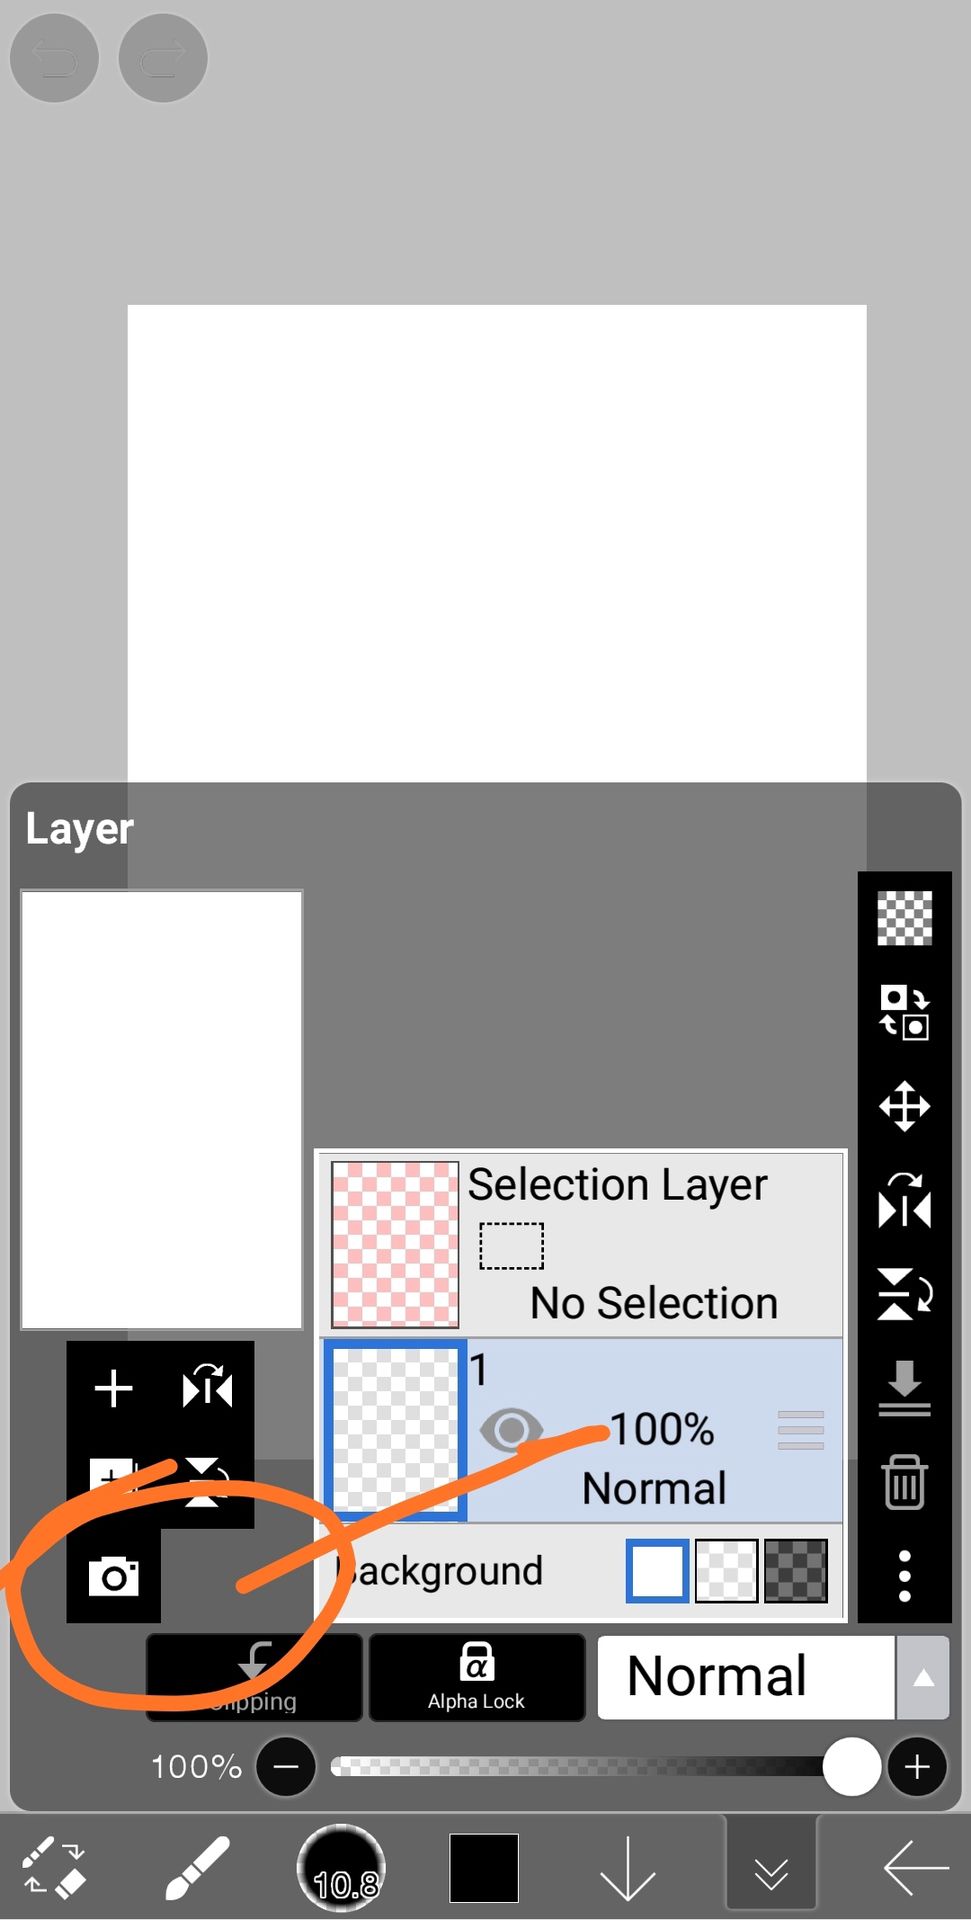
Step 2: Click the camera icon shown in the picture. Then it will take you to the gallery, you can choose the picture you want to make png of.
Here, I've already chosen my pic and it's added on the canvas.
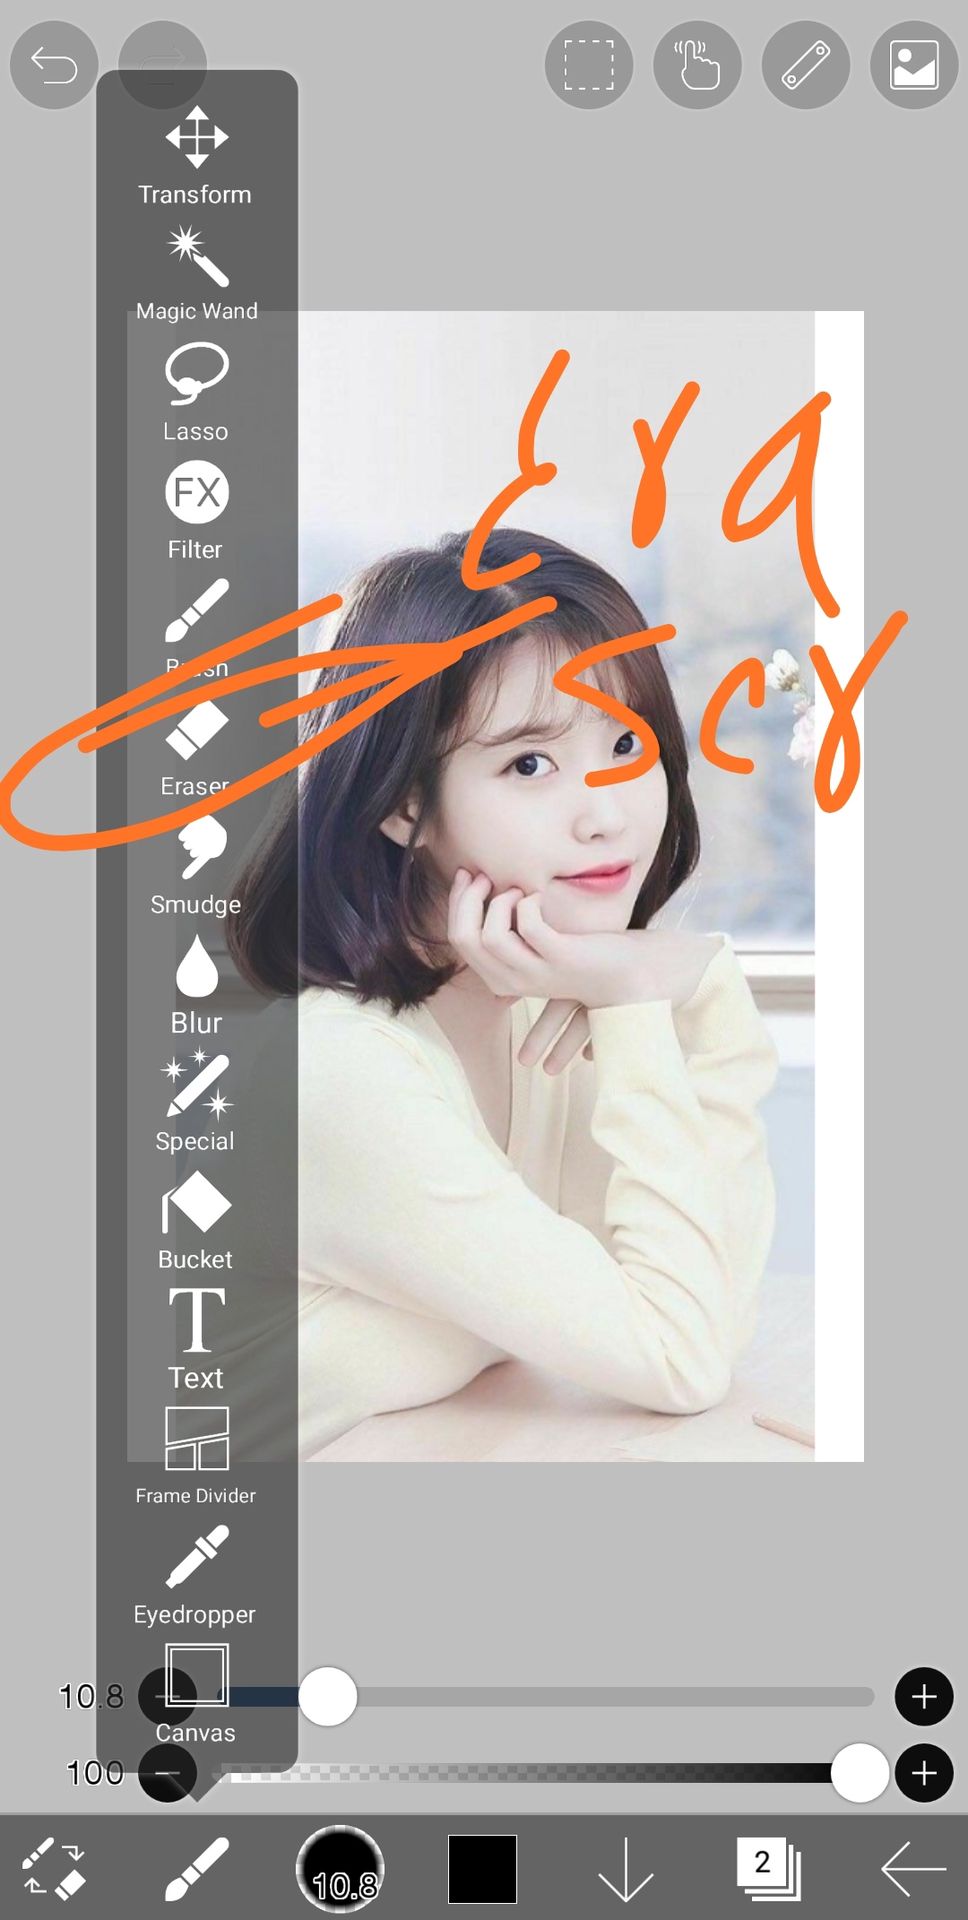
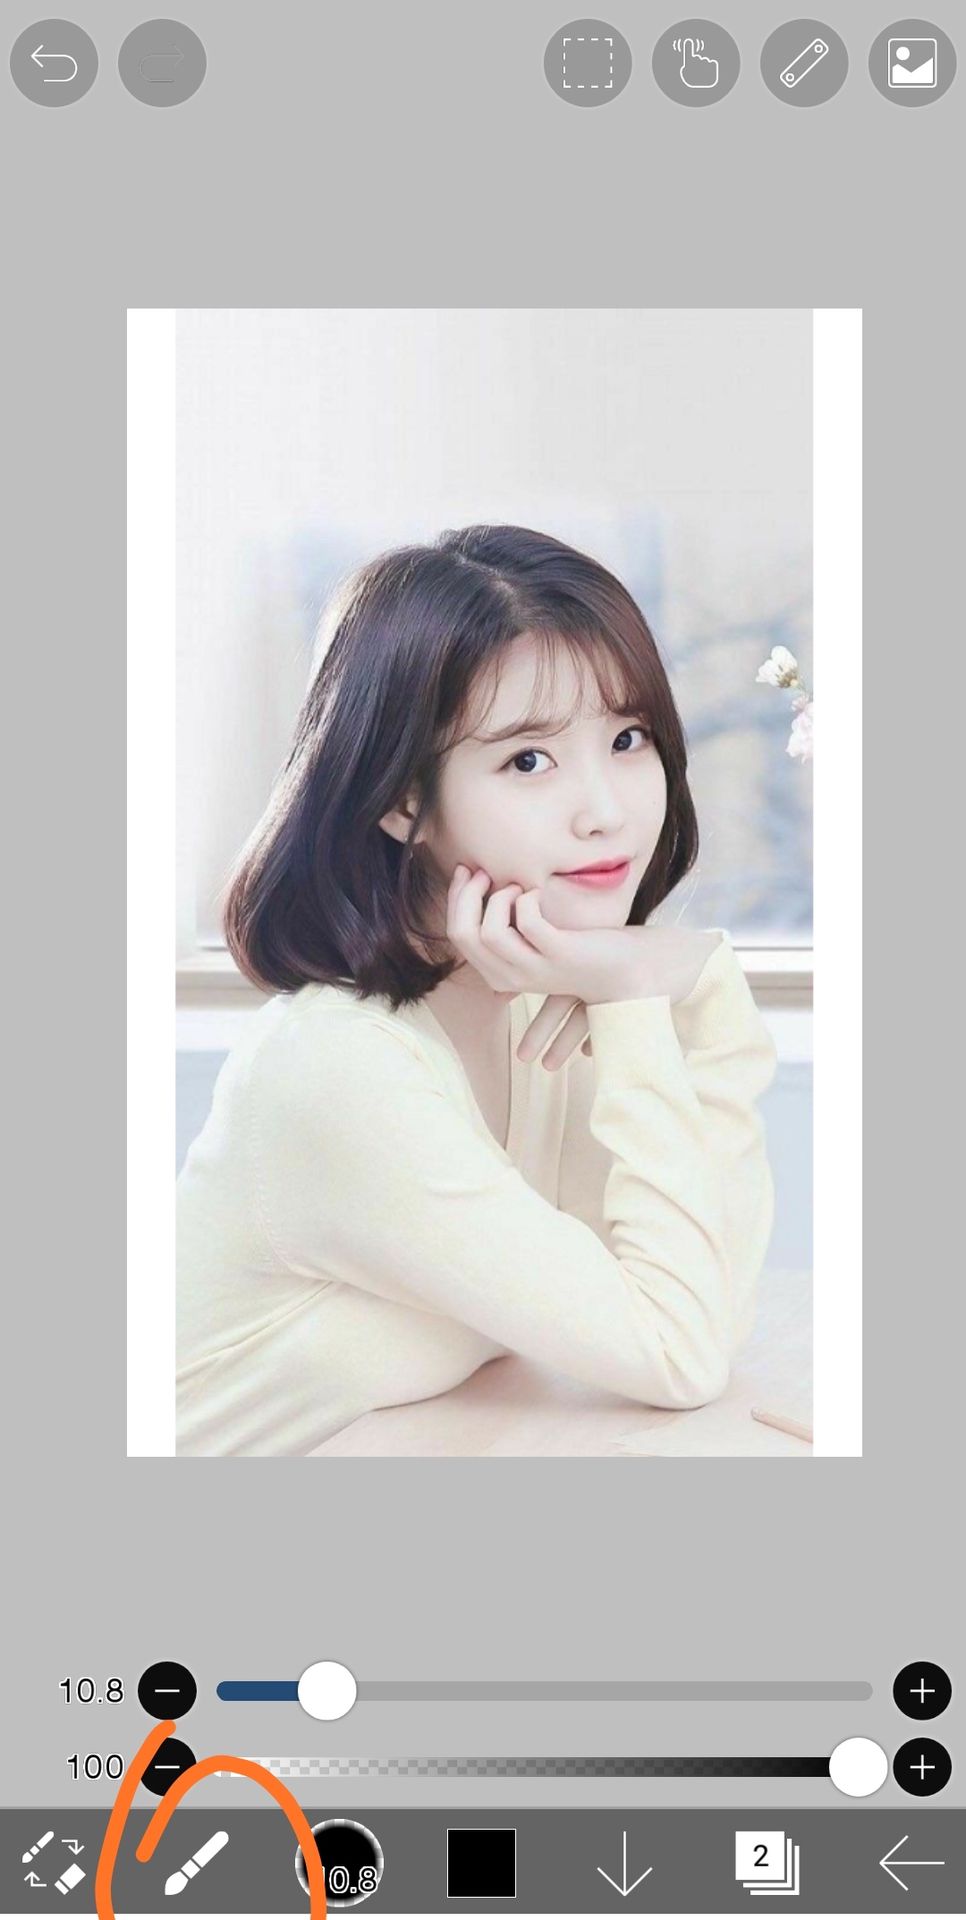
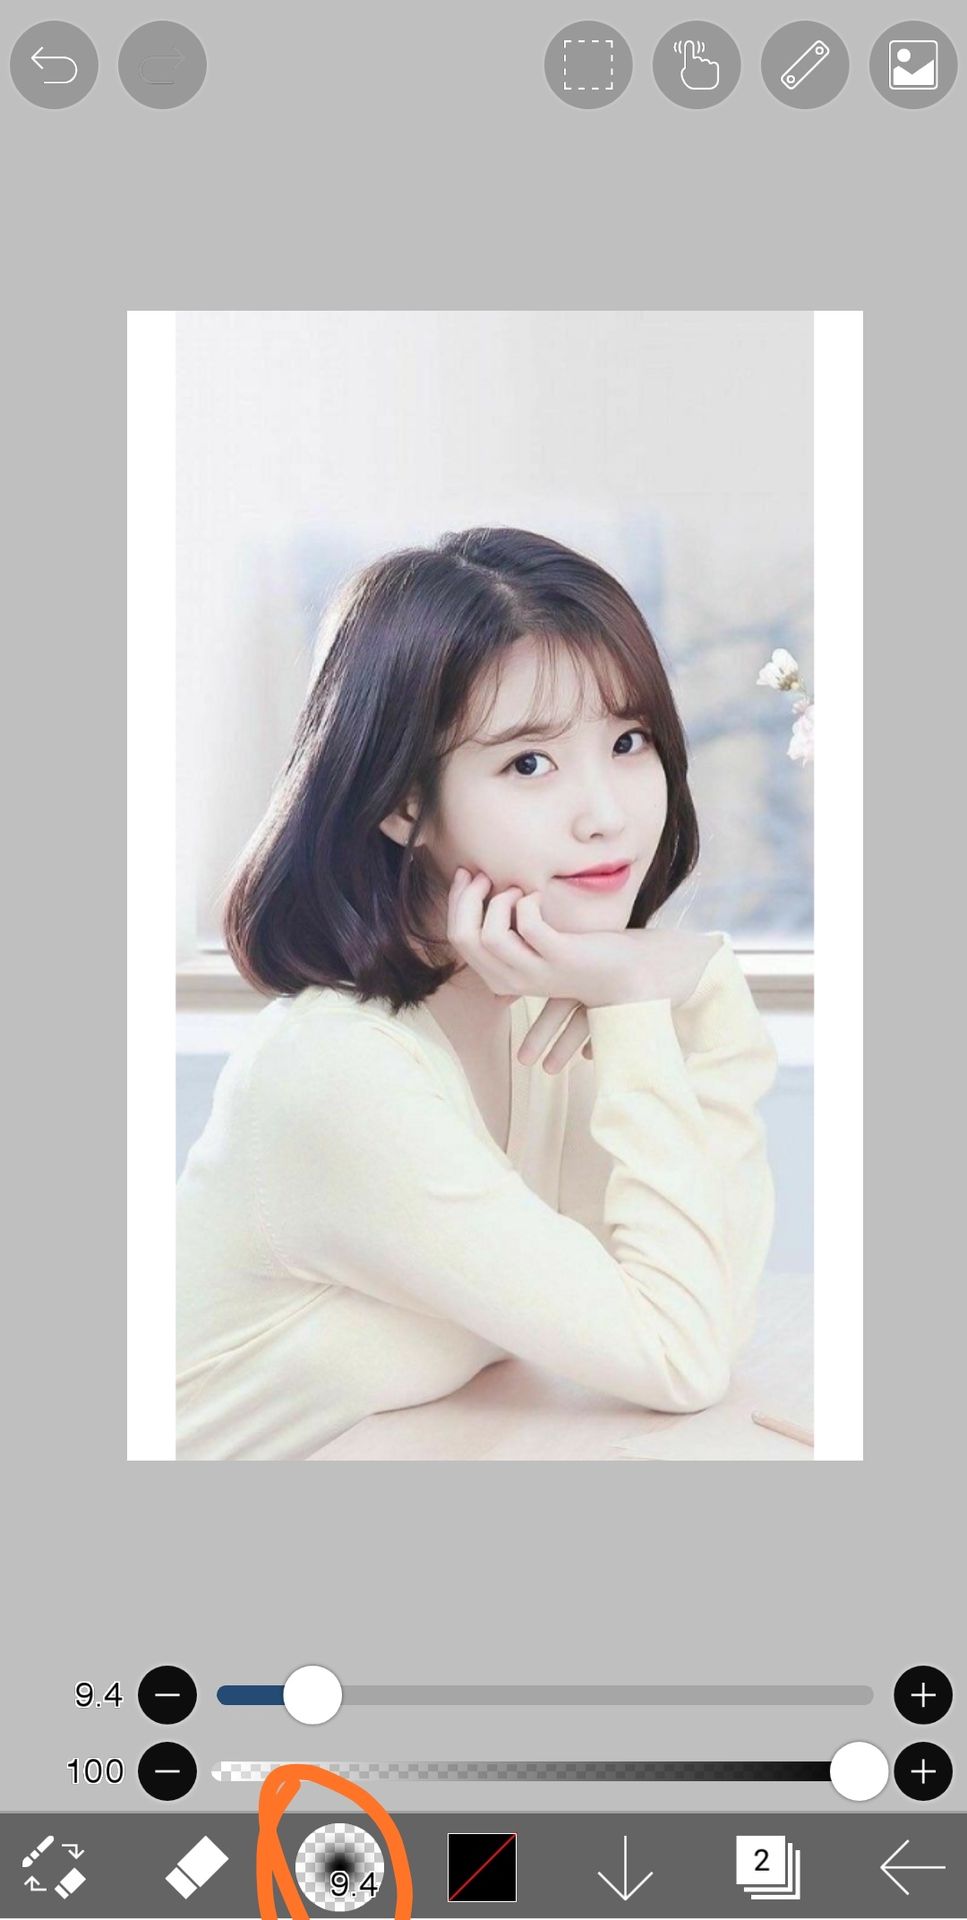
Step 3: Click the brush tool at the left bottom and choose the eraser tool to erase the image.
As you can see, instead of a brush it's now an eraser.
Step 4: Click the button beside the eraser tool. It's called a type of brushes button. (I gave the name)

Choose any brush, but I suggest you start with a brush with soft edges to avoid getting pixelated later.
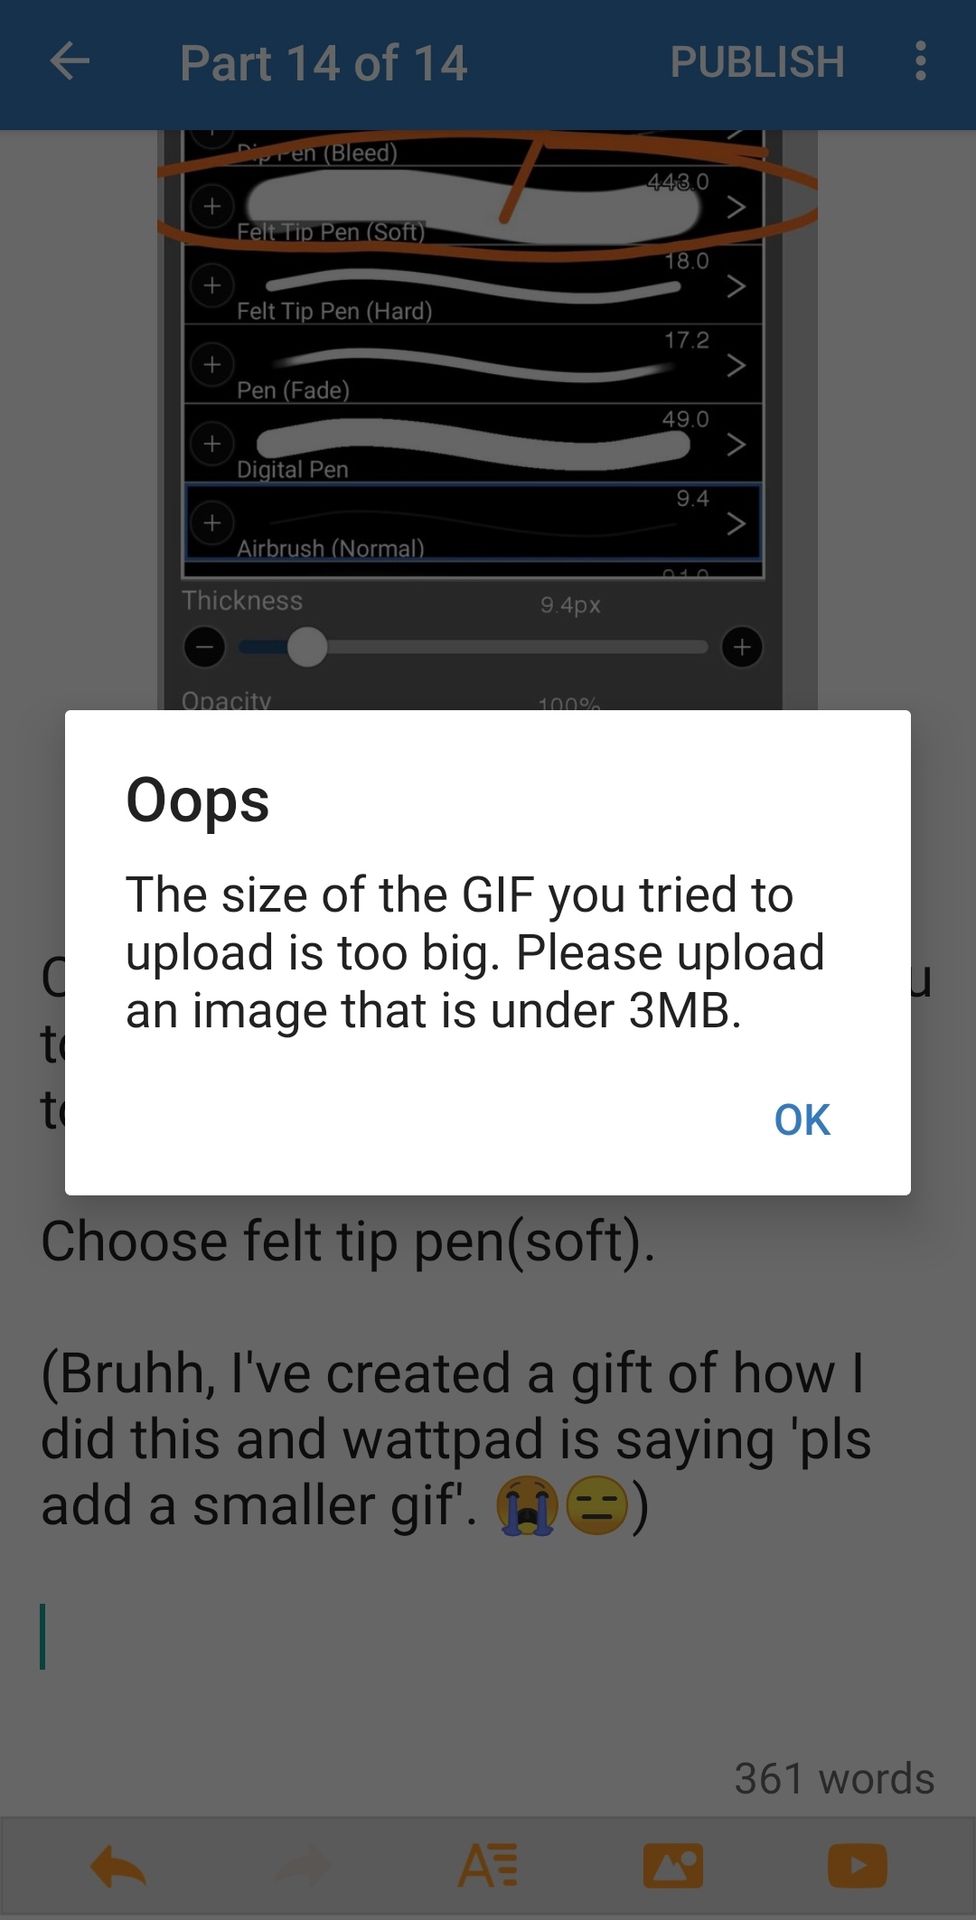
Choose felt tip pen(soft).
(Bruhh, I've created a gif on how I did this and Wattpad is saying 'pls add a smaller gif'. 😭😑)
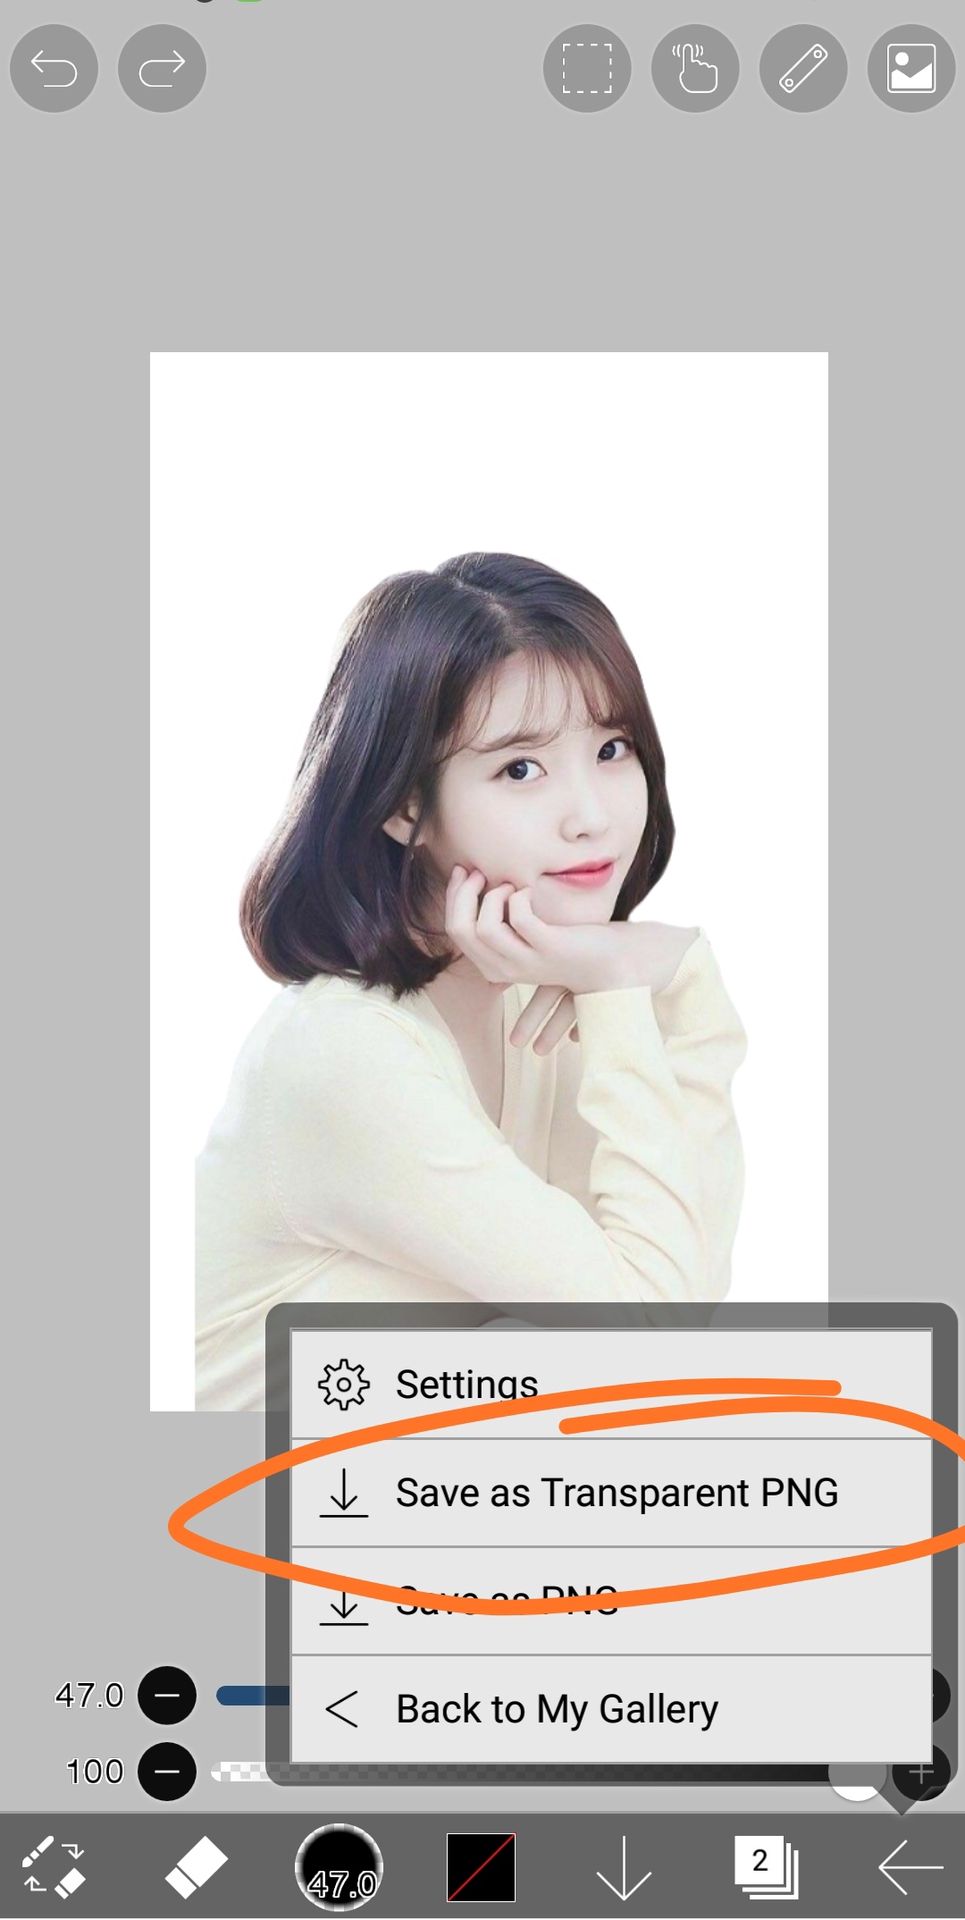
Step 5: After erasing everything you need and making a PNG, click the right side arrow at the bottom right.
Then click 'save as transperent' PNG.

Pro tips:
1) Do the corners and small parts of the image after completing the erasing process.
2) Erase a border-like structure first then erase the rest.

(I've changed the bg, cause why not? TwT)

FINAL RESULT::-

(You can add any bg behind this PNG now.)

Bạn đang đọc truyện trên: AzTruyen.Top