BONUS: HOW DO I MAKE GRAPHICS?
Sometimes I've been asked whether I'm a graphics designer or I've been offered a post in a community as one of those.
I'm not a graphics designer and I don't want to be one. I just enjoy doing graphics for my stories. 😊
In this chapter, I'm gonna reveal how I make my graphics. I'll summarise what I've learnt in the last three years.

EVERYTHING I USE IS 100% FREE
No copyright infringement can come my way because I use copyright-free images and free tools. You may feel safe posting pictures from famous people and saying those are face-claims for your characters. Don't push it. I'd rather stay on the safe side, to be honest!
Pexels and unsplash are your best friends, for example. Search people and places that fit the story you're writing. You can cut out or change some elements of those photos later if those don't quite fit.
Once I have a preliminary set of photos, I choose the one I really want to work on.
For example, this is a photo of a bird I like. I'm gonna turn that into a cybernetic eagle.

First, I run it through the artistic features of Lunapic. I like the art style called "Fairy" and "Kandinsky". The former gives the picture a neat illustration vibe, while the latter enhances it's geometric design. Explore the art styles and see which you like best. 😊

I save them on my Downloads folder and then, I upload them into Pixlr X, merging them with the original photo.
Doing so gives the resulting image the sharpness of the photo, but it preserves the illustration vibe of the "Fairy" version of it. The "Kandinsky" one gives the eagle that sharp-edged robotic design I'm looking for.

How do I merge them? By using the filter options on the right banner. I like the "Soft-light" one, but sometimes I use either "Multiply" or "Screen" to enhance either the blacks or the whites on the images. It depends. Explore and choose the filter you like best. 😊
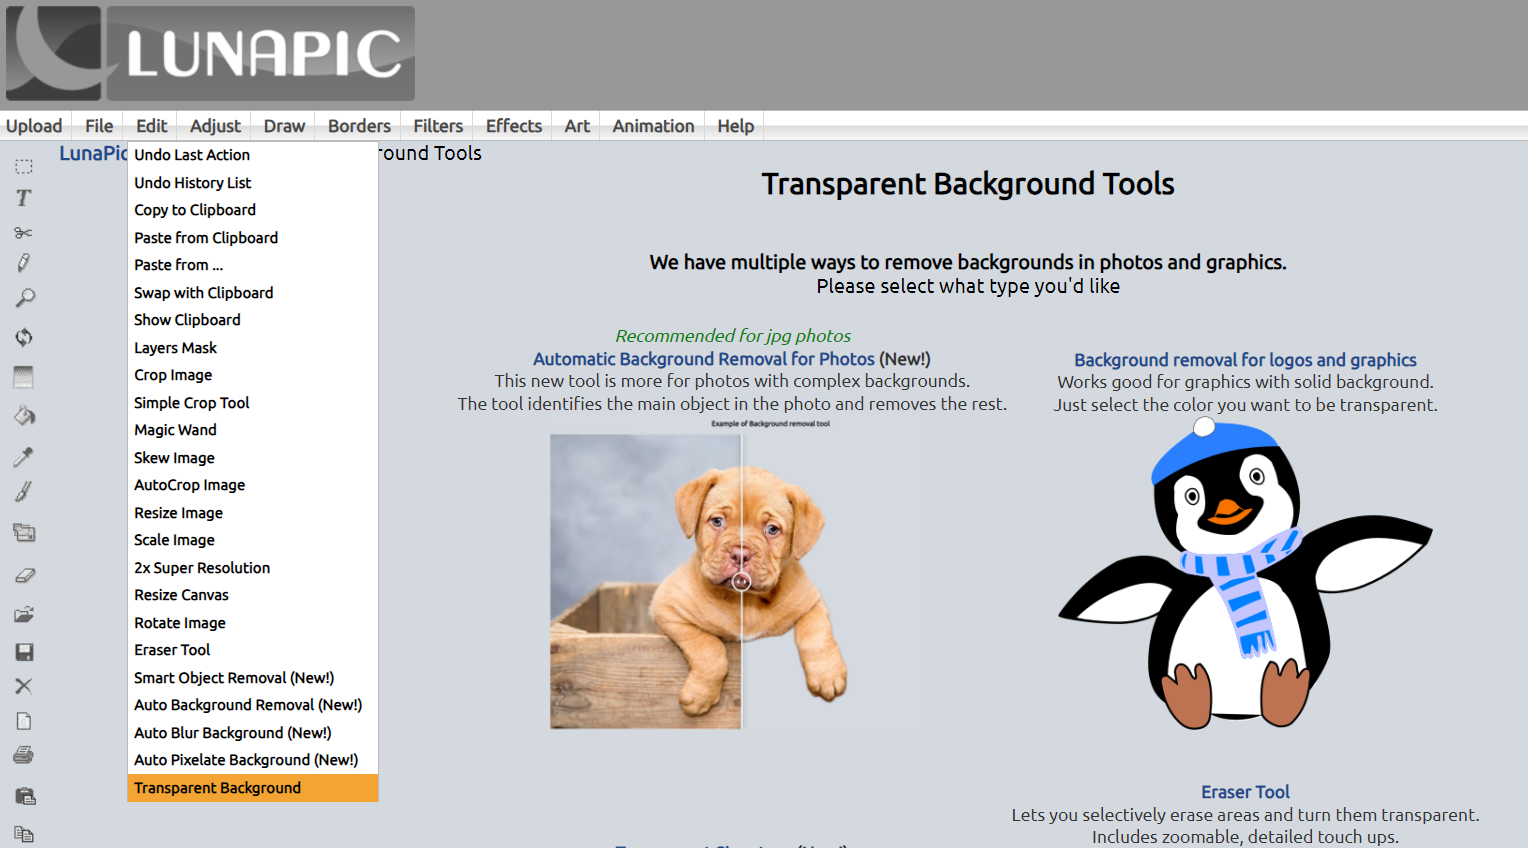
Once I'm satisfied with the result, I download the image. Then, I run it through Lunapic again―but this time I use the "Transparent Background" option to eliminate the background. (Pixlr X used to have that option for free, but now it's no longer available for free, so I use Lunapic instead).
I save all files, just in case. That way I can go back if I made any big mistake.
Then, I go back to Pixlr X again, where I upload the transparent file on its own and work on it again.
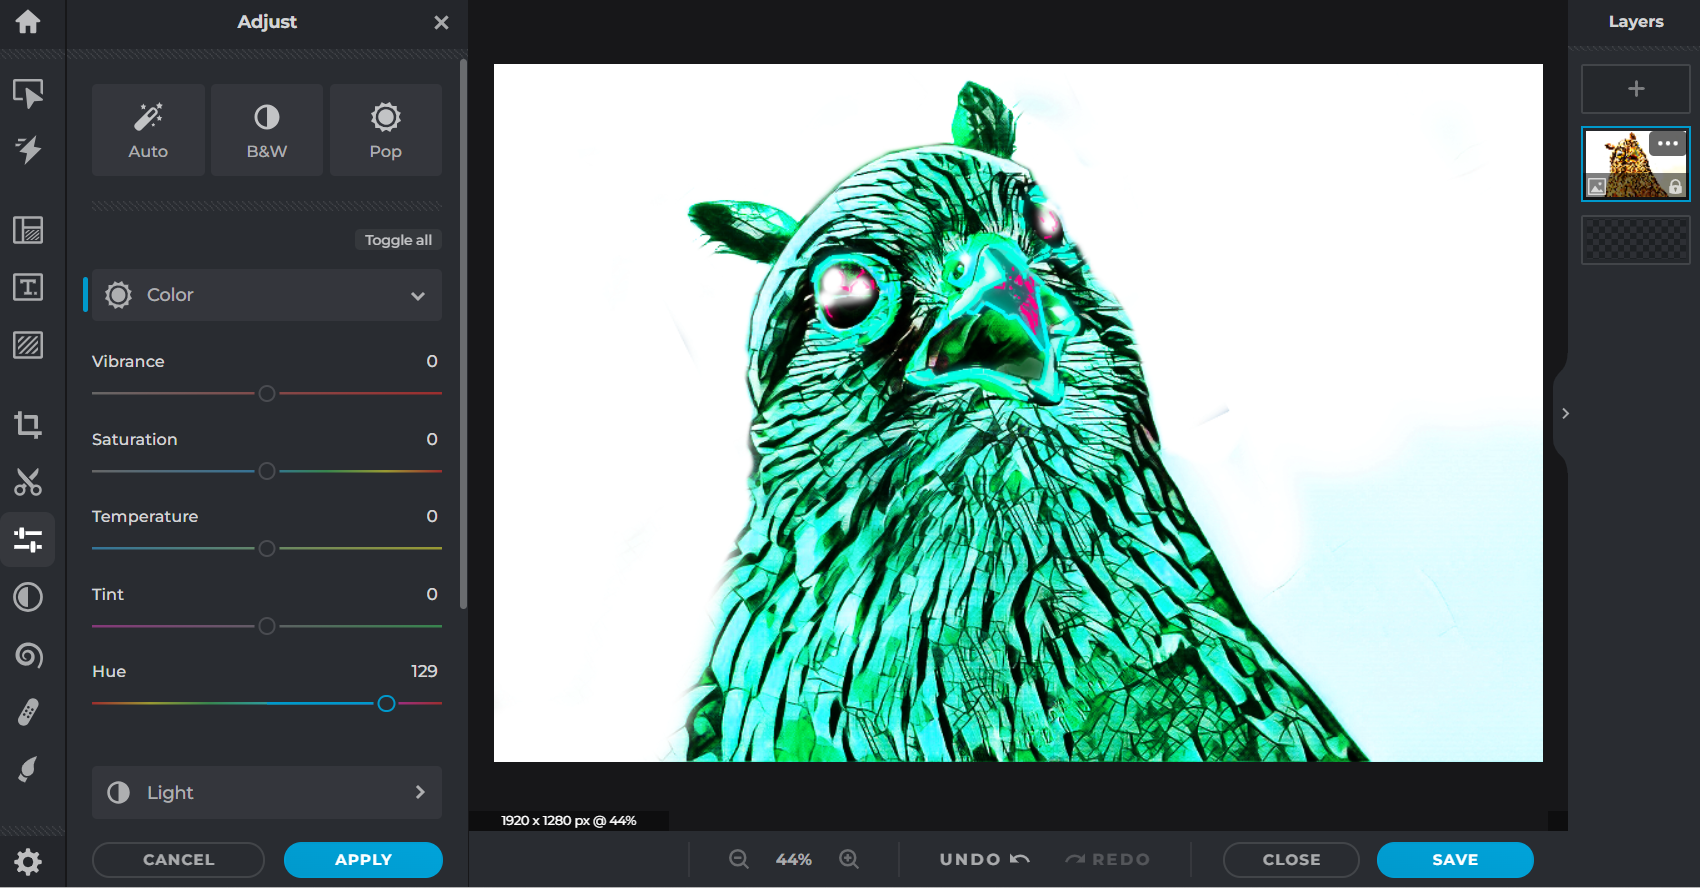
Is any colour wrong? Does it fit the characterisation?
If it doesn't fit the idea you had in mind, you may play with its colours in the "Adjust" > "Color" > "Hue" or in "Effect" > "Preset" or "Colorize". Play with the colouring as you like! 😊
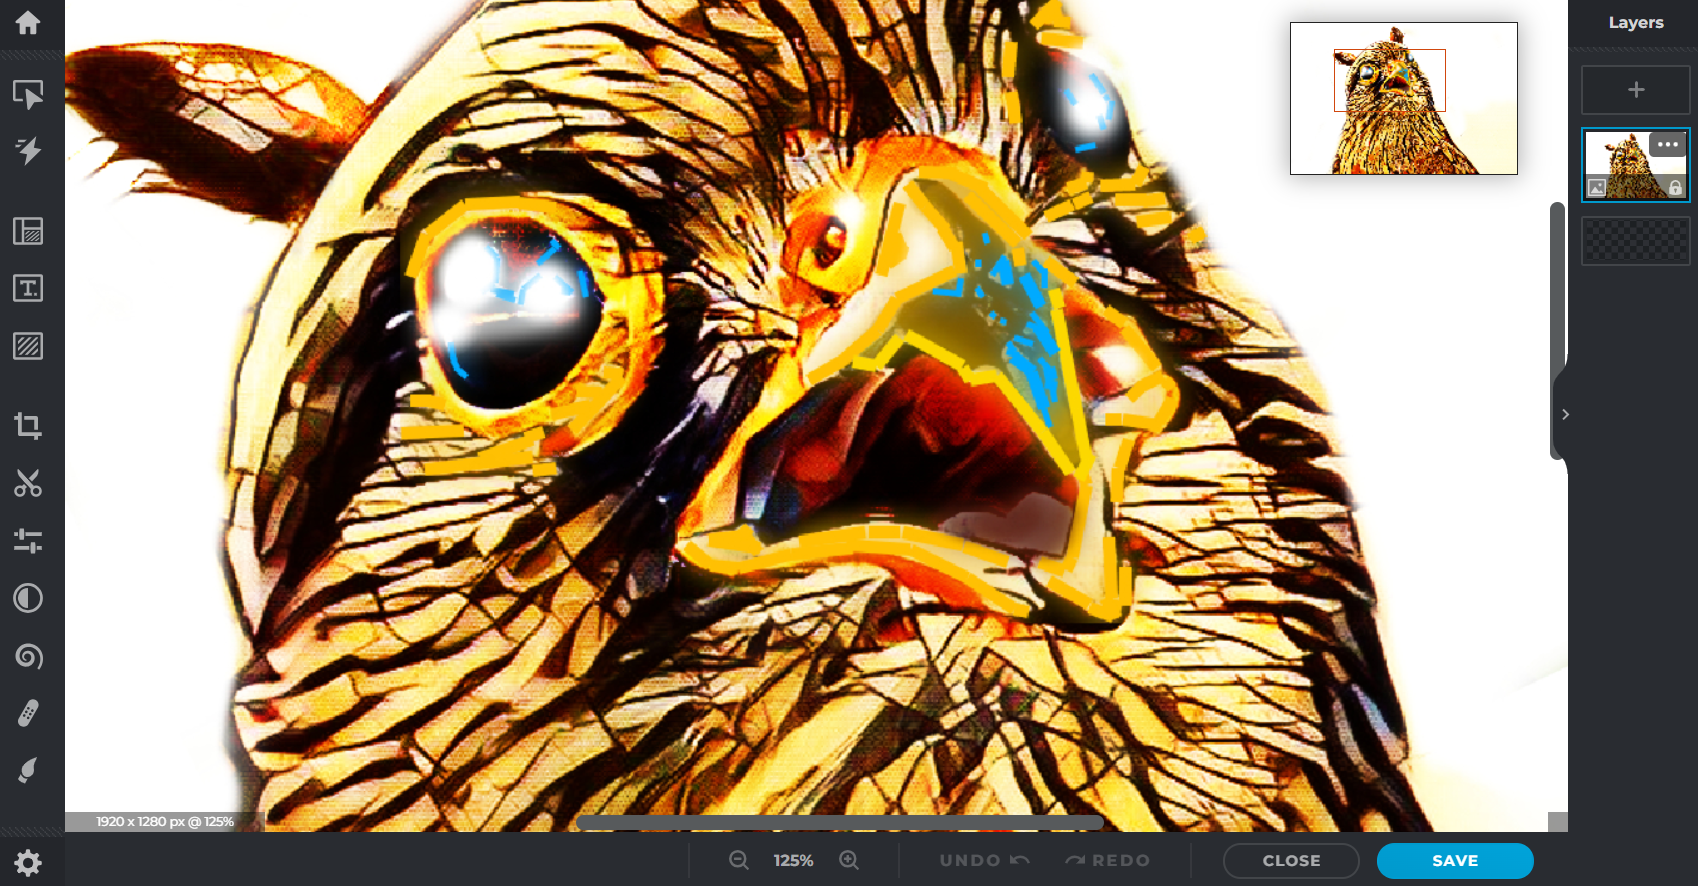
Anyway, since I want this cybernetic beast to have a much more aggressive look and to glow, I manually draw sharp lines on it in a separate layer.
Why? Because later I usually use white or yellow and the blurring option to make those lines look like neon lights. (If I drew them on the eagle directly, then the blurring option would mar the eagle's sharp look.)
I do the same thing for the background. Choose a picture you like, run it through Lunapic's art styles and merge it with the original photo in Pixlr X.
What about the title of the book? Yes, you have a wide range of fonts in Pixlr X, but I usually add something custom-made, like a shooting-star kinda dot on the letter "i". 😉
I also save the title separately as a .png file with a transparent background so that I can use it in banners and the like. 😊
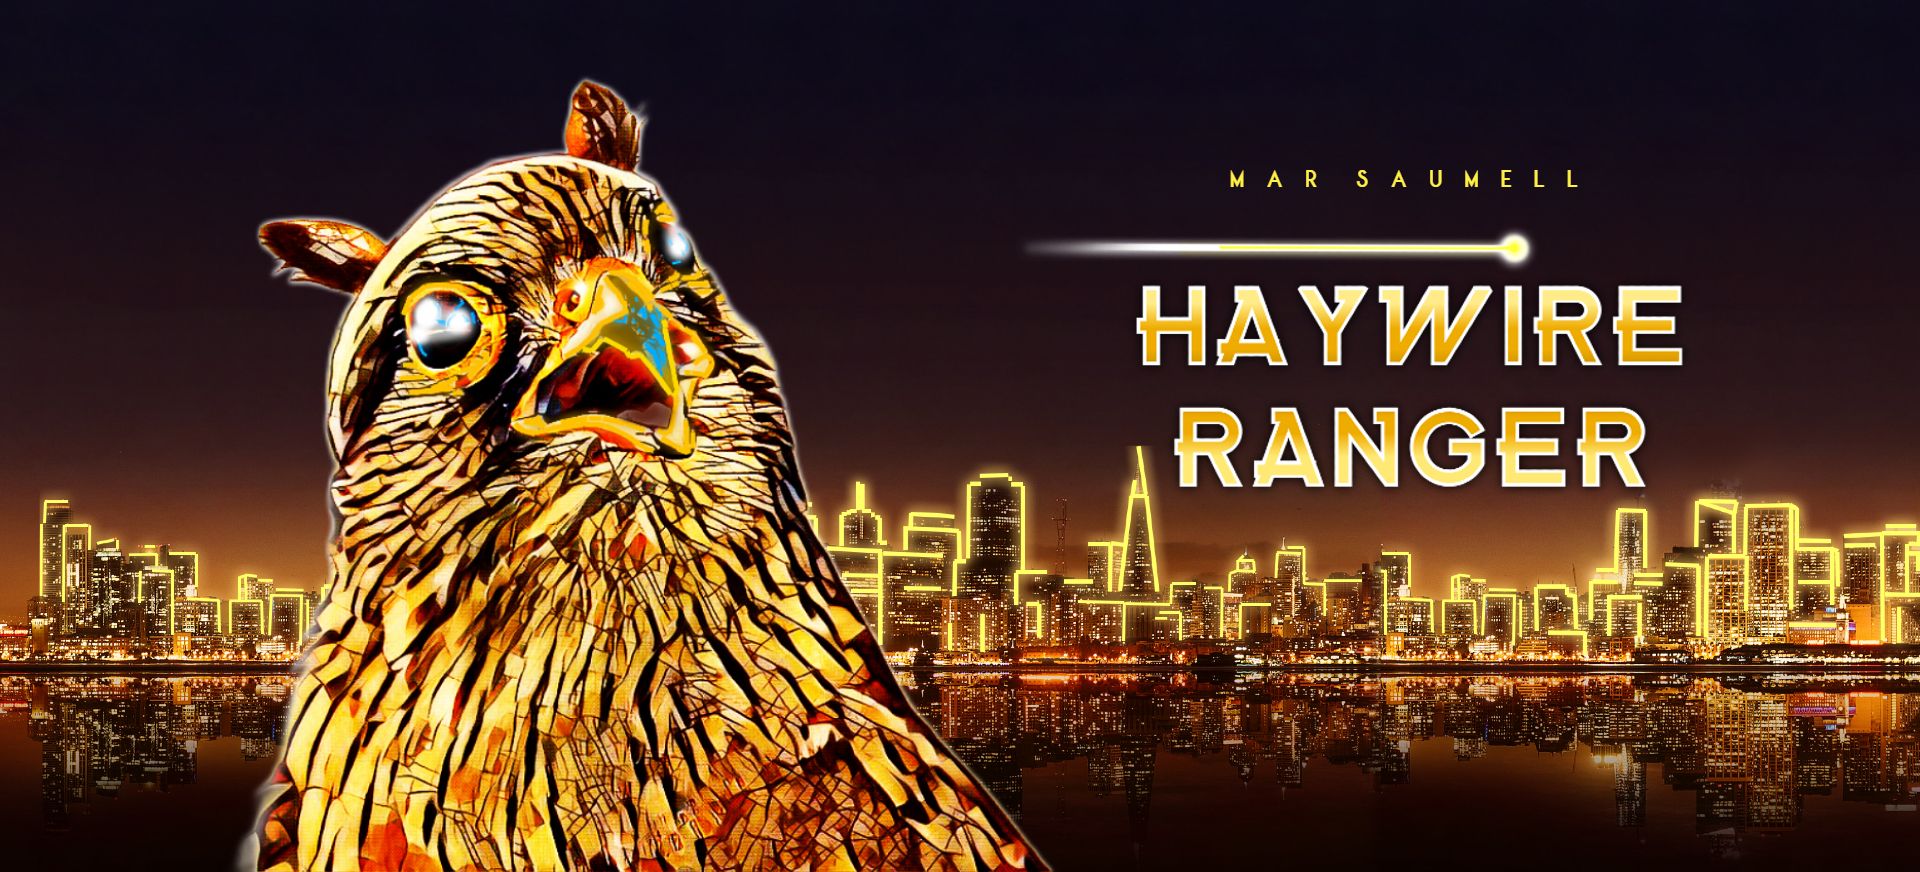
I hope you enjoyed this little tour about how I make graphics. The end result looks quite neat even though it's not professional. 😊
You can apply this process to ANYTHING. Here's another example: Delirium, a character from 'The Sandman' by Neil Gaiman.
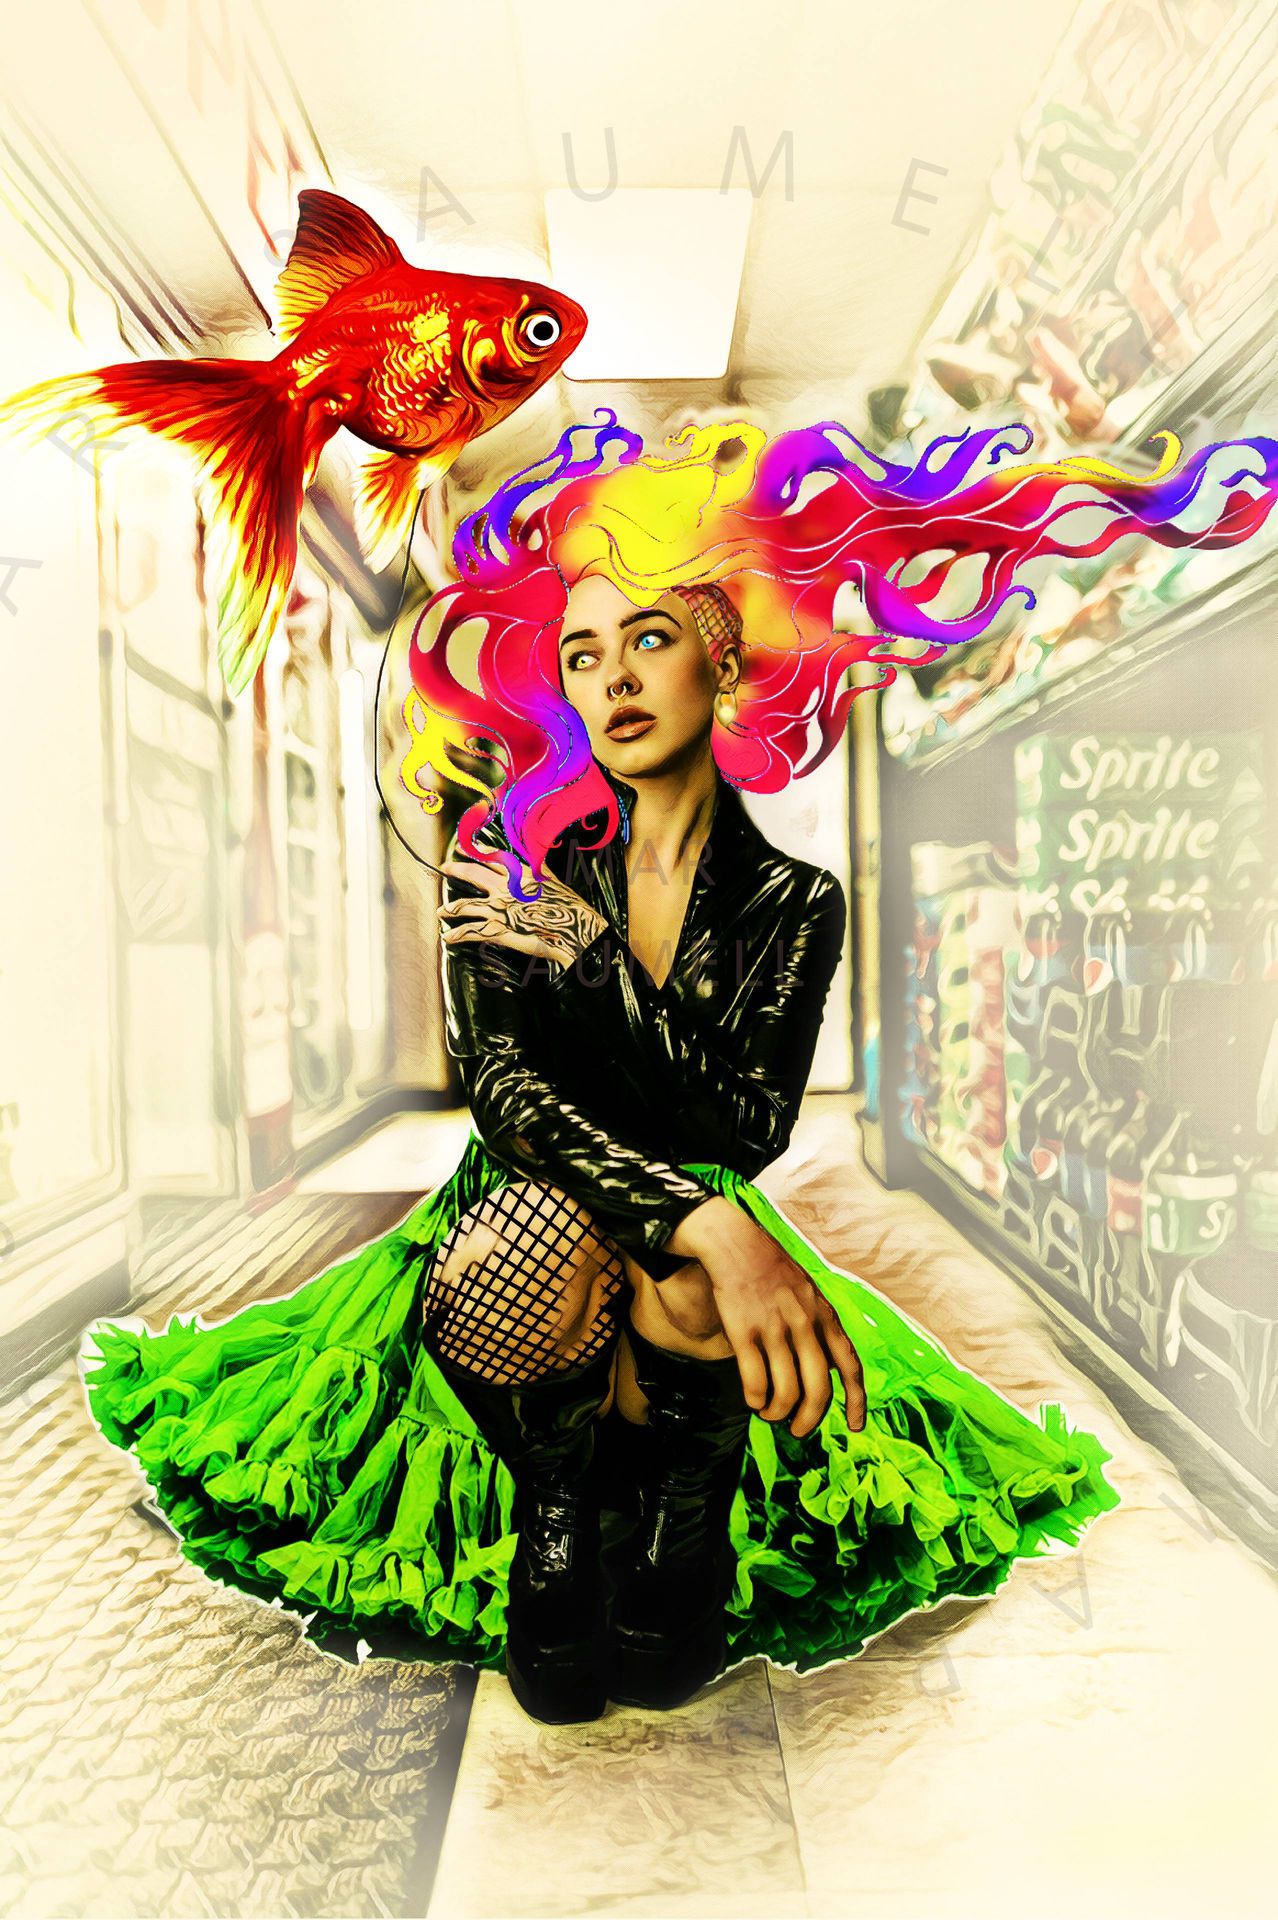
Made from this original photo from Pexels, some extra details to make it fit the character, and a good dose of inspiration:

Thanks for reading this bonus section!
Bạn đang đọc truyện trên: AzTruyen.Top