003•|SIMPLE MANIPULATION COVER
001)
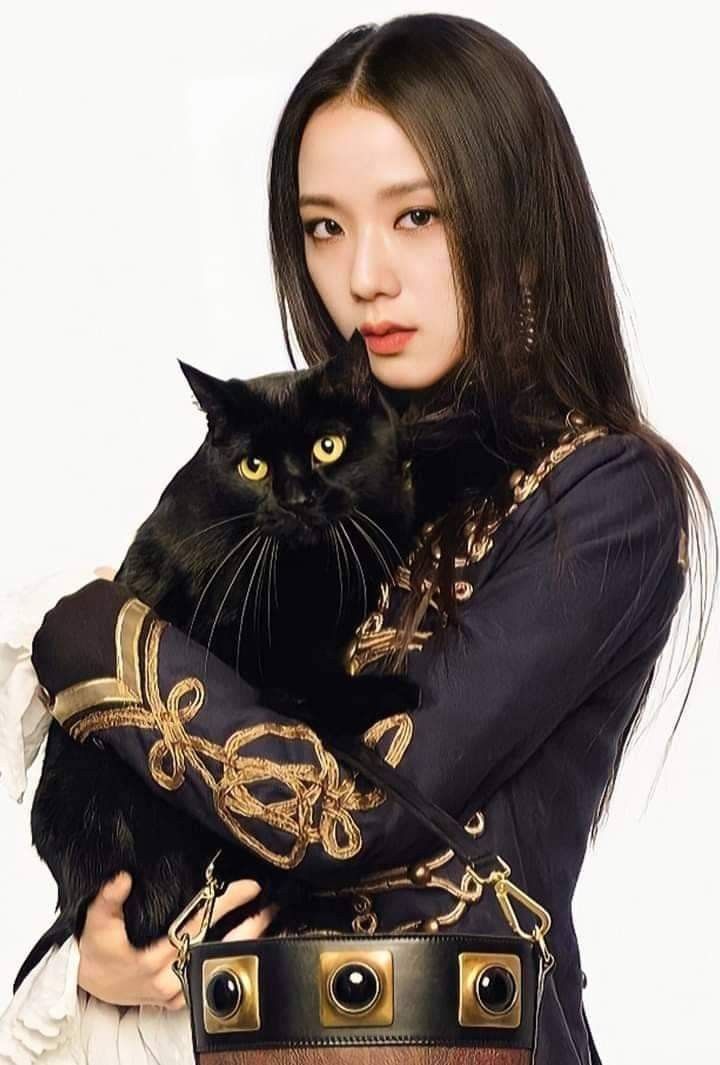

These are the pictures I'm going to use. It's up to you whether you want to use the same pics or different ones. (P.s im going to enhance the quality of the jisoo pic using Remini before exporting it.)
_____________
002)

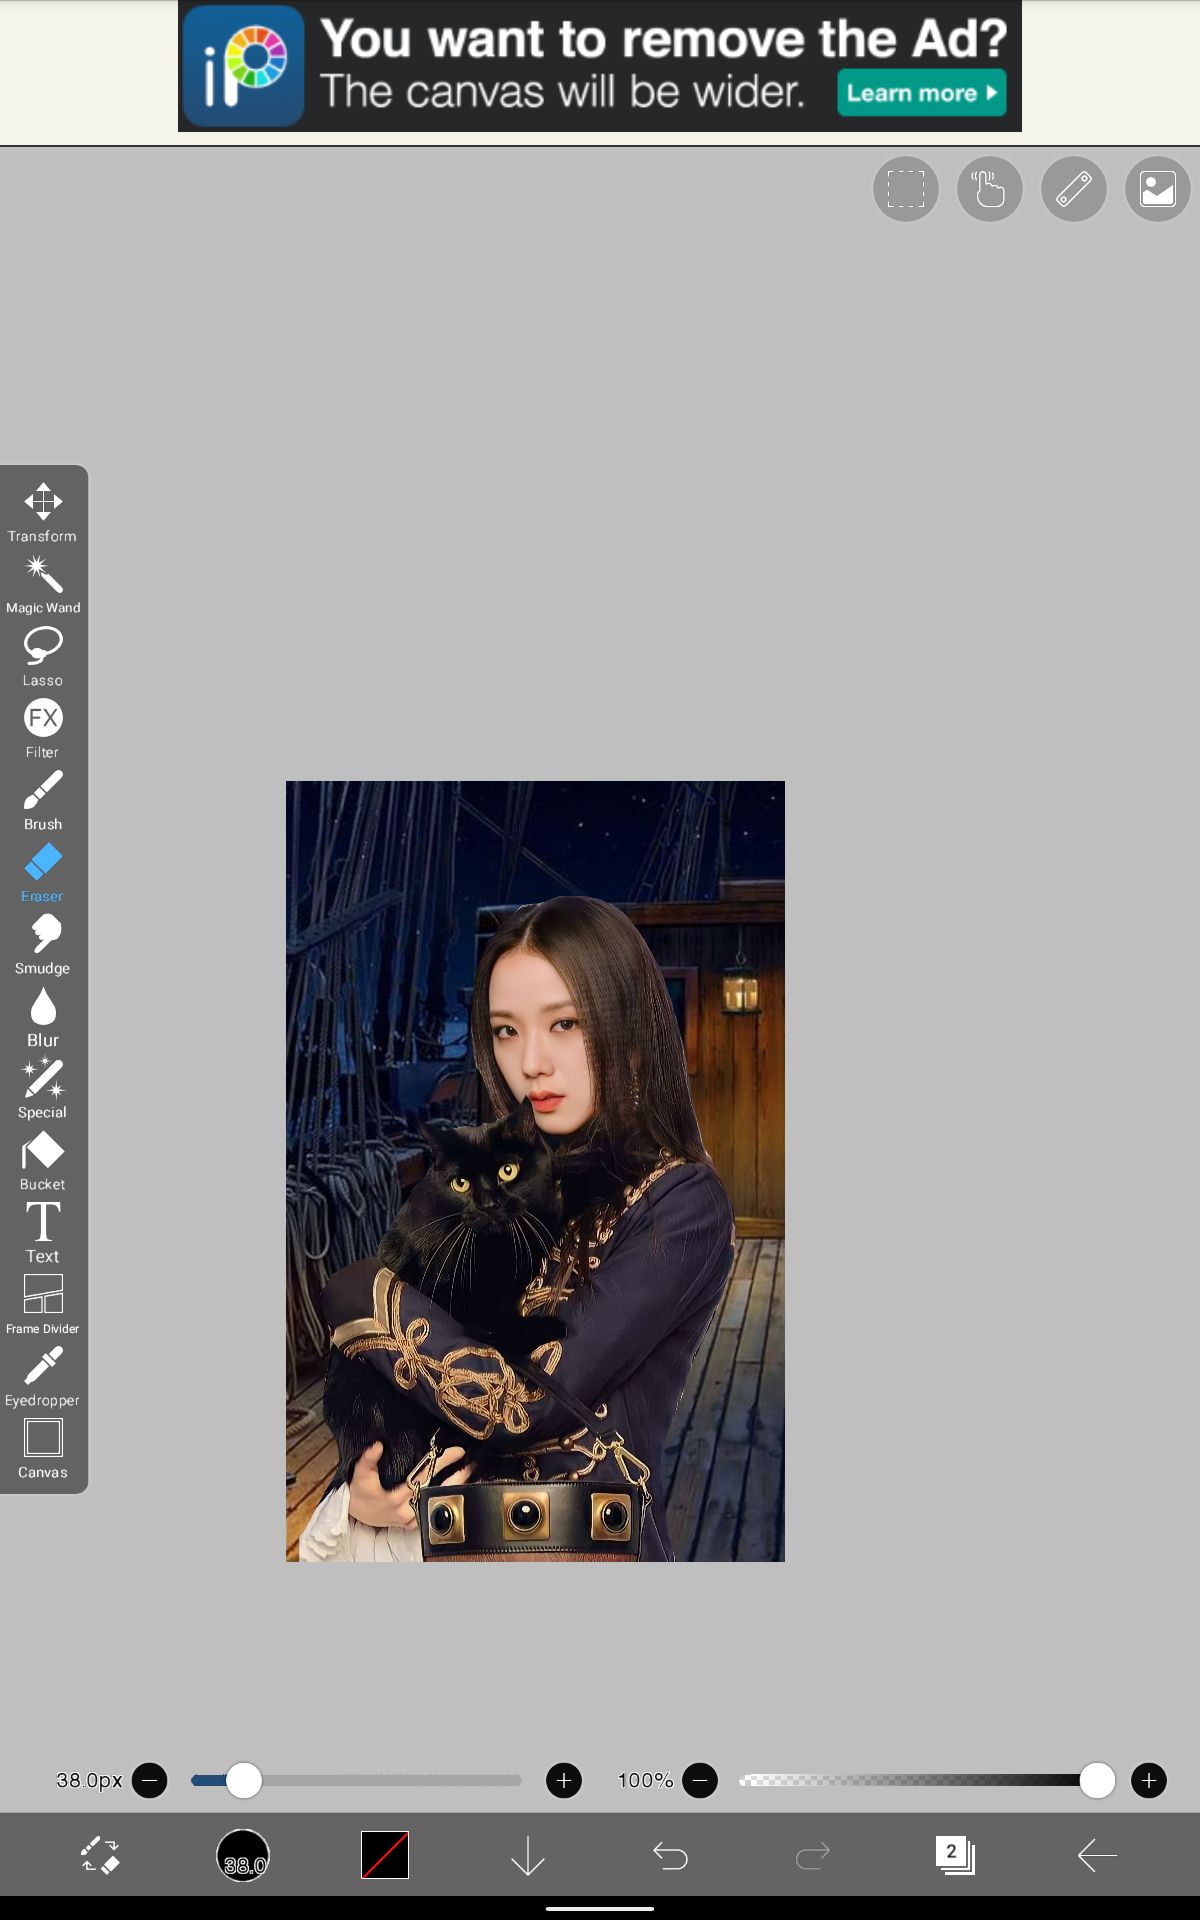
Import both jisoo and the background such that the jisoo layer is on top of the background layer. Using an eraser tool (preferably pen fade, erase the white background of jisoo. Make sure the big lamp in the background or any bright coloured lighting is not next to the face claim (but it can be above the faceclaim's head or behind.)
_________
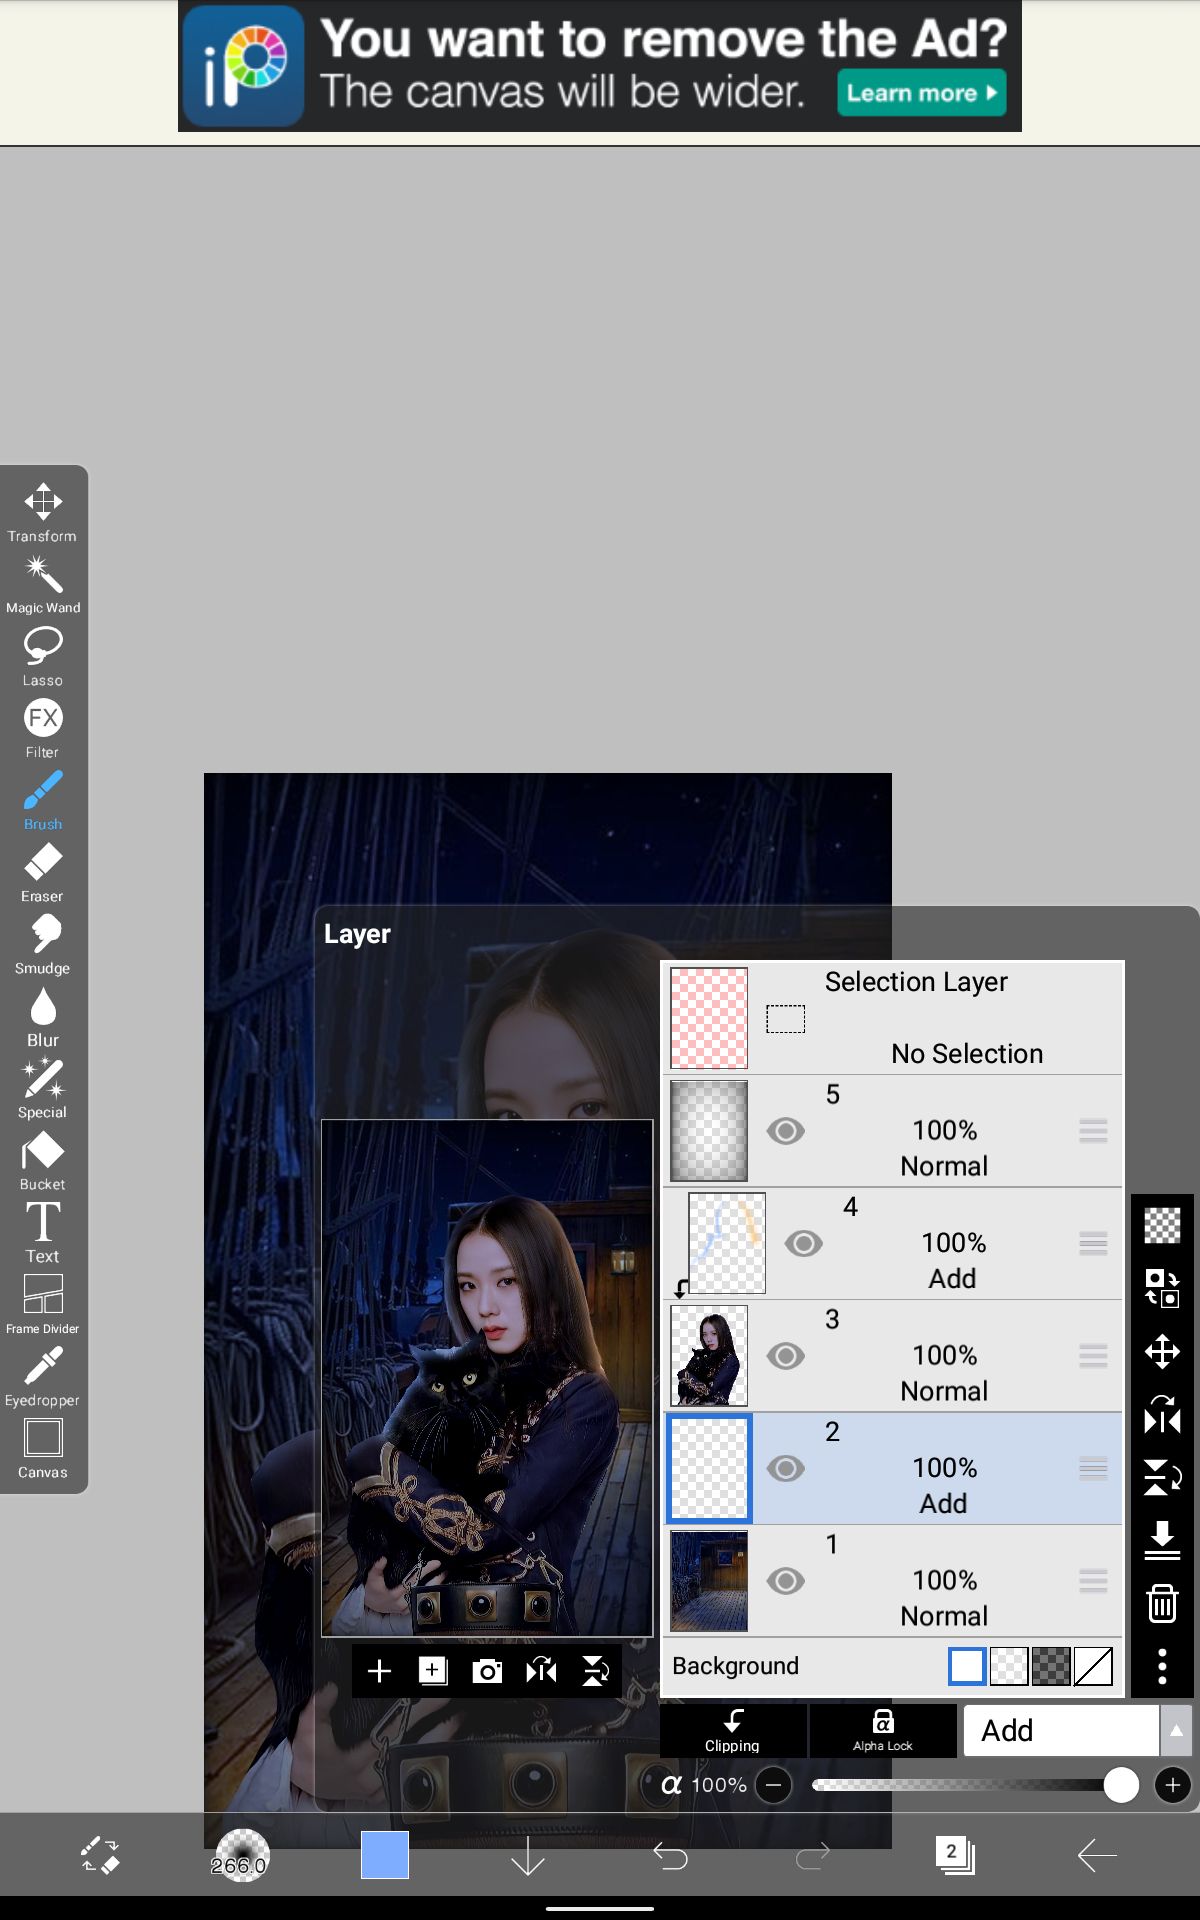
004)
*smexy*
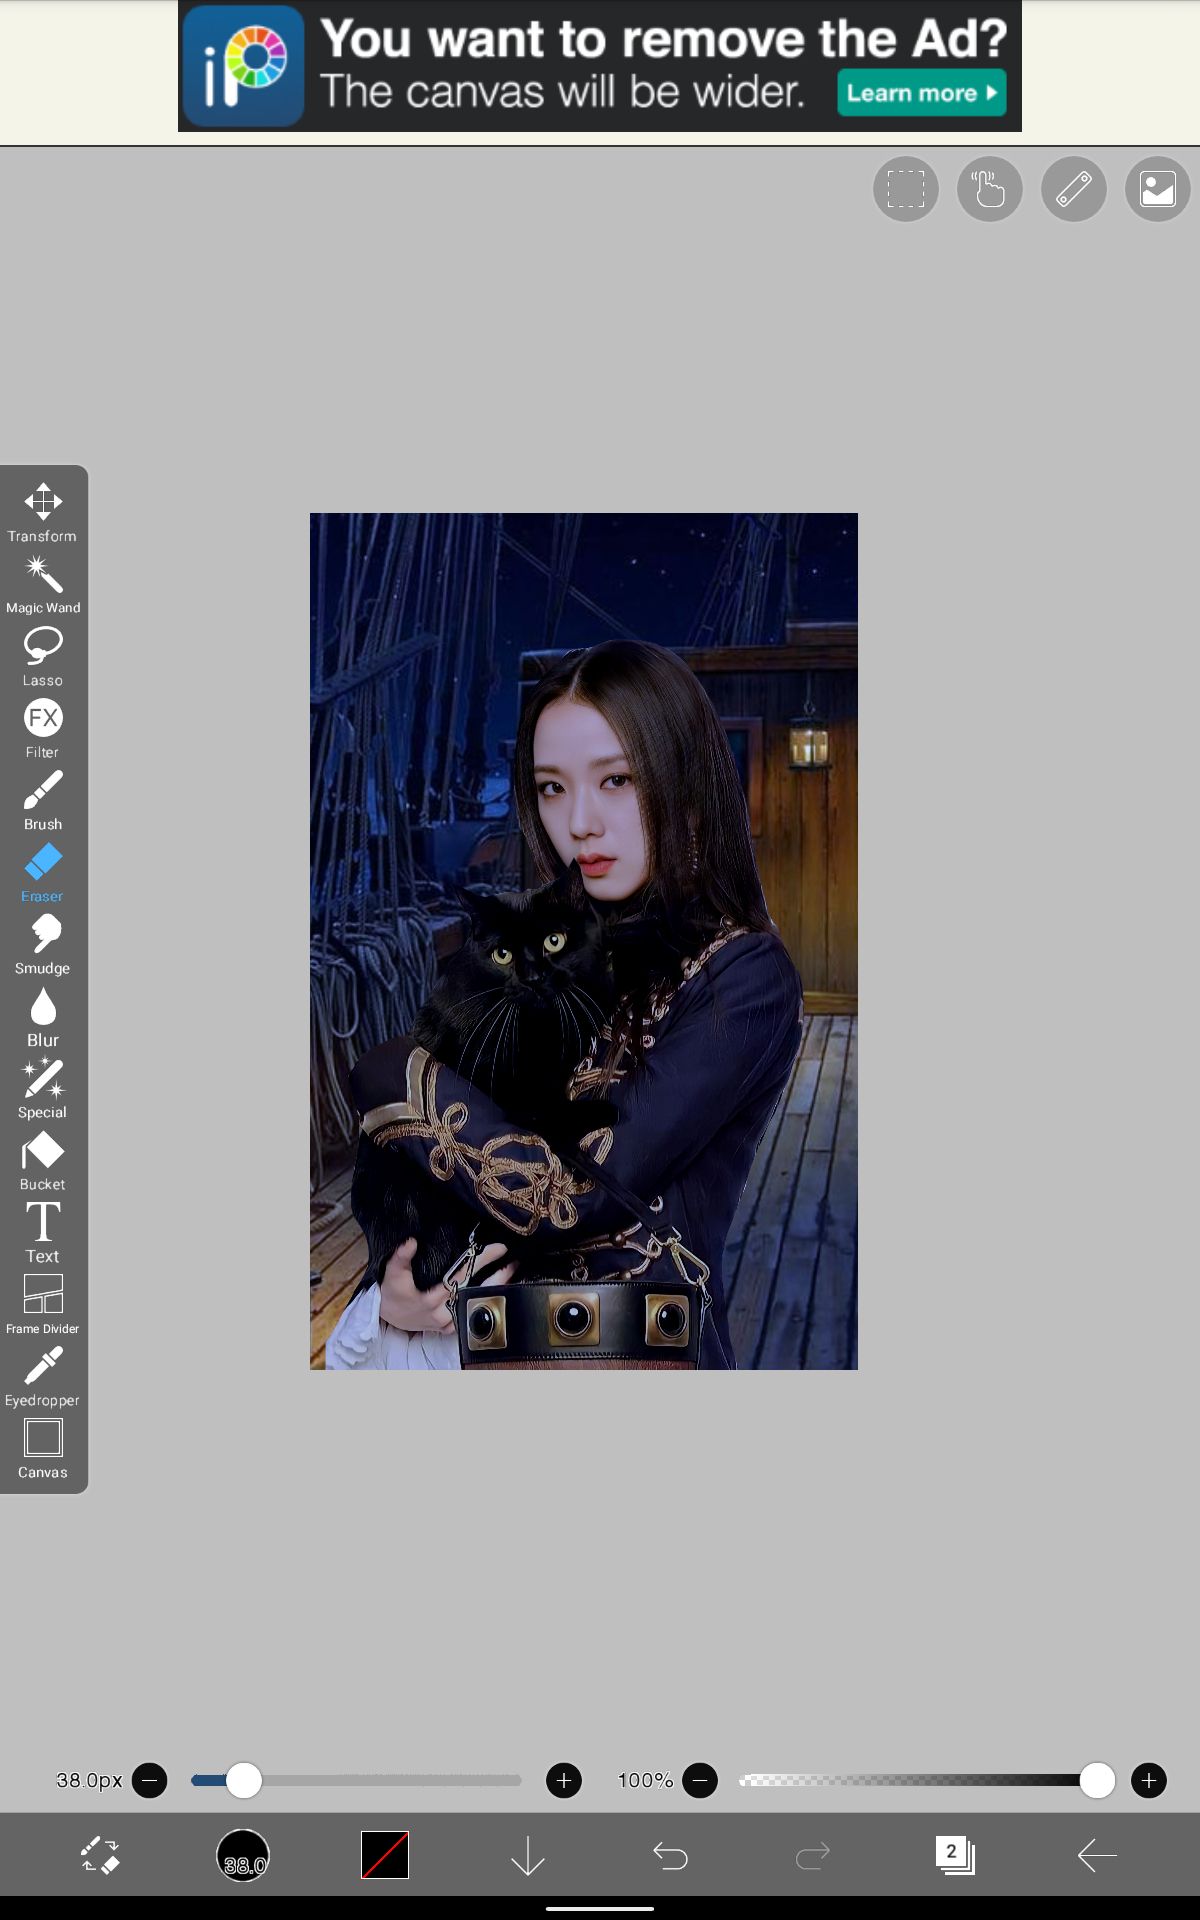
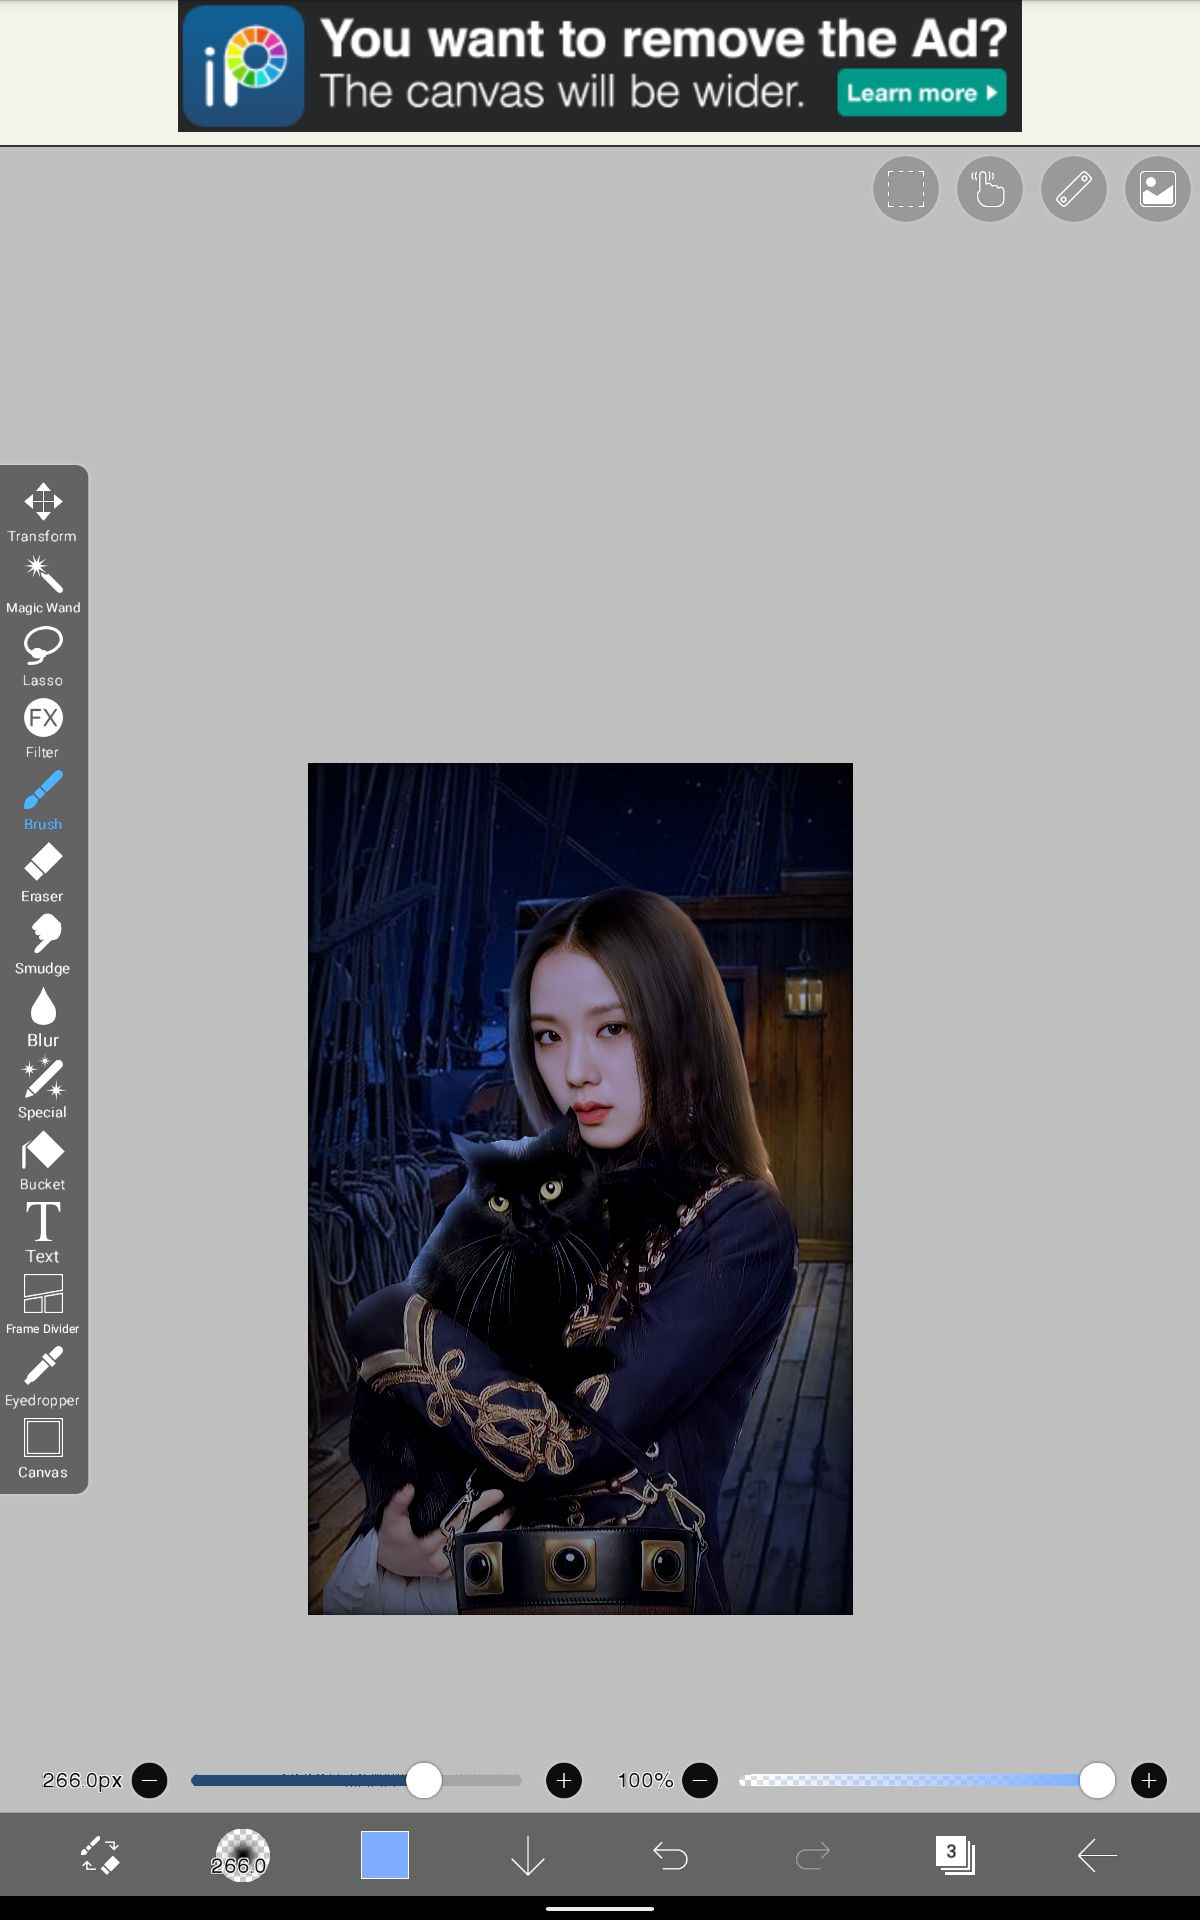
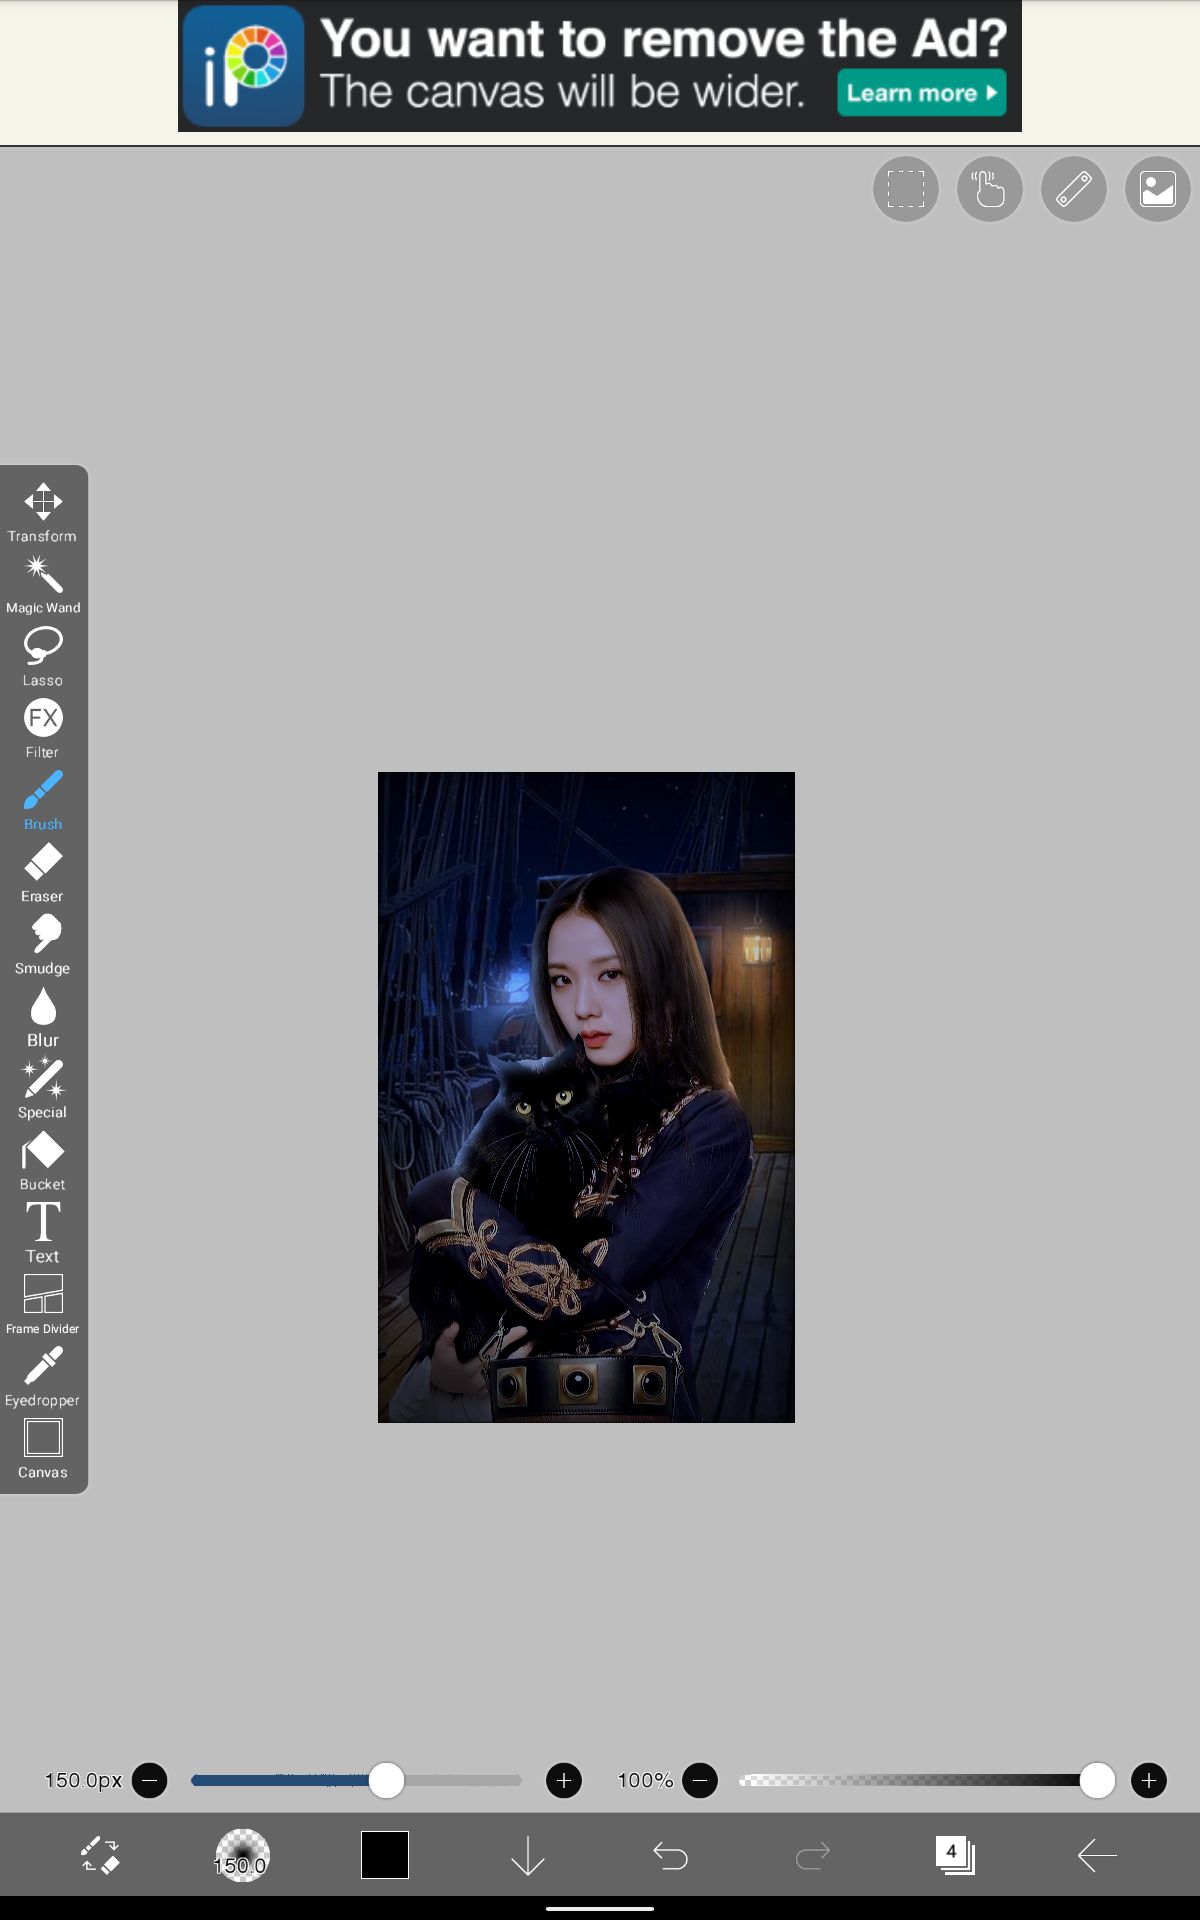
you'll be getting something like this. and my dearies, if you don't get something like this, again begin from thr first step. We all start somewhere. (ig?) Now, tap on the layer of the background. Go to filter and apply colour balance with these values.

Repeat the same after clicking on jisoo's layer with the same values. And then, go to the brightness and contrast under the same area, and adjust the values according to your wish. Here, I used -35 as brightness and 8 as contrast. Now, your canvas should be looking something like this.
Now, add a new layer and again go to filters and keep scrolling till you find frame. After clicking on it, click on blur frame and keep the strength as five.

__________
005)
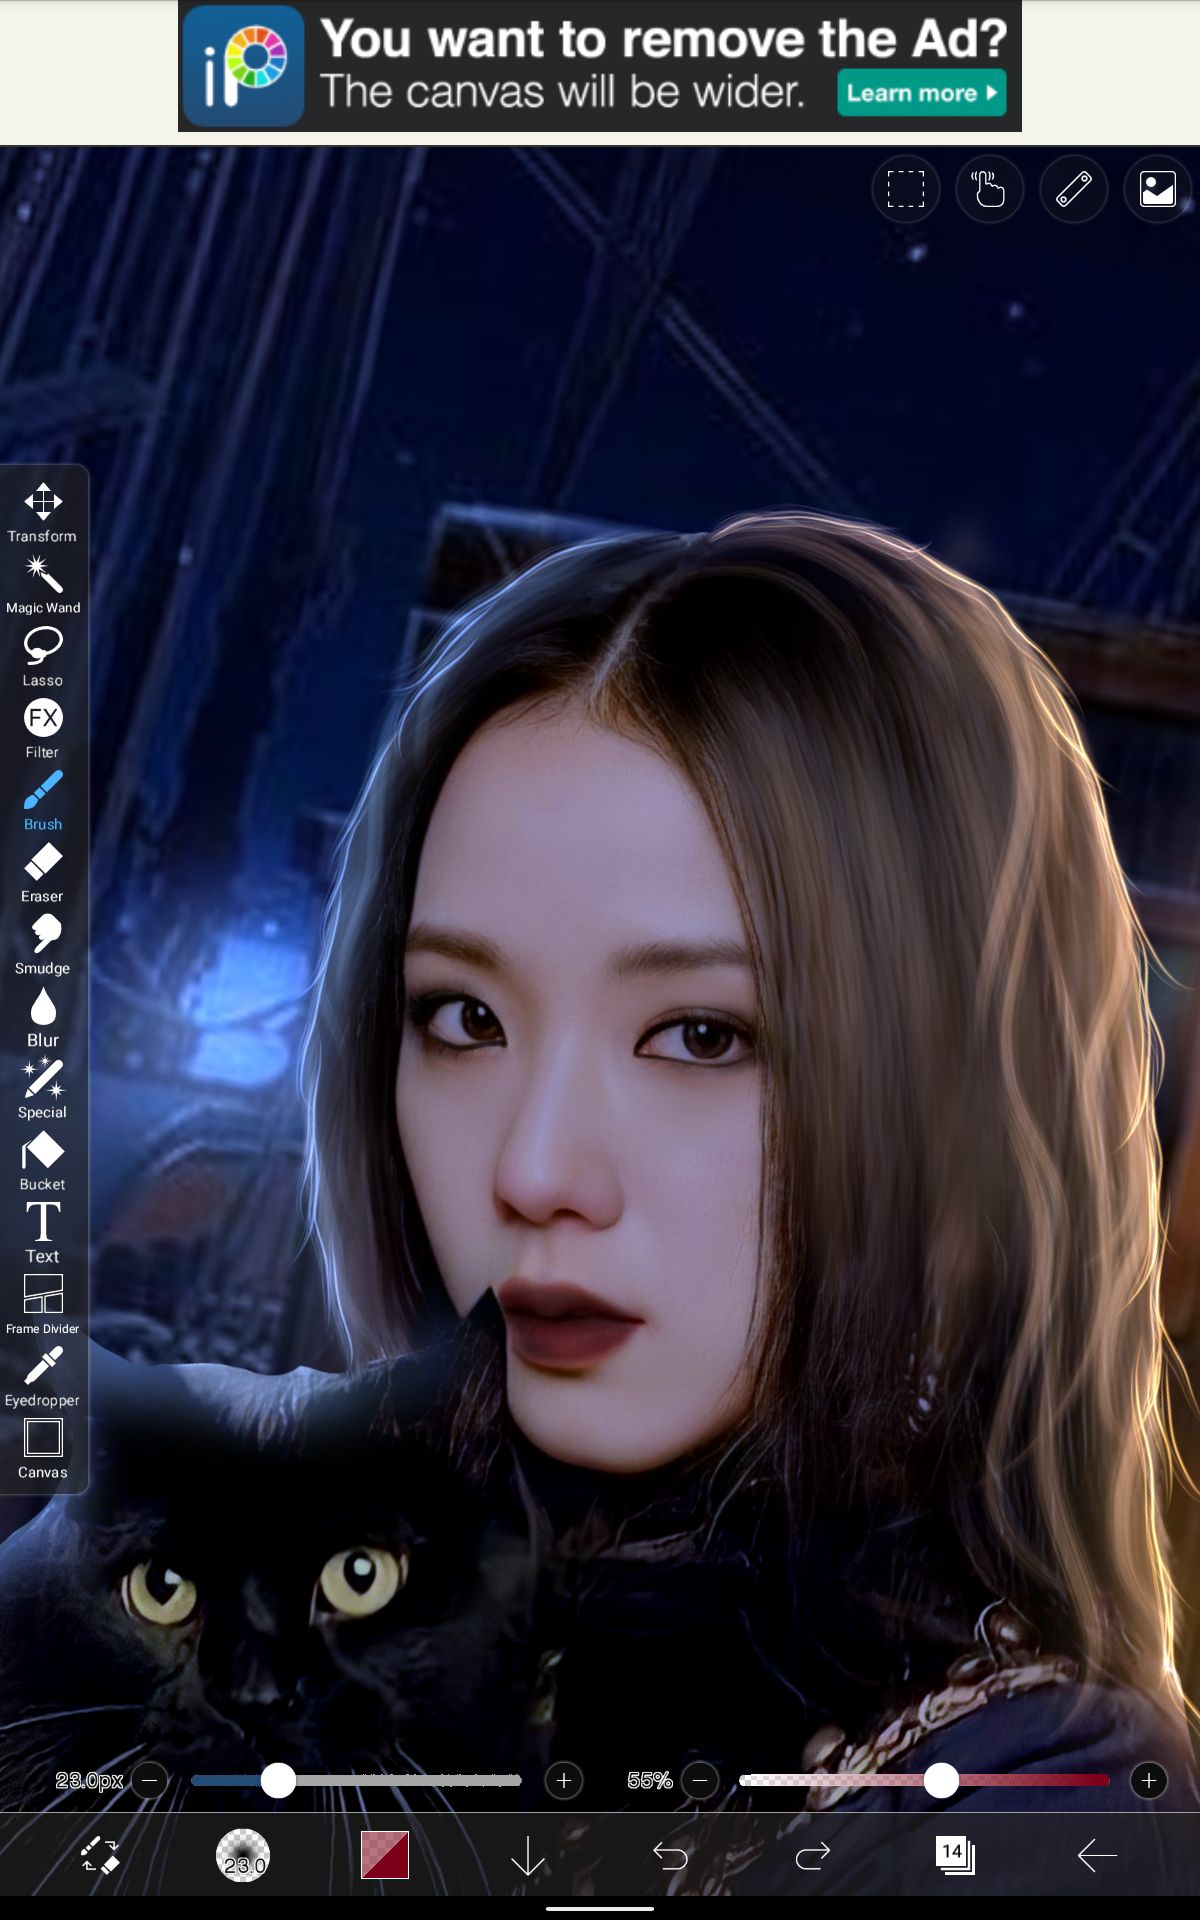
Back to square one, click on jisoo's layer, click on the smudge tool, use the round brush point brush to slightly smudge the hair in the same direction so as to ensure that the strands stay intact and it's smooth.

Click on force fade if necessary.

After smudging, the texture should kinda look like this.

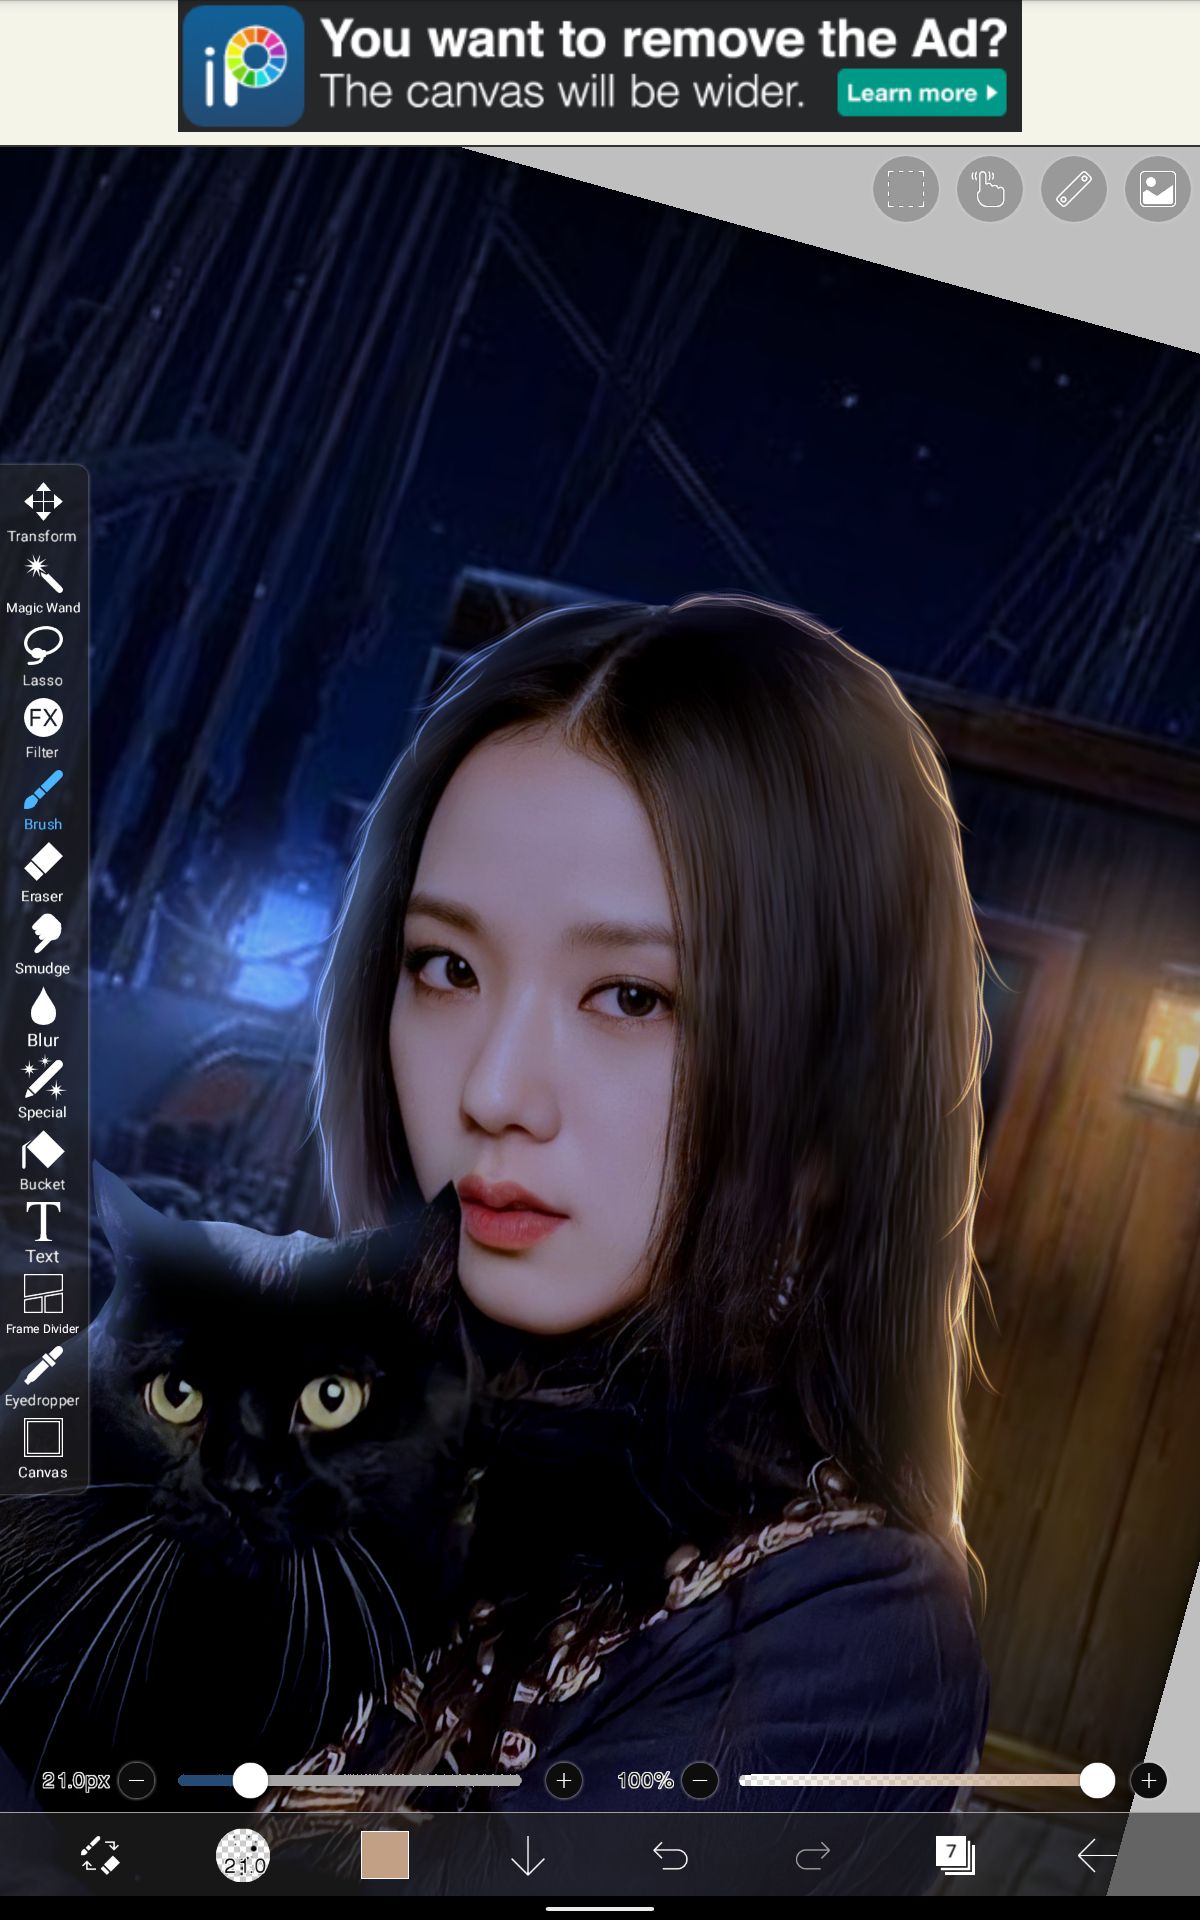
Add a new layer, clip it to Jisoo's layer, and set the blending mode to add. Go the brushes, choose and the airbrush tool. Now, on the right side hair and a slight portion of the clothes, use a pale yellow colour and colour the edges. On the left side, for the cat and jisoo's other part of the hair, use a lighter shade of blue (preferably the background blue's lighter shade.)
It should look something similar to this when you're done adding the lightings for jisoo.
Add a new layer between jisoo and the background and set the blending mode to add. Now, using the same colours, dab on the light and the light behind jisoo to make the lighting more natural. Decrease the brightness of the background if necessary.
Now, it should be looking something like this. After that, add a new layer, and use a hair brush in blending mode add to give highlights to the hair strands. Make sure that those strands are very thin. Hair brush used may be custom or if you don't have them, then use a round brush point.
Now, it should be looking something like this. Using the same brush in normal mode, after adding a new layer, use a darker shade of the respective colours used. You can also set the blending mode in add if required.
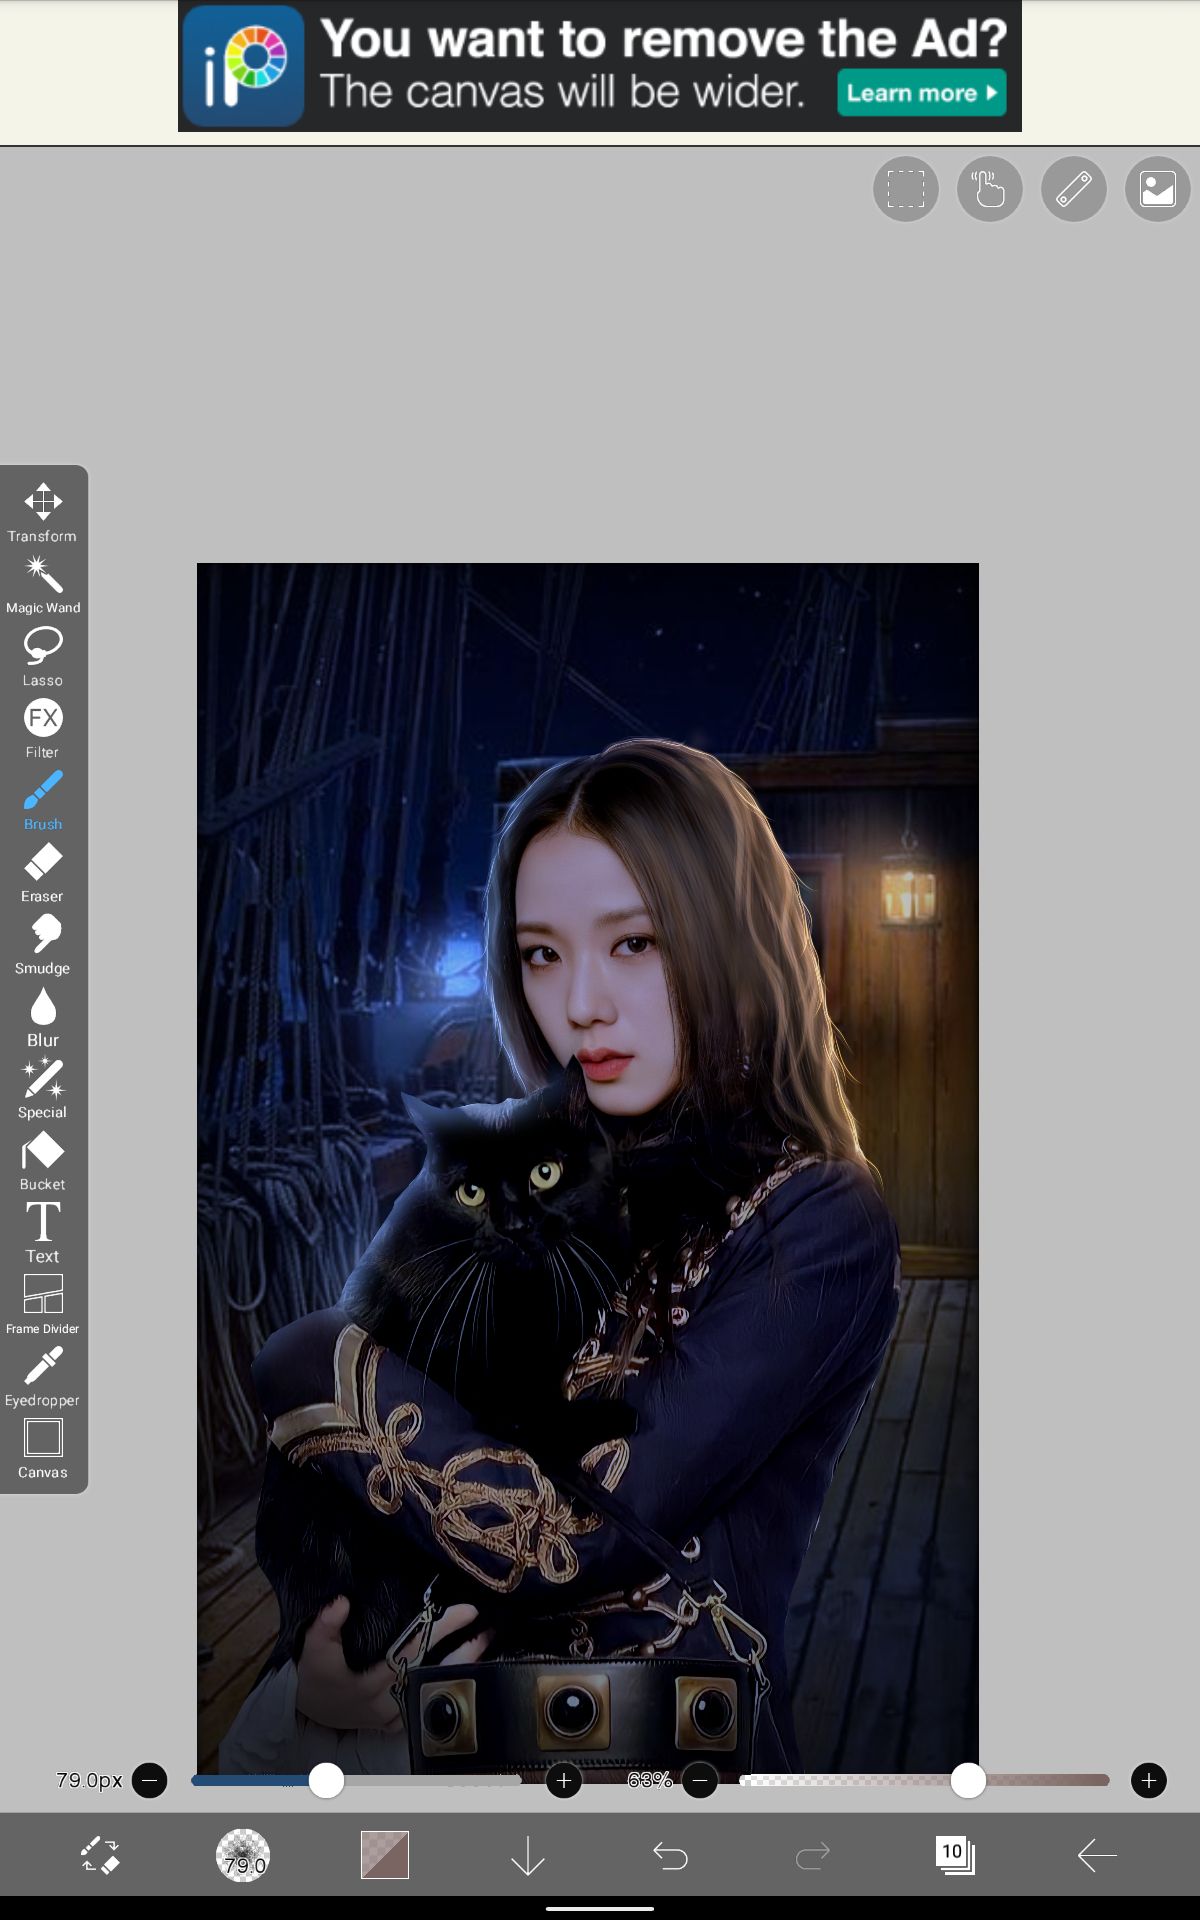
It should be looking something close to this by now. If not, try to draw the hair strands again. Now, go back to the layer of jisoo, and using the smudge tool with very less opacity, smudge her face to make it smooth.
Brush to be used :: Airbrush
__________
006)
Add a new layer. Using pen fade, and turning on force fade begin to draw outlines.
• Around the eyes.
•Around the nose
Add a new layer again, and set the blending mode to overlay. Dab on jisoo's eyelashes, nose and lips to give a darker shade with a contour.
It should probably look like something like this.
Now, add a new layer and set it's blending mode to multiply. Using a shade of the hair, draw darker strands on jisoo's face and then finally reduce the opacity.

why does it look like i unjisoofied jisoo🧍well anyways, now, add a new layer and colour jisoo's eyes to yellow. Probably the same colour as the cat's eyes and blur it. Now, it should look something like this.

This adding colour to the eye process can be skipped if you want. Now, add a new layer and set it's blending mode to add. We're going to work on the base highlights. Using airbrush, pick a lighter shade of yellow and dab on the nose, and the right part of the cheek.

That's it for this part. The rest of the portion will be covered in the next part. Seems like this manipulation is not so simple after all :")
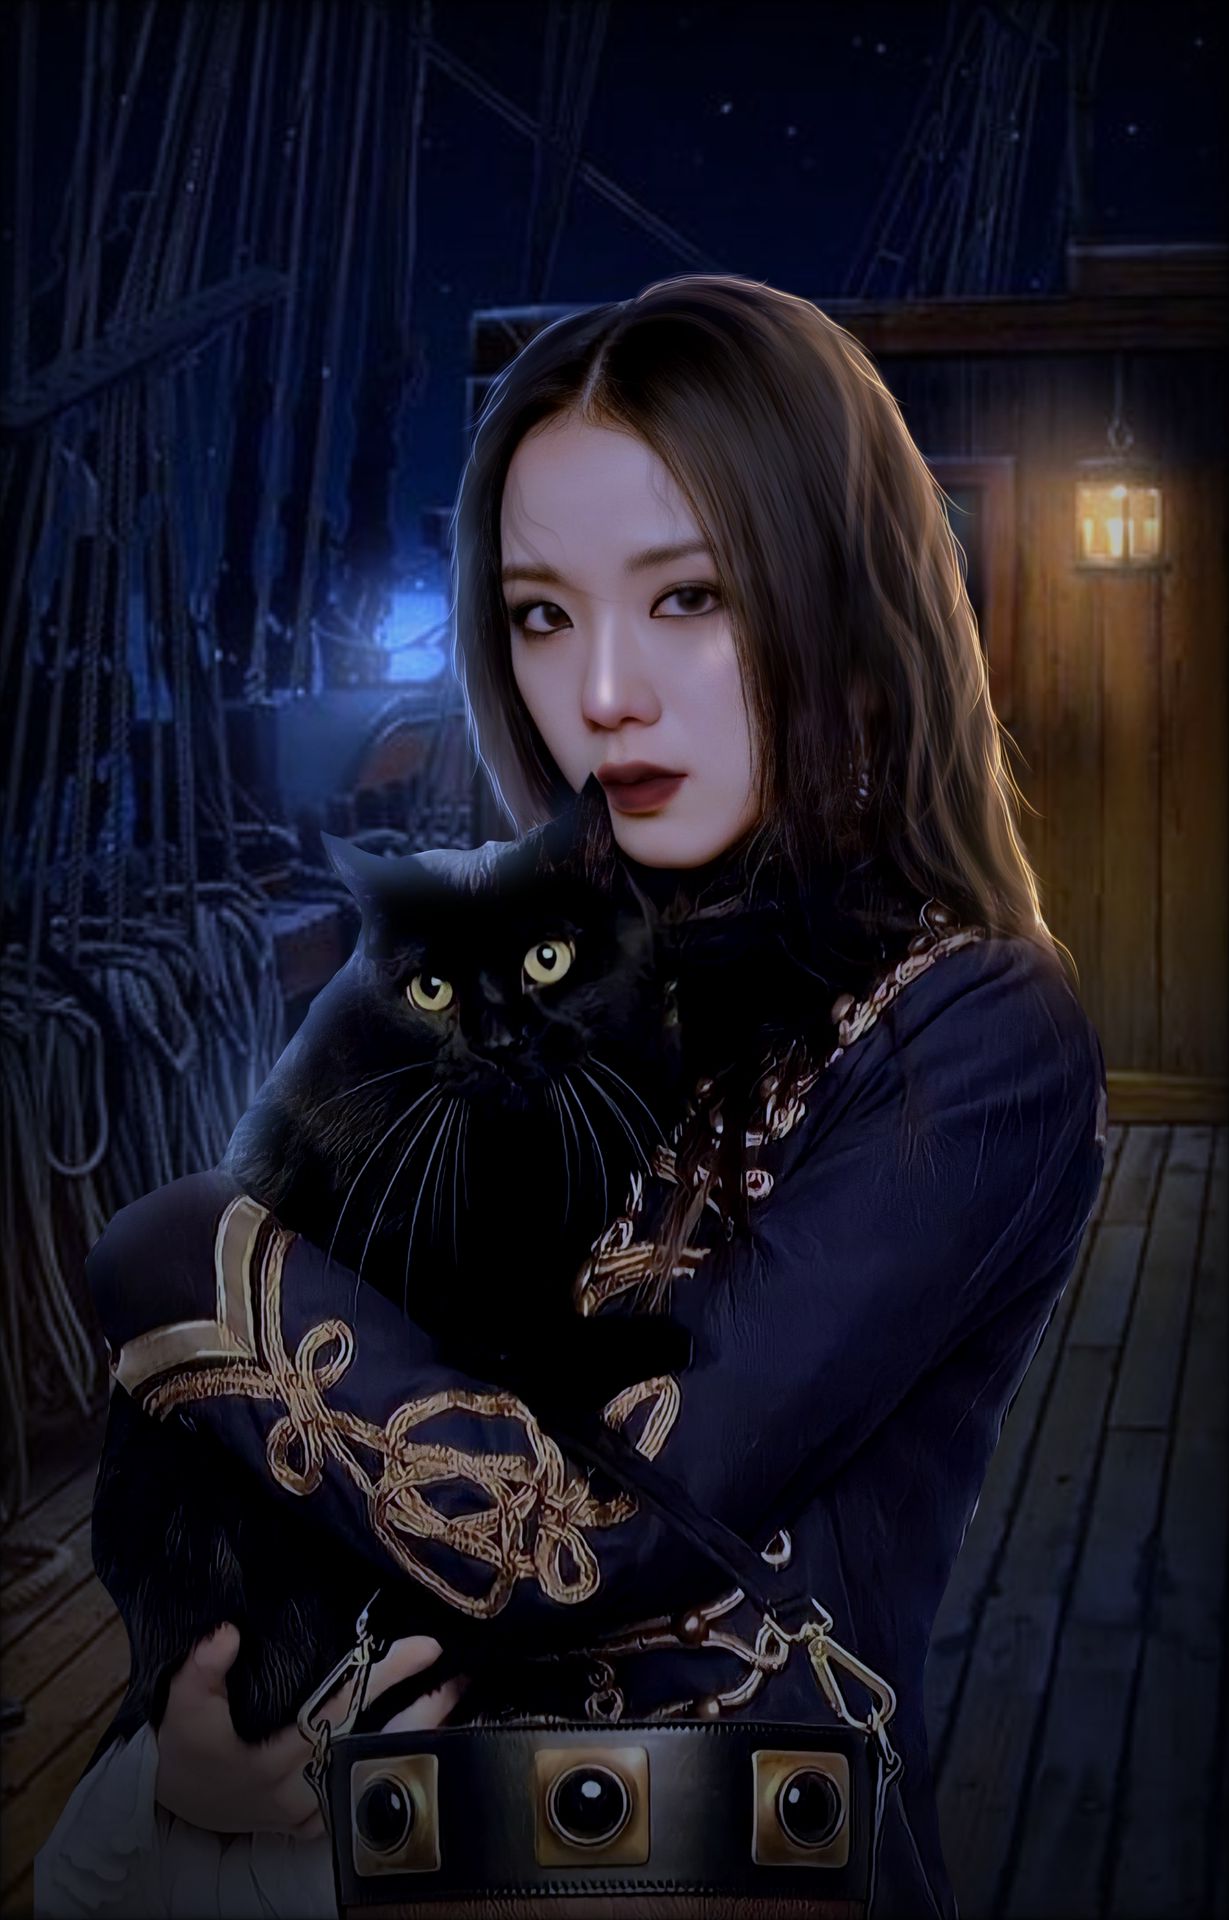
At the moment, your cover should be looking like this. I just reduced the opacity of the hair and the highlights. I also removed the eye lens because i don't really like them in many of my edits :")
Add your title wherever you want according to your wish and your cover is done! Let me know if you have any doubts <3
___________
Comment if it was useful or if you have any doubts! Give a shout-out on your message board to let more people know about this tutorial. It would be really helpful <3
Dm me the result up to here in case you're trying out this tutorial! Don't forget to give credits.
* * * * * * * *
Bạn đang đọc truyện trên: AzTruyen.Top