How to make banners
[credits to ivy-le for suggesting this tutorial. THANKS!]
e x a m p l e

If you are into contests and have joined my "Graphic Constests", you probably saw my banners in every chapter of the contest book.
I am using a picmonkey and befunky.com for this tutorial. But the process will be the same for whatever editing app you will use. It's just that the settings is not particularly the same.
size: 880 x 320 (I don't know if it's the official size, but that's what I am using)
FIRST
[open a background for your banner]
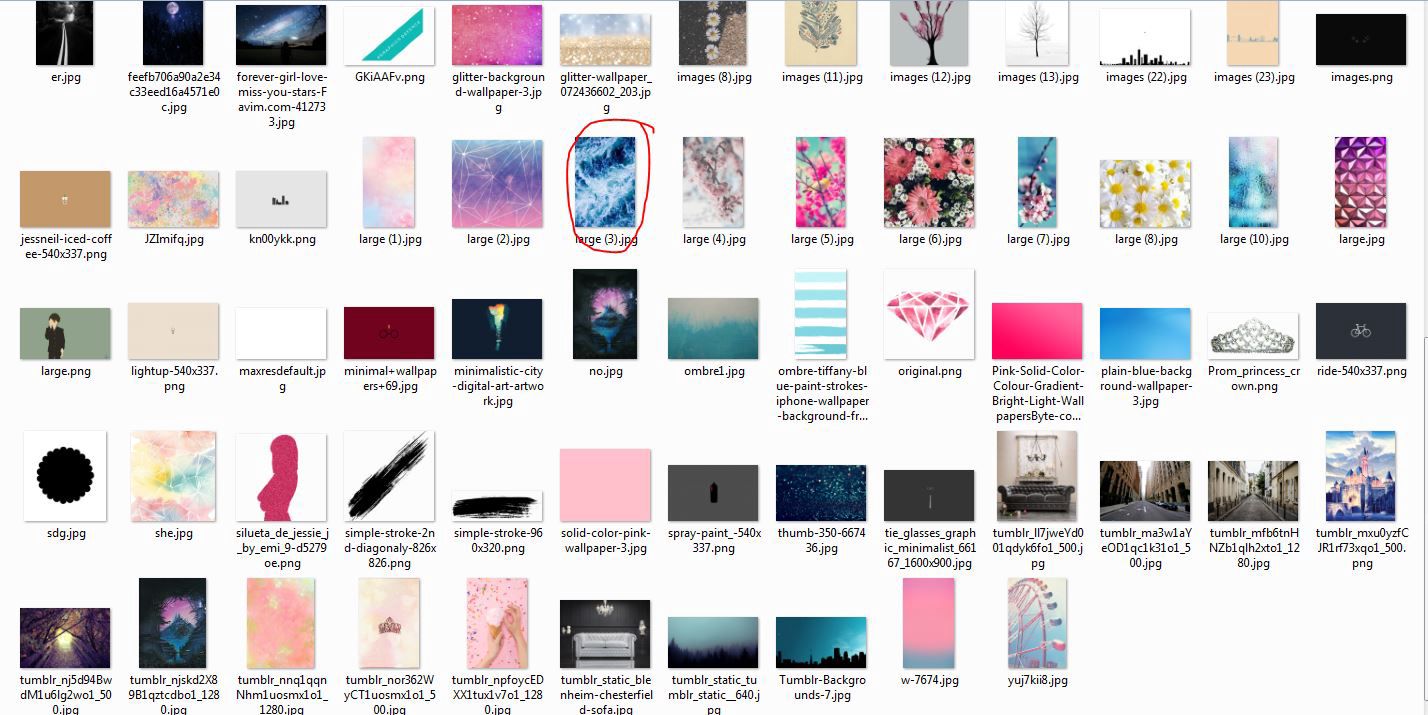
(I know my folder of background and stuff is a mess.)
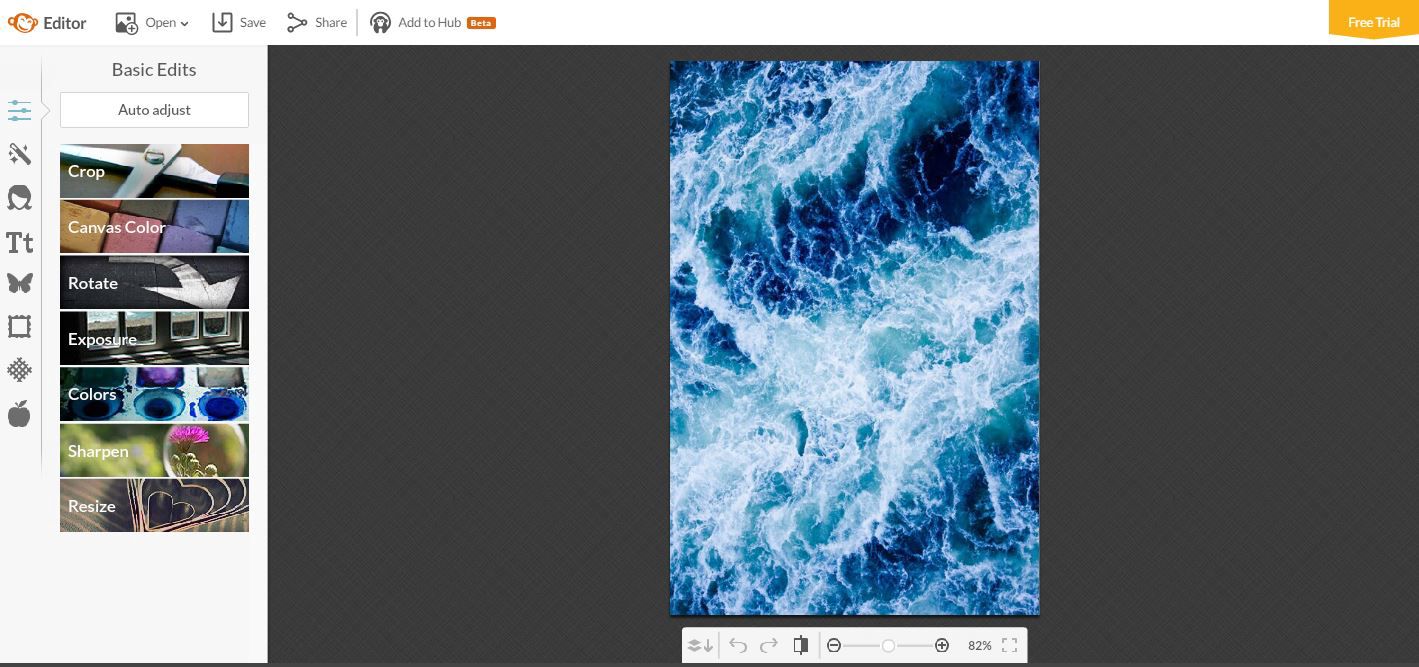
(So for me I'm gonna rotate the photo) (I'm using the picmonkey.com)
SECOND
resize
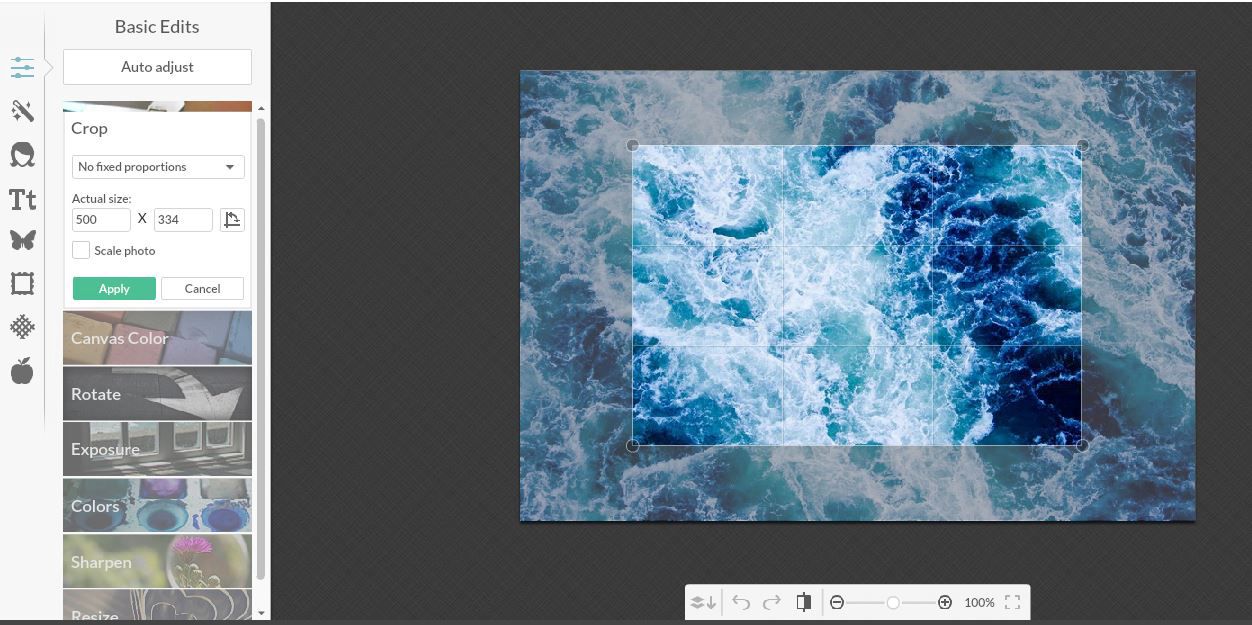
(for this photo, it doesn't fit to 880x320, but it's fine as long as it's in a medium rectangular shape)
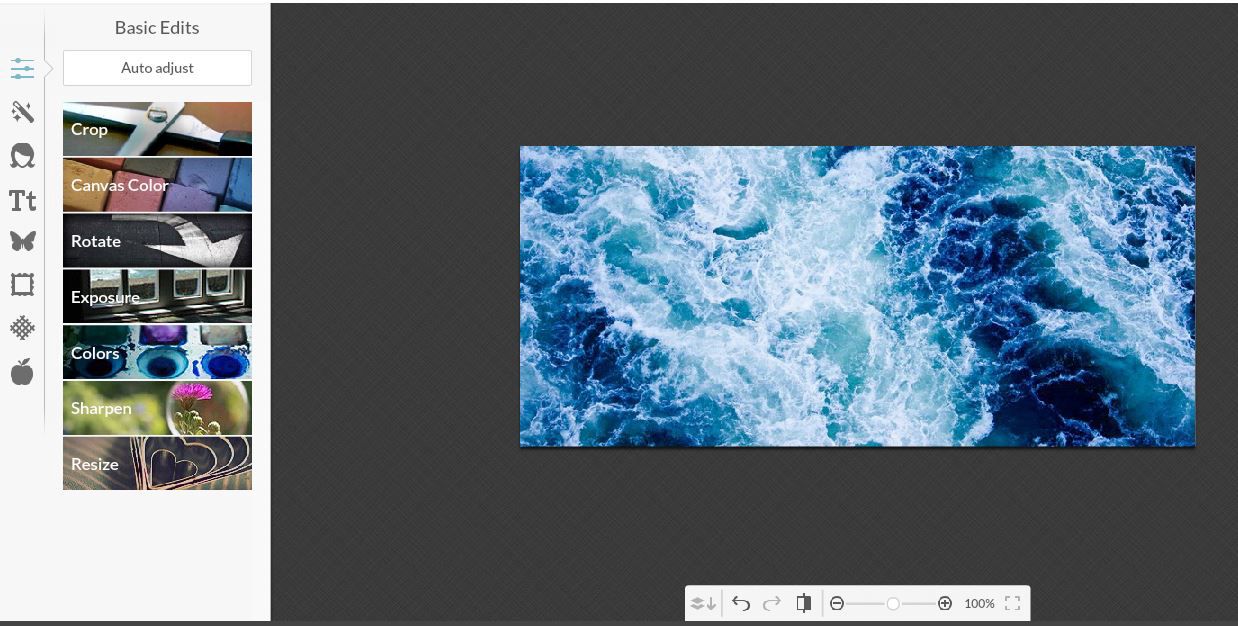
THIRD
put a text on

AND YOU'RE DONE! SAVE THE BANNER AND YOU ARE READY TO USE IT!
BANNER WITH PNGs
(I will use befunky.com for this one)
FIRST
open an image background at the website.
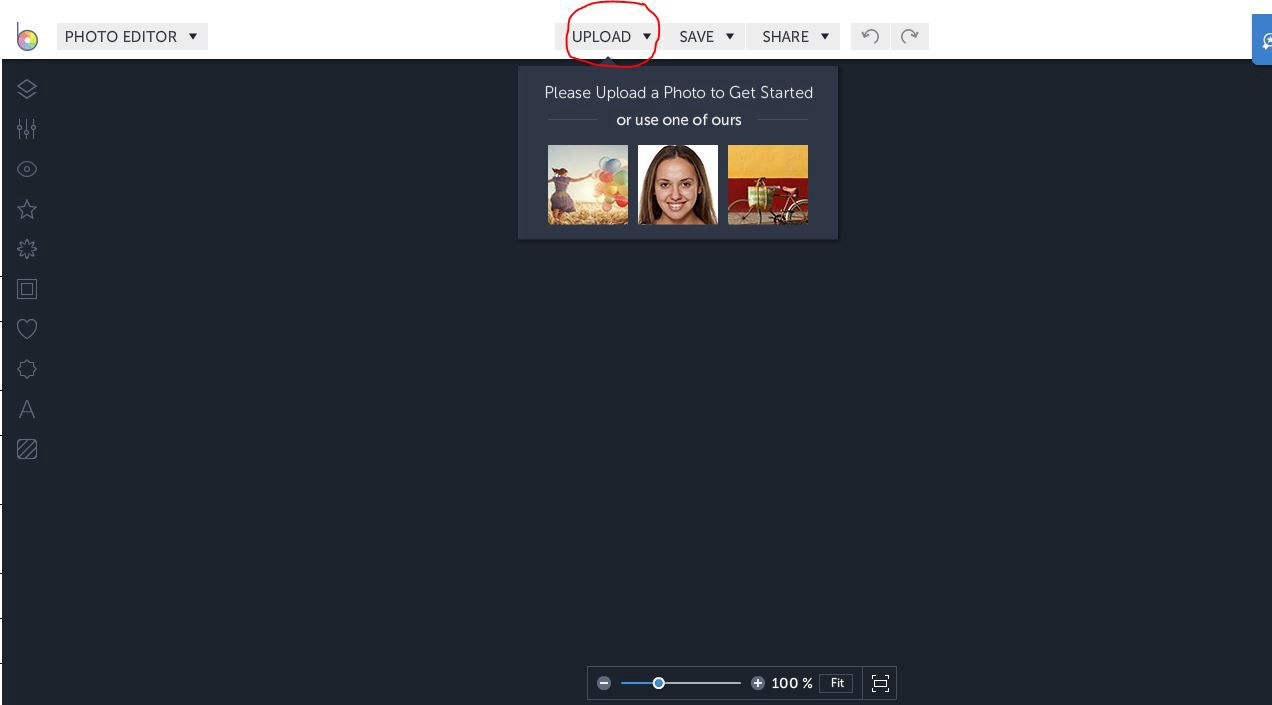
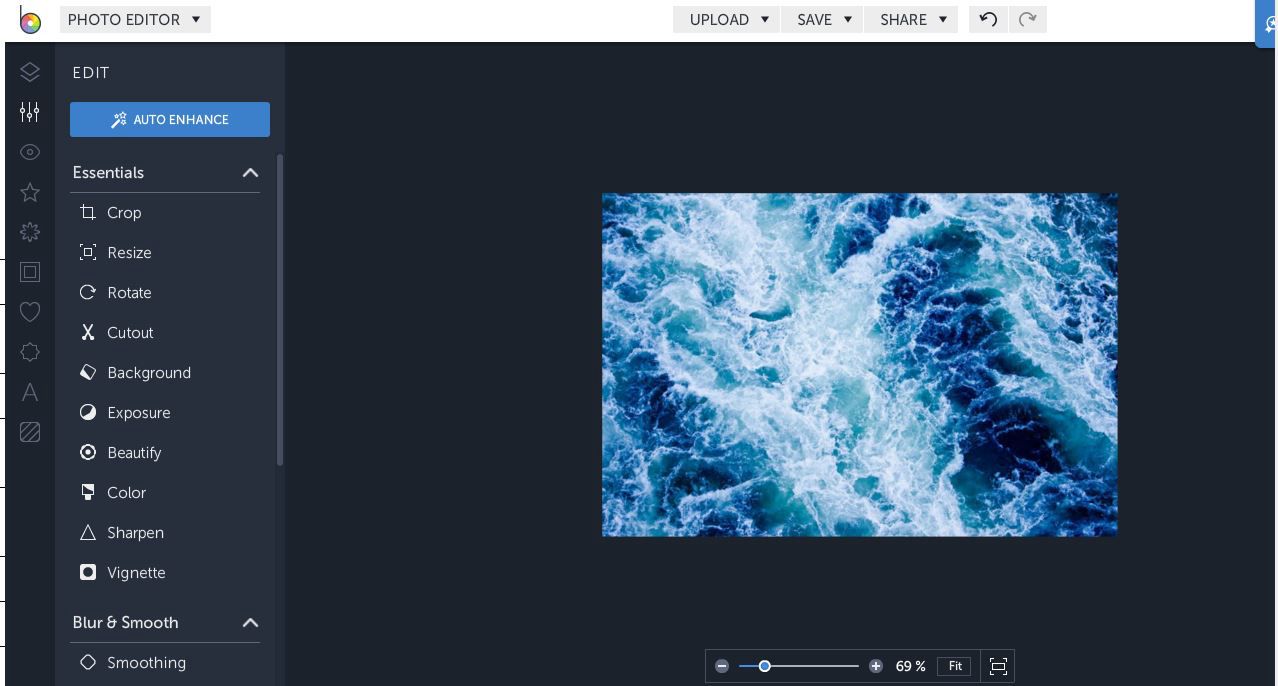
SECOND
resize the photo
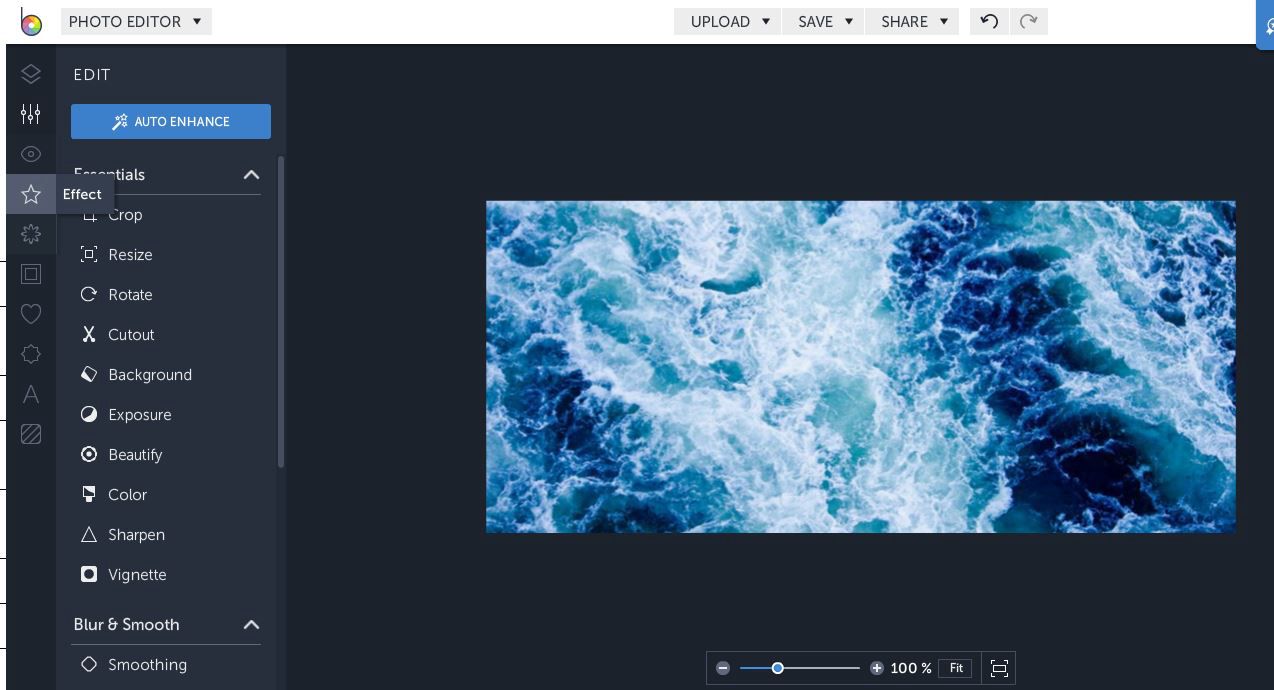
THIRD
insert a png
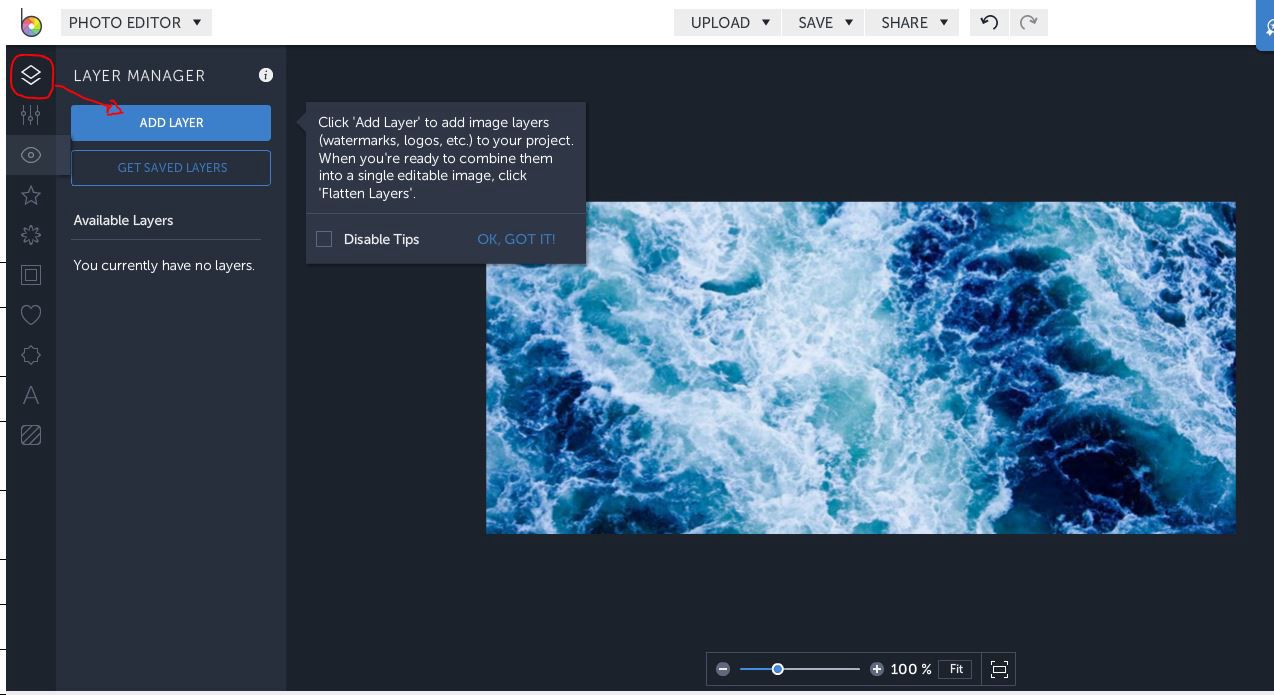

FOURTH
Drag the photo into the background and choose a blending option.
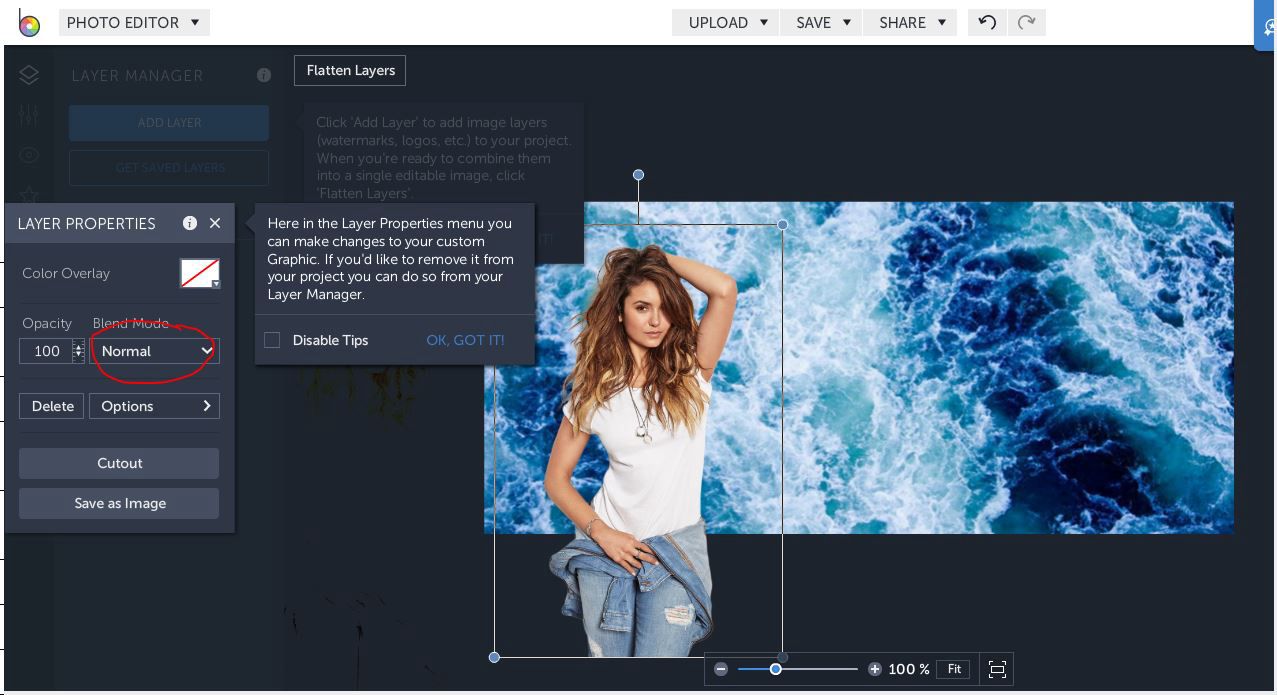
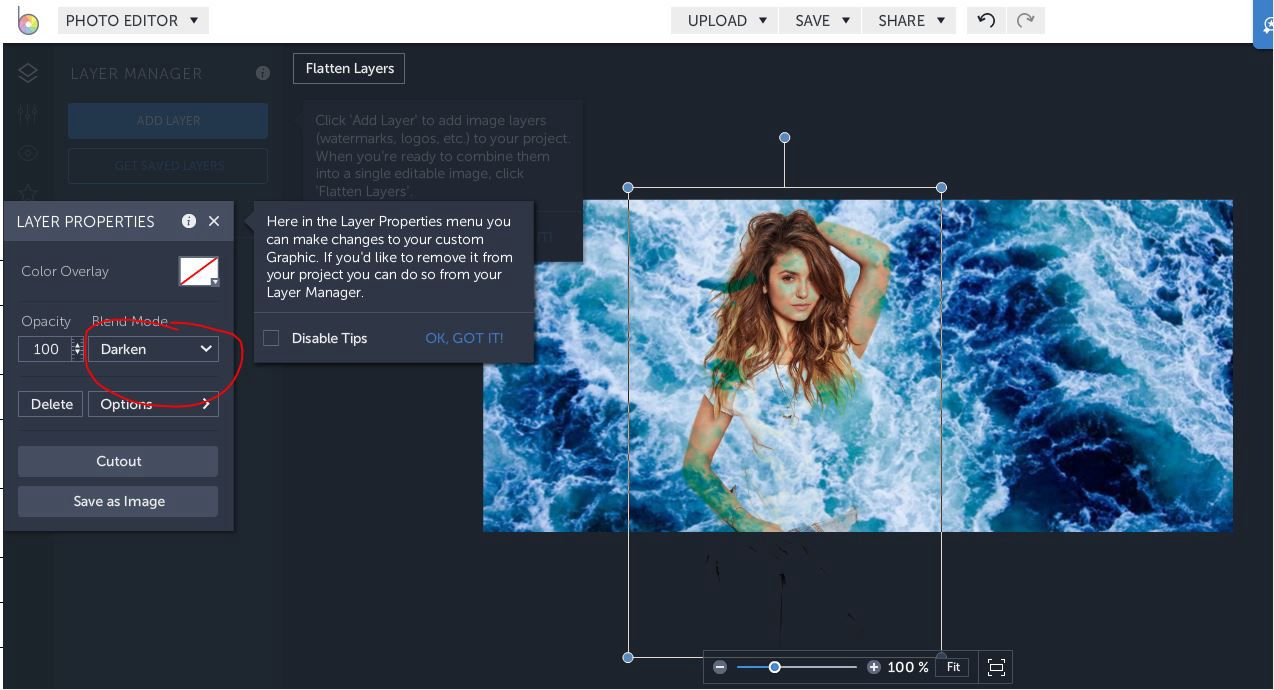
for me i chose darken, but you can choose anything you want for the blend mode.
FIFTH
Move the picture in the place you want the photo to be into
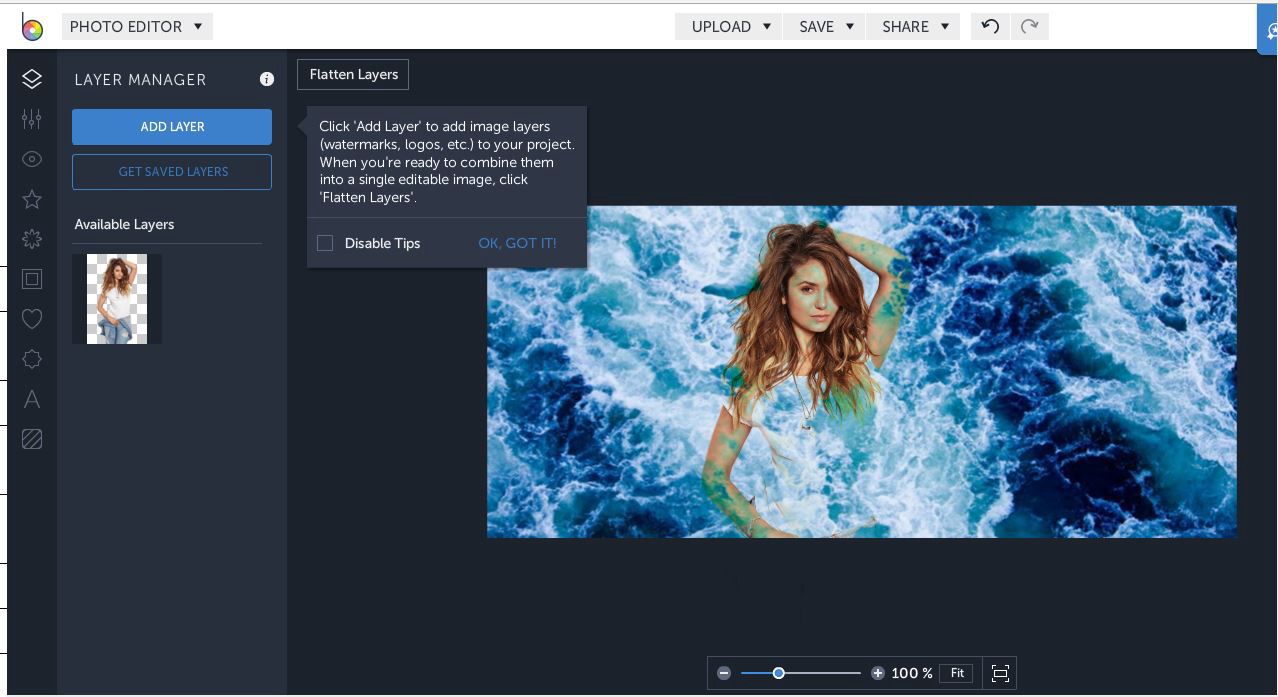
SIXTH
Then save it!
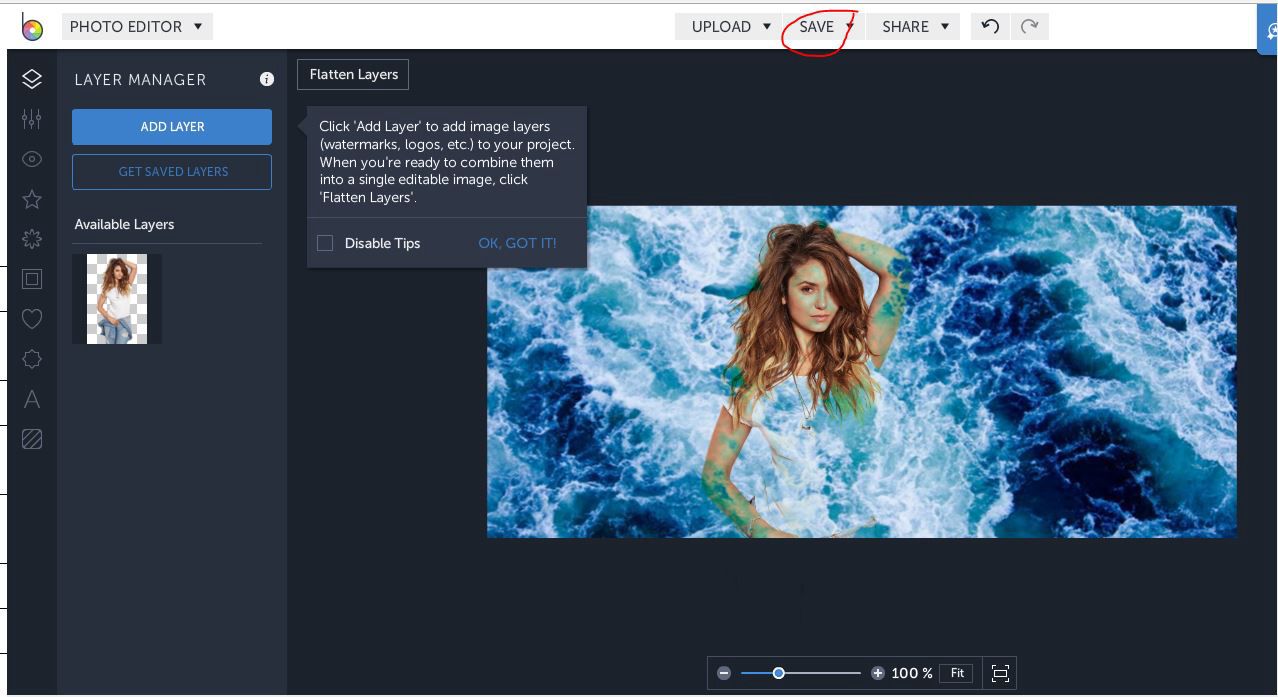
SEVENTH
if you want to add text, proceed to picmonkey.com or any app you are using in adding text such as; phonto. and repeat third step on the first part.
💎💎💎💎💎
Comment suggestions
Vote
Add this to your library for more
Bạn đang đọc truyện trên: AzTruyen.Top