Disney
Fandomacc
Here is my entry + tutorial!
I chose the movie Peter Pan, as it was one of my favourites growing up and I loved the whole story line- I found it much more interesting than any Disney princesses!
FINAL COVER:

TUTORIAL:
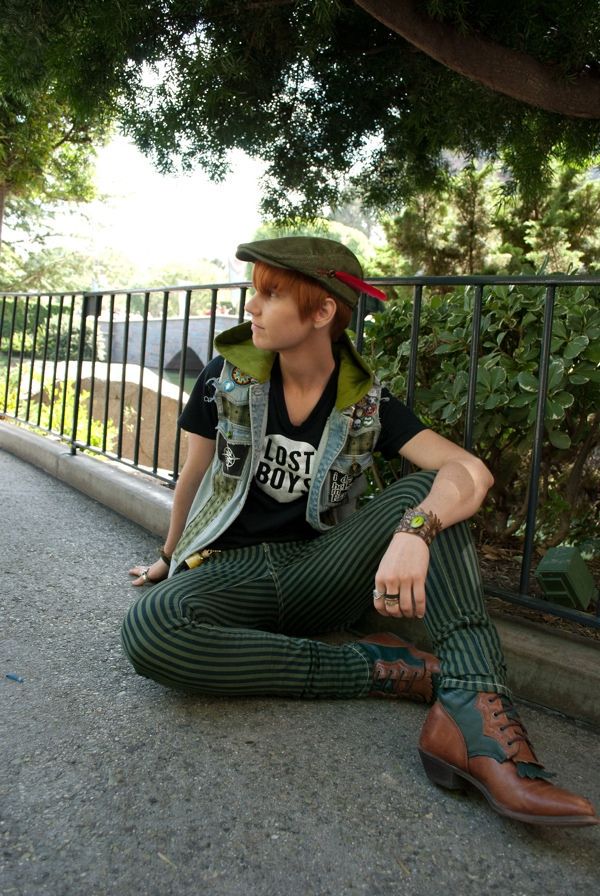
I found my image that I wanted to use- I ended up using a cosplay photo as as far as I know, there isn't a 'real-life' version of the movie, and I wanted to use a person instead of a cartoon.
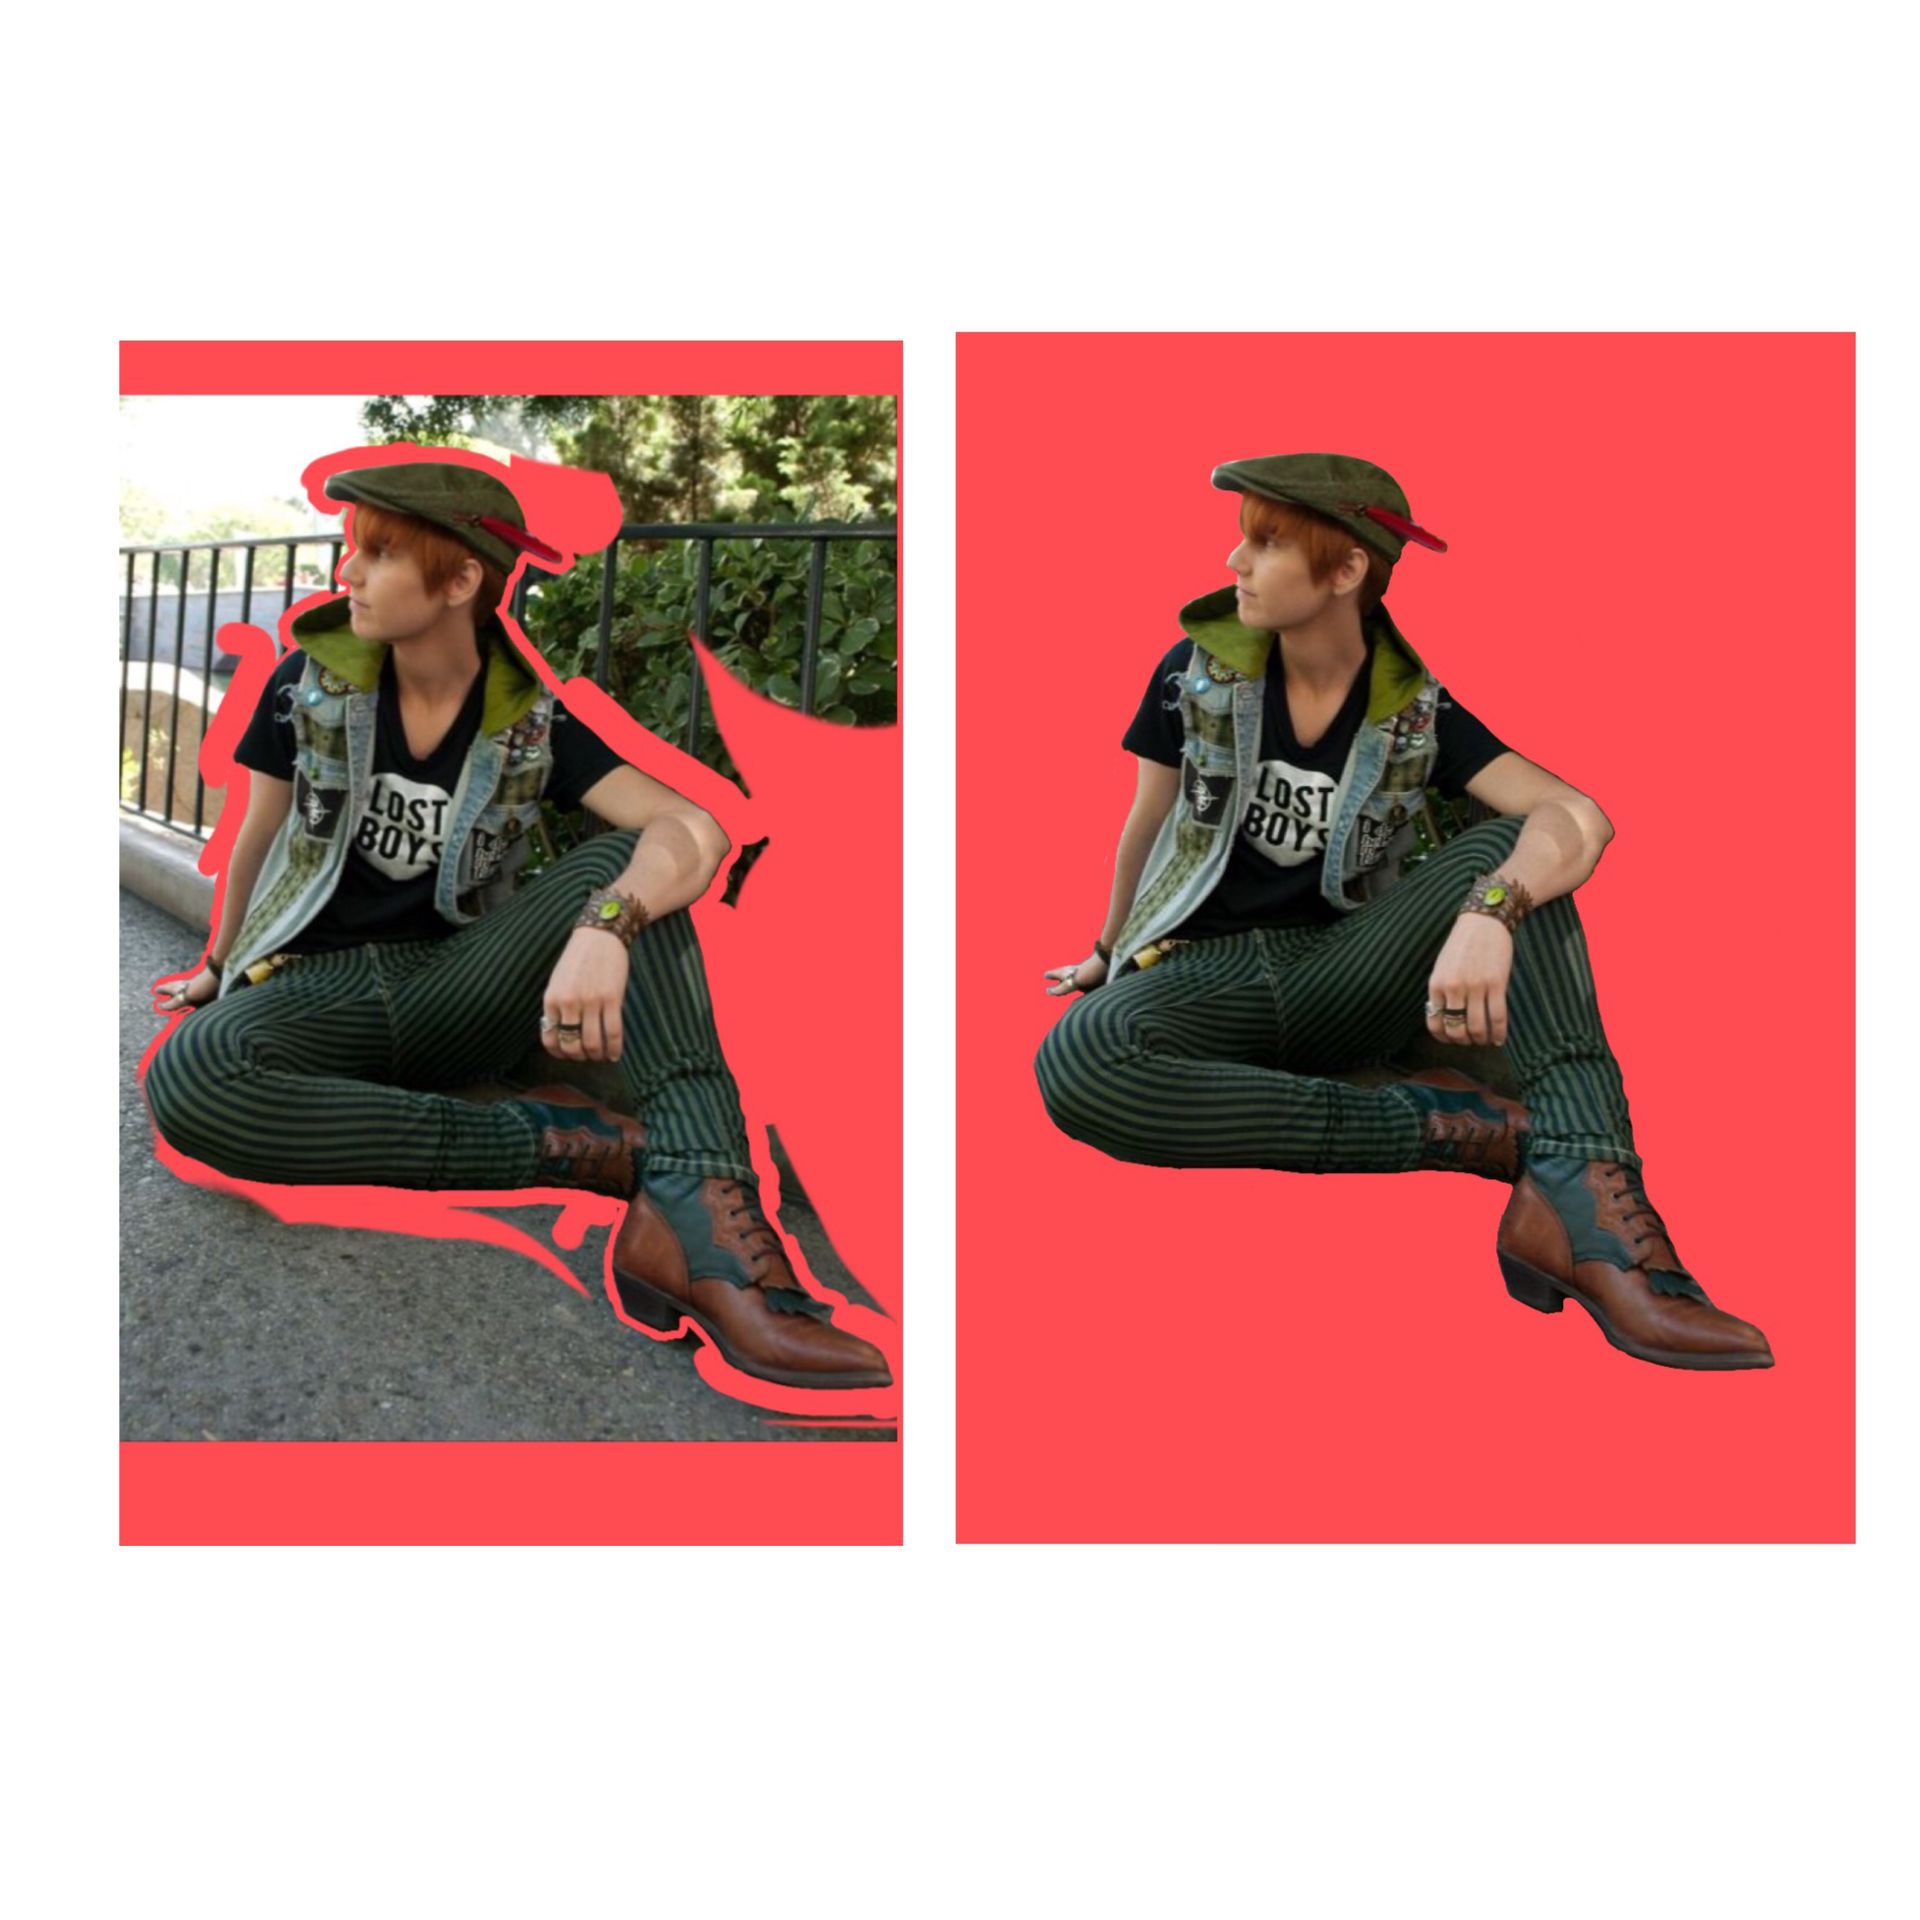
Next, I turned this image into a png using Superimpose, by first drawing around the general shape and then refining it. (I use a colour background so I can clearly see which parts I've removed and which I haven't)
I then chose my background image, and decided to go with a picture in a forest. I chose the part of the image that I wanted to use as the background, then added in my png over the top and adjusted it so that it fit well with the background. To do this, I used the filter tool to adjust the image colours so that it all blended well.
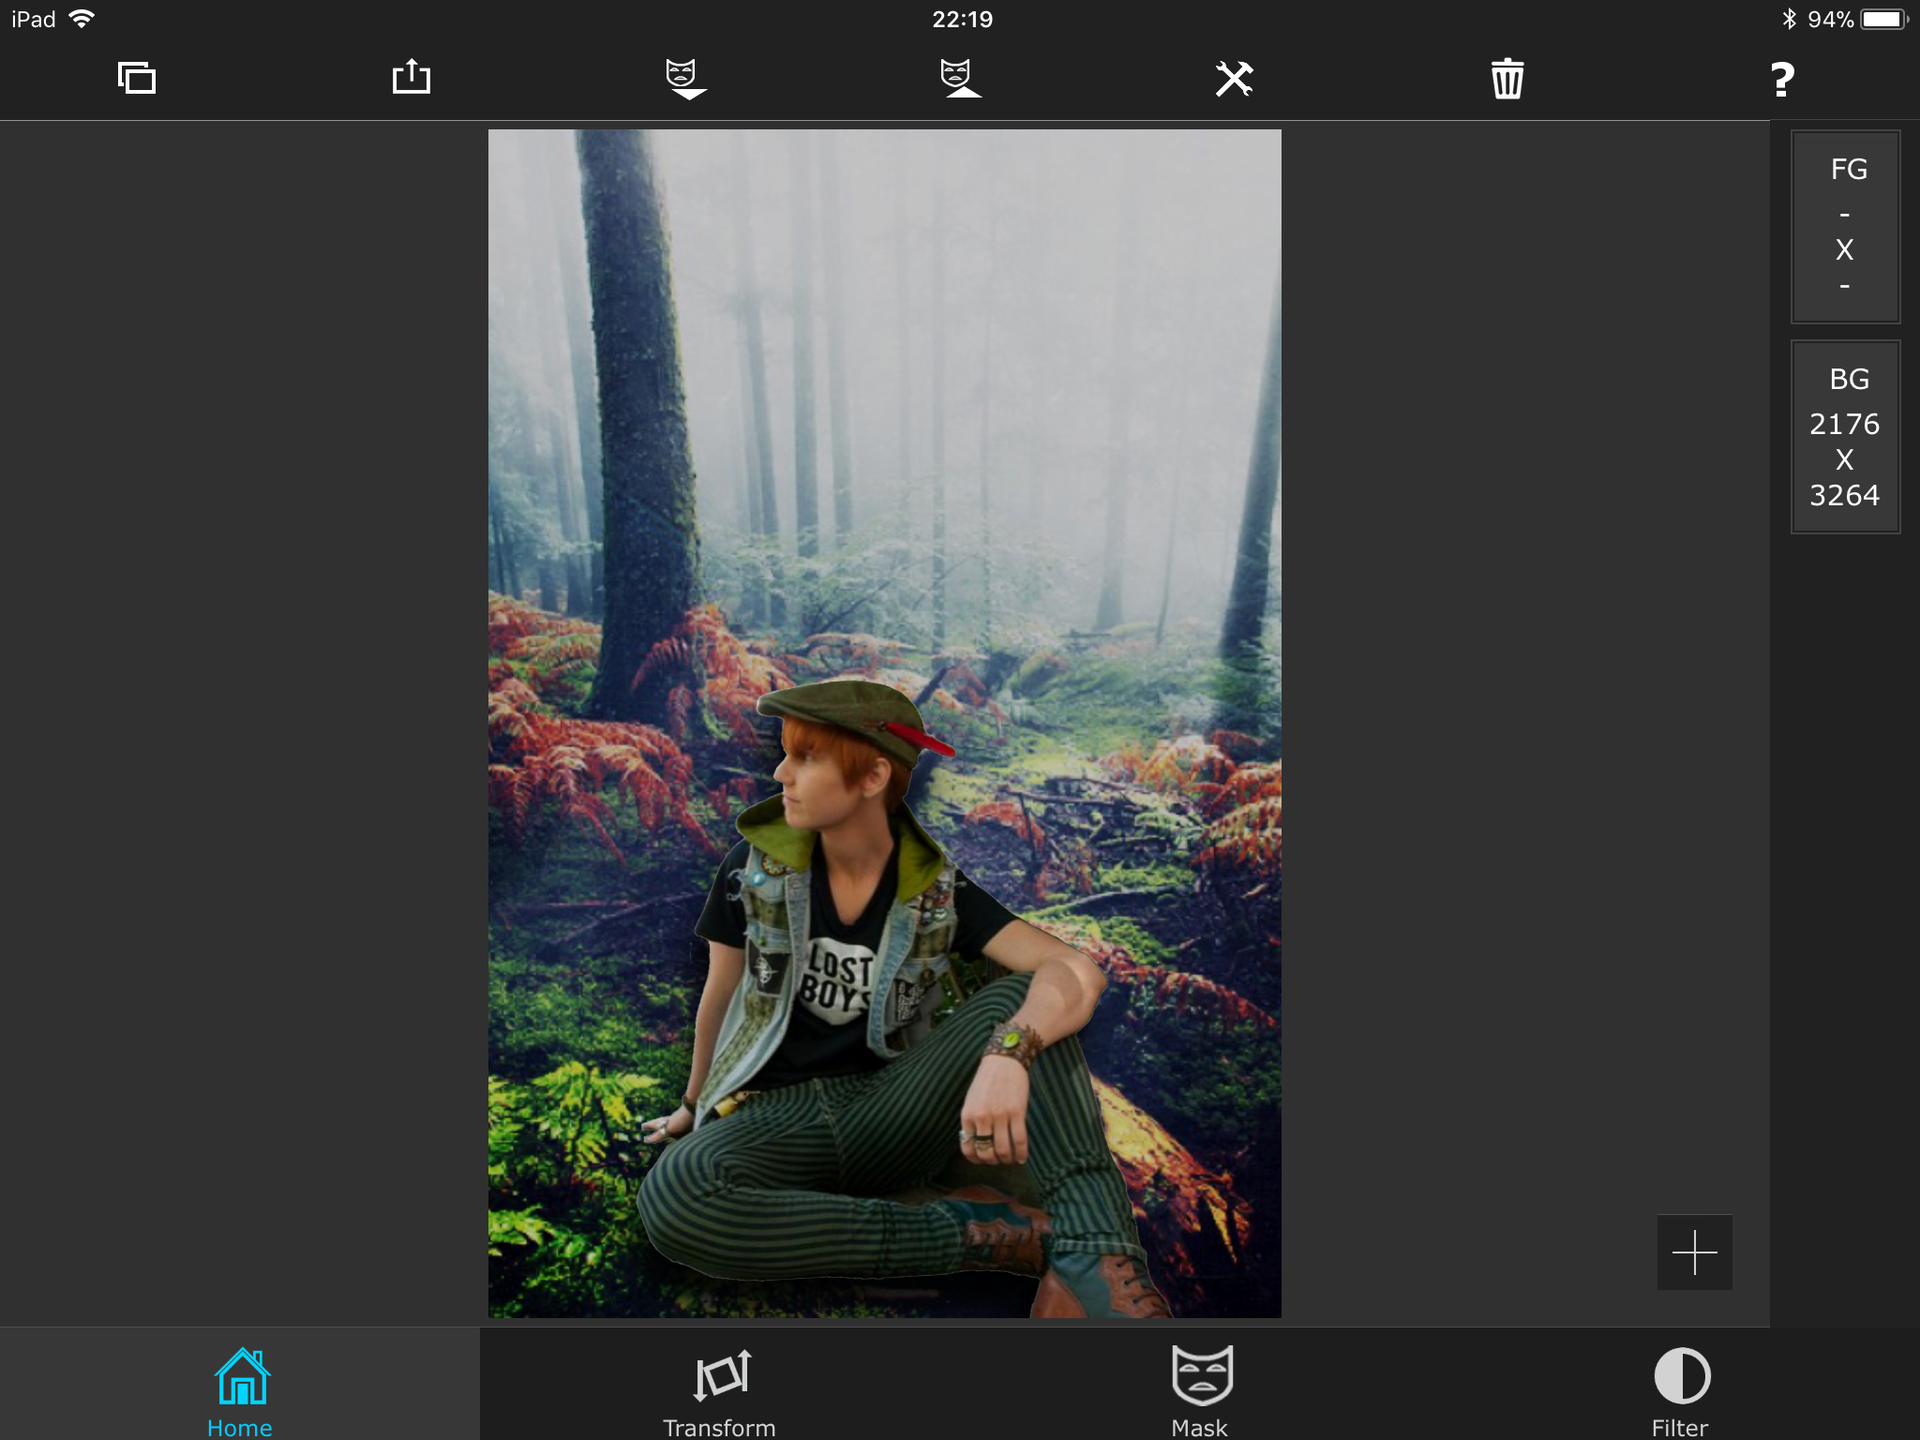
This is now the image part of the cover complete.
I played around with a few text effects, but couldn't find one that fitted well with the cover. Here are some of my failed attempts haha:

Instead of these, I decided to use a coloured version of the second typeface, and used PicsArt to create a wavy text effect.
To do this, you go to tools>stretch>warp, and then drag your finger to create the desired effect.
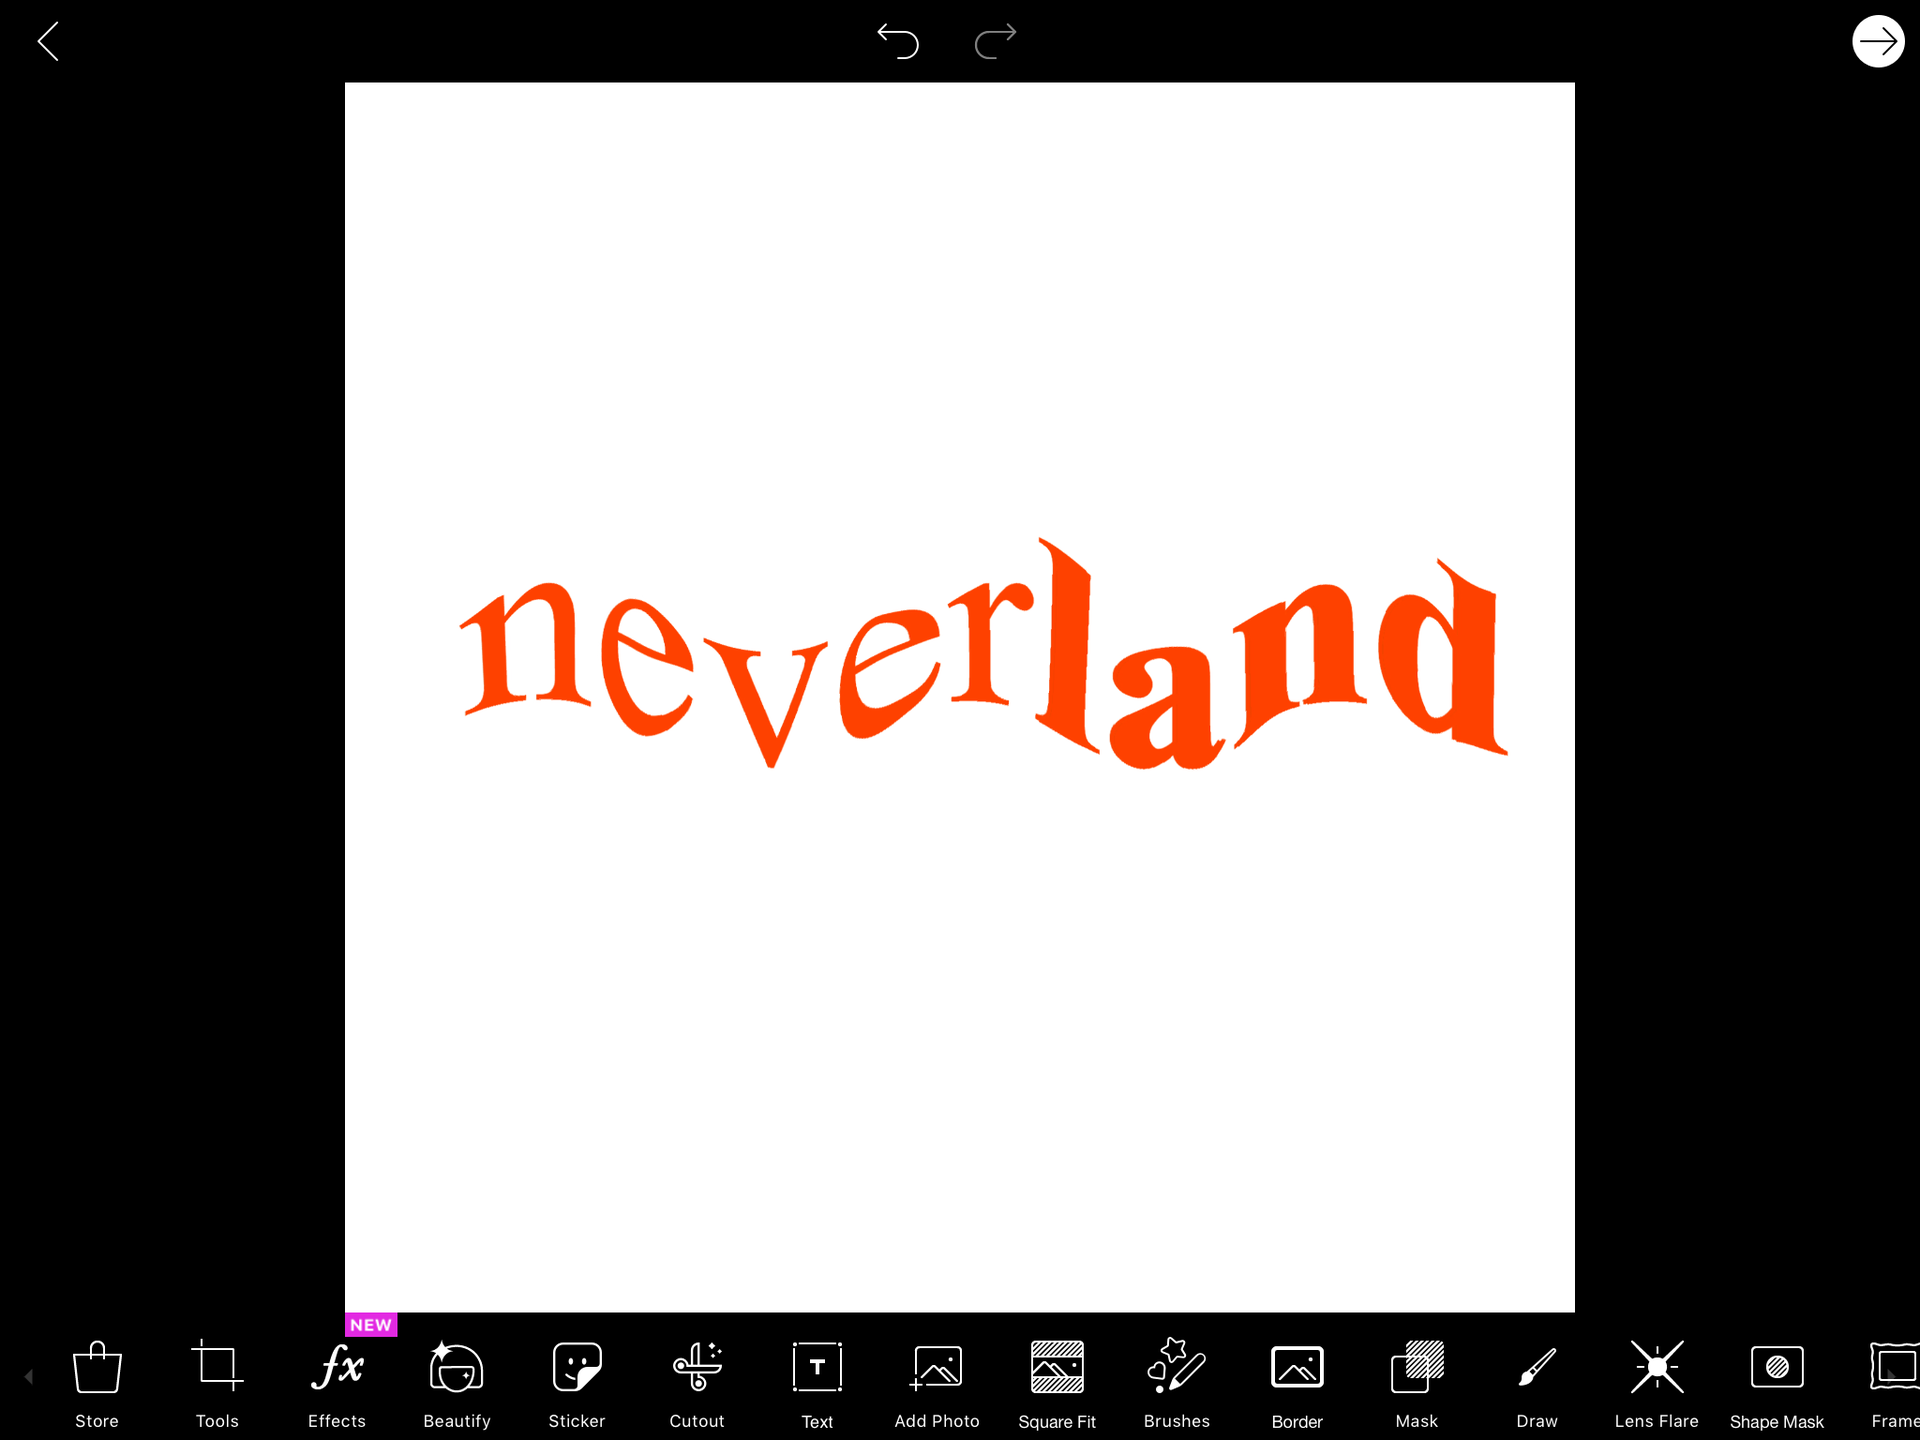
Once I'd done this, I saved it and reopened it in Superimpose. I set it to mask mode overlay, and merged it. I also added an outline version of the text over the top to make it stand out more:
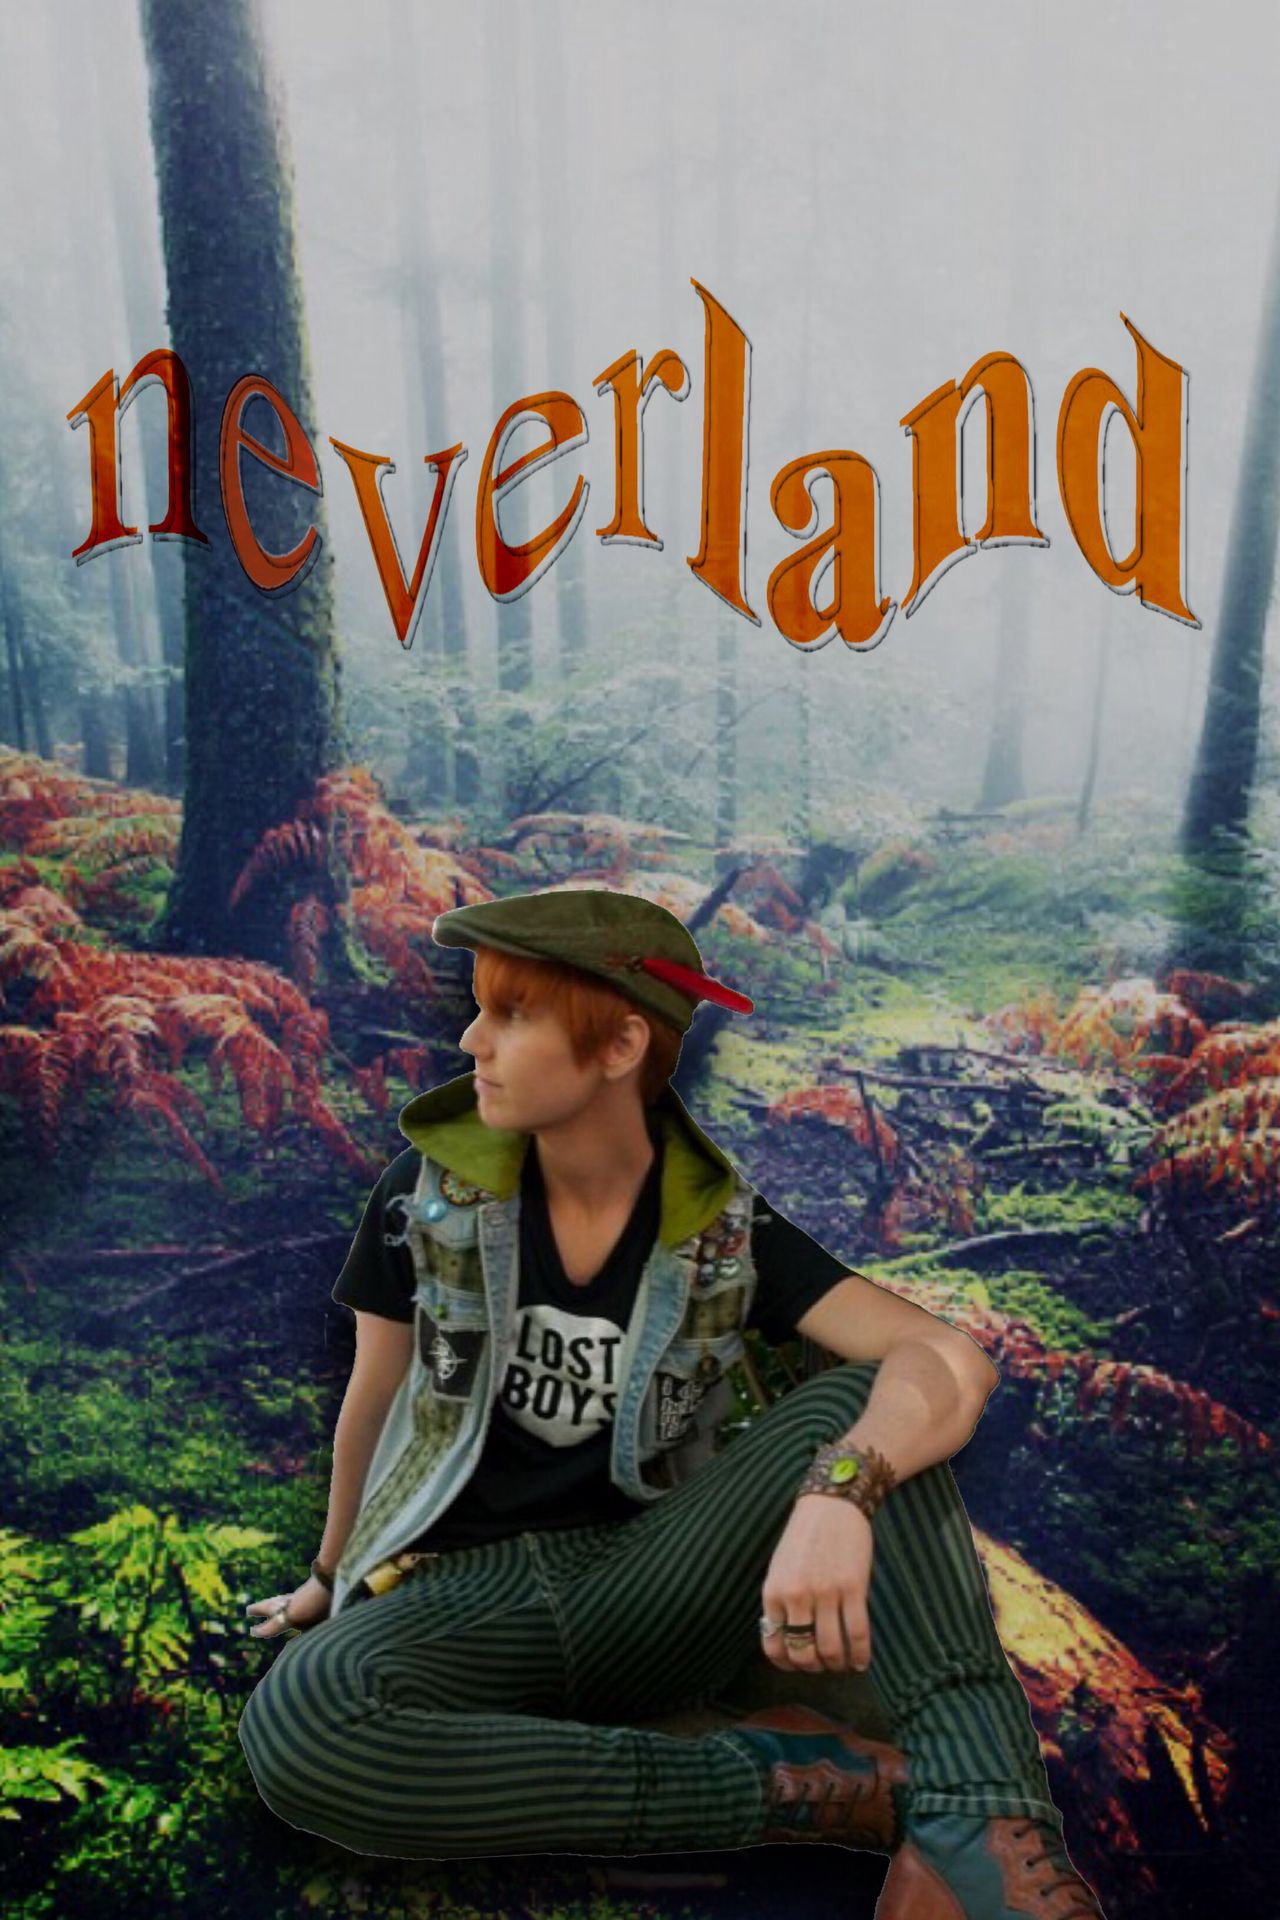
Next, I opened this in Phonto and added the original movie title, as well as the author name.
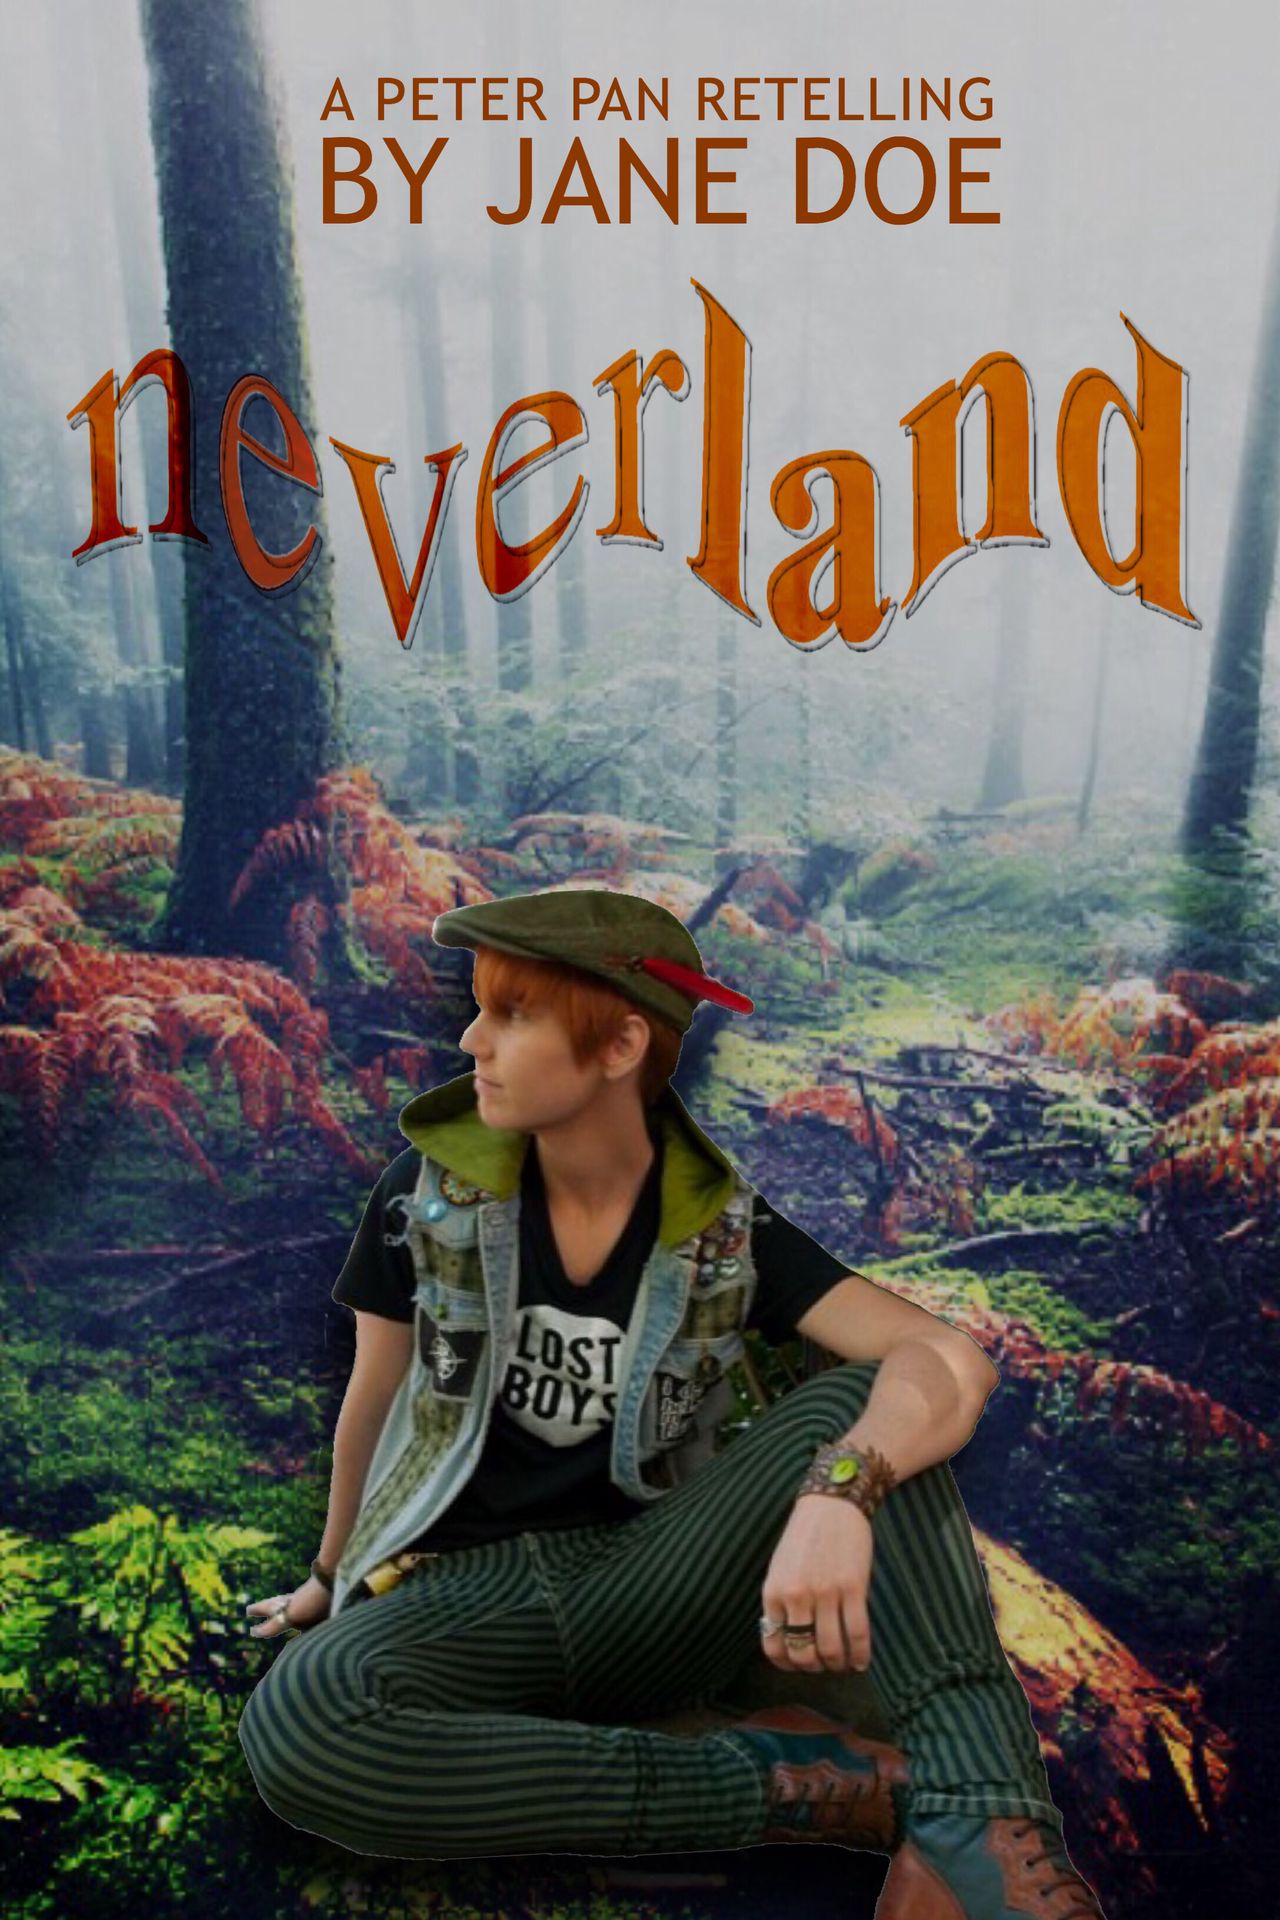
Finally, I added a glossy overlay to the whole thing in Superimpose in order to brighten it up a bit and make it less harsh.
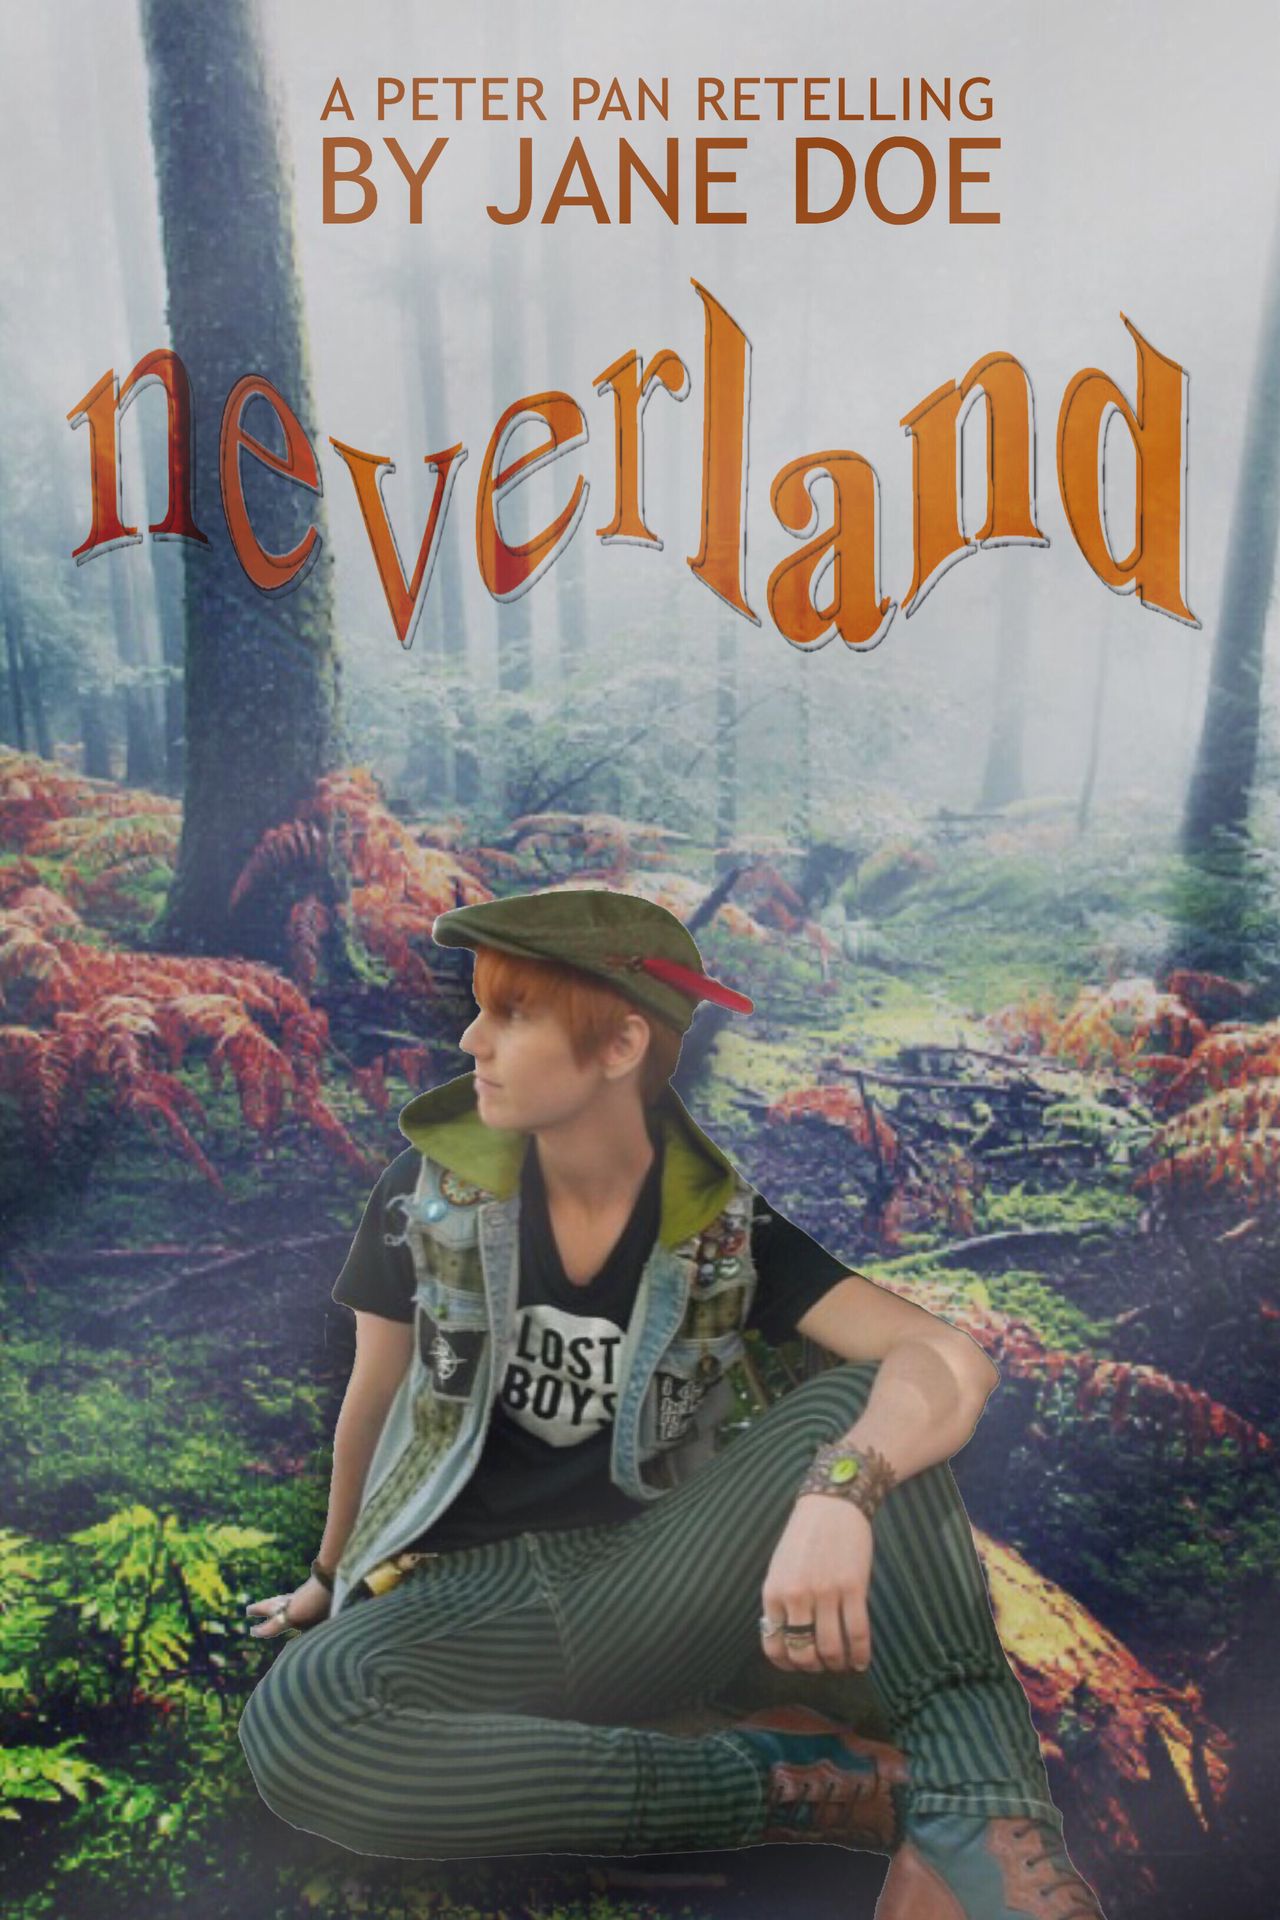
And there's the finished cover; voila!
Bạn đang đọc truyện trên: AzTruyen.Top