over-layed & double exposure steps
hey guys! so, as you all know, we all learn new things everyday. i have recently been spending a lot of time trying to learn new ways to make you guys' covers the best i can! i thought it'd be cool to show you guys how i did it in case any of you ever want to try it out yourselves! :D
These are some examples of the newest feature addition to this shop!
Here, you can see the differences between the over-layed textures & how they look compared to the original ones (:
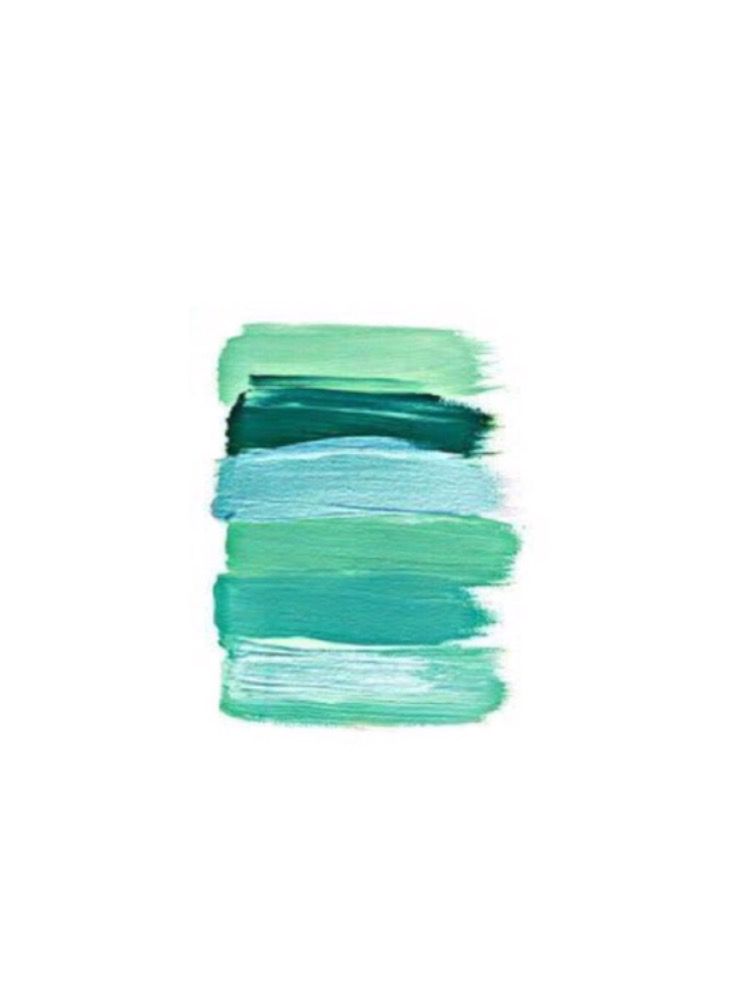
Original Image
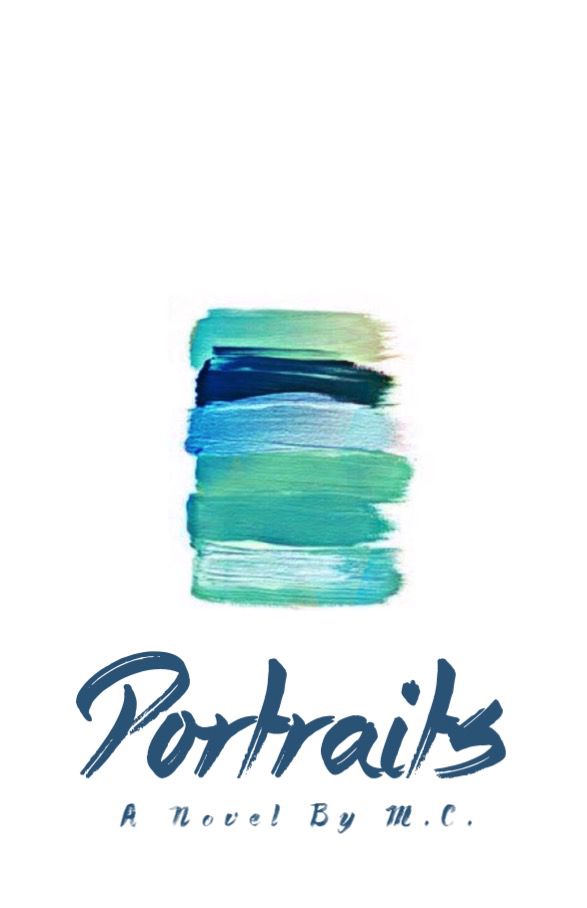
I then overlayed an effect from Pixlr onto the paint & wrote in the title on Phonto.
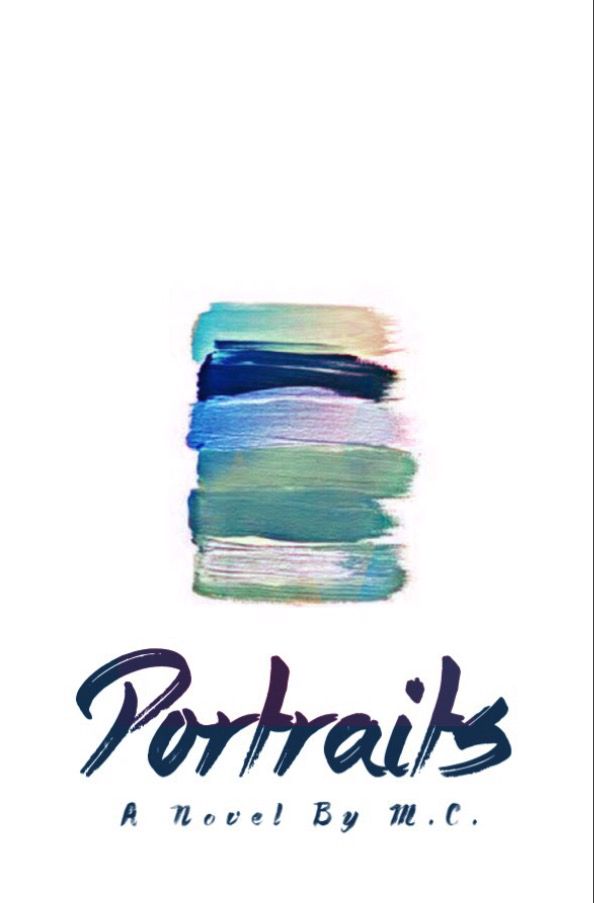
Then, I went back to Pixlr and played around with different effects on the overlay feature (:
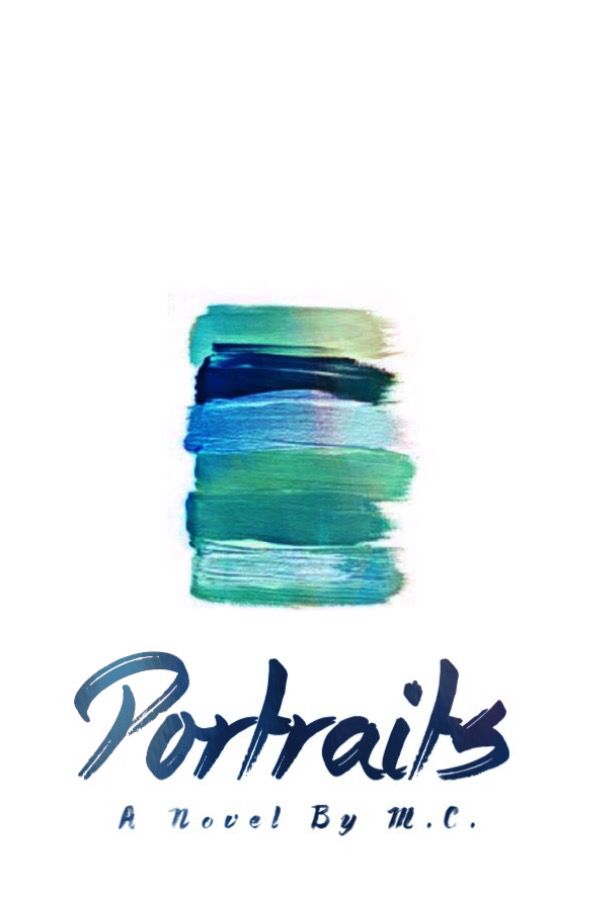
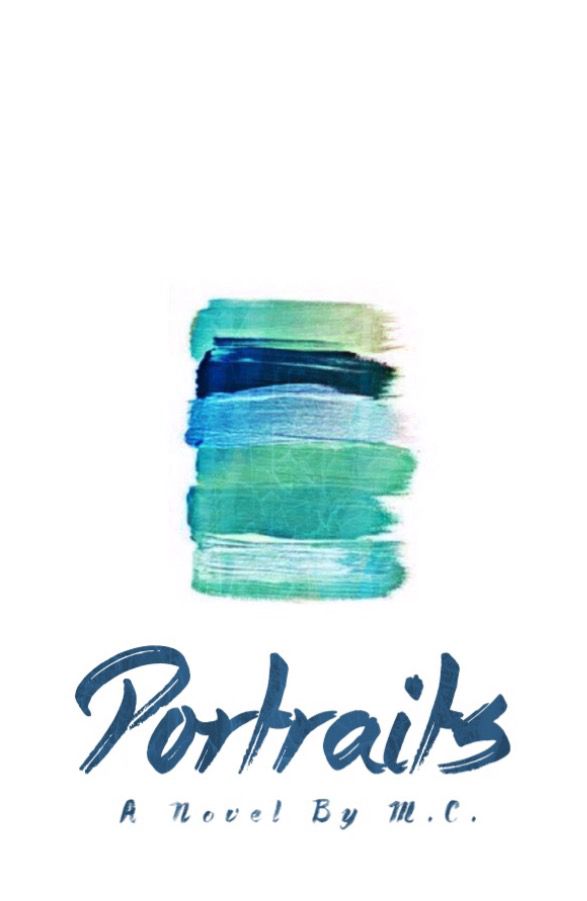
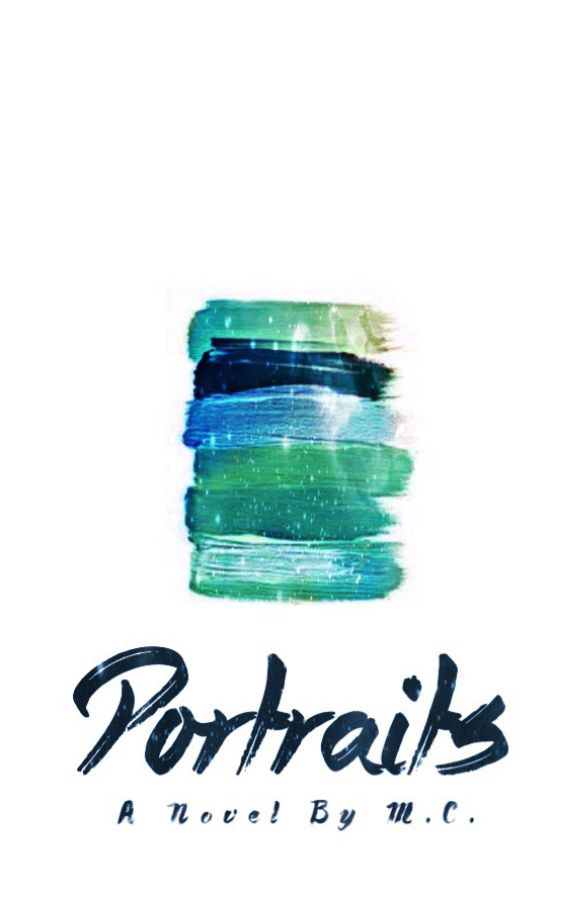
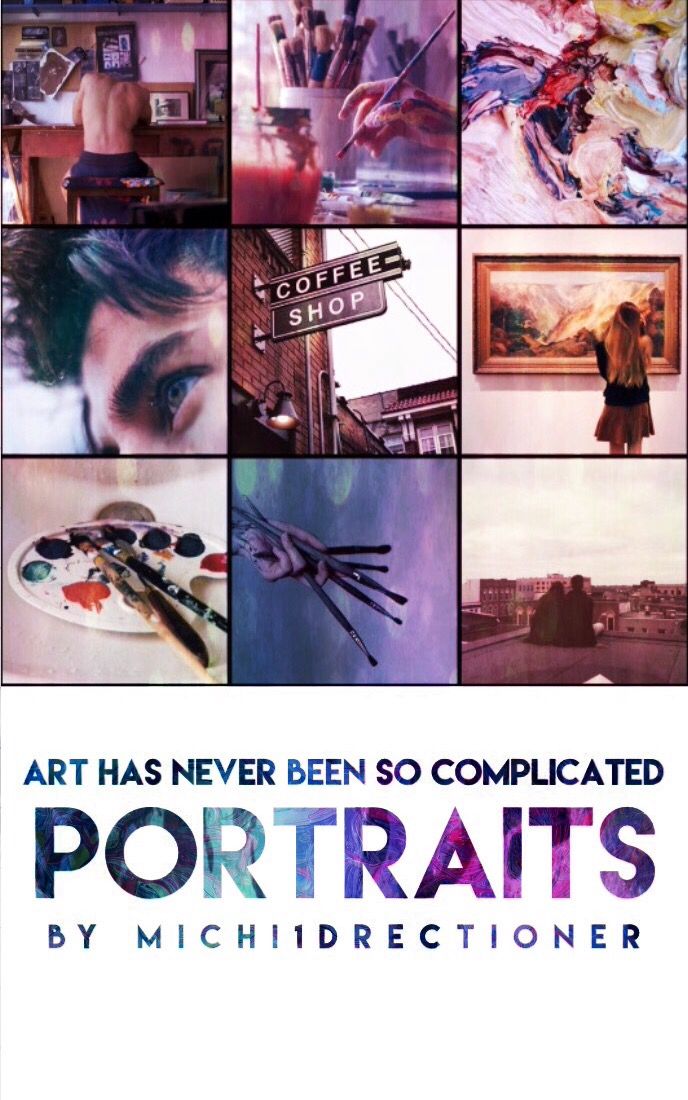
My second example is a collage I made. I absolutely love how the letters came out!
The first step was to make the collage (I used Fotorus for this collage. However, sometimes I use Pic Collage. Depends on what I want) and wrote the regular title. I decided to make it faded because I liked it like that (: The app I use to write on my covers is Phonto & I download my fonts onto there from Dafont.com
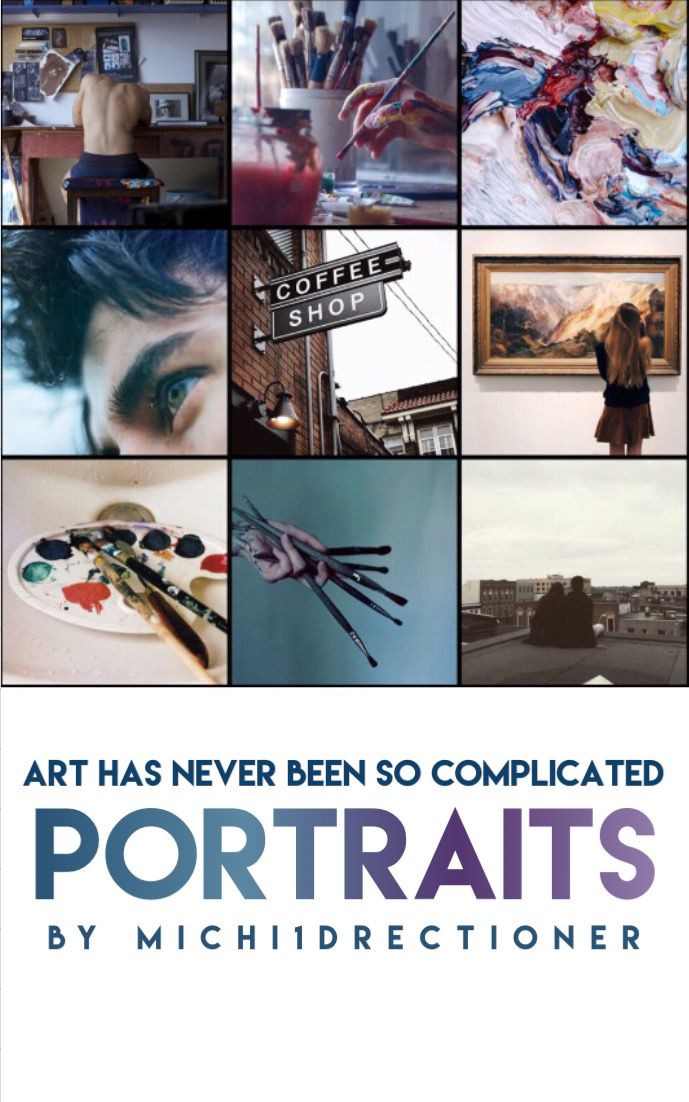
Then, what I did was use the double exposure feature on Pixlr & use an image of paint to put on the collage. Pixlr automatically placed the picture into the title text, so there wasn't much I had to do with that (:
This is the image I used to do the double exposure.
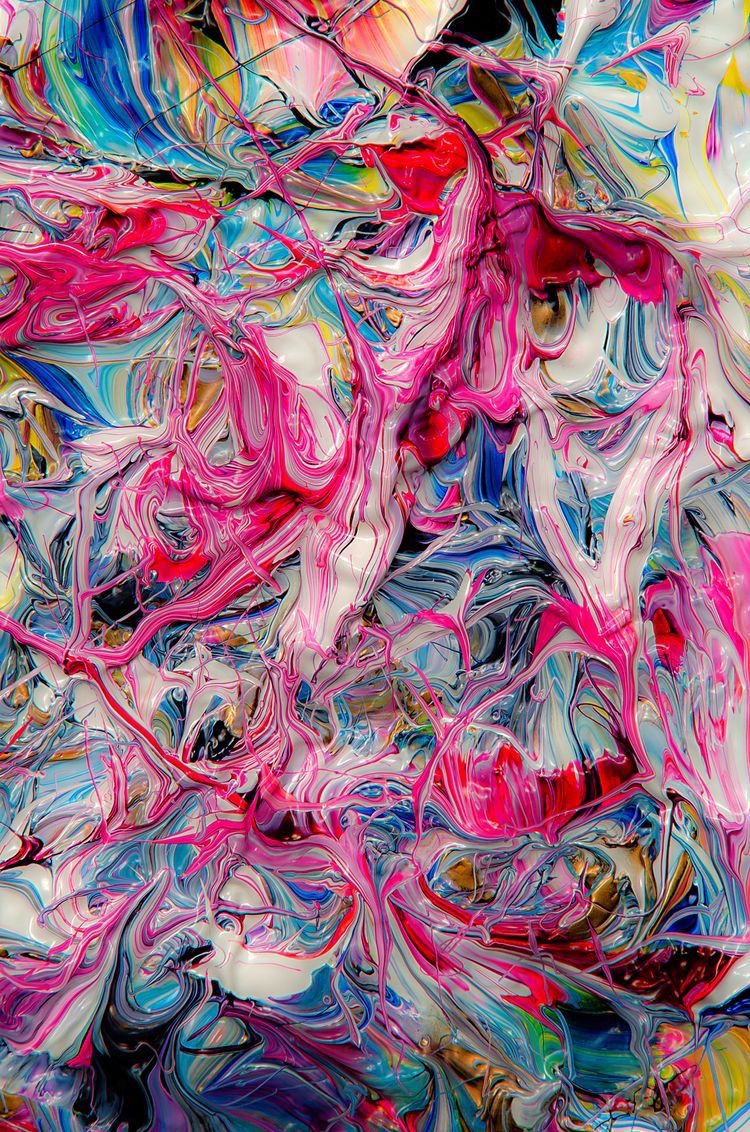
Lastly, after I did the double exposure, I simply used the overlay feature & picked a texture that I liked (:
With that said & done, this is how the final product looks!
I hope you guys liked this! Tell me if I should make more of these mini tutorials or if you have any requests on a chapter I should make on questions you have on what other apps I use for covers, how do I find images, fonts I use, etc.
Bạn đang đọc truyện trên: AzTruyen.Top