✨ divided cover ✨
hi everyone ! in this chapter i'll be showing y'all how i make my divided template covers !
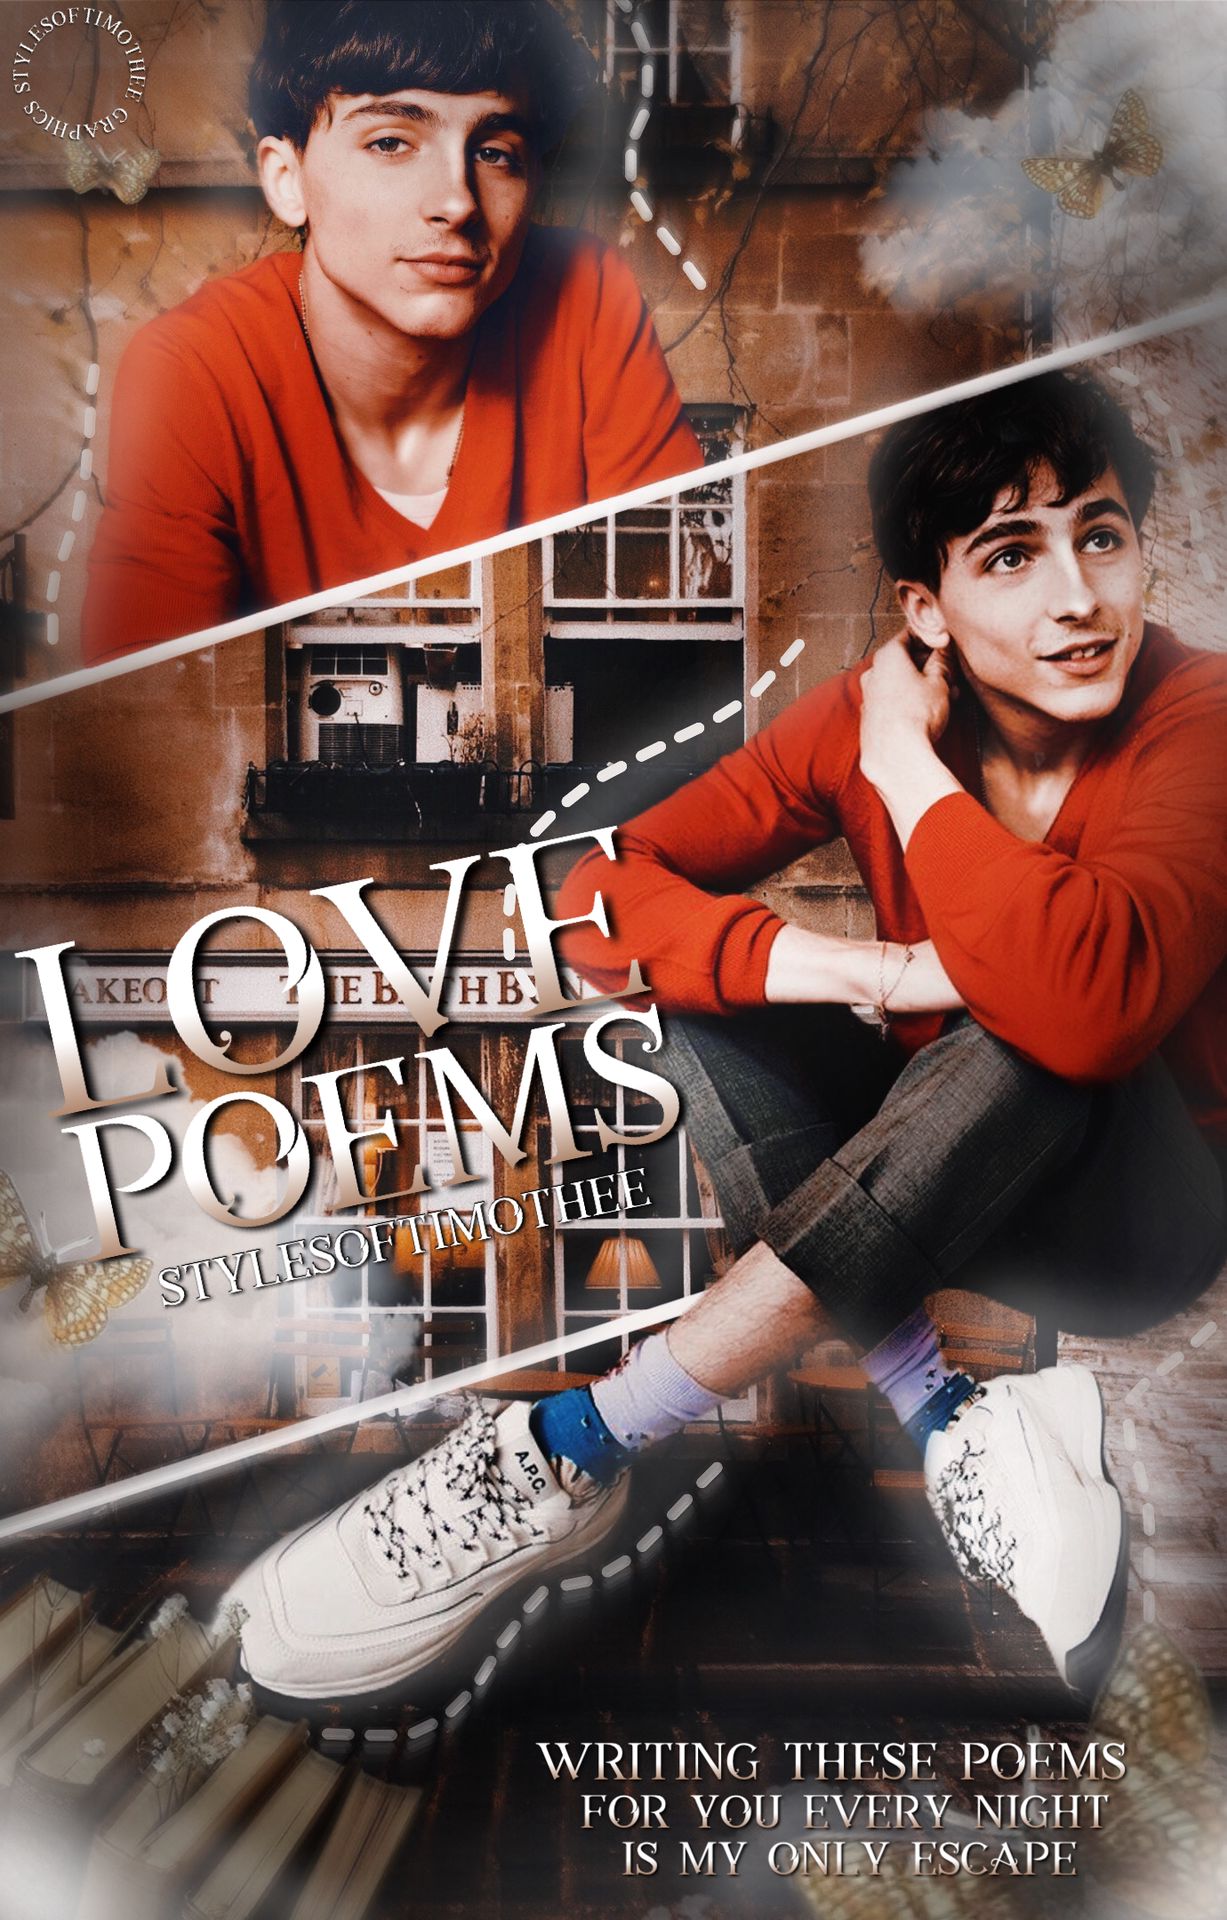
there's an example at the top if you are confused on what that is.
requested by — BrendaDaaeDestler
before i start, i made the template for this myself and these covers are a style i have in my graphic shop (which is now closed) so if you decide to try this out, please give me some sort of credits ! ♡︎ other than that , you're more than welcome to use the template and this idea !
apps needed: picsart (pinterest & phonto as well)
* REMINDER - you are not allowed to claim my work as yours or use it without asking. the graphics shown here belong to me, that includes the unfinished products *
_____________
first, you need this template , if you don't like it i'm pretty sure there's similar ones you can find in pinterest (check out my resources board) —

next, get the images you want to use ready ! i recommend using pinterest for this !
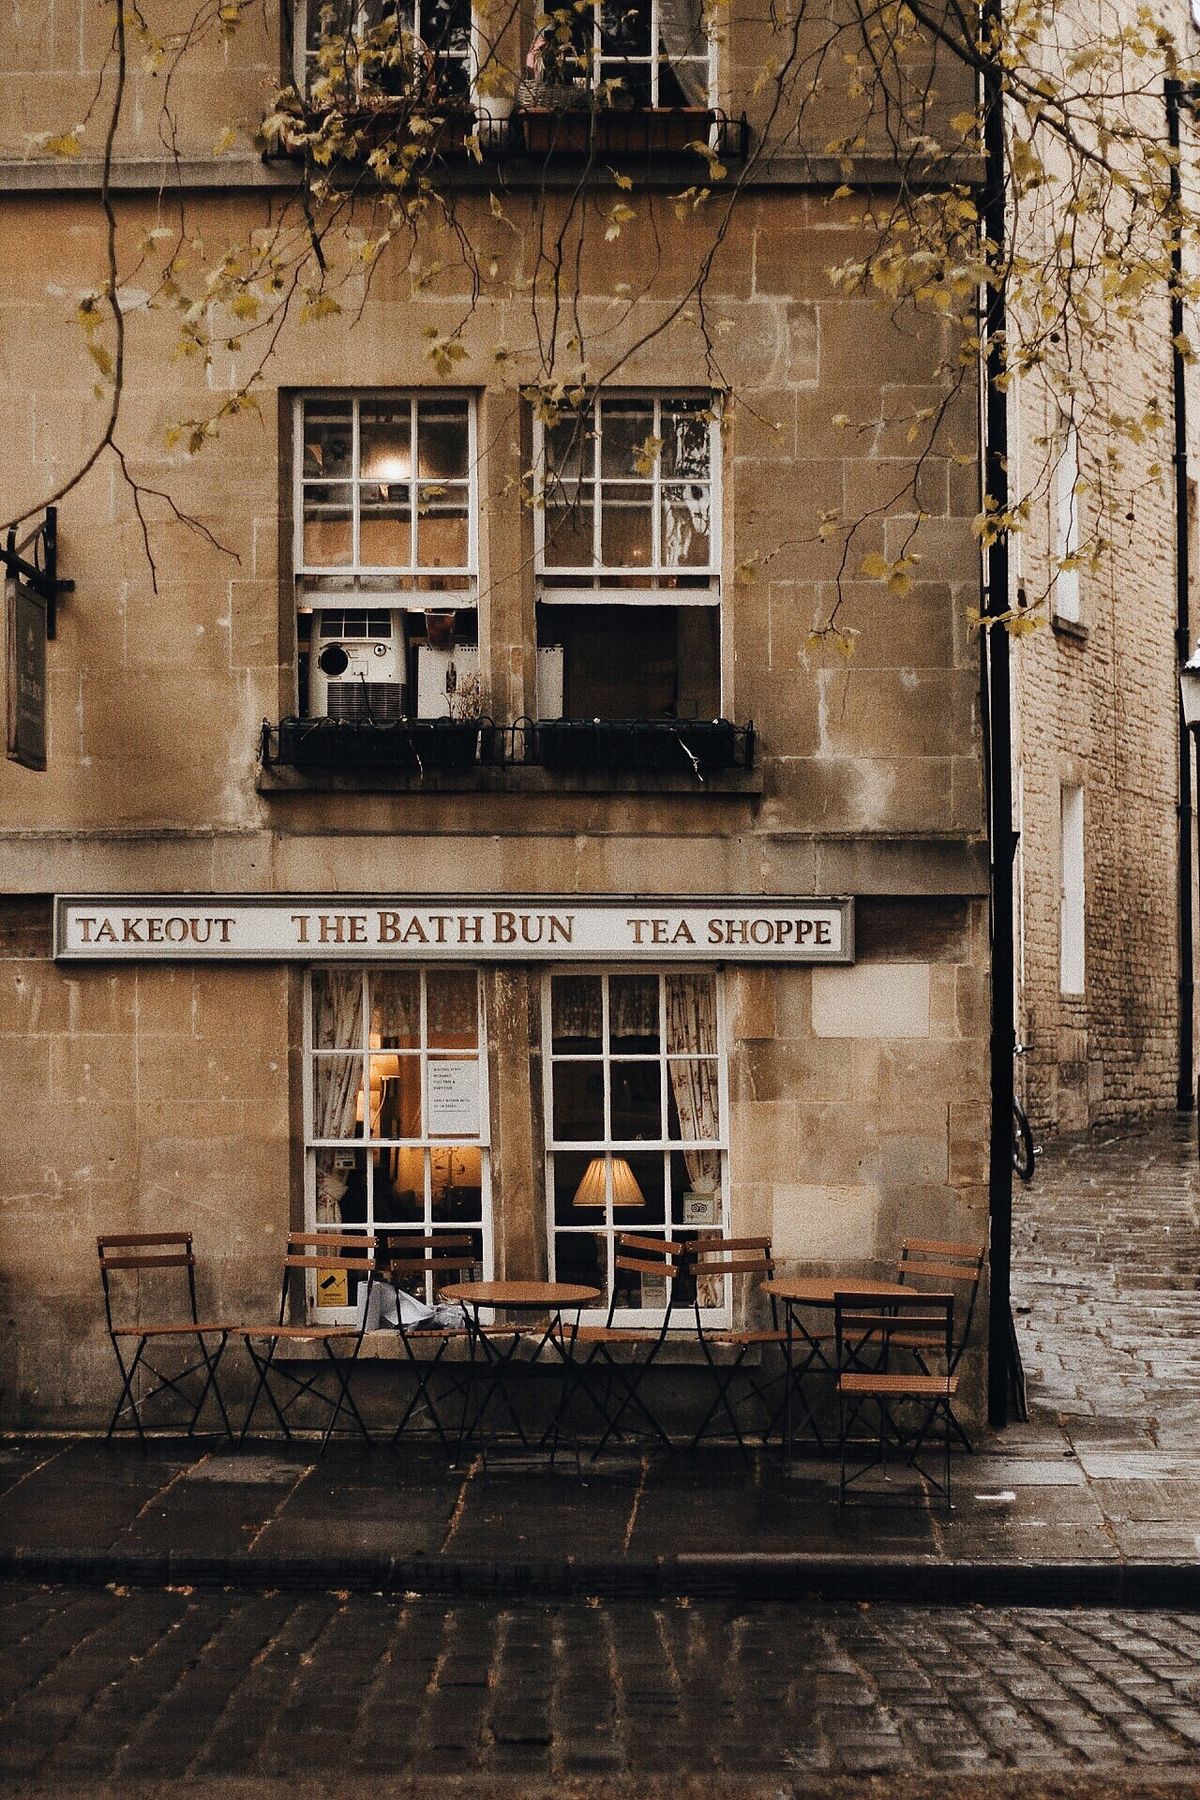
i'll be using this picture for my background -
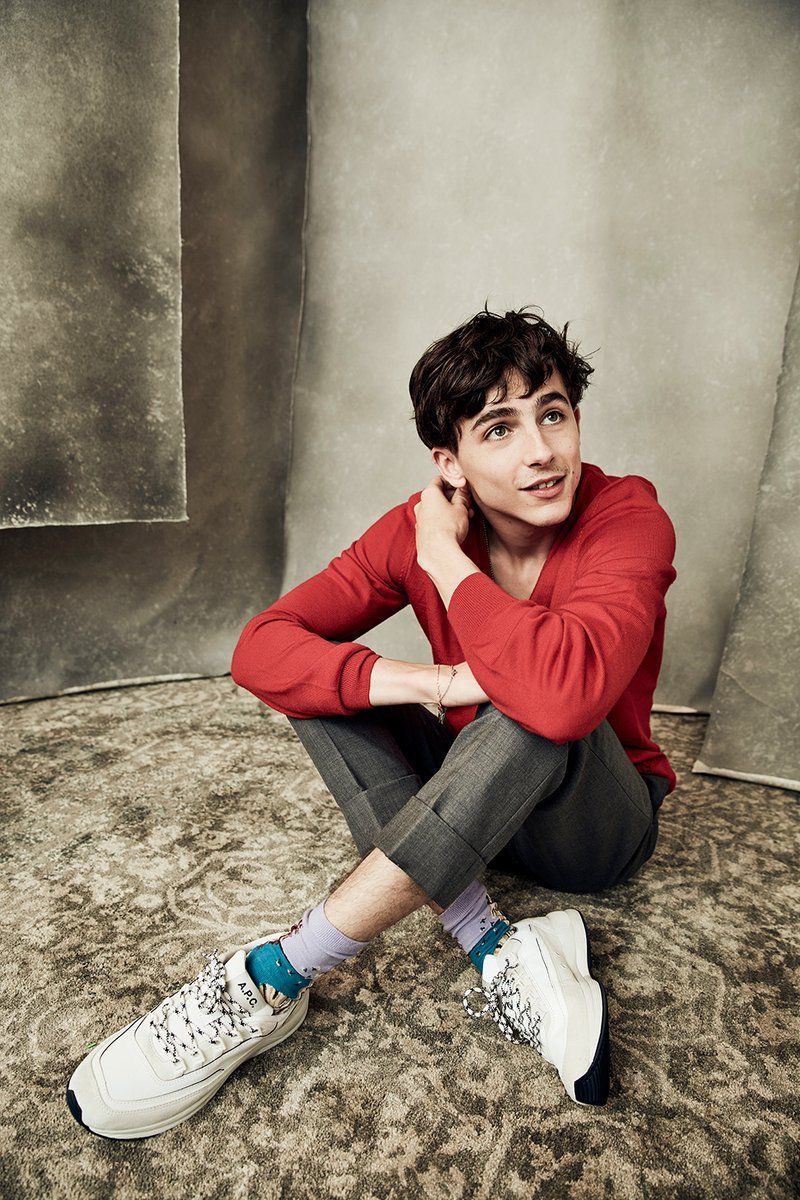
and these pictures for my faceclaims -

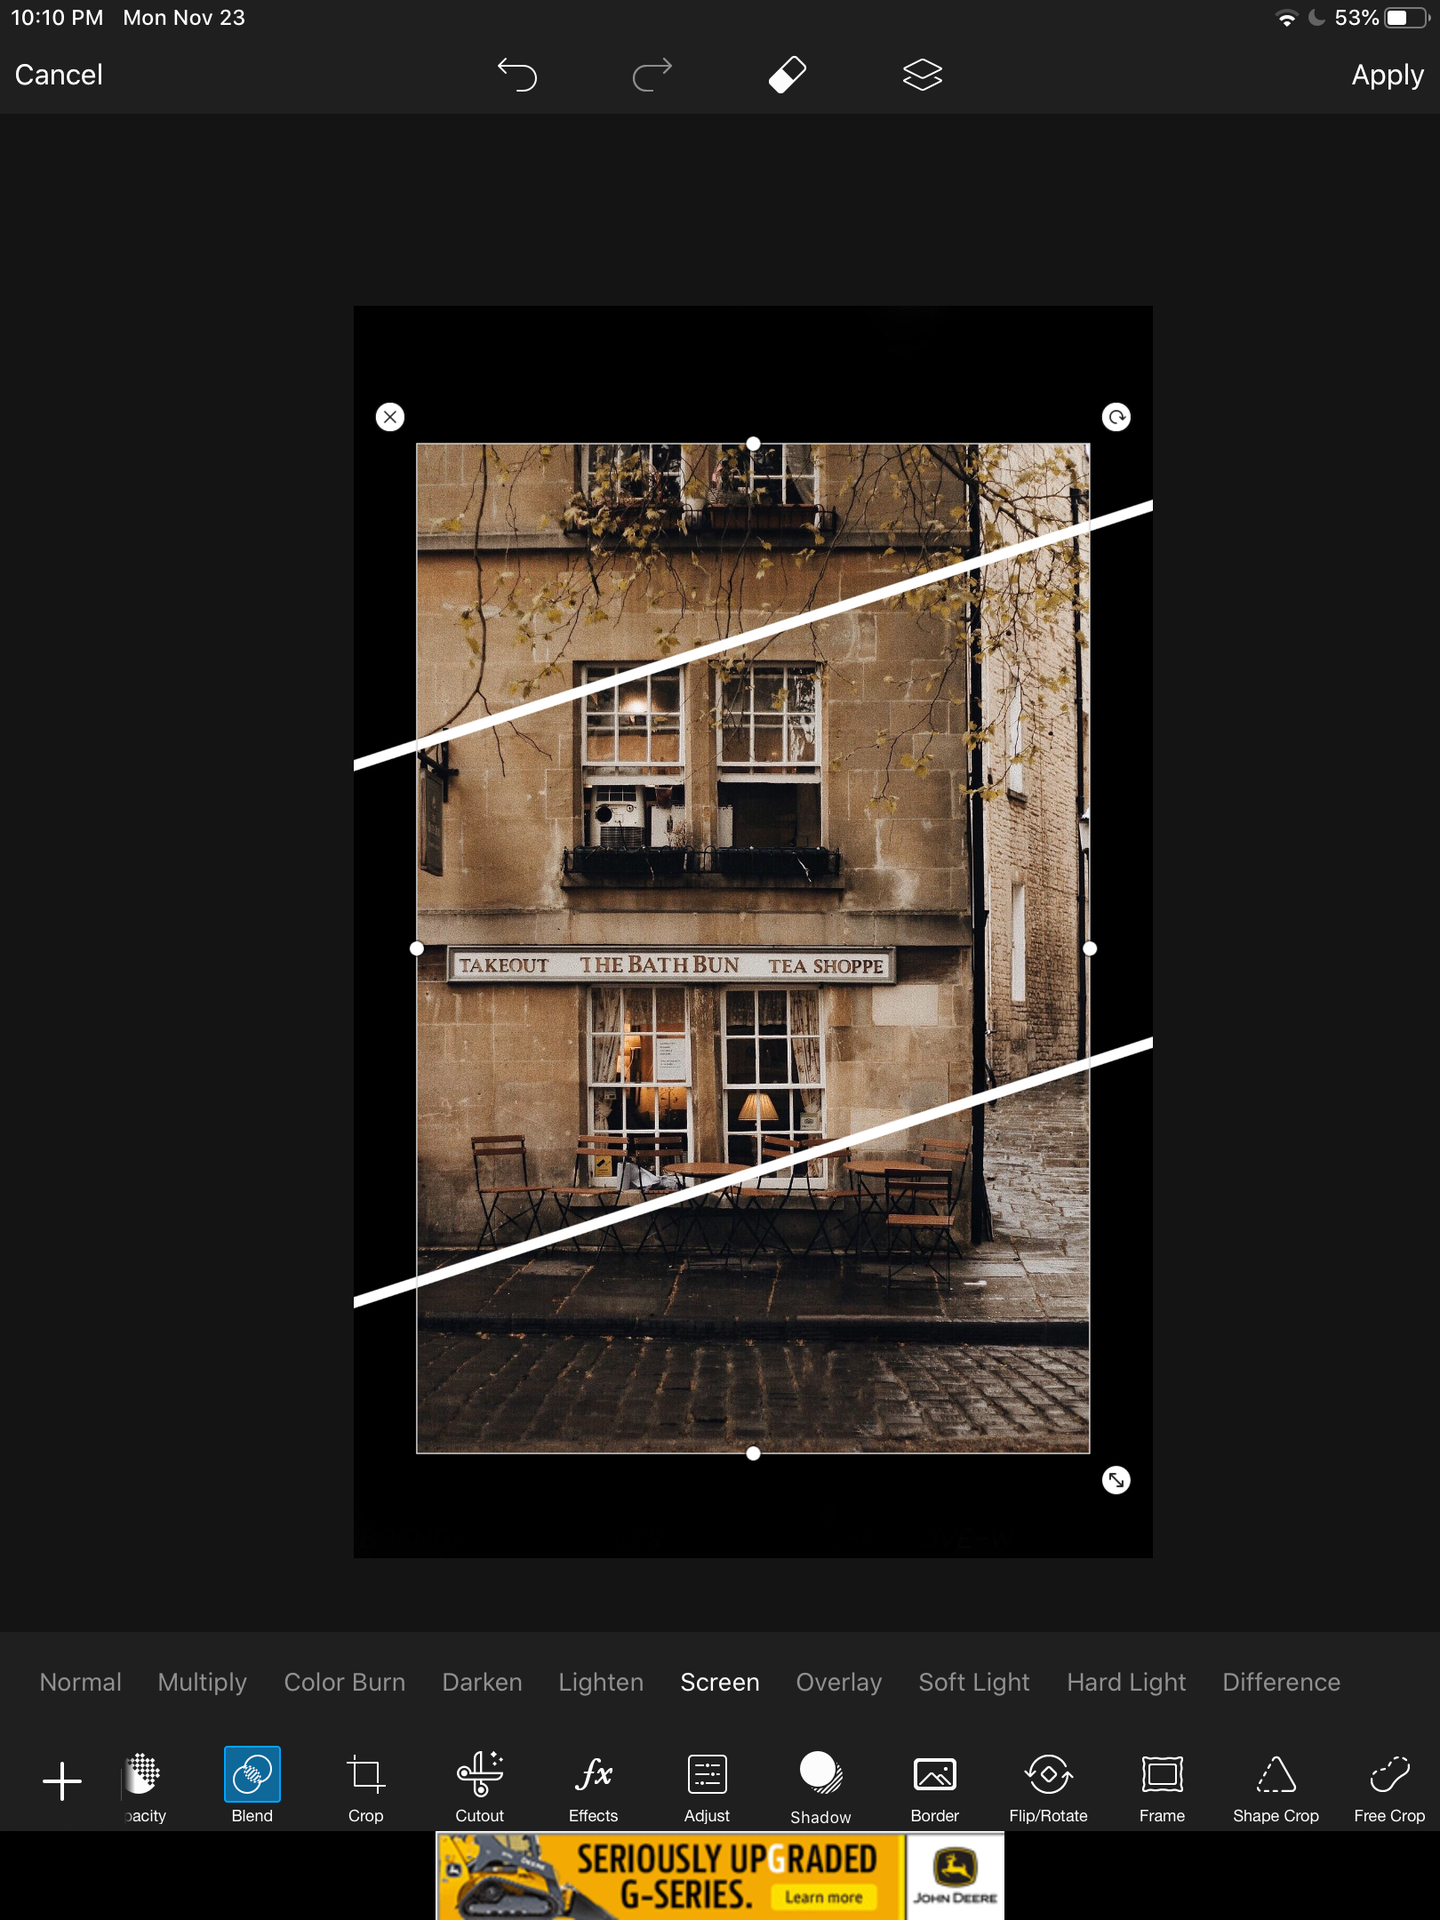
now we go to picsart, the image you need to open first is the template, once you have that as your main base, add the picture of your background on top —

then, go to "blend" and click on "screen" and it should now look like this -
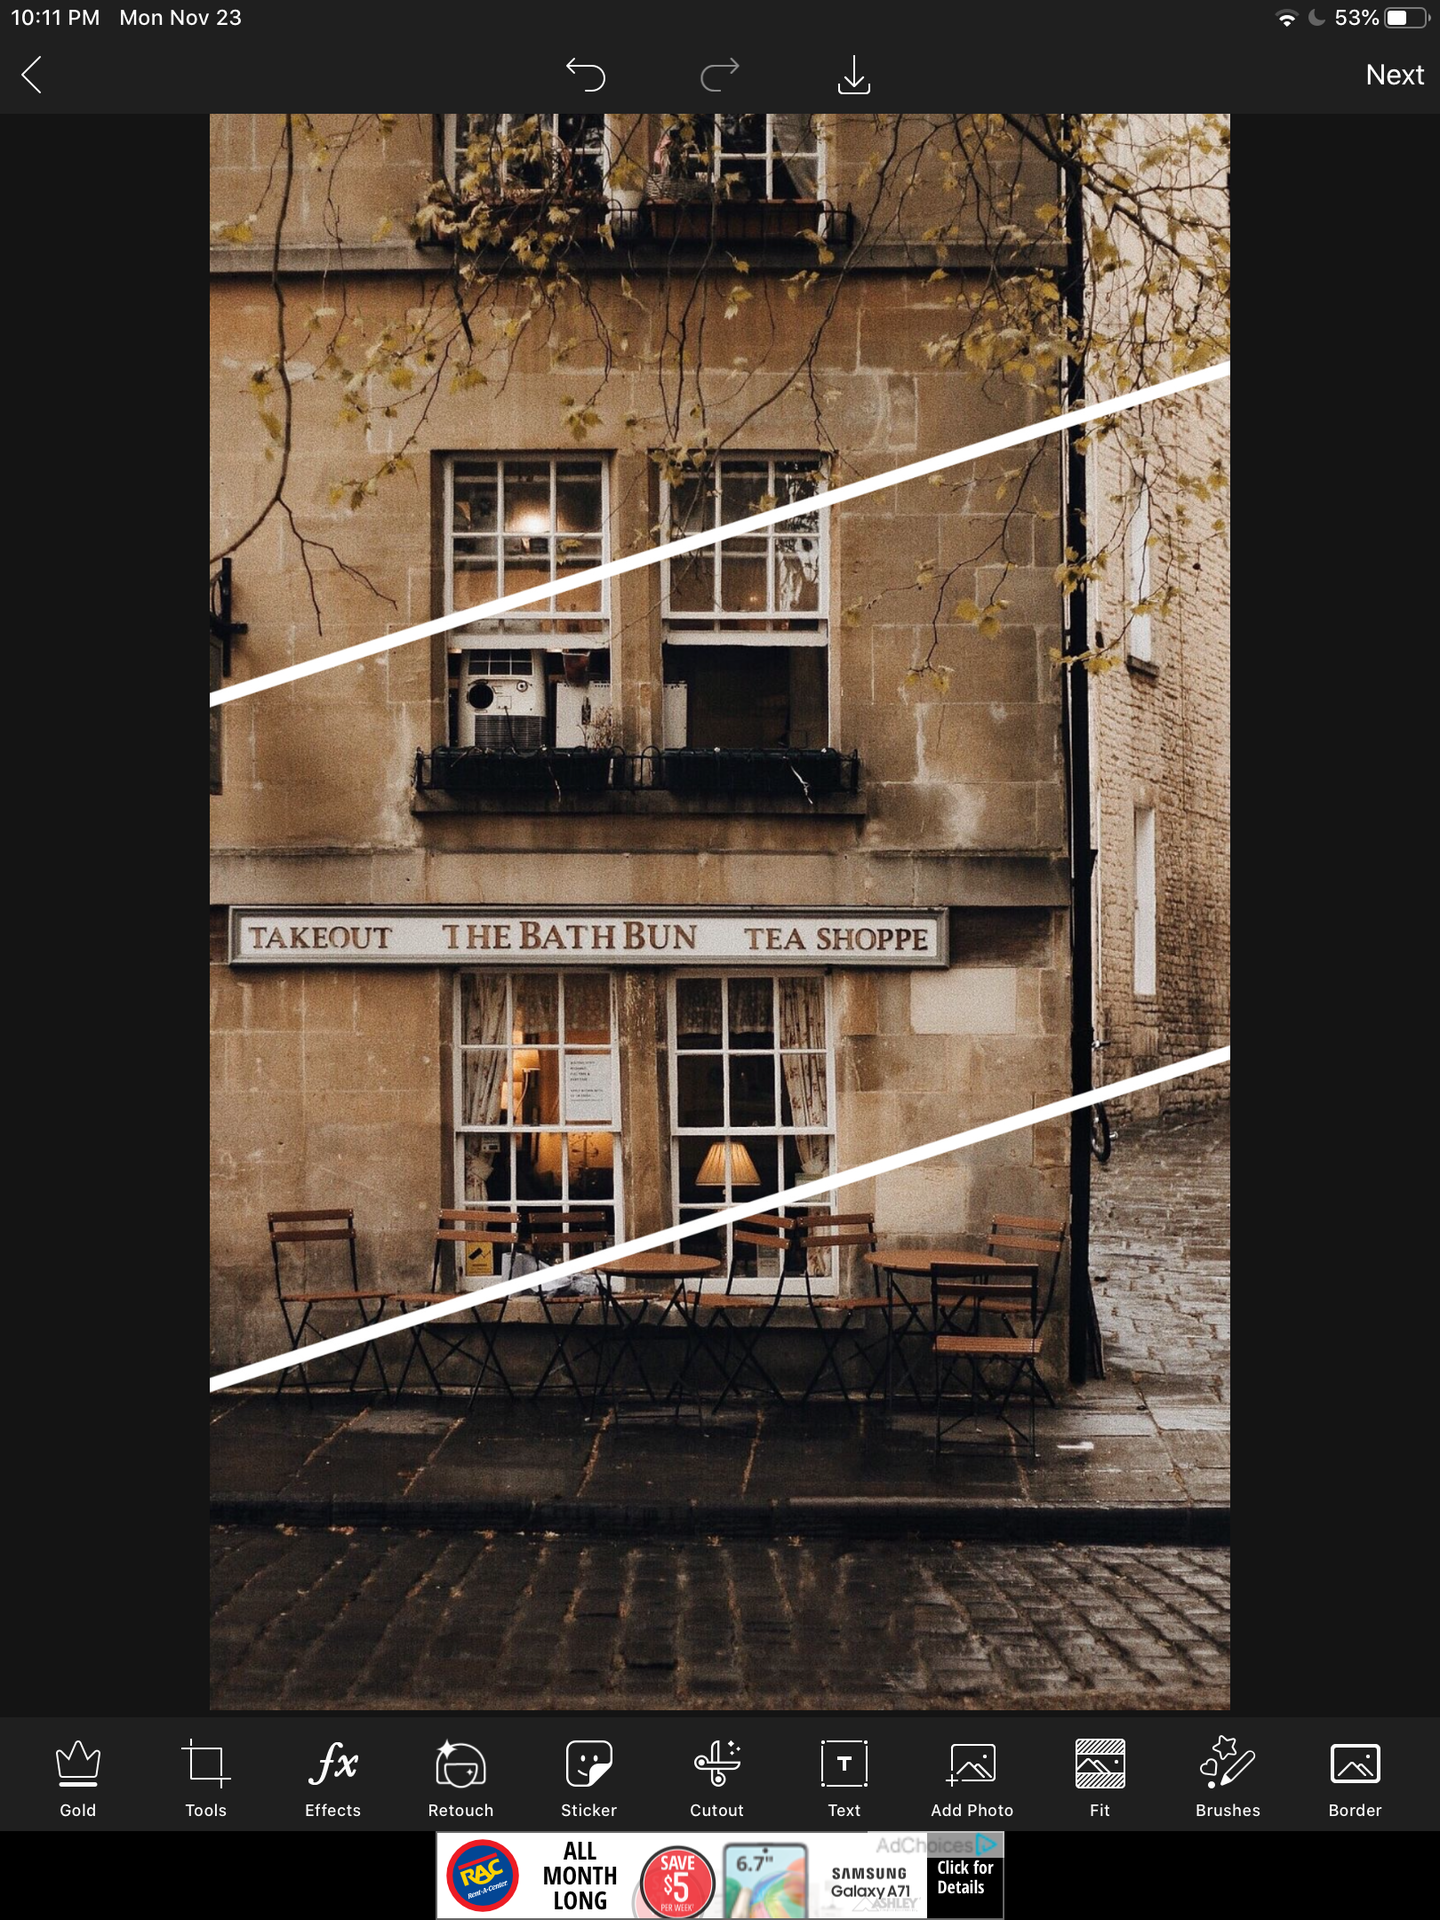
then, expand the picture so it fully covers the template base and click on apply and then the check mark to save it —
if you want to use multiple images for your background , for example one for each layer of the template, just do the same thing with each image and erase anything that goes over the white lines.
now, add the pictures of your faceclaims . erase the backgrounds of each picture completely and place them where you want them to be located.
i personally like to use two pictures and have one at the top layer and another one placed in the middle layer that overlaps to the bottom layer , like this —

but you're more than welcome to place as many people as you want and however you want !
next is basically adding the extras. like most of y'all know , i love adding picsart effects so i did that, here's what it looks like now —

then , i added some stickers to make it look a bit less empty and not as simplistic , i added some clouds , butterflies and others to it.
i then add a shine template on top and now it looks like this ! -

then i just go to phonto , add my text , add a few things after and it's done ! here's what it ends up looking like —
i hope this was helpful !!
if you enjoyed it , please share this book with your friends or followers , it helps a ton ! and don't forget to vote and comment !
next in line —
wallpapers / lock screens
covering tattoos
see y'all then !
- lana / lucy 🧸
Bạn đang đọc truyện trên: AzTruyen.Top