[T] Making Icons on Picsart pt. 2
hello again! I'm back with part two! In this part, its all about creativity! okay lets cut to the tutorial
GLOWING HALO
1. Open Draw. then click shape tool > ellipse tool > choose stroke (not fill) > lower down the size to 5 or less
Pilih draw. pencet shape > bentuk yg bulet > pilih stroke bkn fill > turunin sizenya jadi 5 ato kurang
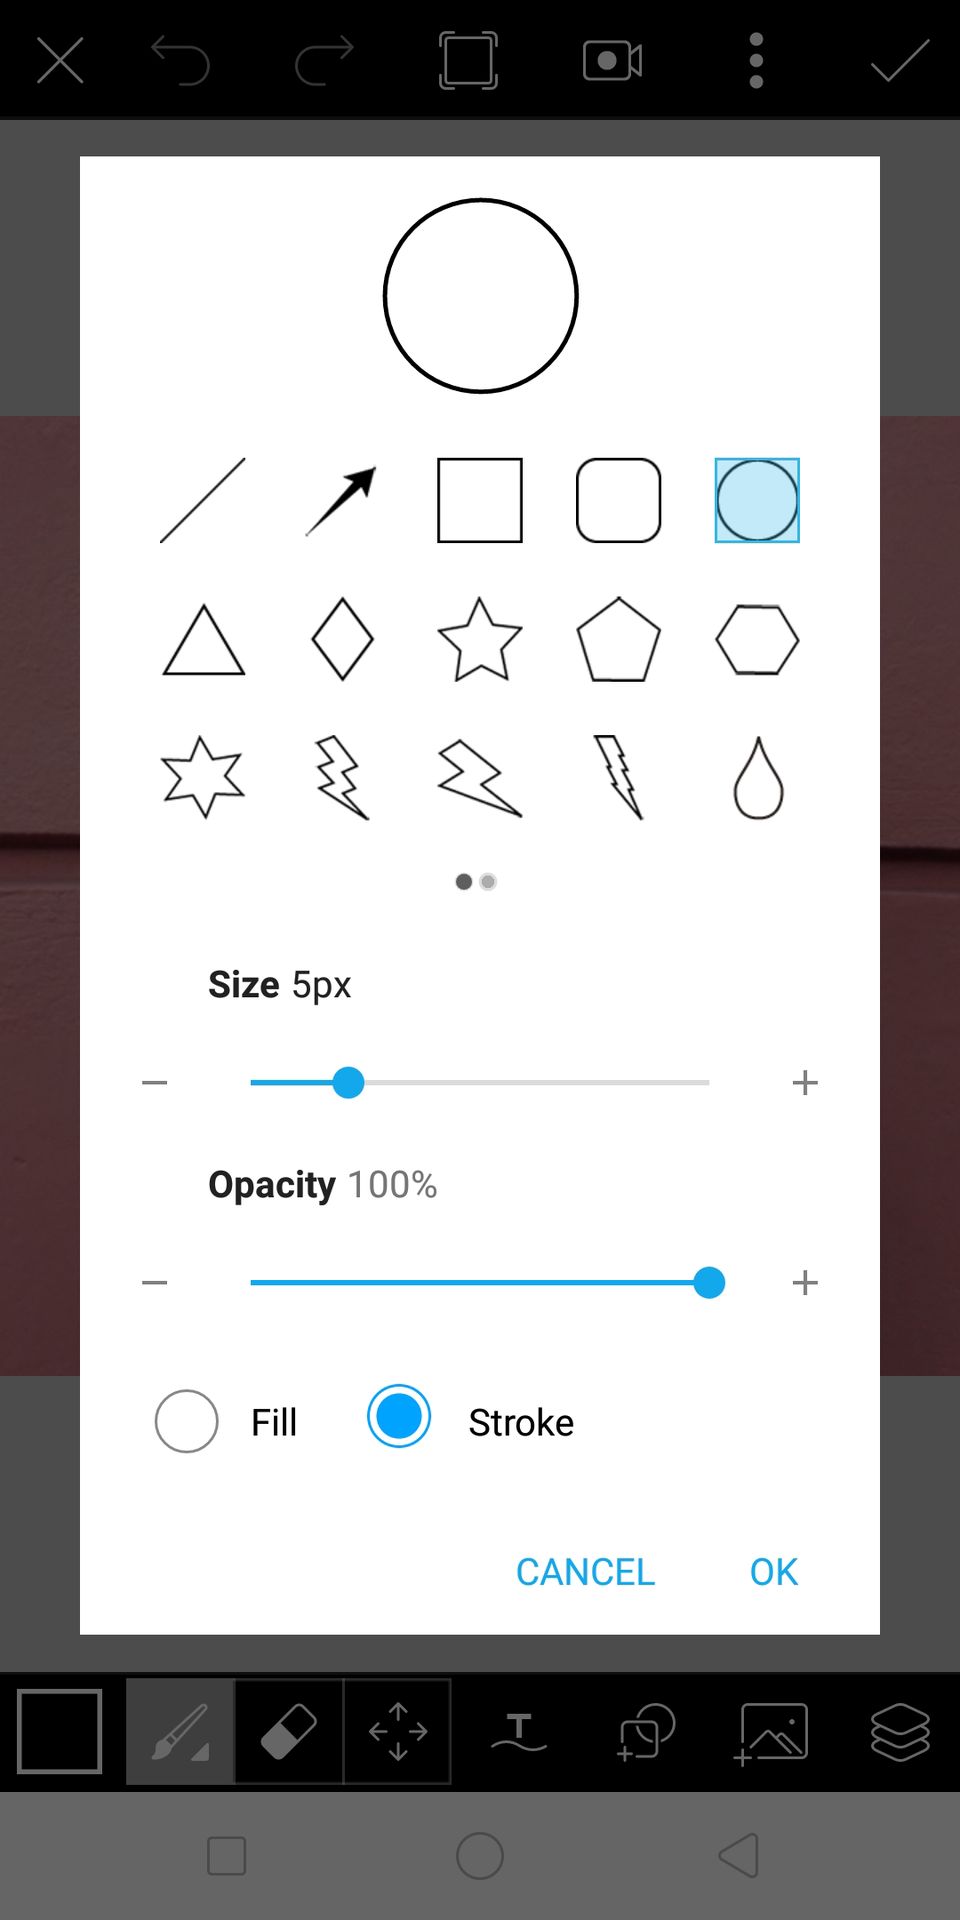
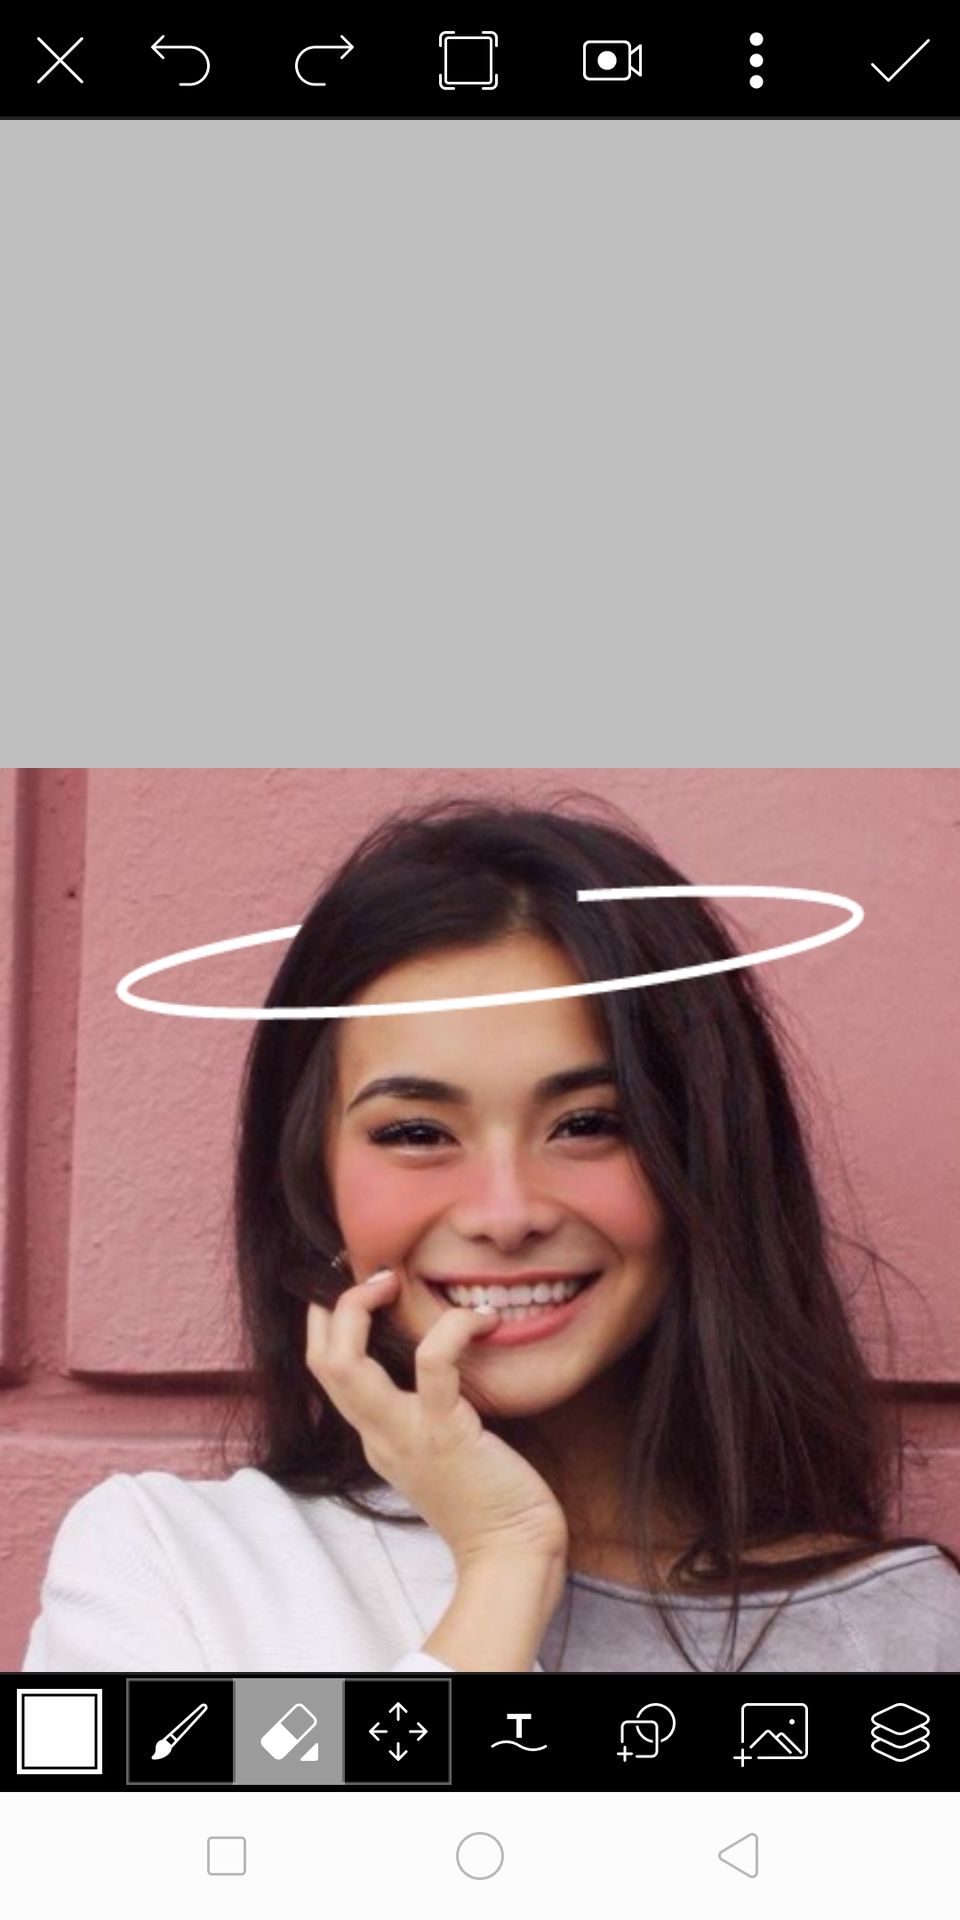
2. Make an oval around the model's head that looked like an angel's halo. after that, you might want to erase the part that should be behind the model's head. as soon as you erase the part, click the checkmark.
buat bentuk oval disekitaran kepala modelnya yg bentuknya kaya angel's halo. stlh itu, kalian hapus bagian yg mestinya berada di blkg kepala modelnya. kalo udh dihapus, klik tanda centang.

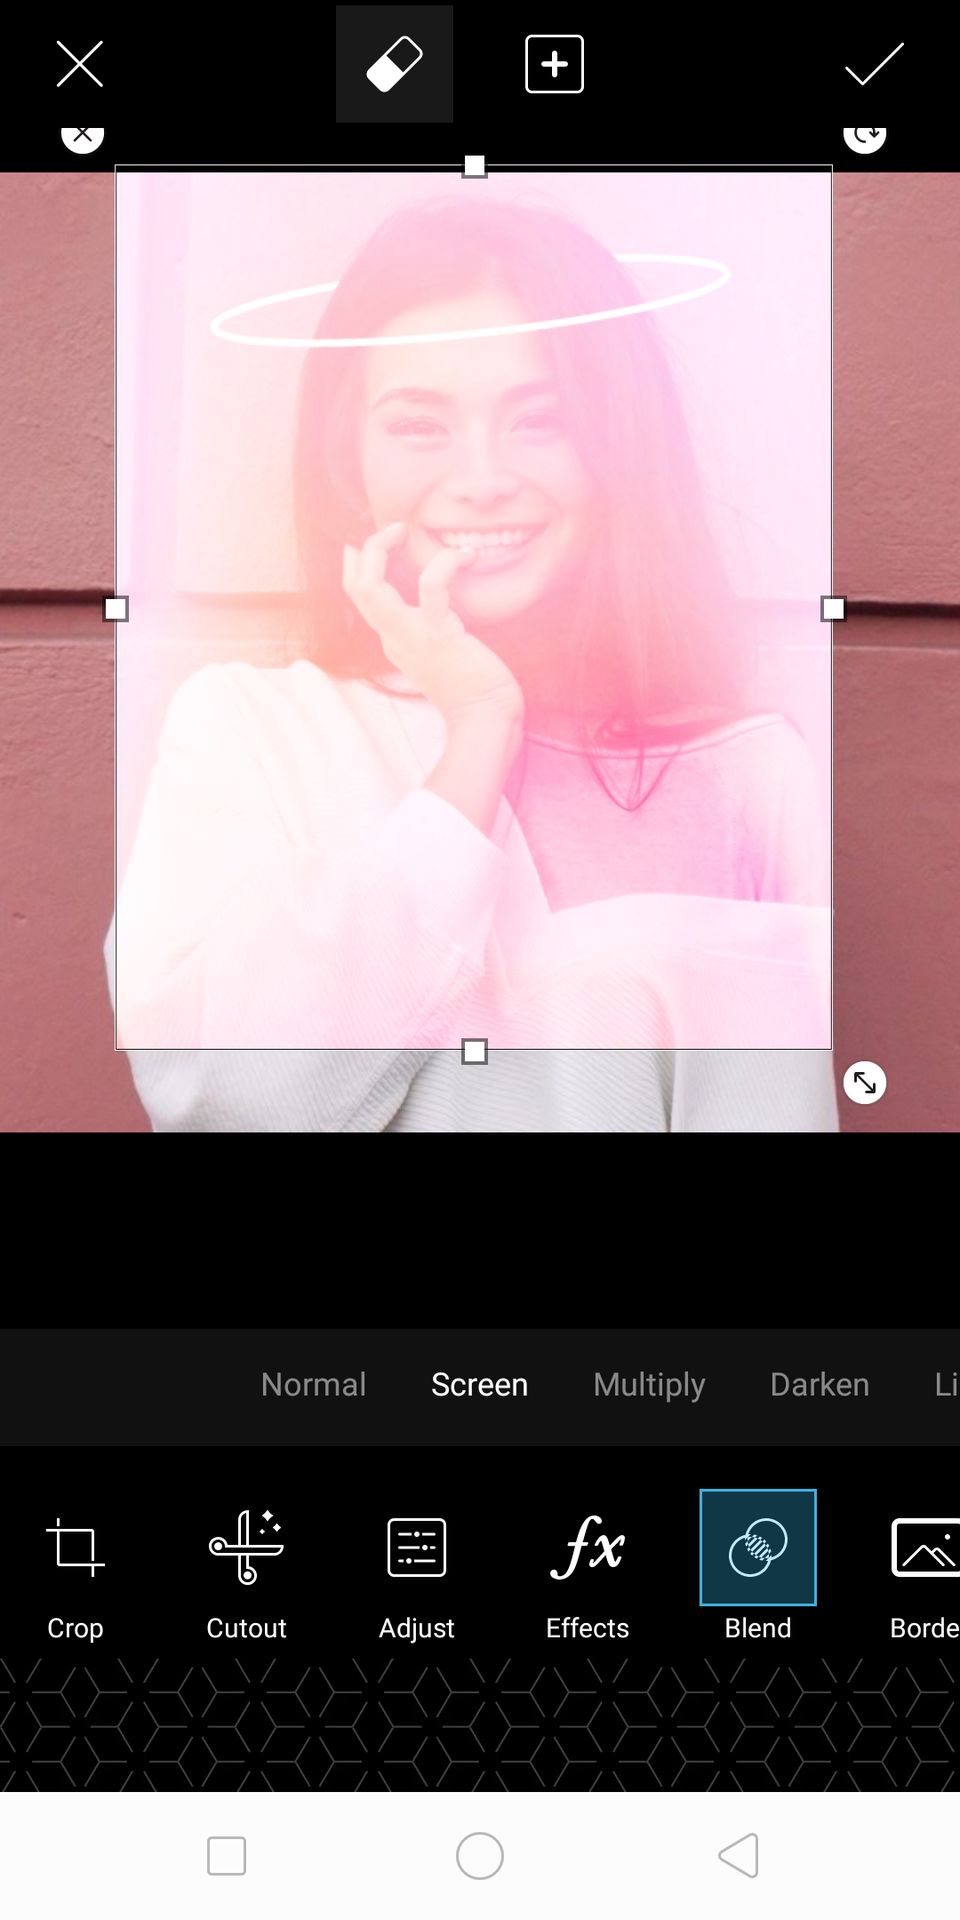
3. Moving on to the glowing effect. choose a bright texture with any color, which i prefer pink for this one. add the texture, then set the blend mode into screen.
skrg cara buat glowing effectnya. pilih bright texture warnanya terserah, tp disini aku milih pink. tmbhkan texturenya, trus blend modenya ubah jadi screen/layar
4. We're going to do the same thing like in part one, where we make the blush. So now click the erase tool, erase the whole texture. then, use the brush with size 15 and hardness 4 or less. now brush around the halo, and after you're done click the checkmark.
kita mau ngelakuin hal yg sama kaya di part one, yg bagian blush. jadi hapus dulu semua texturenya, abis gitu pilih brush, sizenya dijadiin 15 trus hardnessnya 4 ato kurang. trus usap2 disekitaran lingkarannya itu, kalo udh klik centang.
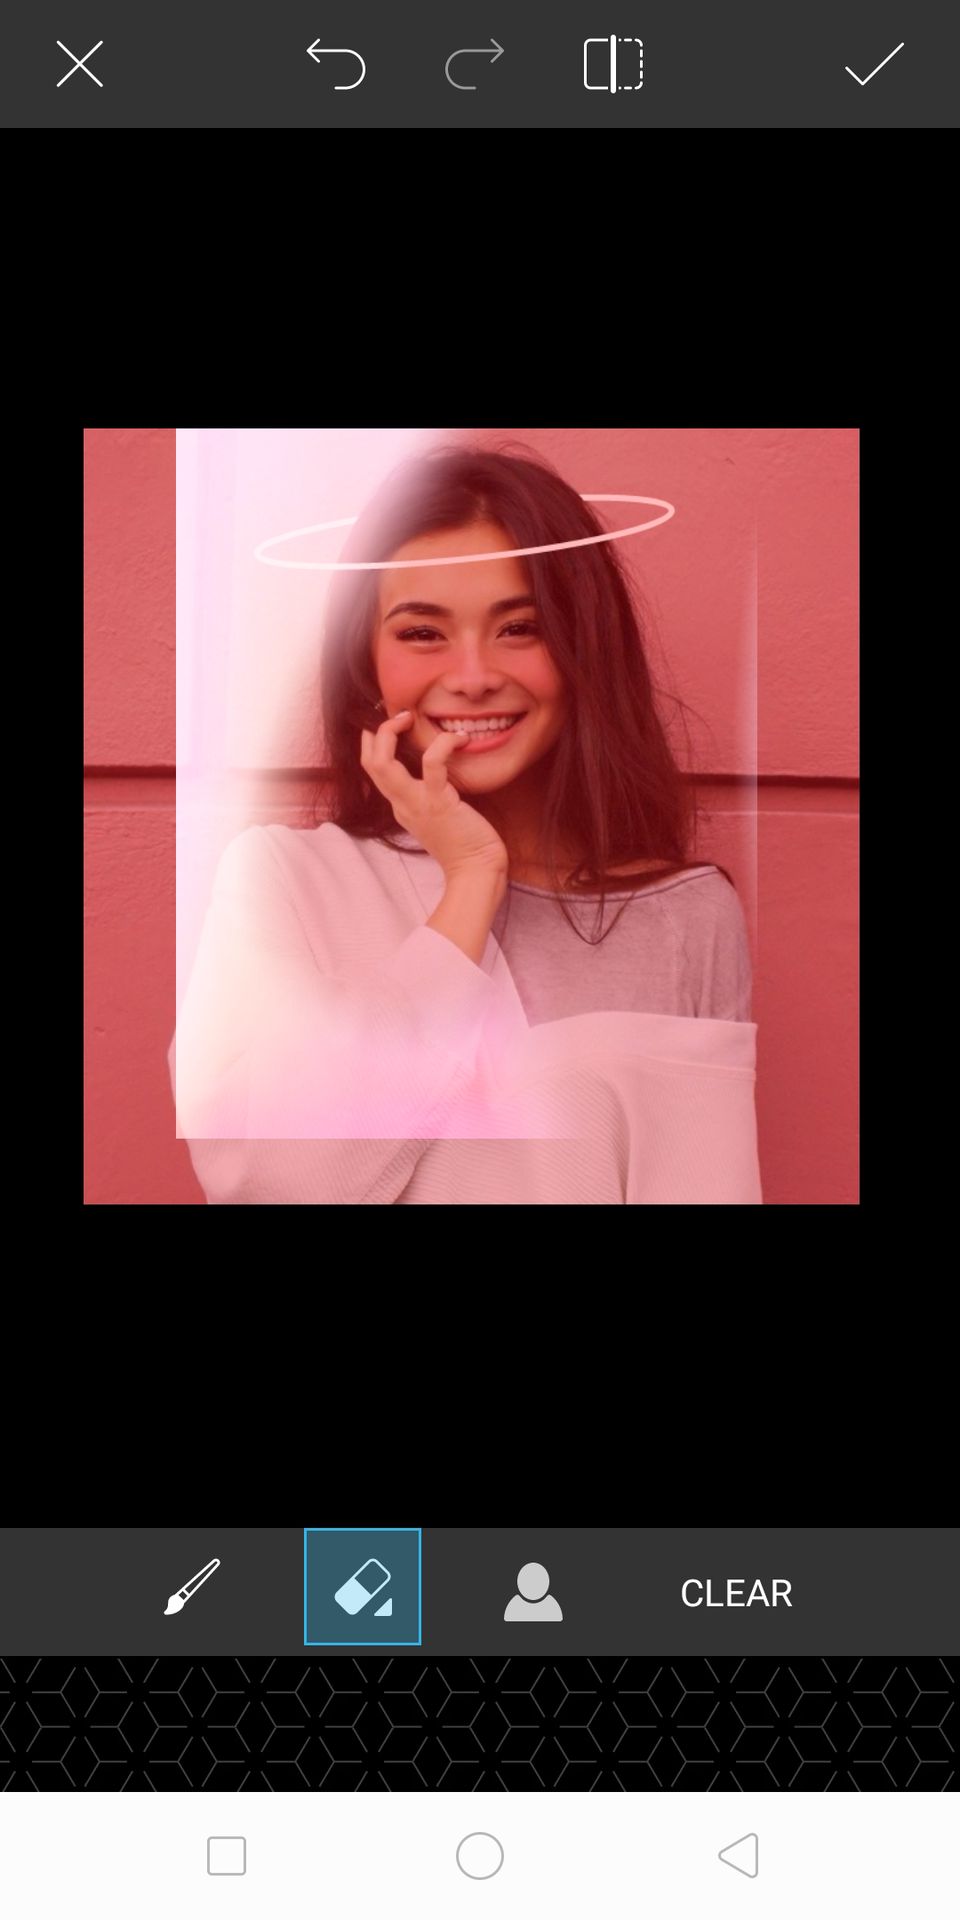
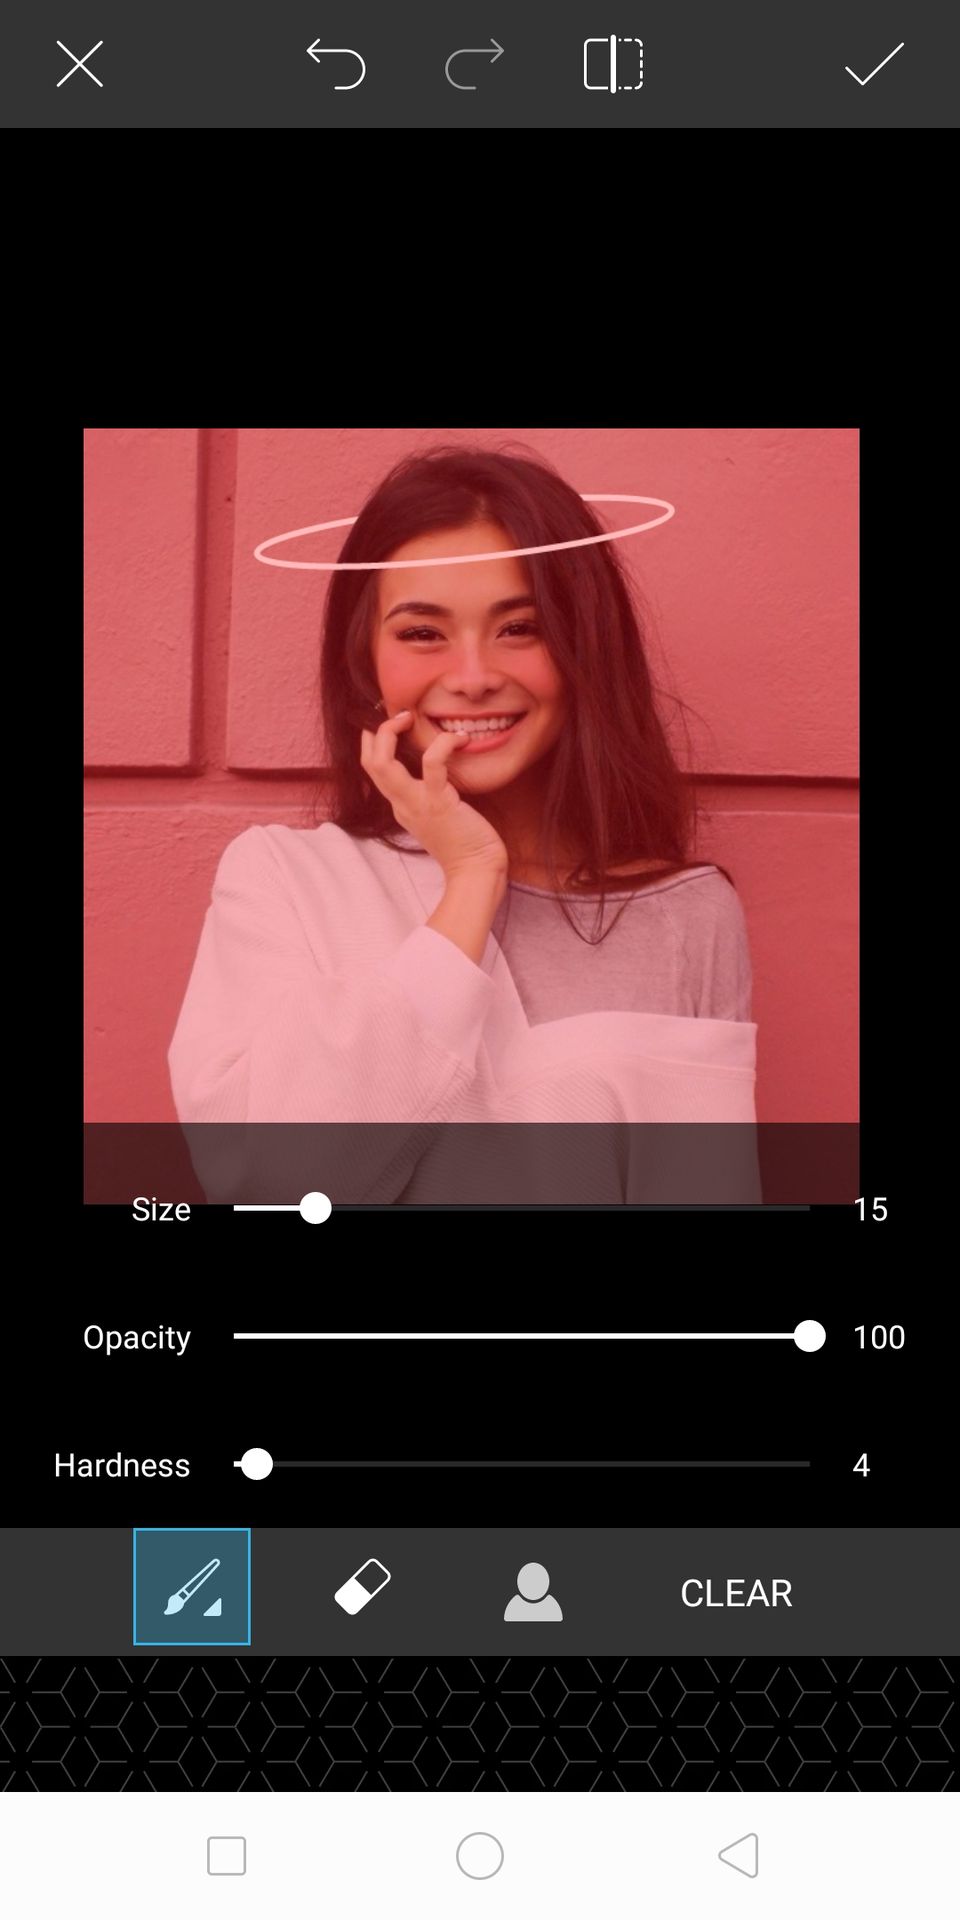
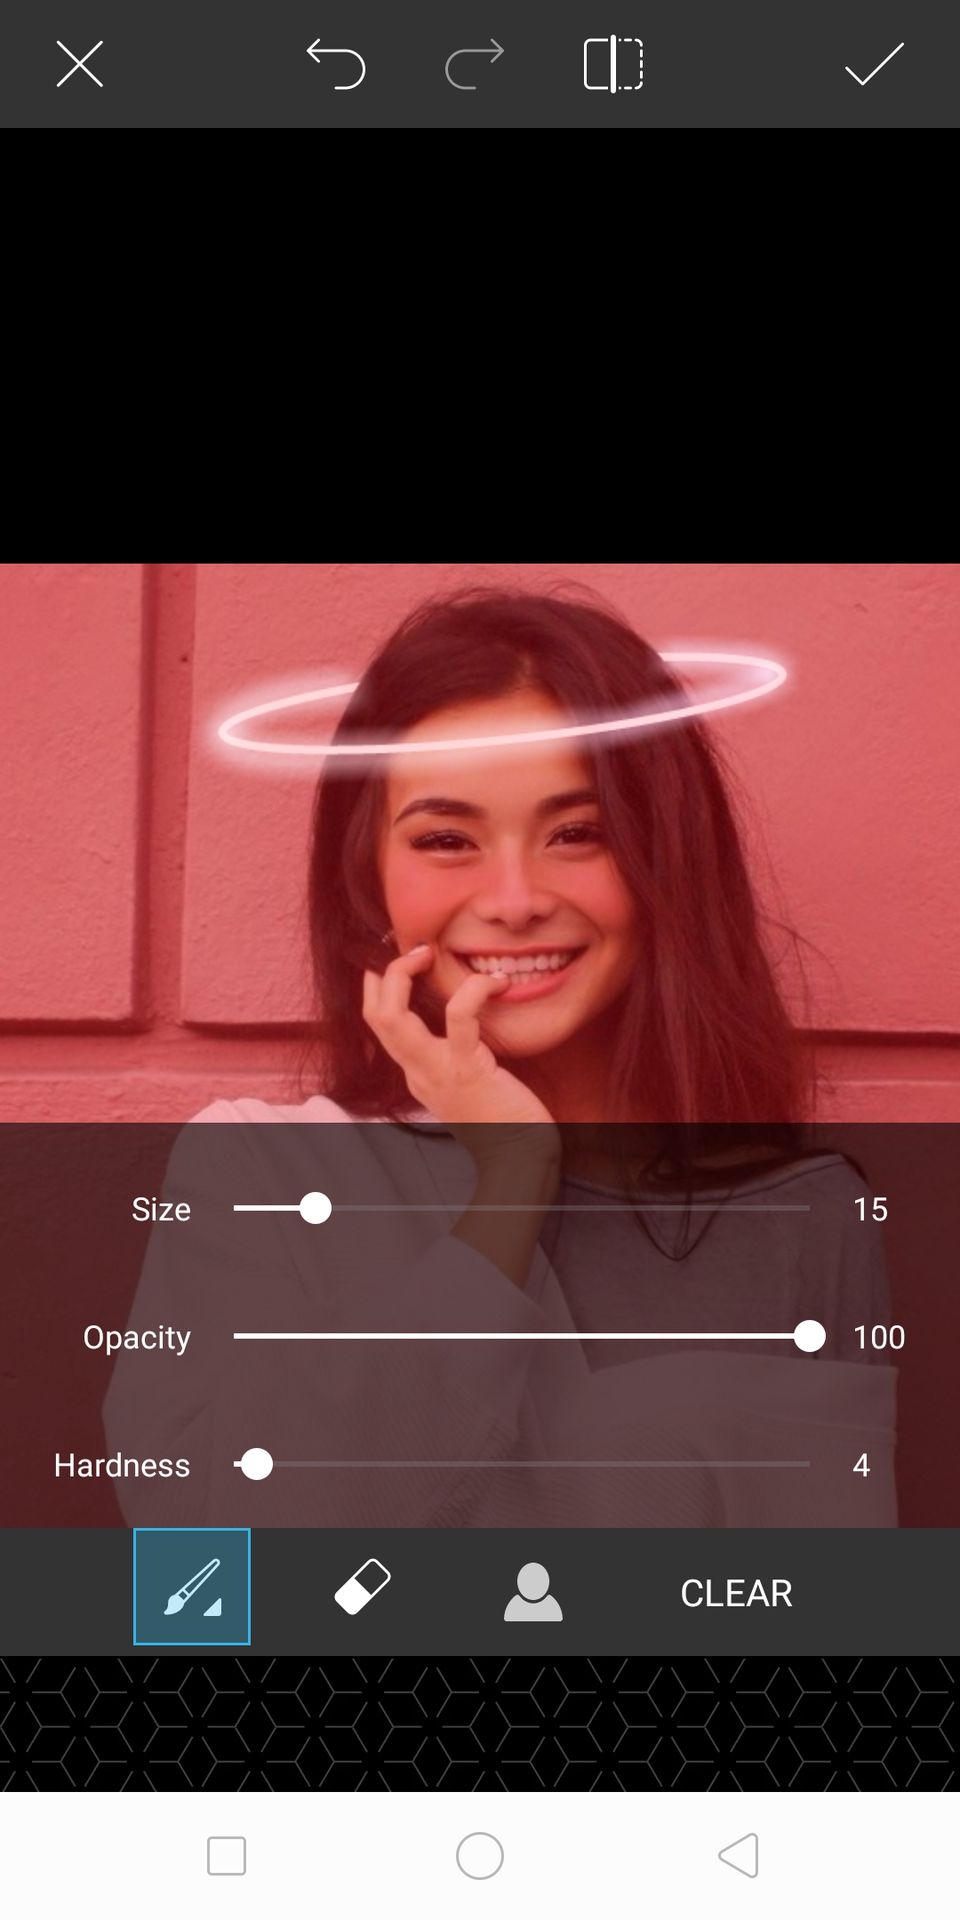
and we're down to the halo thingy!
CUTE BRUSHES
as you may know, the newer version of picsart has this cute brushes tool. well in this part, I'm not going to show you how because its all based on your creativity! here's the tool and what's in it
jadi mngkn bbrp dr kalian tau kalo di vers pa yg lebih baru ada brush tool yg isinya ucul2. jadi aku gaakan tunjukkin gimana caranya, soalnya semuanya ini berdasarkan kreativitas kita masing-masing. jadi ini toolnya dan apa aja di dalemnya


how cute is thattt!!!!!! so I'm using the starry, rainbow, and heart brush
UCUL KAN YA. jadi aku pake brush yg bintang2 itu, rainbow, sama yg hati2.
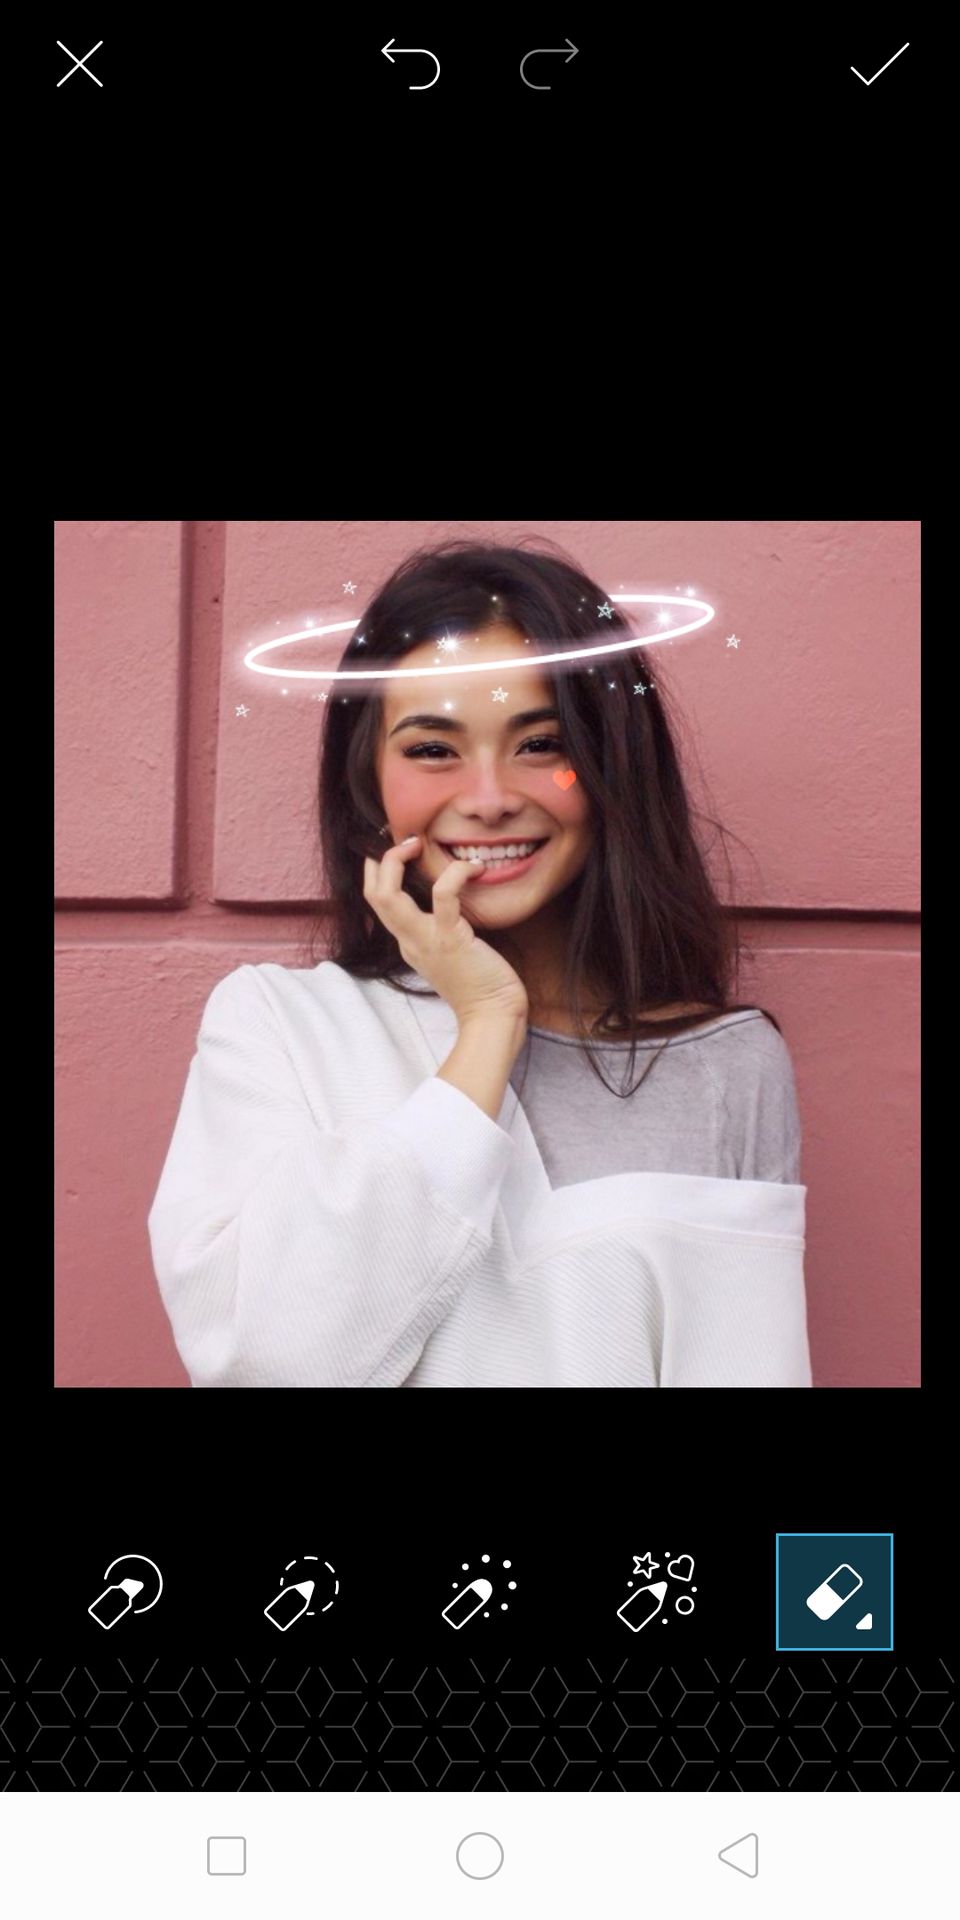

AND WE'RE DONE! don't forget to save! now you have your own aesthetic icon without requesting or needing any hard apps like photoshop, just in picsart!
okay, so the tutorial ends here. let me know if you wanted to request another tutorial/resources/anything. see u soon!
gbye lovelies.

Bạn đang đọc truyện trên: AzTruyen.Top