TEXT-BASED COVER [Pt.1]
Requested by Princess-of-Heaven.
[Gif process in multimedia.]
Today I will be sharing with you guys how to make a text based book cover. This is just my way of doing things, you are more than welcome to follow any other tutorial that you find easier or more effective (let me know about it too! 😁)
**Also contains a mini tutorial on how to import web fonts in ibispaintx.**
A text based cover is basically the one which concentrates more on the text, it's placement and style are actually the centre of attention for such covers. Typography covers are also similar but usually there isn't any base image involved, just solid colored backgrounds like textures or gradients.
So we're going to get creative with our text cuz there isn't any model or other stuff used that could save the day.
For the purpose of this tutorial I used the ibispaintx android app and all the resources are from pixabay or my own.
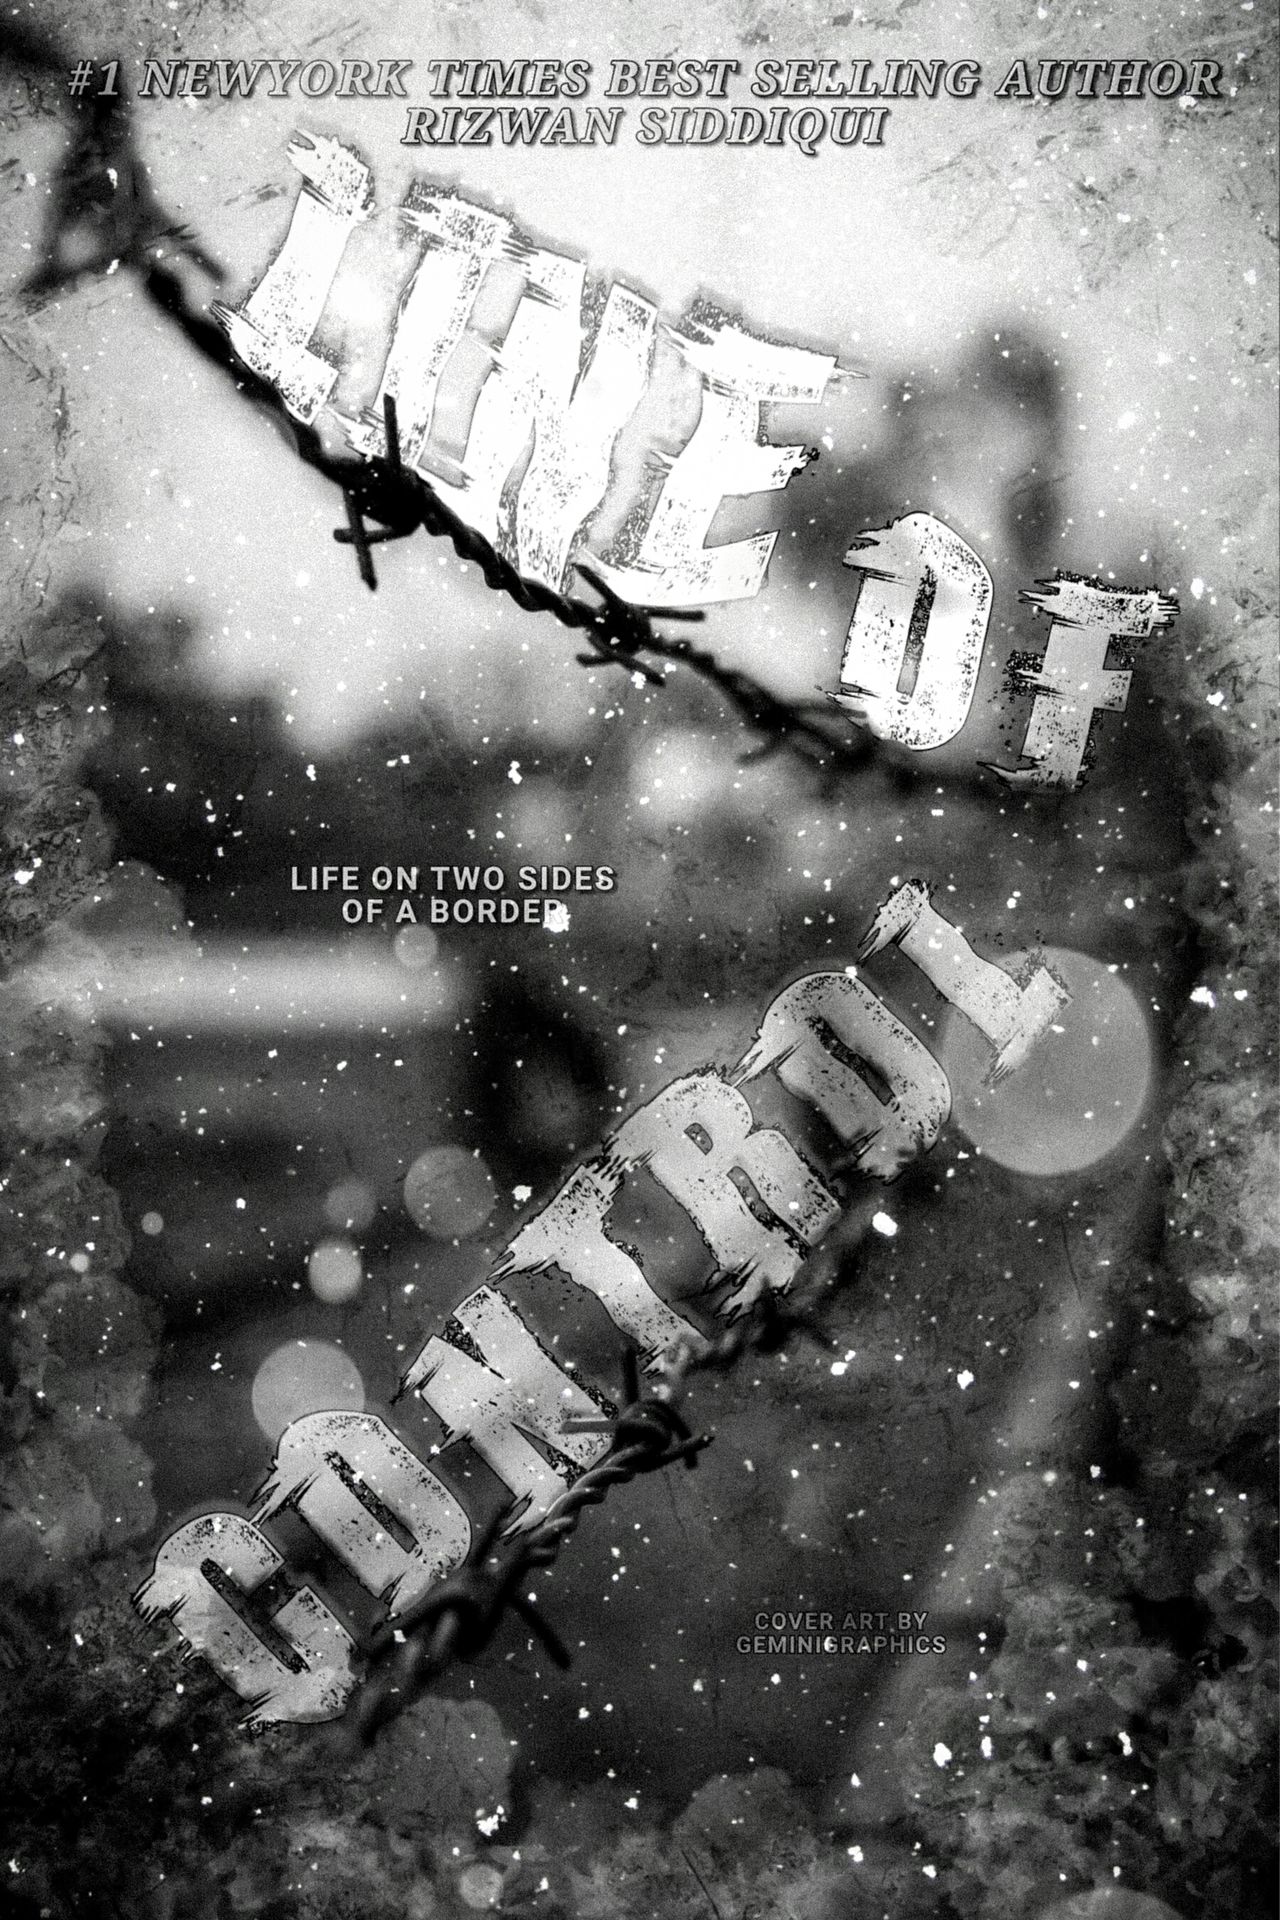
We'll be creating this cover:
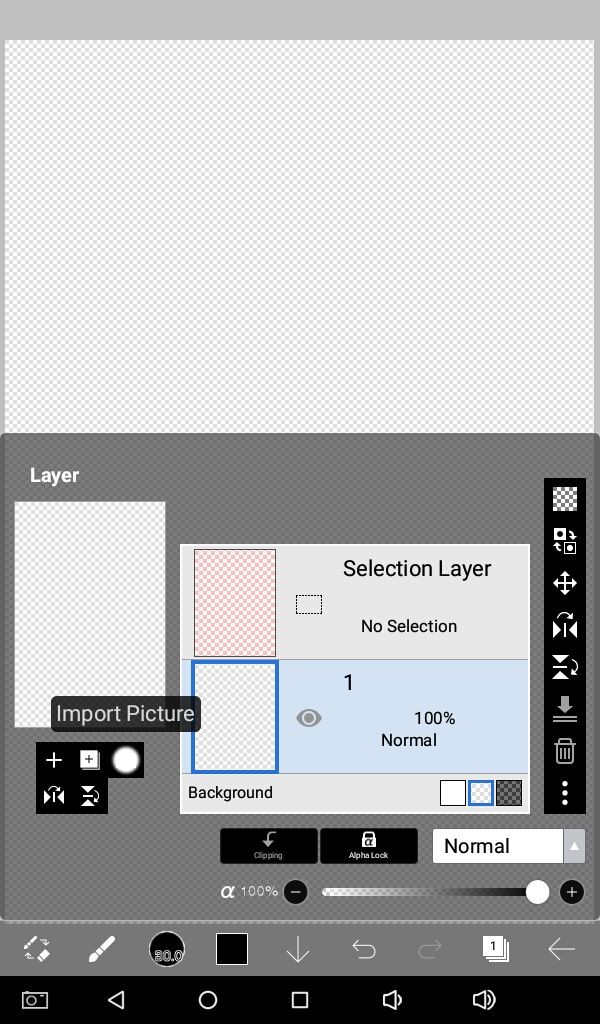
Start a new project with a canvas size of your choice.
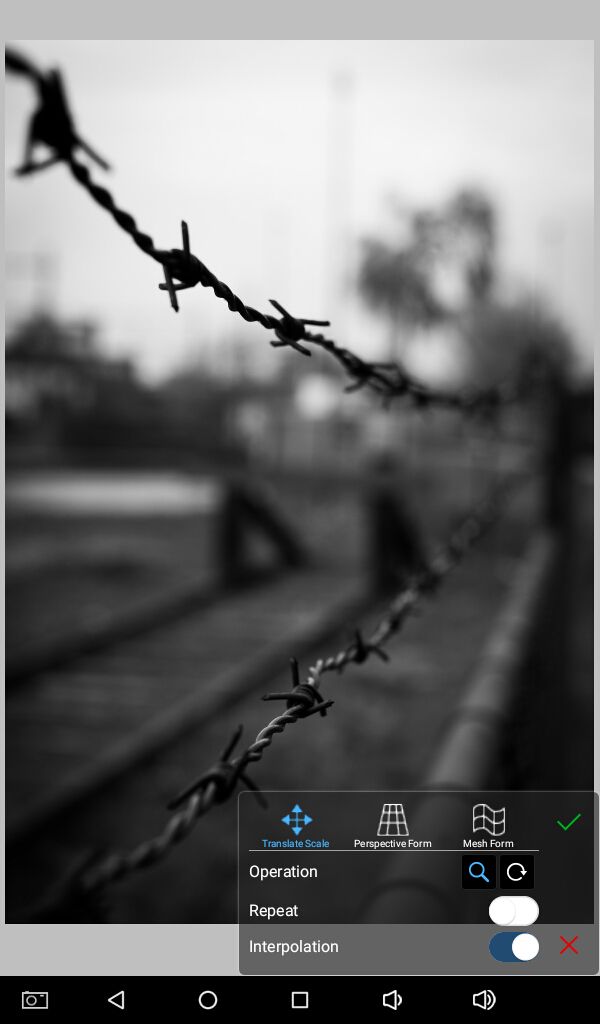
Import your base image and when you are content with the placement, press tick. You can blur parts of the background with the blur tool and soft brush if you want to, mine was already blurred so I didn't have to.
Add an empty layer above the base image than import your desired texture. Keyword used, "grunge textures."
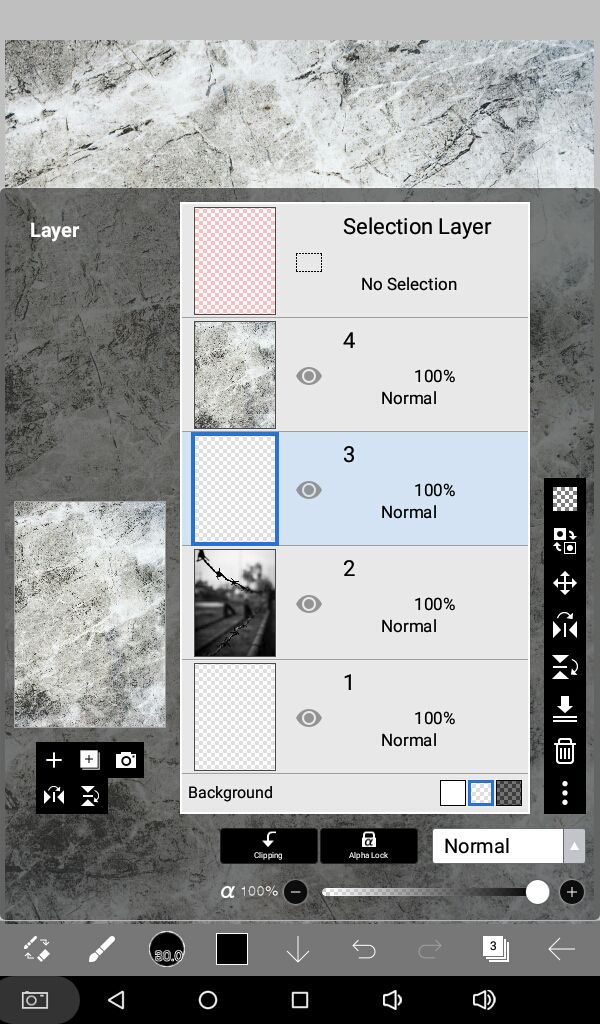
Rotate it if needed and place it on the graphic in a way that it covers it all.
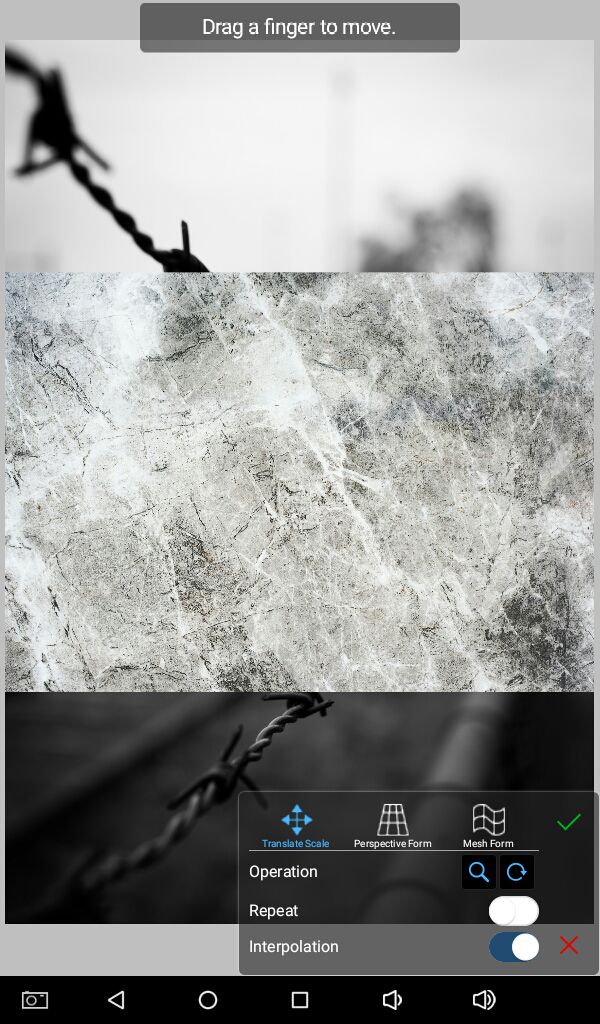
Make the texture layer invisible by clicking on the eye. Then select your empty layer underneath it.
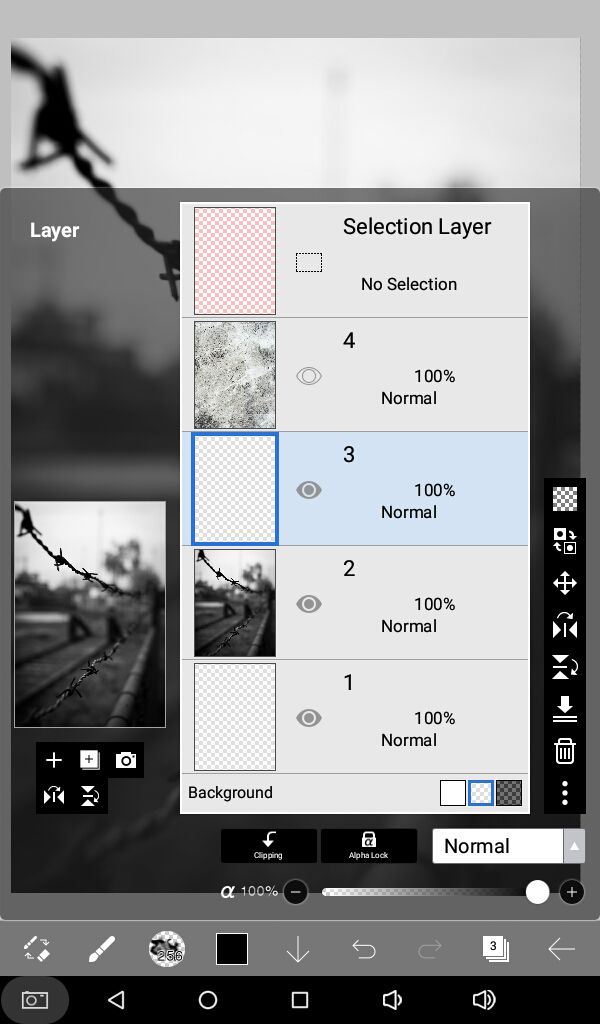
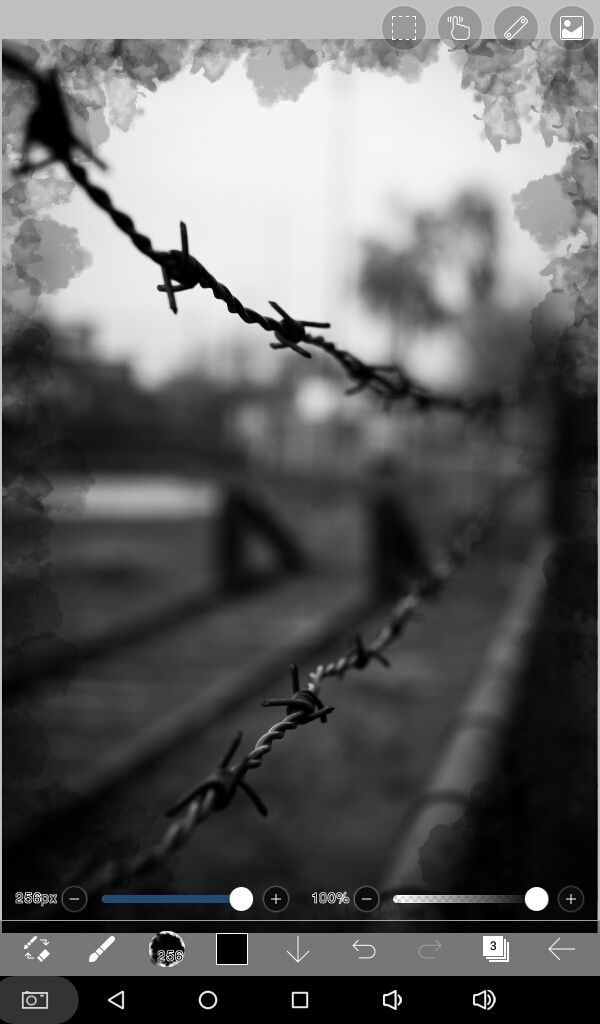
With any of the watercolor brushes and a dark color (preferably black) on full opacity start drawing around the edges of the whole length of the cover.
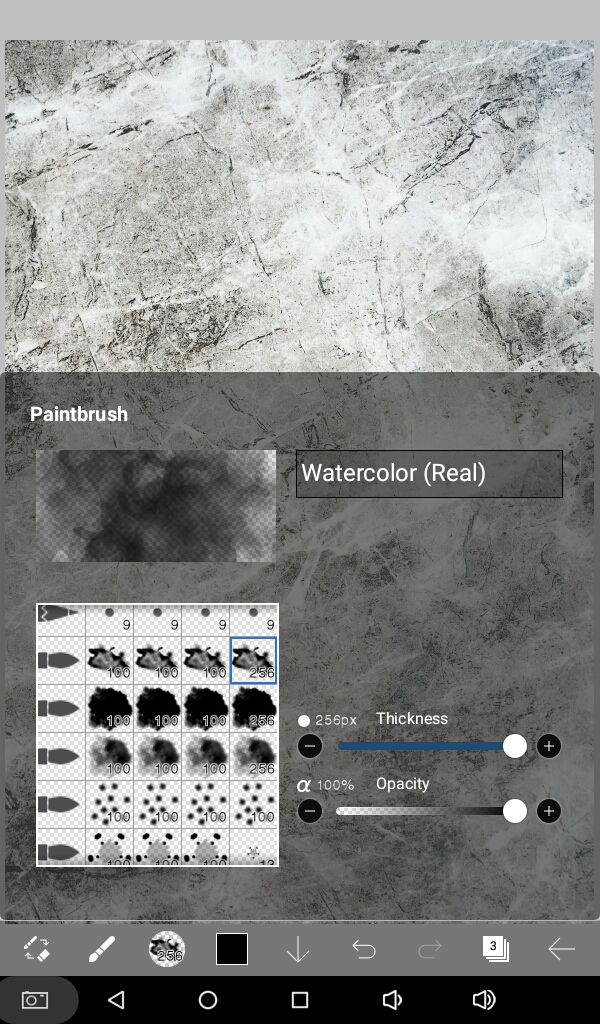
Zoom in for better precision.
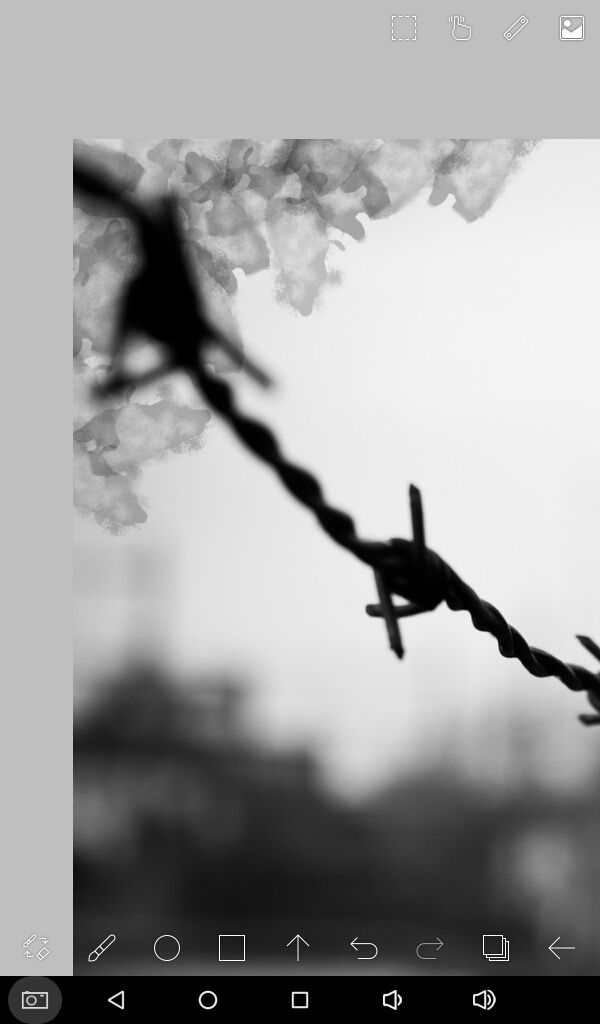
Make kind of a border/frame around the cover. Use another brush and draw on areas that you might have missed at first to make it more opaque.
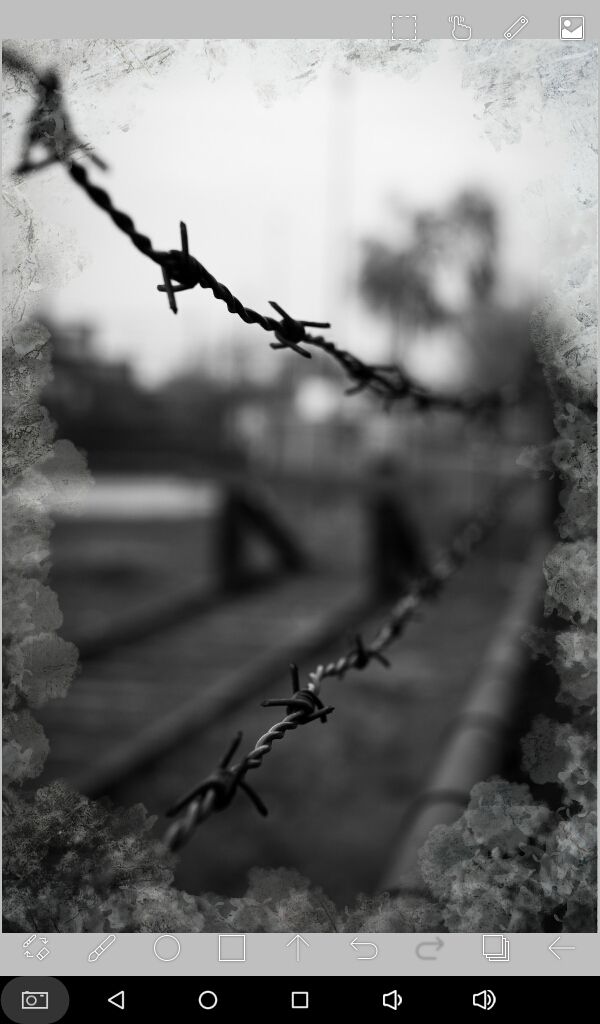
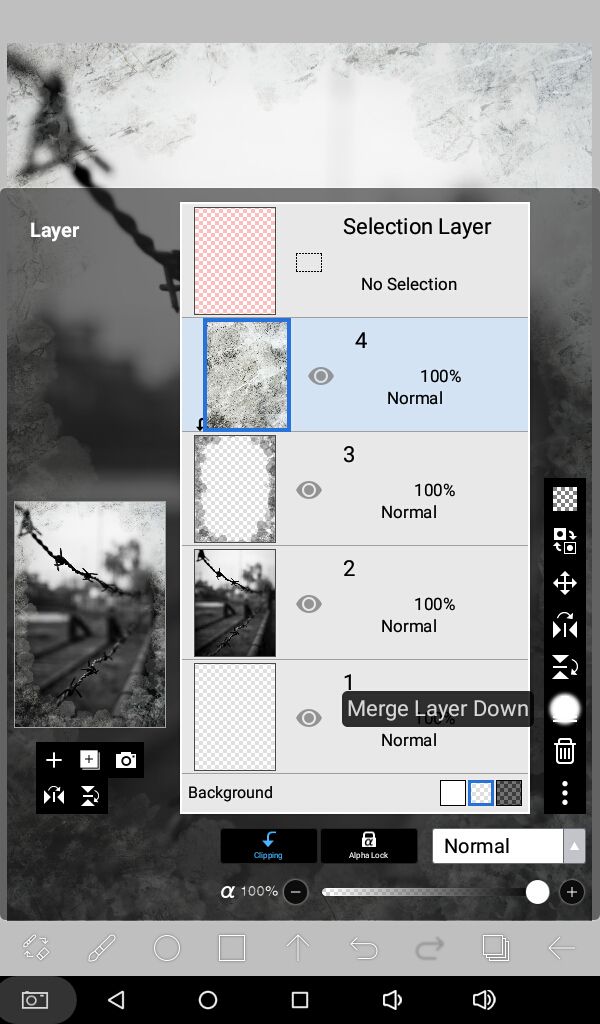
Make the texture layer visible by clicking on the eye again. Press the clipping option at the bottom and the texture can only be seen on the layer (the border that we drew) underneath it.
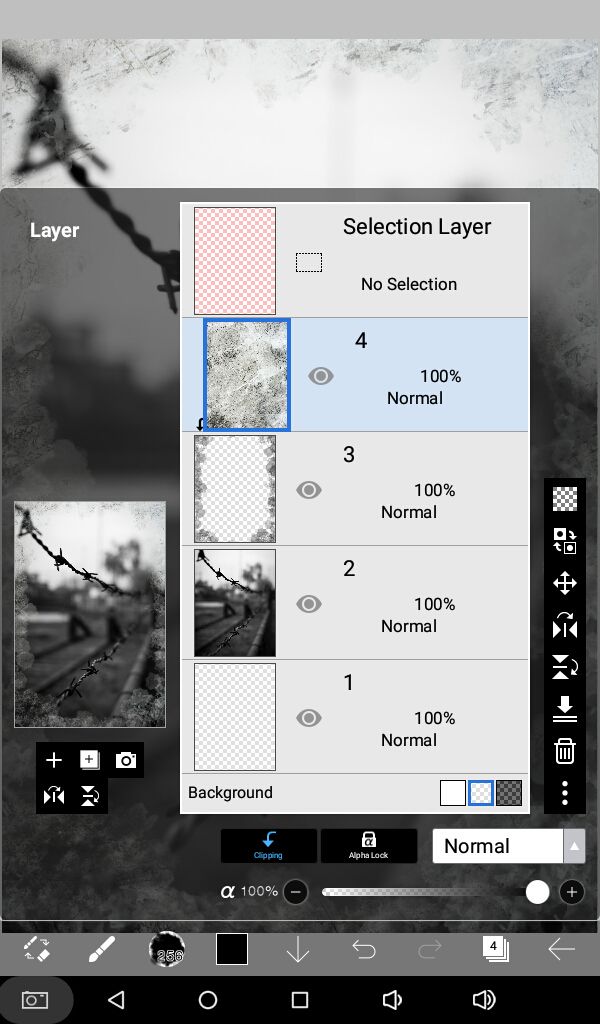
Take a look here.
Add an empty layer on top of the texture. We are just placing it there because anything you add above a clipped layer automatically gets added to only to the layer underneath it and we don't want that. You can delete it later when you have placed another layer on top of it.
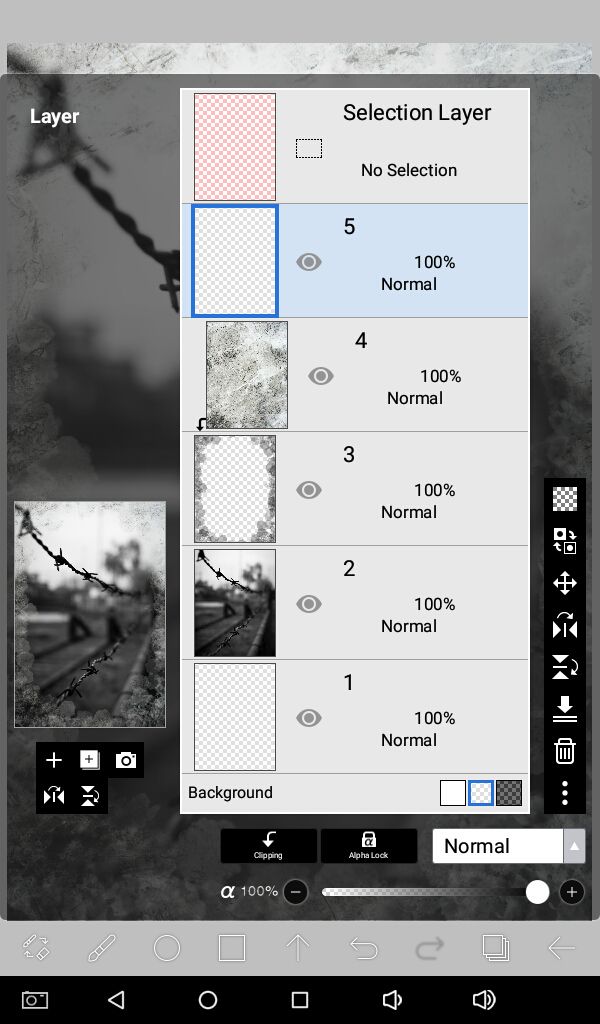
Or if you are satisfied with your border frame and wouldn't want to edit it later to fit in your graphic as you proceed designing, you can merge it down and the clipping will vanish. You won't have to add an empty later as well.
Now is the fun part. Adding text!
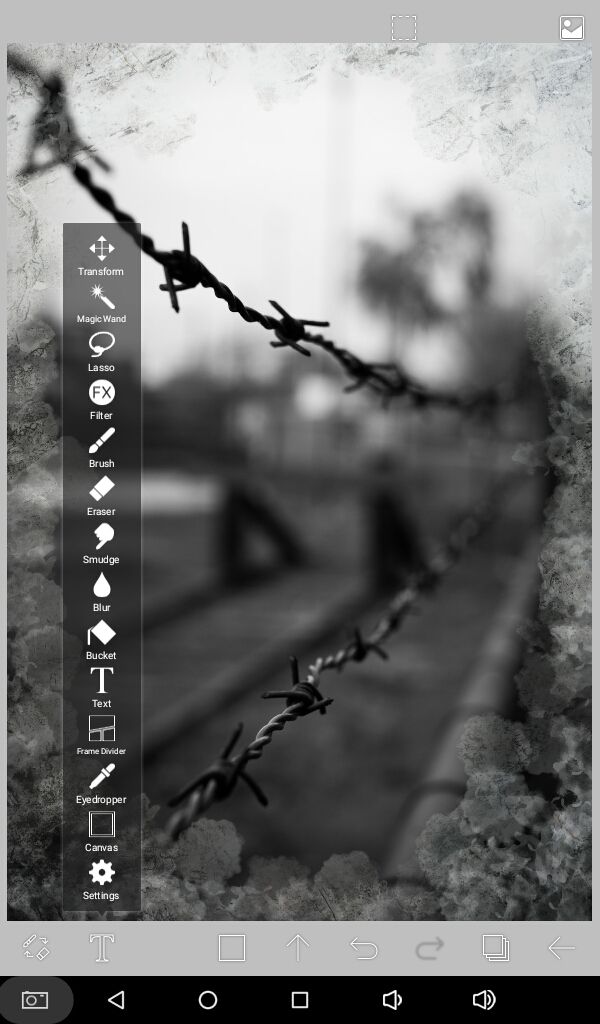
I'm going to use ibispaintx to add the text this time but I also use pixellab.
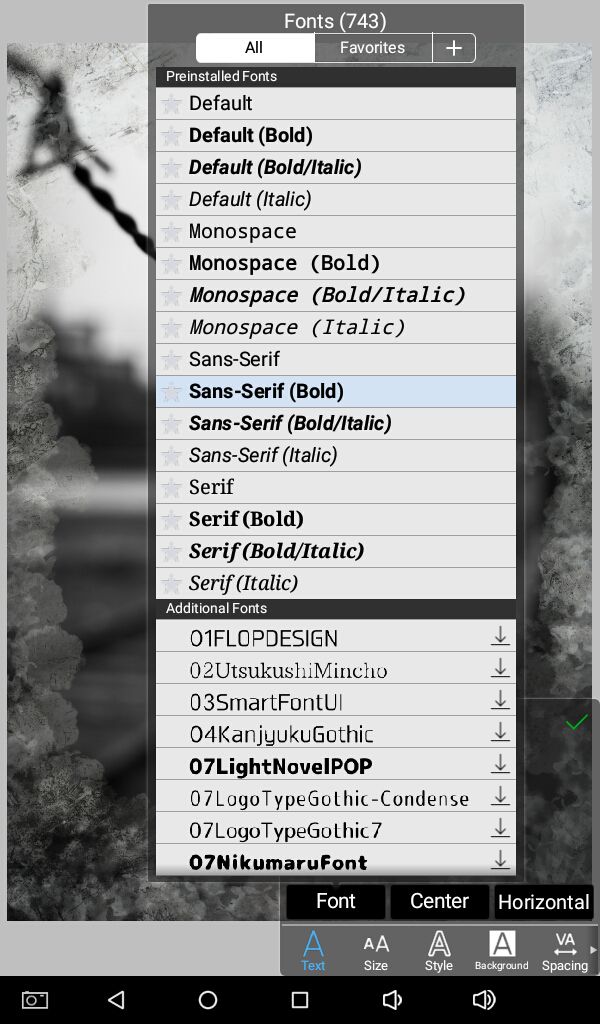
Ibispaintx doesn't have many useful fonts. The app was originally created to draw manga comics so all default fonts are there with that consideration in mind. But don't worry, you can import your own fonts. You'll need internet connection for this part though!
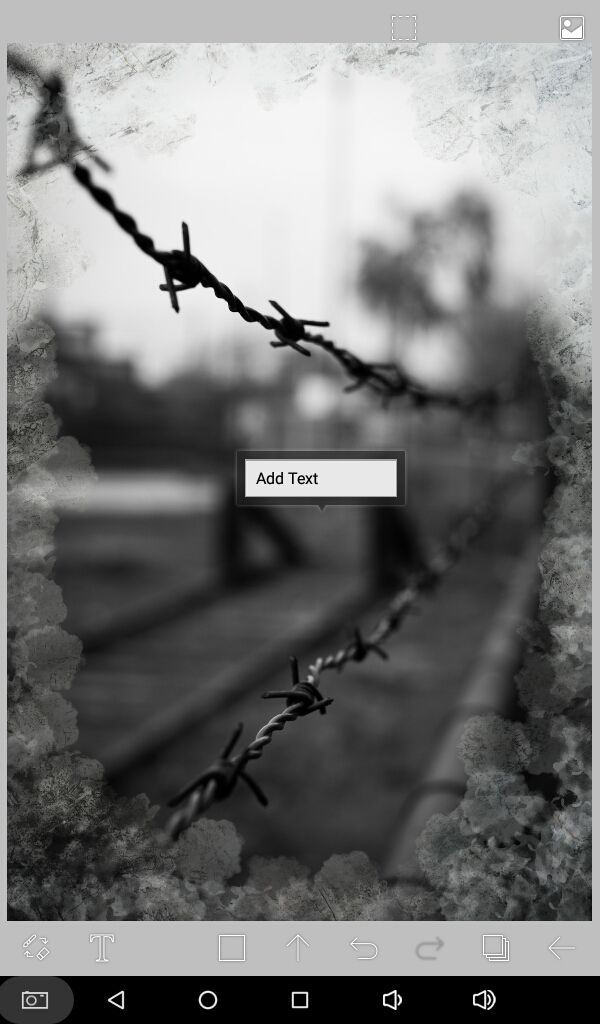
Click anywhere on your graphic after choosing text tool and a pop up prompting you to 'add text' comes up.
When you type in your text there's an option where you can select fonts, from there click on the plus sign "+" at the top right of your screen.
It'll take you to such an screen, in other words, it'll open your browser within the app. You can go to any font sites on the list. I get most of my fonts from dafont.
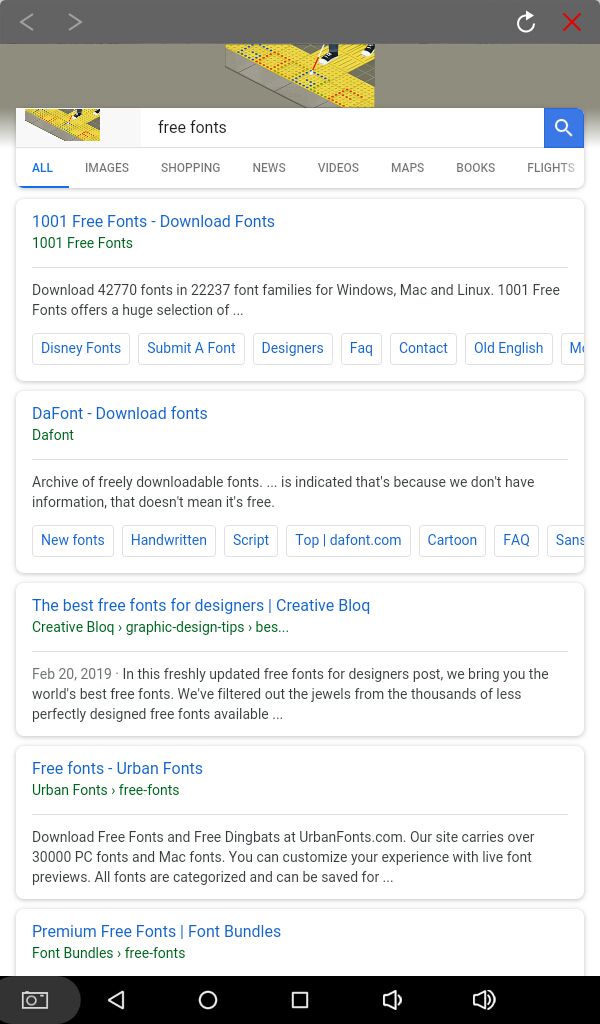
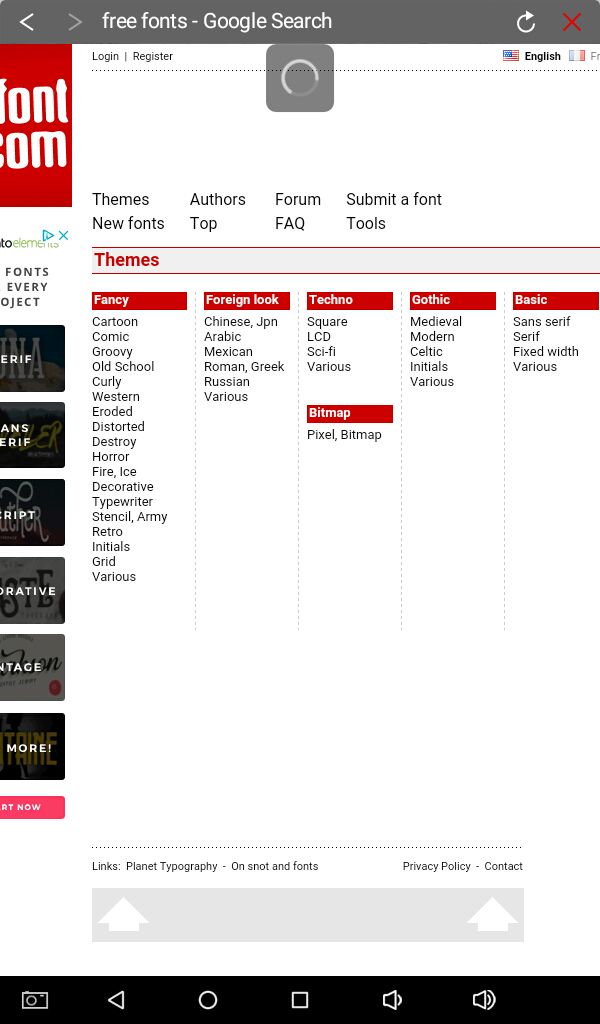
From themes, choose the category that best fits the genre of your graphic. I went with distorted under fancy cuz I'm going for a grungey look.
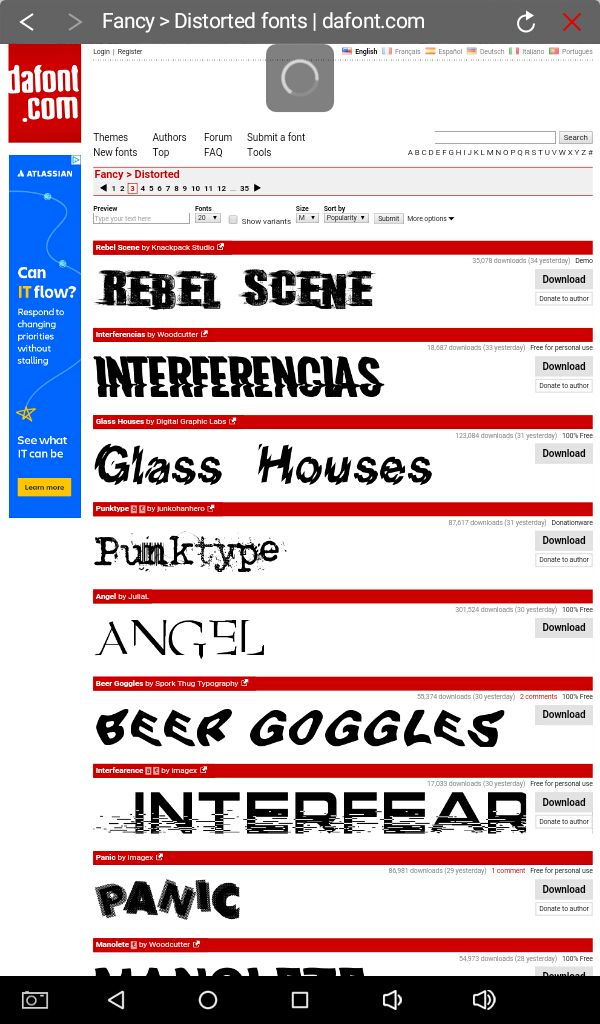
Once you have found your perfect font, click on the download button next to it.
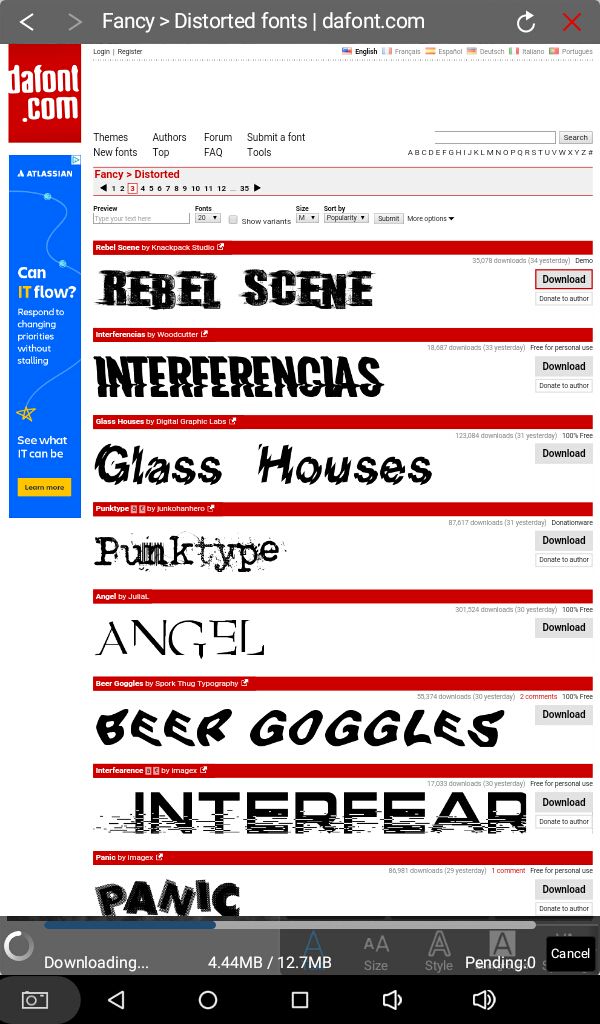
And the app will automatically start downloading your chosen font. See at the bottom of the screen.
Hopefully you are with me till this step.
.... Continued on the next part.
Bạn đang đọc truyện trên: AzTruyen.Top