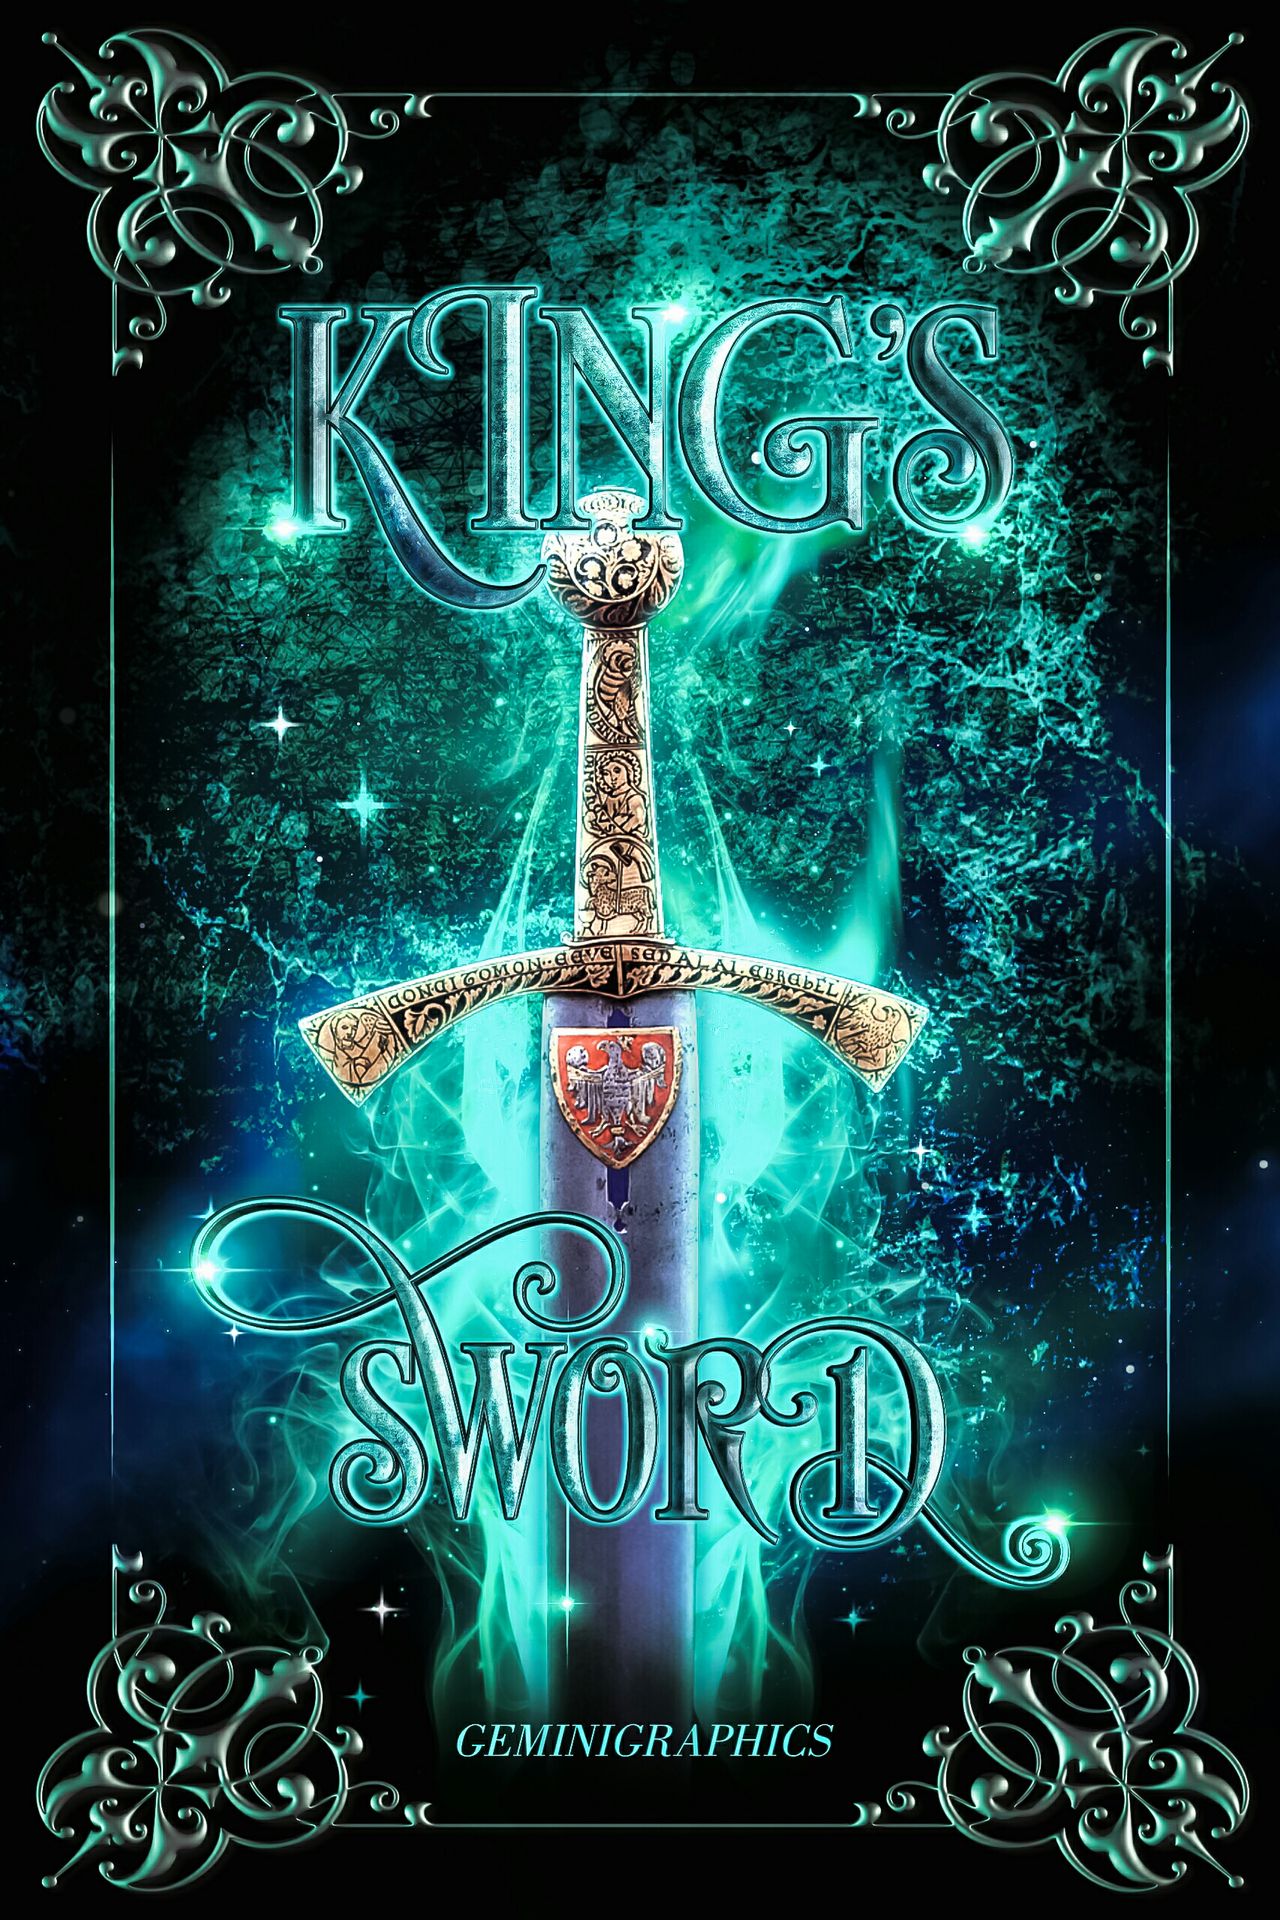
OBJECT-BASED BOOK COVER [Pt.1]
Requested by Princess-of-Heaven.
Today I'll share with you how I make my object based covers. For the purpose of this tutorial, I am going to make this graphic, and I chose fantasy genre but the same process can be used for any other genre as well.
I used ibispaintx for this example and all resources are from pixabay. Font used is Desire font family.
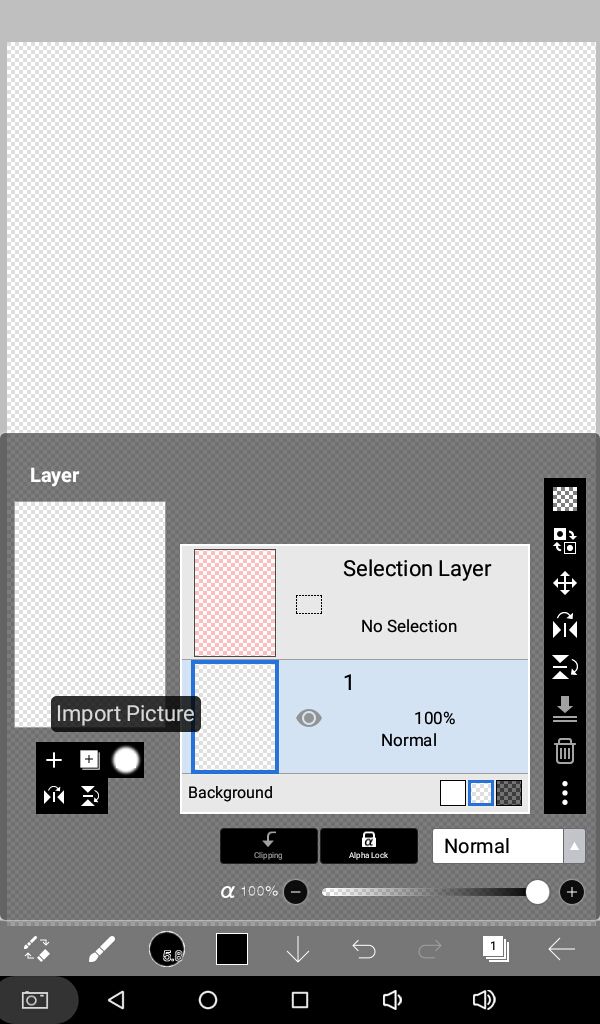
Start of with placing your base texture on the first layer with the dimensions you usually use for covers.
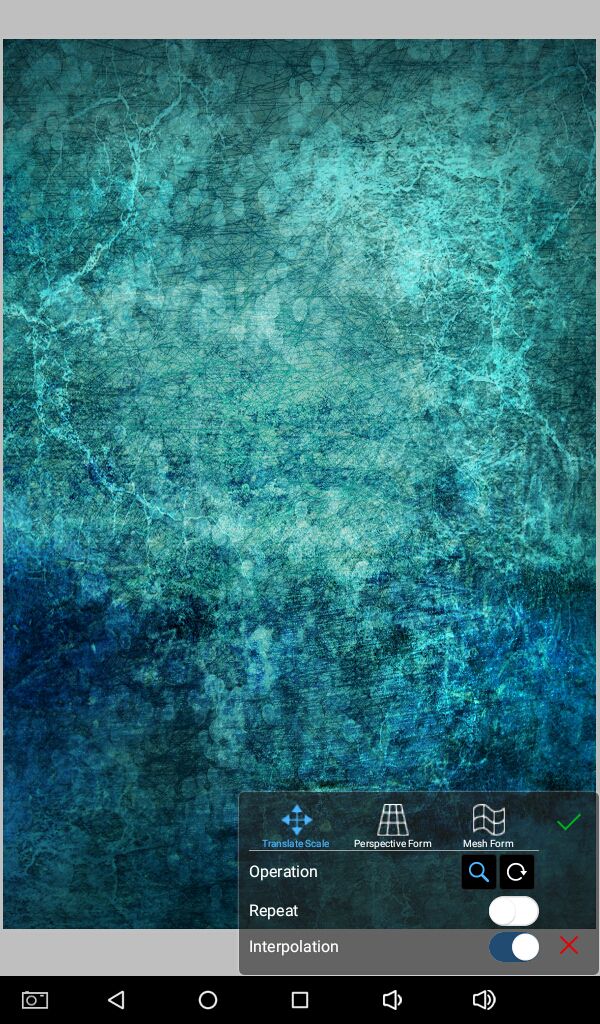
Place your texture as desired and press tick.
Pro tip: when looking for resources, use keywords, like here I searched 'grunge textures.'
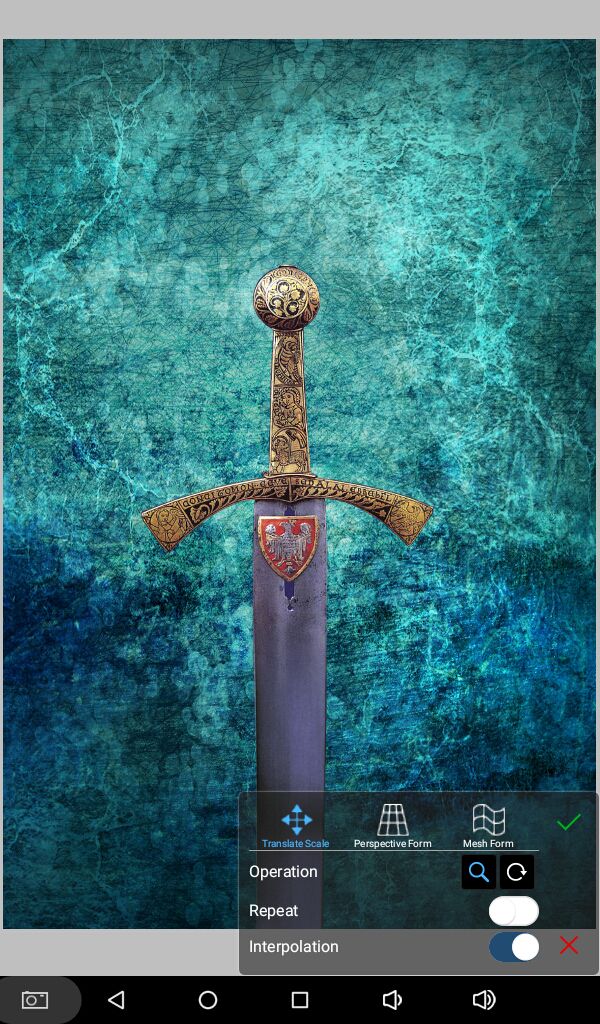
On a separate layer, above the texture, add your object. I'm using a sword. Place it at the position of your choice, preferably in the middle so that it's the center of attention on the cover.
Now on other separate layer(s), below the layer of your object, add more textures/images to your cover as desired.
Pro tip: Don't overdo on the textures and never apply sharpness on each layer.
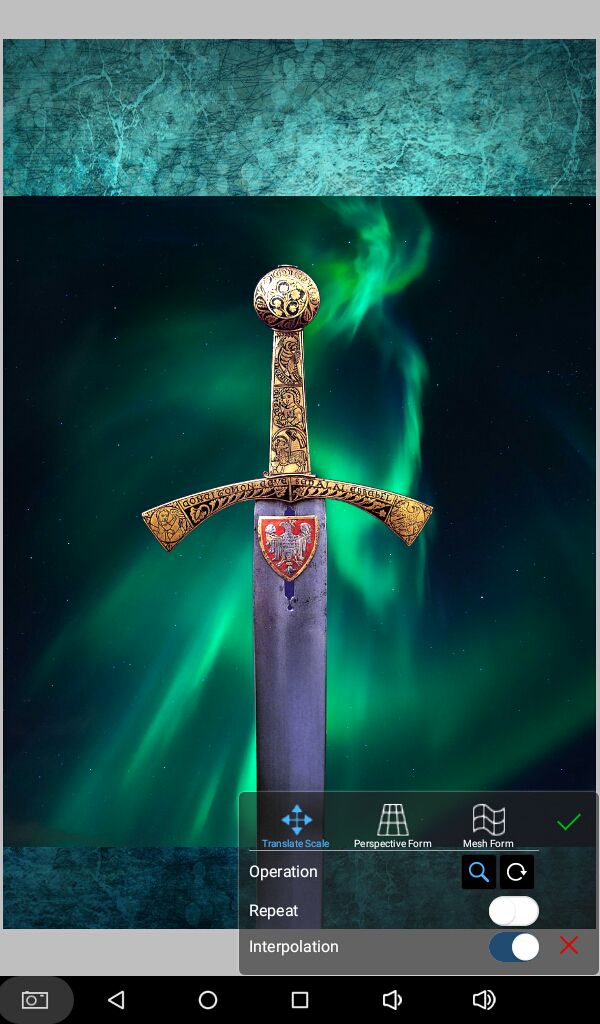
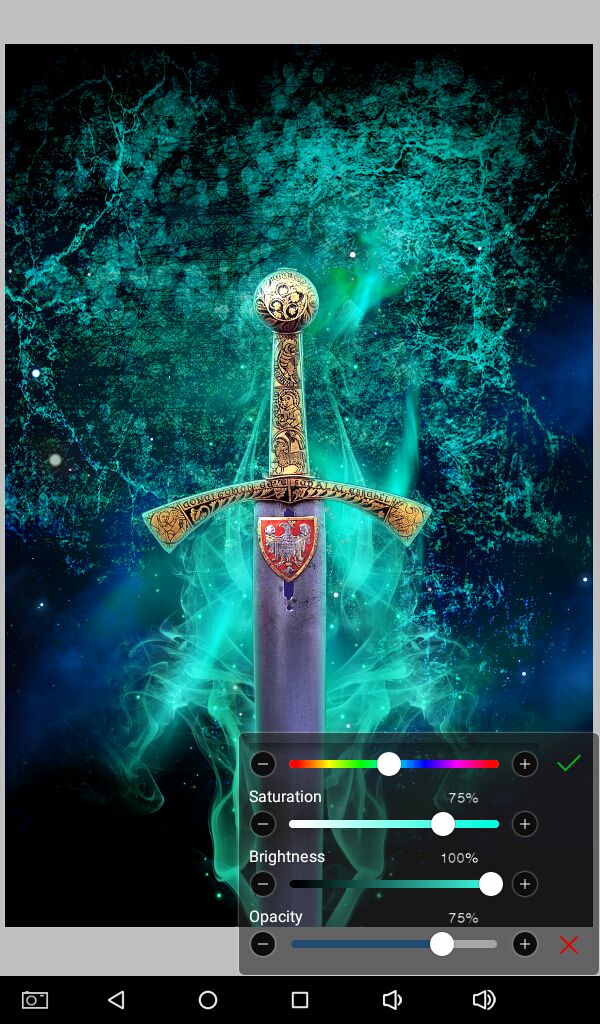
To match it's surrounding, always balance color by adjusting hue.
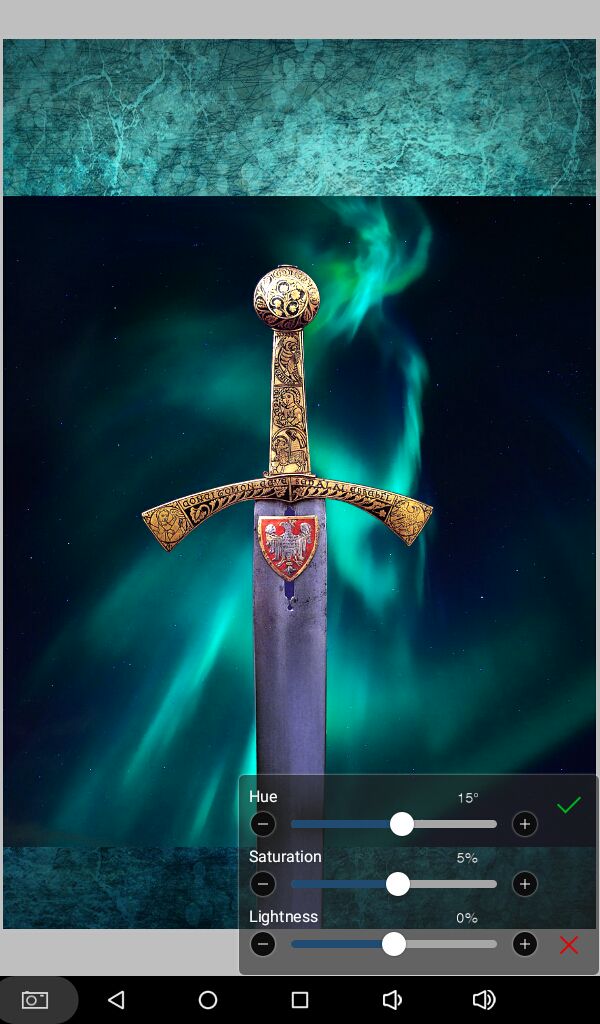
Using correct blending modes can make or break your graphic. Experimenting won't harm you. There's an option for undo for a reason.
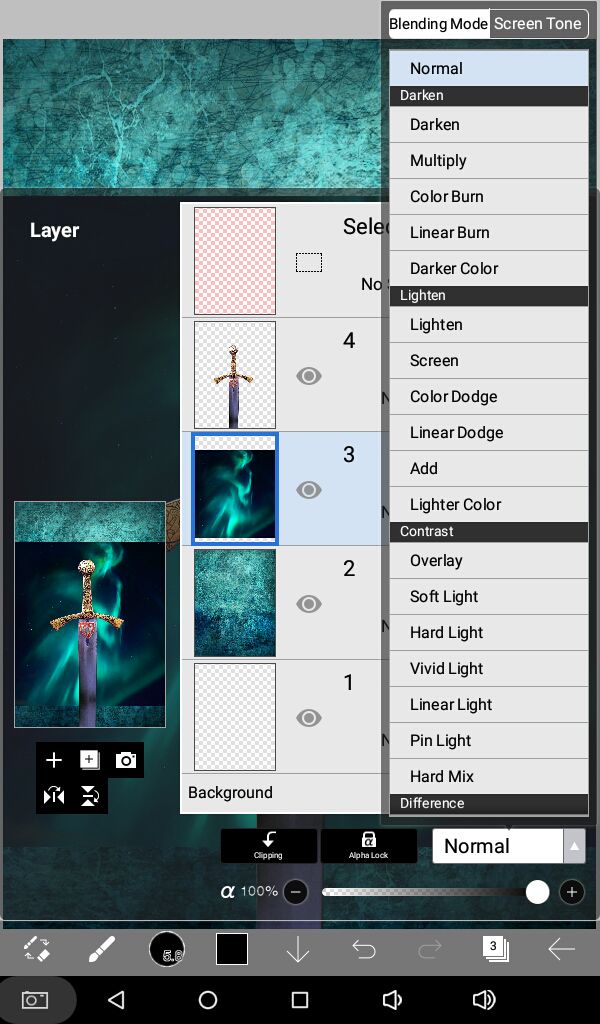
I added some more textures. Keyword, 'cosmic textures' or 'galaxy textures.'
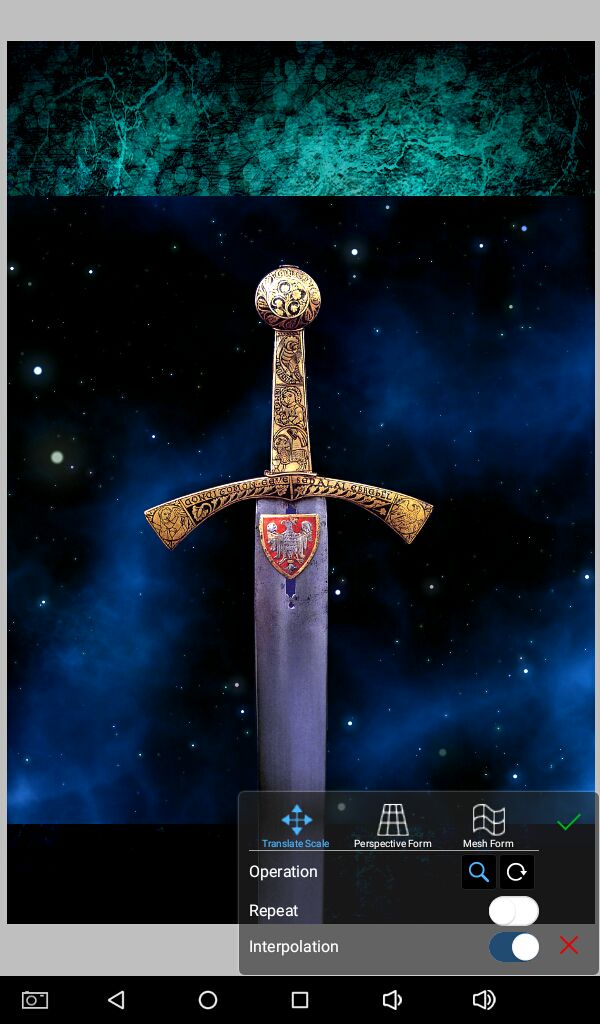
Now we are going to add some smoke, behind the sword to enhance it some more. Keyword used, 'colored smoke.'
Choose resources respective of your genre and type of graphic. Place wherever you would like, on the layer below your object.
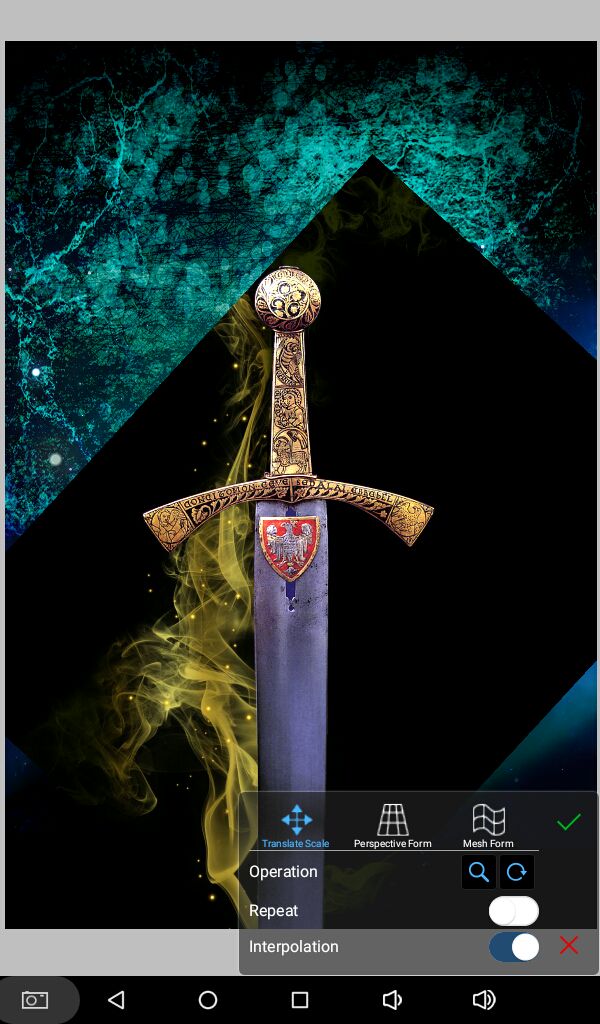
Change hue and balance colors to match the cover.
Duplicate the smoke layer and mirror it on the other side, from the toolbar on the right. Fourth icon from the top.
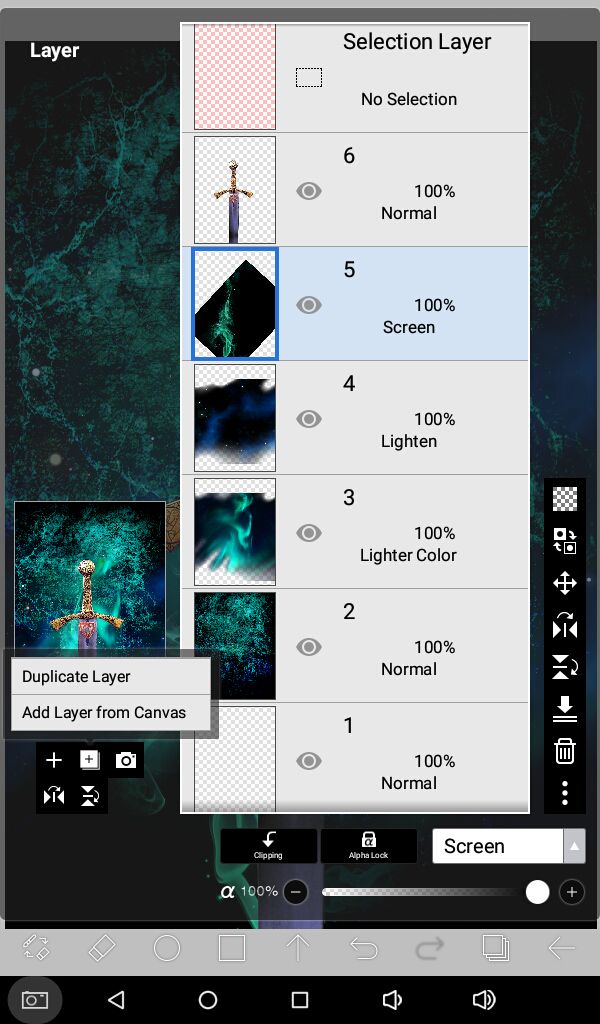
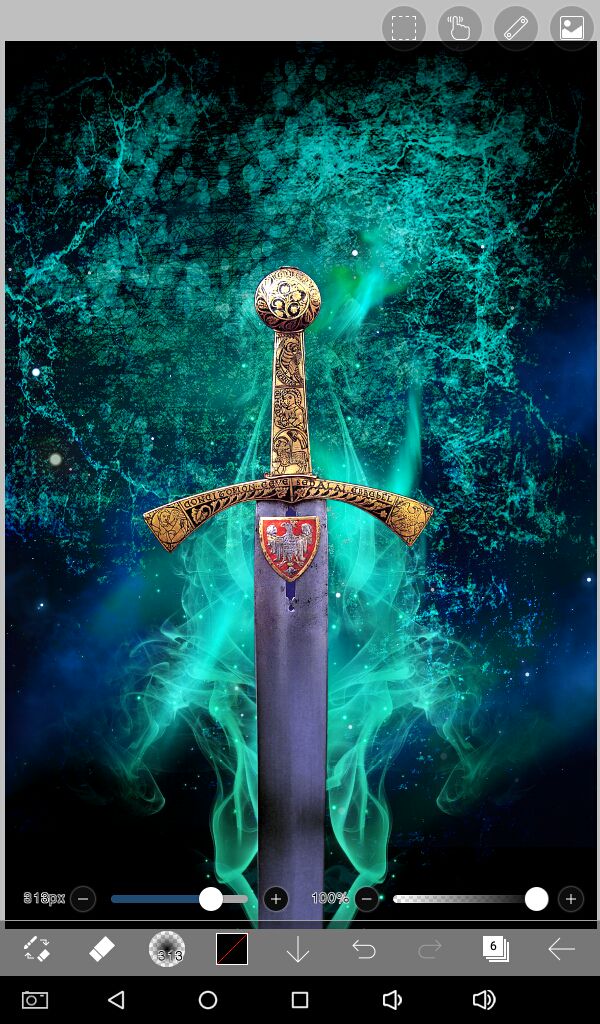
This is how it looks at the moment.
On a layer above the sword, we are going to add inner glow from the filters. This step is mostly for fantasy and mystery/thriller graphics.
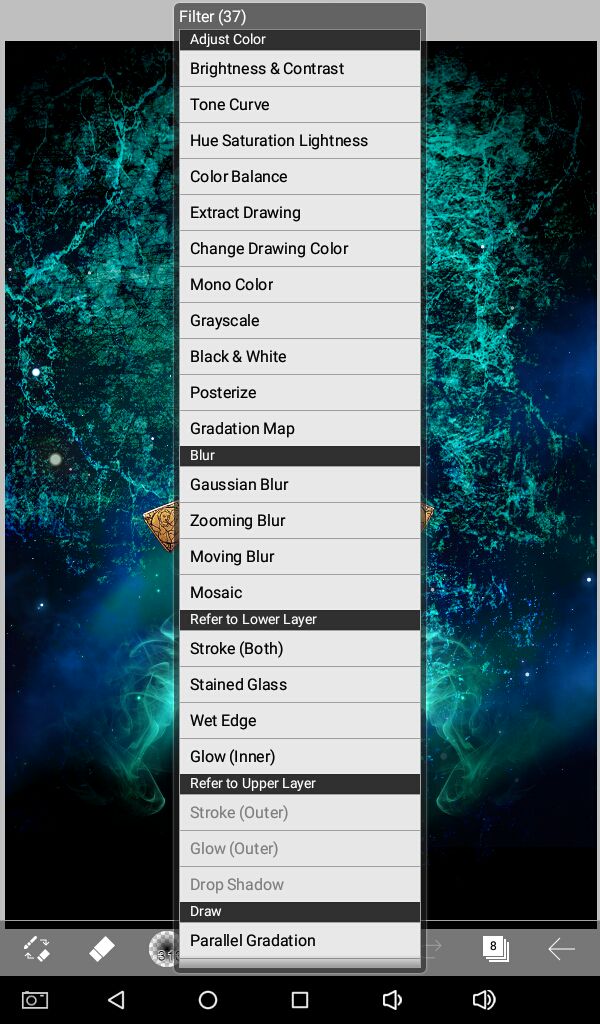
Adjust color and settings to match the color scheme of your cover. Change blending mode of the layer to add, decrease the opacity if needed.
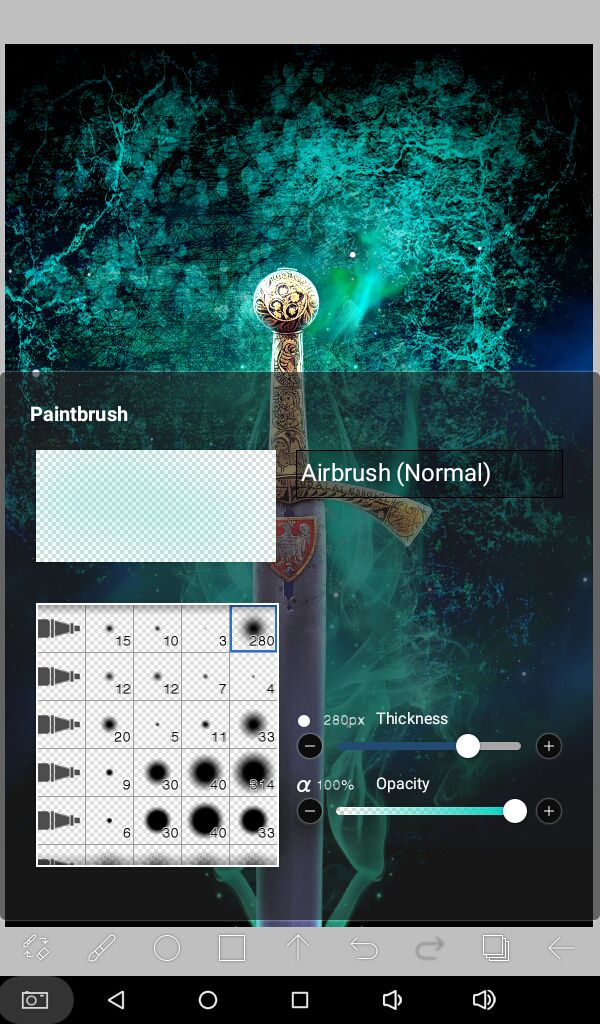
On another layer below the sword, on blending mode at add, with a soft brush like airbrush(normal) and thickness at almost about the max, draw behind the sword mimicking it's shape to add light source behind the object.
You can add outer glow in the effects in ibispaintx but it's too harsh. I suggest not using it.
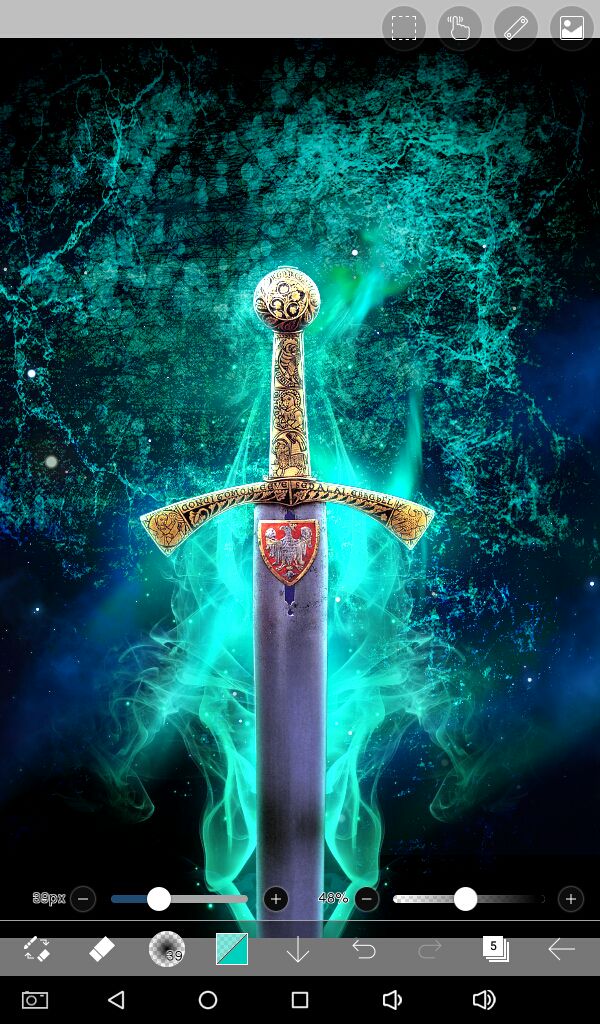
See the difference?! Add drop shadows, on a separate layer if there's a need for it.
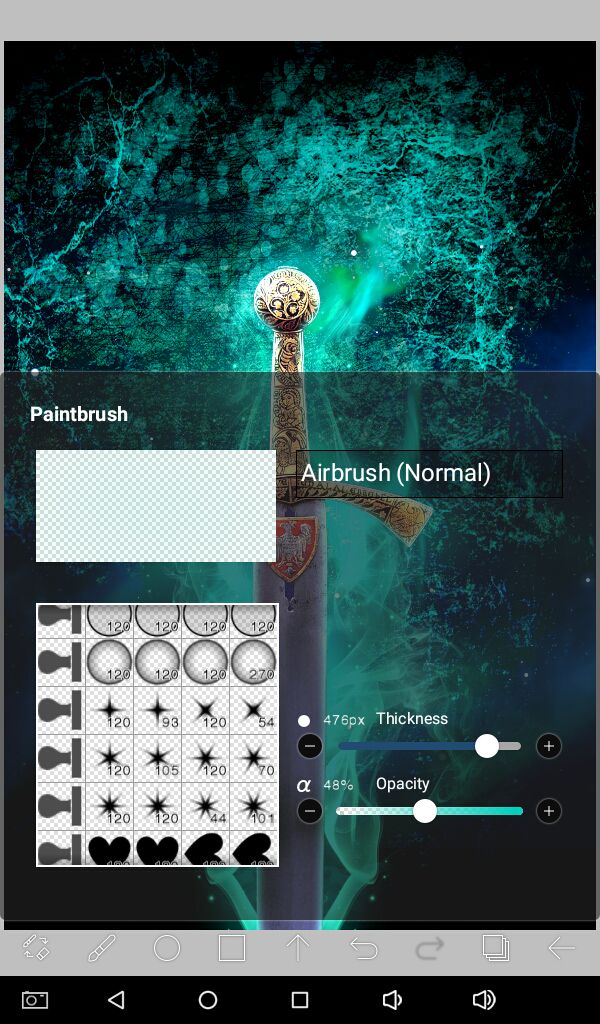
On yet another layer, above the sword, on blending mode add, and using one of the star brushes (you can watch an add to use these free) place a few scattered stars near the sword. Use colors of your choice.
In other words, adding tiny details make your graphics look beautiful.
Again, don't overdo it. Less is more in graphic designing. Cleaner covers looks more professional than the crammed ones.
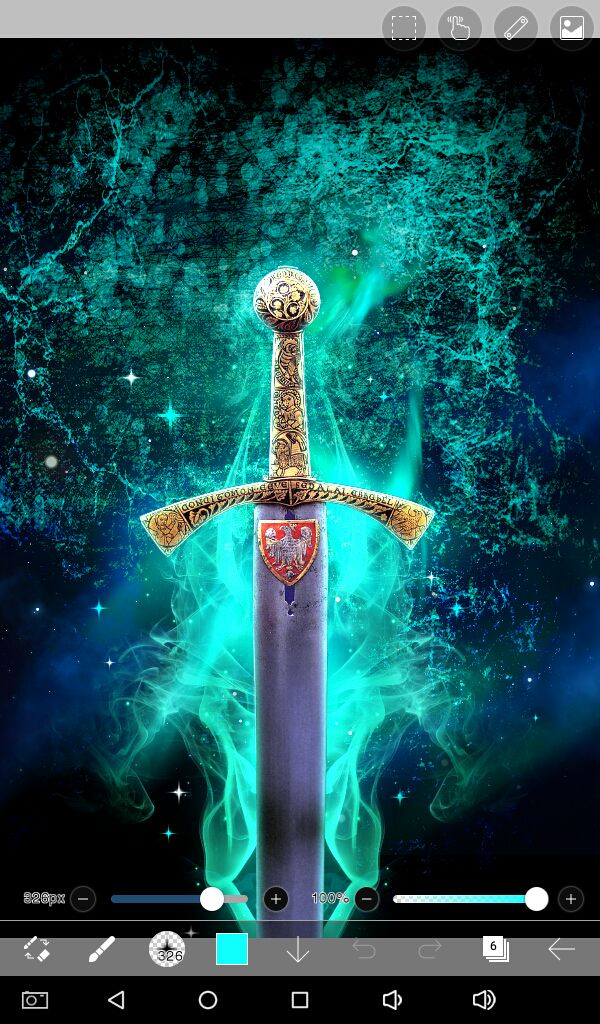
On a new layer at the very top at the moment, we are going to add vignette around the borders manually, you can do so in effects (blur frame) but it doesn't look as nice.
Using airbrush (normal) or any other soft brush, with a dark color or black start drawing around the borders, concentrating more towards the corners.
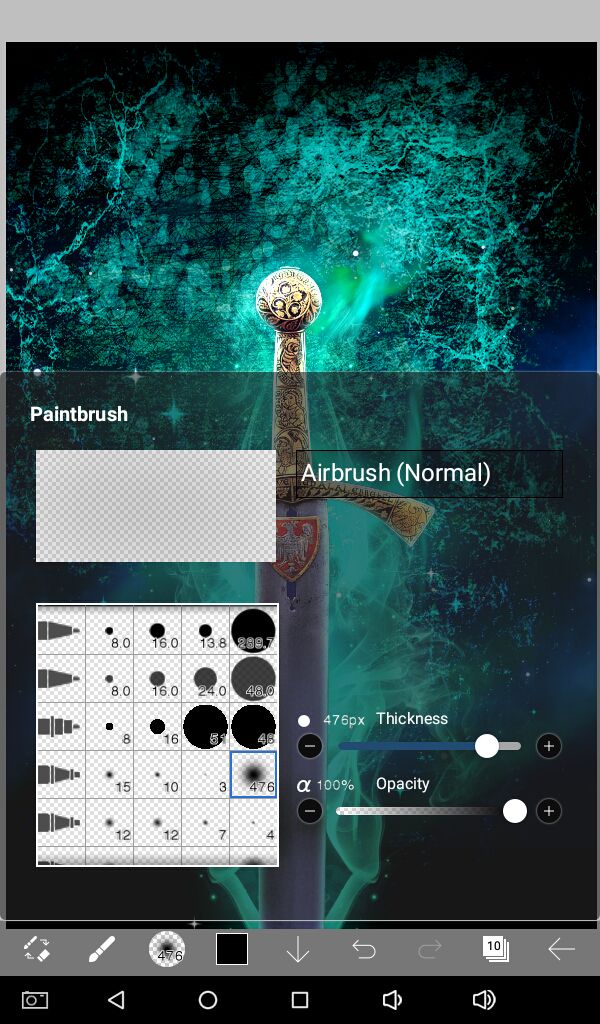
Take a look here. It helps to bring more concentration to the object and when you add text it will pop more.
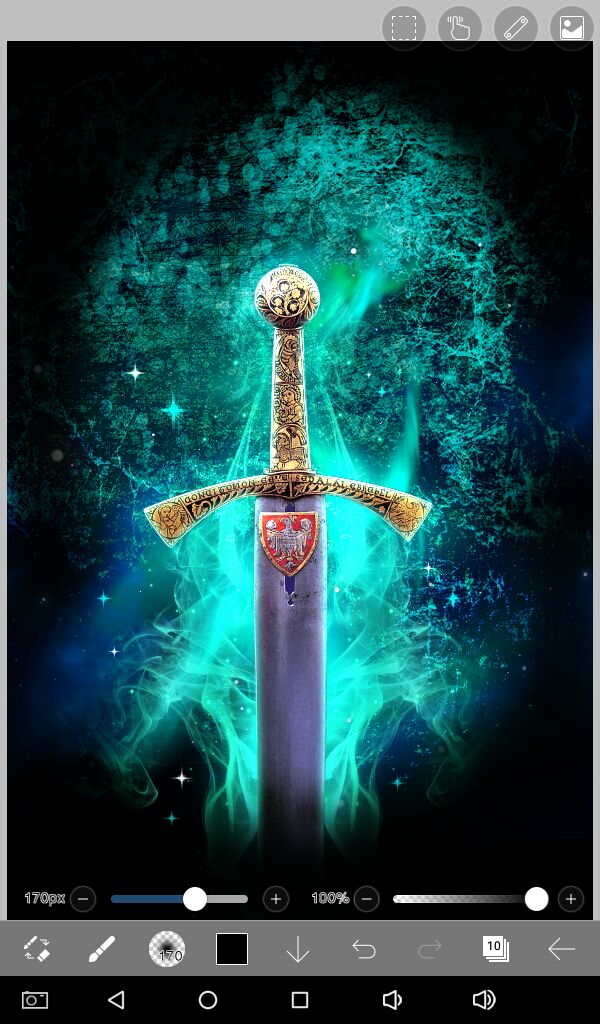
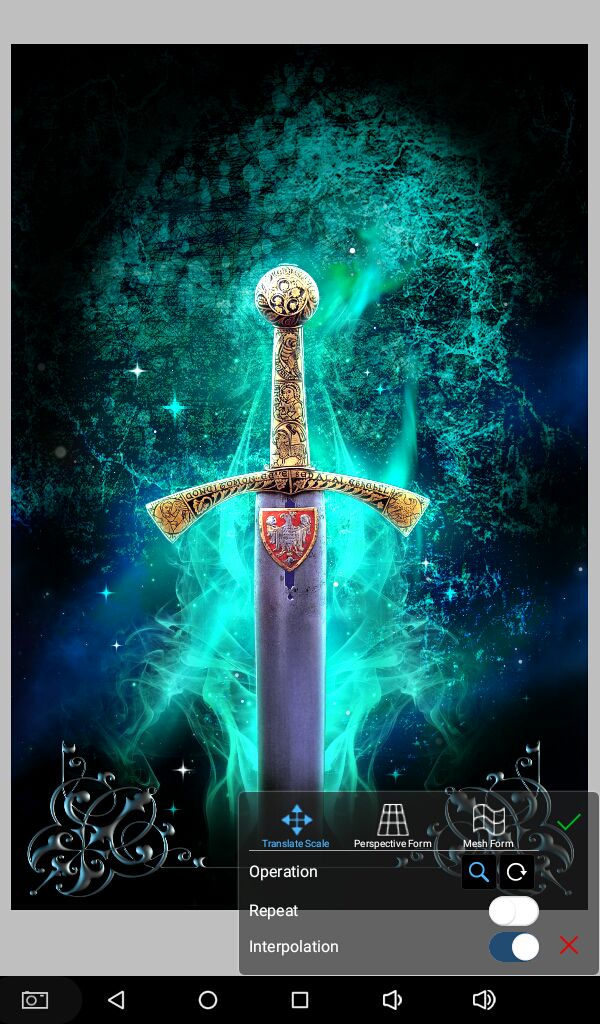
We will add borders to the cover now. These are mostly just used in fantasy graphics. Keyword used, 'Border Frames' on pixabay.
Hope you understand everything till now.
Continued to the next chapter...
Bạn đang đọc truyện trên: AzTruyen.Top