GIF SIGNATURE [Part 2]
...Continuation of Gif Signature [Part 1] in the previous chapter.
If you want to add something over the patterned corners, just select the layer which has the pattern and now anything you add will be above it since we are out of clipping mode. Example below.
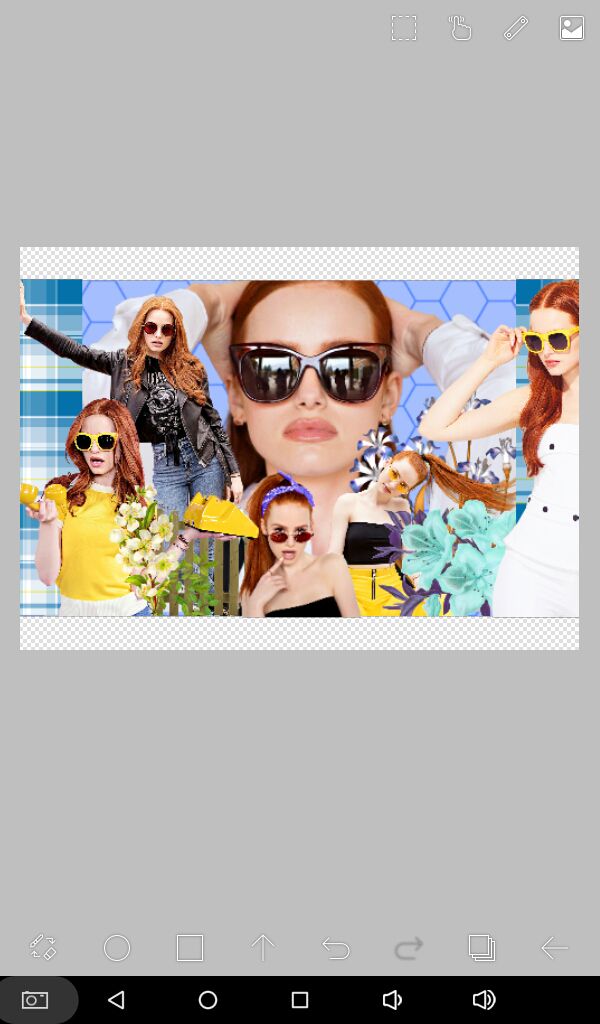
I added all my pngs and am almost done with the base edit. But I realized that the first image is added of my face claim is being covered by things on top of it. Worry not. Because ibispaintx works with layers, it's easier to move an image around, unlike PicsArt.
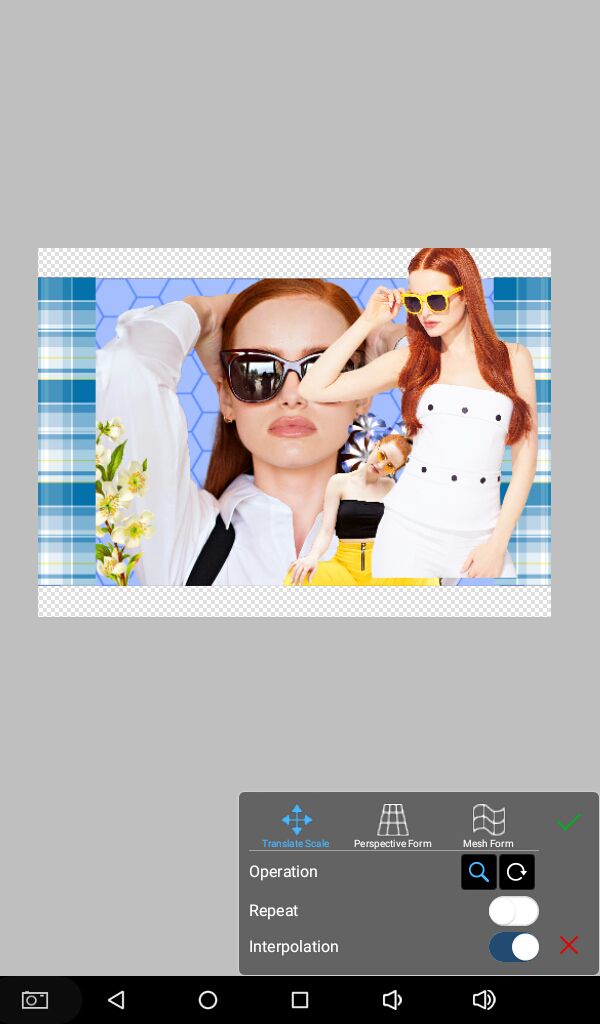
Select the layer you want to move. And click on the transform icon. It's the one with four arrows pointing in every direction. The third from the top in the tool bar in layers panel on right. See in picture below.

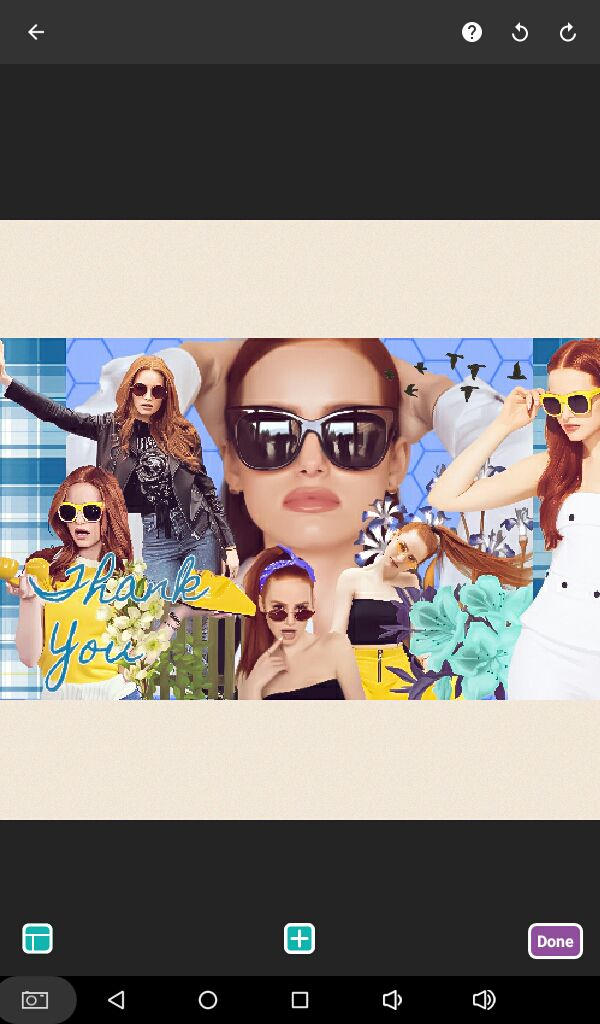
Once I'm done with adding all my pngs and stuff. Here's how it looks like. A bit crowded but you don't have to do it my way. You make it your own gurl!
Now we'll add text. Completely optional but it will leave a statement on your readers. You could add whatever you want to say, like 'Thank you for reading....' or 'It has been...' or 'That's all folks.'

Select the top most layer. (You can come out from the layer panel anytime by pressing the ↓ icon in the center, on the bottom tool bar.) And click anywhere on the graphic. A pop up will come up, as shown above, prompting to "Add text."

When you click on it, your keyboard will come up and you can enter what you want to say on there. You can change fonts (there are some default fonts available or you can add new but you need internet for that,) size and style. Once done, press the green tick mark.
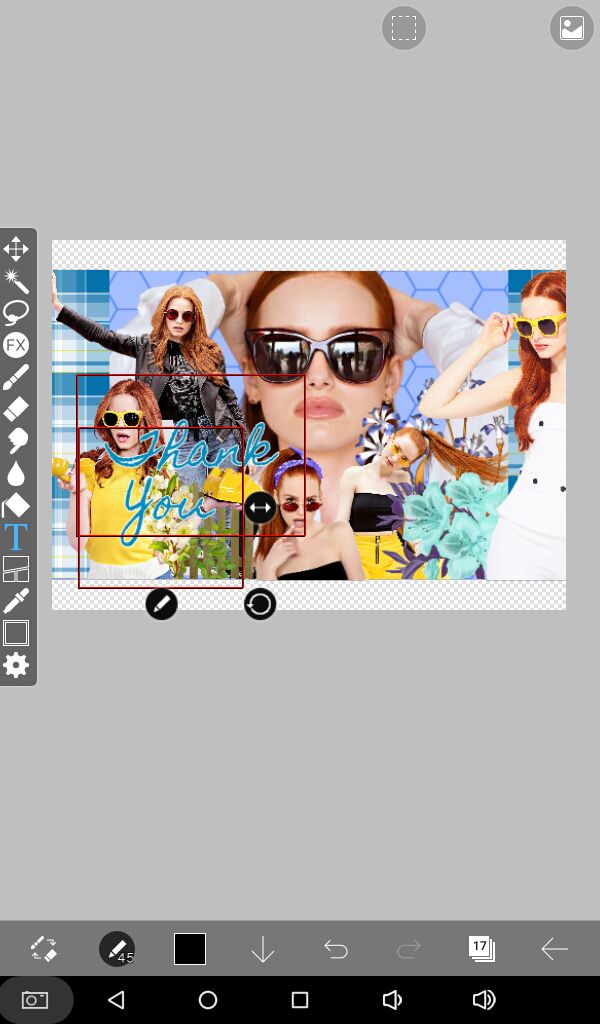
You can add as many text as you like. Move it around, rotate it and edit if you are not happy with how it looks like.
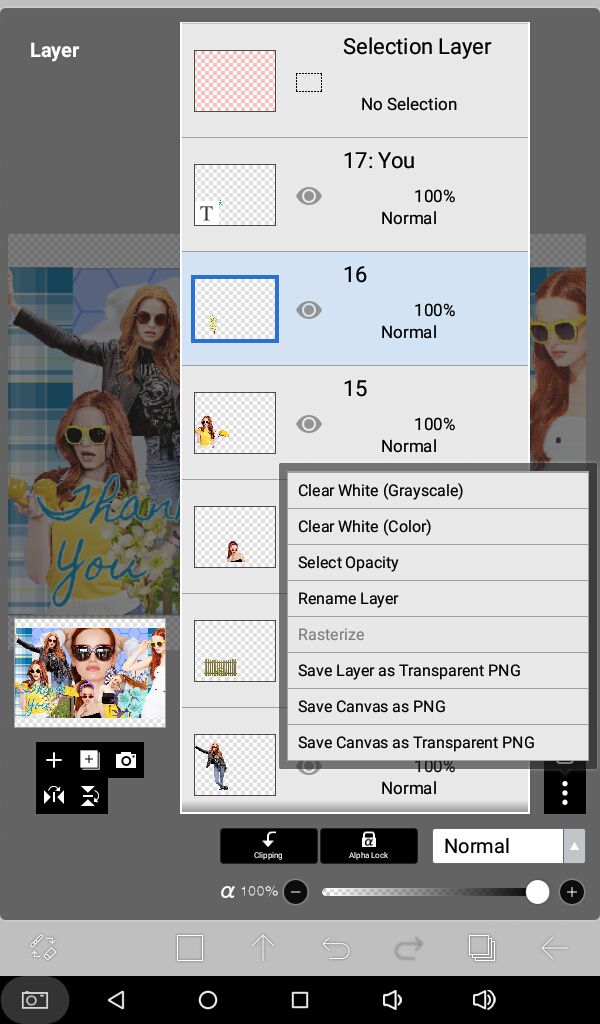
We are done with the graphic. So we will save it to our device. In the layers panel, click on the three dots icon and save canvas as transparent png or save canvas as png.
This is how it looks.

If you want to add some filters or effects to it, go right ahead. This is the time to do it. I usually use Photoshop express for that.
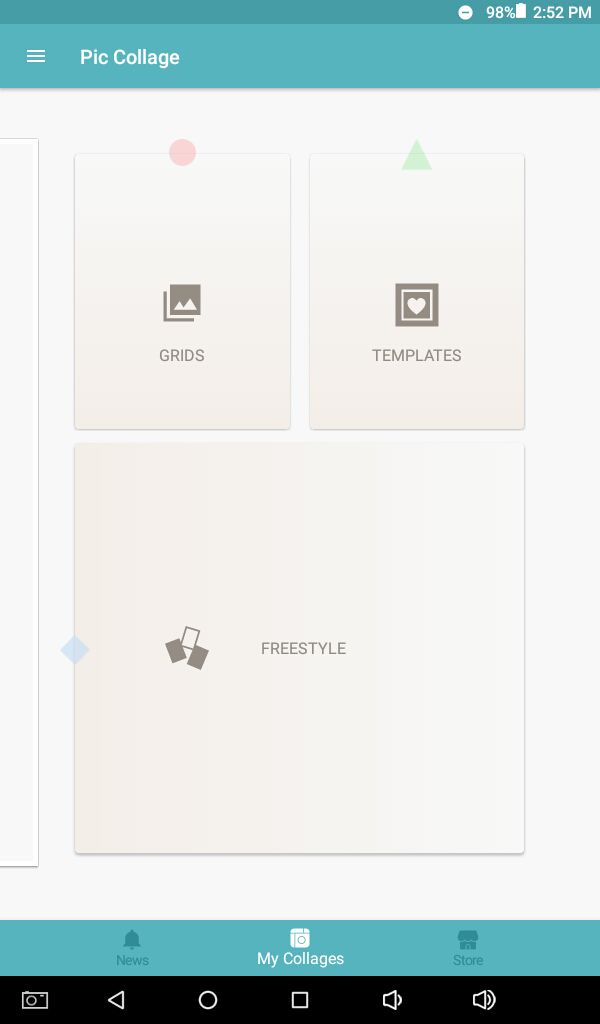
Now we shall add gif. Open your picCollage app and select grids. The first option.
Tap on the + icon below and then photos. It shall take you to a screen where it asks you where you want to open your image from. Choose the graphic we just made.
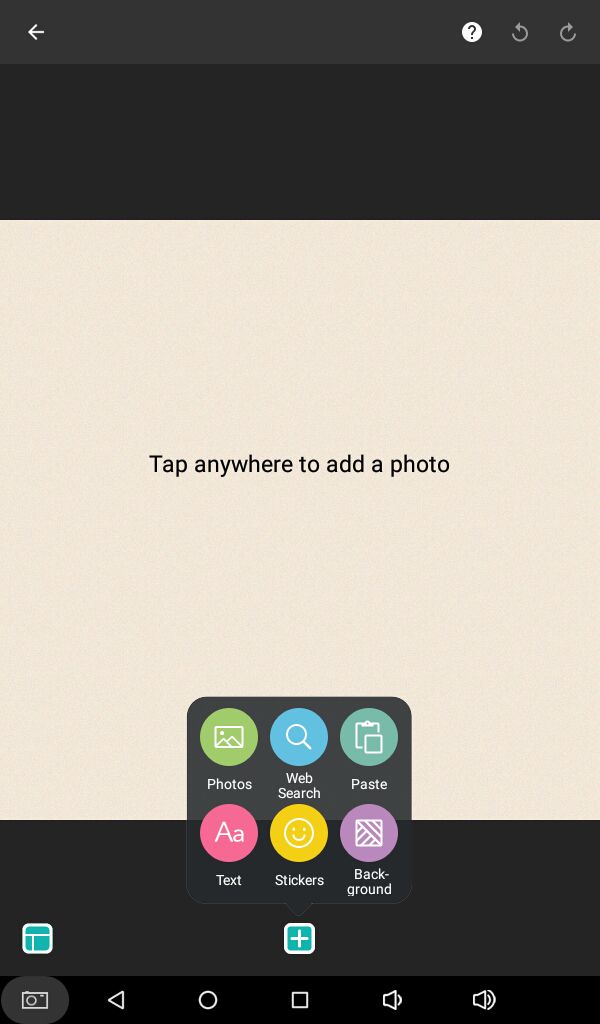
Again press the '+' icon. Now from the web search icon choose your gif image. Or again from photos choose a predownloaded gif from your device.
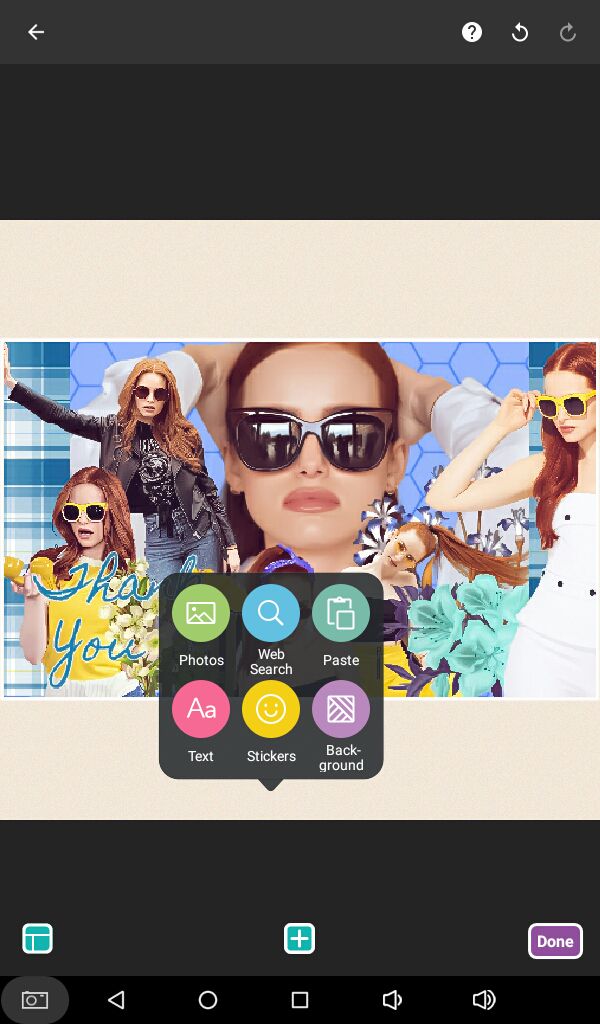
PicCollage has an in-app option to select images. Always search for keyword 'transparent' if you'd like to add a gif over your graphic.

I chose transparent Tumblr birds. And it shows a variety of images. I chose one that I like.

Move around your gif image image and place it where you want. You see there's a white square border around the image though. If you select the image and press the arrow icon on it's corner, a pop up will come up. From it choose border and it will not be there anymore.
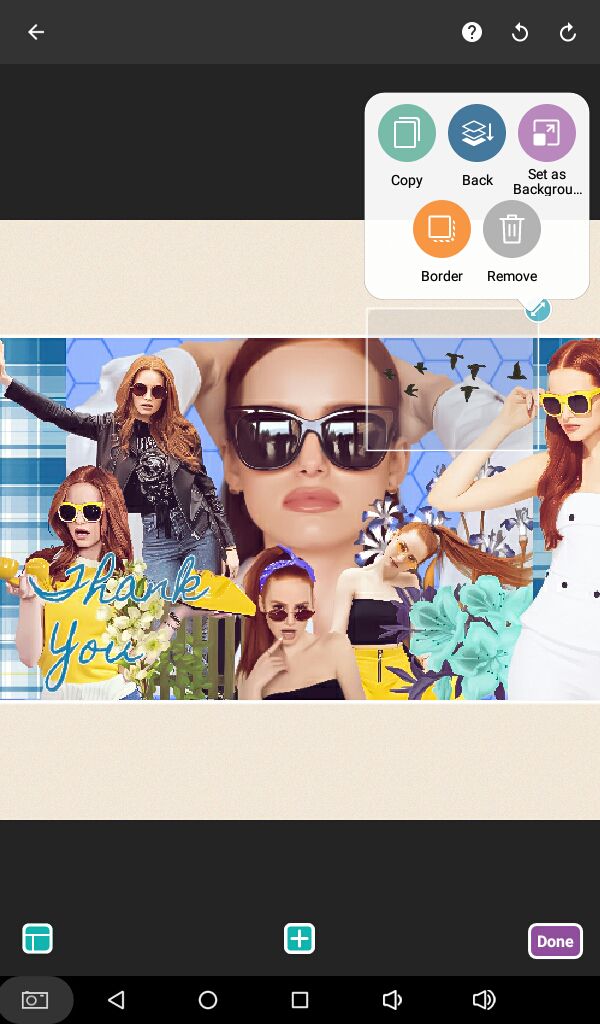
See here! Press Done on the bottom right of screen.
To be continued....
Bạn đang đọc truyện trên: AzTruyen.Top