GIF CHARACTER CARD [Part 2]
...Continuation of Gif Character Card [Part 1] in the previous chapter.
The base edit is complete. We will now tweek the graphic a bit to add our gif.
If you made your graphic in some other app and are just joining us now, hi!!!
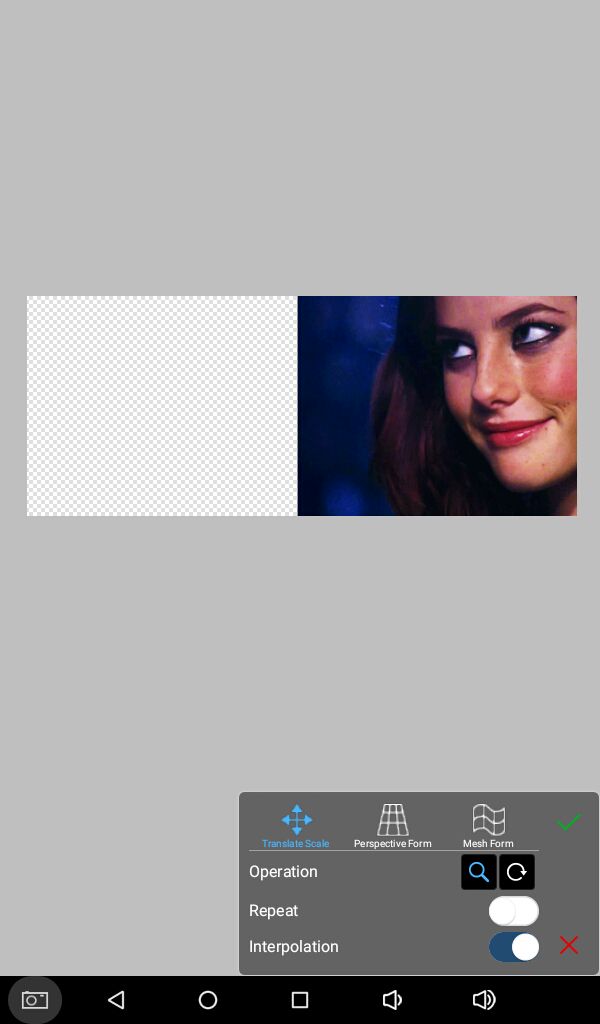
Remember we made our first layer transparent?! That will come into work now. Just above the first layer add a new image layer from your gallery with the camera icon on the left, you know the drill.
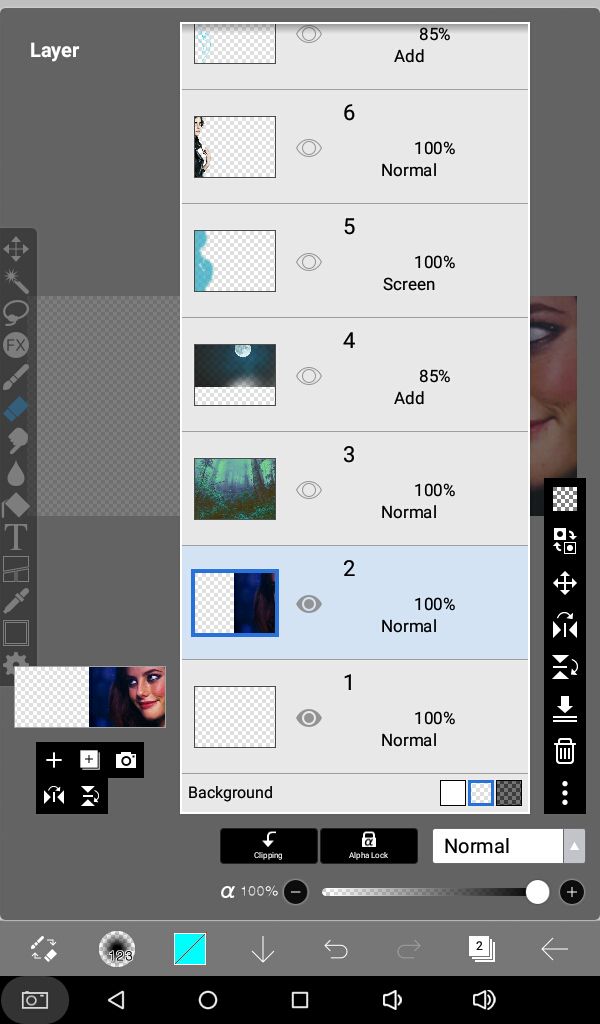
In the image below, you can see that I made all the other layers invisible except the first two. Just press on the grey eye and the layer will be invisible from your graphic, again pressing the eye will make it visible.
Now you can only see a still image on a transparent background that's actually the gif but ibispaintx does not support animated format files so it made the image jpeg automatically.
Move it around and place it where you would like it to be on the end result, zoom in or out to fit the size and once
happy press the green tick mark.
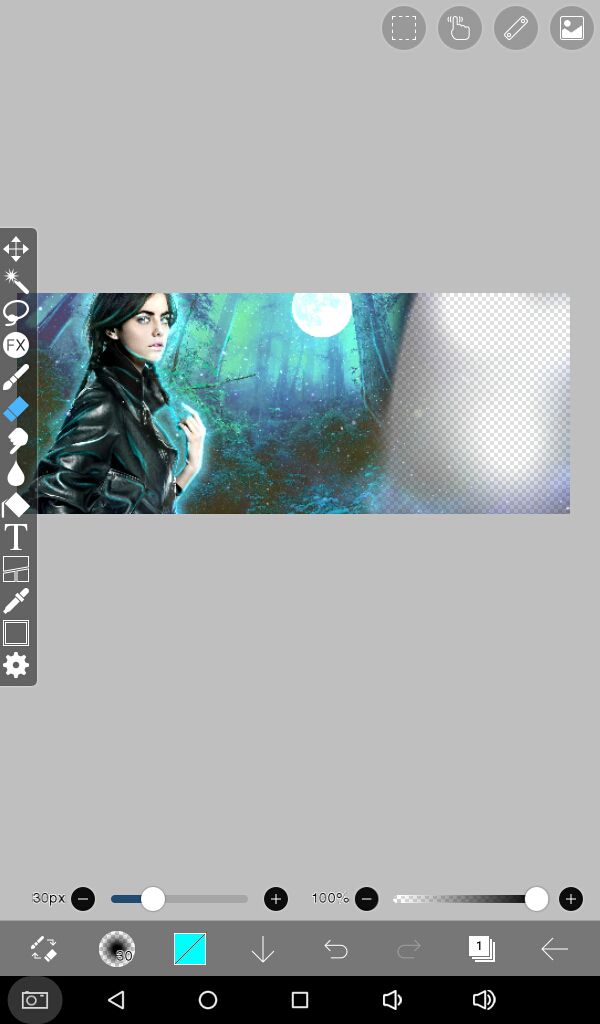
Now you can start making the layers visible again one by one. And erase anything that's blocking the gif.
The eraser icon is highlighted blue in the image below. Again, like drawing tool the size and opacity can be changed with the sliders at the bottom and the shape from the icon on the second left. Color of the eraser does not matter.

Once all the layers have been made visible again, the gif will look blended with the background. See in the preview below on the left side.

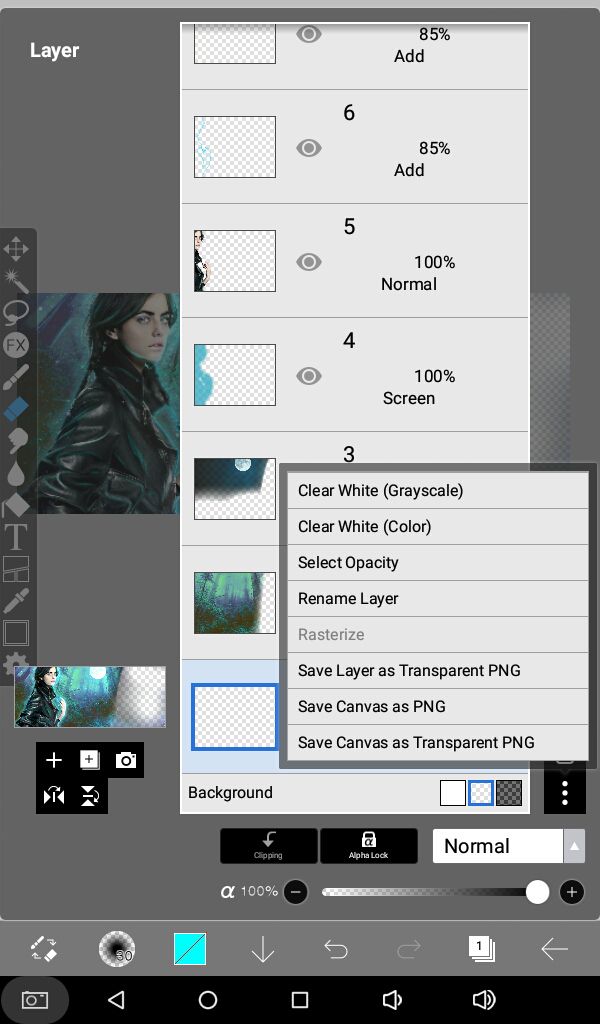
You can now delete the layer with the gif with the trash can icon, second from bottom in the vertical panel. Consult above image.
After deleting the gif, you'll be left with something like this. You can see the transparent background from behind.
We are done in ibispaintx, save your graphic with the three dots icon in the vertical tool bar in the layers panel.
Make sure to 'Save Canvas As Transparent Png.'
If it looks like this in your gallery, don't panic. Everything is normal.

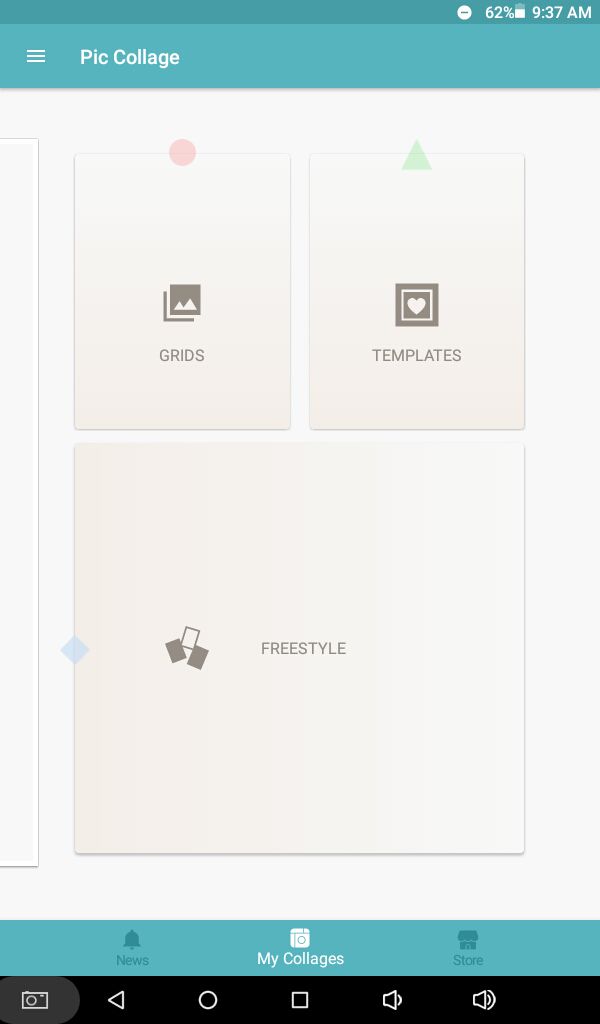
Now let's open the picCollage app.
Select freestyle.
From the + at the bottom, select photos and add the graphic we just made.
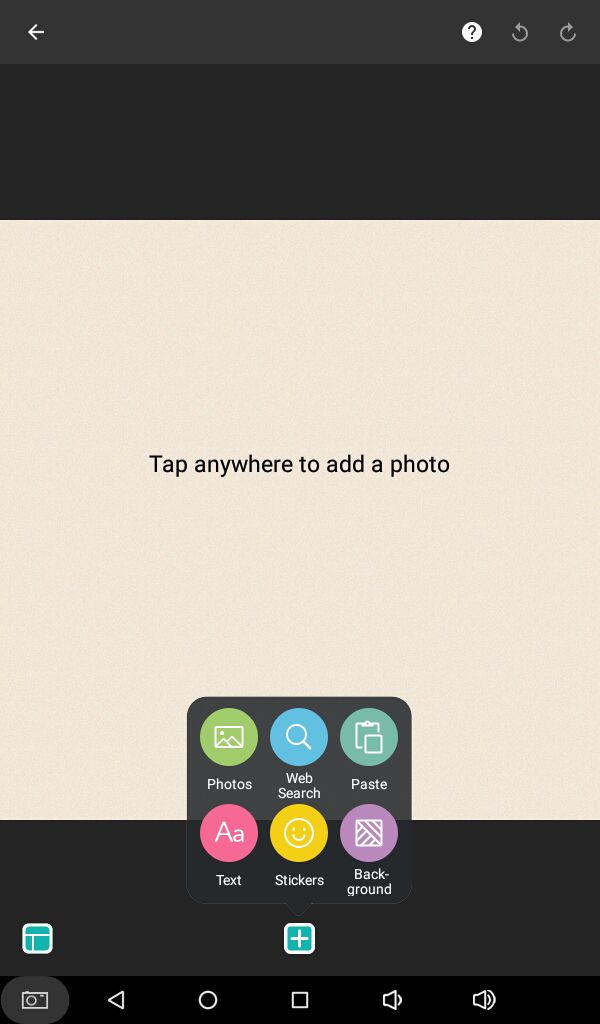
Don't worry about the extra pink part. We will crop it later. Now again, similarly add the gif from your gallery or wherever you saved it.
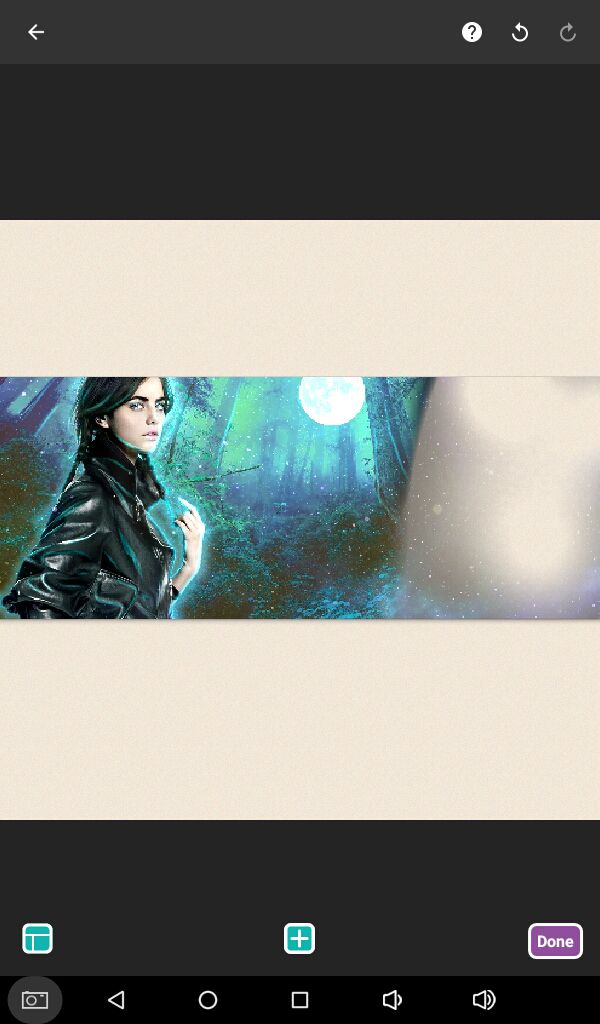
Each image you add has an arrow on one of it's corner. You can increase/decrease it's size with it and move it around.
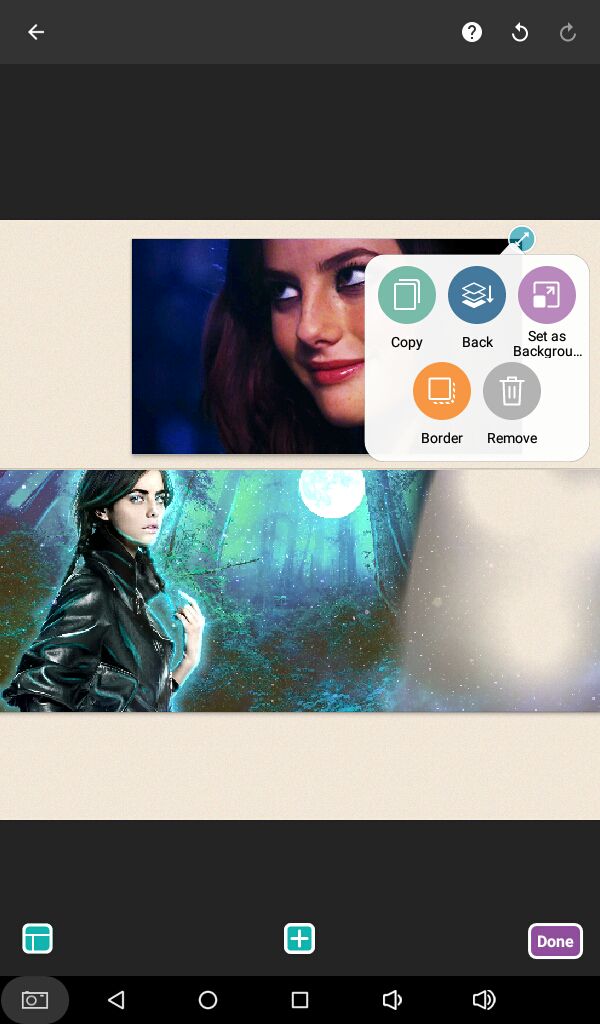
If you press it, a menu pops up. For the gif, choose the second option. 'Back.' And place it behind our actual graphic.
Your gif should be moving.
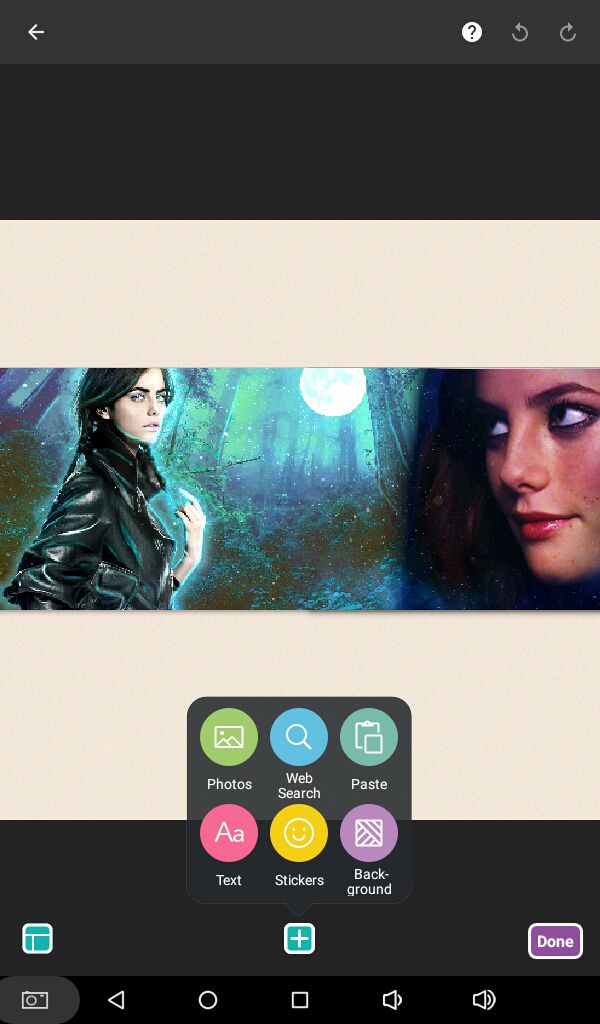
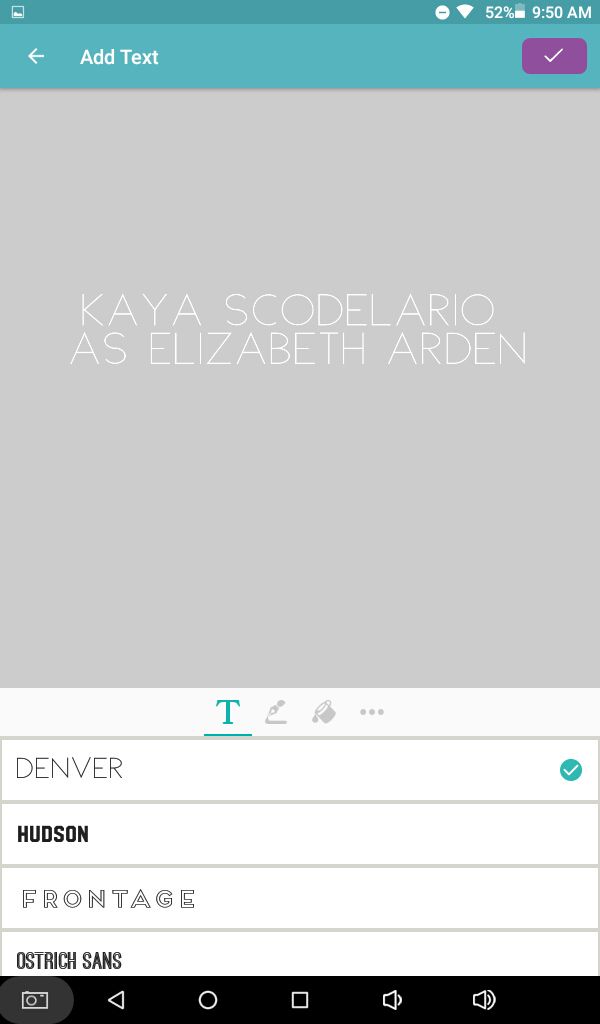
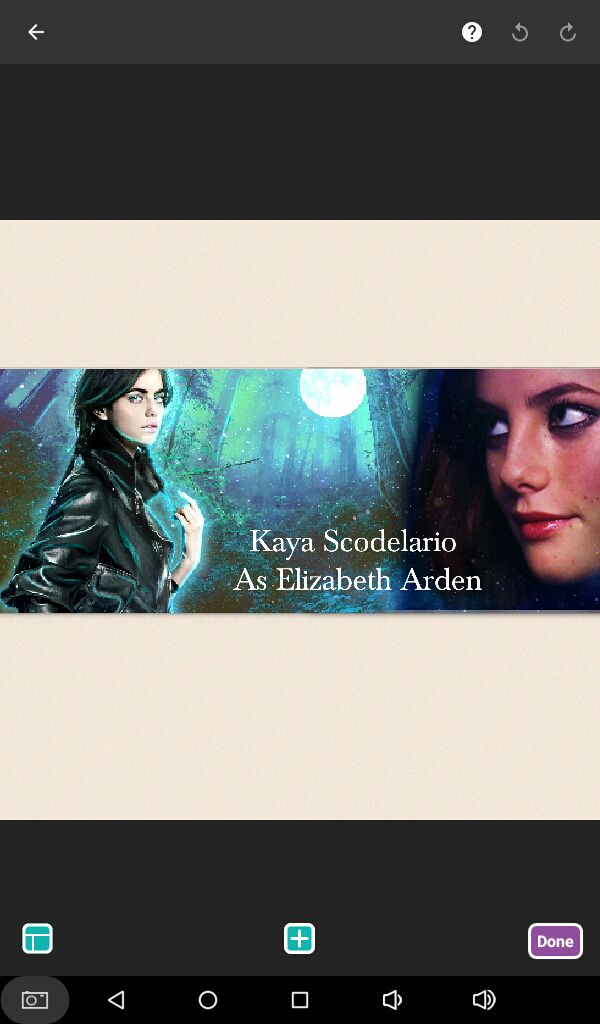
Now again with the + icon, select text. Enter what you want your graphic to say, could be the name of your character or a quote of their's. Press Done.
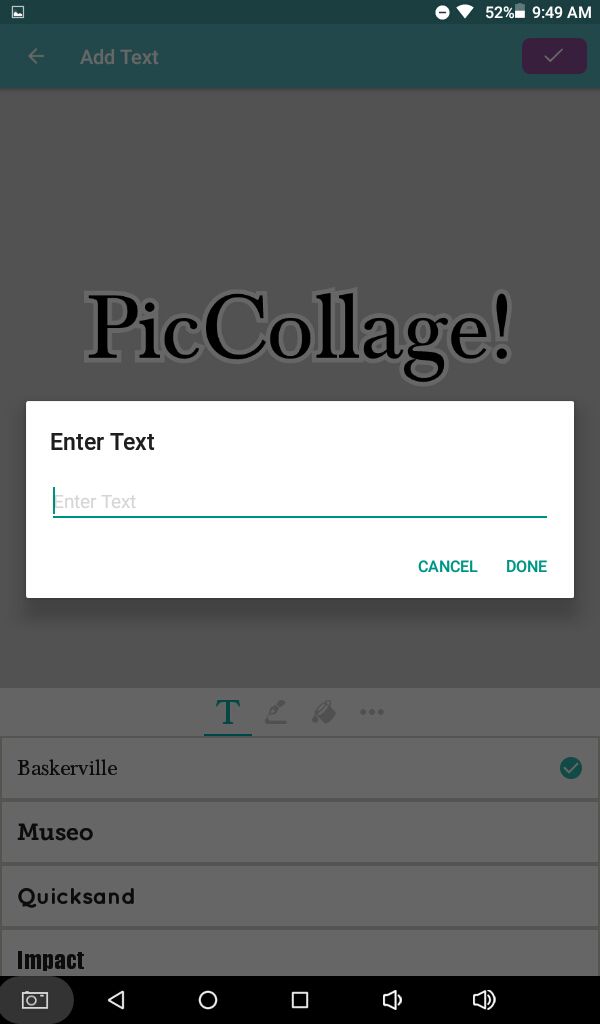
PicCollage has a variety of default fonts that are actually good. From the tool bar you can change font, color of text, add background and remove stroke (in that order.)
Press the purple tick mark on the top right once done.
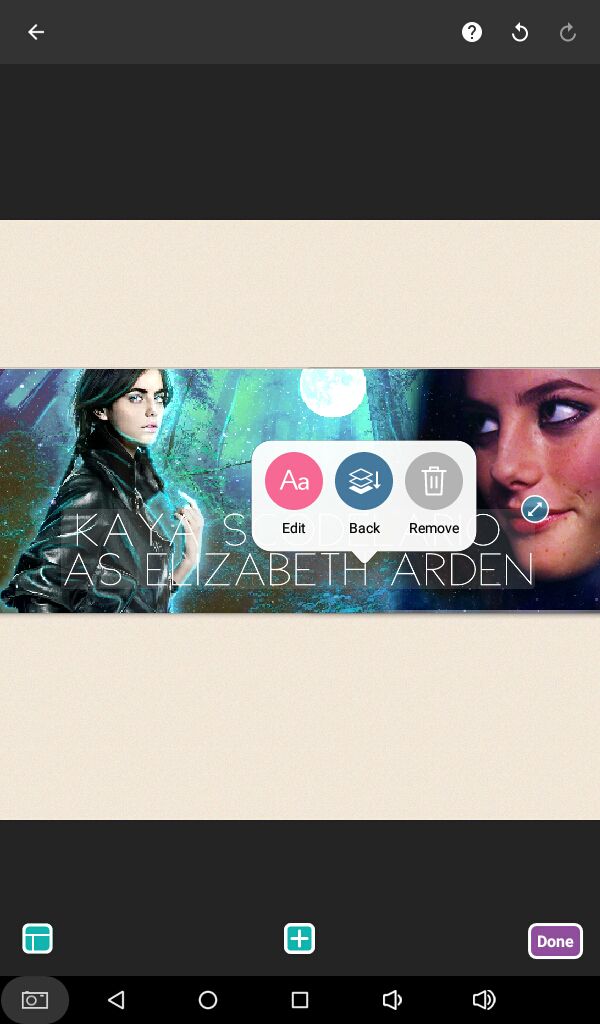
If you want to make some changes to your text, press on it and a pop up will come up. Choose edit and it takes you back to the text editing page. You could also send it to the background like we did with the gif or remove it altogether.
Once satisfied with everything, press done at the bottom. You can undo and redo any step from the arrows on the top right corner.
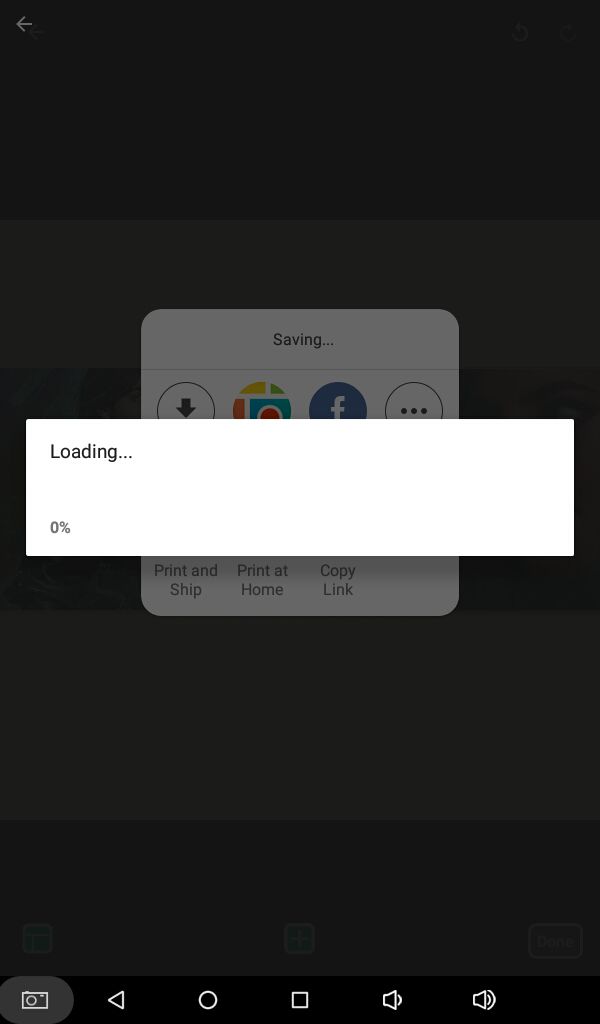
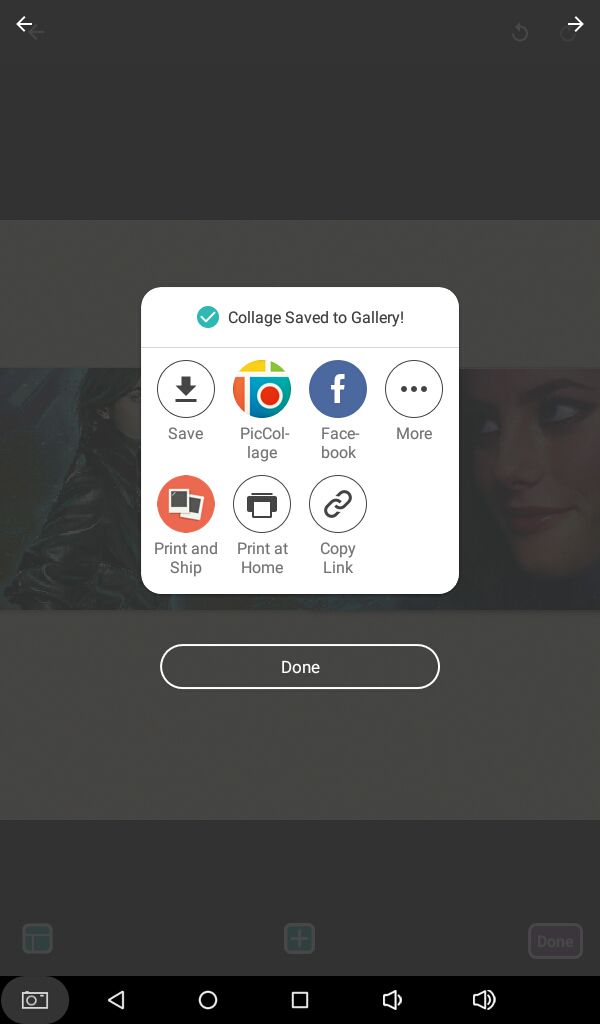
Save your collage to your device with the first option.

It will take some time.
Press Done. "✓Collage Saved to Gallery."
To be continued...
Bạn đang đọc truyện trên: AzTruyen.Top