DRAWING HAIR (Pt.1)
Requested by: isa_isaac
Hewo wonderful peeps of Wattpad. *waves*
Today I'm going to share with you how I draw hair for my face claims. This is just my method, there are other useful tutorials available on Wattpad and YouTube, you are more than welcome to try those instead.
Disclaimer: I'm not an expert, infaxt I have just started making my own hair tbh!
This is the image, I'm starting with:

Credit: pixabay.
The girl here has short hair but don't worry if your model has long hair, just chop em off (XD) cuz we are going to draw new hair over it.
Also, it's always better if you use a png of your face claim. I suggest cutting it before drawing hair, if you have a JPEG.
Now let's get started.
Make your base/background as you normally do.
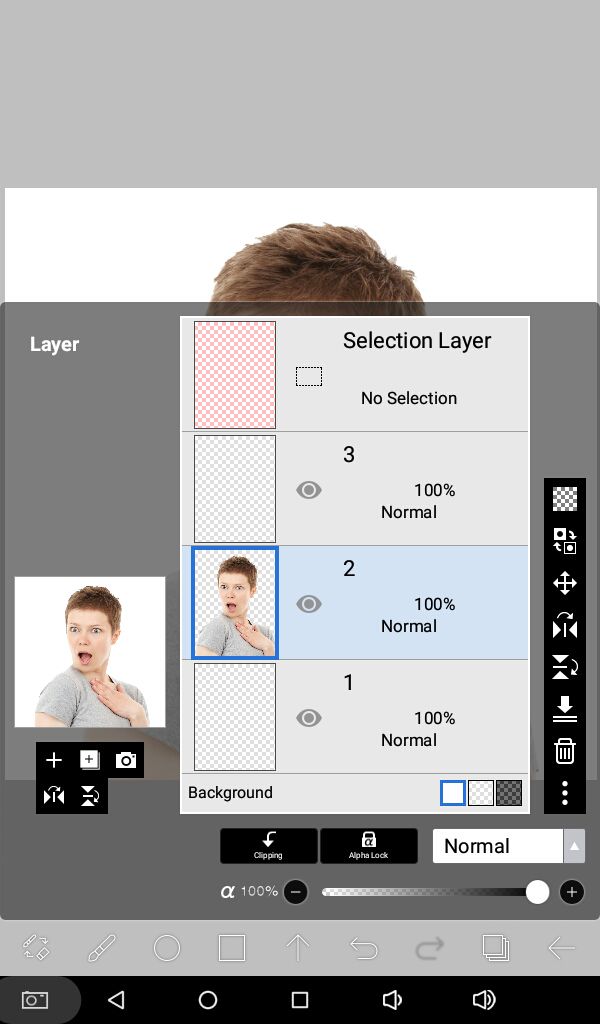
Add one layer below your model and one above her.
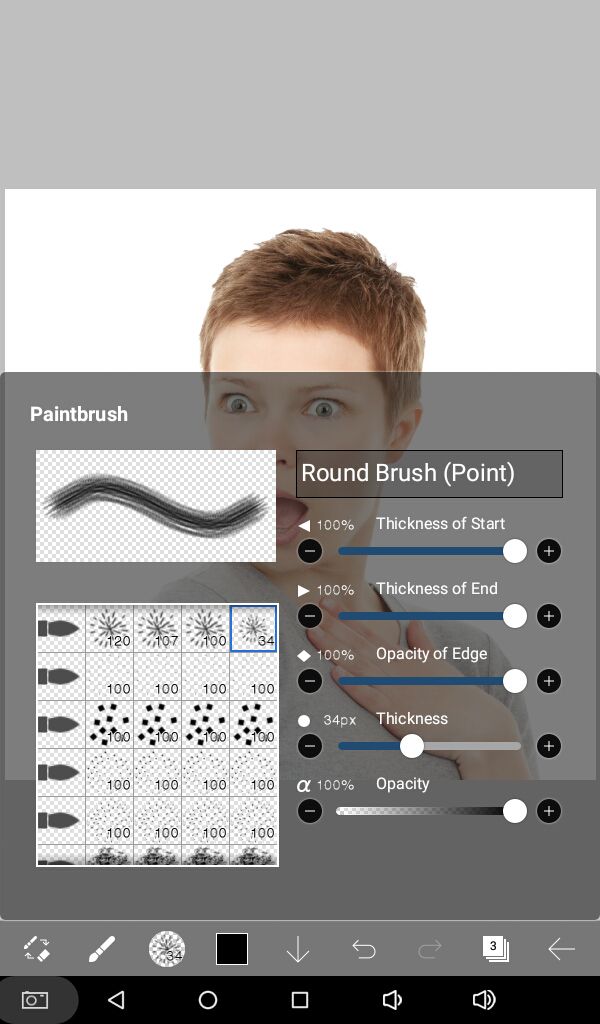
Select the Round Brush (Point) at full opacity. I like to keep the brush size at 34. Don't go too big because then your hair will start to look unnatural.
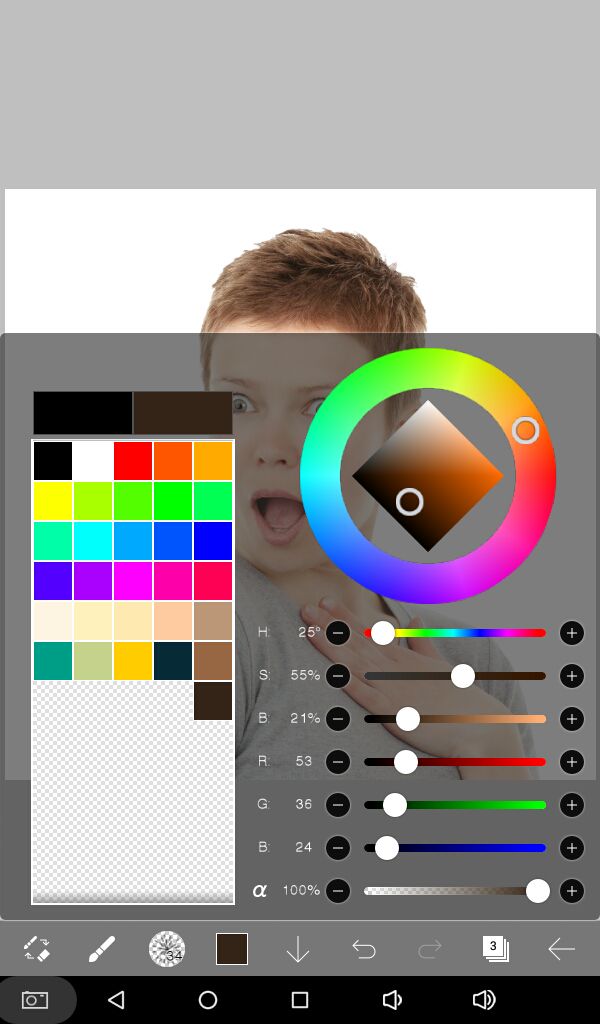
Select a color of your choice, I'm going with a more orthodox look so I choose brown. You can experiment with a fun color if you'd like. We are going to select the darkest hue of that color.
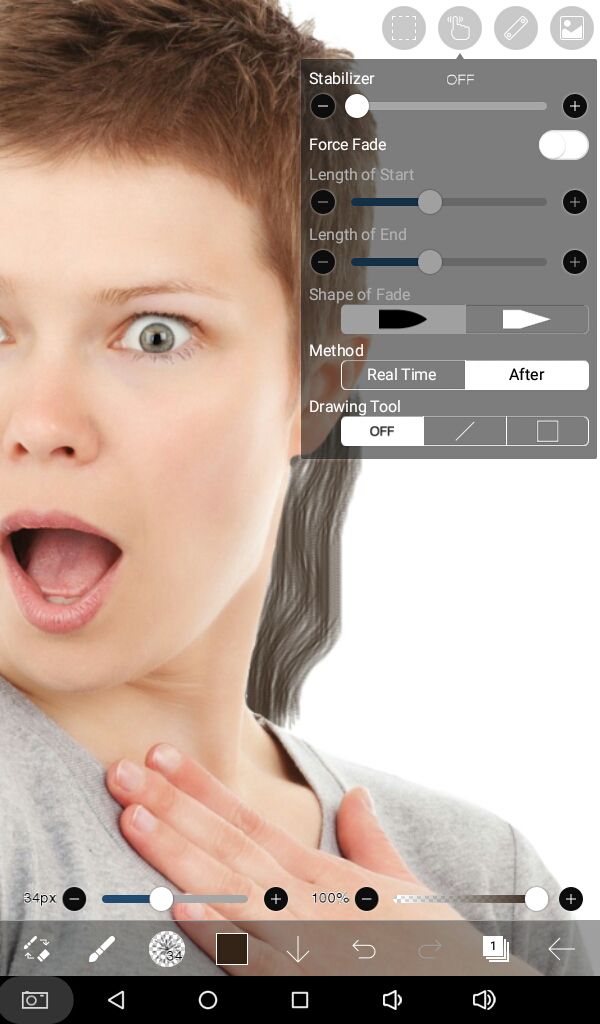
Keep your stabilizer off if you are drawing wavy/curly hair and at fullest if you prefer straighter strands.
Strength of force fade is up to you.
We are going to draw on the layer beneath the model first. Start with short strokes, from roots to tip because that is the natural flow of hair, draw each strand closer to the other. Make wiggly lines for wavy and curly hair and straight lines for straight hair.
Zoom in for better precision.
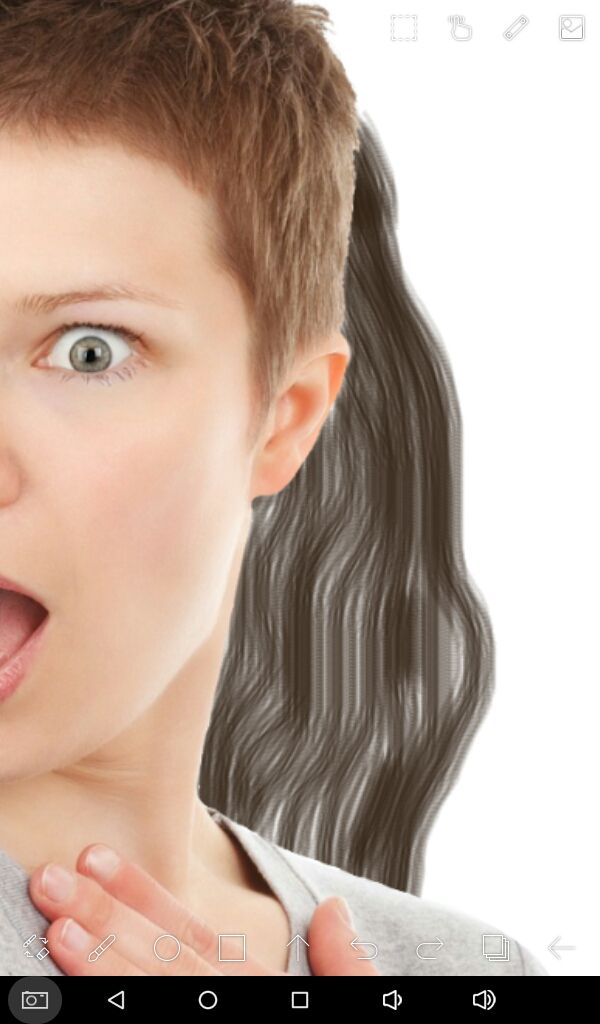
Go over the spaces that look empty, a couple of times more. Your hair base should look something like this. You should be able to make out the direction and form of the hair, don't color in the entirety of it.
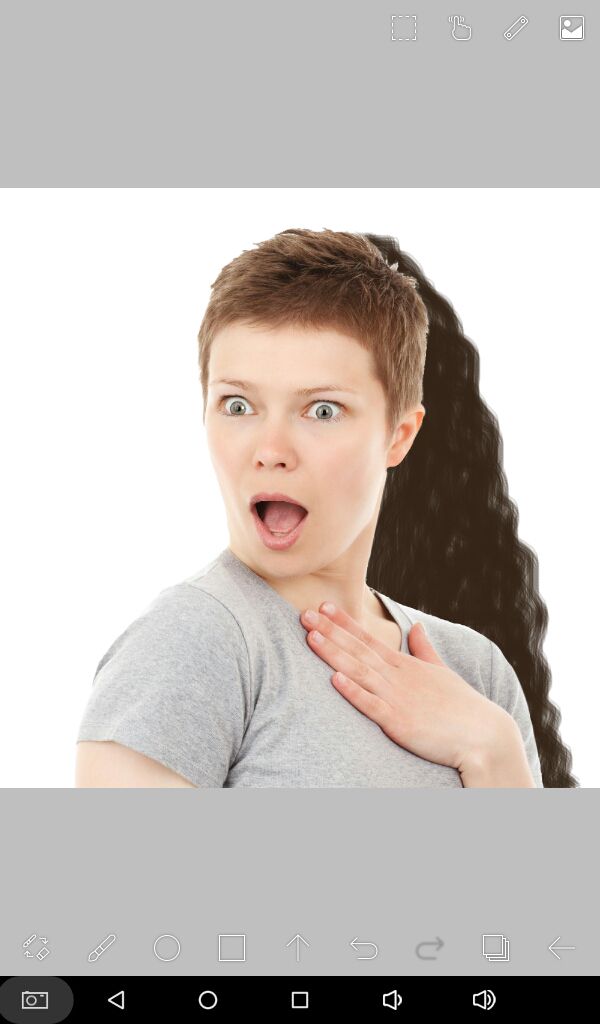
On the same layer, underneath your model, continue drawing the hair on the other side.
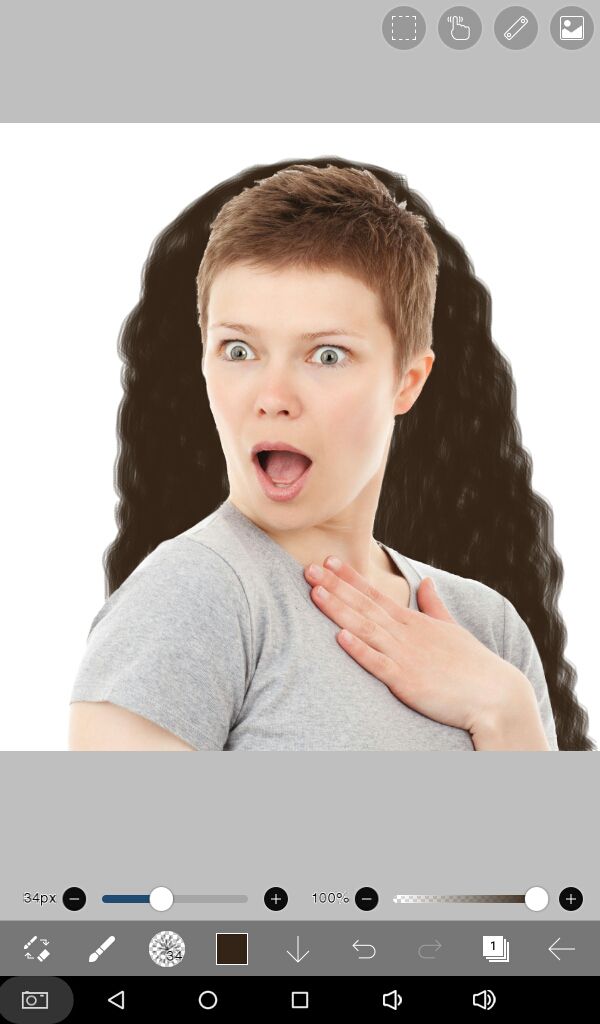
Now, select the layer above your face claim and start drawing over the actual hair of your model, in the same fashion as we did for the layer underneath.

Once you are done with your base hair, it should look something like this. Everytime you'll draw hair, it will come out different, depending on the direction and manner of standing of your model.
As you get towards the outer side of the hair, draw a few loose hair. It will look more genuine. Don't worry about drawing over parts of the body.
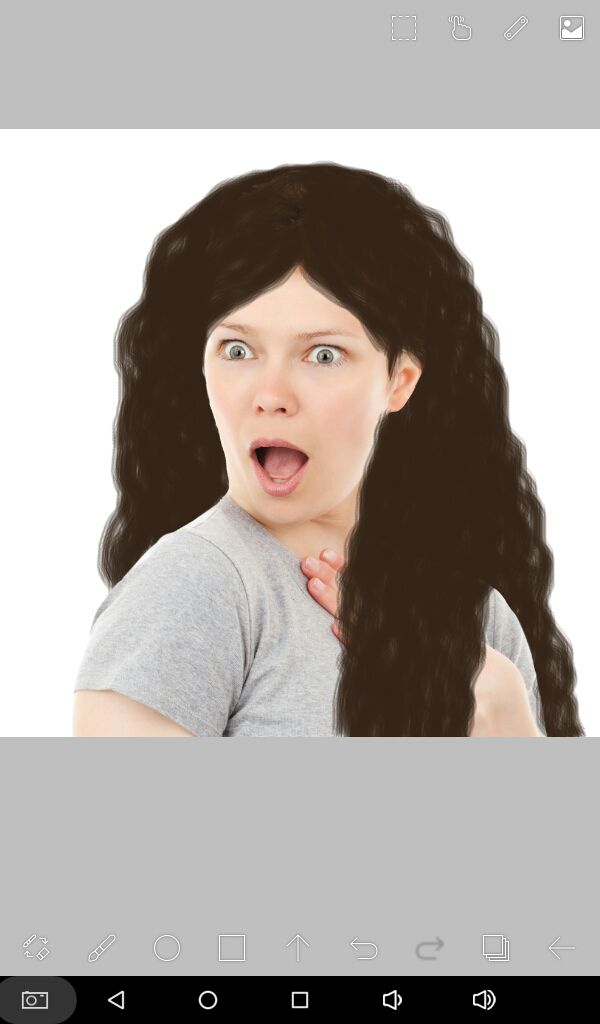
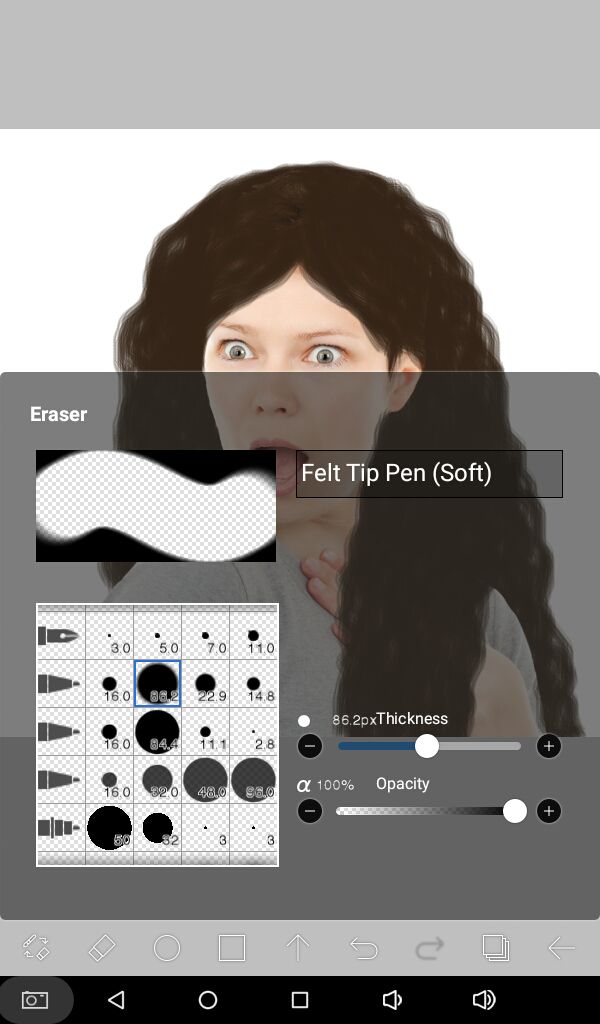
With a soft brush, I prefer Felt Tip Pen, erase the parts that are over your body. Select a opacity and size of your choice and need.
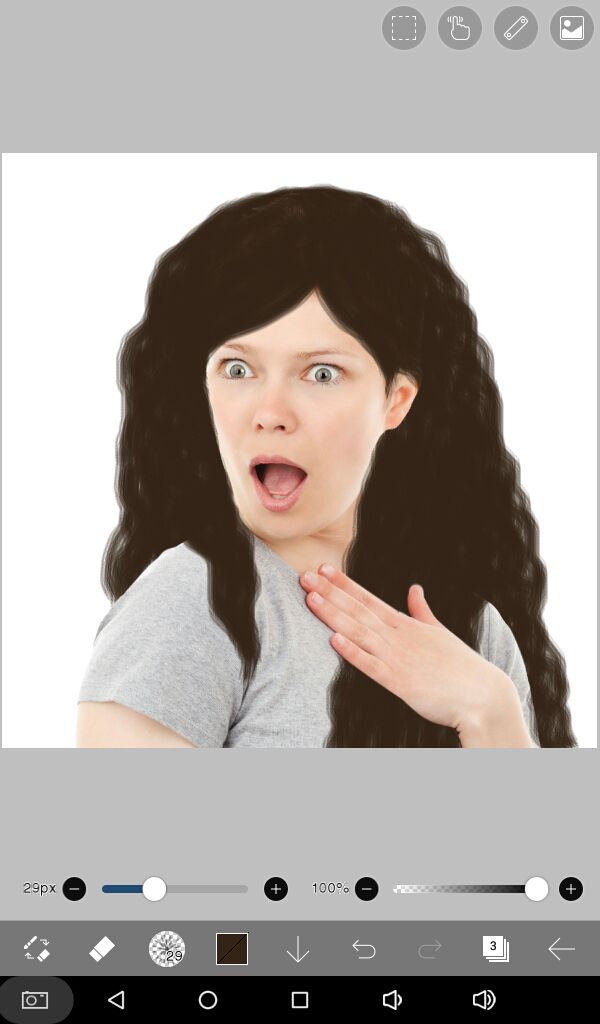
It looks like this, after erasing off the hair from her hand.
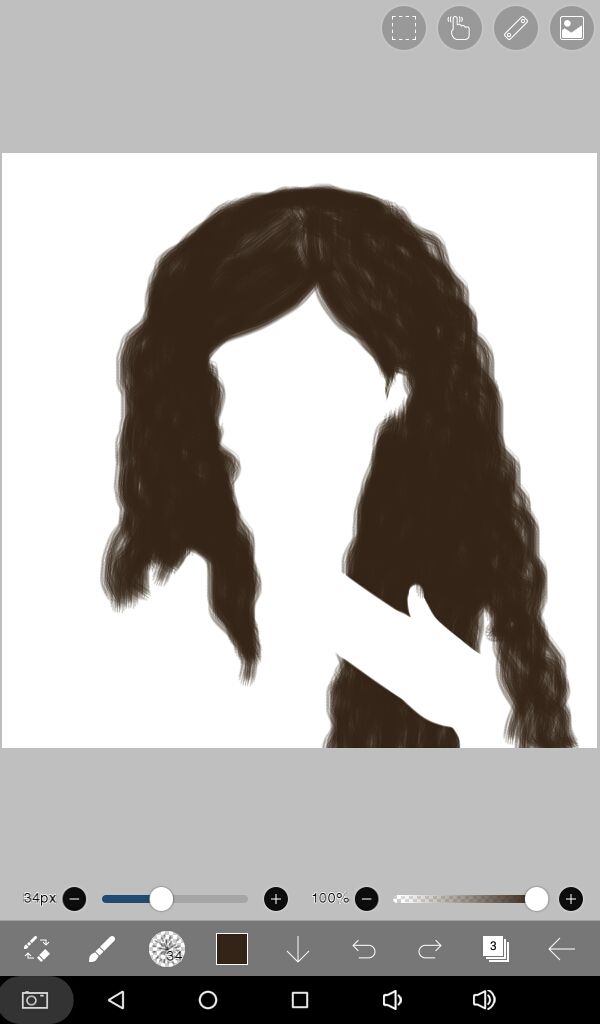
If I unsee the layer with the face claim, the hair looks like this as of now.
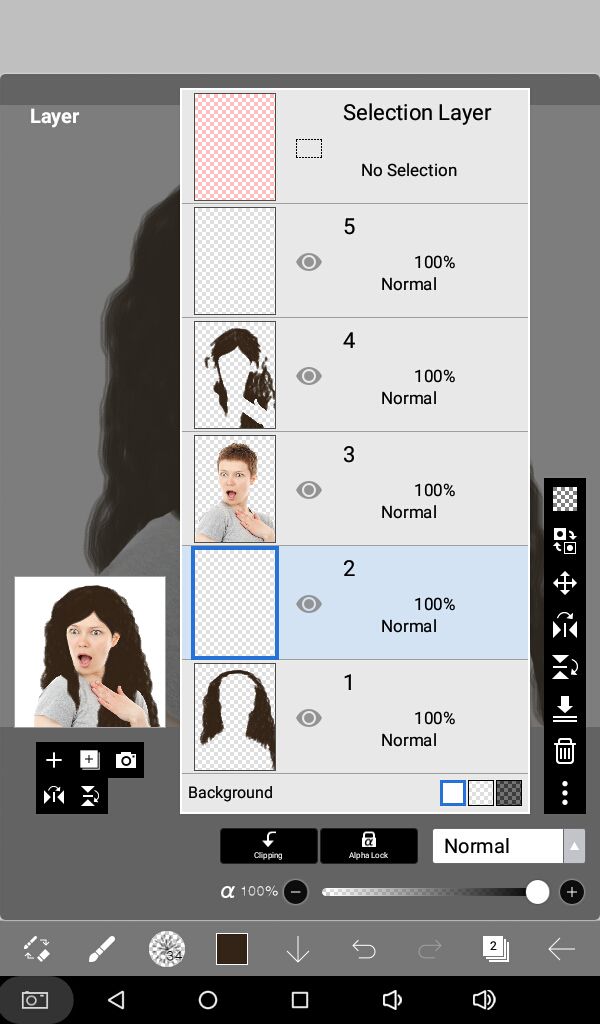
Next we are going to add dimension to the hair. Add one layer each above the layers with the base of the hair. See image below for reference.
Select a lighter shade of the same color from the wheel. And start drawing all over the hair in the same wiggly or straight lines as we did before. From roots to tips. First on the new layer below the model then on the layer above the model.
Remember to add each shade in a different layer because we'll be erasing some parts of it next.
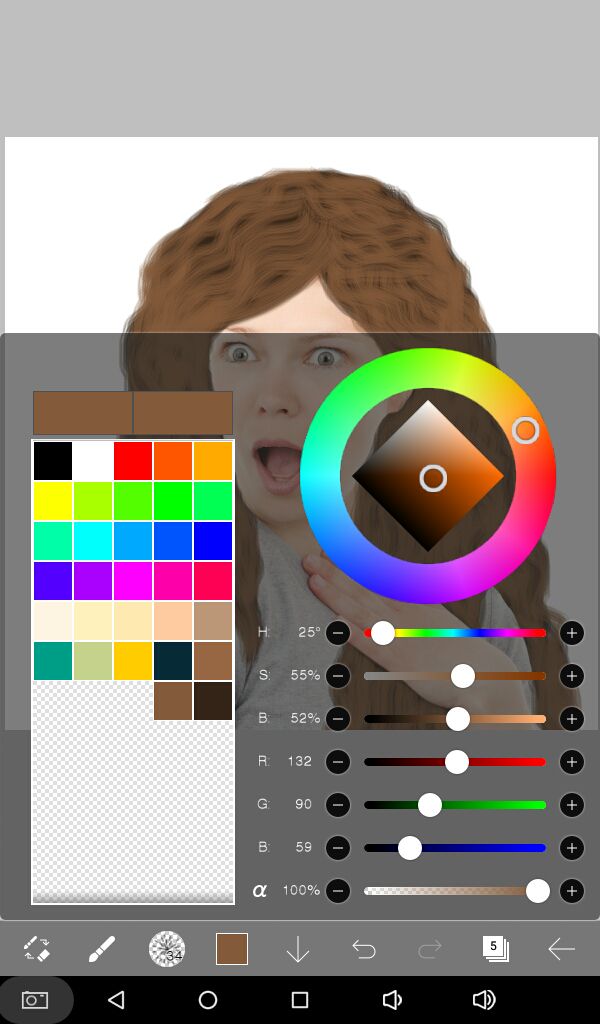
Leave some spaces between the strands, don't fill it in completely like we did for the base.
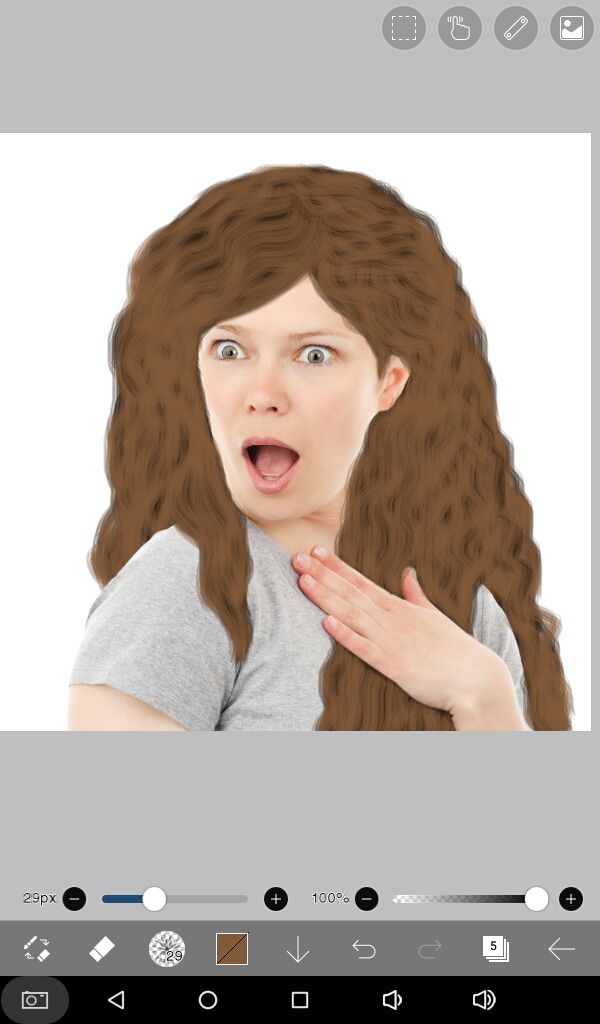
Hopefully you are with me till this step.
Continued on the next part....
Bạn đang đọc truyện trên: AzTruyen.Top