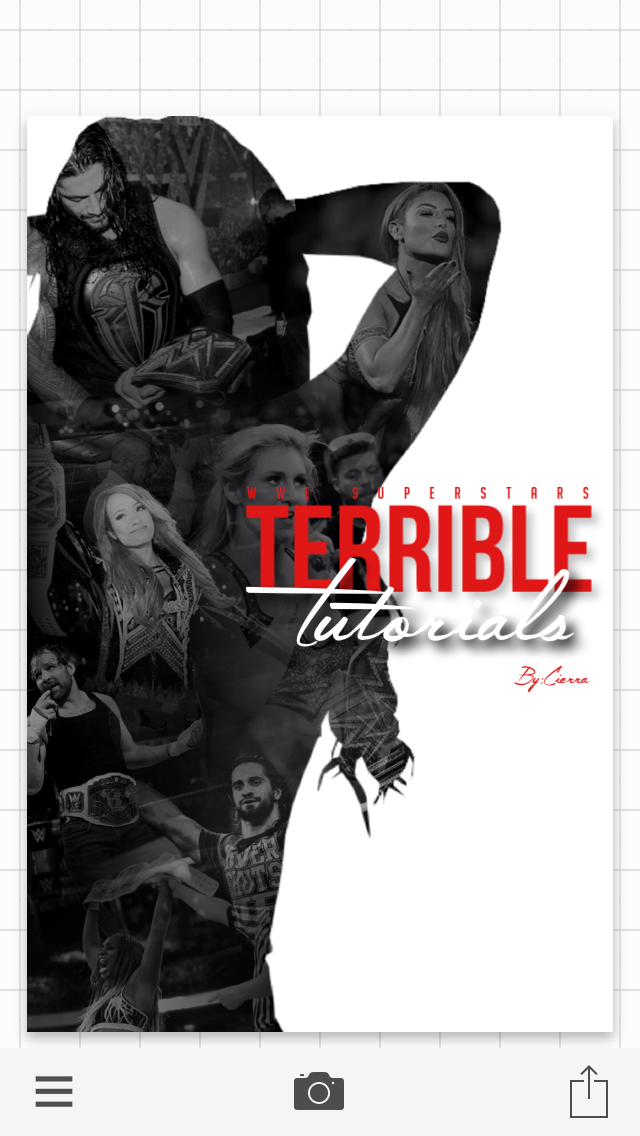
black & memory-ology (cover tutorial #1)
What I call "Black & Memory" is basically a silhouette with imagines inside of it.
Basically my Dirty Talkin cover.
So here's how it goes.
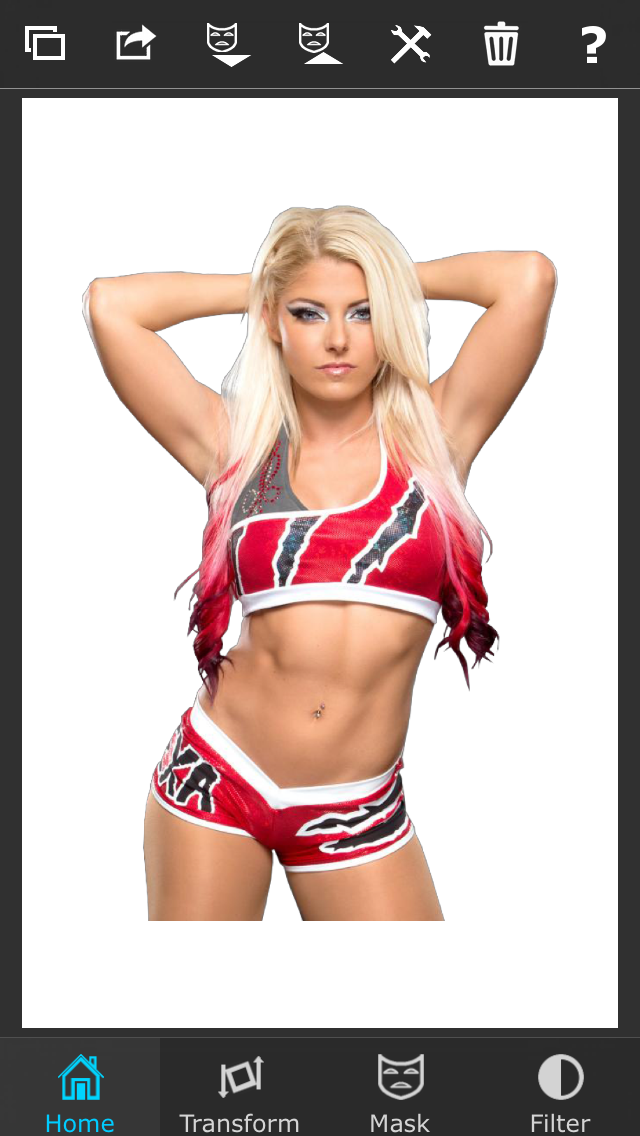
Step #1: Open Superimpose and open a white background image that is 1024x1600 (the perfect wattpad cover size), then open a png of your choice as the foreground.
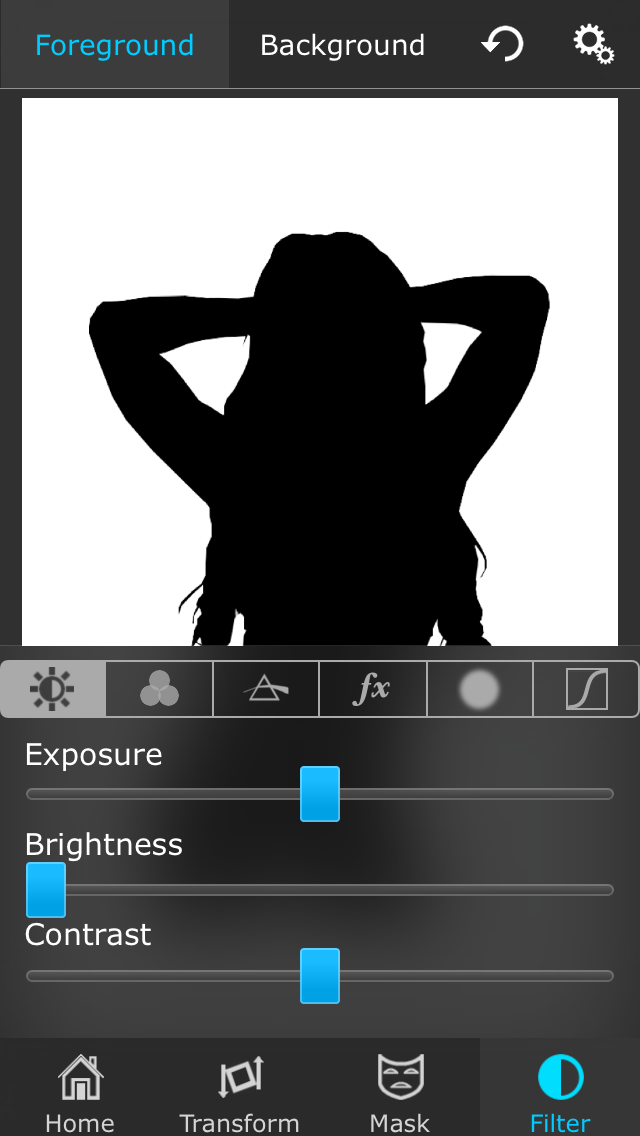
Step #2: Next, we are going to turn the PNG black. Click on the filter tap, then the gear button at the top of the screen. You should then see three options and out of the three, one should be named "Brightness". Move the brightness button all the way to the left. Your PNG should be completely black right now.
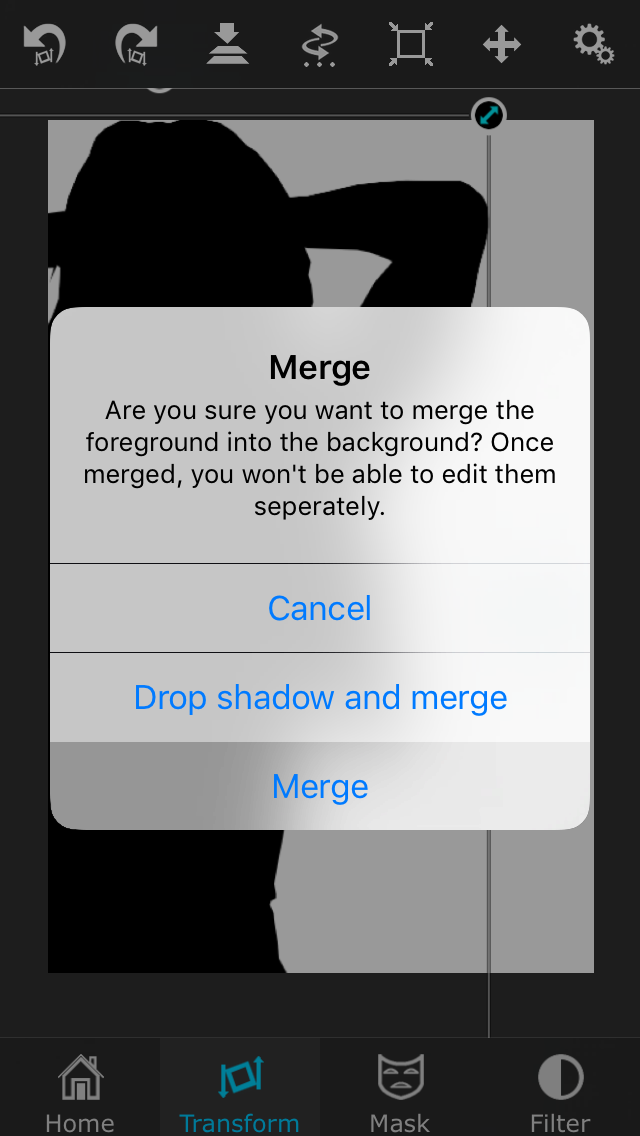
Step #3: Now, from this point, you can move the PNG to whatever position you would like, you can make it smaller or bigger, just place it where you want. When you have decided where you want it, go to the "Transform Tab" then look at the very top of the screen and find the "Merge" button. It will look like a arrow pointing down on 2 rectangles. When you click it, you will have three options, choose "Merge"
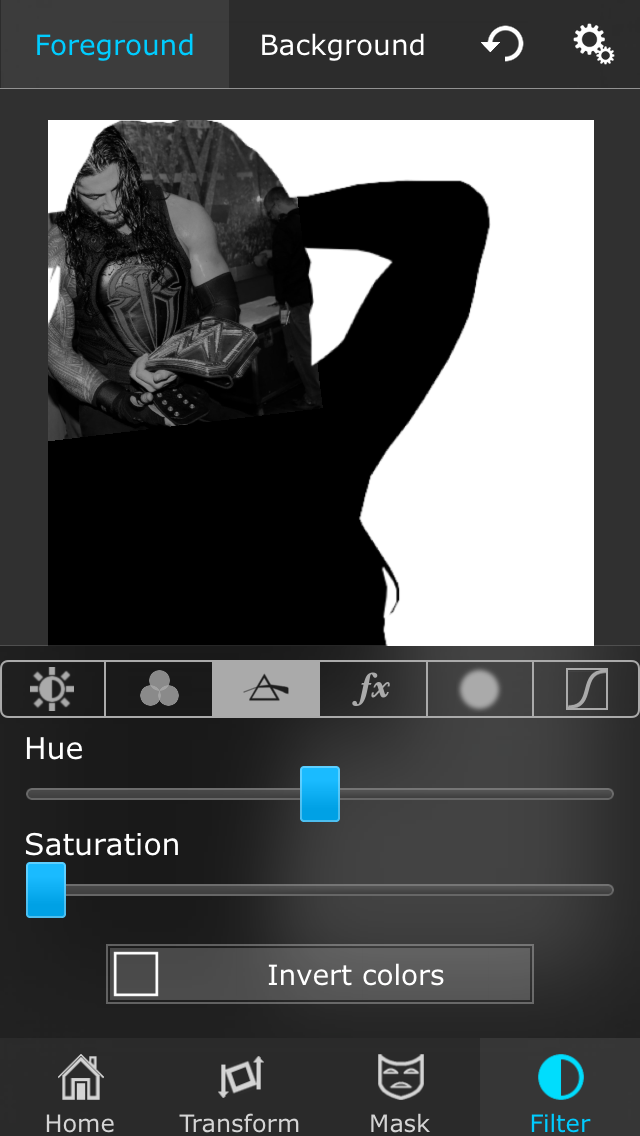
Step #4: this is where we will add in the images will go inside the black. Open even image of your choice (go to the home tab, choose the two rectangle button at the top, choose to add a another foreground) as the foreground, then click on the "Transform Tab." At the top of the screen will be the gears again, click them, then choose the "Screen" Option. Move the "Occupancy" slide down a little bit to give the picture more of a faded look. Make the image a bit smaller and place it anywhere you like within the black, DONT MERGE YET.
Step 5: head back to the "Filter" tab. Once there choose the smaller tab that looks like a triangle with a line through it. There should be 2 options and one should say "Saturation." Turn that slide all the way down. DONT MERGE YET.
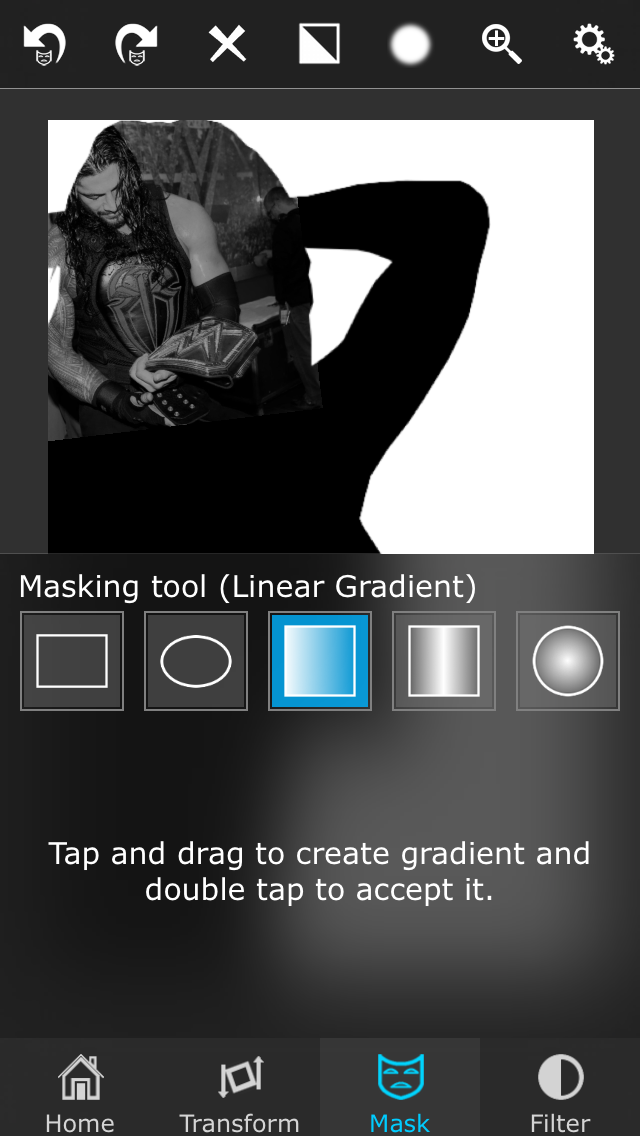
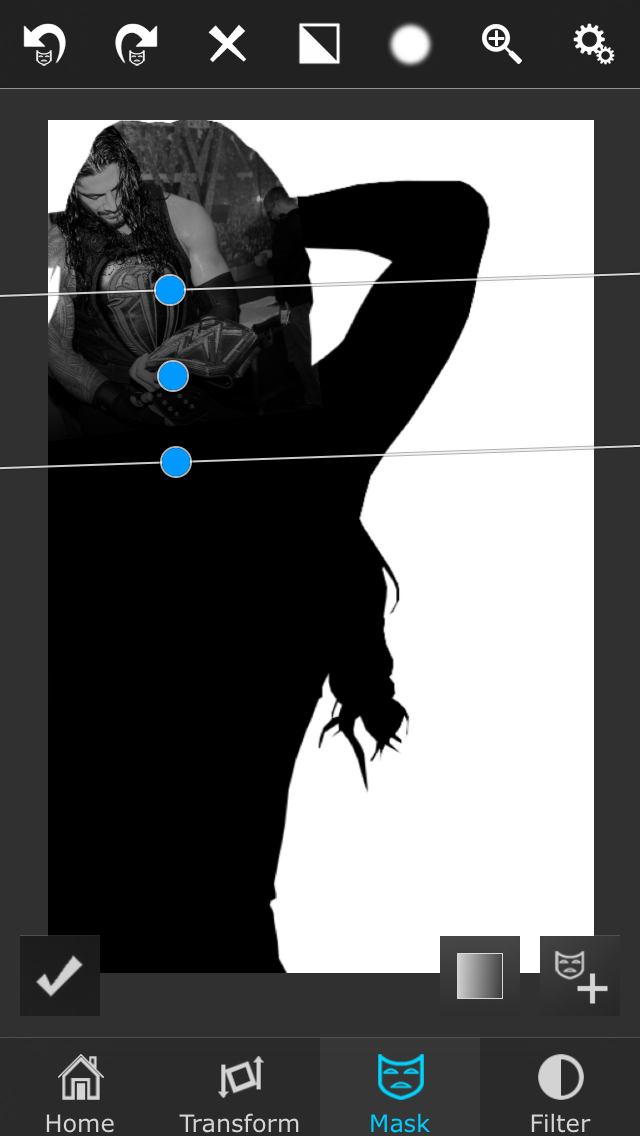
Step 6: Go to the "Mask tab" then choose the gears at the top of the screens again. Scroll down the line until you see the the "Linear Granite" option. Choose it. Now, this part is a little tricky, your just going to erase a bit of the picture so that it gives it more of a fade look. When you have the faded look you want, double tap to save it. Once you are satisfied YOU CAN MERGE (refer back to step 3 if you forgot how to merge)
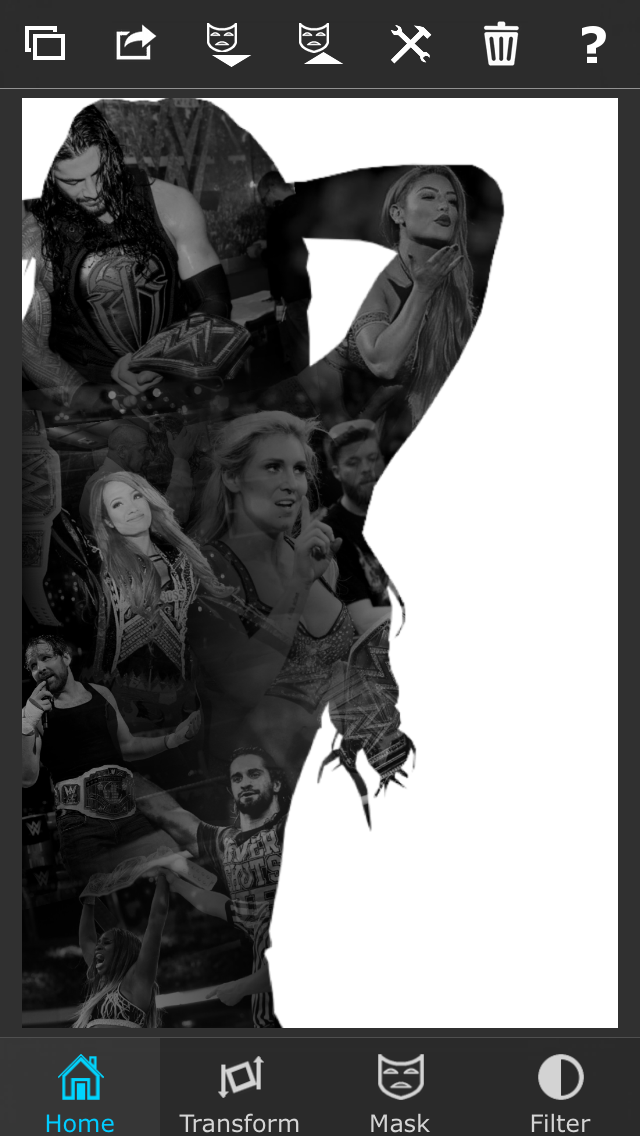
Step 7: ADD MORE IMAGES! Repeat all the steps above. Be sure pictures don't over lap other pictures with the black. You can add as many pictures as to. Just try to fill the entire black area.
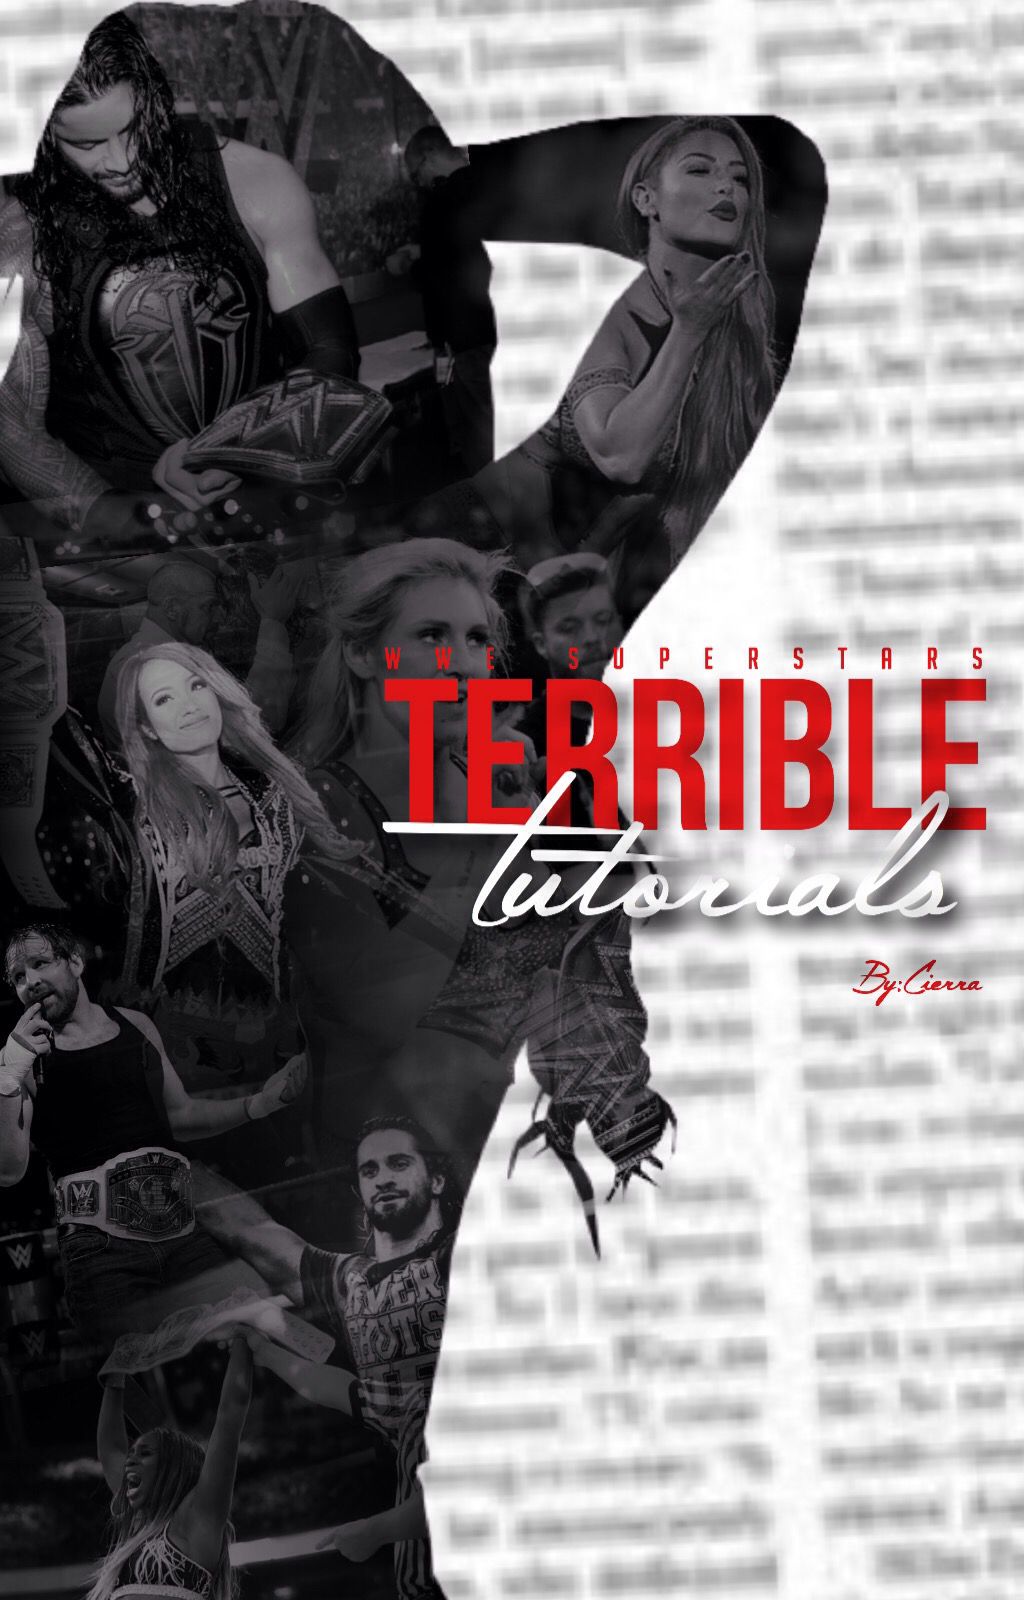
BONOUS STEP: (optional) open the newspaper image I have provided towards the end of this chapter. Open this as the foreground and adjust around as you like. This will give you that news paper effect like Dirty talkin has. You don't have to do this.)
Step 8; save your picture. Choose the home tab and choose the option that looks like a square that has a arrow coming out of it. Choose the option to export it to your photos.
Congrats. You're done in Superimpose, but we're not finished yet.
Step 9: open your saved picture in Phonto. You can choose a filter there if you want, but it's not necessary.
Step 10: tap your photo to add words. Add your title and place it where you want. You can change the color of your words, add a shadow behind it, anything you need to make your cover pleasing to your eyes. Then your done.
Or without the Newspaper
It's not too hard. I think the hardest part is using the linear granite part.
If you guys like these tutorials, I could make a few more. I know a few tricks. I'm not perfect (BY ANY MEANS) but if you like them, I'll do them.
I hope this was somewhat useful.
I tried doing it in picart and it didn't really turn out right 😬 IF YOU FAN DO IT THEN PLEASE GO RIGHT ON AHEAD BOO AND DO YOU, but I can't do it.
love you guys.
SUPPLIES
Bạn đang đọc truyện trên: AzTruyen.Top