@Sierra_AtTheDisco
Heyo!
Sorry I haven't updated in forever but I've been really busy and not a lots been happening with me lately. Today, (or tonight for me although it's almost morning) I published a chapter part with this:

picture. Sierra_AtTheDisco really liked it and was interested as to how I made it, so I'm just going to show you what I did. Also, please don't be offended is this sounds like I tried to make it really simple, it's just that I hate when you watch/read tutorials that DO NOT MAKE SENSE.
1. Open Picsart

2. Begin "Editing" by clicking the little cross, as you can also make collages.

3. Select wanted image.

I chose the converse, but I had to crop these as I sadly didn't have the original image.
4. Crop image.
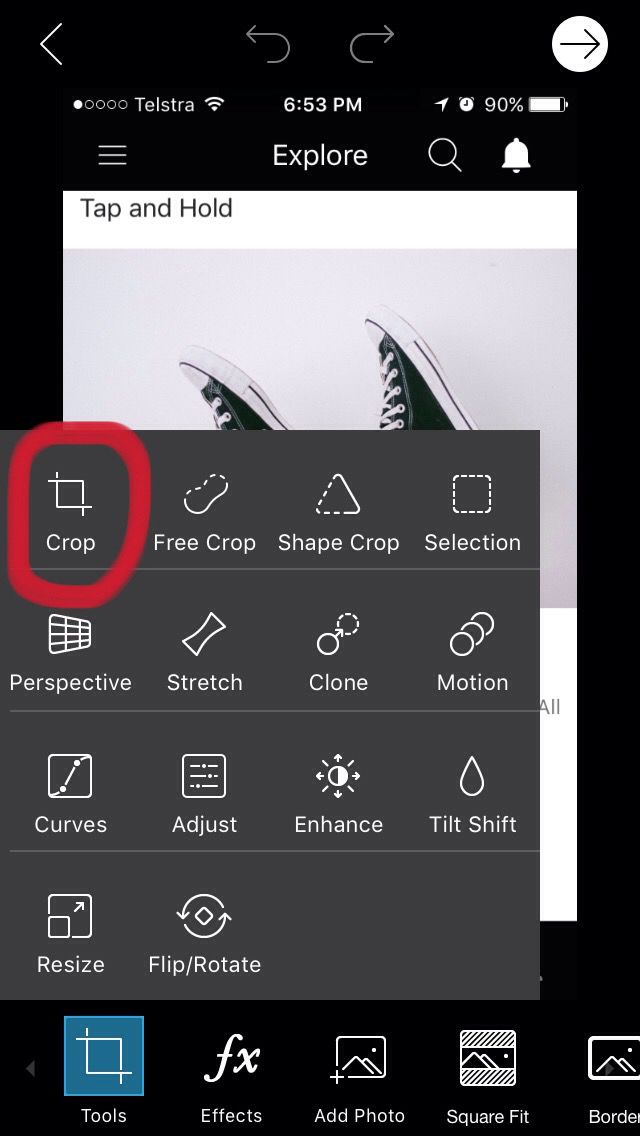
Click the "tools" box and the the "crop" option to crop your image. That part is fairly self-explanatory.
5. Add desired photo.
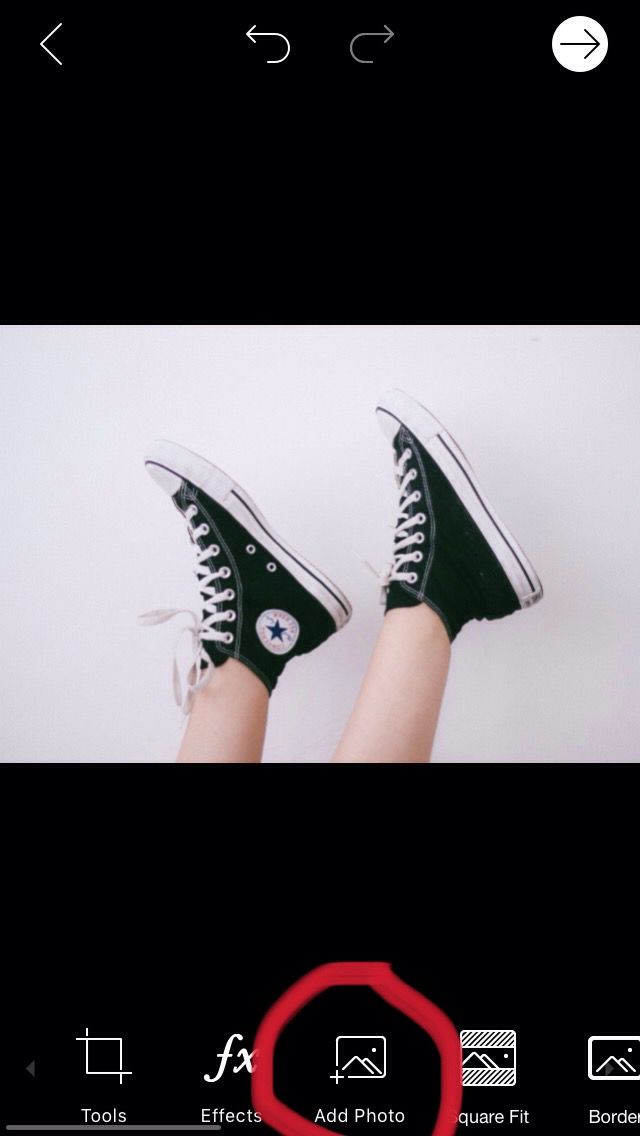
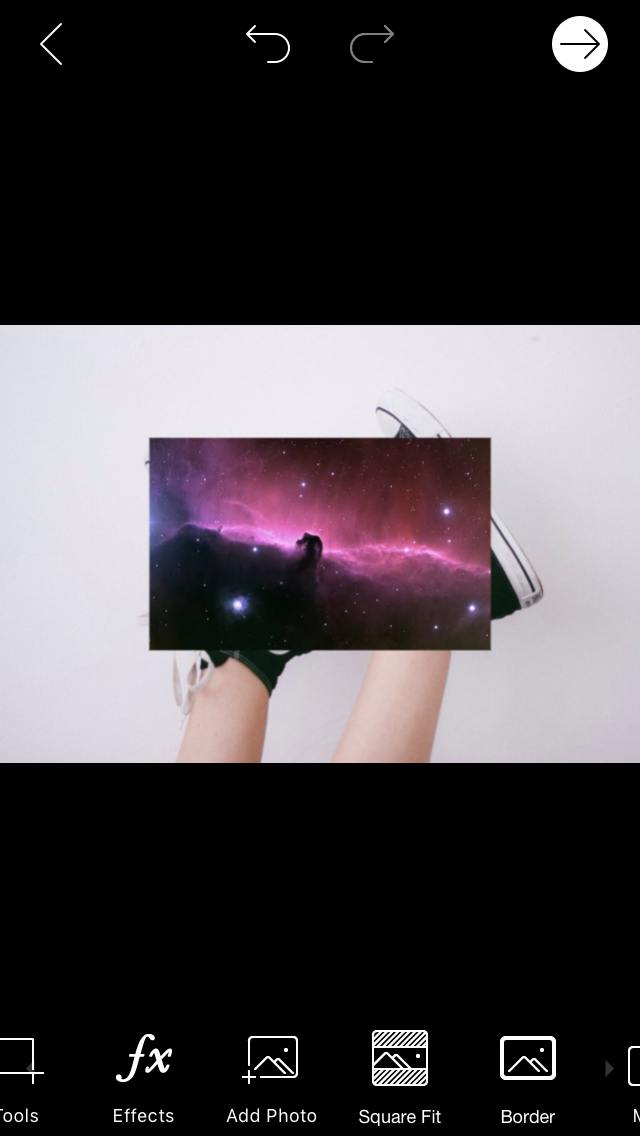
I chose this space picture.
6. Lighten the desired picture.
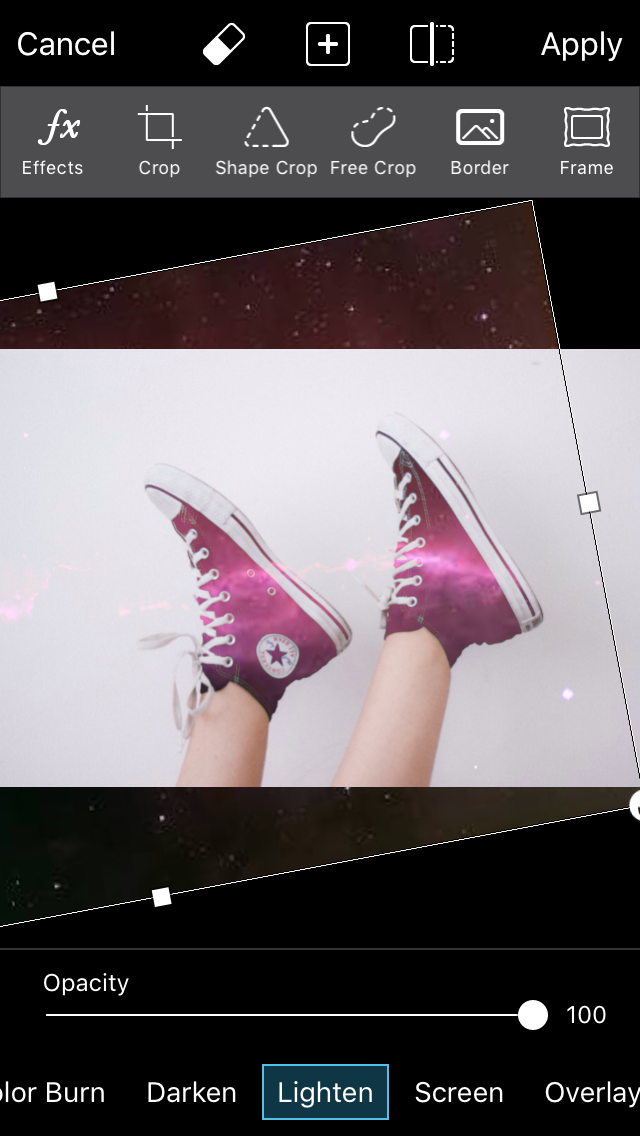
For this particular edit, you MUST have black converse as the effect used adds in the light colours and not the dark. This also means you need a picture with some lighter colours in it so they show through.
7. Save work.
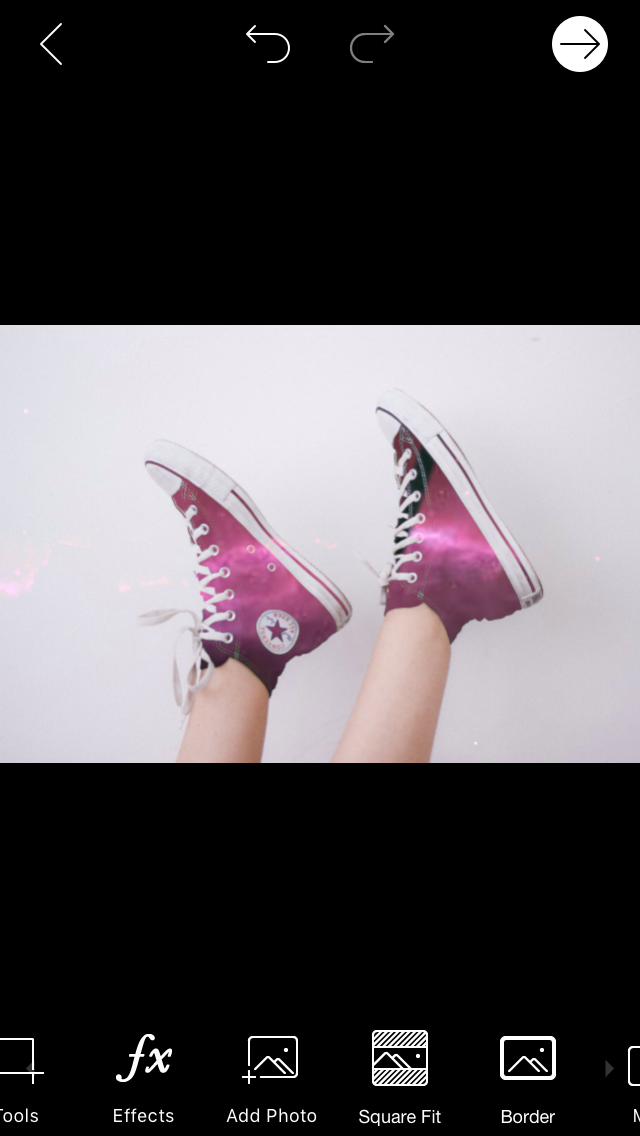
Save your work by clicking the white arrow up the top right-hand corner and clicking "save to camera roll".
I hope you find this useful!
BUE!
Bạn đang đọc truyện trên: AzTruyen.Top