STOP 003. LIGHTING
GUIDE: Wizard-Hunter
As a designer, knowing the light source in an image or an edit is very important, because duh the shadows and the variation in the shades totally depend on the light. So lets get down to very basic science for this tutorial:
> Light travels in a straight line
> One source of light produces multiple rays together known as beam.
> The rays are usually spread out unless thrown from an artificial source like a laser beam.
PLEASE NOTE
If you are using a photo that already has definite lighting, then try not to make a drastic change in the position on the source if light.
If your photo already has say neon lights then please do not choose a light color that won't blend in.
***
001. Open an image, preferably a close up face claim. Use the smudge tool (settings: smudge tool, air brush, low opacity)and smoothen down the hair and skin
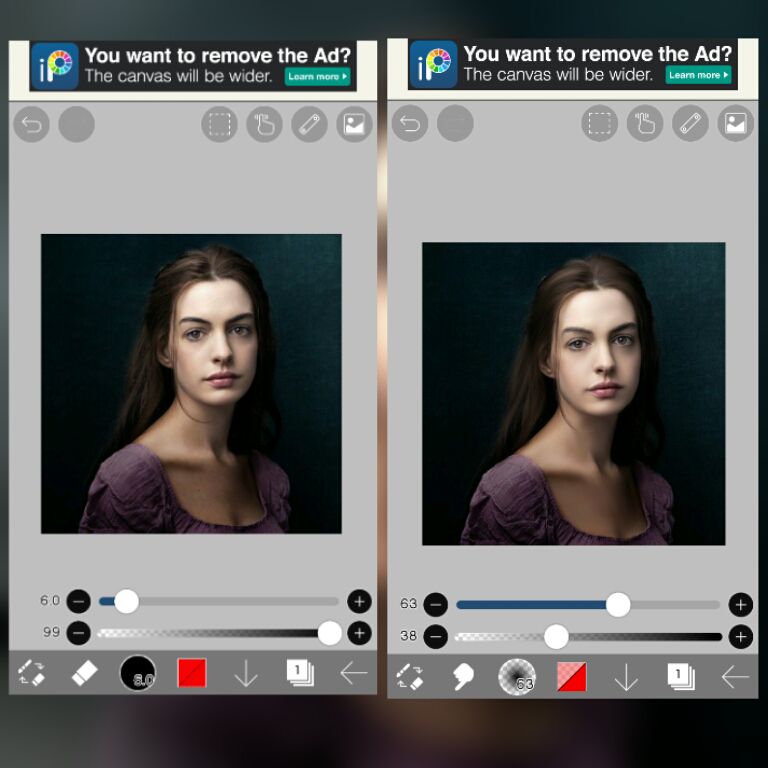
***
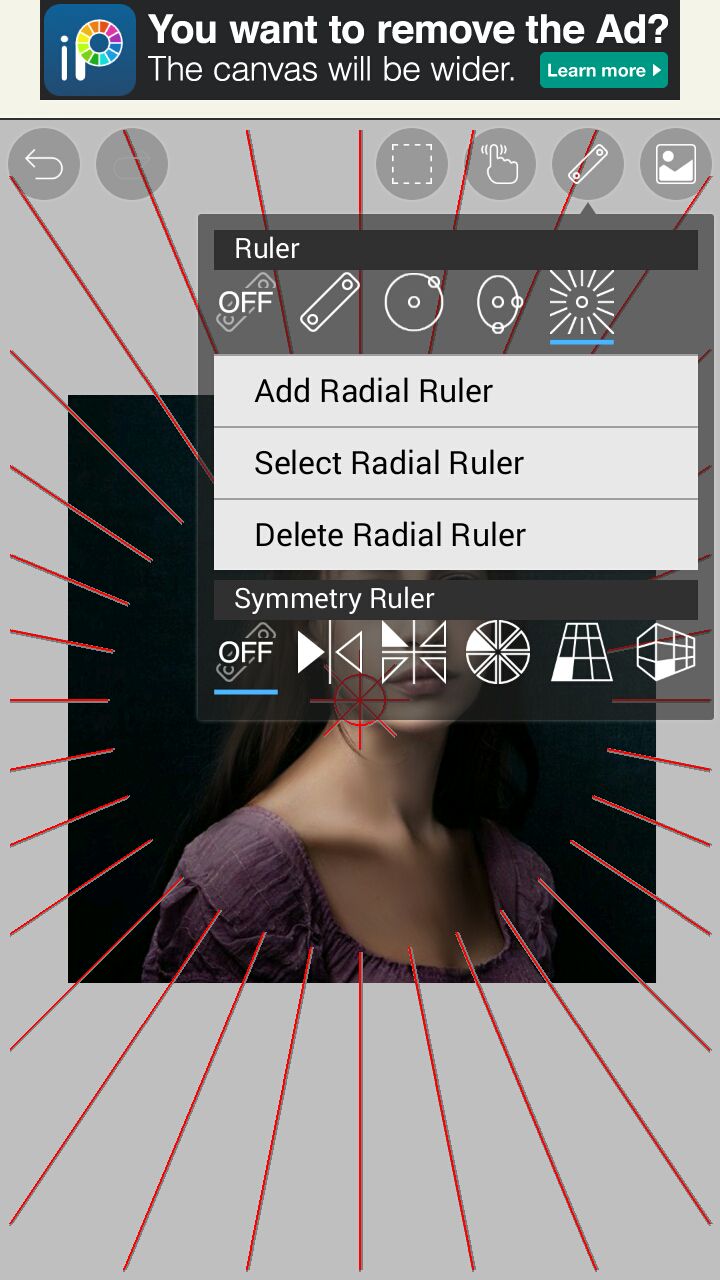
002. open the scale menu on the top, and choose radical ruler. Position the center wherever you want the source of light to be.
***
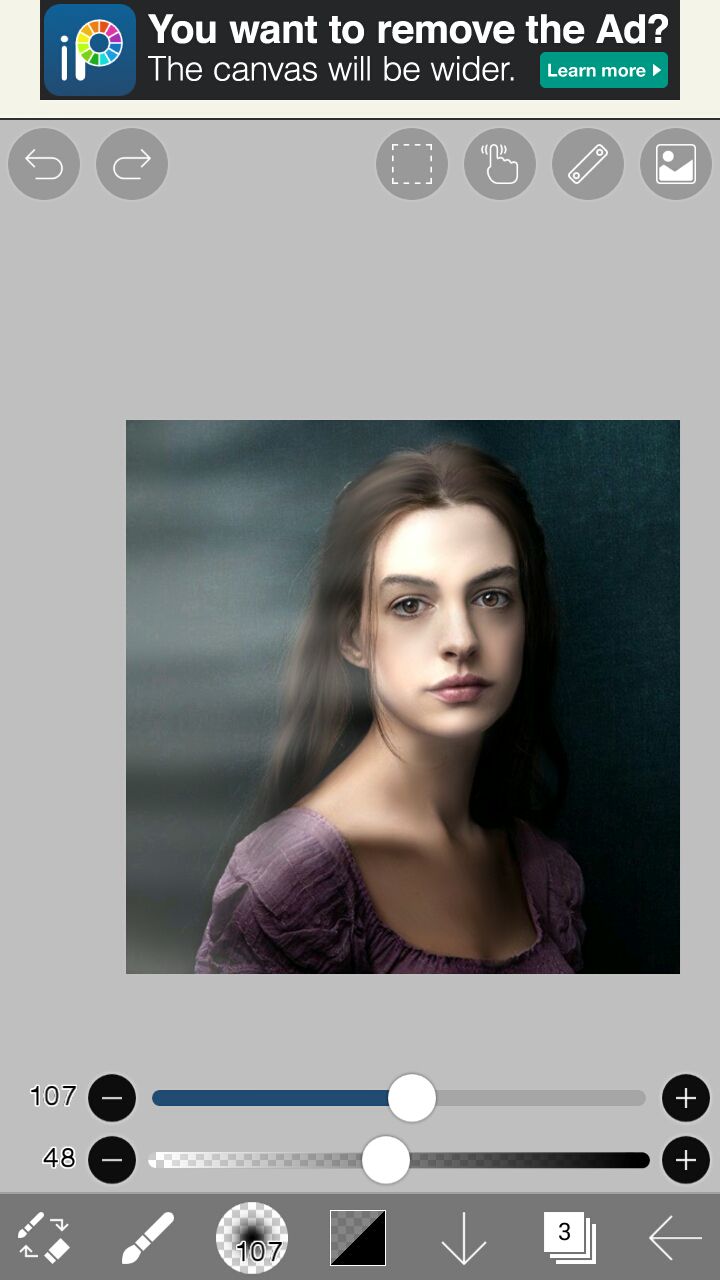
003. Add a layer on top of the image, change the blend mode to add. Select an airbrush set your size and opacity. For general lighting choose white, lamp light choose yellow or if you want neon lights then choose a color of your choice. With the help of the ruler draw rays/beams moving from source to model and stop when you think the ray would end (like against the nose or the cheek bones)
004. Smudge the lines, (settings: smudge tool, air brush, low opacity)
005. Add some shadows if needed (in a separate layer)
***
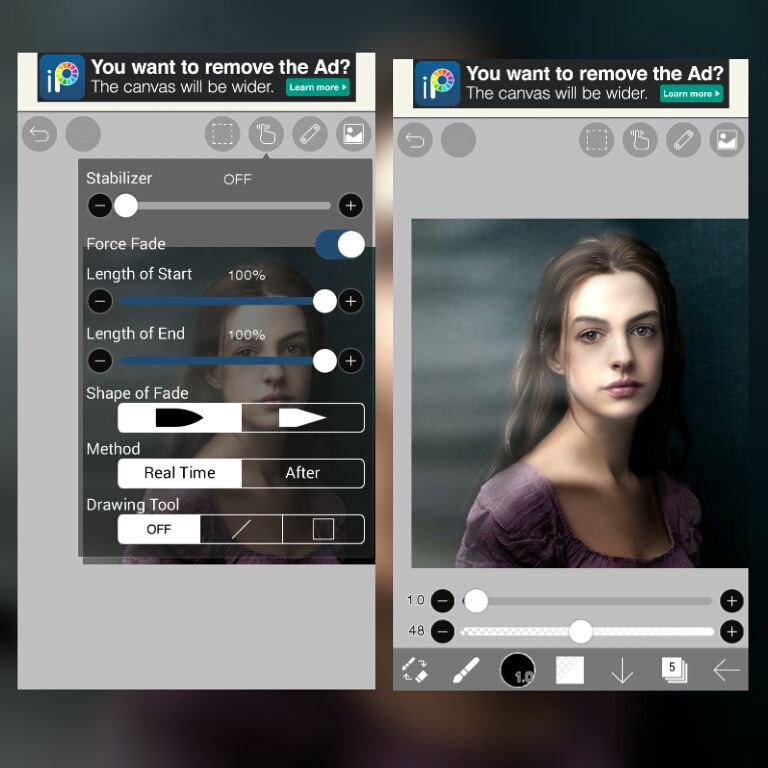
006. Put on the force fade, choose the brush at the top (die pen hard) with size from 0.7 to 1.5 and color:
In case of white light: use a color lighter than the hair and draw strokes over the hair. Repeat the same with white.
In case of colored light: first add strokes of the same color as the light and then with white.
***
007. Now with the same brush setting and white color draw lines on a separate layer on the brightest portion of the skin. Only one line on every place that you want to highlight.
008. Now set both the hair and skin highlight layer to the blend mode add, adjust opacity.
009. From the FX filter blur it both of them upto 2px not more and add some touch ups.
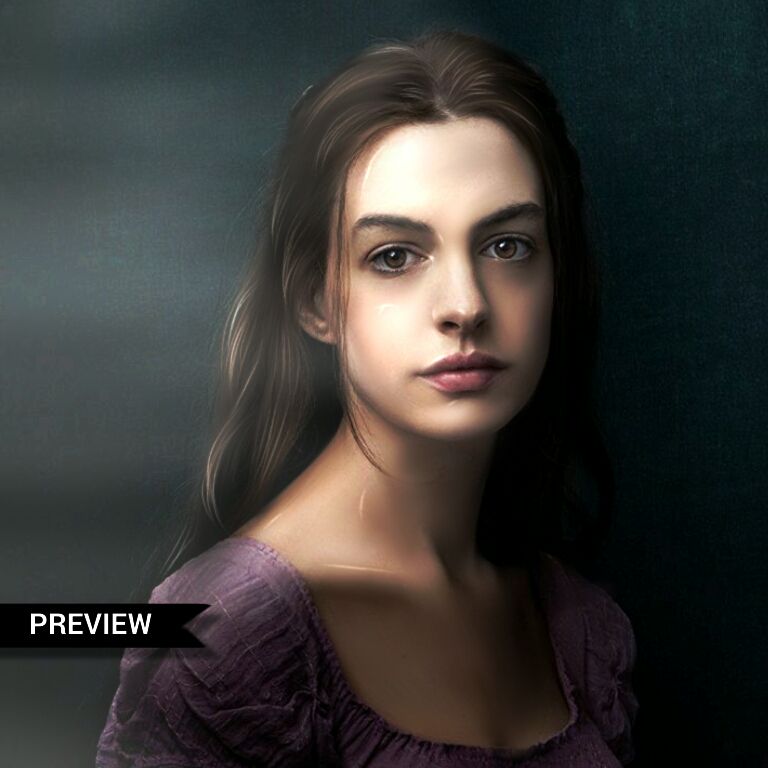
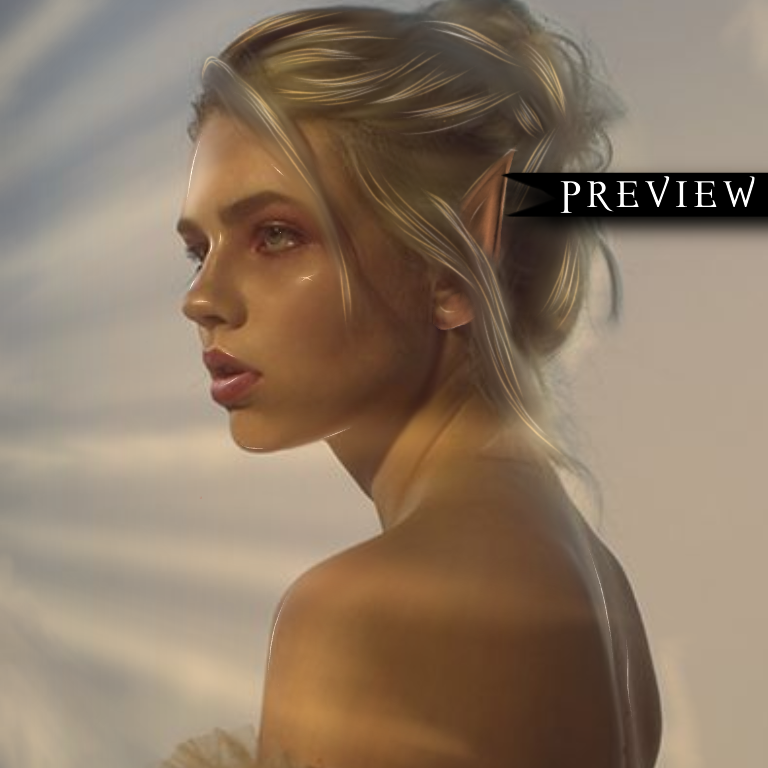
SAMPLE OF COLORED LIGHT. [SINCE IT HAS TWO COLORS THIS HAS A SLIGHTLY GLOSSY FINISH, WHEN YOU SEE IT FROM A DISTANCE: MY ICON]
Bạn đang đọc truyện trên: AzTruyen.Top