STOP 002. HIGHLIGHTS
GUIDE: noestalgia
Hey, Eva here again! Now in the previous tutorial, I showed you how to contour. This is a continuation of the tutorial where I will show you how to make the highlights more prominent and glowing.
Your face claim will look something like this:

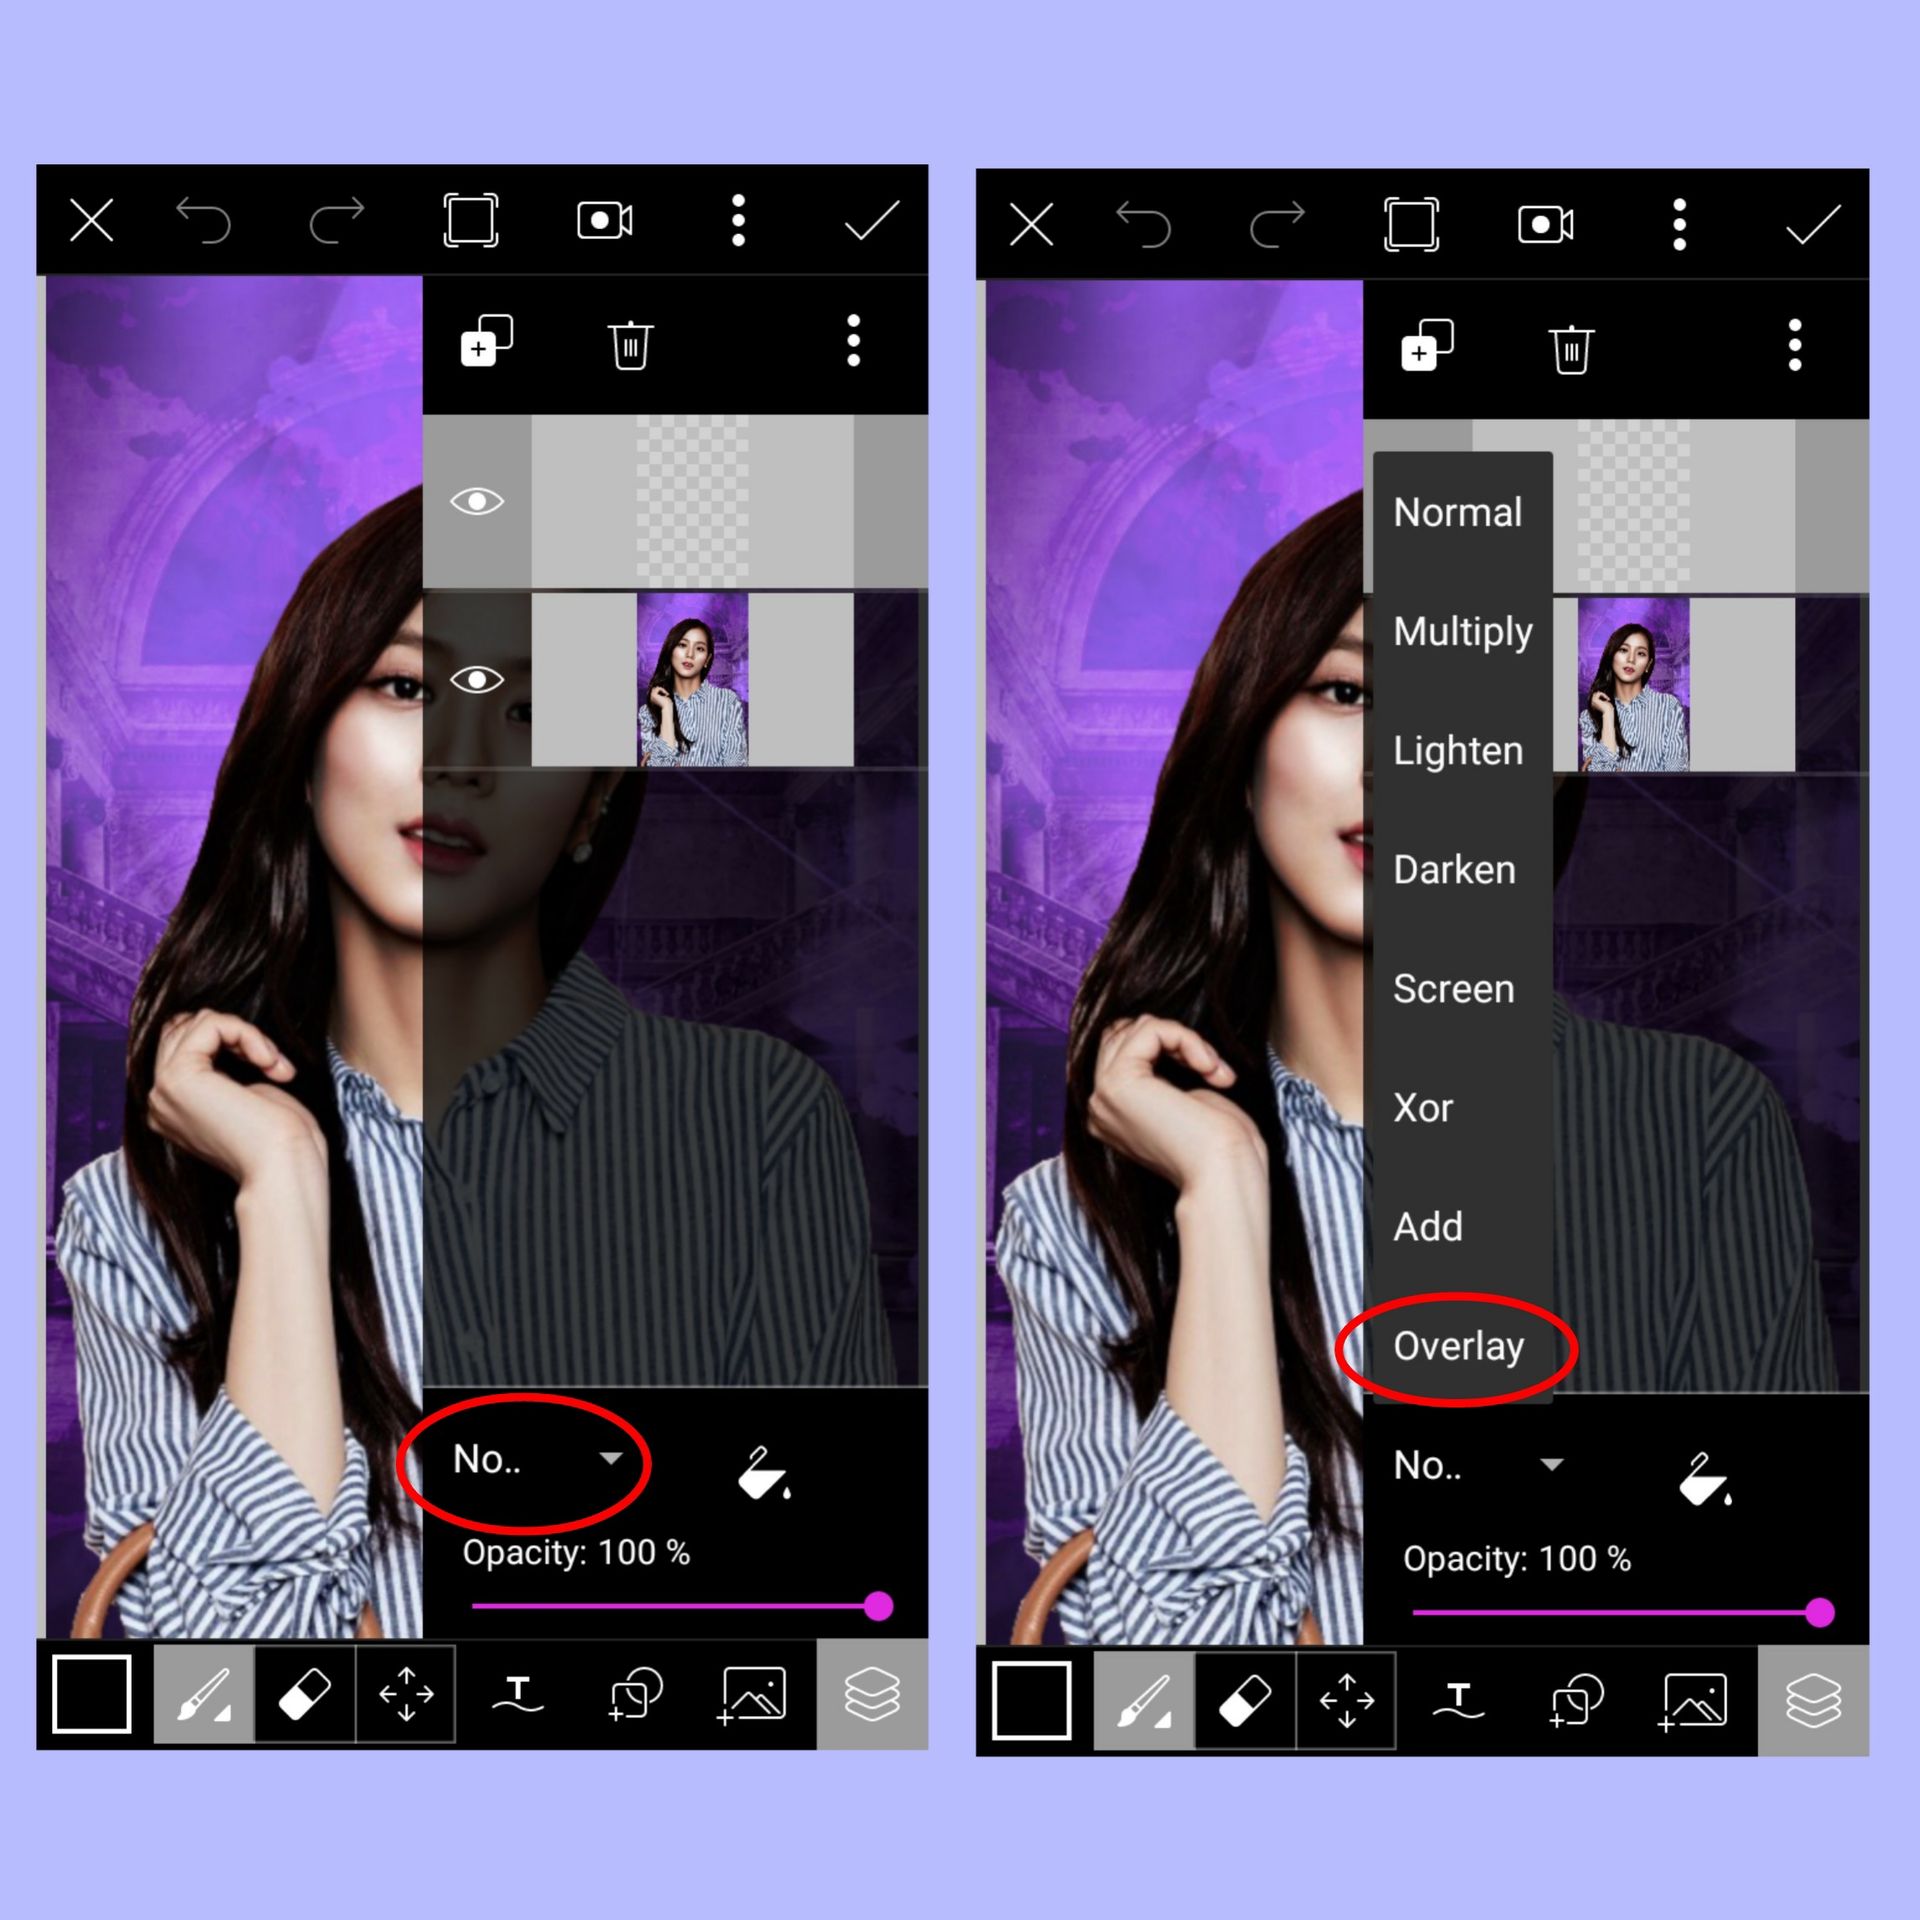
STEP ONE : First go to 'draw' and a new layer will already be there. If it is not, add a new one. Select the new layer, change the blending settings to 'Add.'
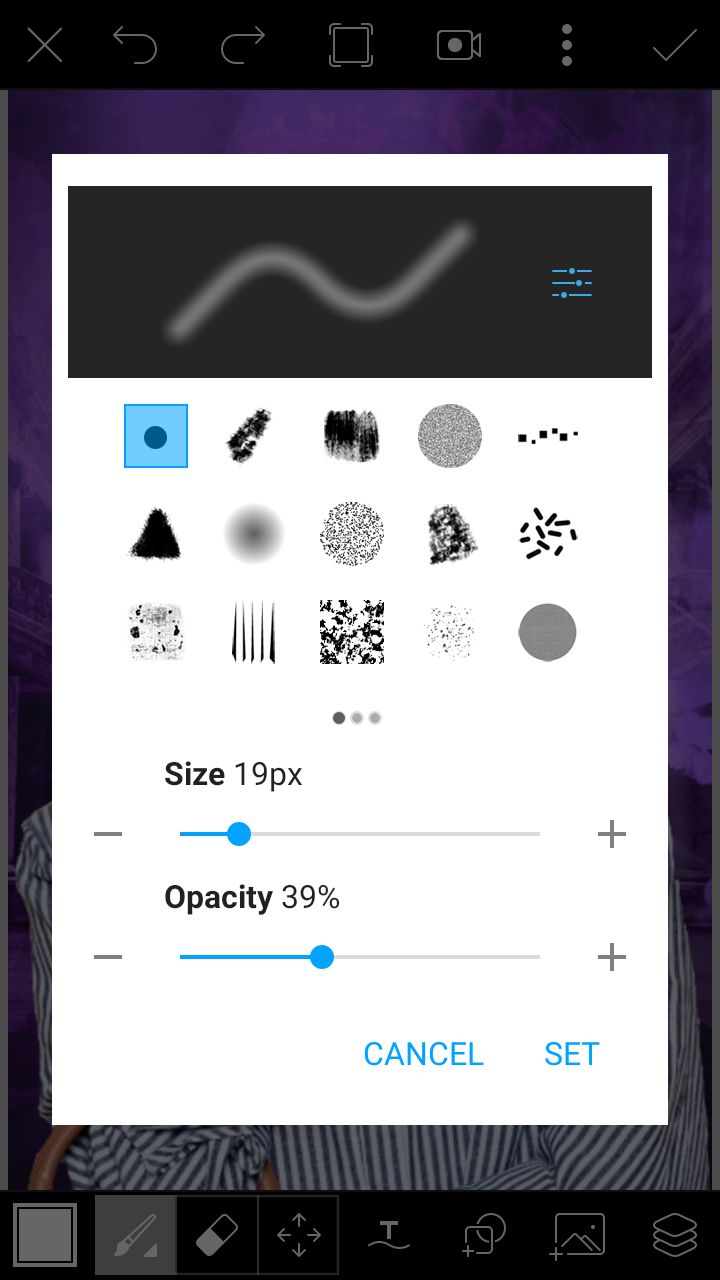
STEP TWO : Now select the color white for your brush. Make sure the sharpness of the brush is at 1% and its opacity is low (20-50%).
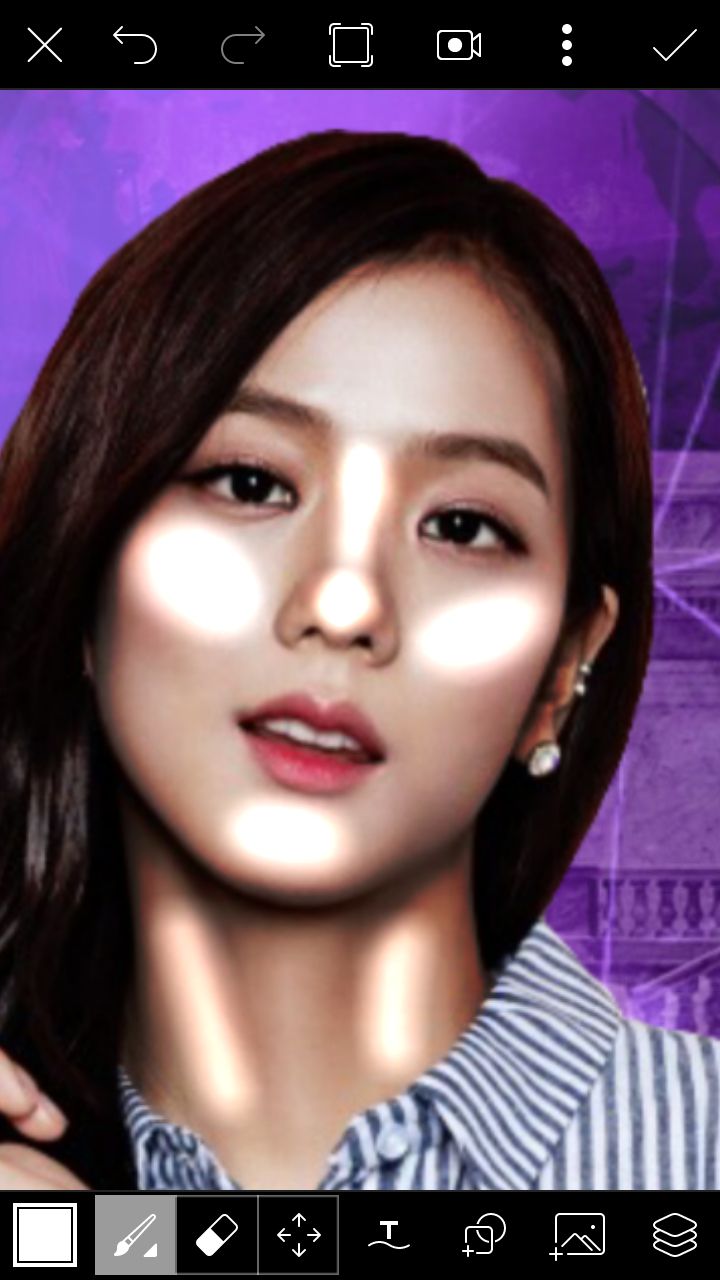
STEP THREE : Now slowly colour/highlight the following areas, the tip of the nose and then the middle part of the nose (leave a gap in between), above the cheekbones, the chin, forehead (if you want) and the neck (if you want).
STEP FOUR : Now select the eraser and adjust the settings accordingly.
Size - between 60 to 70 px
Opacity - 45%
Hardness - 1%
[PS. YOU CAN ADJUST THEM HOWEVER YOU LIKE. THESE ARE NOT COMPULSORY AND ARE MERELY GUIDELINES]

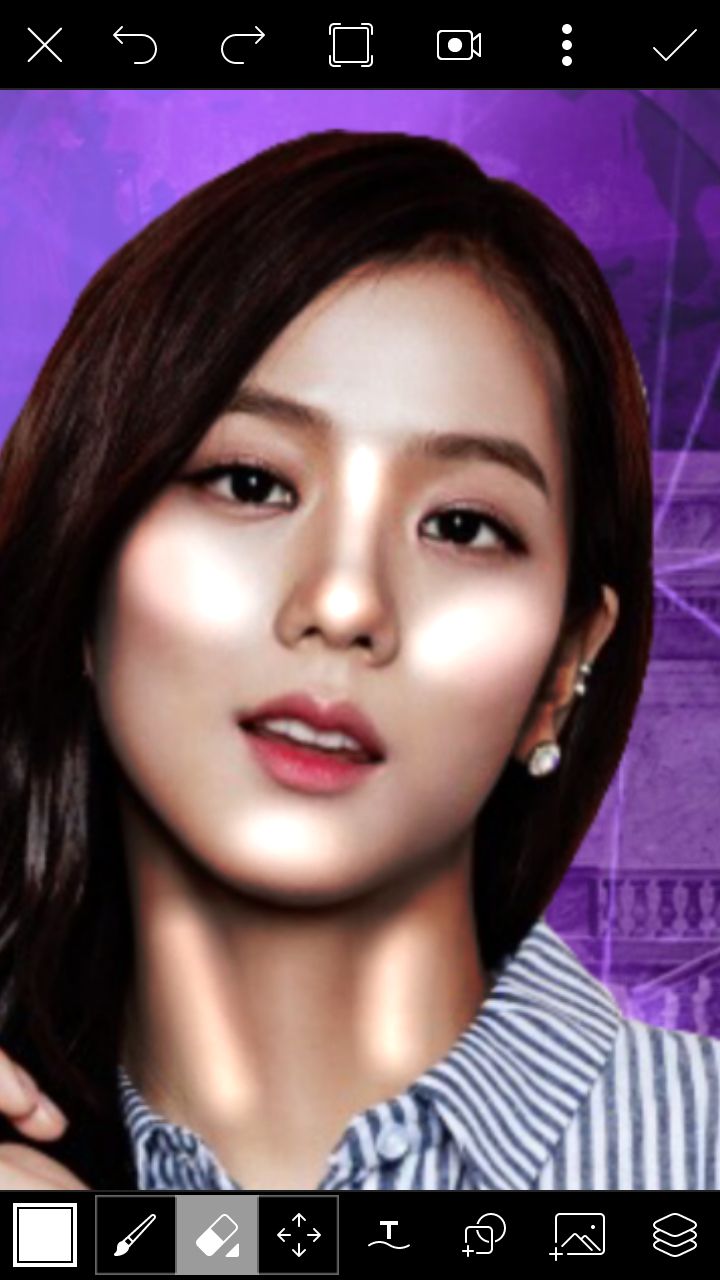
STEP FIVE : Now gently and slowly brush the sides of the highlights or tap around the highlights. This way the highlights will blend with the skin and smoothen and their intensity will become lower.
Stop until you get something like this :
STEP SIX : Now open the layers box and reduce the opacity of the layer. Once you are done, tap the tick and save it.

STEP SEVEN : Actually you are done! But I like to do this after I finish the highlights (like a touch up) so I included it here! Go to Beautify and then select Skin Tone.

STEP EIGHT : Next select a skin tone which suits your face claim. This perfectly blends the highlights. Once you are done, save it.

AND YOU ARE DONE! Add your textures, filters, text and your cover is ready!

I hope this tutorial helped! If you have any questions or requests, don't feel shy and ask!

Bạn đang đọc truyện trên: AzTruyen.Top